Introduction
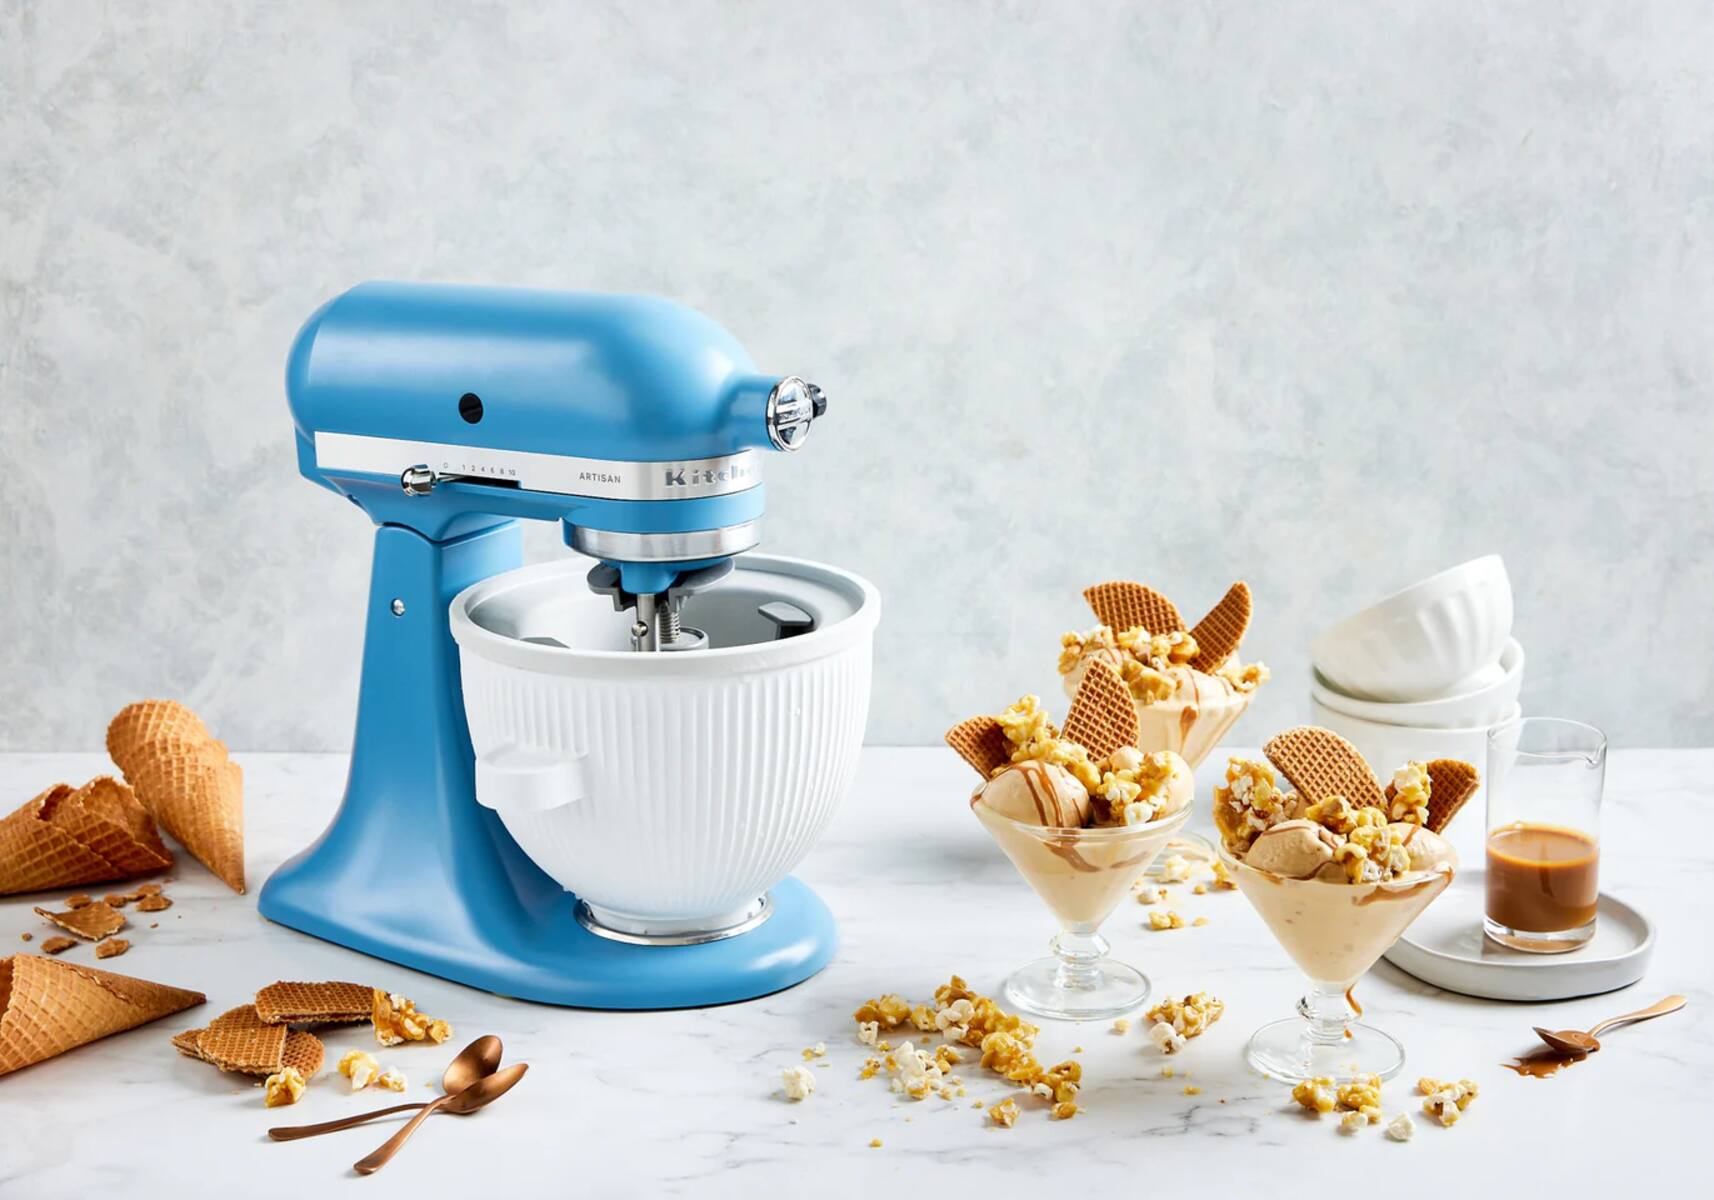
When it comes to homemade ice cream, the KitchenAid Ice Cream Maker attachment is a popular choice among ice cream enthusiasts. This handy attachment allows you to make delicious, creamy ice cream right in the comfort of your own kitchen. However, one question that often comes up is: how long does the KitchenAid Ice Cream Maker take to freeze?
In this article, we will explore the factors that can affect the freezing time of the KitchenAid Ice Cream Maker and provide some helpful tips to speed up the process. Whether you’re craving a classic vanilla or want to experiment with unique flavors, understanding the freezing time can help you plan ahead and satisfy your sweet tooth in no time.
The freezing time of the KitchenAid Ice Cream Maker can vary depending on a few key factors. These factors include the type of ice cream mixture, the temperature of the bowl, and the surrounding room temperature. By understanding how these factors interact, you can ensure that your ice cream is frozen to perfection.
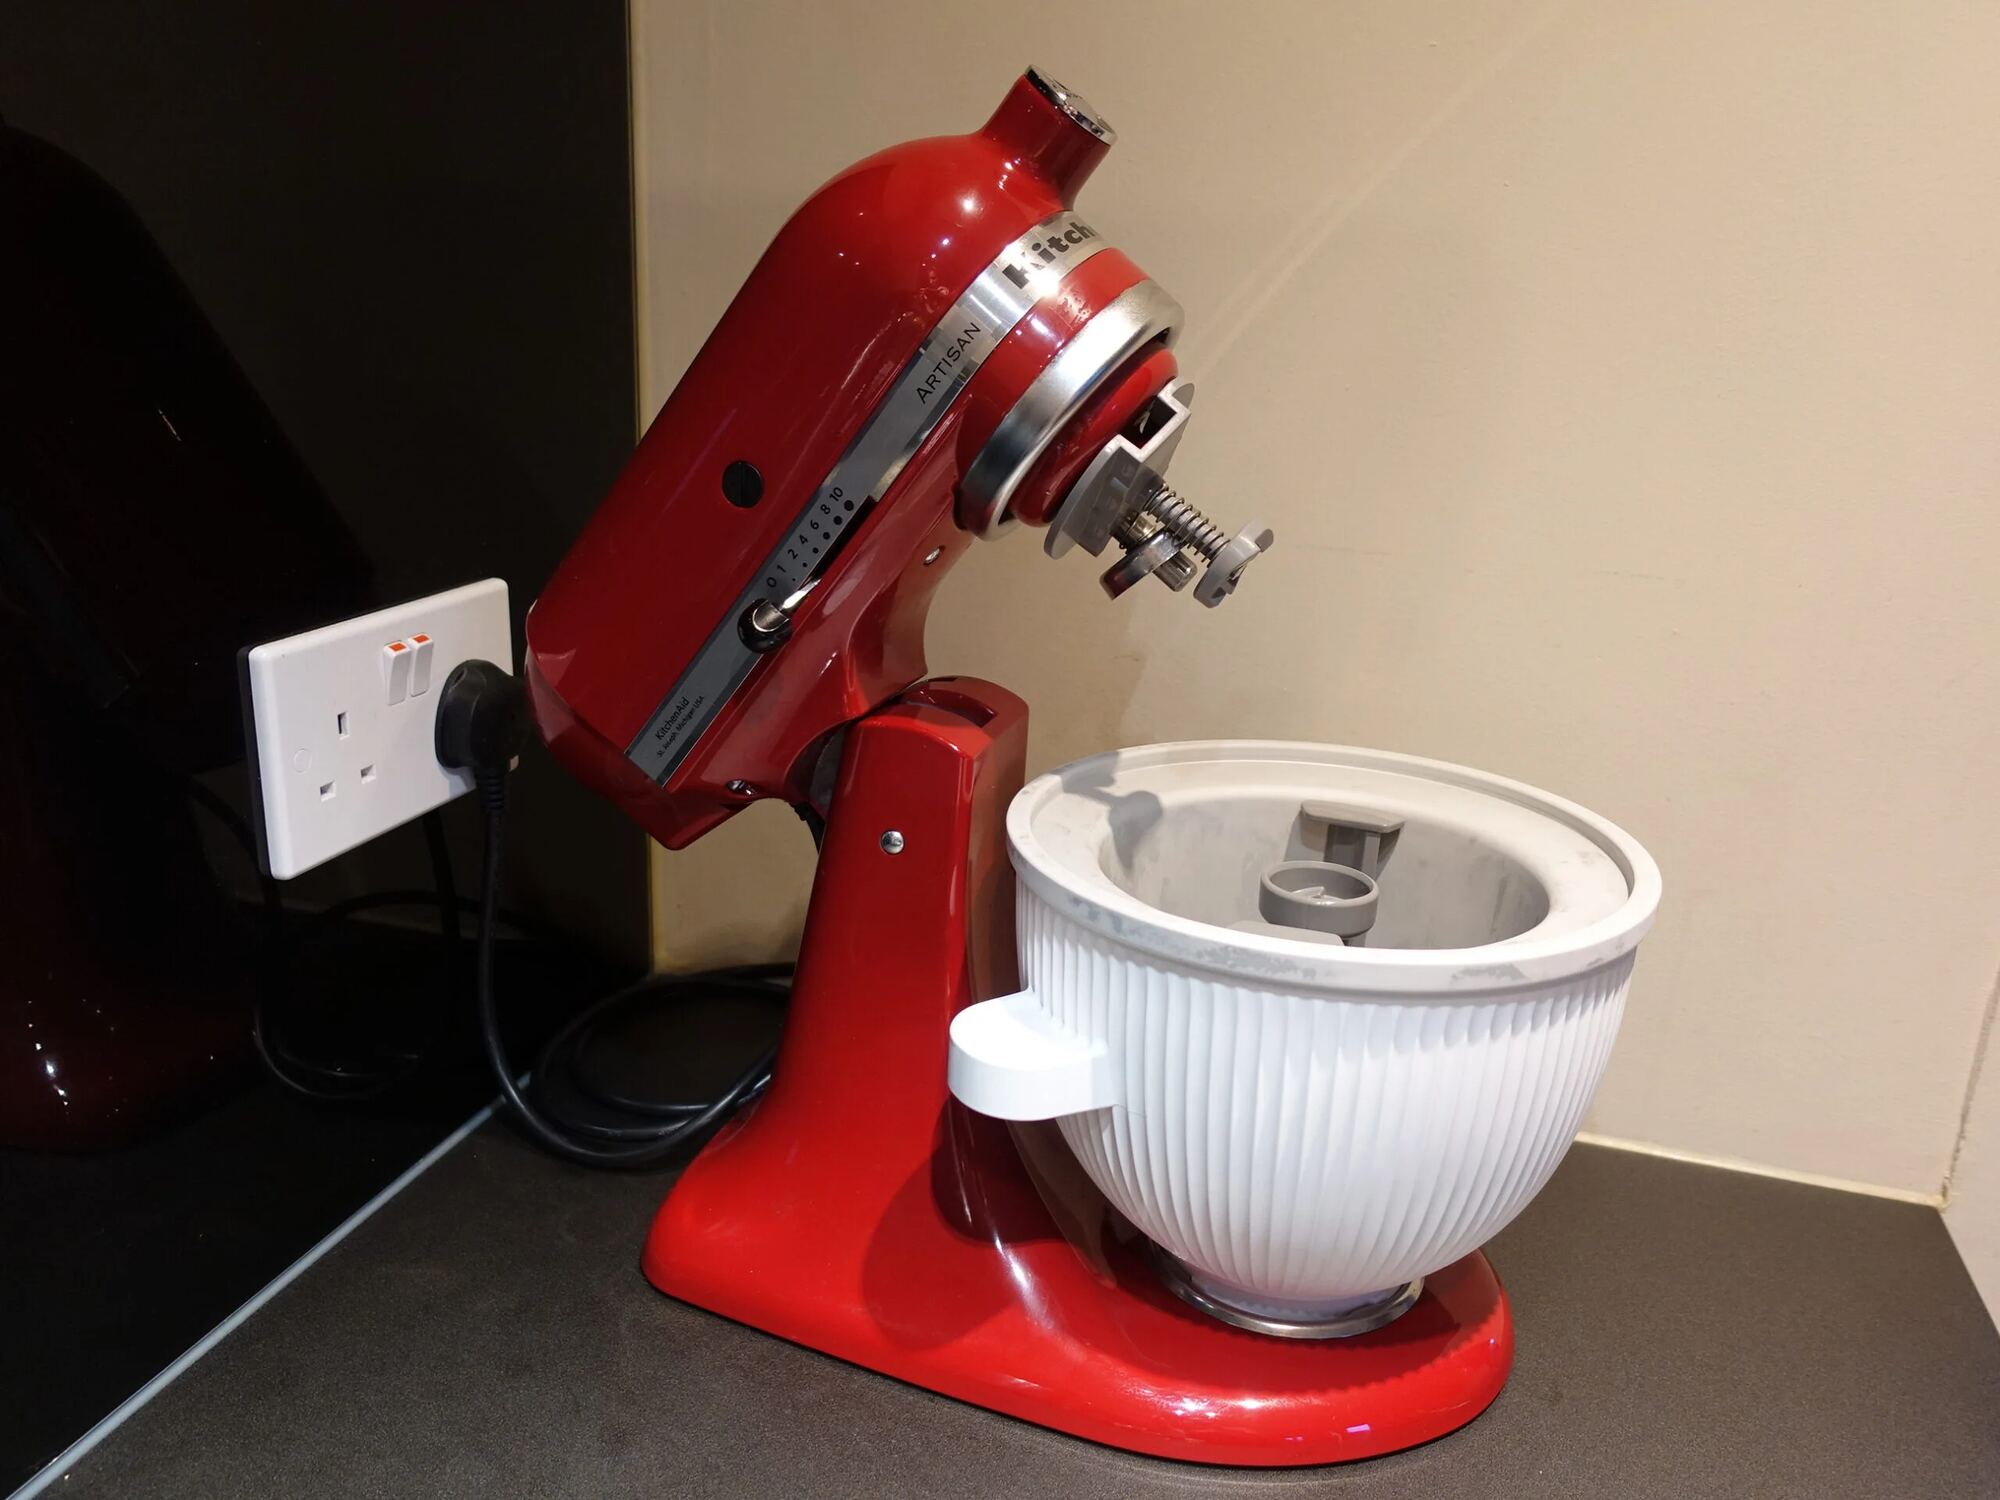
Before we dive into the details, it’s important to note that the KitchenAid Ice Cream Maker attachment requires pre-freezing the bowl for at least 15 hours prior to use. This ensures that the bowl is cold enough to freeze the ice cream mixture effectively.
Now, let’s take a closer look at the factors that influence the freezing time of the KitchenAid Ice Cream Maker and how you can optimize the process to enjoy your homemade frozen treats in a timely manner.
Freezing Time for KitchenAid Ice Cream Maker
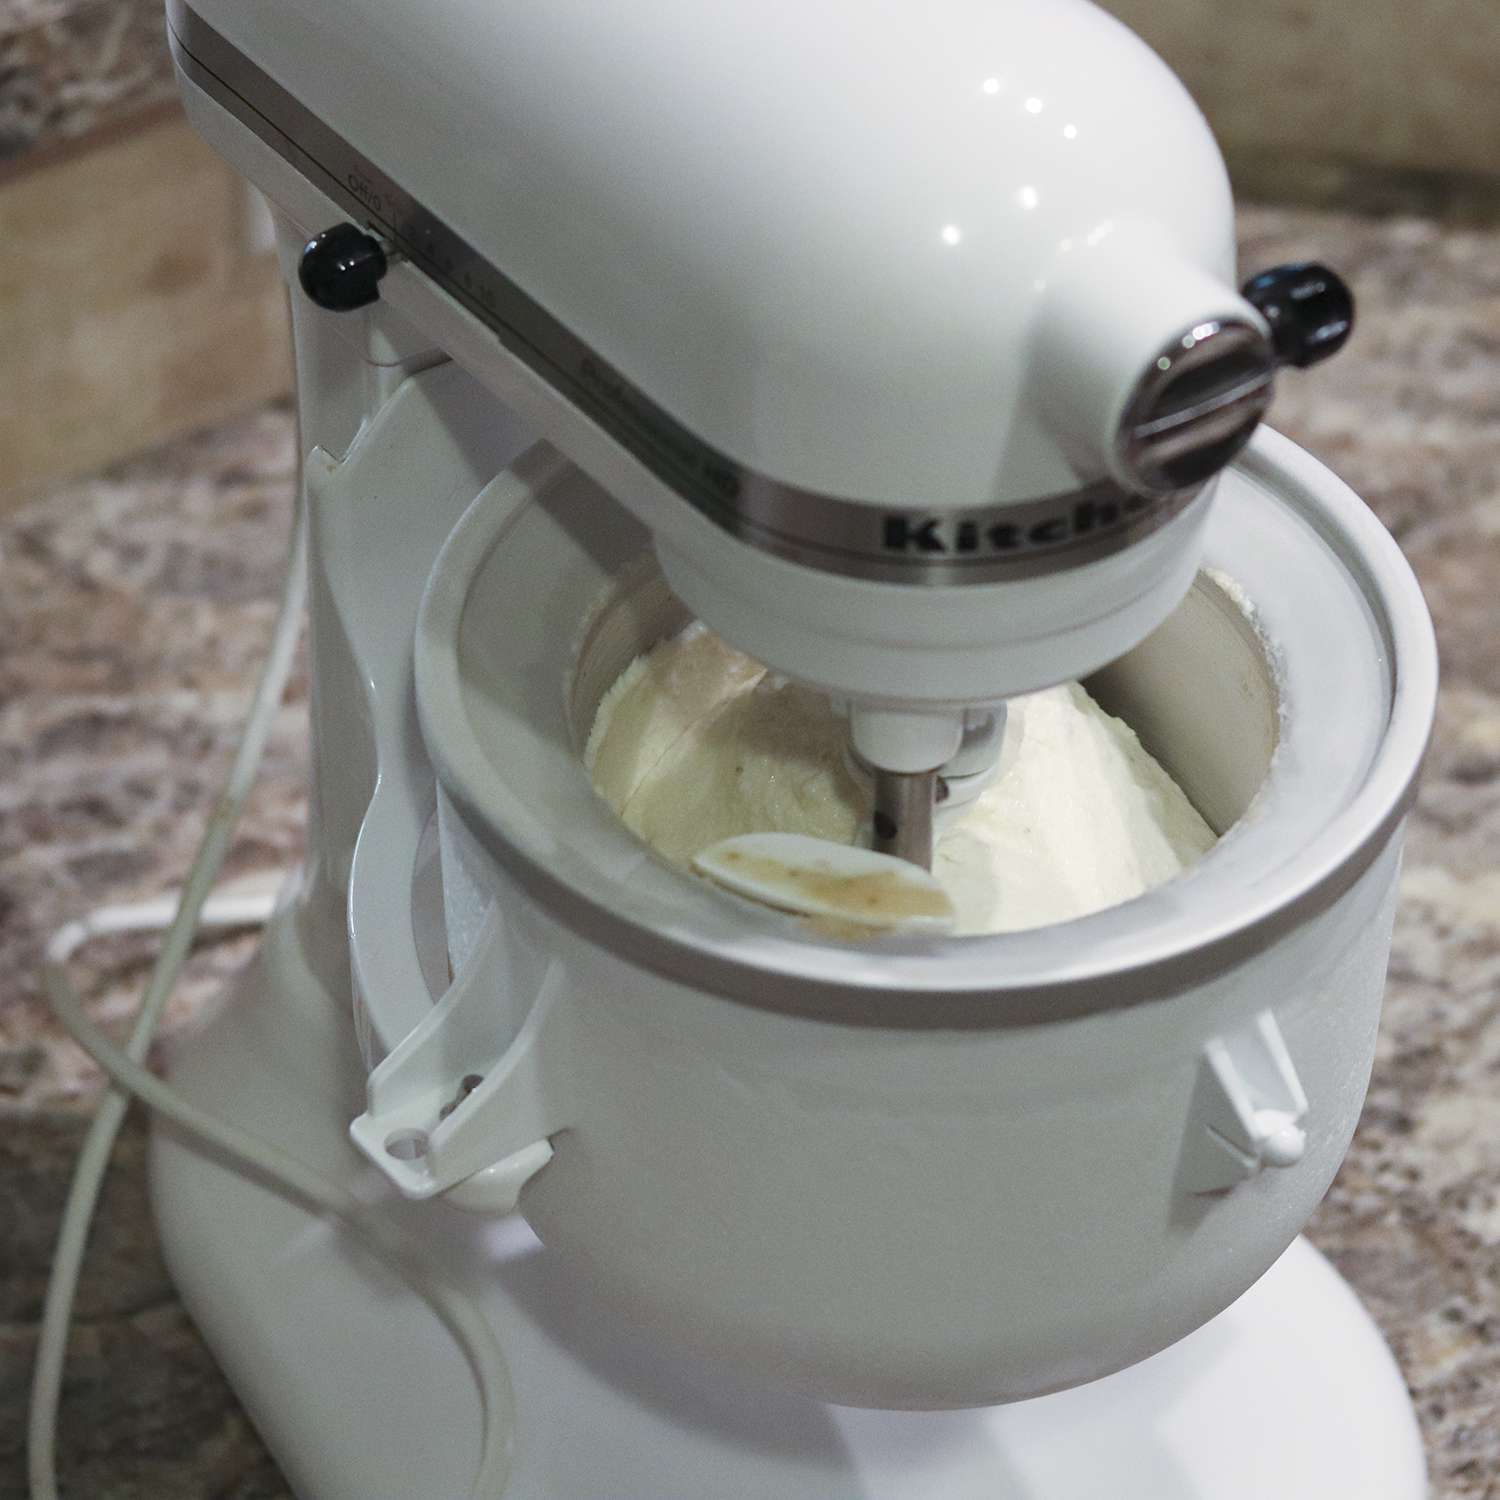
The freezing time for the KitchenAid Ice Cream Maker can vary depending on various factors. On average, it takes around 20 to 30 minutes for the ice cream mixture to reach a frozen state. However, it is important to note that this is just an estimate and the actual freezing time may differ based on several variables.
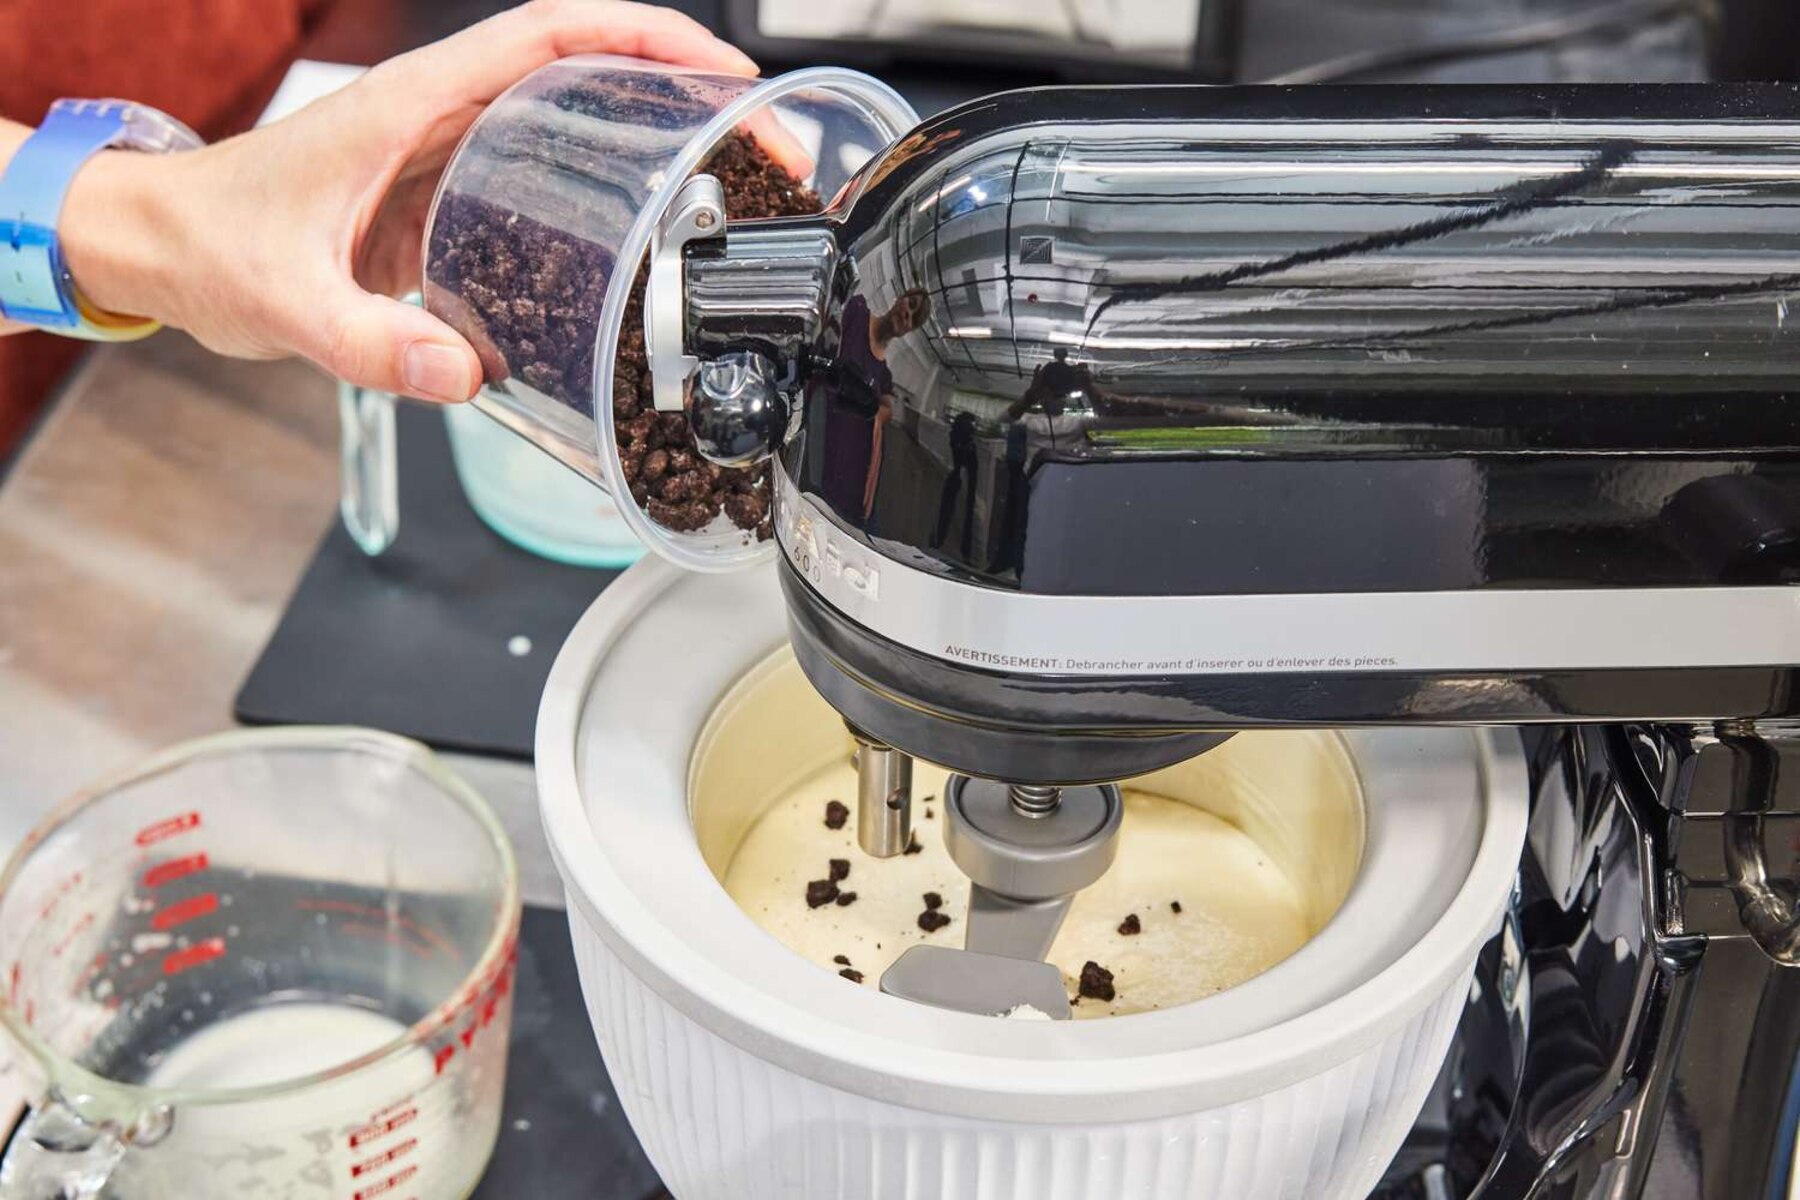
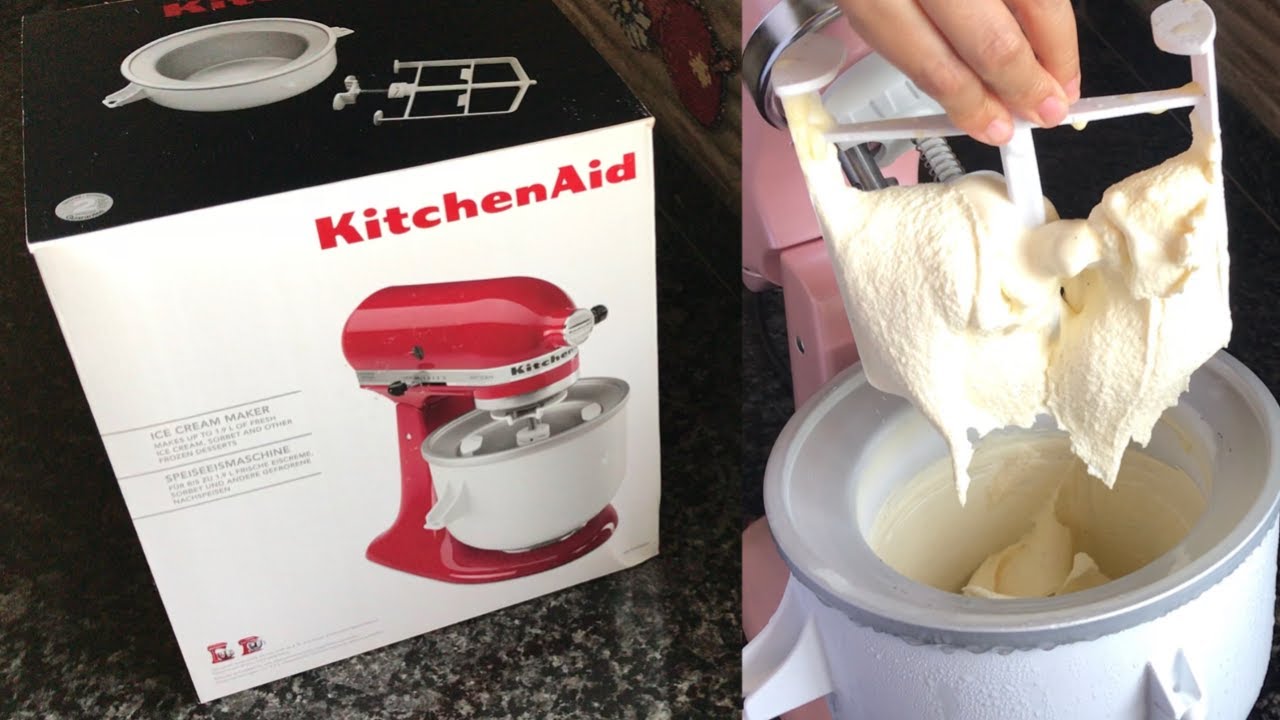
The KitchenAid Ice Cream Maker works by freezing the ice cream mixture in a pre-frozen bowl. As the mixture comes into contact with the frozen bowl, it begins to freeze and transform into a creamy texture. The time it takes for the mixture to freeze depends on the temperature of the bowl, the type of ice cream mixture, and the surrounding room temperature.
The consistency of the ice cream mixture can also impact the freezing time. If the mixture has a higher fat content, it may take longer to freeze compared to a lighter mixture. Additionally, mixtures with higher sugar content tend to freeze faster due to the lower freezing point of sugar.
Another crucial factor is the temperature of the bowl. To achieve the best results, it is recommended to pre-chill the bowl in the freezer for at least 15 hours before using it. This ensures that the bowl is at the optimum temperature for freezing the ice cream mixture. If the bowl is not adequately frozen, it may prolong the freezing time and result in a less creamy texture.
Additionally, the room temperature can influence the freezing process. If the room is warmer, it can slow down the freezing time, while a cooler room can expedite the process. It is advisable to prepare the ice cream making process in a cool area to ensure optimal freezing conditions.
Overall, while the average freezing time for the KitchenAid Ice Cream Maker is around 20 to 30 minutes, it is important to consider the various factors that can affect this timeframe. By understanding these factors and making necessary adjustments, you can ensure that your ice cream freezes to the desired consistency and texture.
Factors Affecting Freezing Time
Several factors can influence the freezing time of the KitchenAid Ice Cream Maker. Understanding these factors can help you optimize the freezing process and achieve the perfect consistency for your homemade ice cream. Let’s take a closer look at the key factors that affect the freezing time:
- Type of Ice Cream Mixture: The composition of your ice cream mixture plays a significant role in determining the freezing time. Mixtures with higher fat content, such as those made with heavy cream or full-fat milk, tend to freeze at a slower rate. On the other hand, mixtures with lower fat content, such as sorbets or fruit-based ice creams, freeze relatively faster.
- Bowl Temperature: Pre-chilling the bowl is an essential step before using the KitchenAid Ice Cream Maker. The freezing process relies on the cold temperature of the bowl to freeze the mixture. If the bowl is not adequately frozen, it can lead to longer freezing times. It is recommended to freeze the bowl in the coldest part of your freezer for at least 15 hours before making ice cream.
- Room Temperature: The ambient temperature of the room where you make the ice cream can impact the freezing time. Warmer room temperatures can slow down the freezing process, while cooler room temperatures can expedite it. Ideally, choose a cool area with a consistent temperature to ensure optimal freezing conditions.
- Pre-Chilling the Mixture: For faster freezing, consider pre-chilling your ice cream mixture before adding it to the KitchenAid Ice Cream Maker. By refrigerating the mixture for a couple of hours before use, you can help lower its temperature, reducing the time needed for the freezing process.
By taking these factors into consideration, you can adapt your ice cream-making process accordingly and achieve the desired results in terms of texture, consistency, and overall freezing time. Experimenting with different mixtures and observing how these factors affect the freezing process can help you become a master at making homemade ice cream using the KitchenAid Ice Cream Maker.
Type of Ice Cream Mixture
The type of ice cream mixture you use can significantly impact the freezing time of the KitchenAid Ice Cream Maker. Different mixtures have varying compositions, which can affect how quickly they freeze and the overall texture of the finished product. Let’s explore how different types of ice cream mixtures can influence the freezing process:
1. Cream-based mixtures: Ice cream mixtures that are rich in dairy fat, such as those made with heavy cream or full-fat milk, tend to have a higher freezing point. As a result, cream-based mixtures typically take longer to freeze in the KitchenAid Ice Cream Maker. These mixtures result in a rich and creamy texture that many people love. However, if you prefer a quicker freezing time, you can opt for a lighter cream mixture with a lower fat content.
2. Fruit-based mixtures: Sorbets and fruit-based ice creams, which contain a high proportion of fruit puree or juice, tend to have a lower fat content compared to cream-based mixtures. This lower fat content causes these mixtures to freeze faster in the KitchenAid Ice Cream Maker. The result is a refreshing and fruity ice cream with a smooth sorbet-like texture. Due to the lower fat content, these mixtures are also a popular choice for those seeking a lighter dessert option.
3. Custard-based mixtures: Custard-based ice cream mixtures usually include egg yolks, which contribute to a richer and creamier texture. The presence of egg yolks can also impact the freezing time. The proteins and fats in the egg yolks can help stabilize the mixture and slow down the freezing process. As a result, custard-based mixtures can take slightly longer to freeze in the KitchenAid Ice Cream Maker compared to other mixtures.
4. Alternative milk mixtures: If you prefer dairy-free ice cream, you can use alternative milk or nut milk as a base for your ice cream mixture. These mixtures, such as almond milk or coconut milk, have different compositions than traditional dairy-based ice cream mixtures. It’s important to note that the freezing time for alternative milk mixtures can vary depending on the specific type of milk used. Some alternative milk mixtures may freeze faster, while others may require a longer freezing time.
Incorporating various types of ice cream mixtures into your homemade creations can add a delightful variety of flavors and textures. By understanding how different mixtures affect the freezing time, you can adjust your recipe and techniques to achieve the desired results for your KitchenAid Ice Cream Maker adventures.
Bowl Temperature
The temperature of the bowl used in the KitchenAid Ice Cream Maker is a critical factor that affects the freezing time. The bowl needs to be pre-frozen before use to ensure optimal freezing conditions. Let’s explore how the bowl temperature influences the freezing process:
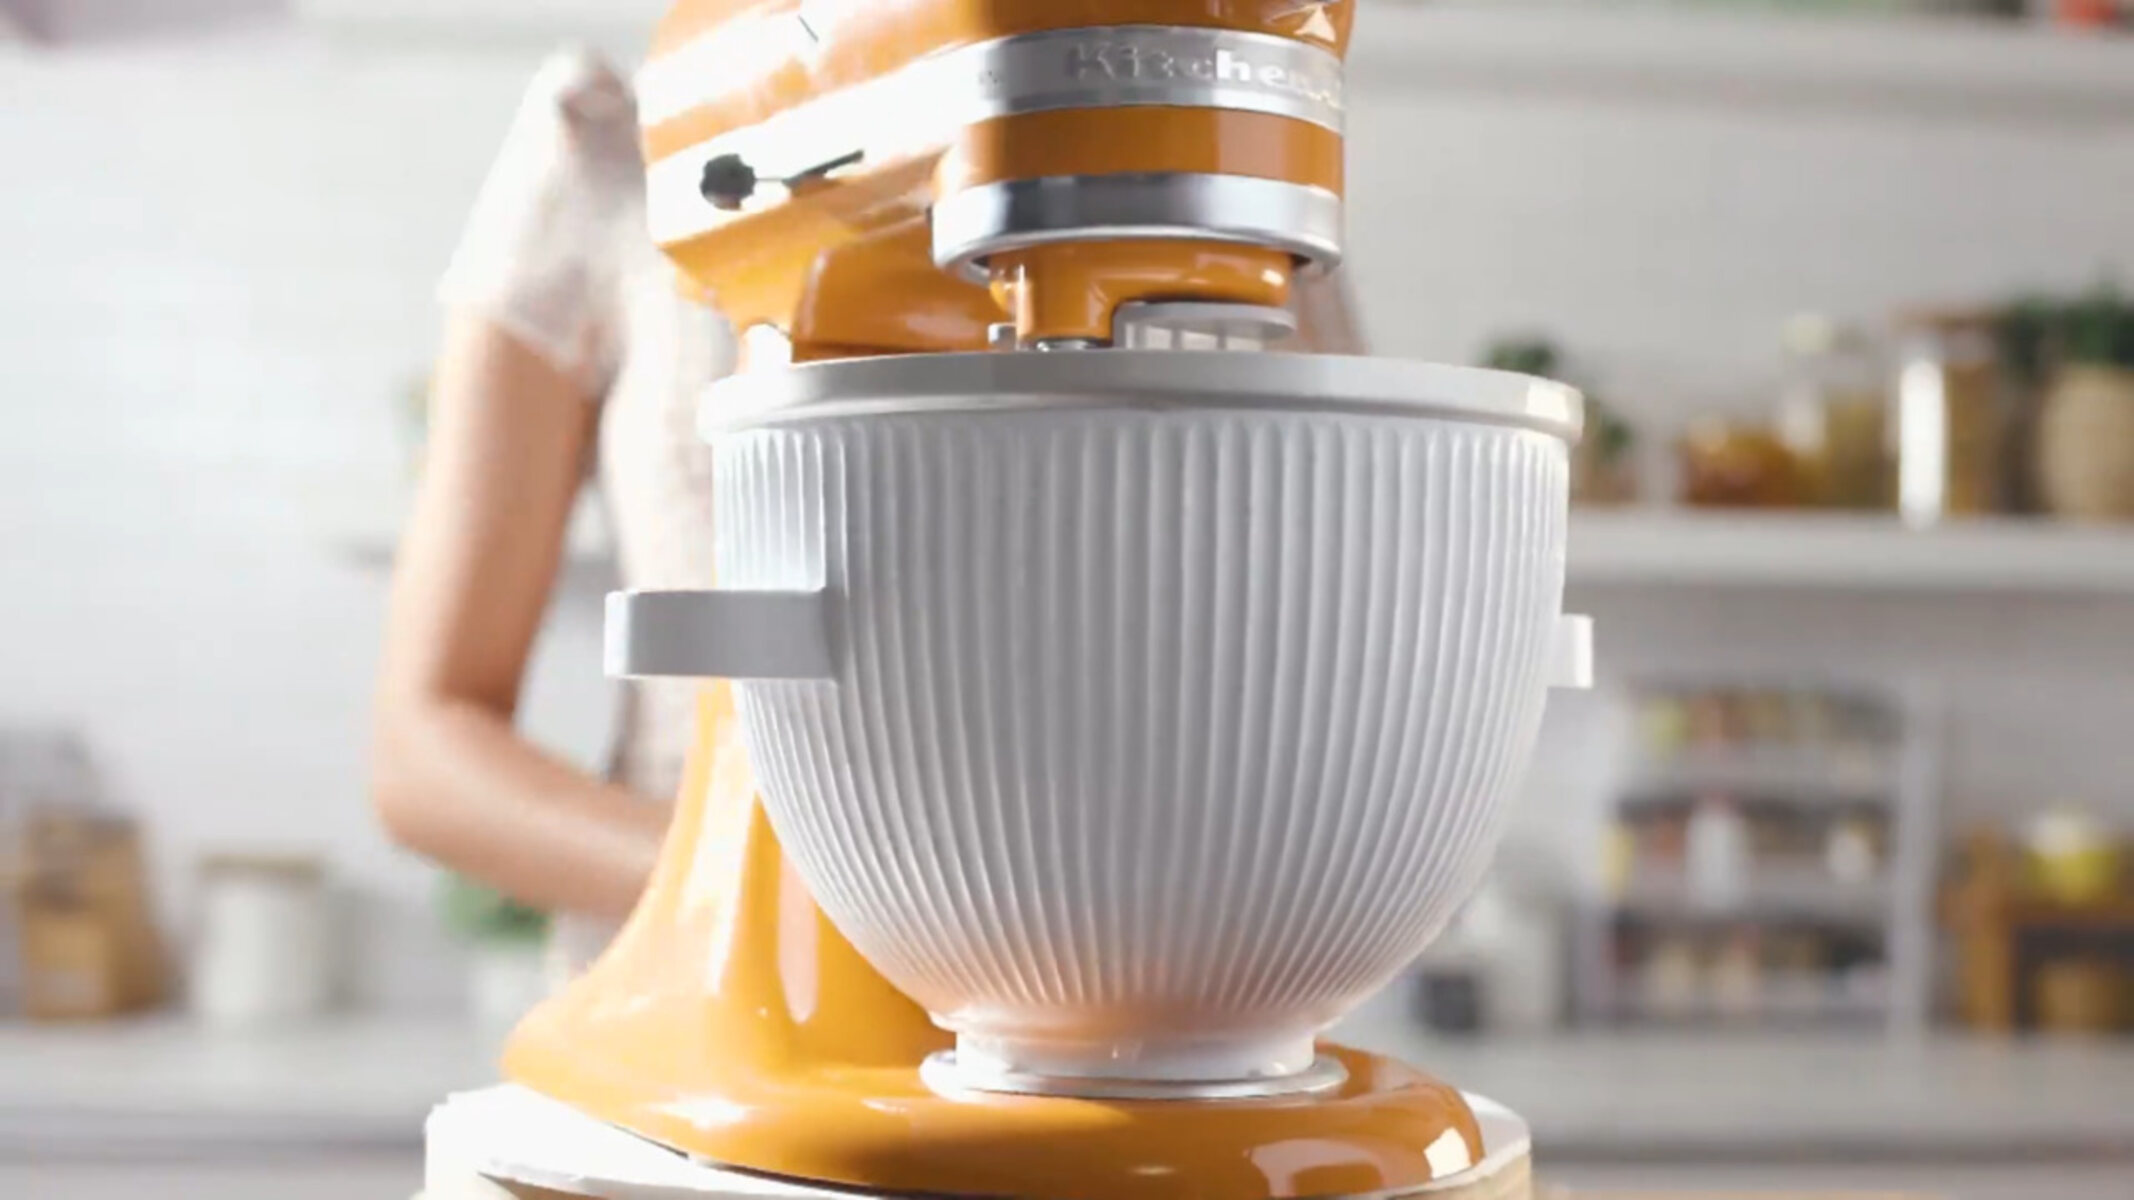
The KitchenAid Ice Cream Maker attachment features a double-walled bowl that contains a liquid coolant between the walls. To freeze the ice cream mixture, the bowl must be pre-chilled in the freezer for at least 15 hours before use. During this time, the coolant inside the walls freezes, creating a well-chilled surface for the ice cream mixture to come into contact with.
When the pre-frozen bowl meets the ice cream mixture, it absorbs the heat from the mixture, causing the liquid components to freeze and solidify. The colder the bowl, the faster the heat transfer, resulting in a quicker freezing time for the ice cream mixture.
It is important to note that if the bowl is not adequately pre-frozen, it can significantly affect the freezing time. If the bowl is not sufficiently chilled, it can take longer for the mixture to freeze, and the resulting texture may not be as smooth and creamy.
To ensure the bowl is at the ideal temperature for freezing, follow these steps:
- Place the bowl in the coldest part of your freezer where the temperature is consistently maintained.
- Allow the bowl to freeze for a minimum of 15 hours. It is recommended to leave it in the freezer overnight for optimal results.
- Before starting the ice cream making process, remove the bowl from the freezer and carefully place it onto the KitchenAid stand mixer.
By pre-freezing the bowl to the recommended temperature and handling it with care, you will create the most conducive environment for freezing the ice cream mixture effectively and efficiently.
Remember to always clean and dry the bowl after each use and return it to the freezer to be ready for your next ice cream making adventure.
By ensuring that the bowl is properly frozen, you can optimize the freezing time and achieve the desired creamy texture and consistency for your homemade ice cream.
Room Temperature
The room temperature in which you use the KitchenAid Ice Cream Maker can have an impact on the freezing time and the overall outcome of your homemade ice cream. Let’s explore how room temperature can affect the freezing process:
When making ice cream, it is important to choose a room with a relatively cool and stable temperature. Warmer room temperatures can slow down the freezing process, resulting in a longer freezing time for the ice cream mixture. On the other hand, cooler room temperatures can expedite the freezing process.
Heat transfers between the ice cream mixture and the pre-frozen bowl in the KitchenAid Ice Cream Maker. At higher room temperatures, there is a greater likelihood of heat transferring from the surroundings to the bowl, which can impede the freezing process. This heat transfer can cause the ice cream mixture to take longer to freeze and inhibit it from reaching the desired consistency.
Conversely, a cooler room temperature helps to maintain the low temperature of the pre-frozen bowl, allowing for a more efficient freezing process. It is recommended to choose a room with a temperature range between 68°F (20°C) to 75°F (24°C) for ideal results.
If you find that your room temperature is on the warmer side, but you still want to make ice cream, there are a few strategies you can implement to help optimize the freezing time:
- Cooling the room: Use air conditioning or fans to lower the temperature in the room where you are making the ice cream. This can help create a more favorable environment for faster freezing.
- Pre-chilling the KitchenAid Ice Cream Maker: Place the stand mixer and the attachment in the refrigerator for a short period before use. This can help slightly lower the temperature of the KitchenAid Ice Cream Maker, optimizing the freezing process.
- Working in batches: If the room temperature is significantly warmer, consider making smaller batches of ice cream. This allows for quicker freezing and ensures that each batch reaches the desired consistency.
By considering the room temperature and implementing these strategies, you can optimize the freezing process and achieve the desired results for your homemade ice cream.
Pre-Chilling the Mixture
Pre-chilling the ice cream mixture before using the KitchenAid Ice Cream Maker can help expedite the freezing process and achieve optimal results. Cooling the mixture prior to freezing can have a significant impact on the overall freezing time and the texture of the final product. Let’s dive into the importance of pre-chilling the mixture:
When the ice cream mixture is already cold before it enters the pre-frozen bowl, it reduces the time required for the mixture to reach the desired frozen consistency. By lowering the initial temperature of the mixture, you are helping the freezing process get a head start, thereby shortening the overall freezing time.
There are a few methods and tips to pre-chill your ice cream mixture effectively:
- Refrigeration: After preparing your ice cream mixture following your chosen recipe, allow it to cool in the refrigerator for at least a couple of hours or overnight. This helps to lower the temperature of the mixture and makes it easier for the KitchenAid Ice Cream Maker to freeze it.
- Ice bath: If you’re short on time, you can place your ice cream mixture in a covered container and submerge it in an ice bath. Stir the mixture frequently to promote even cooling. This method can help cool the mixture rapidly and get it ready for a shorter freezing time.
- Gelato machine: If you happen to own a gelato machine or an ice cream maker with built-in refrigeration, you can use it to pre-chill your mixture before transferring it to the KitchenAid Ice Cream Maker. This allows the mixture to reach a colder state, reducing the freezing time during the subsequent step.
By pre-chilling your ice cream mixture, you are setting up the ideal conditions for quick and efficient freezing. The already chilled mixture interacts with the pre-frozen bowl, enhancing the freezing process and resulting in smoother, creamier ice cream.
It is worth noting that while pre-chilling the ice cream mixture can help speed up the freezing time, it is not mandatory. If you’re short on time or forgot to pre-chill, you can still freeze the mixture in the KitchenAid Ice Cream Maker. However, the freezing time may be slightly longer, and the texture may not be as smooth and creamy.
By taking the extra step to pre-chill your ice cream mixture, you can optimize the freezing process, reduce the overall time required, and savor delicious homemade ice cream with perfect consistency.
Tips to Speed up Freezing Time
Waiting for your homemade ice cream to freeze can sometimes feel like an eternity. Fortunately, there are a few tips and tricks you can employ to speed up the freezing time of your ice cream in the KitchenAid Ice Cream Maker. These techniques can help you enjoy your frozen treats in a shorter period. Let’s explore some of the most effective ways to speed up the freezing time:
- Pre-chill the bowl: Ensure that the bowl of the KitchenAid Ice Cream Maker is properly pre-frozen. Follow the instructions to pre-freeze the bowl in the coldest part of your freezer for at least 15 hours before using. A well-chilled bowl promotes faster freezing and a smoother texture.
- Cool the mixture: Before pouring the ice cream mixture into the pre-frozen bowl, make sure it is adequately chilled. Consider refrigerating the mixture for a couple of hours prior to using the KitchenAid Ice Cream Maker. This lowers the starting temperature of the mixture and helps speed up the freezing process.
- Use smaller batches: If you’re in a hurry or want to enjoy your ice cream sooner, make smaller batches of ice cream. When the bowl has less mixture to freeze, it can reach the desired consistency faster. Divide your recipe into multiple smaller batches and freeze them separately to expedite the process.
- Keep the room cool: Ensure that the room temperature is on the cooler side. Warm room temperatures can hinder the freezing time. Use air conditioning or fans to maintain a cooler environment during the ice cream making process. A cooler room temperature helps facilitate faster freezing.
- Pre-chill the KitchenAid Ice Cream Maker: If the room temperature is higher than desired, you can place the mixer and the attachment in the refrigerator for a short period before use. This quick pre-chilling helps lower the temperature of the KitchenAid Ice Cream Maker, creating a more favorable environment for faster freezing.
Implementing these tips can help speed up the freezing process and reduce the overall time required to enjoy your homemade ice cream. It is important to note that while these techniques can expedite freezing, it’s essential to maintain the quality and texture of the ice cream. Rushing the freezing process too much can negatively impact the final product. Balance is key.
With these handy tips, you can indulge in delicious, creamy homemade ice cream in a shorter time frame and satisfy your cravings for frozen delights.
Conclusion
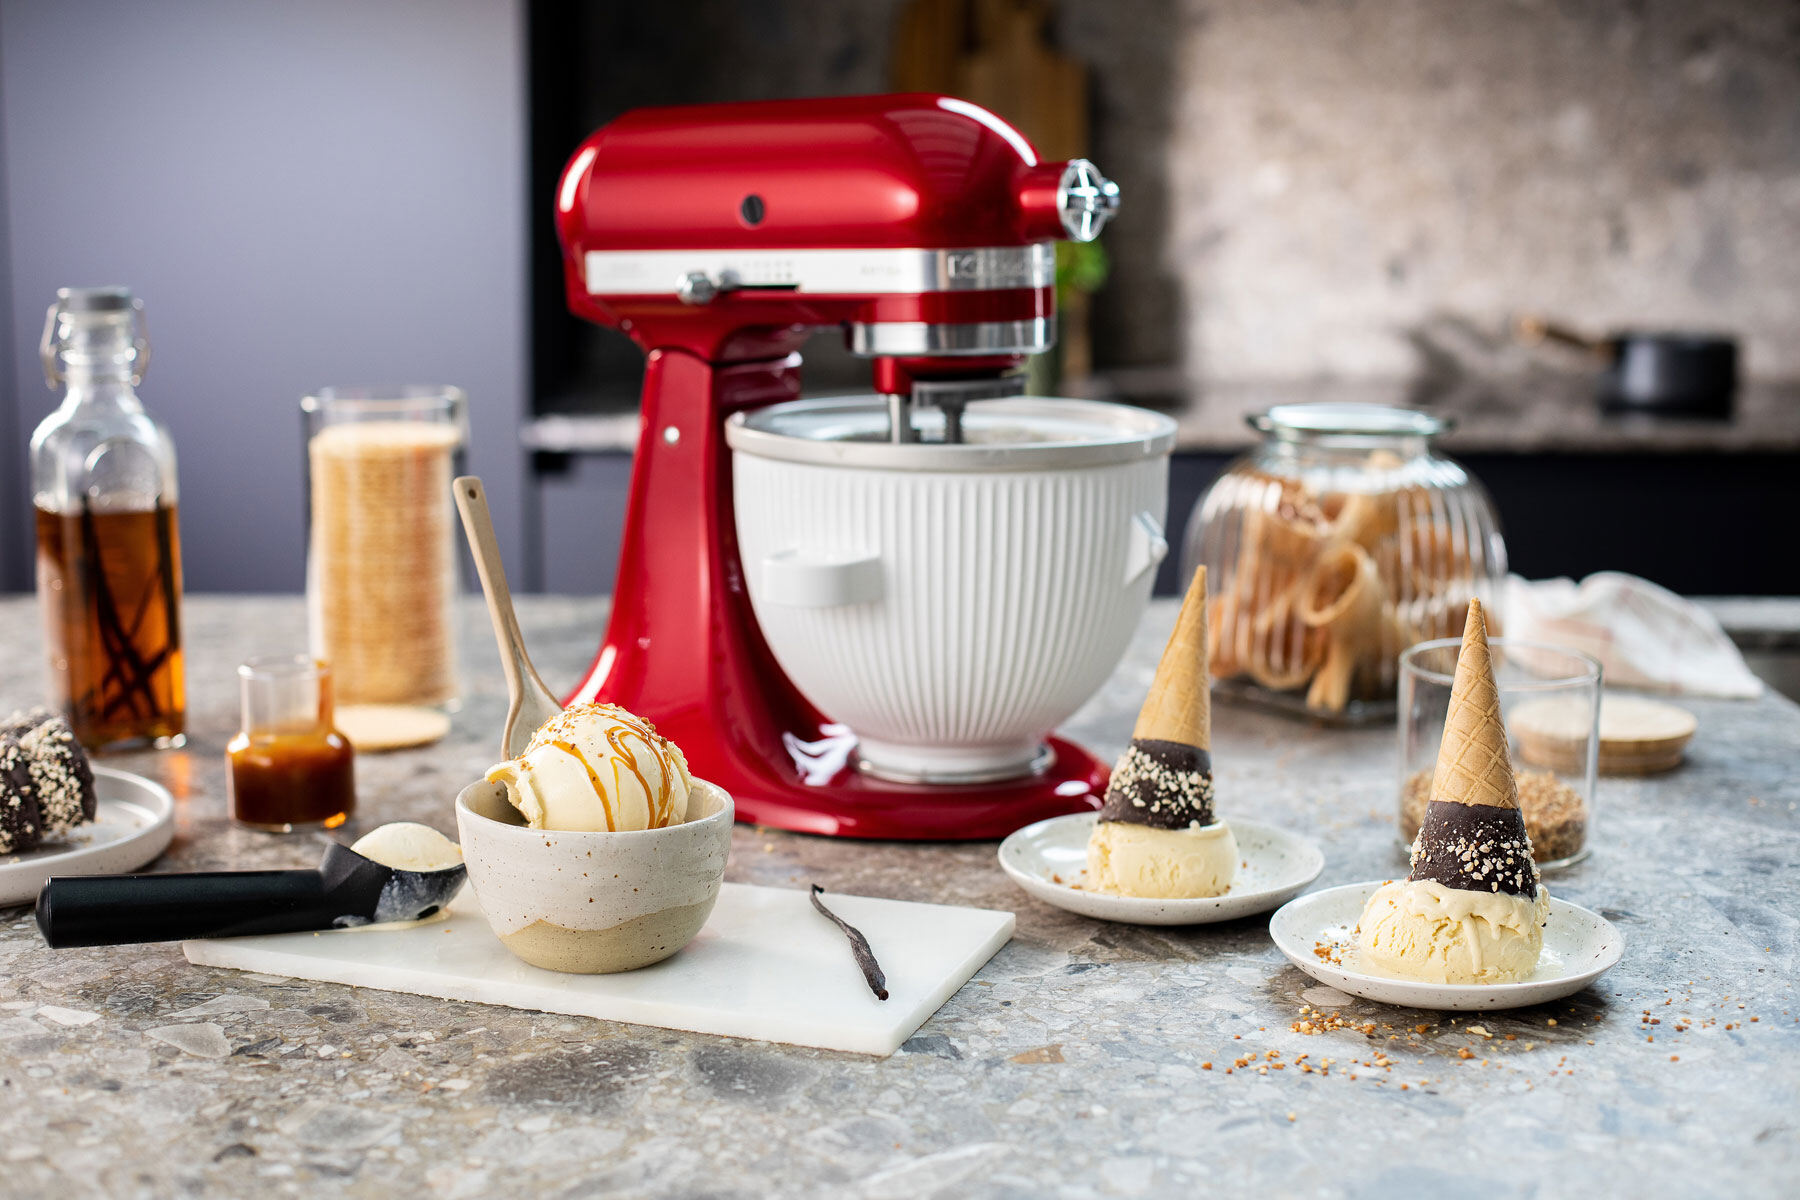
The KitchenAid Ice Cream Maker is a fantastic tool for creating homemade ice cream, sorbets, and other frozen treats. Understanding the factors that influence freezing time can help you achieve the desired consistency and texture of your ice cream.
Factors such as the type of ice cream mixture, bowl temperature, room temperature, and pre-chilling the mixture all play a role in how quickly your ice cream freezes. Cream-based mixtures with higher fat content may take longer to freeze, while fruit-based mixtures with lower fat content freeze more quickly. The temperature of the pre-frozen bowl and the room also impact the freezing time. Pre-chilling the ice cream mixture can help speed up the process, and cooler room temperatures facilitate faster freezing.
To optimize freezing time, it is crucial to pre-freeze the bowl for at least 15 hours and consider pre-chilling the ice cream mixture. Keeping the room temperature cool and dividing the mixture into smaller batches can also expedite the freezing process. By following these tips, you can enjoy your homemade ice cream in a shorter period.
It’s important to find the right balance between quick freezing and maintaining the desired texture and quality of the ice cream. Rushing the process too much may result in a less creamy consistency. Experimentation and observation will help you determine the ideal freezing time for your specific recipes.
So, the next time you whip up a batch of ice cream using the KitchenAid Ice Cream Maker, take into consideration these factors and tips to ensure a deliciously frozen treat that satisfies your cravings in a timely manner.