Ingredients
Homemade butter pecan ice cream is a delightful treat that you can make without using an ice cream maker. With just a handful of ingredients, you can create a rich and creamy dessert that will impress your family and friends. Here are the ingredients you’ll need:
- 2 cups of heavy cream
- 1 cup of whole milk
- 1 cup of granulated sugar
- 4 large egg yolks
- 1 teaspoon of vanilla extract
- 1/2 cup of unsalted butter
- 1 cup of pecans
- 1/4 teaspoon of salt
These ingredients can easily be found at your local grocery store, and you may even have some of them in your pantry already. The combination of cream, milk, sugar, and egg yolks create a luscious and smooth base for the ice cream. The addition of vanilla extract enhances the flavor, while butter and toasted pecans add a delightful nuttiness.
Keep in mind that the quality of the ingredients will significantly impact the taste of your homemade butter pecan ice cream. Opt for high-quality dairy products and fresh pecans to ensure the best results.
Step 1: Toasting the Pecans
Toasting the pecans is the first step in making homemade butter pecan ice cream. This process enhances the flavor and adds a delightful crunch to the ice cream. Follow these simple steps to toast the pecans:
- Preheat your oven to 350°F (175°C).
- Spread the pecans evenly on a baking sheet.
- Place the baking sheet in the oven and toast the pecans for about 8-10 minutes, or until they are golden brown and fragrant.
- Keep a close eye on the pecans and stir them occasionally to ensure even toasting and prevent them from burning.
- Once toasted, remove the pecans from the oven and let them cool completely.
- Once cooled, chop the pecans into smaller pieces. You can roughly chop them for a more rustic texture or finely chop them for a smoother ice cream.
Toasting the pecans brings out their natural oils and intensifies their flavor. It is an essential step in creating the signature butter pecan taste in the ice cream. Make sure to allow the pecans to cool completely before adding them to the ice cream base to avoid melting the cream.
Now that you’ve toasted the pecans, it’s time to move on to the next step in making your homemade butter pecan ice cream: making the butter pecan base.
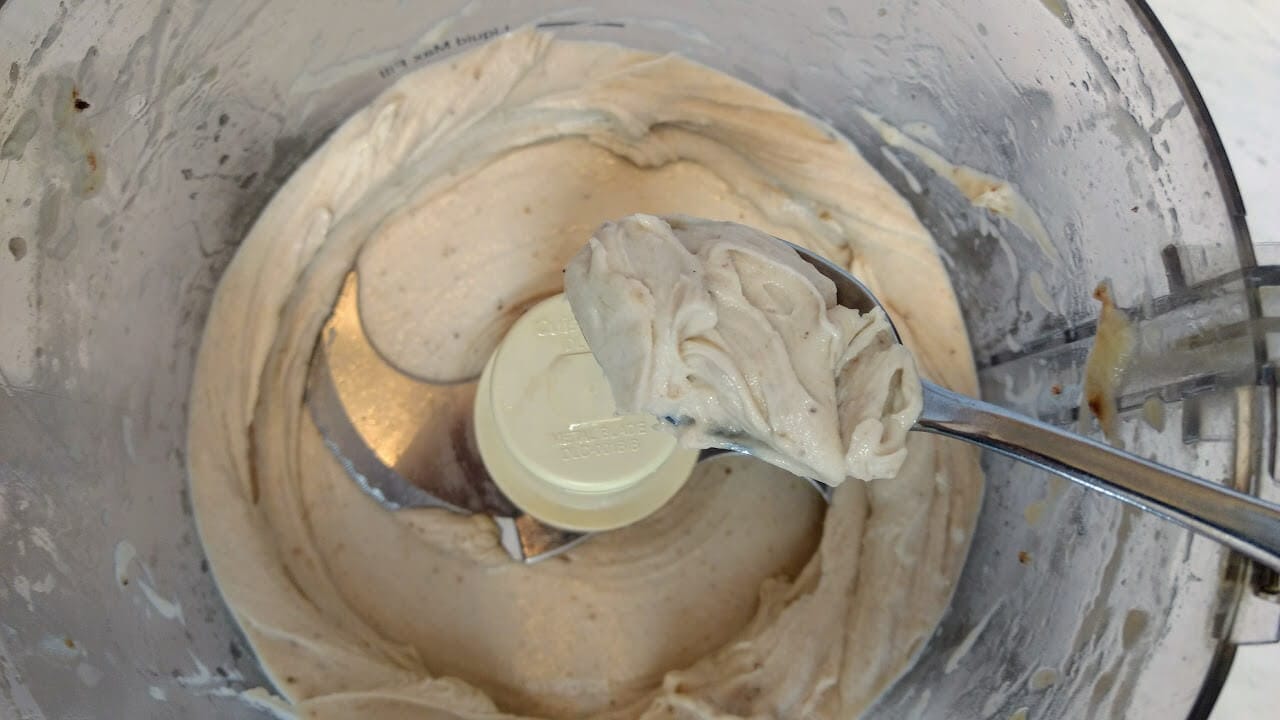
Step 2: Making the Butter Pecan Base
Once you have toasted and chopped the pecans, it’s time to make the butter pecan base for your homemade ice cream. This rich and creamy base will serve as the foundation for the buttery pecan flavor. Follow these steps to create the base:
- In a medium saucepan, combine the heavy cream, milk, and granulated sugar. Place the saucepan over medium heat and heat the mixture until it begins to simmer, stirring occasionally to dissolve the sugar.
- In a separate bowl, whisk the egg yolks until smooth.
- Slowly pour about half of the hot cream mixture into the bowl with the whisked egg yolks, whisking constantly. This step is called tempering and helps prevent the eggs from curdling.
- Pour the egg yolk and cream mixture back into the saucepan with the remaining hot cream mixture. Cook over medium heat, stirring constantly, until the mixture thickens and coats the back of a spoon. This should take about 6-8 minutes.
- Remove the saucepan from the heat and stir in the vanilla extract.
- Transfer the butter pecan base to a bowl or container and cover it with plastic wrap, ensuring that the plastic wrap is touching the surface of the base to prevent a skin from forming.
- Refrigerate the base for at least 4 hours or overnight to allow it to cool and fully develop its flavors.
Making the butter pecan base involves combining the creamy dairy components with sugar and thickening it with the richness of egg yolks. The vanilla extract provides a subtle hint of sweetness and enhances the overall flavor profile of the ice cream. Chilling the base is crucial as it allows the flavors to meld together and for the base to reach the ideal consistency for churning.
Now that you have made the butter pecan base, it’s time to move on to the next step: churning the ice cream!
Step 3: Chilling the Base
After making the butter pecan base for your homemade ice cream, it’s important to chill it thoroughly before moving on to the next step. Chilling the base allows it to develop its flavors and ensures that it is at the optimal temperature for churning. Follow these steps to properly chill the base:
- Carefully remove the plastic wrap from the bowl or container containing the base.
- Give the base a gentle stir to ensure that it is well mixed.
- Place the bowl or container in the refrigerator.
- Allow the base to chill for at least 4 hours, but preferably overnight.
Chilling the base is necessary because it allows the flavors to meld together and the base to thicken. This cooling process also helps create a smoother texture in the final ice cream. It’s important to give the base enough time to chill thoroughly, as it will make a significant difference in the overall quality of your homemade butter pecan ice cream.
During the chilling process, the base will also absorb the flavors from the toasted pecans, resulting in a rich and nutty taste. Patience is key at this stage, as the longer the base chills, the better the flavors will develop.
Once the base is properly chilled, it’s time to move on to the next step: churning the ice cream!
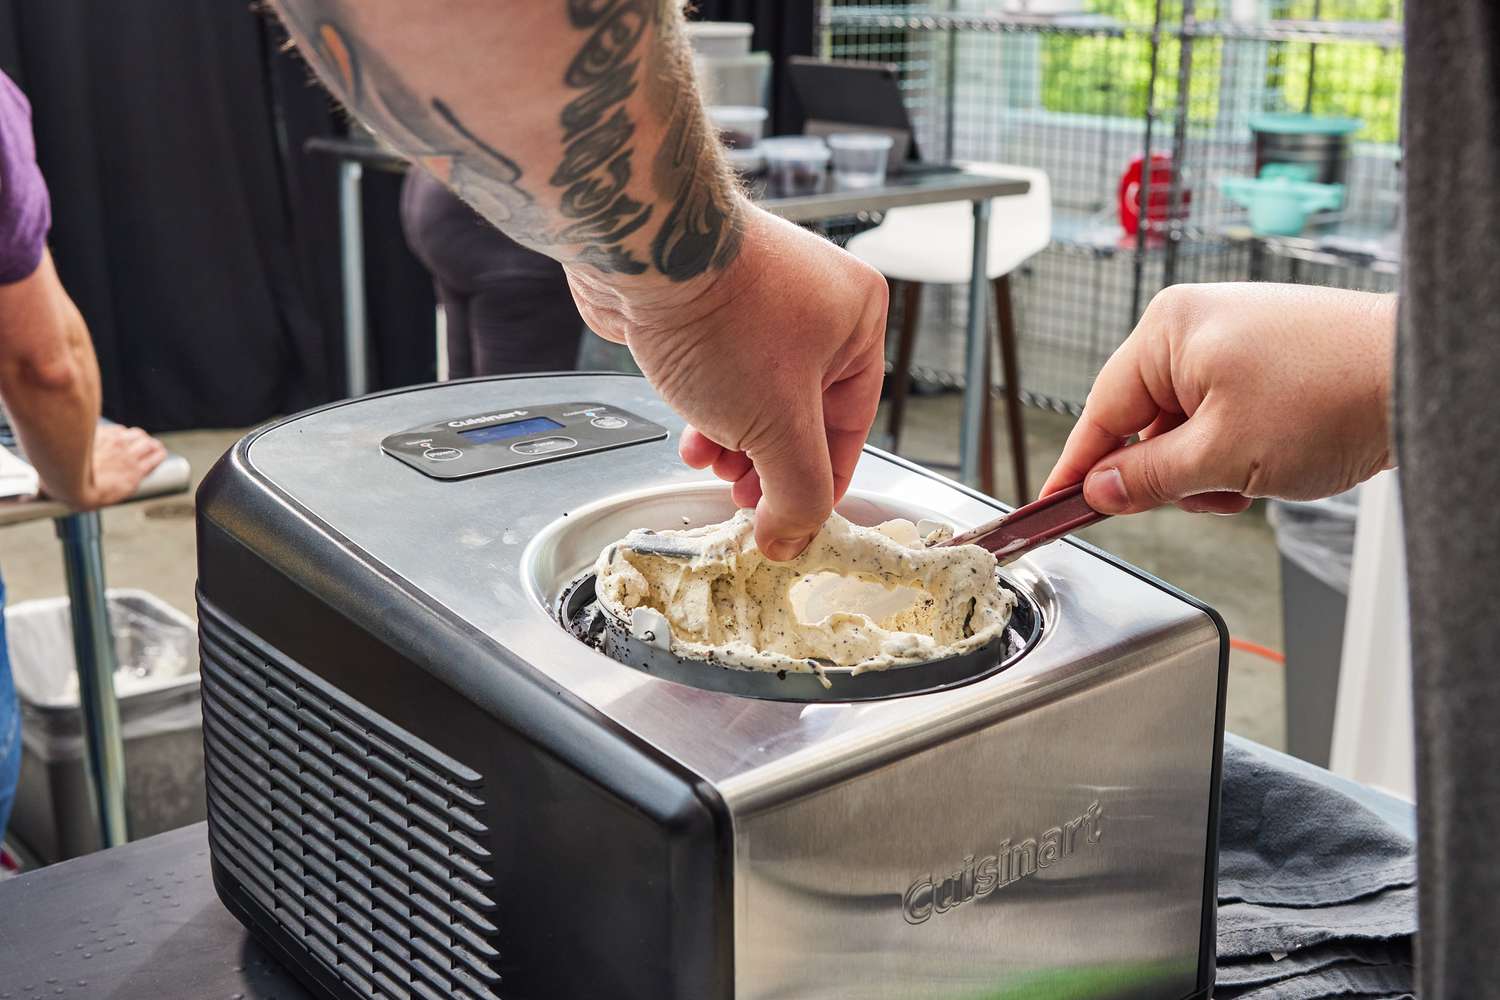
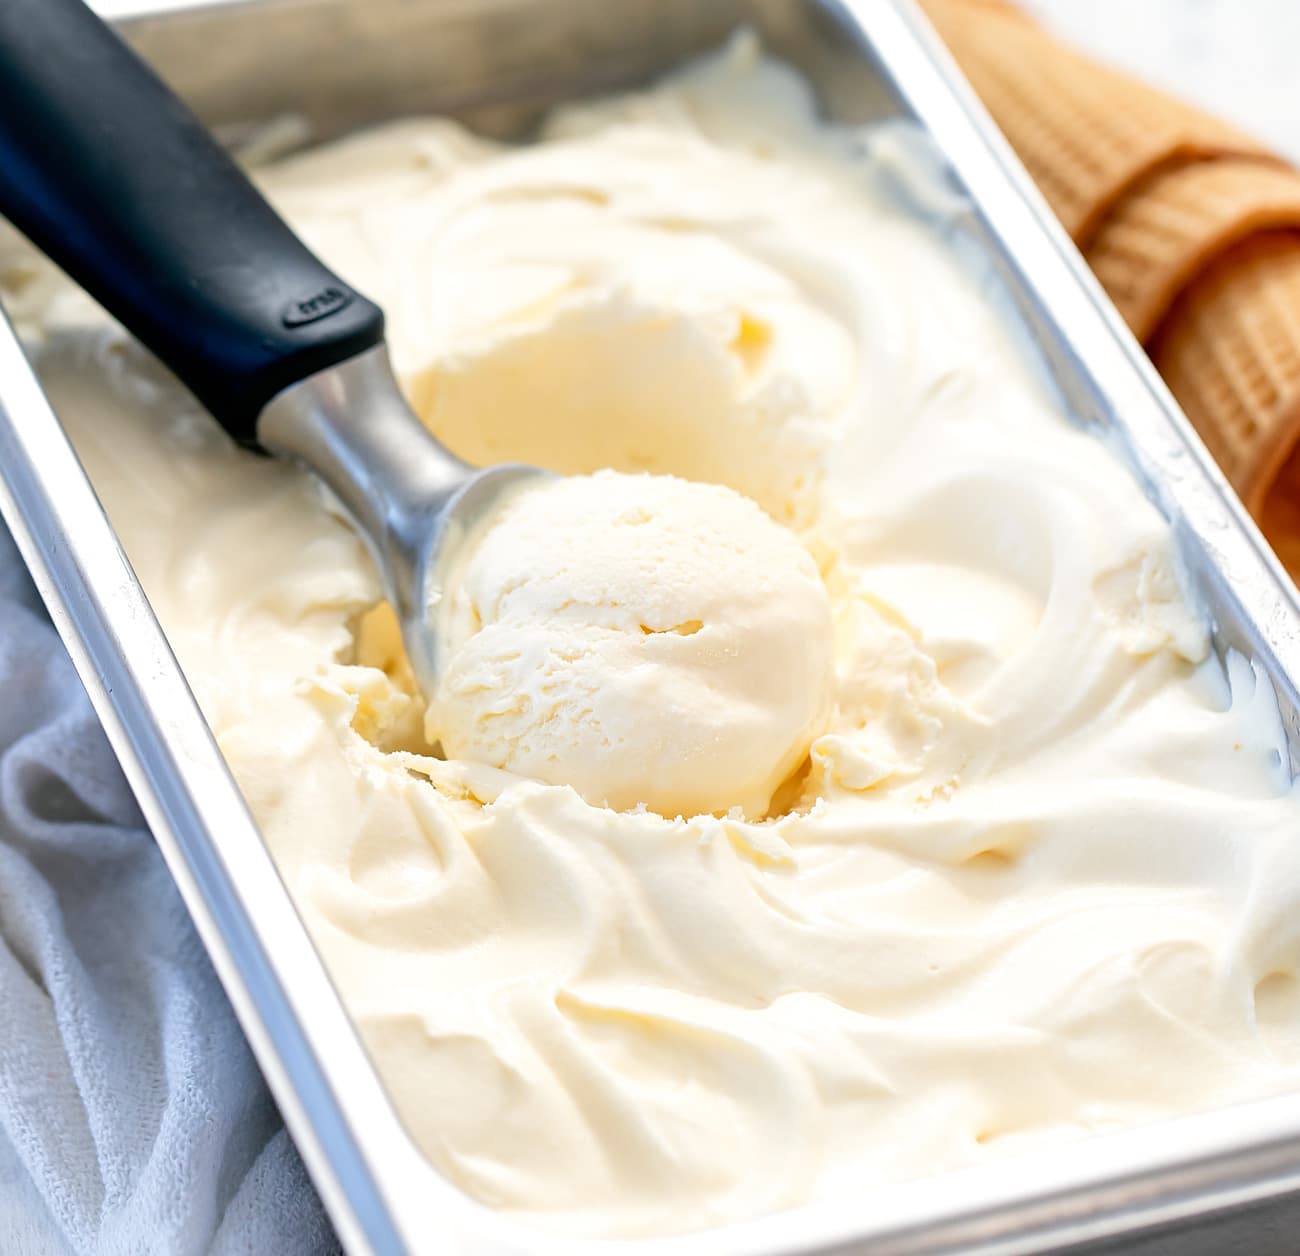
Step 4: Churning the Ice Cream
After the base has been thoroughly chilled, it’s time to churn the ice cream and transform it into a creamy delight. Churning incorporates air into the mixture and helps create a smooth and light texture. Follow these steps to churn your homemade butter pecan ice cream:
- Retrieve the chilled base from the refrigerator.
- Set up your ice cream maker according to the manufacturer’s instructions.
- Pour the base into the ice cream maker.
- Turn on the machine and let it churn for the recommended time, typically 20-25 minutes, or until the ice cream reaches a soft-serve consistency.
Churning the ice cream not only incorporates air but also helps break down ice crystals, resulting in a smoother and creamier texture. The length of time needed for churning may vary depending on the model of your ice cream maker, so be sure to consult the instructions provided by the manufacturer.
As the ice cream churns, the flavors from the butter pecan base develop, and the mixture gradually thickens into a delectable treat. The aroma of buttery sweetness fills the air, adding to the anticipation of enjoying a delicious homemade dessert.
Once the churning process is complete and the ice cream has reached a soft-serve consistency, it’s time to move on to the next step: adding the toasted pecans!
Step 5: Adding the Toasted Pecans
Now that you have churned the butter pecan ice cream base to a soft-serve consistency, it’s time to add the star ingredient – the toasted pecans! Adding the pecans will give your ice cream that delightful crunch and nutty flavor. Follow these steps to incorporate the pecans into your homemade ice cream:
- Retrieve the toasted pecans that you prepared earlier.
- Gently fold in the chopped pecans into the churned ice cream.
- Make sure the pecans are evenly distributed throughout the mixture.
By gently folding in the chopped pecans, you ensure that they are evenly distributed without overmixing the ice cream and losing the air that was incorporated during churning. This will help maintain the light and creamy texture of the ice cream while adding bursts of nutty goodness in every spoonful.
If you prefer a more pronounced pecan flavor, you can increase the amount of pecans or even add a few extra whole or chopped pecans for an extra crunch. Remember, the beauty of making homemade ice cream is that you can customize it to your liking!
Now that the toasted pecans are incorporated, it’s time to move on to the final step: freezing the ice cream!
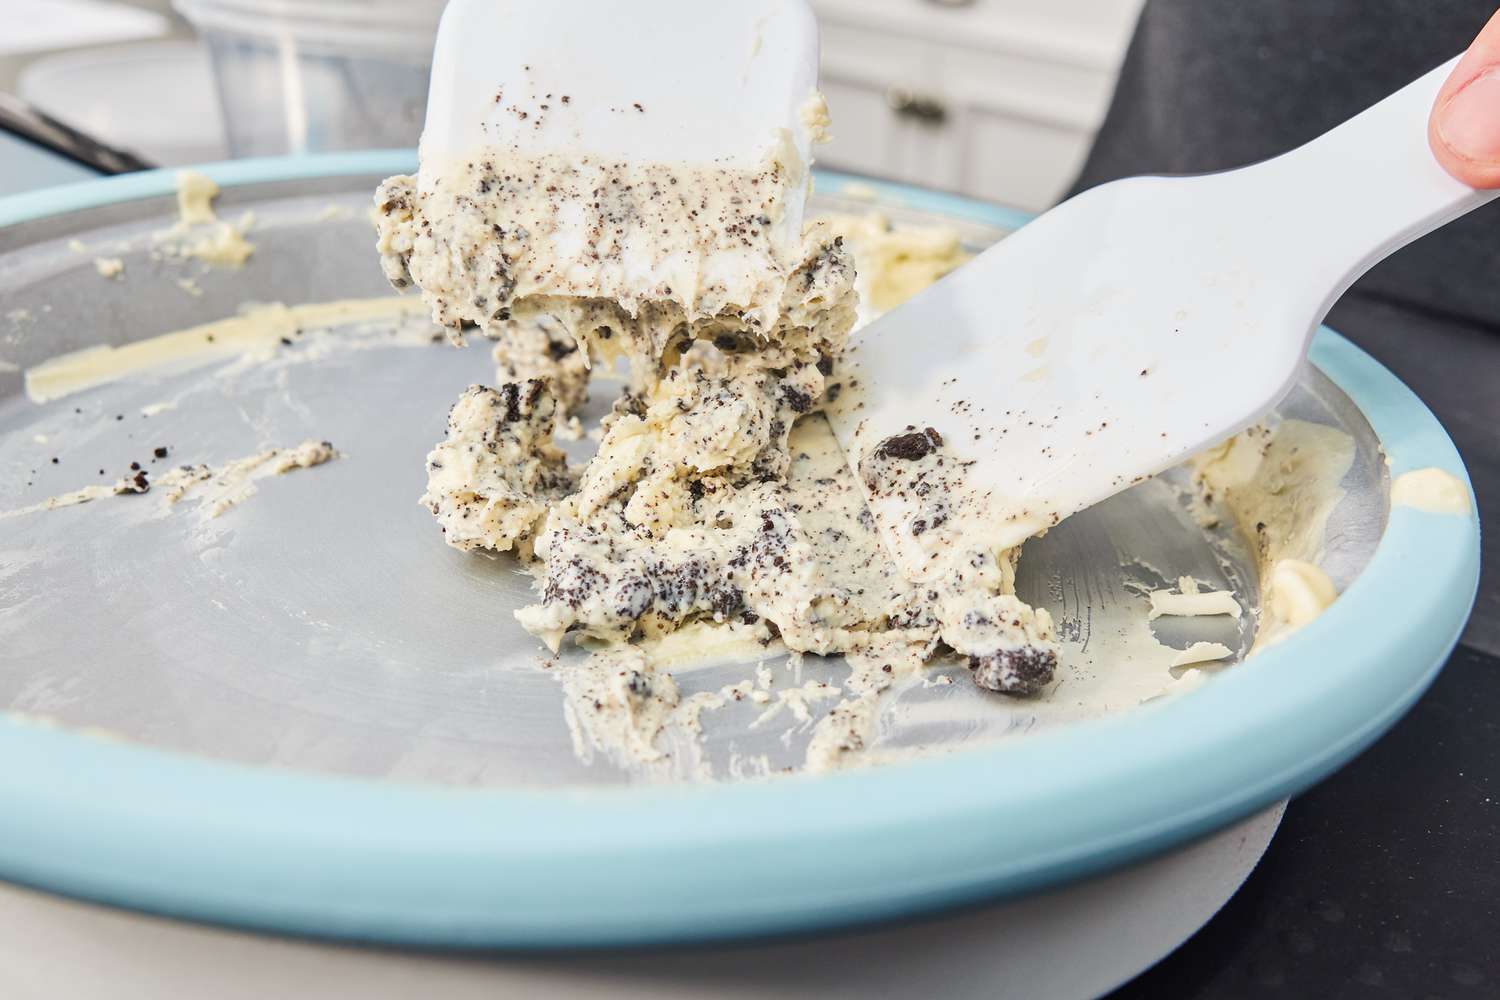
Step 6: Freezing the Ice Cream
After adding the toasted pecans to your churned butter pecan ice cream, it’s time to freeze it to the perfect consistency. Freezing allows the ice cream to solidify and develop its full flavor. Follow these steps to freeze your homemade butter pecan ice cream:
- Transfer the churned ice cream into a lidded, freezer-safe container.
- Smooth the top of the ice cream with a spatula or the back of a spoon.
- Place the lid securely on the container to prevent any air or moisture from getting in.
- Label the container with the name and date to keep track of the freshness.
- Place the container in the freezer and let the ice cream freeze for a minimum of 4 hours, or until firm.
Properly freezing the ice cream allows the flavors to meld together and the texture to become creamy and scoopable. It’s important to store the ice cream in a lidded container to prevent it from absorbing any unwanted odors from the freezer and to avoid freezer burn.
As the ice cream freezes, the flavors intensify, and the butter pecan base transforms into a velvety, indulgent treat. You’ll be rewarded with a dessert that is both satisfying and refreshing.
Now that your homemade butter pecan ice cream is ready, it’s time for the final step: serving and enjoying!
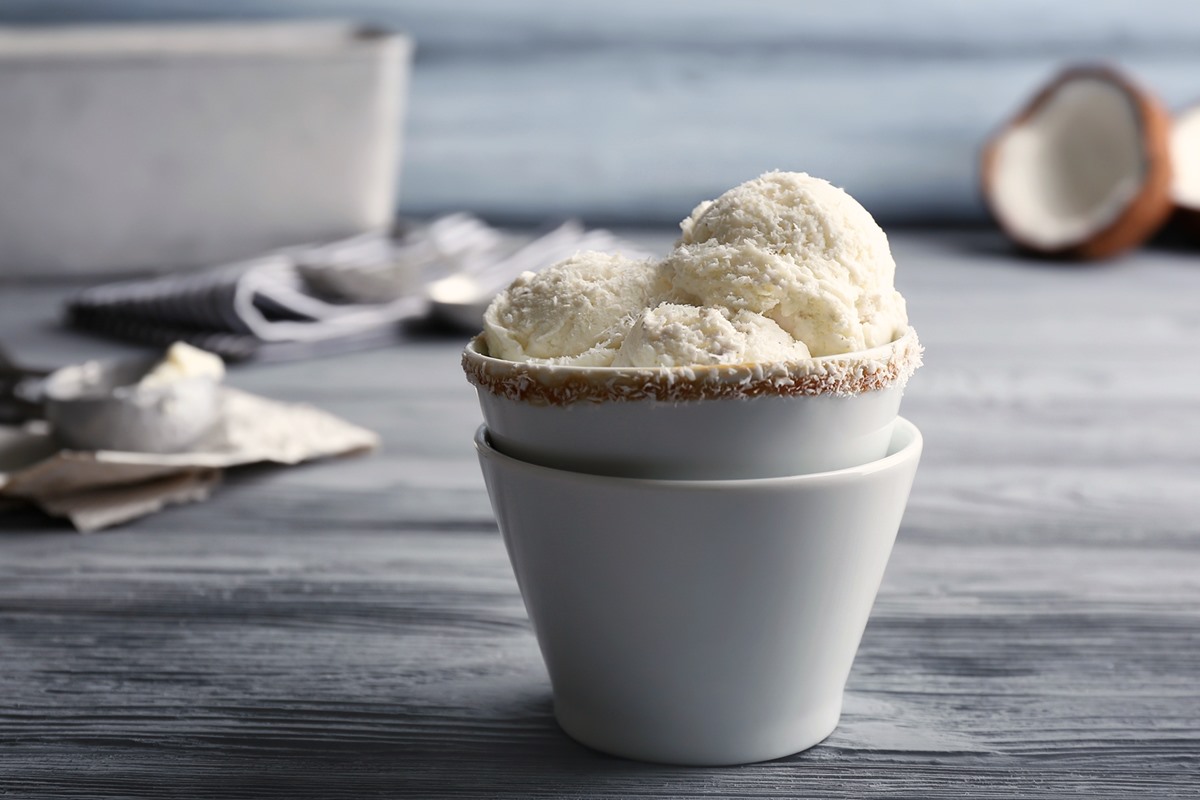
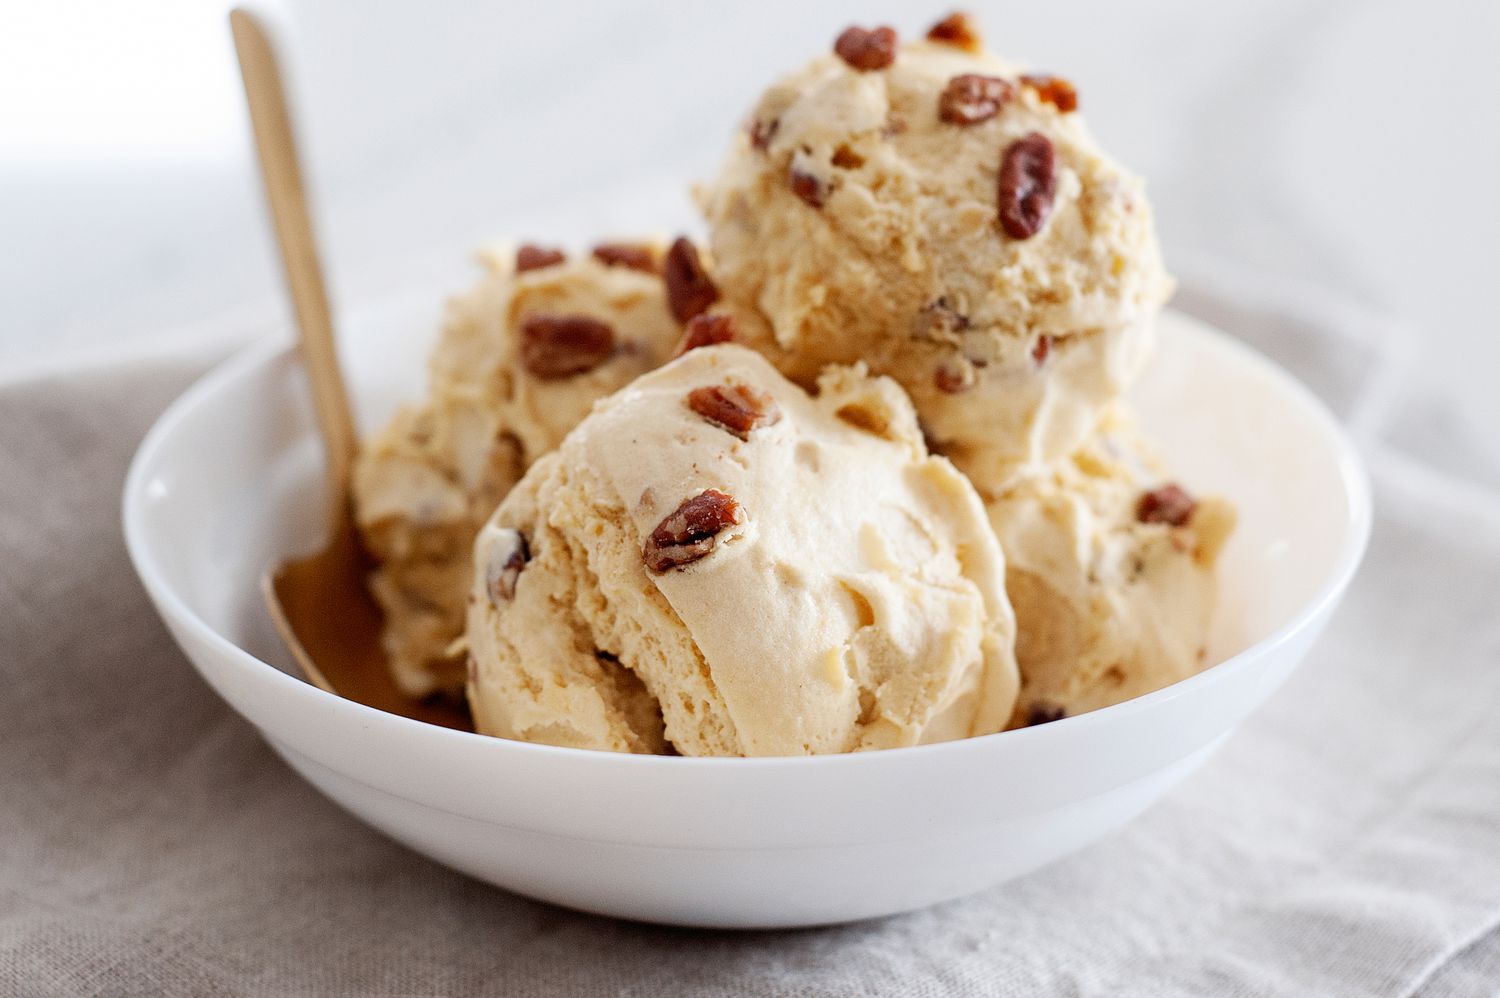
Step 7: Serving and Enjoying!
After patiently waiting for your homemade butter pecan ice cream to freeze, it’s finally time to savor your delicious creation. Follow these steps to serve and enjoy your homemade ice cream:
- Retrieve the container of frozen butter pecan ice cream from the freezer.
- Leave it at room temperature for a few minutes to soften slightly, making it easier to scoop.
- Using an ice cream scoop, portion out creamy mounds of the butter pecan ice cream into serving bowls or cones.
- Garnish the top with a sprinkle of additional toasted pecans, if desired, to add an extra touch of crunch and visual appeal.
- Enjoy your homemade butter pecan ice cream immediately!
Serving the ice cream at the proper temperature allows for a smooth and creamy texture. As you take your first spoonful, savor the combination of the rich butter pecan flavors and the crunch of the toasted pecans. Let the delightful taste enliven your taste buds and bring a smile to your face.
Remember, homemade ice cream is best enjoyed fresh, but if you have leftovers, make sure to store them in an airtight container in the freezer. Just be aware that the longer the ice cream is stored, the more chances there are for ice crystals to form and affect the texture.
Whether you’re indulging in a cool treat on a hot summer’s day or satisfying a sweet tooth craving, your homemade butter pecan ice cream is sure to be a hit. Enjoy the fruits of your labor and share it with your loved ones for a memorable and delicious experience!