Introduction
Welcome to the wonderful world of homemade ice cream! There is nothing quite like the satisfaction of creating your own delicious frozen treats from scratch. If you’re a fan of ice cream, then you’ve probably heard of gel canister ice cream makers. These handy kitchen appliances allow you to whip up your favorite ice cream flavors right in the comfort of your own home.
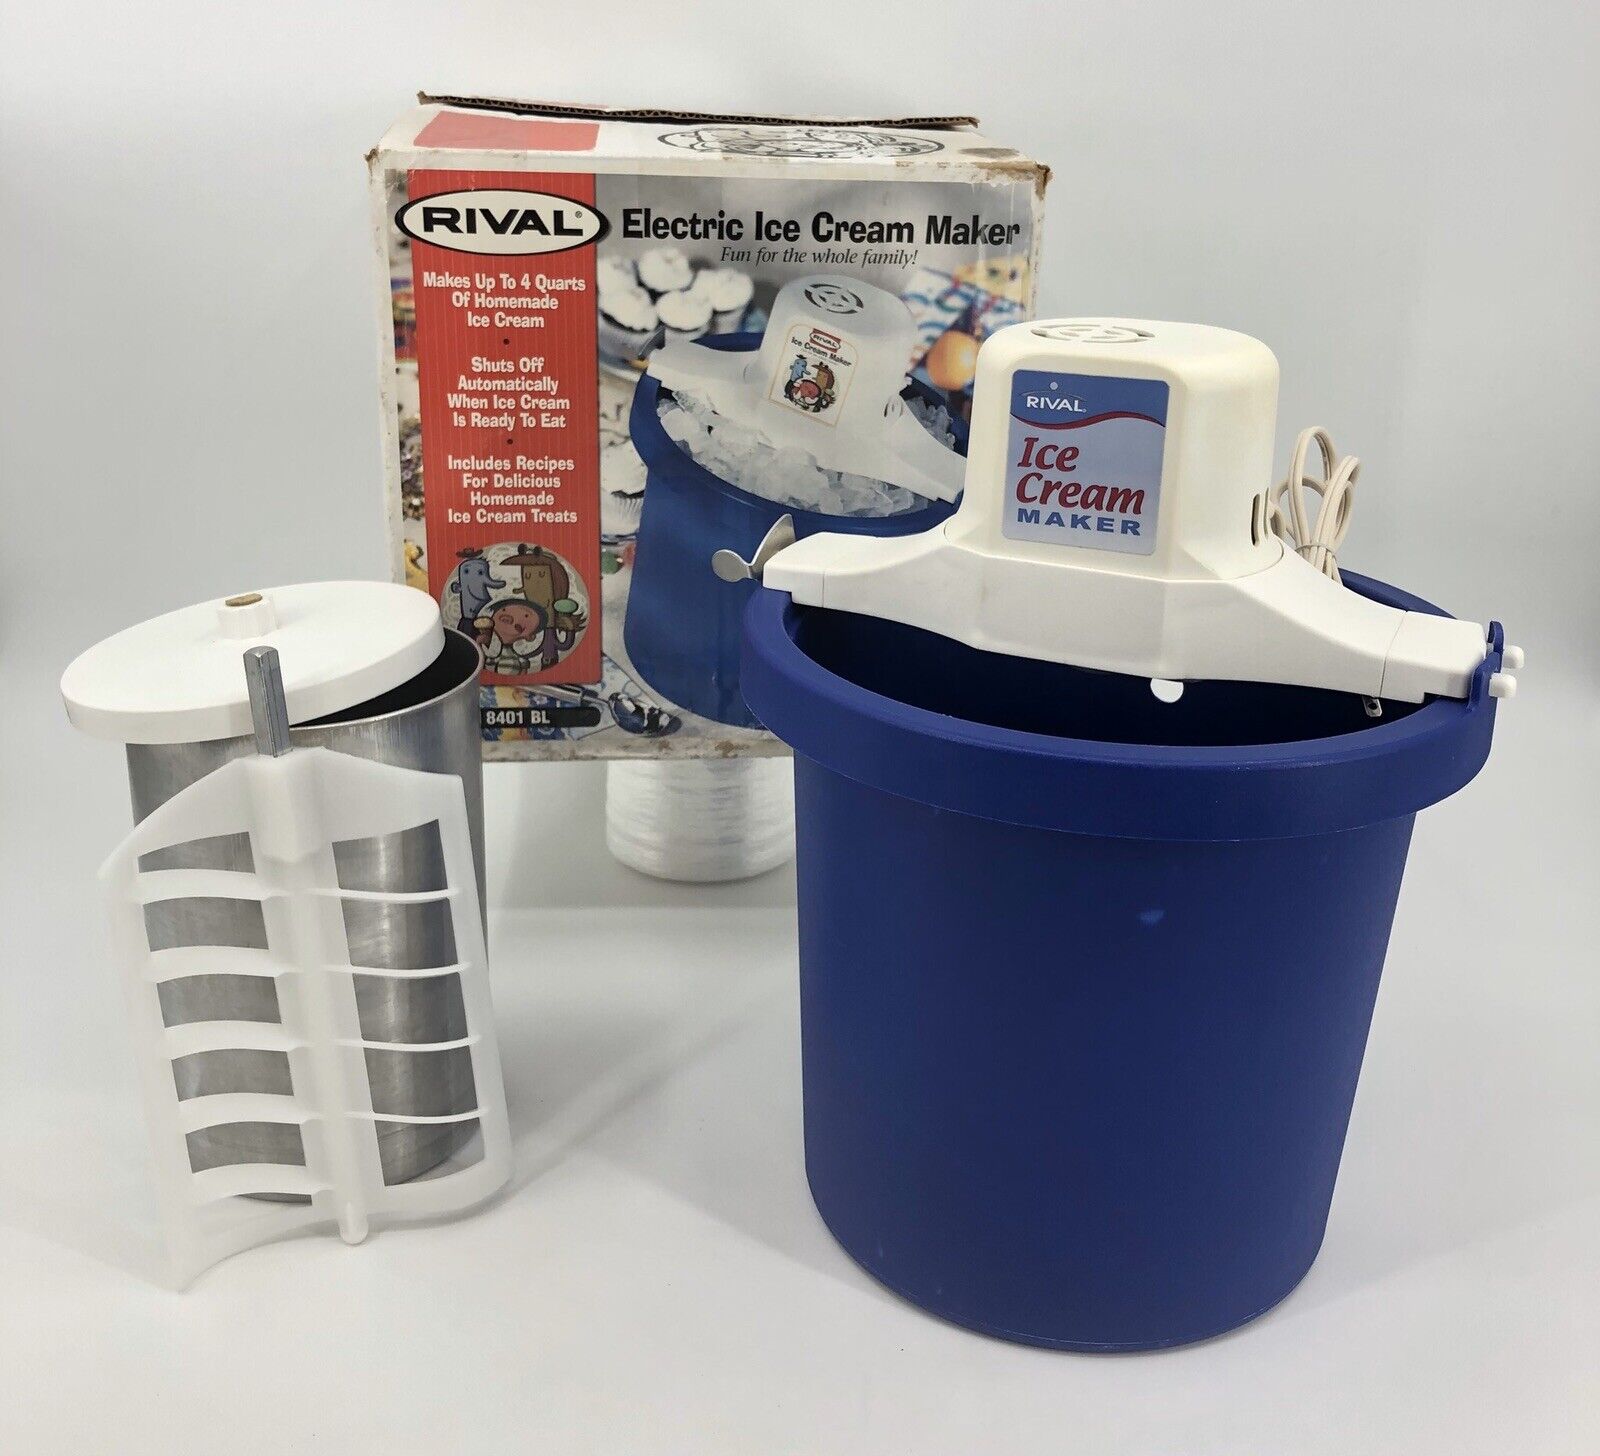
So, what exactly is a gel canister ice cream maker? Essentially, it is a device that freezes and churns the mixture, transforming it into smooth and creamy ice cream. This type of ice cream maker consists of a bowl filled with a special freezing gel, a paddle, and a motor to rotate the paddle. The freezing gel in the bowl helps to lower the temperature and freeze the ice cream mixture evenly.
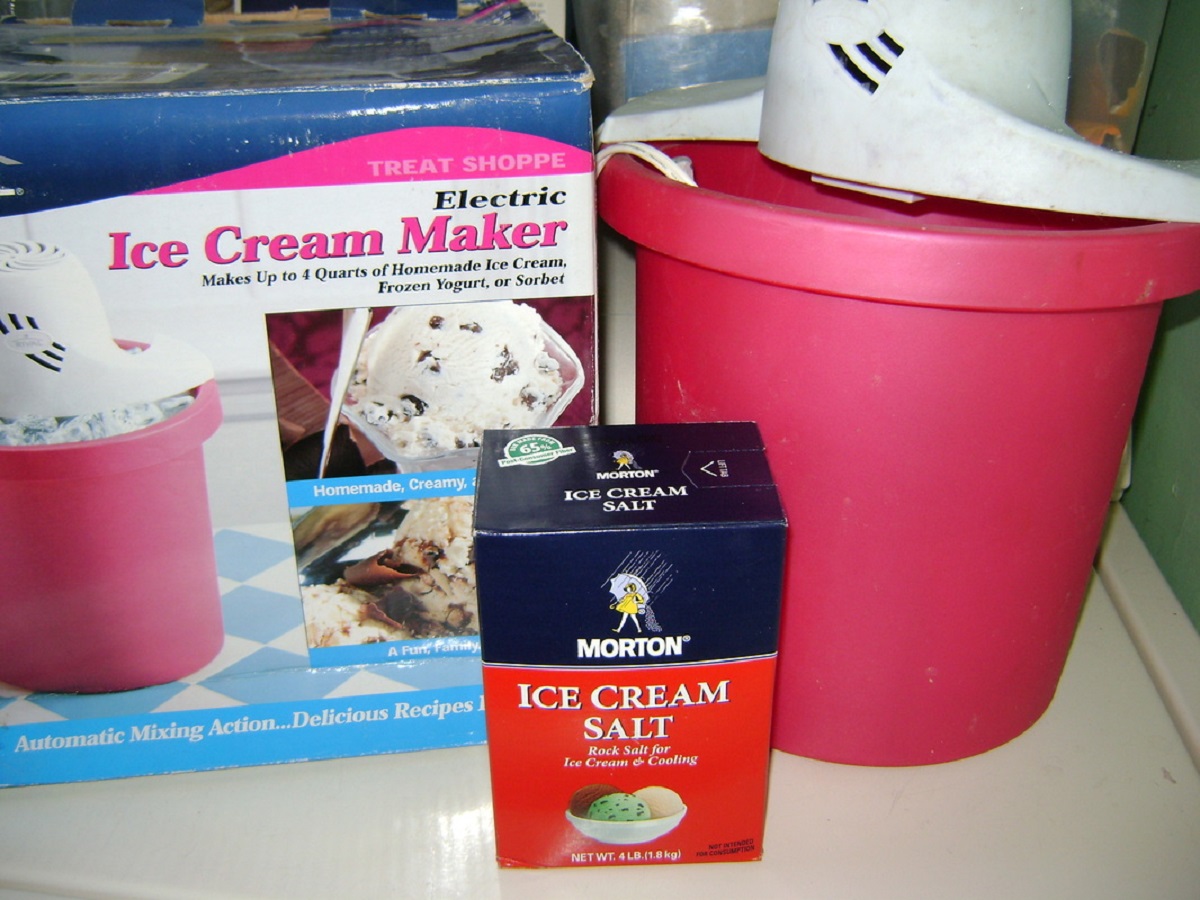
One of the great advantages of gel canister ice cream makers is their simplicity and ease of use. Unlike traditional ice cream makers that require rock salt and ice, gel canister models have a self-contained freezing bowl that eliminates the need for additional equipment. Simply place the gel canister in the freezer until it is thoroughly frozen, then pour in your ice cream mixture and let the machine do the work!
Homemade ice cream has never been easier to make with a gel canister ice cream maker. In just a matter of minutes, you can have creamy, delicious ice cream ready to be enjoyed by family and friends. Whether you prefer classic flavors like vanilla and chocolate or more adventurous combinations like strawberry cheesecake or mint chip, the possibilities are endless.
Throughout this article, we will explore how the gel canister ice cream maker works, from the freezing process to churning the ice cream. We will also provide some tips on maintenance and troubleshooting common issues. So, get ready to embark on a frozen journey of sweetness and satisfaction as we dive into the fascinating world of gel canister ice cream makers!
What is a Gel Canister Ice Cream Maker?
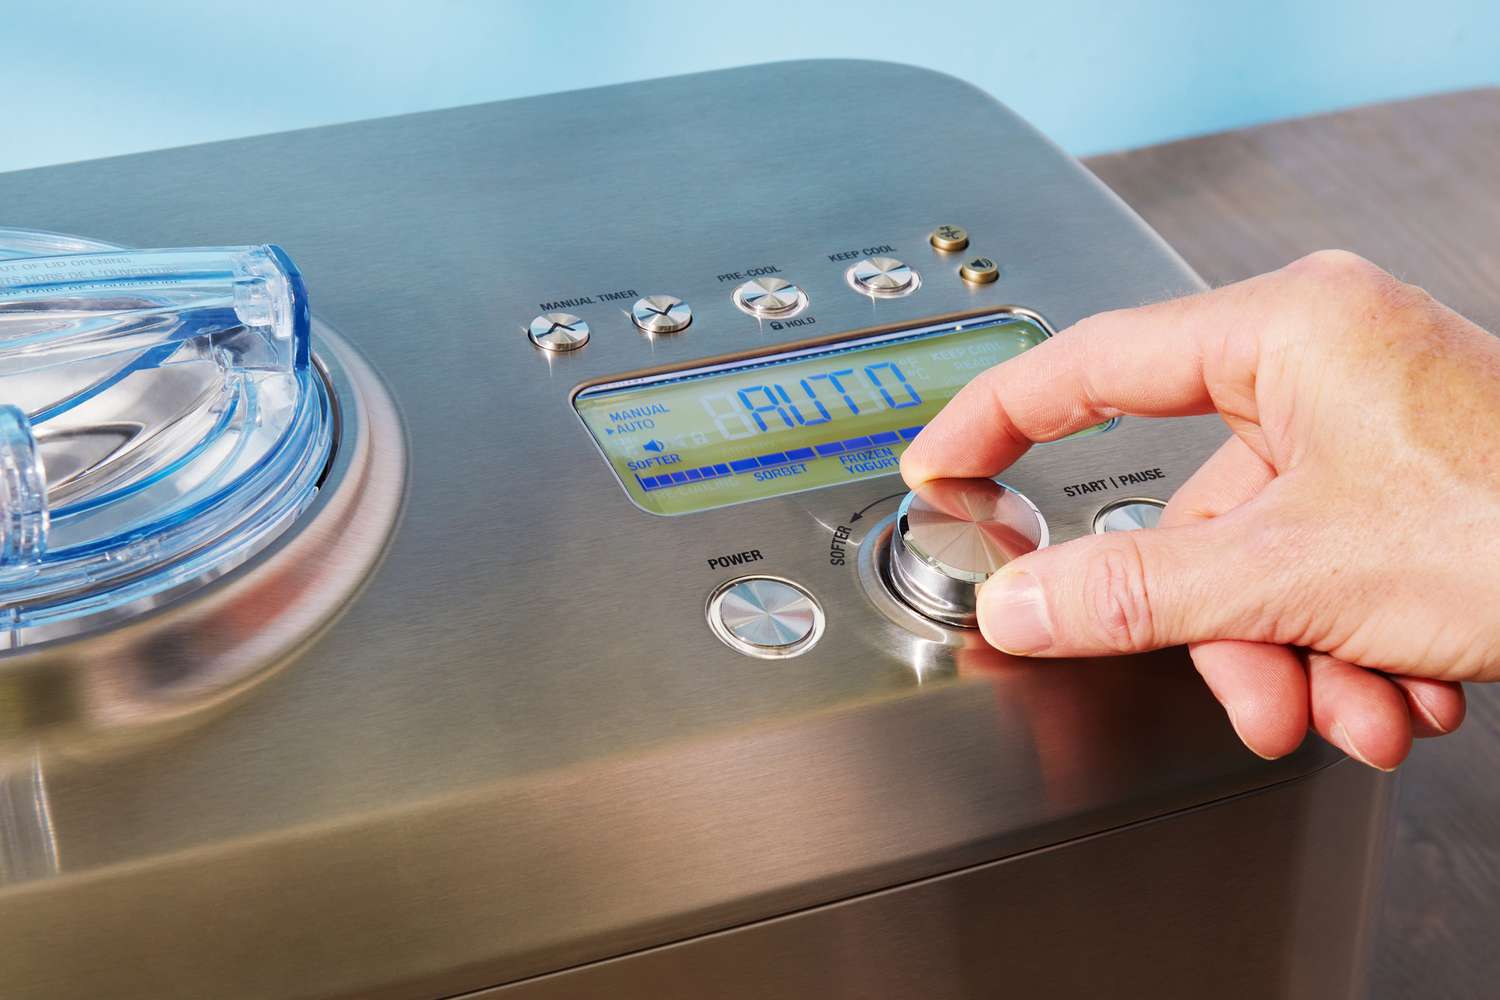
A gel canister ice cream maker is a popular kitchen appliance that allows you to whip up homemade ice cream with ease. It consists of a freezing bowl, a paddle, and a motor to rotate the paddle. The key component of a gel canister ice cream maker is the freezing bowl, which contains a special gel that freezes and maintains a consistent temperature for the ice cream mixture.
The freezing bowl is the heart of the gel canister ice cream maker. Before using the machine, the freezing bowl needs to be placed in the freezer for several hours or overnight, depending on the manufacturer’s instructions. The freezing gel inside the bowl freezes and solidifies, creating a cold environment for the ice cream mixture.
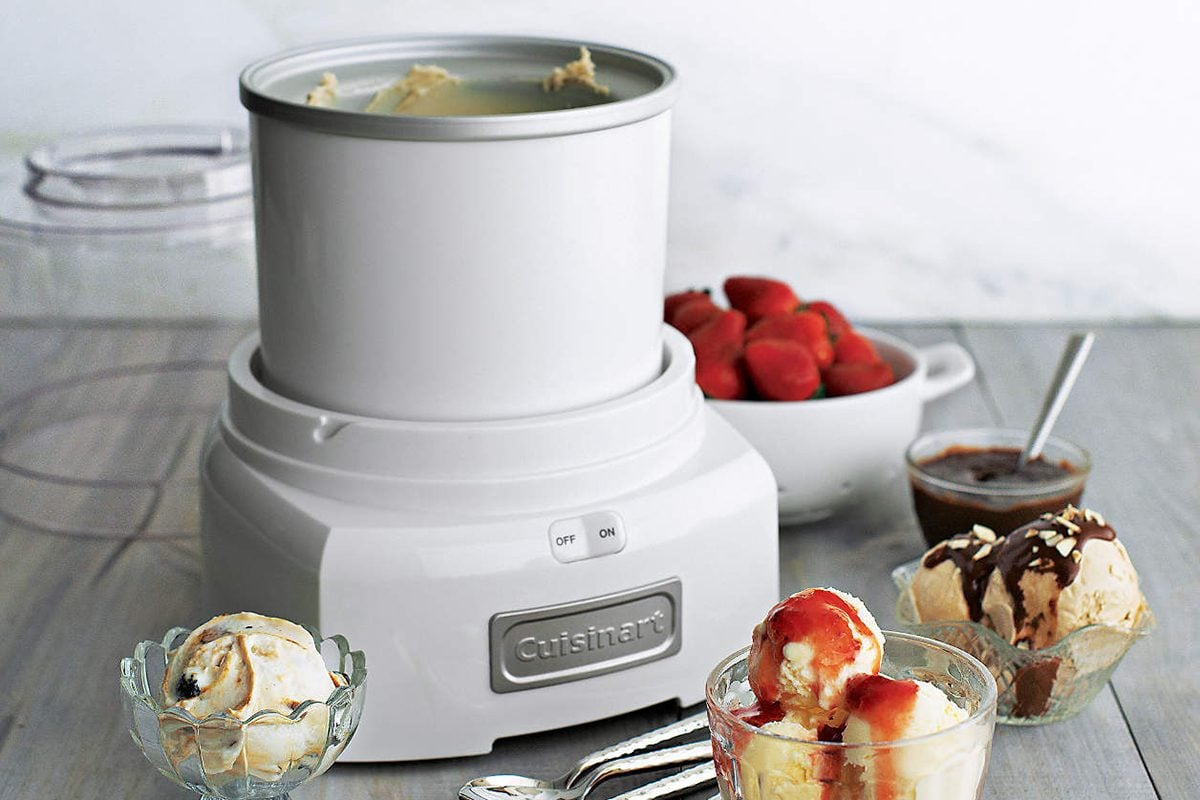
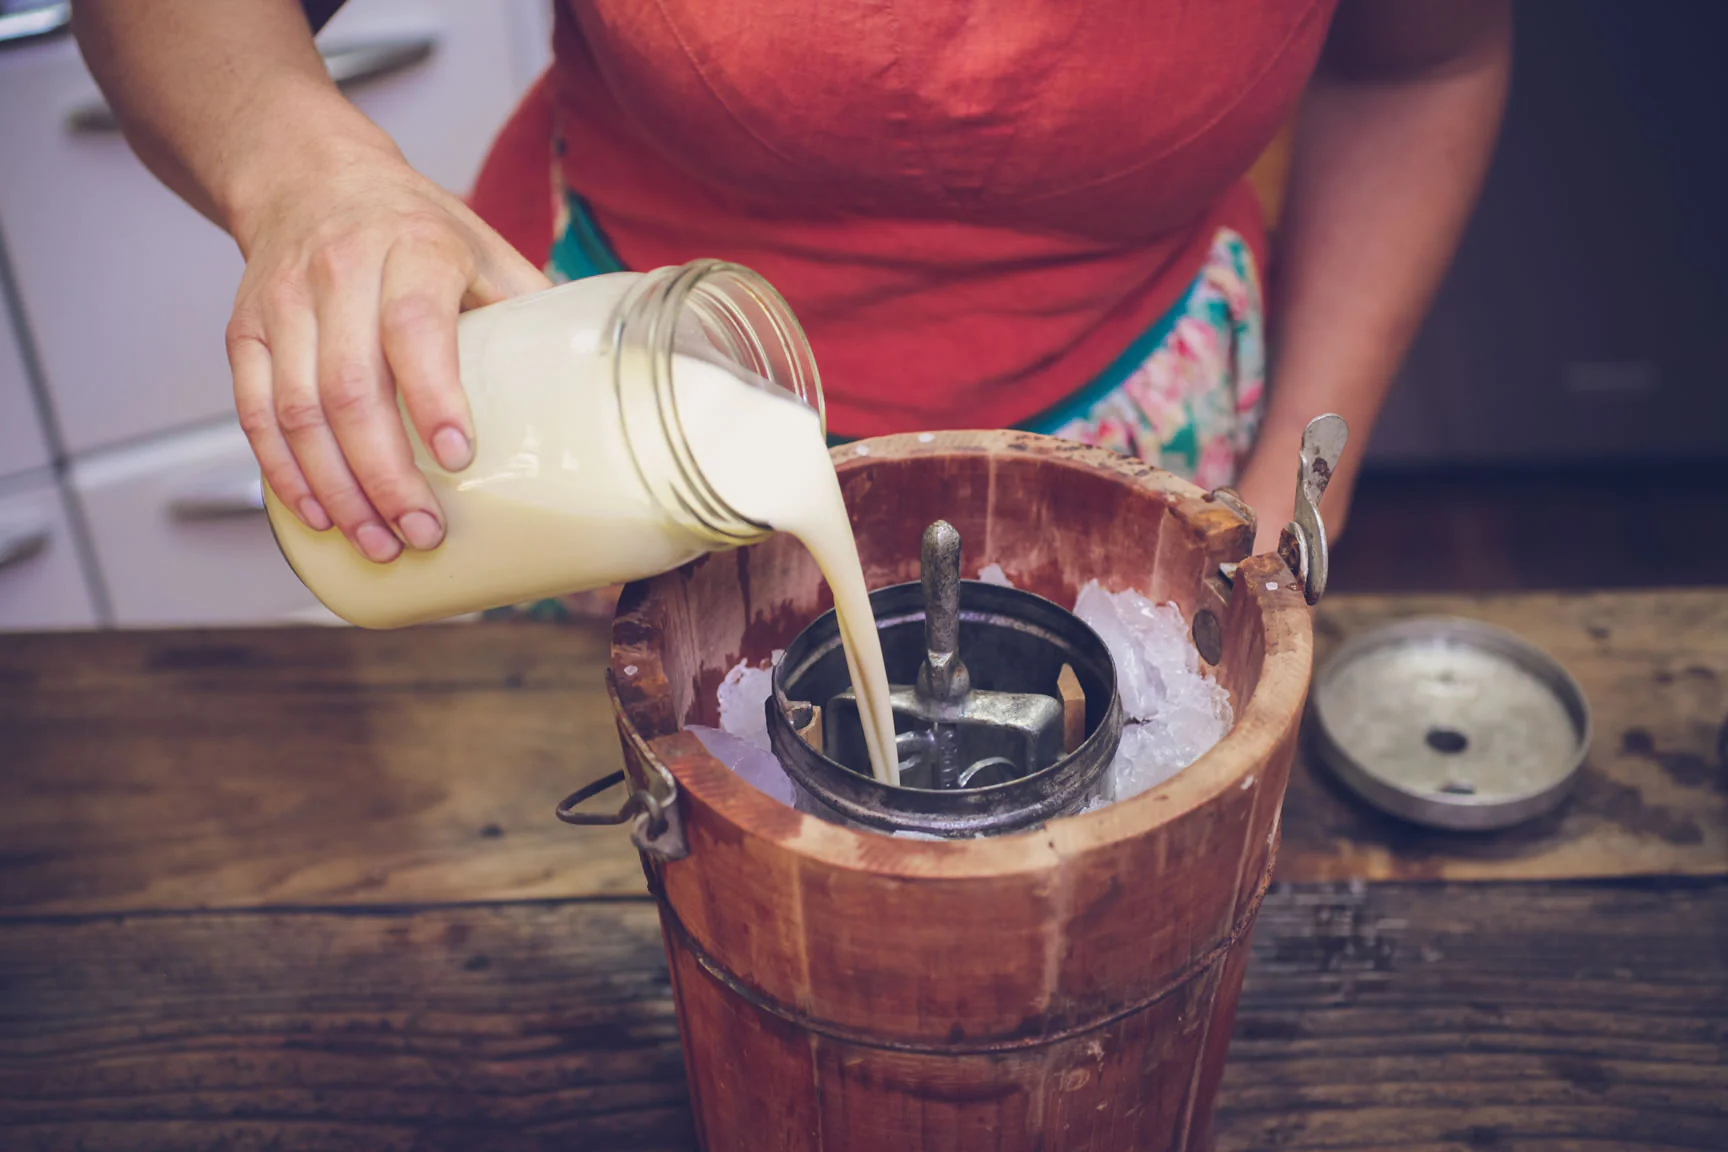
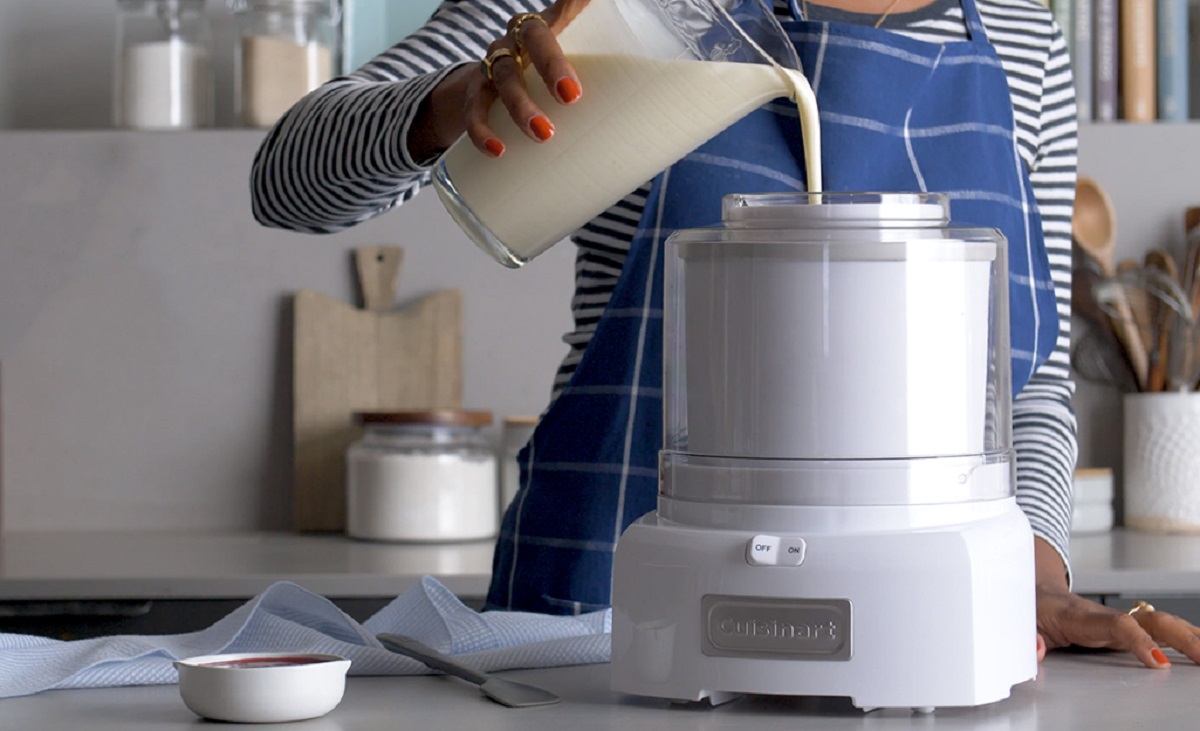
Once the freezing bowl is properly chilled, it’s time to prepare the ice cream mixture. This can be as simple as combining milk, cream, sugar, and your desired flavorings, such as vanilla extract or cocoa powder. Some recipes may call for additional ingredients, like eggs or fruit puree, to create a richer and more customized ice cream base.
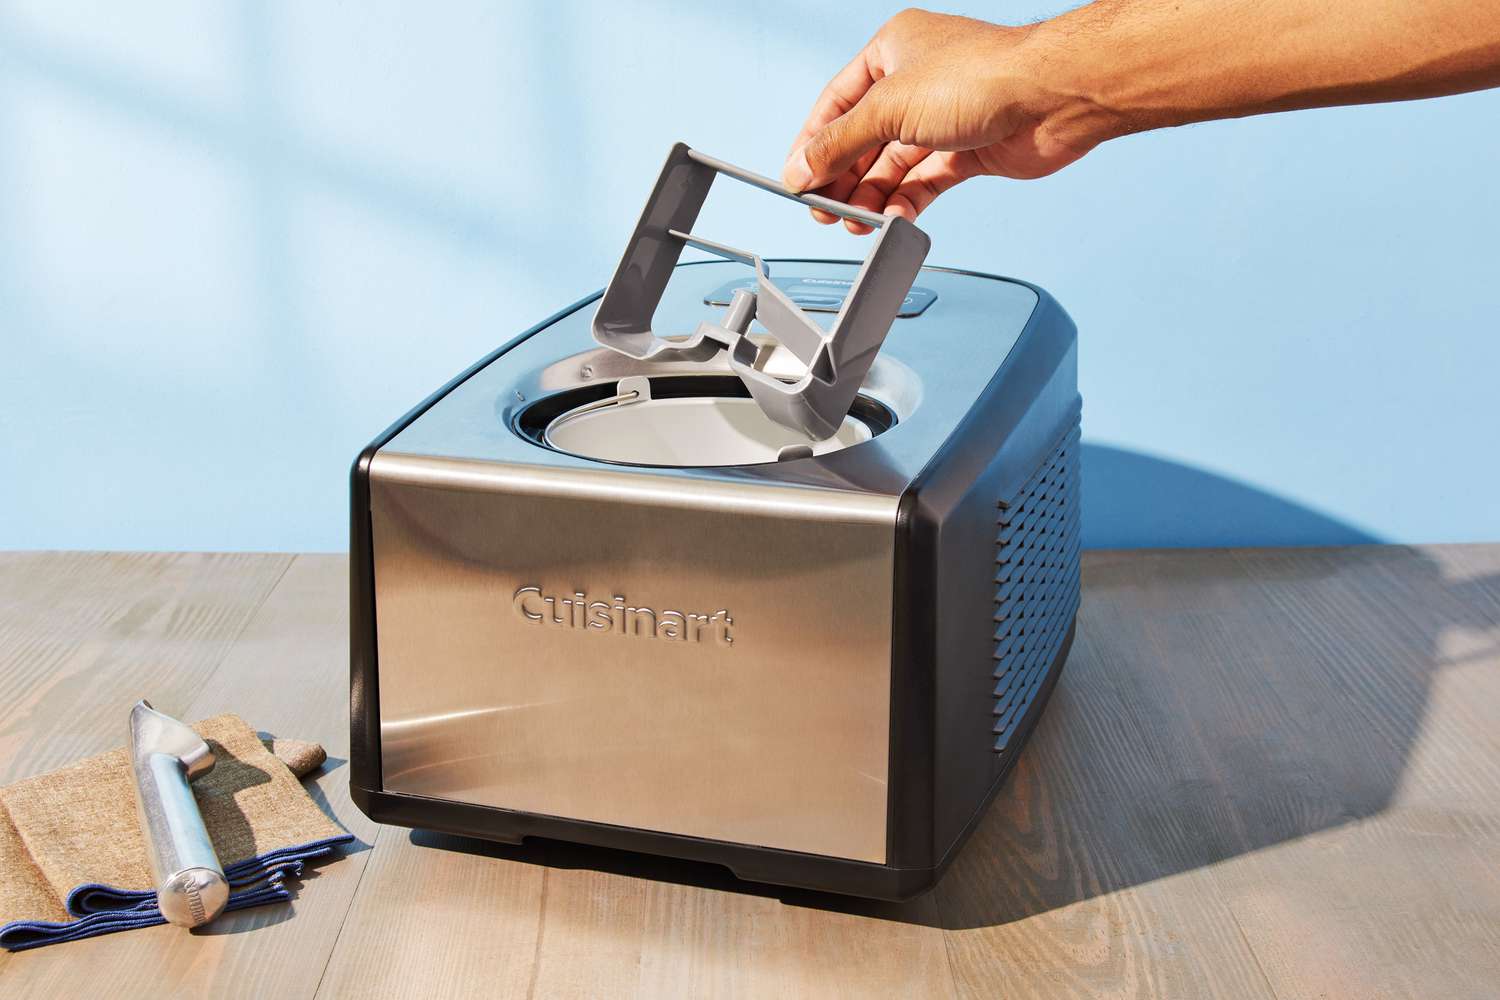
After preparing the ice cream mixture, it’s poured into the freezing bowl of the gel canister ice cream maker. The paddle is then inserted into the bowl, and the motor is turned on to start the churning process. The paddle continuously stirs the mixture, incorporating air and preventing large ice crystals from forming, resulting in a smooth and creamy texture.
As the gel canister ice cream maker churns the mixture, the freezing gel in the bowl keeps the temperature low, allowing the ice cream to freeze gradually. This slow freezing process helps to create a finer texture and prevents the formation of ice crystals, resulting in a more enjoyable mouthfeel.
It’s important to note that the freezing bowl can only produce a limited amount of ice cream at a time. The capacity of the freezing bowl varies among different models, typically ranging from one to two quarts. If you want to make larger batches of ice cream, it’s necessary to have additional freezing bowls on hand or to freeze the mixture in multiple batches.
Now that you have a better understanding of what a gel canister ice cream maker is, let’s dive deeper into the freezing process and the art of churning the perfect homemade ice cream!
The Freezing Process
The freezing process is a crucial step in making homemade ice cream with a gel canister ice cream maker. It involves lowering the temperature of the ice cream mixture to transform it from a liquid into frozen dessert perfection. Let’s take a closer look at how the freezing process works.
Once you’ve prepared your ice cream mixture and poured it into the freezing bowl of your gel canister ice cream maker, the freezing process begins. The freezing gel inside the bowl is responsible for rapidly cooling down and freezing the mixture.
The freezing gel is designed to maintain a consistent temperature while it freezes the ice cream. It ensures that the mixture freezes evenly, preventing ice crystals from forming and creating a smooth and creamy texture.
As the mixture is churned by the paddle, the freezing gel absorbs the heat from the surrounding ice cream mixture. This causes the mixture’s temperature to decrease, eventually reaching a point where it solidifies into ice cream.
The length of the freezing process may vary depending on the temperature of the freezing gel, the specific recipe, and the volume of the mixture. Typically, it takes about 20 to 30 minutes for the mixture to transform into a semi-solid state with the desired consistency.
It’s important to note that every gel canister ice cream maker has its own optimal freezing time, which is usually indicated in the manufacturer’s instructions. Over-churning or under-churning the mixture can affect the texture and consistency of the ice cream.
During the freezing process, it’s crucial to ensure that the freezing bowl remains properly frozen. If the gel inside the bowl starts to melt or becomes too warm, the freezing process will be disrupted, leading to longer freezing times or inconsistent results. It’s recommended to freeze the bowl for the recommended amount of time before starting the ice cream making process.
Once the ice cream has reached the desired consistency, it’s crucial to transfer it to a separate container and place it in the freezer to harden further. This step allows the ice cream to solidify completely and achieve its signature firm texture.
Now that you understand the importance of the freezing process, it’s time to delve into the fascinating world of churning the ice cream to create that velvety, creamy texture we all love.
Churning the Ice Cream
Churning is a crucial step in the ice cream making process, as it helps incorporate air into the mixture and contributes to the smooth and creamy texture we all love. When using a gel canister ice cream maker, the churning process is done automatically by the machine’s motor and paddle. Let’s explore how the churning process works and its impact on the final product.
Once the ice cream mixture is poured into the freezing bowl of the gel canister ice cream maker, the paddle is inserted, and the machine’s motor is activated. As the paddle starts spinning, it continuously scrapes the sides of the bowl and stirs the mixture, ensuring that it freezes evenly.
The churning process serves two primary purposes. First, it helps introduce air into the mixture. The motion of the paddle as it turns creates air pockets within the ice cream, resulting in a lighter and fluffier texture. This process is often referred to as overrun, which is the amount of air incorporated into the ice cream.
The amount of overrun can vary depending on personal preference and the desired end result. Some people prefer denser ice cream with less air, while others enjoy a lighter and more voluminous texture. It’s essential to find the right balance to achieve the desired consistency and creaminess.
The second purpose of churning is to prevent the formation of large ice crystals. The constant motion of the paddle helps break up any ice crystals that may be forming, resulting in a smoother and creamier texture. This is why it’s essential to let the machine run for the recommended duration to ensure proper churning.
As the churning process continues, the freezing gel in the bowl assists in maintaining a low temperature, allowing the ice cream mixture to freeze gradually. This slow freezing process, coupled with the churning action, contributes to the development of a fine and velvety texture.
It’s important to note that not all ice cream mixtures have the same churning time. The recommended churning time can vary depending on the specific recipe, the volume of the mixture, and the machine’s instructions. Following the recommended churning time is crucial to achieve the best results.
Once the churning process is complete, the ice cream is typically in a semi-frozen state. It is important to transfer the ice cream to a separate container for further hardening in the freezer. This step allows the ice cream to solidify fully and reach its desired firmness.
Now that you understand the importance of the churning process, it’s time to dive into some essential maintenance and cleaning tips to keep your gel canister ice cream maker running smoothly.
Maintenance and Cleaning
Maintaining and cleaning your gel canister ice cream maker is essential to prolong its lifespan and ensure optimal performance. Here are some key tips and guidelines to follow for proper maintenance and cleaning:
1. Preparing the freezing bowl: Before each use, make sure the freezing bowl is completely frozen. It’s recommended to keep it in the freezer at all times so that it’s ready whenever you want to make ice cream. If the freezing bowl is not frozen enough, it will not be able to adequately freeze the ice cream mixture.
2. Cleaning the machine: After each use, ensure that the machine is completely unplugged from the power source. Remove the freezing bowl and use warm soapy water to clean it, ensuring to remove any residue or ice cream remnants. Avoid using abrasive cleaning tools or harsh chemicals that may damage the bowl. Wipe down the other parts of the machine, such as the paddle and the lid, with a damp cloth. Let the parts air dry thoroughly before reassembling the machine.
3. Storing the machine: When not in use, it’s important to store the gel canister ice cream maker properly. Make sure to remove the freezing bowl from the machine and clean it before storing. Store the bowl in a safe place, away from any moisture or extreme temperatures. Store the other parts of the machine in a clean and dry location, ensuring they are protected from any potential damage.
4. Avoiding submerging the machine: Never submerge the machine in water or any other liquid. This can damage the motor and other internal components. Instead, only clean the removable parts of the machine as described above.
5. Regular maintenance: Periodically check the machine for any signs of wear and tear or loose parts. If you notice any issues, contact the manufacturer for assistance or consider taking the machine to a professional for repairs.
6. Safe handling: Always follow the safety guidelines and instructions provided by the manufacturer. Avoid placing the machine near heat sources or in direct sunlight. Additionally, never touch the freezing bowl or the paddle with your bare hands during or immediately after the ice cream making process, as they can be extremely cold and cause frostbite.
By following these maintenance and cleaning tips, you can ensure that your gel canister ice cream maker remains in excellent condition and consistently produces delicious homemade ice cream.
Now that you know how to properly maintain and clean your gel canister ice cream maker, let’s address some common troubleshooting issues that you may encounter during the ice cream making process.
Troubleshooting Common Issues
While gel canister ice cream makers are generally reliable and user-friendly, you may encounter some common issues along the way. Here are some troubleshooting tips for common problems:
1. Ice Cream Not Freezing: If your ice cream mixture is not freezing properly, ensure that the freezing bowl is fully frozen. Check that it has been in the freezer for the recommended amount of time, according to the manufacturer’s instructions. Also, make sure to use the correct proportions of ingredients in your ice cream mixture. Too much sugar or fat content can interfere with the freezing process.
2. Ice Cream Not Churning: If your gel canister ice cream maker is not churning, first check that the motor is properly connected to the paddle and that it is functioning. If the motor is working but the paddle is not turning, there may be an issue with the gearing mechanism. In this case, contact the manufacturer for assistance or consider taking the machine for repairs.
3. Ice Crystals in the Ice Cream: If you notice ice crystals forming in your ice cream, it may be due to over-churning or insufficient freezing time. Make sure to follow the recommended churning time provided by the manufacturer. Additionally, avoid keeping the ice cream mixture in the freezer for an extended period before churning, as this can also result in the formation of ice crystals.
4. Texture Too Soft or Runny: If your ice cream has a soft or runny texture, it may not have been churned for long enough. Double-check the recommended churning time and ensure that you let the machine run for the specified duration. Additionally, make sure the freezing bowl is thoroughly frozen before starting the churning process.
5. Motor Overheating: If you notice that the motor of your gel canister ice cream maker is overheating or becoming excessively hot during use, it may be a sign of a malfunction. Turn off the machine immediately and allow it to cool down. Check for any obstructions or issues with the motor. If the problem persists, contact the manufacturer for further assistance.
6. Excessive Noise: If the ice cream maker is making loud or unusual noises, it may indicate a loose component or an issue with the motor or gearing mechanism. Avoid using the machine and inspect for any visible problems or loose parts. If you can’t identify the issue, contact the manufacturer for support.
If you encounter any other issues with your gel canister ice cream maker that are not mentioned here, refer to the manufacturer’s instructions or contact their customer support for guidance.
By following these troubleshooting tips, you can overcome common issues and enjoy a smooth and successful ice cream making experience.
Now that you are equipped with troubleshooting knowledge, let’s wrap up this article by recapping the key points discussed.
Conclusion
In conclusion, gel canister ice cream makers provide a convenient and enjoyable way to make homemade ice cream. These machines utilize a freezing bowl with a special gel, which freezes the ice cream mixture and creates a smooth and creamy texture. The churning process incorporated by the machine’s motor and paddle helps to incorporate air and prevent the formation of large ice crystals, resulting in a delightful frozen treat.
By understanding the freezing process and the importance of churning, you can create ice cream with the perfect texture and consistency. Proper maintenance and cleaning are key to keeping your gel canister ice cream maker in top condition. Remember to prepare the freezing bowl, regularly clean the machine, and store it appropriately when not in use.
If you encounter any issues, such as ice cream not freezing or churning, or the formation of ice crystals, refer to the troubleshooting tips mentioned earlier. These can help you resolve common problems and ensure a successful ice cream making experience.
With a gel canister ice cream maker, the possibilities for creating delicious frozen treats are endless. Explore various flavors, experiment with different mix-ins, and let your creativity shine. Enjoy the process of making homemade ice cream and savor the satisfaction of sharing your creations with family and friends.
So, embrace the world of gel canister ice cream makers, and let the journey of crafting mouthwatering homemade ice cream begin. Indulge in the joy of making your favorite frozen delights and bring smiles to the faces of those you share them with!