Introduction
Ice cream is a beloved frozen dessert that has been enjoyed by people of all ages for centuries. From classic flavors like vanilla and chocolate to more adventurous options like salted caramel and mint chip, ice cream never fails to satisfy our sweet tooth cravings. While enjoying a scoop of ice cream from your local shop is always a treat, have you ever considered making your own homemade ice cream? This is where an ice cream maker comes into play.
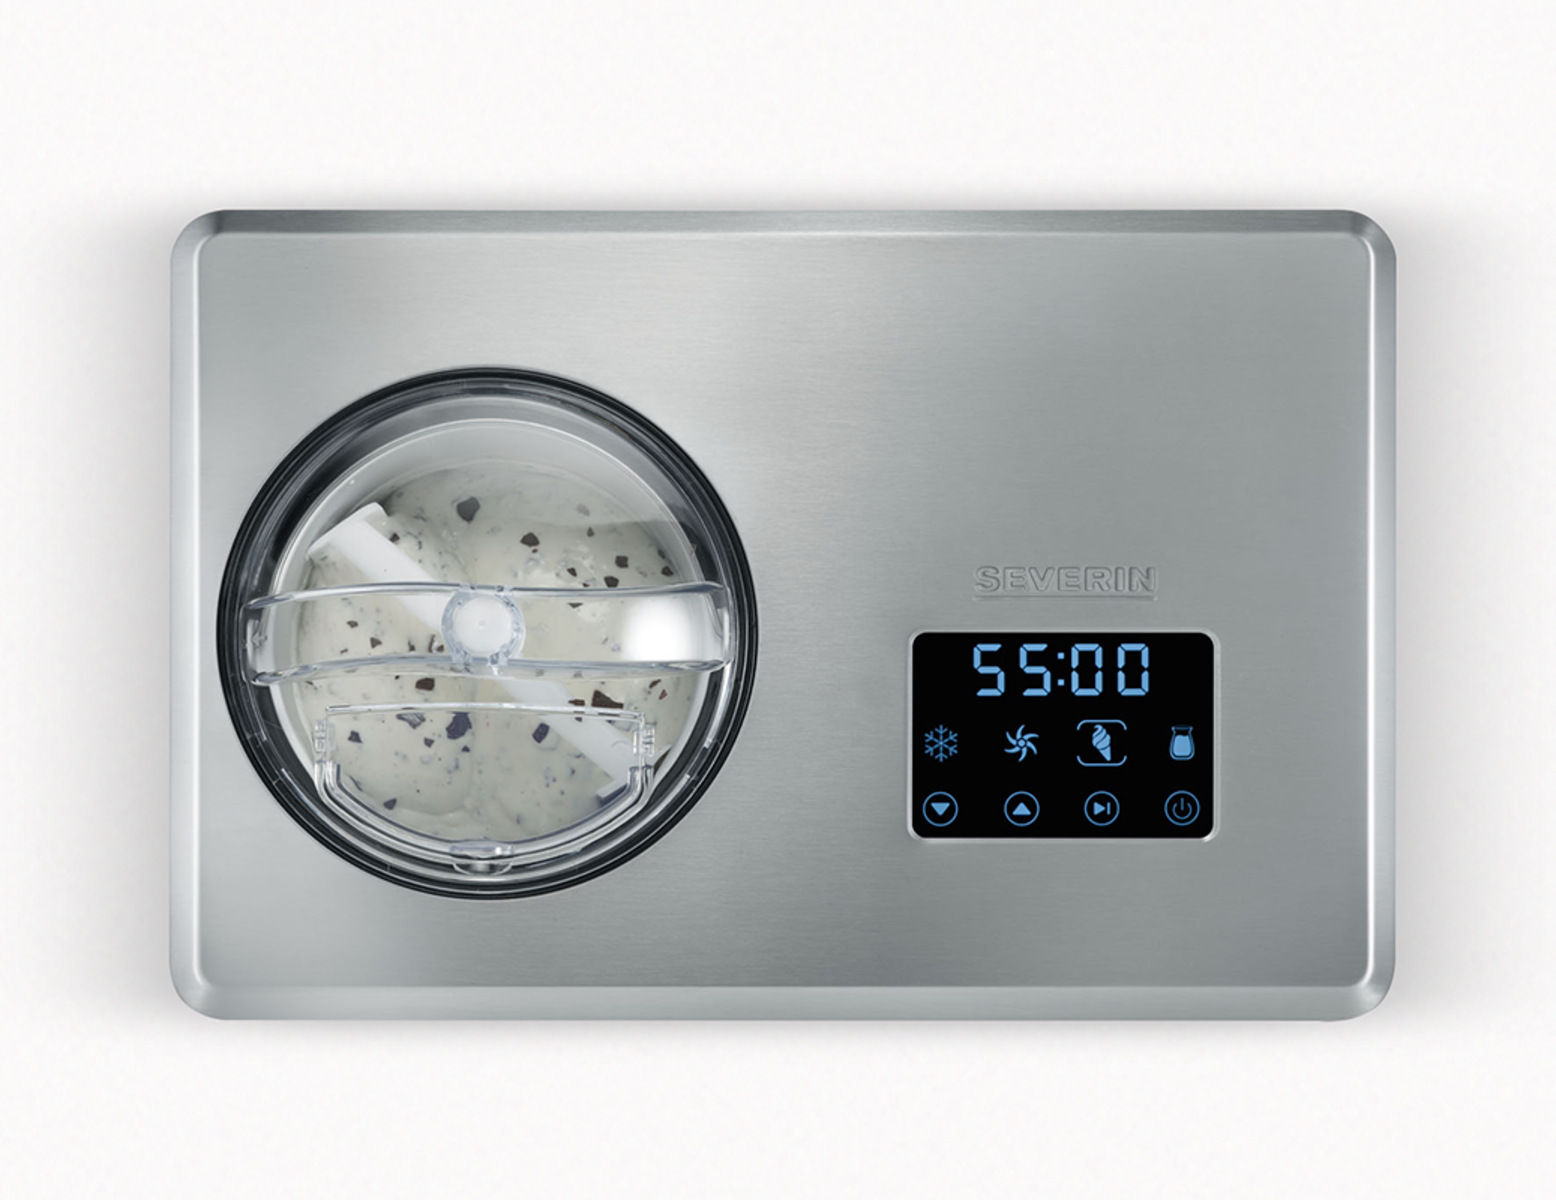
An ice cream maker is a kitchen appliance specifically designed to churn and freeze ice cream mixture, resulting in a smooth and creamy texture. It takes the traditional hand-churning method and automates it, making the process much simpler and faster. Whether you’re a beginner in the kitchen or an experienced food enthusiast, using an ice cream maker allows you to experiment with flavors, textures, and ingredients to create your own unique frozen delights.
This article will delve into the fascinating world of ice cream makers, exploring their history, how they work, the different types available, and the benefits of making ice cream at home. We’ll also provide useful tips and tricks for using an ice cream maker and share insights on the homemade versus store-bought ice cream debate. By the end, you’ll have a comprehensive understanding of ice cream makers and be well-equipped to embark on your own ice cream-making adventures.
History of the Ice Cream Maker
The origins of ice cream can be traced back thousands of years to ancient China, Persia, and Egypt. In these cultures, a form of frozen dessert was created by mixing fruit purees with snow or ice. However, the concept of an ice cream maker as we know it today didn’t come into existence until much later.
The first recorded instance of a mechanical ice cream maker dates back to the 17th century in England. It was called a “cream ice machine” and was essentially a device used to create ice cream at a much faster rate than traditional hand-churning. This early machine consisted of a metal bowl surrounded by a wooden bucket filled with ice and salt, creating a freezing environment for the mixture inside the bowl.
Over the centuries, various improvements were made to ice cream makers. In the 19th century, insulated containers and hand-crank mechanisms were introduced, making the process even more efficient. These advancements allowed for the production of larger quantities of ice cream, making it more accessible to the general public.
In the early 20th century, electric ice cream makers made their debut. These machines eliminated the need for manual labor, as they had built-in motors that took care of the churning process. This made homemade ice cream even more convenient and popular.
Today, ice cream makers have become more sophisticated and versatile. They come in different sizes and have features like pre-freezing bowls, self-refrigeration systems, and multiple speed settings. These advancements have made it easier for people to experiment with flavors and textures, resulting in endless variations of homemade ice cream.
The history of the ice cream maker has come a long way, from ancient hand-churning to modern electric machines. It has evolved to meet the demands of ice cream enthusiasts while also making the process more efficient and accessible. With the rise of technology, who knows what new innovations the future holds for ice cream making?
How Does an Ice Cream Maker Work?
An ice cream maker may seem like a complex machine, but its inner workings are actually quite simple. At its core, an ice cream maker is designed to freeze and churn a mixture of ingredients to create the perfect consistency of ice cream.
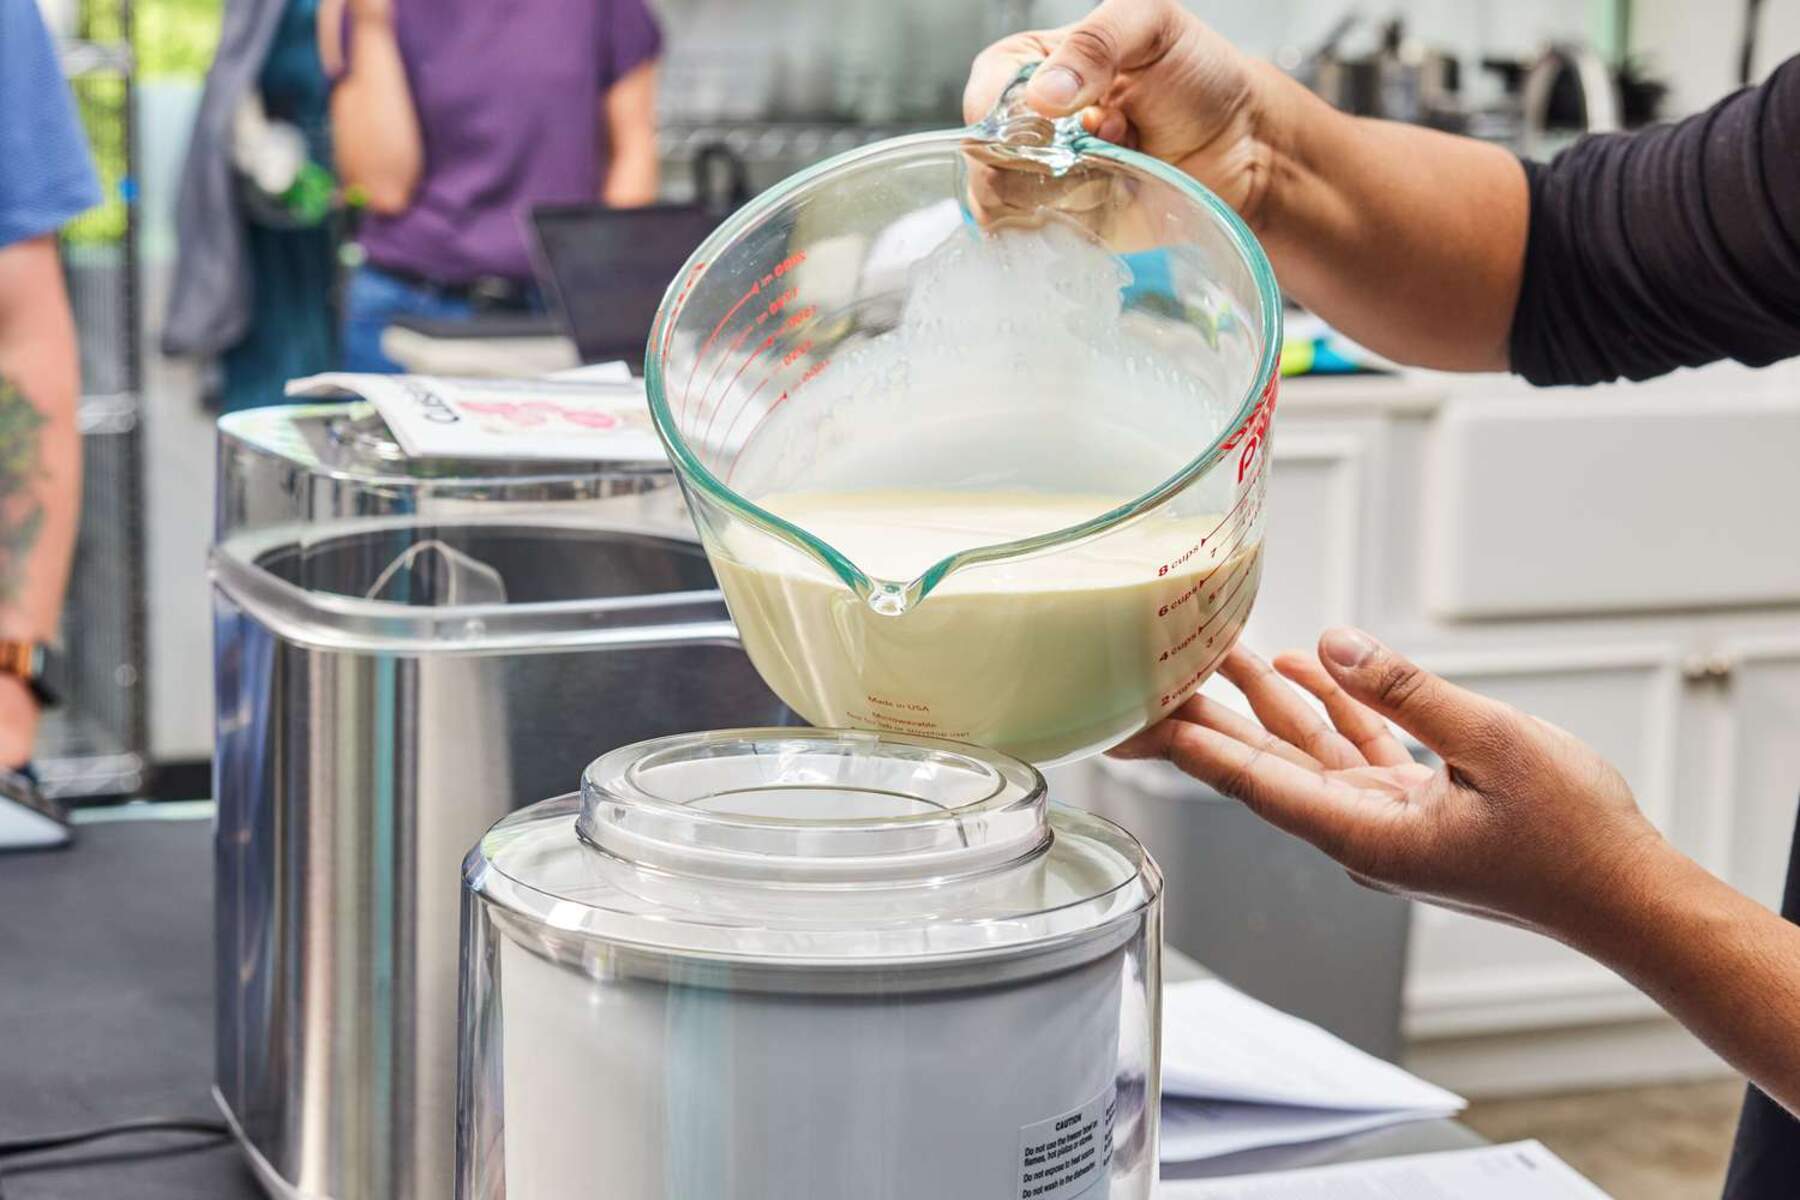
The process begins by preparing a mixture known as the ice cream base. This base typically consists of milk or cream, sugar, flavorings, and any additional ingredients such as chocolate chips or fruit. The base is then poured into the bowl or canister of the ice cream maker.
Next, the bowl or canister is placed in the ice cream maker, and the machine is turned on. The machine’s motor begins to spin a dasher or paddle inside the bowl, which agitates the mixture. This constant movement helps incorporate air into the mixture, preventing ice crystals from forming and giving the ice cream its smooth and creamy texture.
As the mixture churns, the ice cream maker’s freezing mechanism starts to work. In traditional ice cream makers, this is achieved by surrounding the bowl with a mixture of ice and rock salt. The salt helps lower the freezing point of the ice, creating a more intense and rapid freeze. The ice and salt combination creates a super chilled environment that freezes the mixture as it churns.
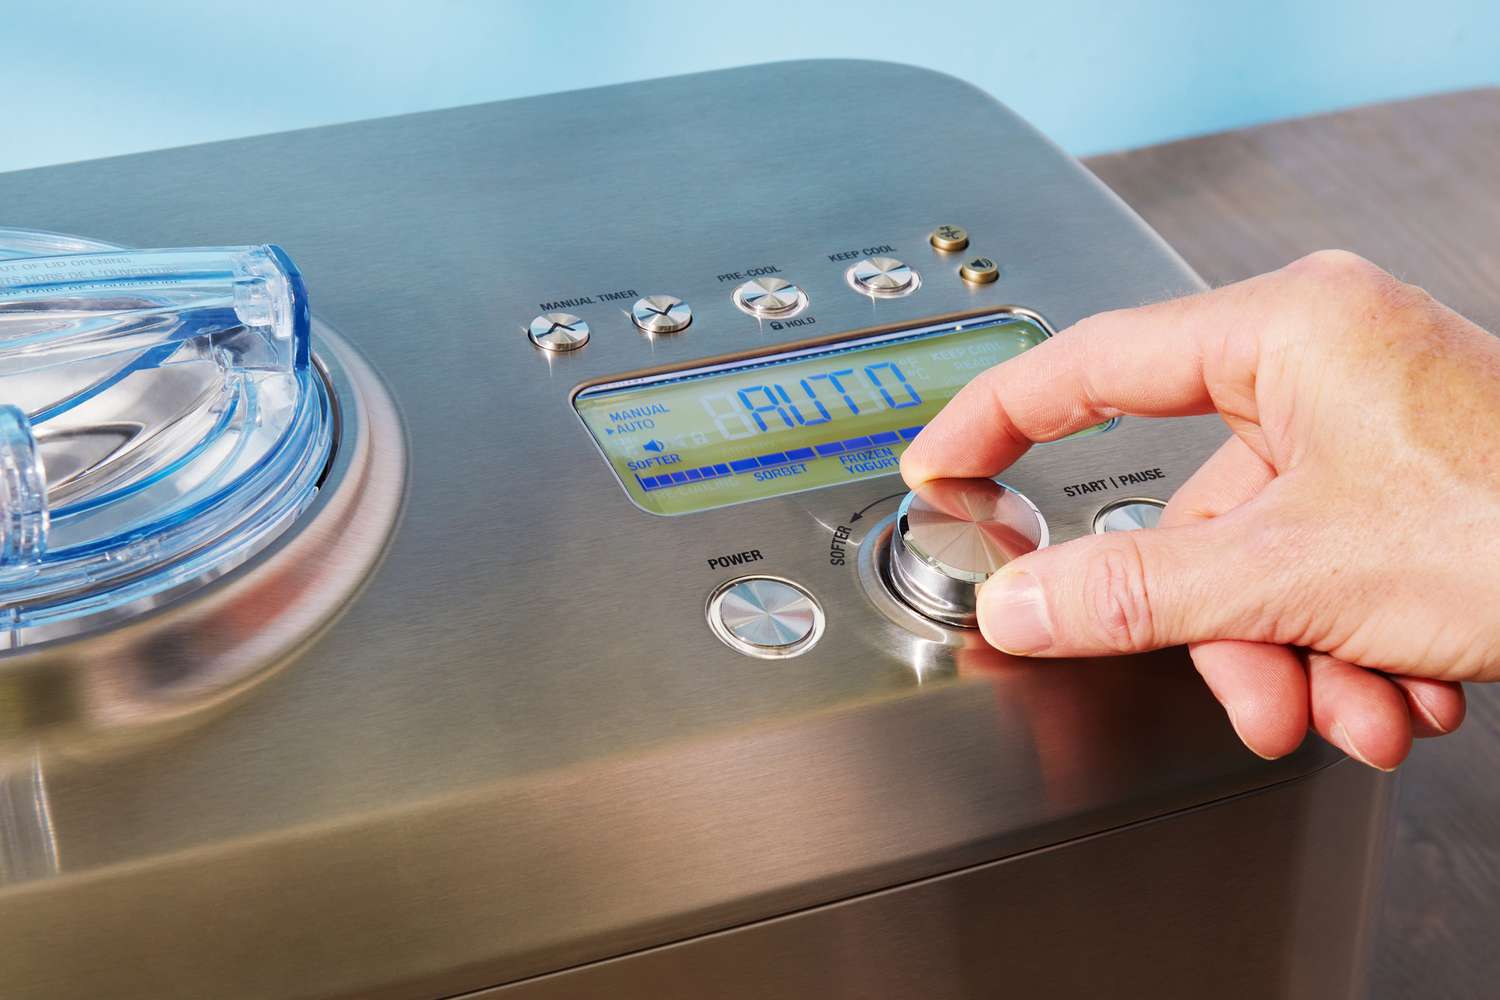
More modern ice cream makers, however, utilize pre-freezing bowls or built-in refrigeration systems. Pre-freezing bowls need to be frozen for several hours before use. The mixture is poured into the frozen bowl, and the machine’s motor churns the mixture while the bowl keeps it frozen. On the other hand, ice cream makers with built-in refrigeration systems have a compressor that cools the mixture as it churns, eliminating the need for pre-freezing the bowl.
The churning and freezing process continues until the mixture reaches the desired consistency. This typically takes around 20 to 30 minutes, but it can vary depending on the recipe and the specific ice cream maker being used. Once the ice cream is sufficiently frozen, it is ready to be enjoyed or transferred to a separate container for further freezing.
Understanding how an ice cream maker works allows you to appreciate the science behind creating this delightful frozen treat. The combination of mixing, cooling, and aeration transforms simple ingredients into a delicious scoop of homemade ice cream.
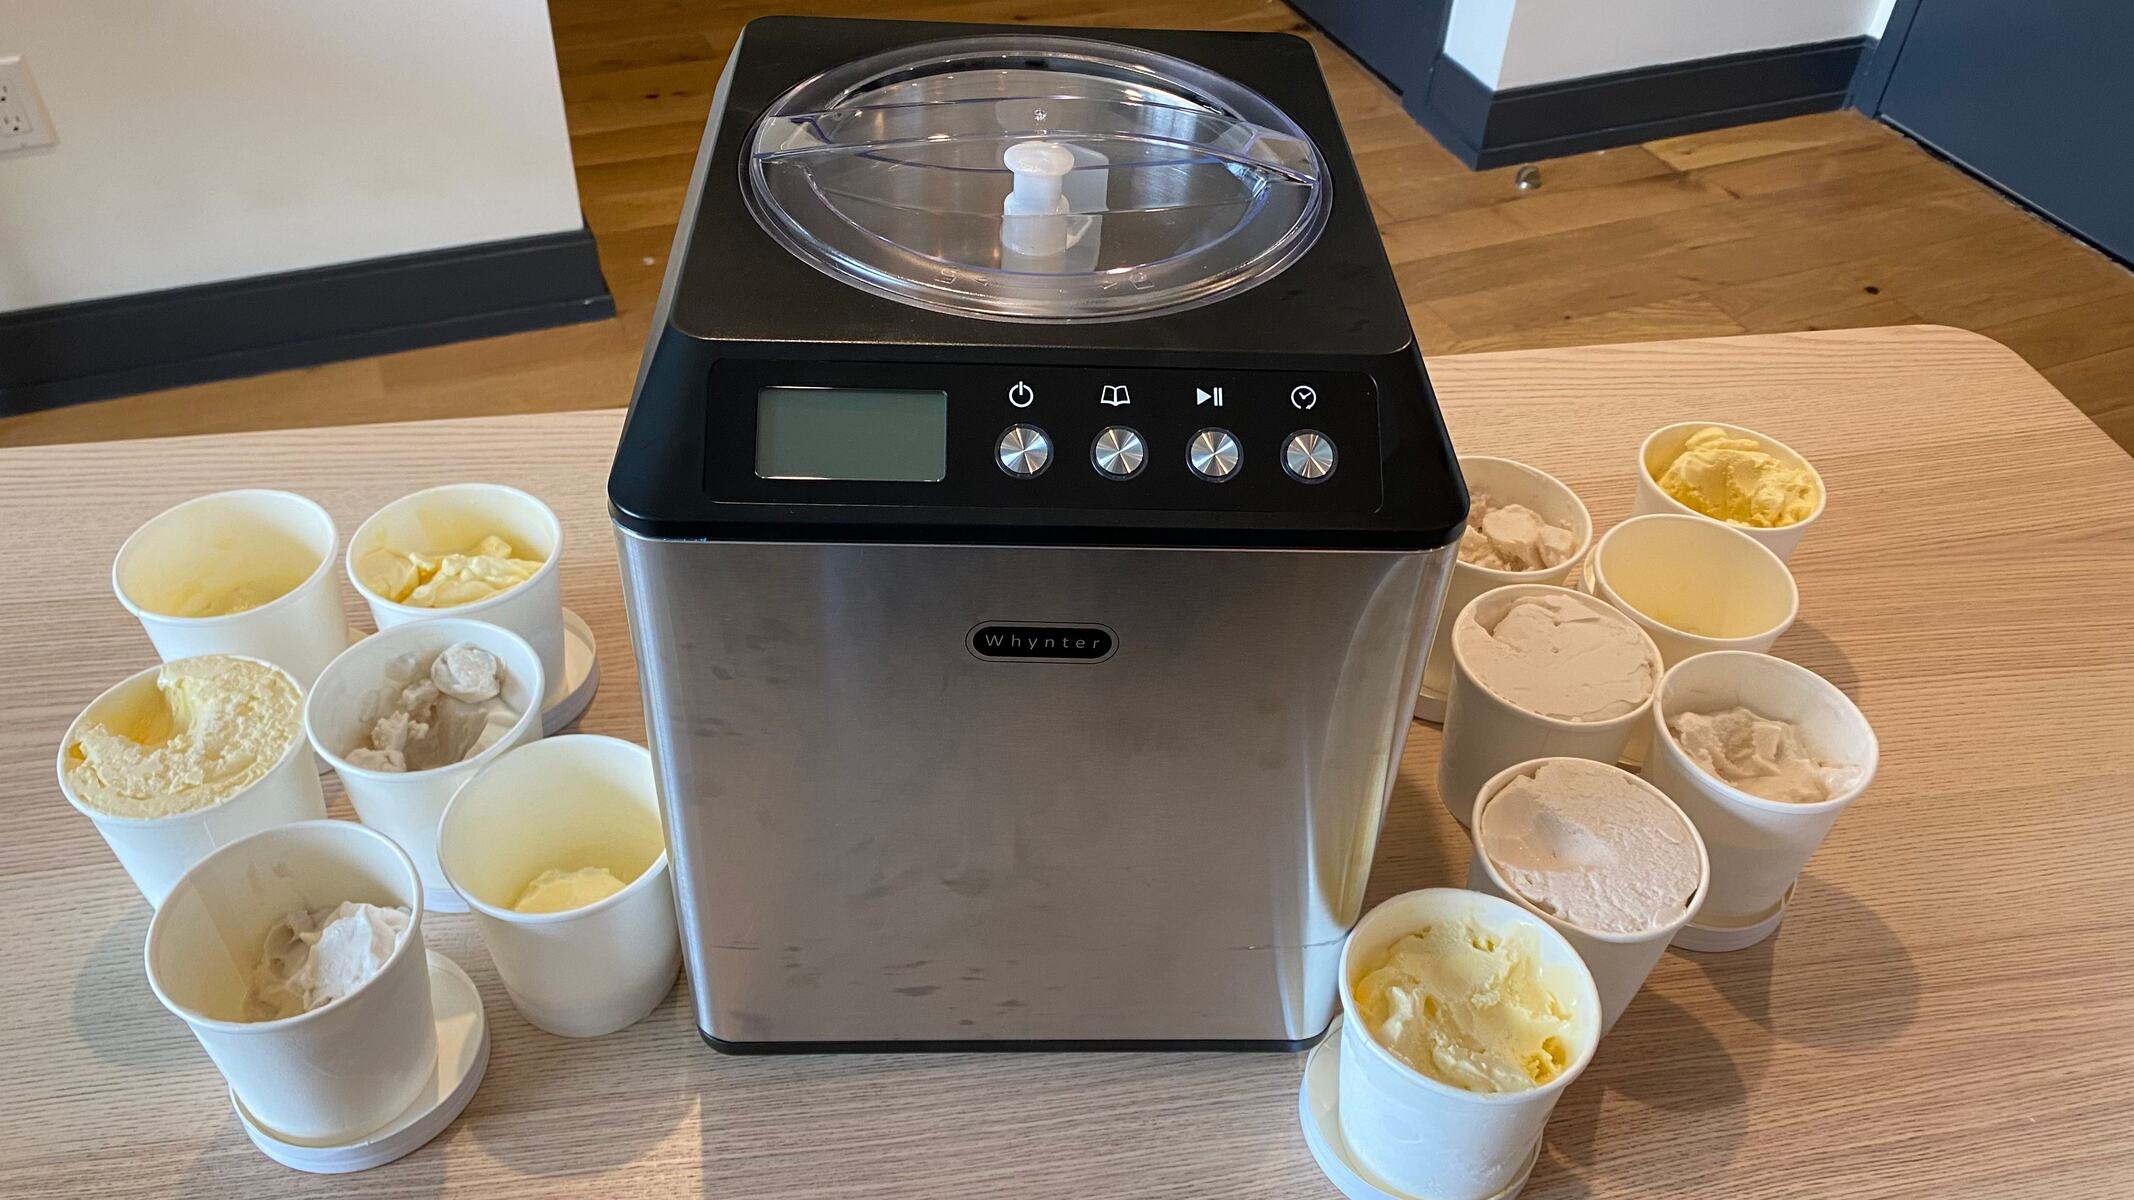
The Different Types of Ice Cream Makers
When it comes to ice cream makers, there are several different types available on the market. Each type has its pros and cons, and understanding the differences can help you choose the right one for your needs and preferences. Let’s explore the most common types of ice cream makers:
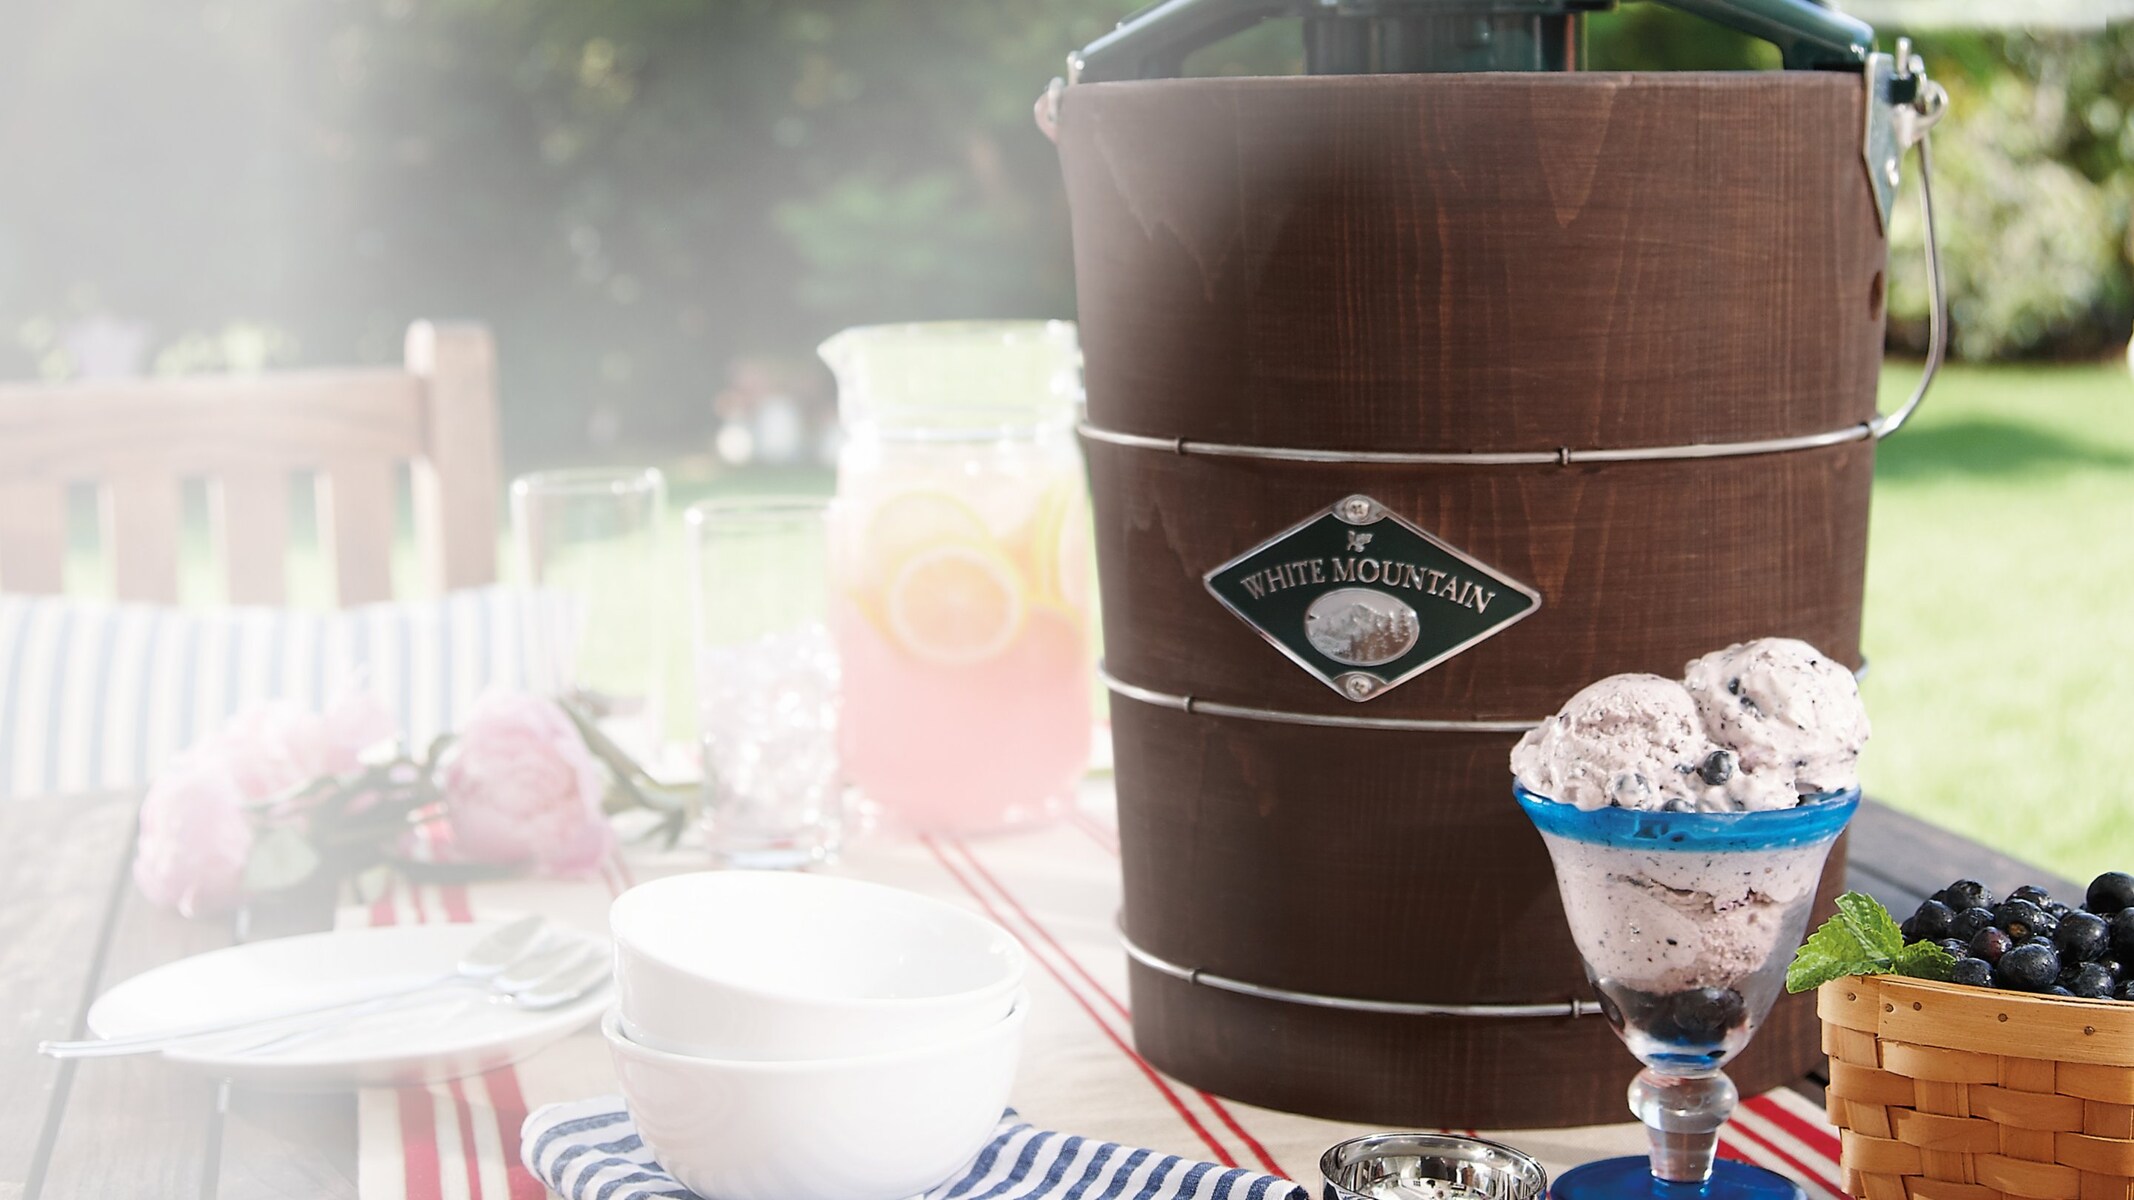
1. Traditional Ice and Salt Ice Cream Makers: These are the classic ice cream makers that require ice and rock salt to create the freezing environment. They typically consist of a wood, metal, or plastic bucket, a detachable canister, and a hand-cranked mechanism or an electric motor. While they produce excellent results, they require more effort and preparation time due to the need for ice and salt.
2. Pre-Freezing Bowl Ice Cream Makers: This type of ice cream maker has a removable bowl that needs to be pre-frozen before use. The bowl is typically made of double-walled stainless steel filled with a cooling gel. Once frozen for several hours, the bowl is placed into the ice cream maker, and the mixture is added and churned. Pre-freezing bowl ice cream makers are more convenient than traditional models since they eliminate the need for ice and salt, but they do require advanced planning to ensure the bowl is properly frozen.
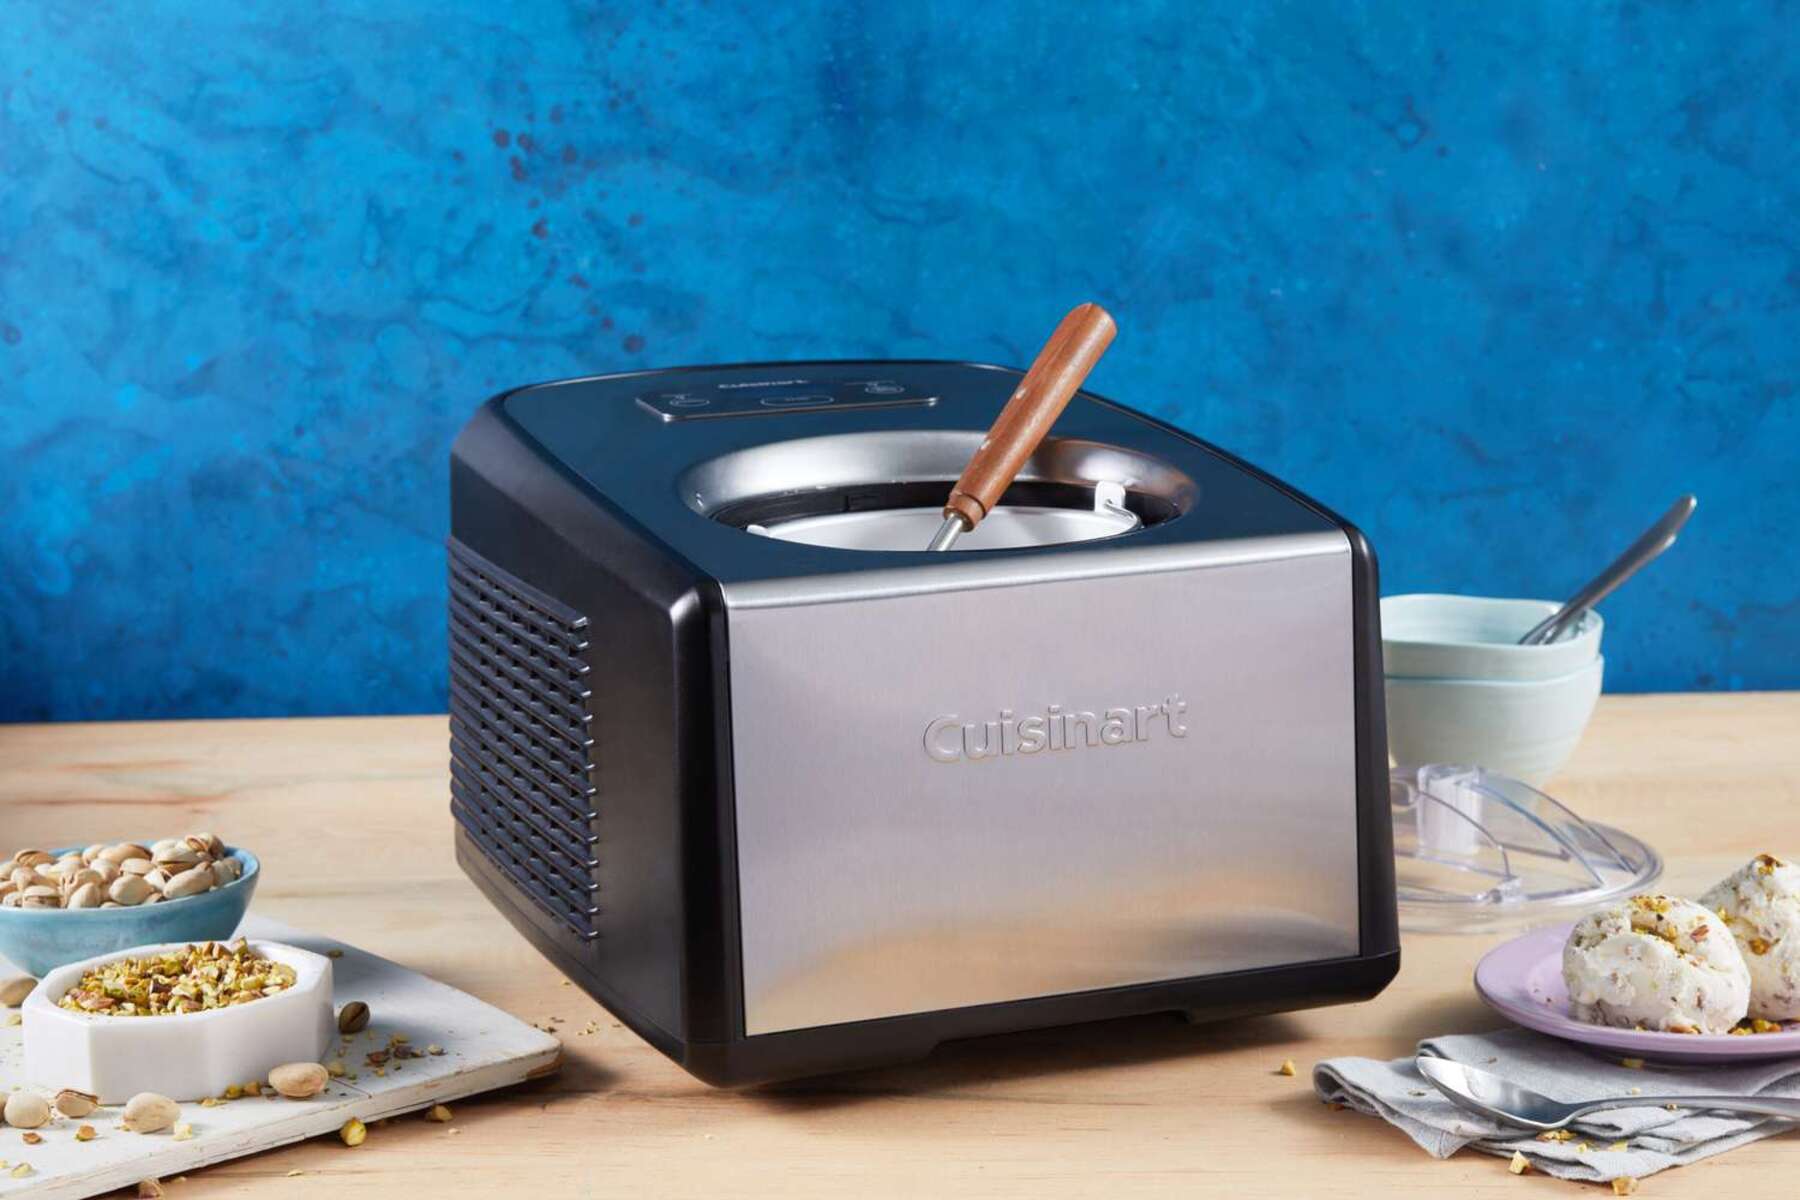
3. Compressor Ice Cream Makers: Compressor ice cream makers are the most advanced and convenient option available. These machines have a built-in refrigeration system, similar to a small freezer or refrigerator, that cools the mixture as it churns. Unlike pre-freezing bowl models, compressor ice cream makers do not require freezing the bowl in advance. They allow for continuous use, making multiple batches of ice cream without the need to refreeze the bowl.
4. Gel Canister Ice Cream Makers: Gel canister ice cream makers are similar to pre-freezing bowl models, but they use a canister filled with a special gel instead of a frozen bowl. The gel-filled canister is placed in the freezer for several hours before use. Once frozen, the canister is placed into the ice cream maker, and the mixture is churned. Gel canister ice cream makers are a relatively affordable option and provide decent results, but they require planning ahead to ensure the canister is properly frozen.
5. Soft-Serve Ice Cream Machines: Soft-serve ice cream machines are specifically designed to create soft and creamy ice cream, similar to the ones you find in ice cream parlors. These machines incorporate air into the mixture, resulting in a lighter and fluffier texture. Soft-serve machines come in various sizes, from countertop models suitable for home use to larger commercial machines.
Each type of ice cream maker has its own unique features, benefits, and considerations. Whether you prefer the nostalgic charm of a traditional ice and salt model or the convenience of a compressor ice cream maker, there is an option available to suit your needs and preferences. Whichever type you choose, the joy of homemade ice cream is just a churn away!
Making Ice Cream with an Ice Cream Maker
Using an ice cream maker to create your own homemade ice cream is a fun and rewarding experience. With a few simple steps, you can whip up delicious batches of your favorite frozen treats. Here’s a step-by-step guide on how to make ice cream with an ice cream maker:
1. Prepare the Ice Cream Base: Start by preparing the ice cream base according to your chosen recipe. This typically involves mixing together ingredients such as milk or cream, sugar, flavorings, and any additional ingredients like chocolate chips or fruit. Ensure that the mixture is well combined and smooth.
2. Pre-Freeze the Bowl or Canister: If you are using a pre-freezing bowl or gel canister ice cream maker, make sure to place the bowl or canister in the freezer for the recommended amount of time specified by the manufacturer. This step is crucial to ensure the bowl or canister is properly frozen, providing the necessary cold environment for the ice cream-making process.
3. Assemble the Ice Cream Maker: Once the ice cream base is ready, assemble the ice cream maker according to the instructions. This typically involves inserting the frozen bowl or canister into the machine and securing it in place. Ensure that all parts are properly locked to prevent any leakage or damage during the churning process.
4. Add the Ice Cream Base: Pour the prepared ice cream base into the bowl or canister of the ice cream maker. Depending on the machine, there may be a maximum fill line indicated. Be mindful not to exceed this limit, as the mixture will expand during the churning process.
5. Start Churning: Turn on the ice cream maker and let it churn the mixture for the recommended amount of time. This typically ranges between 20 to 30 minutes, but it can vary depending on the machine and the desired consistency. During the churning process, the mixture will begin to freeze and thicken, developing into a creamy texture.
6. Add Mix-Ins: If you want to incorporate mix-ins like chocolate chips, nuts, or cookie crumbs, add them towards the end of the churning process. This ensures that they are evenly distributed throughout the ice cream. Follow the instructions of your recipe regarding the timing and method of adding mix-ins.
7. Transfer and Freeze: Once the ice cream reaches the desired consistency, transfer it to a container with an airtight lid. Smooth the surface of the ice cream and cover it tightly to prevent ice crystals from forming. Place the container in the freezer to firm up further for a few hours or until it reaches the desired level of hardness.
8. Enjoy! Once the ice cream has fully hardened, it is ready to be enjoyed. Scoop it into bowls or cones, and savor the fruits of your labor. Serve it plain, with toppings, or as a base for sundaes and other ice cream treats.
With these simple steps, you can create delectable homemade ice cream using your ice cream maker. Let your creativity shine by experimenting with different flavors, mix-ins, and recipes. The result? An array of delightful frozen treats that you can enjoy and share with family and friends.
Tips and Tricks for Using an Ice Cream Maker
Using an ice cream maker to churn out delicious homemade ice cream is a delightful experience. To ensure the best possible results, we’ve compiled a list of helpful tips and tricks to guide you in using your ice cream maker:
1. Pre-Freeze the Ice Cream Maker’s Bowl: If your ice cream maker requires a pre-freezing bowl, make sure it is completely frozen before use. Leave it in the freezer for the recommended time specified by the manufacturer. This will ensure that the bowl is properly chilled, allowing for efficient freezing and ideal ice cream consistency.
2. Chill the Ice Cream Base: Prior to pouring the ice cream base into the machine, refrigerate it for a few hours or overnight. Chilling the base not only ensures a smoother churn but also helps to develop better flavors and texture in the final product.
3. Experiment with Flavors and Mix-Ins: Get creative with your ice cream flavors and mix-ins. Try adding different extracts, spices, fruits, or even swirls of sauces to customize your ice cream. Whether it’s a classic combination or a unique creation, the possibilities are endless.
4. Don’t Overfill the Bowl: It’s crucial not to overfill the ice cream maker’s bowl or canister. Leave some room for the mixture to expand during the churning process. Overfilling may result in spills, uneven freezing, or difficulty in achieving the desired consistency.
5. Chill Mix-Ins: If you’re adding mix-ins like chocolate chips or nuts, it’s recommended to chill them before incorporating them into the ice cream. This prevents the mix-ins from melting or becoming too soft during the churning process.
6. Watch the Churning Time: Keep a close eye on the churning time specified in your recipe. Over-churning can lead to overrun, where too much air is incorporated, resulting in a less creamy texture. Under-churning may result in an icy or grainy consistency. Follow the recommended time or keep an eye out for visual cues like the ice cream pulling away from the sides of the bowl.
7. Freeze Before Serving: After the ice cream has churned to the desired consistency, it’s best to transfer it to an airtight container and freeze it for a few hours or until it reaches the desired firmness. This additional freezing time allows the ice cream to set properly and develop its full flavor.
8. Clean and Maintain Your Ice Cream Maker: Properly clean and maintain your ice cream maker to ensure its longevity. Follow the manufacturer’s instructions for cleaning the machine, as each model may have specific requirements. Avoid submerging the motor or any electrical parts in water, and take care not to damage any removable parts during cleaning.
With these tips and tricks in mind, you’ll be well-equipped to make delicious batches of homemade ice cream using your ice cream maker. Enjoy the process of experimenting with flavors, textures, and mix-ins, and savor the satisfaction of indulging in your very own frozen creations.
Benefits of Using an Ice Cream Maker
Investing in an ice cream maker can bring a range of benefits and advantages to your culinary adventures. Here are some of the key benefits of using an ice cream maker:
1. Control Over Ingredients: One of the biggest advantages of making your own ice cream is having full control over the ingredients. You can choose high-quality, wholesome ingredients, and avoid additives, preservatives, and artificial flavors commonly found in store-bought ice cream. This allows you to create healthier and more personalized frozen treats.
2. Endless Flavor Possibilities: With an ice cream maker, you can explore a vast array of flavors and combinations beyond what is readily available in stores. From classic favorites to unique and exotic creations, the options are limitless. You can experiment with different extracts, fruits, chocolates, nuts, and spices to create a personalized flavor profile that suits your taste.
3. Freshness and Taste: Homemade ice cream offers unparalleled freshness and flavor. The absence of preservatives means that every scoop is bursting with pure, natural taste. The freshly churned texture provides a creamy and velvety mouthfeel that is unmatched by store-bought alternatives.
4. Creative Expression: Making ice cream with an ice cream maker allows you to unleash your creativity in the kitchen. You can experiment with mix-ins, swirls, and layers to create visually appealing and delicious ice cream creations. It’s a wonderful outlet for artistic expression and a way to showcase your culinary skills.
5. Fun and Entertainment: Using an ice cream maker can be a fun and interactive activity for the whole family or for gatherings with friends. Everyone can join in the process of crafting their own custom flavors or simply enjoy the anticipation of watching the ice cream freeze and churn. It adds a touch of excitement and joy to the dessert-making experience.
6. Cost Savings: While there is an upfront investment in purchasing an ice cream maker, it can lead to long-term cost savings. Making homemade ice cream allows you to create larger quantities at a fraction of the cost of premium store-bought brands. Plus, you can indulge in your favorite flavors whenever you desire, without having to constantly purchase pre-packaged treats.
7. Healthier Options: An ice cream maker gives you the freedom to explore healthier alternatives to traditional ice cream. You can use low-fat milk, yogurt, or non-dairy alternatives to create lighter and healthier versions of your favorite frozen desserts. You can also incorporate fresh fruits, natural sweeteners, and superfoods to boost nutrition without compromising taste.
Using an ice cream maker is not just about enjoying delicious ice cream, but also about the satisfaction of creating something from scratch and infusing your frozen treats with love and care. It’s a rewarding experience that allows you to indulge in your sweet tooth cravings while maintaining control over the quality and ingredients of the final product.
Homemade vs. Store-Bought Ice Cream
When it comes to indulging in ice cream, there is often a debate between homemade and store-bought options. Both have their merits, but there are distinct differences that may influence your preference. Let’s compare homemade and store-bought ice cream and explore the advantages of each:
1. Quality and Control: Homemade ice cream offers unparalleled quality and control over the ingredients used. By making it yourself, you have control over the freshness and purity of the ingredients, ensuring a higher quality product. You can also adjust the sweetness level, add mix-ins to your liking, and experiment with flavors, resulting in a truly customized treat. On the other hand, store-bought ice cream may contain additives, stabilizers, and artificial flavors that can affect the taste and texture.
2. Flavor Variety: When it comes to flavor variety, homemade ice cream wins hands down. With an ice cream maker, you can unleash your creativity and experiment with endless flavor combinations. You can craft unique and personalized flavors that may not be available in stores. Store-bought ice cream, while offering a wide range of flavors, may not match the level of creativity and customization possible when making ice cream at home.
3. Texture and Creaminess: Homemade ice cream often boasts a smoother and creamier texture compared to store-bought alternatives. This is due to the control over the churn time and the amount of air incorporated during the freezing process. Homemade ice cream can be churned longer to achieve a denser and creamier consistency. Store-bought ice cream, on the other hand, may contain more air, resulting in a lighter texture.
4. Convenience and Accessibility: Store-bought ice cream offers convenience and accessibility. It is readily available in grocery stores, with a wide range of flavors and brands to choose from. Store-bought ice cream is a simple and quick option for satisfying an ice cream craving, especially when time is limited. Homemade ice cream requires planning, preparation, and the use of an ice cream maker, which may be less accessible to some.
5. Cost: While homemade ice cream initially requires an investment in an ice cream maker, it can be more cost-effective in the long run. Making ice cream at home allows you to create larger quantities using ingredients of your choice, making it more affordable than premium store-bought brands. However, store-bought ice cream may be more cost-effective for those who consume ice cream infrequently or prefer the convenience of single-serving portions.
6. Experience and Creativity: Making homemade ice cream is not just about the end result; it’s about the experience and creativity involved. It provides a sense of accomplishment and the ability to personalize your frozen treats. It can be a fun activity for the whole family or a creative outlet for culinary experimentation. Store-bought ice cream cannot replicate the joy and satisfaction that comes from creating your own unique flavors and combinations.
Ultimately, the choice between homemade and store-bought ice cream comes down to personal preference and priorities. Homemade ice cream offers quality, control, and the ability to experiment with flavors, while store-bought ice cream provides convenience and a wide variety of readily available options. Whichever option you choose, indulging in a scoop of ice cream is always a delightful treat.
Cleaning and Maintaining Your Ice Cream Maker
Proper cleaning and maintenance of your ice cream maker are essential to ensure its longevity and optimal performance. By following a few simple steps, you can keep your machine in excellent condition for years to come. Here are some tips for cleaning and maintaining your ice cream maker:
1. Read the Manufacturer’s Instructions: Before cleaning your ice cream maker, carefully review the manufacturer’s instructions. Each model may have specific guidelines regarding cleaning methods and which parts are dishwasher safe. Adhering to the manufacturer’s recommendations will help prevent damage to the machine.
2. Unplug and Disassemble the Machine: Start by unplugging your ice cream maker and allowing it to cool down completely. Then, disassemble the machine according to the instructions provided. Remove any removable parts, such as the mixing paddle, canister, or dasher. If applicable, detach the drive motor as well.
3. Wash the Removable Parts: Wash the removable parts, such as the canister, paddle, and dasher, in warm soapy water. Use a gentle dishwashing liquid and a soft sponge or cloth to avoid scratching the surfaces. Rinse thoroughly with clean water to remove any soap residue.
4. Clean the Exterior: Wipe down the exterior of the ice cream maker with a damp cloth to remove any spills or residue. Avoid using abrasive cleaners that may damage the surface. If the exterior is particularly dirty, you can use a mild soap solution and a soft cloth to clean it gently.
5. Dry Thoroughly: After washing, ensure that all parts of the ice cream maker are completely dry before reassembling or storing. Use a dish towel or allow the parts to air dry naturally. Moisture can lead to mold or rust, so it’s essential to make sure everything is thoroughly dried.
6. Store Properly: When not in use, store your ice cream maker in a clean, dry, and well-ventilated space. Make sure the machine is fully dry before storing to avoid any moisture buildup. If possible, store the removable parts separately to prevent them from getting lost or damaged.
7. Regular Maintenance: Routine maintenance is essential to keep your ice cream maker in optimal condition. This may include lubricating moving parts, checking for wear and tear, and ensuring proper alignment. Consult the manufacturer’s instructions for specific maintenance tasks and recommended intervals.
8. Handle with Care: Treat your ice cream maker with care to avoid any accidental damage. Avoid using abrasive or sharp objects that may scratch or puncture the surfaces. Be cautious when handling the canister, as it is delicate and can crack if mishandled or dropped.
By following these cleaning and maintenance tips, you can enjoy your ice cream maker for years to come. Keep it clean, handle it with care, and perform regular maintenance to ensure its longevity. With proper care, your ice cream maker will continue to churn out delicious frozen treats for many seasons of enjoyment.
Conclusion
Ice cream makers offer a delightful way to enjoy homemade frozen treats at your convenience. They provide the opportunity to experiment with flavors, control ingredients, and indulge in the satisfaction of creating your very own ice cream creations. From the historical origins of ice cream makers to the different types available today, we’ve explored the fascinating world of these appliances.
Understanding how an ice cream maker works and following the tips and tricks for using one can help you achieve the perfect creamy consistency and delicious flavors. Whether you prefer the classic nostalgia of a hand-cranked model or the convenience of a compressor machine, there is an ice cream maker suited to your needs.
Homemade ice cream brings the benefits of quality, flavor variety, and creative expression. It allows you to incorporate fresh and wholesome ingredients, customize flavors, and create healthier alternatives to store-bought options. While store-bought ice cream offers convenience and accessibility, homemade ice cream provides a level of freshness, taste, and texture that is unmatched.
Cleaning and maintaining your ice cream maker ensures its longevity and optimal performance. Proper care and routine maintenance keep your machine in excellent condition and ready for many batches of delicious ice cream to come.
Whether you’re an ice cream enthusiast or simply looking to add a new dimension to your culinary repertoire, an ice cream maker is a valuable addition to your kitchen. It offers endless possibilities for creating personalized frozen delights, all while having fun and indulging your creativity.
So, grab your favorite ingredients, fire up your ice cream maker, and embark on the journey of making scrumptious homemade ice cream. The joy and satisfaction of enjoying a scoop of your own creation will be worth every churn.