Preparation for Cleaning
Before you begin cleaning your ice cream maker, it is important to properly prepare for the task at hand. This will ensure that the cleaning process goes smoothly and effectively. Here are some steps to follow to prepare for cleaning your ice cream maker:
- Unplug the Ice Cream Maker: Make sure that your ice cream maker is unplugged from the power outlet before you start disassembling and cleaning it. Safety is paramount, and this will prevent any accidents during the cleaning process.
- Allow the Ice Cream Maker to Cool: If you have recently used your ice cream maker, give it some time to cool down before you start cleaning it. This will help prevent any burns or injuries while handling the machine and its components.
- Read the Instruction Manual: Take a moment to refer to the instruction manual provided with your ice cream maker. This will give you specific guidelines and recommendations for cleaning your particular model. It is essential to follow these instructions to avoid damaging the machine.
- Gather Cleaning Supplies: Before you start cleaning, gather all the necessary cleaning supplies. This typically includes warm soapy water, a soft sponge or cloth, and a non-abrasive brush for hard-to-reach areas. Avoid using harsh chemicals or abrasive cleaning agents as they can damage the ice cream maker.
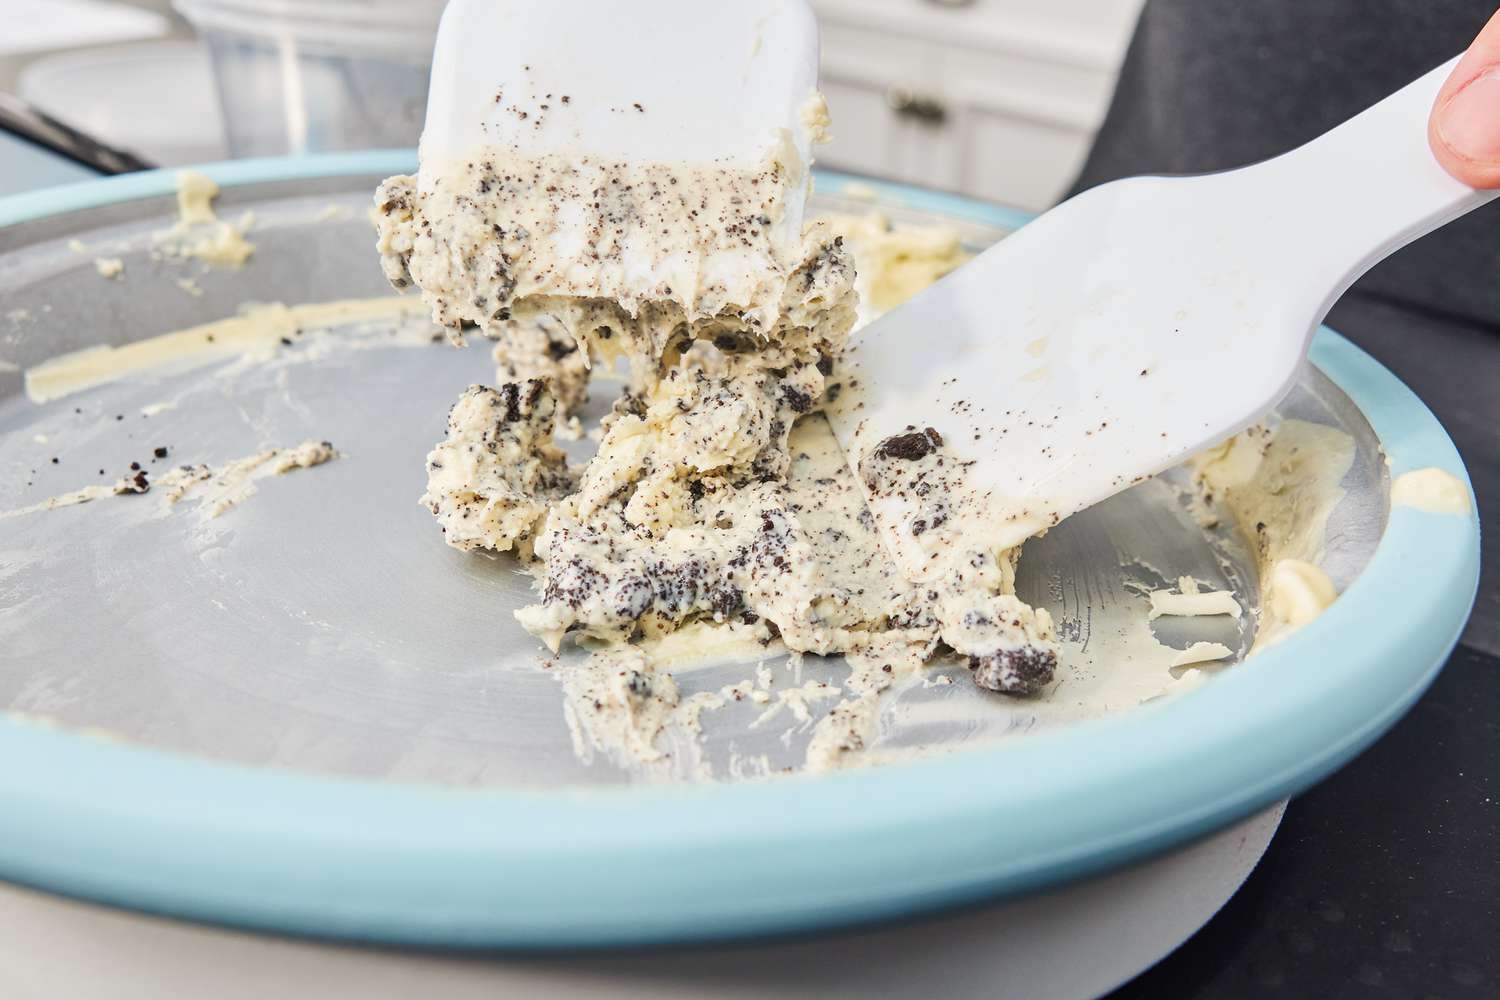
- Remove Ice Cream Residue: If there is any leftover ice cream or residue in the machine, remove it using a plastic spatula or spoon. Be gentle to avoid scratching the surfaces.
By following these preparation steps, you will be ready to embark on the cleaning process with confidence. Remember, proper preparation sets the foundation for effective cleaning and ensures the longevity of your ice cream maker.
Disassembling the Ice Cream Maker
Before you can clean your ice cream maker thoroughly, you’ll need to disassemble it and separate all the removable parts. This will allow for a more detailed and efficient cleaning process. Here’s how to disassemble your ice cream maker:
- Refer to the Instruction Manual: Start by referring to the instruction manual to understand how to disassemble your specific ice cream maker model. The manual will provide step-by-step instructions and illustrate which parts are removable.
- Unplug the Ice Cream Maker: Before disassembling, ensure that the ice cream maker is unplugged from the power source to prevent any accidents or electrical shocks during the process.
- Remove the Freezer Bowl: The freezer bowl is a crucial component of the ice cream maker. Twist it counterclockwise or follow the instructions to detach it from the motor base. Place it aside for cleaning.
- Take Out the Paddle or Dashers: Most ice cream makers have a paddle or dashers that mix the ice cream while it freezes. Gently lift and remove these components, paying attention to any locking mechanisms or hooks that hold them in place.
- Detach Additional Removable Parts: Some models may have additional removable parts, such as lids, chutes, or covers. If applicable, carefully separate these parts according to the instructions provided.
- Inspect for Any Hidden Components: Take a quick look inside the ice cream maker to ensure you haven’t missed any hidden components that need to be disassembled. Sometimes, certain parts may require more attention, so make sure everything is accounted for.
By following these steps, you can easily and safely disassemble your ice cream maker, preparing it for a thorough and effective cleaning. Properly disassembling the machine will allow you to access all the nooks and crannies where residues may have accumulated, ensuring that your ice cream maker is sparkling clean.
Cleaning the Removable Parts
Once you have disassembled your ice cream maker, it’s time to clean the removable parts. These parts, such as the freezer bowl, paddle or dashers, and any additional detachable components, require special attention to ensure they are free from any residue or buildup. Here’s how to clean the removable parts:
- Read the Instruction Manual: Before cleaning, refer to the instruction manual for specific cleaning guidelines and recommendations for each removable part. Following these instructions will help prevent any damage to the parts or the machine.
- Using Warm Soapy Water: Fill a basin or sink with warm water and add a mild dishwashing soap. Gently submerge the removable parts into the soapy water, ensuring that they are completely covered.
- Scrubbing and Rinsing: Use a soft sponge or cloth to scrub the surfaces of the removable parts, paying extra attention to any areas with stubborn residues. Rinse each part thoroughly with clean water to remove any soap residue.
- Drying the Parts: After rinsing, use a clean towel or let the parts air dry completely. Make sure to dry all the parts thoroughly before reassembling the ice cream maker. This will prevent any moisture buildup and potential damage.
- Removing Stains: If any stubborn stains or residues remain on the removable parts, you can try using a non-abrasive brush or a mixture of baking soda and water to gently scrub the affected areas. Always follow the instruction manual recommendations and avoid using harsh chemicals or abrasive materials.
- Inspecting for Damage: While cleaning the parts, it’s essential to inspect them for any signs of damage or wear. Check for cracks, scratches, or loose components. If any damage is found, consult the instruction manual for instructions on how to proceed.
By following these cleaning steps, you can ensure that the removable parts of your ice cream maker are thoroughly cleaned and ready for the next use. Remember to handle the parts with care and always follow the guidelines provided by the manufacturer to maintain the longevity of your machine.
Cleaning the Freezer Bowl
The freezer bowl is a crucial component of your ice cream maker, as it is responsible for freezing the ice cream mixture. Cleaning the freezer bowl is essential to maintain its performance and prevent any contamination or off-flavors in your frozen treats. Here’s how to clean the freezer bowl effectively:
- Allow the Freezer Bowl to Thaw: If the freezer bowl has been in the freezer, allow it to thaw for a few minutes before cleaning. This will make it easier to remove any frozen residue.
- Gently Scrape off Residue: Use a plastic spatula or spoon to gently scrape off any remaining ice cream residue from the walls of the freezer bowl. Be careful not to scratch the surface and remove only the visible residue.
- Warm Soapy Water Soak: Fill a basin or sink with warm water and a mild dishwashing soap. Submerge the freezer bowl into the soapy water, ensuring that it is completely covered. Let it soak for a few minutes to loosen any stubborn residue.
- Gentle Scrubbing: After soaking, use a soft sponge or cloth to gently scrub the inside and outside of the freezer bowl. Pay extra attention to areas with residue. Avoid using abrasive materials that could damage the bowl’s surface.
- Rinse Thoroughly: Rinse the freezer bowl thoroughly with clean water to remove any soap residue. Ensure that all the soap has been rinsed off before drying.
- Drying the Freezer Bowl: Use a clean towel to dry the freezer bowl. Ensure that it is completely dry before reassembling the ice cream maker or storing the bowl. Moisture can lead to freezer burn or damage the bowl’s functionality.
- Freezing the Bowl: If you plan to use the ice cream maker soon, ensure that the freezer bowl is completely dry before placing it back in the freezer. This will prevent any ice crystals or moisture from affecting the freezing process.
By following these steps, you can maintain the cleanliness and performance of your ice cream maker’s freezer bowl. Regular cleaning after each use will ensure that your frozen desserts are free from any contamination and that your ice cream maker is ready for the next delicious batch.
Cleaning the Motor Base
While the removable parts of your ice cream maker are essential to clean, the motor base also requires attention to ensure its longevity and proper functioning. Here’s how to effectively clean the motor base of your ice cream maker:
- Unplug the Ice Cream Maker: Before cleaning the motor base, ensure that it is unplugged from the power source to prevent any accidents or electrical shocks.
- Remove Loose Debris: Use a soft, dry cloth or a small brush to remove any loose debris or crumbs from the surface of the motor base. Pay attention to any crevices or areas where dirt may accumulate.
- Wipe with a Damp Cloth: Dampen a cloth with warm water and wring it out until it is just slightly damp. Gently wipe the surface of the motor base, removing any stains, spills, or accumulated residue. Avoid getting excess water on the motor or electrical components.
- Pay Attention to Buttons and Dials: Take extra care when cleaning around buttons, dials, and any other control mechanisms. Use a soft-bristled brush or a cotton swab dipped in warm soapy water to clean these areas thoroughly. Rinse and dry them afterwards.
- Avoid Harsh Chemicals: To protect the motor base and its finish, avoid using harsh chemicals, abrasives, or soaking it in water. These can damage the surface or electrical components of the machine.
- Drying the Motor Base: After cleaning, use a dry cloth to gently wipe the motor base and remove any remaining moisture. Ensure that it is completely dry before reassembling or storing the ice cream maker.
- Inspect for Any Issues: While cleaning, take the opportunity to inspect the motor base for any signs of damage or wear. Look for loose wires, cracks, or any malfunctioning parts. If you notice any problems, consult the instruction manual for guidance on what to do next.
By following these cleaning steps, you can ensure that the motor base of your ice cream maker stays clean, free from debris, and in optimal working condition. Proper maintenance of the motor base will contribute to the longevity and performance of your ice cream maker, allowing you to enjoy delightful frozen treats for years to come.
Drying and Storing the Ice Cream Maker
Properly drying and storing your ice cream maker after cleaning is essential to maintain its quality and longevity. Taking these extra steps will ensure that your ice cream maker is ready for use whenever you’re craving a sweet frozen treat. Here’s what you need to do:
- Drying the Removable Parts: After cleaning, ensure that all removable parts, such as the freezer bowl, paddle or dashers, and any additional components, are completely dry. Use a clean towel or let them air dry naturally. Moisture left on the parts can lead to freezer burn or damage over time.
- Drying the Motor Base: Once you’ve wiped down the motor base, ensure that it is completely dry. Pay extra attention to any buttons, dials, or control mechanisms. Removing all moisture will reduce the risk of electrical damage and prolong the lifespan of the ice cream maker.
- Reassembling the Ice Cream Maker: Once all the components are dry, carefully reassemble the ice cream maker. Place the freezer bowl back into the motor base and insert the paddle or dashers. Make sure that all parts fit securely in their designated positions.
- Storage Location: Find a suitable location to store your ice cream maker. Ideally, choose a cool and dry place away from direct sunlight and extreme temperature changes. It’s important to store the ice cream maker in a place where it won’t get bumped or jostled, to prevent any damage.
- Cover or Wrap: To protect your ice cream maker from dust and debris, consider covering it with a clean and breathable cloth or placing it inside a storage bag specifically designed for small appliances. This will help keep the machine clean and ready for use.
- Keep the Instruction Manual Handy: Store the instruction manual in a convenient and easily accessible location. It will come in handy for future reference, troubleshooting, or cleaning instructions.
By following these drying and storage steps, you can ensure that your ice cream maker is properly maintained and ready to create delicious frozen treats whenever you desire. Taking care of your ice cream maker will extend its lifespan and ensure that you can enjoy homemade ice cream, sorbet, or gelato for years to come.
Tips for Maintaining your Ice Cream Maker
Proper maintenance of your ice cream maker will not only prolong its lifespan but also ensure consistent performance and delicious results. Here are some valuable tips to help you maintain your ice cream maker:
- Follow the Instruction Manual: Always refer to the instruction manual for specific guidelines on operation, cleaning, and maintenance. Each ice cream maker may have unique requirements, and following the manufacturer’s instructions will help you get the best results.
- Regular Cleaning: After each use, make it a habit to clean your ice cream maker thoroughly. This prevents residue buildup, mold, or bacterial growth. Follow the cleaning steps mentioned earlier in this article to ensure proper sanitation.
- Use High-Quality Ingredients: When making homemade ice cream, use high-quality ingredients to enhance the taste and texture of your frozen creations. Fresh and high-quality dairy products, fruits, and flavorings will result in superior ice cream.
- Allow Freezer Bowl to Fully Freeze: To achieve the best results, ensure that the freezer bowl is fully frozen before using it to make ice cream. Many models require the freezer bowl to be frozen for a specific amount of time, usually overnight.
- Pre-Chill Ingredients: For optimal results, pre-chill your ice cream mixture before pouring it into the ice cream maker. This can be done by refrigerating the mixture for a few hours. Chilling the ingredients will help the ice cream maker freeze the mixture quickly and efficiently.
- Avoid Overfilling: To prevent overflow and ensure proper churning, avoid overfilling the ice cream maker. Follow the manufacturer’s recommendations on the maximum fill line to prevent any messy spills or issues during the freezing process.
- Store the Freezer Bowl Correctly: When not in use, store the freezer bowl in a clean plastic bag or its original protective packaging to prevent absorption of odors and contamination. Place it in the coldest part of your freezer to maintain its frozen state.
- Don’t Run the Machine Too Long: Pay attention to the recommended churning time provided by the manufacturer. Overrunning the machine can cause the ice cream to become too hard or affect the machine’s motor.
- Keep the Machine Level: Ensure that the ice cream maker is placed on a stable and level surface during use. This will prevent any unnecessary vibrations or movements that could affect its performance or longevity.
- Service and Maintenance: If you encounter any issues or notice any signs of malfunction, consult the instruction manual for troubleshooting tips or contact customer support. Regular servicing and maintenance by professionals may be necessary for more complex issues.
By incorporating these maintenance tips into your ice cream maker routine, you can enjoy the full potential of your machine and create delightful frozen treats for yourself and your loved ones. A well-maintained ice cream maker will continue to bring joy and sweet experiences for years to come.