Introduction
Who doesn’t love the creamy, decadent goodness of chocolate ice cream? It’s the perfect treat for a hot summer day or any time you’re craving something sweet. But what if you don’t have an ice cream maker at home? Don’t worry! In this article, we’ll show you how to make homemade chocolate ice cream without the need for any specialized equipment.
Making ice cream at home may seem daunting, but with the right recipe and a few simple techniques, you can create a rich and creamy chocolate ice cream that rivals any store-bought version. Plus, by making it yourself, you have complete control over the ingredients, ensuring a fresher and healthier treat.
The secret to making homemade ice cream without an ice cream maker lies in the process of chilling and freezing the mixture correctly. By following a few simple steps, you’ll have a velvety smooth chocolate ice cream that will delight your taste buds.
In this guide, we’ll provide you with a step-by-step process on how to make homemade chocolate ice cream without an ice cream maker. We’ll also share the list of ingredients you’ll need and the equipment required to achieve the perfect consistency and flavor.
So get ready to indulge in your favorite chocolaty treat right in the comfort of your own kitchen. Let’s dive in and learn how to make homemade chocolate ice cream without an ice cream maker!
Ingredients
Making homemade chocolate ice cream without an ice cream maker requires a few simple ingredients that you may already have in your kitchen. Here’s what you’ll need:
- 2 cups heavy cream
- 1 cup whole milk
- 3/4 cup granulated sugar
- 1/4 cup unsweetened cocoa powder
- 4 ounces dark chocolate, chopped
- 1 teaspoon vanilla extract
- Pinch of salt
These ingredients come together to create a creamy and rich chocolate ice cream base. The heavy cream and whole milk provide the necessary fat content for that smooth texture we all love, while the sugar adds sweetness to balance out the bitterness of the cocoa powder and dark chocolate. The unsweetened cocoa powder gives the ice cream its intense chocolate flavor, and the dark chocolate chunks add delightful bursts of chocolatey goodness.
You can customize the recipe to suit your taste preferences. If you prefer a sweeter ice cream, you can increase the amount of sugar. For a more intense chocolate flavor, you can add a bit more cocoa powder or use a higher percentage of dark chocolate. Don’t be afraid to experiment and make it your own!
Now that you have your ingredients ready, let’s move on to the equipment you’ll need to successfully make homemade chocolate ice cream without an ice cream maker.
Equipment Needed
To make homemade chocolate ice cream without an ice cream maker, you’ll need a few essential tools and equipment. Don’t worry, you won’t need any fancy gadgets. Here’s what you’ll need:
- Mixing Bowl: A large mixing bowl will be used to combine the ingredients and create the chocolate ice cream base.
- Whisk or Hand Mixer: You’ll need a whisk or a hand mixer to blend the ingredients together. This will help create a smooth and creamy texture.
- Saucepan: A medium-sized saucepan is necessary to heat and melt the chocolate and cocoa powder. This step is crucial to infuse the chocolate flavor into the ice cream base.
- Heatproof Spatula: A heatproof spatula will come in handy while stirring and scraping the mixture in the saucepan. Make sure it can withstand high temperatures.
- Plastic Wrap or Wax Paper: You’ll need to cover the surface of the ice cream mixture to prevent a skin from forming while it chills in the refrigerator.
- Freezer-Safe Container: Once the ice cream mixture is ready, you’ll need a container to freeze it in. Choose a container with a tight-fitting lid to prevent ice crystals from forming on the ice cream.
These basic kitchen tools are likely already part of your kitchen arsenal. It’s always a good idea to gather your equipment and ensure everything is clean and ready before you start making the ice cream. Now that you have your ingredients and equipment ready, let’s move on to the step-by-step process of making homemade chocolate ice cream without an ice cream maker.
Step 1: Prepare the Chocolate Base
The first step in making homemade chocolate ice cream without an ice cream maker is to prepare the chocolate base. This base will serve as the foundation for the rich and creamy ice cream you’ll be enjoying later. Here’s how to do it:
- In a medium-sized saucepan, combine the heavy cream, whole milk, granulated sugar, unsweetened cocoa powder, and a pinch of salt.
- Place the saucepan over low heat and stir the mixture continuously until the sugar is dissolved and the cocoa powder is well-blended.
- Add the chopped dark chocolate to the saucepan and continue stirring until the chocolate is completely melted and the mixture turns smooth and velvety.
- Remove the saucepan from the heat and let the chocolate base cool to room temperature.
Ensuring that the sugar is dissolved and the chocolate is fully melted is crucial for a smooth and creamy ice cream base. Stirring continuously prevents any lumps from forming and ensures that the flavors meld together perfectly.
Once the chocolate base has cooled to room temperature, it’s time to move on to the next step: chilling the mixture.
Step 2: Chill the Mixture
After preparing the chocolate base for your homemade ice cream, it’s time to chill the mixture. This step is crucial for achieving the perfect texture and consistency. Here’s how to do it:
- Once the chocolate base has cooled to room temperature, transfer it to a mixing bowl.
- Cover the surface of the mixture with plastic wrap or wax paper. This will prevent a skin from forming.
- Place the mixing bowl in the refrigerator and let it chill for at least 4 hours or overnight. Chilling the mixture allows the flavors to develop and the base to thicken.
During the chilling process, the mixture will transform into a luscious and creamy ice cream texture. It’s important to be patient and give it enough time to chill thoroughly.
Once the mixture is properly chilled, it’s time to move on to the next step: whipping the cream.
Step 3: Whip the Cream
Whipping the cream is a crucial step in creating the light and airy texture of homemade chocolate ice cream. Here’s how to whip the cream:
- In a separate mixing bowl, pour 1 cup of heavy cream.
- Using a whisk or a hand mixer, beat the cream until it reaches soft peaks. This means that when you lift the whisk or mixer, the cream will form gentle peaks that slump over.
- Be careful not to over-whip the cream, as it can lead to a grainy texture. Watch it closely, as this process can happen quite quickly.
By whipping the cream to soft peaks, you are incorporating air into the mixture, which will contribute to the light and fluffy texture of the ice cream. This step will also help create a smooth mouthfeel.
Once the cream is whipped to the desired consistency, it’s time to combine it with the chilled chocolate base in the next step.
Step 4: Combine the Ingredients
Now that you have whipped the cream, it’s time to combine it with the chilled chocolate base to create the perfect marriage of flavors. Here’s how to do it:
- Gently fold the whipped cream into the chilled chocolate base using a spatula. Start by adding a small amount of the whipped cream and gradually incorporate the rest.
- Continue folding until the whipped cream and chocolate base are well combined and no streaks remain. Be careful not to overmix, as you want to maintain the light and airy texture.
- At this point, you can add any additional mix-ins, such as chocolate chips, nuts, or even a swirl of caramel. Stir them in gently to distribute them evenly throughout the ice cream.
The folding technique is essential to prevent deflating the whipped cream and to ensure an even distribution of air throughout the mixture. It’s important to be gentle and thorough during this step to achieve a creamy and homogenous ice cream base.
Once the ingredients are well combined, it’s time to move on to the next step: freezing the ice cream.
Step 5: Freeze the Ice Cream
Now that you have combined the ingredients for your homemade chocolate ice cream, it’s time to freeze it to achieve that delightful frozen treat. Follow these steps to properly freeze the ice cream:
- Transfer the mixture into a freezer-safe container. Make sure to use a container with a tight-fitting lid to prevent any freezer burn or ice crystals from forming.
- Smooth the surface of the ice cream with a spatula to create an even layer.
- Cover the container with the lid and place it in the freezer.
- Allow the ice cream to freeze for a minimum of 6 hours, or preferably overnight.
This freezing time is crucial to lock in the creamy texture and solidify the ice cream. Give it enough time to fully freeze, ensuring that it reaches the desired consistency.
During the freezing process, it’s normal for the ice cream to develop ice crystals. To minimize this, you can periodically stir or whisk the ice cream every hour or so during the initial freezing stage. This will ensure a smoother and creamier texture.
Once the ice cream is fully frozen and you’re ready to indulge, it’s time to move on to the final step: softening and serving the homemade chocolate ice cream.
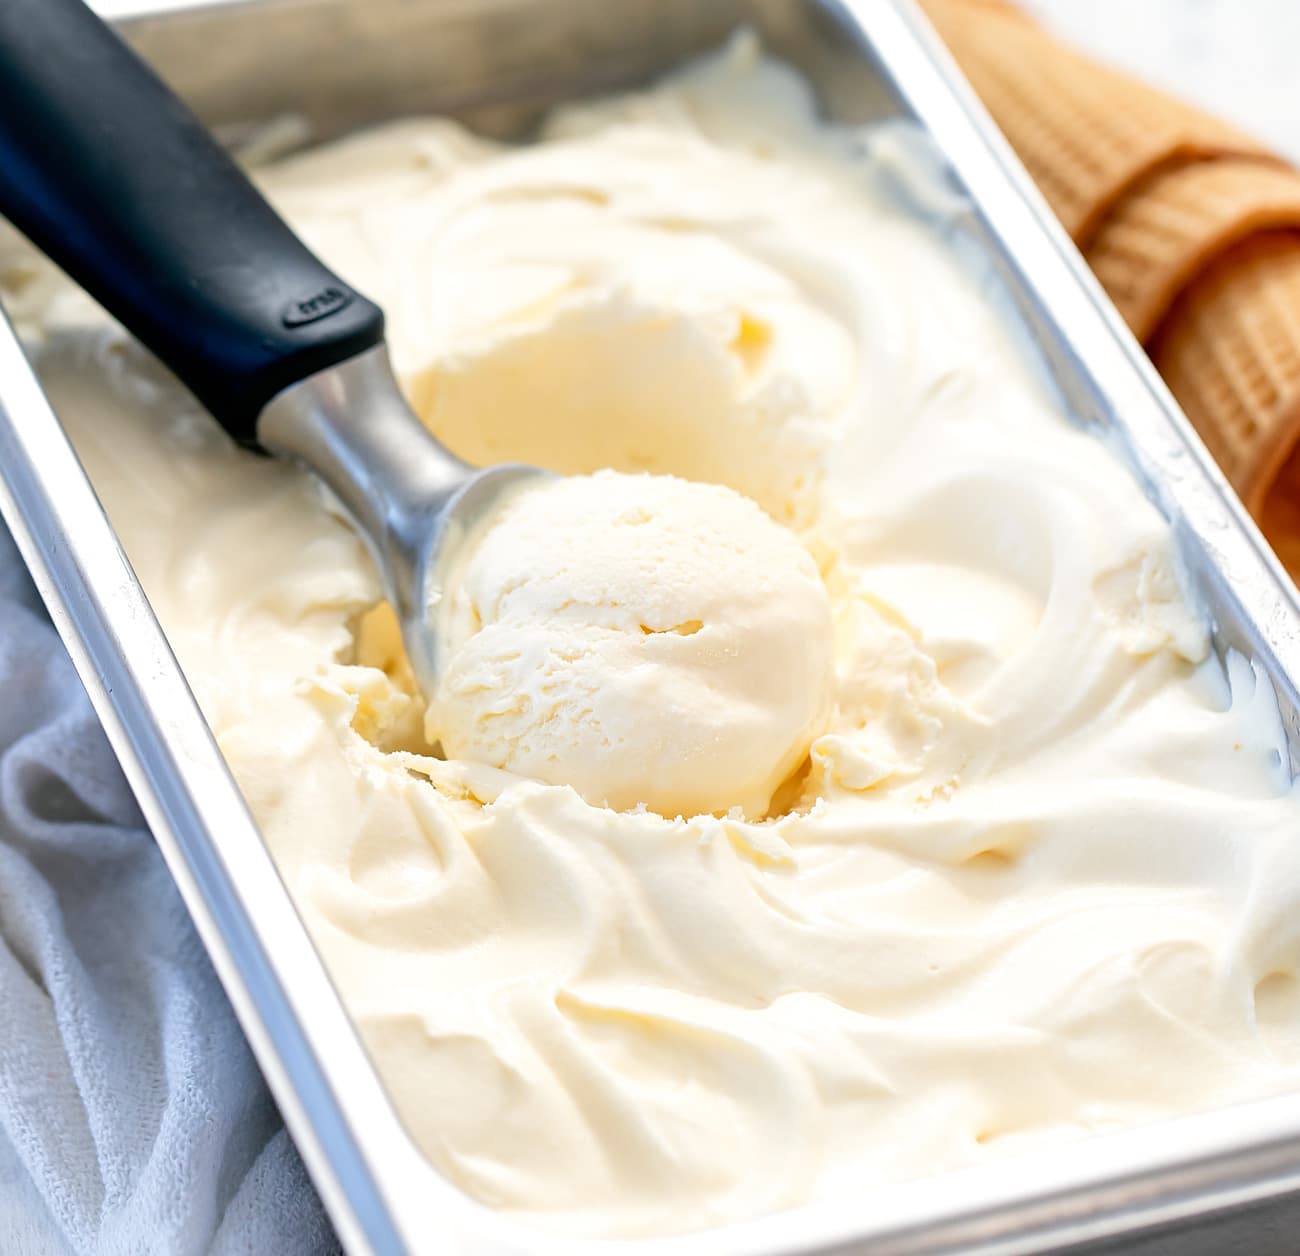
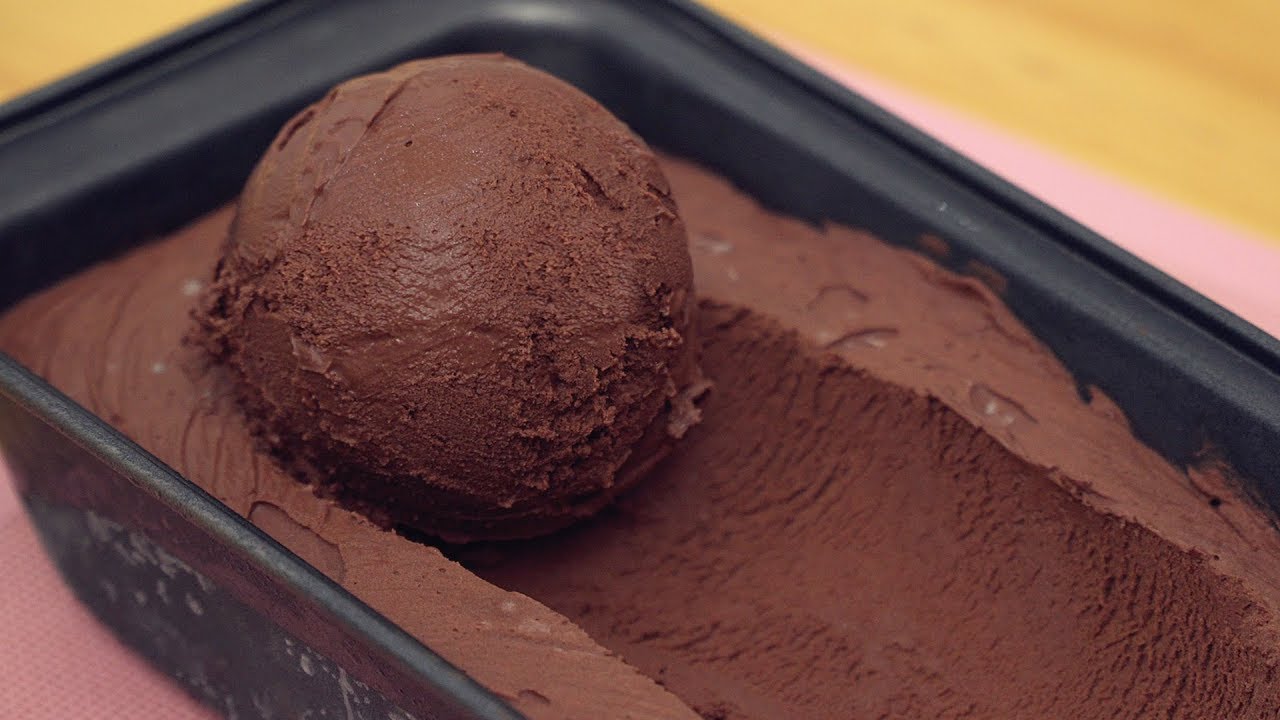
Step 6: Soften and Serve
After patiently waiting for the homemade chocolate ice cream to freeze, it’s time to soften it slightly to achieve that perfect scooping consistency. Here’s how to do it:
- Remove the container of frozen ice cream from the freezer and let it sit at room temperature for about 5-10 minutes. This will allow the ice cream to slightly soften without completely melting.
- Once the ice cream has softened, scoop it into bowls or cones using an ice cream scoop.
- For an extra touch, you can garnish the ice cream with chocolate shavings, sprinkles, or a drizzle of melted chocolate.
- Now, it’s time to indulge in the creamy, homemade chocolate ice cream. Enjoy it immediately or return any leftover ice cream to the freezer for later enjoyment.
Softening the ice cream allows it to become more scoopable and easier to serve. It ensures that you can enjoy the smooth and creamy texture without struggling to get a scoop out of the container.
Remember, homemade ice cream tends to freeze harder than store-bought versions due to the absence of stabilizers and preservatives. So, softening it before serving is essential for a delightful ice cream experience.
Now that you know how to soften and serve the homemade chocolate ice cream, it’s time to savor the delicious rewards of your labor.
Conclusion
Congratulations! You’ve successfully learned how to make homemade chocolate ice cream without the need for an ice cream maker. By following the step-by-step process outlined in this article, you can create a rich, creamy, and decadent treat right in the comfort of your own kitchen.
Making ice cream at home allows you to control the quality of the ingredients and customize the flavor to suit your preferences. From the smooth chocolate base to the whipped cream and optional mix-ins, every scoop of this homemade ice cream is a delightful burst of flavor.
Remember, patience is key when it comes to homemade ice cream. Allowing the mixture to chill, the ice cream to freeze, and the final product to slightly soften before serving will result in the best texture and taste.
Whether enjoyed on its own, in a cone, or as a decadent addition to a sundae, this homemade chocolate ice cream is sure to impress your family and friends. So grab your favorite toppings, gather your loved ones, and indulge in a bowl of pure chocolatey bliss.
We hope you enjoyed this guide and that it has inspired you to explore the world of homemade ice cream. Get creative with flavors, experiment with different mix-ins, and have fun as you embark on your homemade ice cream adventures.
Now, it’s time to go and make your own batch of delicious homemade chocolate ice cream. Go ahead and treat yourself and your loved ones to this delightful frozen dessert!