Introduction
Indulging in a creamy, rich bowl of homemade chocolate ice cream is a pleasure that few can resist. The velvety texture and intense flavor make it a beloved treat for people of all ages. While store-bought options are readily available, there is something special about making your own chocolate ice cream from scratch. By using an ice cream maker, you can create a delectable dessert that surpasses any commercially produced version.
In this article, we will explore the step-by-step process of making chocolate ice cream using an ice cream maker. From gathering the ingredients to storing the final product, we will cover all the necessary details to ensure a successful homemade treat.
Whether it’s for a cozy family gathering, a summer barbecue, or simply a late-night craving, making chocolate ice cream at home provides a sense of satisfaction and accomplishment. One of the advantages of making your own ice cream is having control over the quality of ingredients used. You can choose the finest cocoa powder, high-quality chocolate, and even customize the level of sweetness to suit your taste buds.
Furthermore, the process of making chocolate ice cream from scratch allows for creativity. You can experiment with different flavors, mix-ins, and toppings to take your dessert to the next level. Create a classic combination by adding chunks of chocolate or elevate it with a sprinkle of sea salt for a delightful contrast.
So, without further ado, let’s dive into the world of homemade chocolate ice cream and discover how you can create this scrumptious treat in the comfort of your own kitchen.
Ingredients Needed
Before embarking on your chocolate ice cream making adventure, it’s important to gather all the necessary ingredients. Here’s a list of what you’ll need:
- 2 cups of heavy cream
- 1 cup of whole milk
- 3/4 cup of granulated sugar
- 1/4 cup of unsweetened cocoa powder
- 4 ounces of dark or semisweet chocolate, chopped
- 4 large egg yolks
- 1 teaspoon of pure vanilla extract
- A pinch of salt
The heavy cream and whole milk provide the creamy base for the ice cream, while the sugar adds sweetness. The unsweetened cocoa powder brings in the rich chocolate flavor, and the dark or semisweet chocolate adds extra depth to the taste. The egg yolks help to create a smooth and creamy texture in the final product, while the vanilla extract and salt enhance the overall flavor.
It’s essential to use high-quality ingredients, especially when it comes to the chocolate. Opt for a good quality chocolate with a high percentage of cocoa for the best results. This will ensure that your chocolate ice cream has a rich and indulgent taste.
Note: If you have any dietary restrictions or preferences, you can make substitutions to accommodate them. For example, if you prefer a lighter version, you can use half-and-half instead of heavy cream or opt for a dairy-free milk alternative for a vegan-friendly option.
Now that you have all the necessary ingredients ready, it’s time to move on to the equipment needed to bring your homemade chocolate ice cream dreams to life.
Equipment Needed
To successfully make chocolate ice cream in an ice cream maker, you’ll need the following equipment:
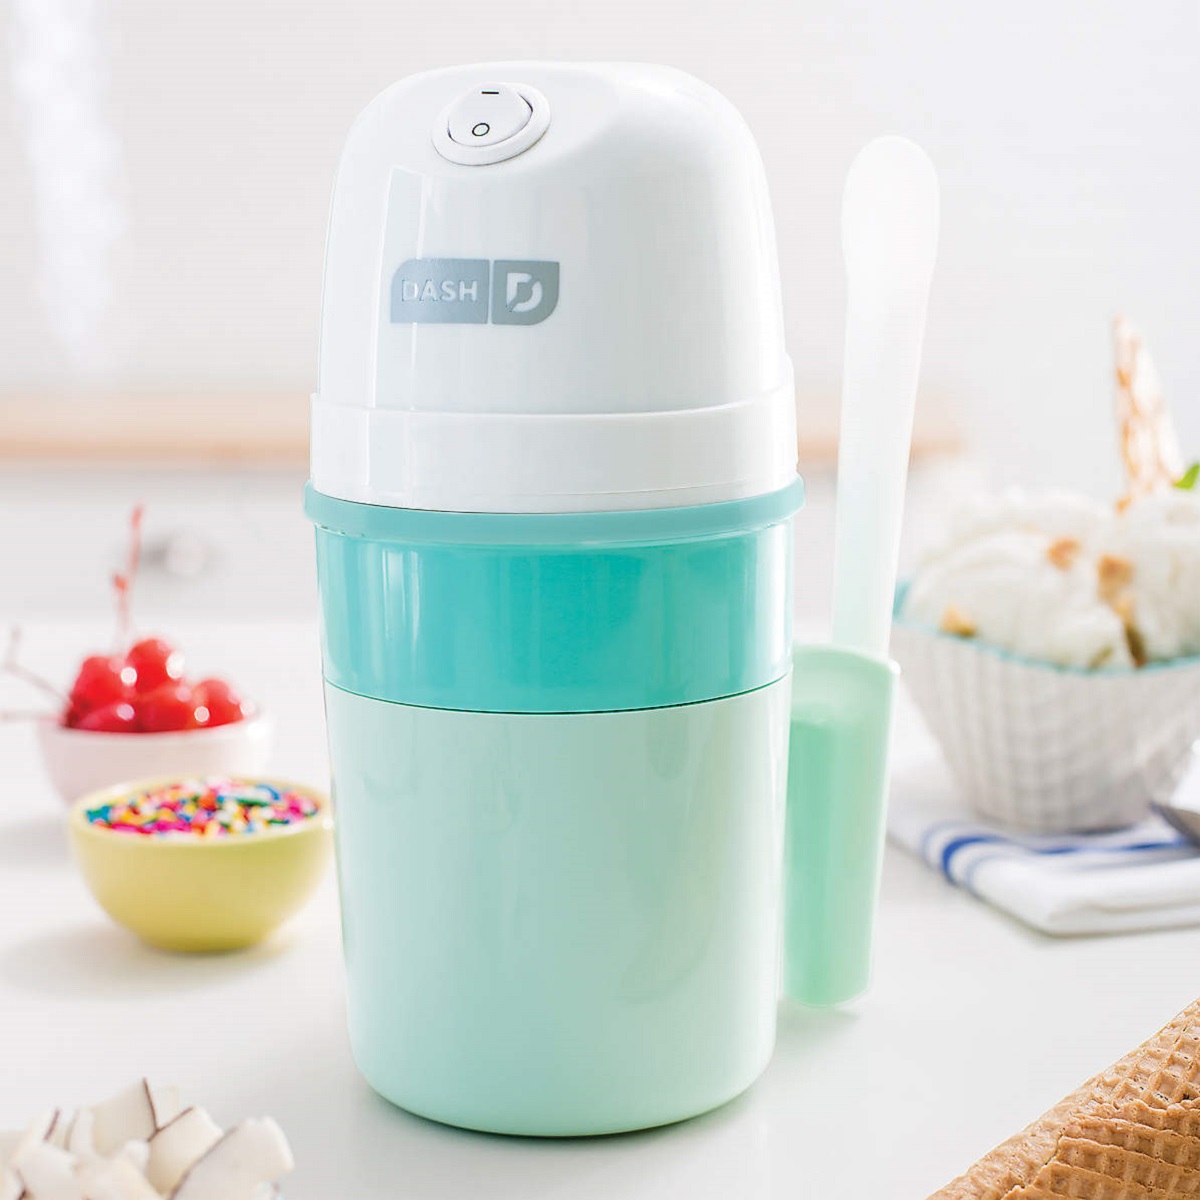
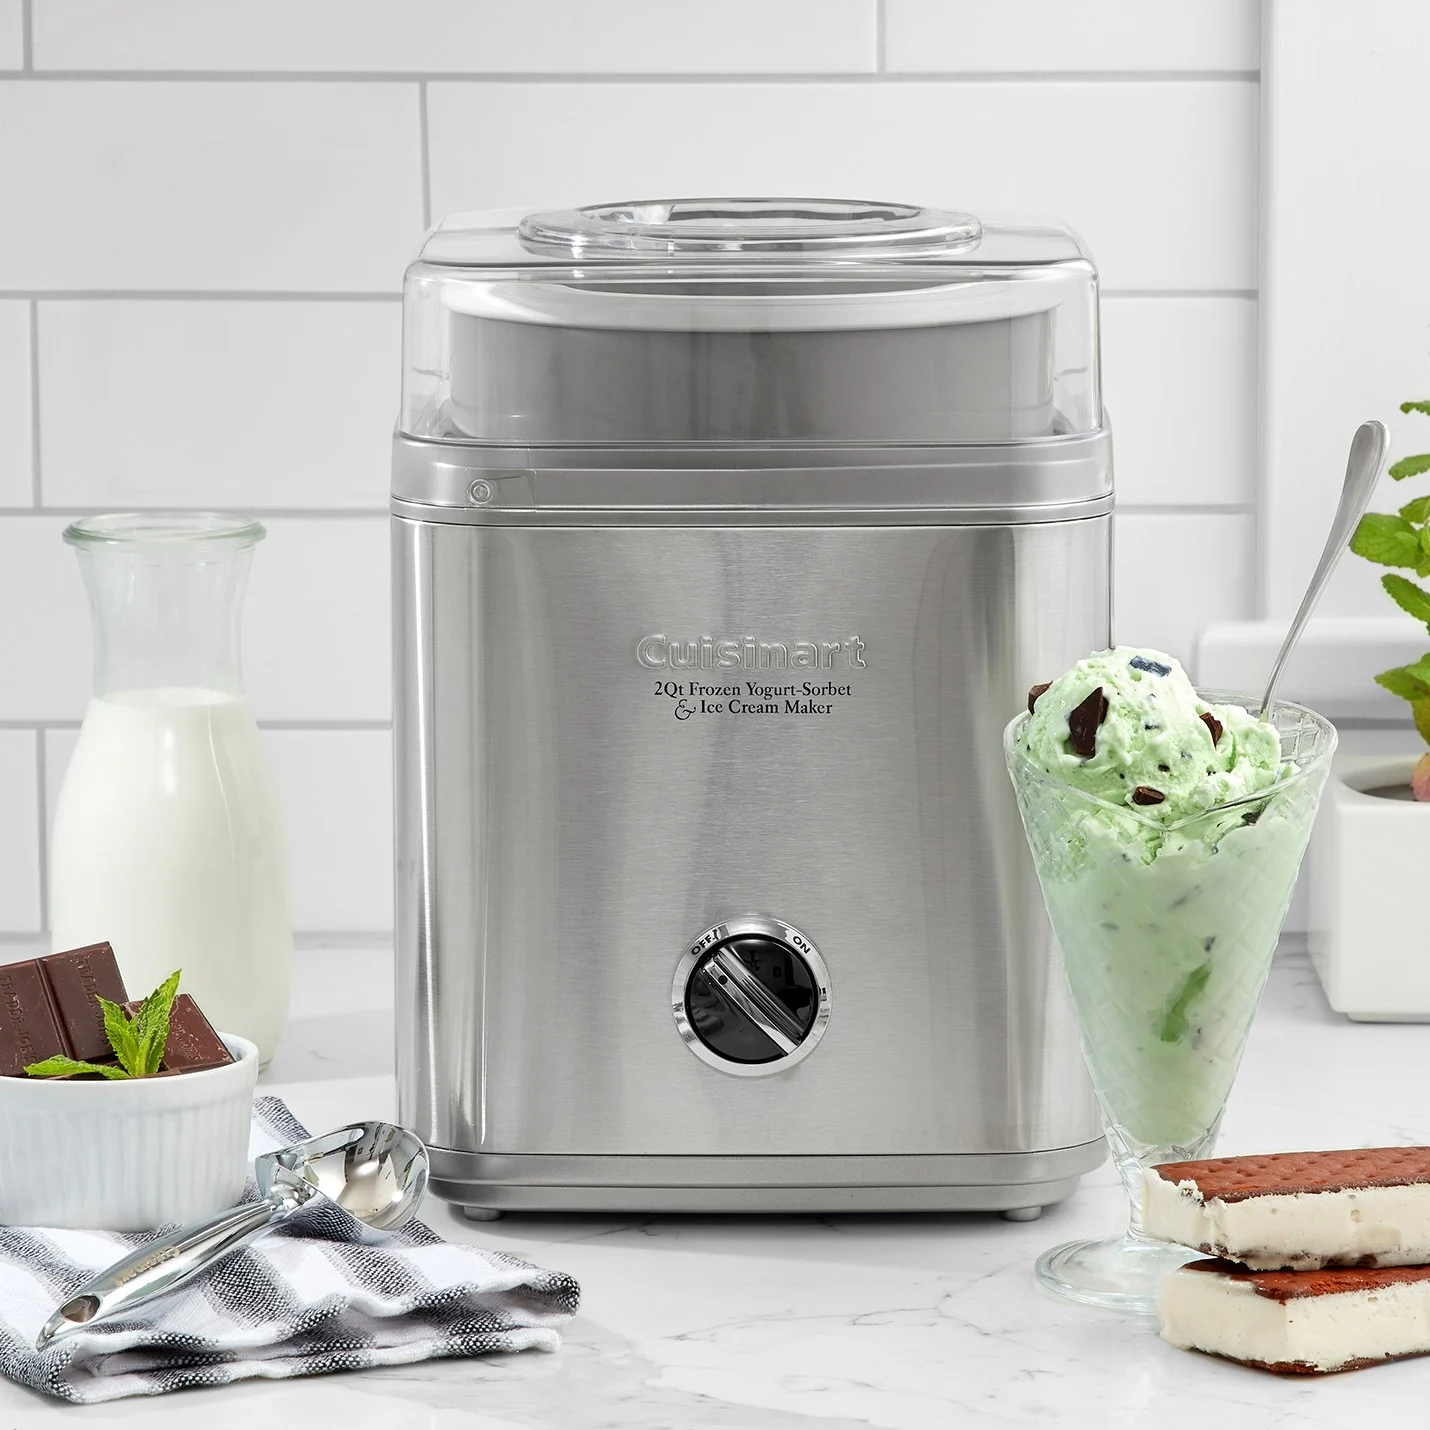
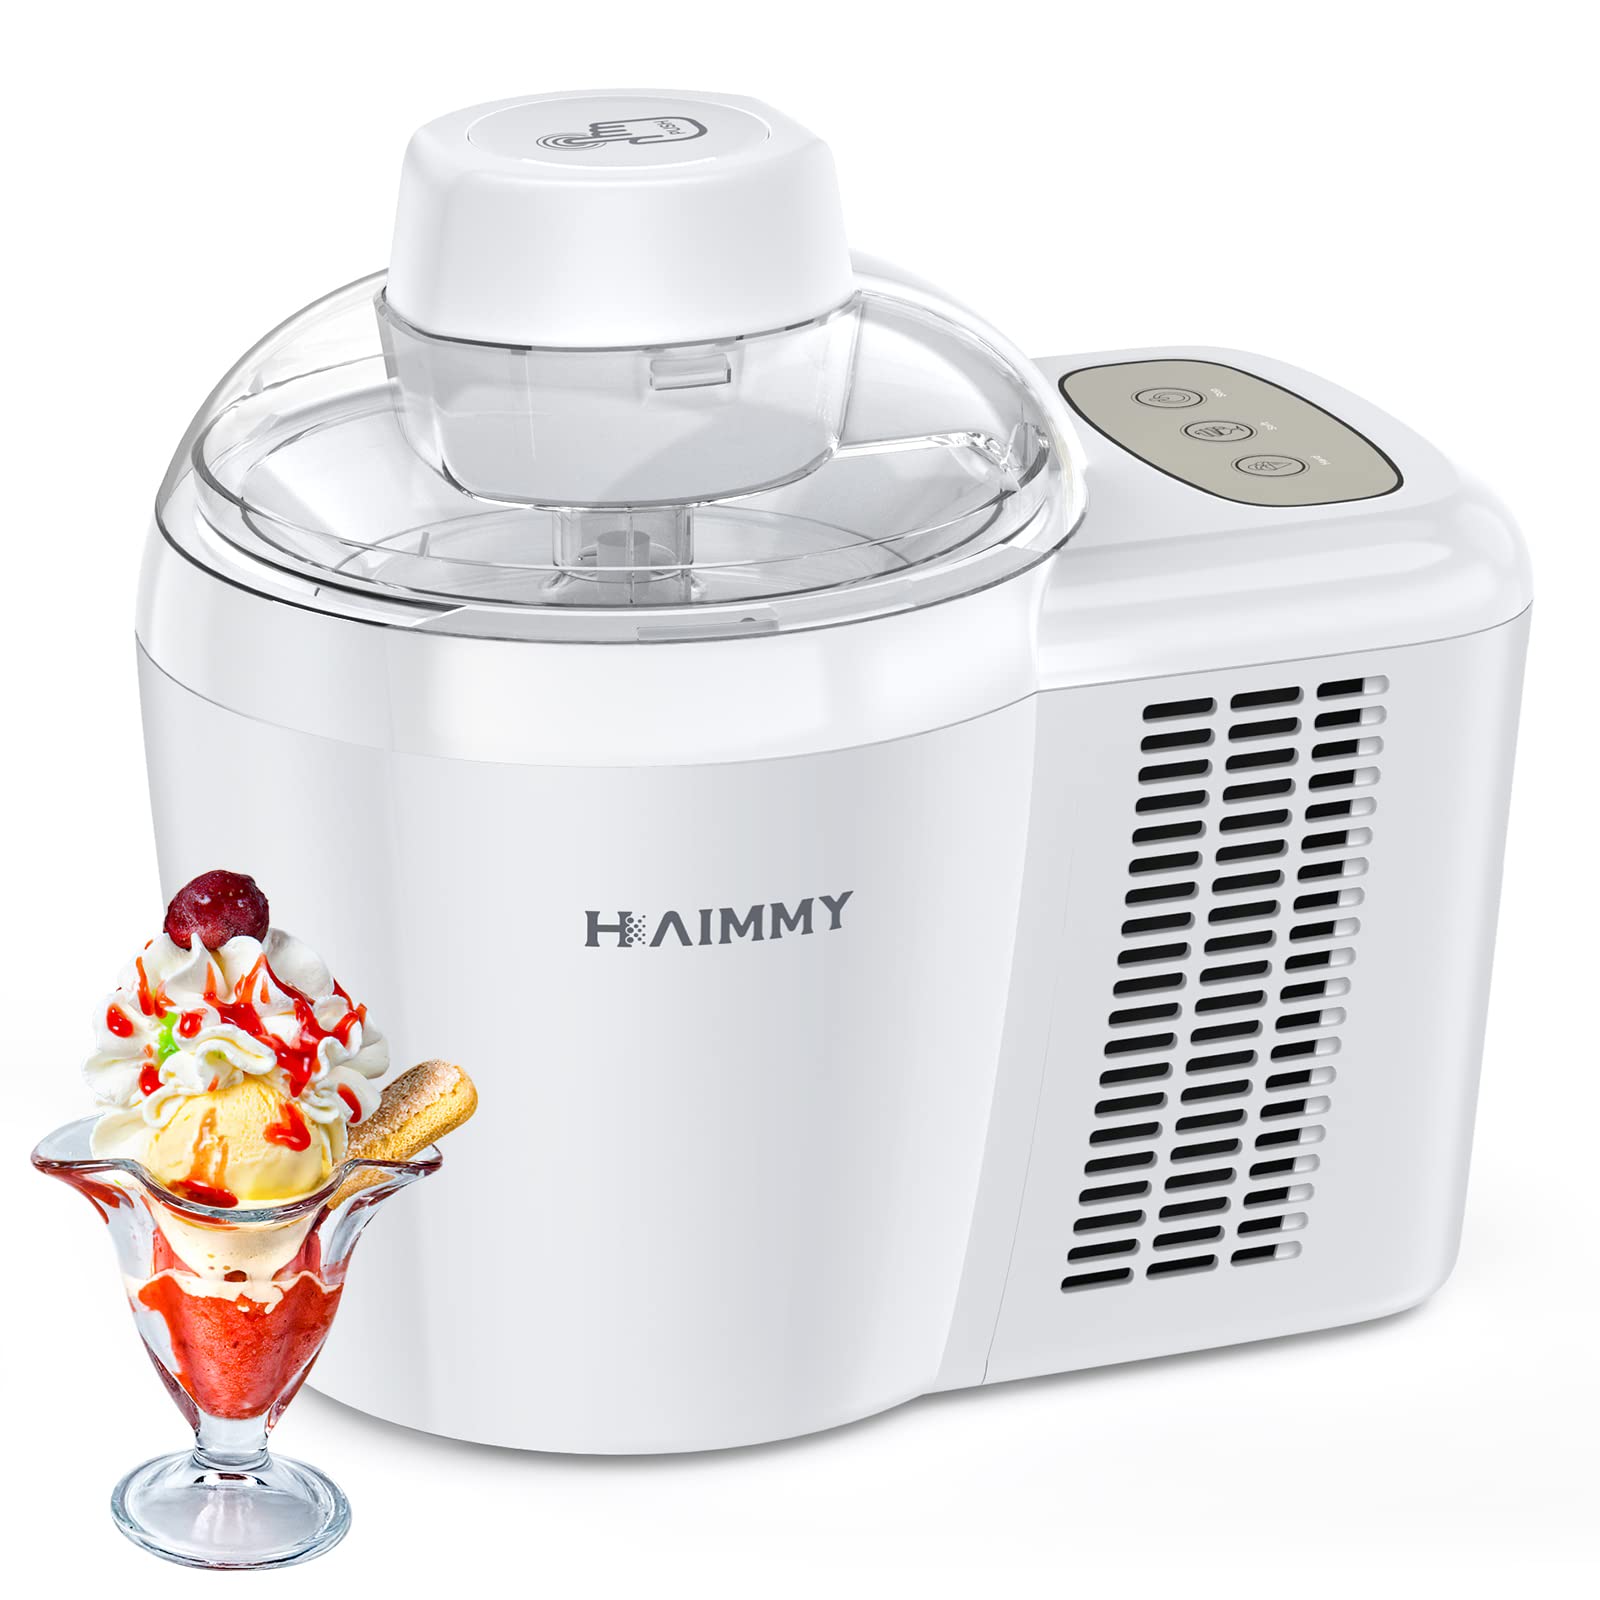
- An ice cream maker: This is the key tool for churning and freezing the ice cream. There are various types of ice cream makers available, from manual crank models to electric machines. Choose the one that suits your needs and budget.
- A mixing bowl: This will be used to combine the ingredients and create the ice cream base.
- A saucepan: You’ll need a saucepan to heat the mixture and ensure that the ingredients blend together smoothly.
- A whisk or spatula: Use a whisk or spatula to incorporate the ingredients and prevent any clumps from forming.
- A fine-mesh sieve: This will come in handy for straining the ice cream base before chilling, ensuring a smooth and creamy texture.
- A plastic wrap or cling film: This will be used to cover the ice cream base while it chills in the refrigerator.
- An airtight container: Once the ice cream is churned and ready, you’ll need a container to store it in the freezer. Choose a container with a tight lid to prevent freezer burn.
It’s essential to ensure that all the equipment is clean and in good working condition before you start the ice cream making process. This will help maintain the quality and taste of the final product.
Now that you have your ingredients and equipment ready, it’s time to move on to the next step: making the chocolate ice cream base.
Making the Ice Cream Base
Now that you have your ingredients and equipment assembled, it’s time to start making the chocolate ice cream base. Follow these steps to create a luscious base for your frozen treat:
- In a saucepan, combine the heavy cream and whole milk over medium heat. Stir occasionally to prevent scorching.
- In a separate bowl, whisk together the egg yolks, sugar, and cocoa powder until well combined.
- Once the cream and milk mixture is heated and just beginning to simmer, remove it from the heat.
- Slowly pour about a cup of the hot cream mixture into the egg yolk mixture while whisking continuously. This step, known as tempering, prevents the eggs from scrambling.
- Pour the tempered egg yolk mixture back into the saucepan with the remaining cream mixture. Whisk everything together until well incorporated.
- Return the saucepan to low heat and cook the mixture, stirring constantly, until it thickens slightly and coats the back of a spoon. This process is called tempering and helps to create a smooth and custard-like texture.
- Remove the saucepan from the heat and place a fine-mesh sieve over a clean bowl. Pour the mixture through the sieve to remove any lumps or particles.
- Stir in the vanilla extract and a pinch of salt. Continue to mix until the flavors are well combined.
Your chocolate ice cream base is now complete and ready to be chilled. In the next section, we will explore the process of chilling the ice cream base to enhance its flavors and ensure a creamy texture.
Chilling the Ice Cream Base
After making the chocolate ice cream base, it is crucial to chill it thoroughly before churning. This step allows the flavors to meld together and ensures a smooth and creamy texture in the final product. Follow these steps to properly chill your ice cream base:
- Cover the bowl containing the ice cream base with plastic wrap or cling film, pressing it directly onto the surface of the mixture. This will prevent a skin from forming.
- Transfer the bowl to the refrigerator and let it chill for at least 4 hours, or preferably overnight. This extended chilling time allows the flavors to develop and intensify.
- During the chilling process, the mixture may thicken further, which is perfectly normal. This will contribute to the richness of the ice cream.
It’s important to note that the ice cream base needs to be thoroughly chilled before moving on to the next step. The colder the mixture, the better the ice cream will freeze and churn in the ice cream maker.
Once the ice cream base is properly chilled, it’s time to bring out the ice cream maker and get ready to churn the mixture into a delightful frozen treat. We will explore the churning process in the next section.
Churning the Ice Cream
Churning is the process of freezing and aerating the ice cream base to achieve a creamy and light texture. Follow these steps to churn your chocolate ice cream:
- Take the chilled ice cream base out of the refrigerator and give it a good stir to ensure it is well mixed.
- Set up your ice cream maker according to the manufacturer’s instructions. The bowl of the ice cream maker should be pre-frozen to ensure optimal freezing and churning.
- Pour the ice cream base into the frozen bowl of the ice cream maker. Make sure not to overfill it, as the mixture will expand during the churning process.
- Turn on the ice cream maker and let it churn the mixture for about 20-30 minutes, or according to the recommended time provided by the manufacturer. The ice cream will gradually thicken and increase in volume.
- As the churning progresses, the mixture will transform into a smooth and creamy texture. Be sure to monitor the process and check for the desired consistency.
- Once the ice cream has reached a soft-serve consistency, it is ready for the next step. Be careful not to over churn, as this can result in a dense or icy texture.
Once the churning process is complete, it’s time to add the star ingredient that gives chocolate ice cream its signature flavor – the chocolate! We will explore how to incorporate chocolate into the ice cream in the next section.
Incorporating Chocolate
No chocolate ice cream would be complete without the addition of rich, decadent chocolate pieces. Follow these steps to incorporate the chocolate into your ice cream:
- Melt the dark or semisweet chocolate in a heatproof bowl set over a pan of simmering water. Stir the chocolate occasionally until it is smooth and fully melted.
- Once the chocolate is melted, remove it from the heat and let it cool slightly. You want the chocolate to be warm but not hot.
- Take the partially churned ice cream from the ice cream maker and transfer it to a large mixing bowl.
- Pour the melted chocolate into the mixing bowl with the partially churned ice cream. Use a spatula or wooden spoon to gently fold the chocolate into the ice cream.
- Make sure the chocolate is evenly distributed throughout the ice cream mixture but be careful not to overmix. You want to create swirls and pockets of chocolate throughout the ice cream.
Incorporating the melted chocolate into the ice cream base adds a delightful depth of flavor and smooth texture. The swirls and pockets of chocolate create bursts of chocolatey goodness with every bite.
Once the chocolate is incorporated, it’s time to move on to the final step – mixing and freezing the ice cream to perfection. We’ll cover that in the next section.
Mixing and Freezing the Ice Cream
After incorporating the chocolate into the ice cream base, it’s time to mix and freeze the mixture to achieve the perfect consistency. Follow these steps to complete the process:
- Gently stir the partially churned ice cream and chocolate mixture in the mixing bowl. Make sure they are evenly combined.
- If desired, you can add any additional mix-ins or toppings at this stage, such as crushed cookies, nuts, or chocolate chips.
- Transfer the mixture back into the chilled container you initially used for the ice cream base.
- Smooth the surface of the ice cream with a spatula or the back of a spoon.
- Cover the container with a lid or plastic wrap to prevent freezer burn and place it in the freezer.
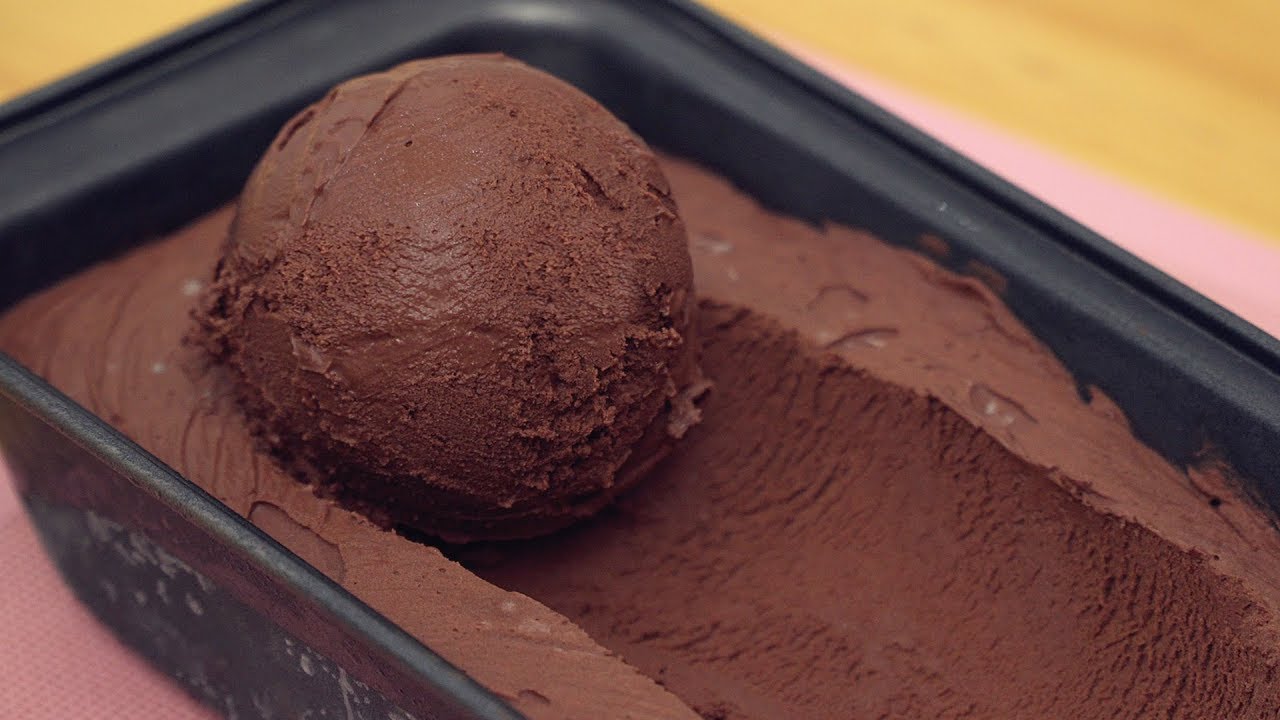
- Allow the ice cream to freeze for at least 4-6 hours, or preferably overnight. This will ensure that it reaches a firm and scoopable consistency.
During the freezing process, the ice cream will solidify, creating a delightful texture that is easy to scoop and enjoy. The longer you allow the ice cream to freeze, the more it will firm up.
Now that you have successfully mixed and frozen the ice cream, it’s time to scoop out a bowlful and savor the fruits of your labor. We will discuss serving and storing the final product in the next section.
Serving and Storing the Final Product
After patiently waiting for the ice cream to freeze, it’s time to indulge in your homemade chocolate masterpiece. Here are some guidelines for serving and storing your delicious creation:
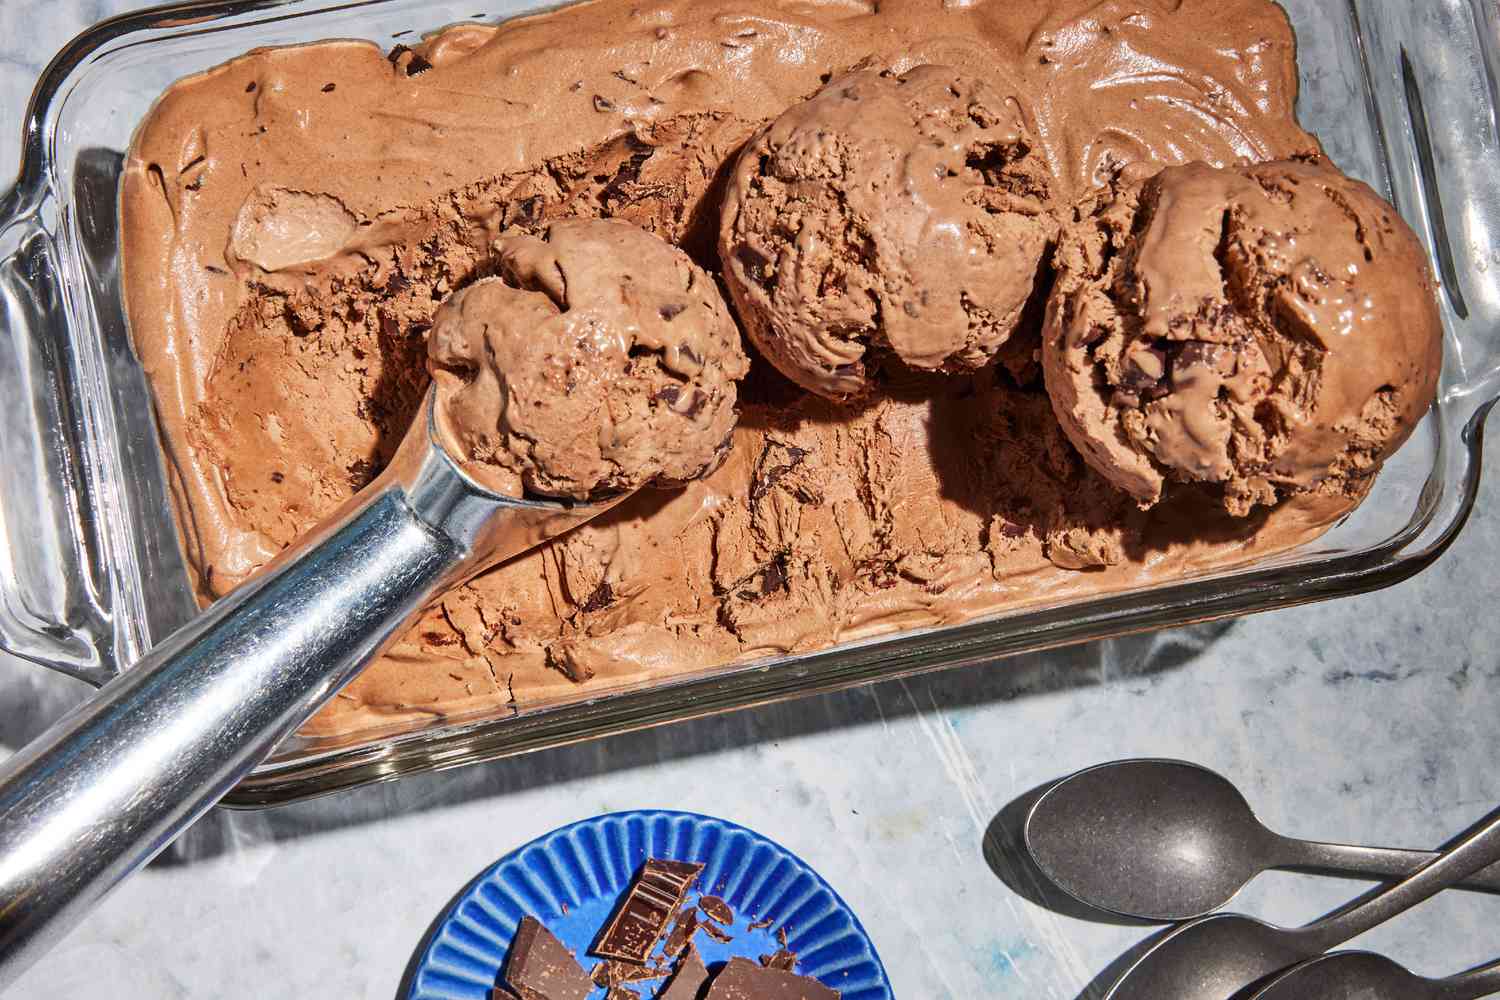
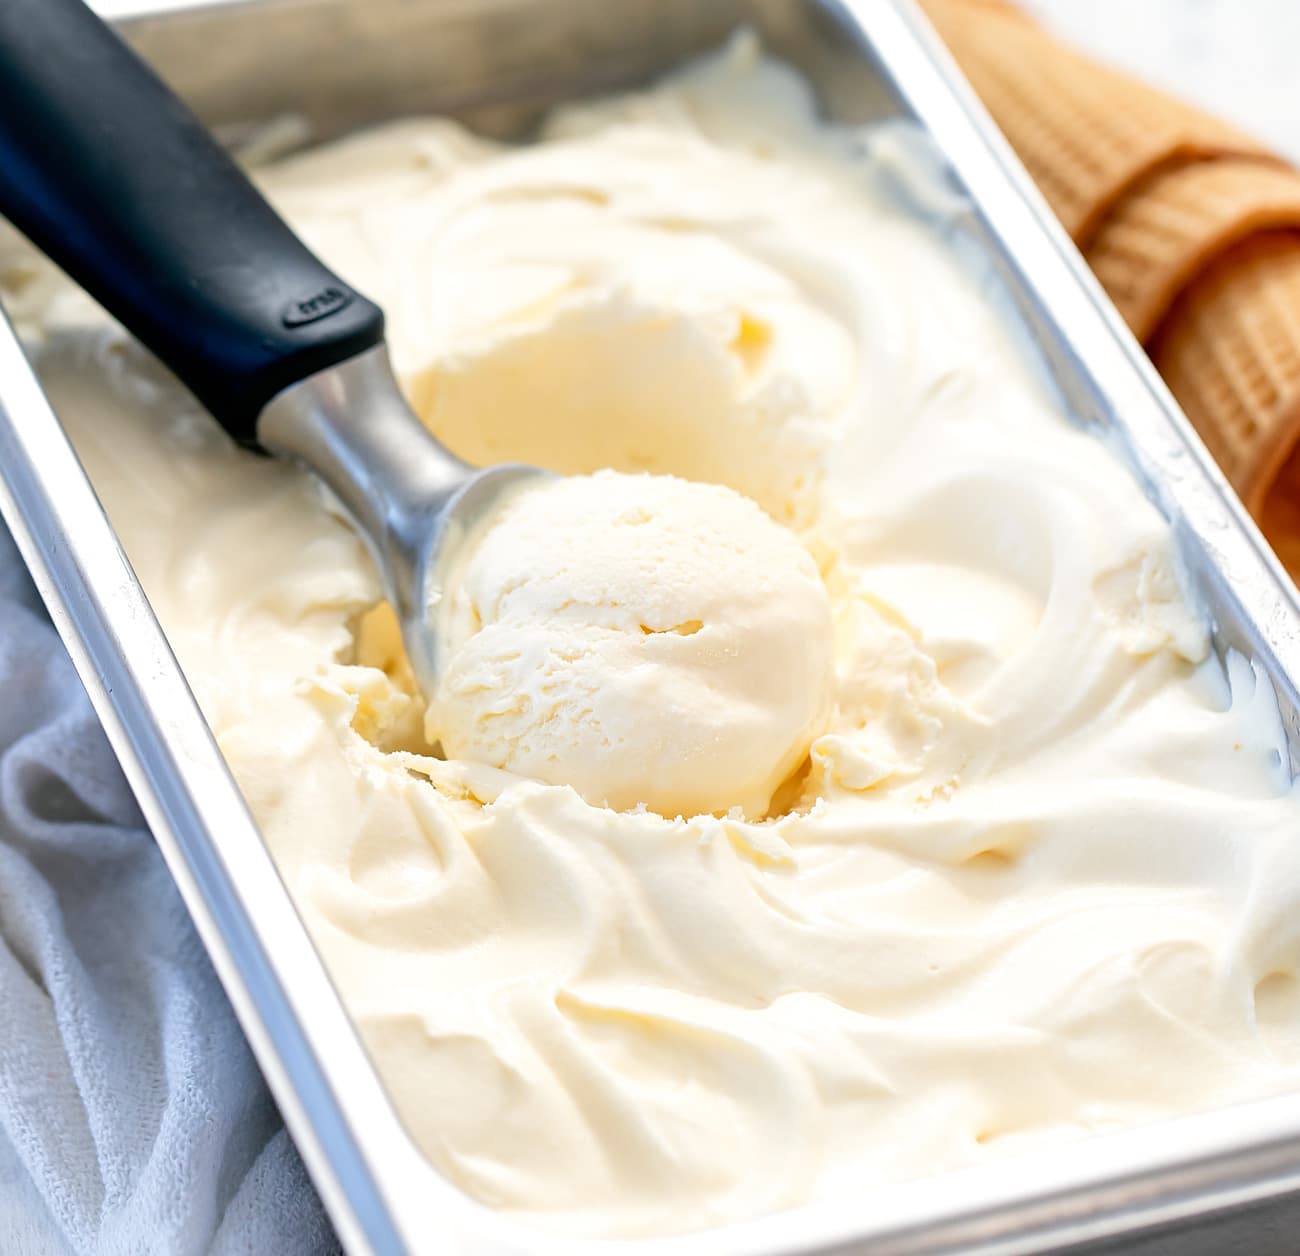
- When you’re ready to serve the ice cream, remove it from the freezer and let it sit at room temperature for a few minutes to soften slightly. This will make scooping easier and ensure a smooth and creamy texture.
- Using an ice cream scoop, serve generous portions of chocolate ice cream into bowls or cones. Add any desired toppings, such as chocolate sauce, whipped cream, or sprinkles.
- If not serving immediately, cover the remaining ice cream tightly with an airtight lid or plastic wrap to prevent freezer burn.
- Store the ice cream in the freezer at a temperature of -18°C (0°F) or lower to maintain its quality and freshness.
- Properly stored, homemade ice cream can last for up to 2-3 months in the freezer, although it’s best enjoyed within the first few weeks for optimal flavor and texture.
Remember to label and date your container to keep track of the storage time. Enjoy your homemade chocolate ice cream whenever you crave a sweet and indulgent treat.
Now that you have mastered the art of making chocolate ice cream in an ice cream maker, you can experiment with different flavors, mix-ins, and techniques to create an endless variety of frozen delights. So, get creative and have fun exploring the world of homemade ice cream!
Conclusion
Congratulations on learning how to make delicious and creamy chocolate ice cream using an ice cream maker! By following the steps outlined in this article, you have embarked on a journey that brings the joy of homemade frozen treats to your fingertips.
From gathering the necessary ingredients to creating the ice cream base, chilling, churning, and adding in the chocolate, every step contributes to the ultimate goal of creating a delectable dessert. The process allows you to customize your ice cream, experiment with flavors, and savor the satisfaction of making something from scratch.
Whether it’s sharing a bowl of homemade chocolate ice cream with loved ones on a hot summer day or treating yourself to a late-night indulgence, the experience will surely bring a smile to your face.
Remember to utilize high-quality ingredients and take your time throughout the process for the best results. The careful chilling and churning stages ensure that the flavors develop, textures combine, and the ice cream achieves its signature creaminess.
Lastly, don’t forget to store the remaining ice cream properly, allowing you to enjoy your homemade treat for weeks to come.
So, get creative, experiment with flavors and mix-ins, and have fun exploring the wonderful world of homemade ice cream. Your loved ones will surely be impressed by your newfound talent as you serve up scoop after scoop of decadent chocolate ice cream from your very own kitchen.