Introduction
Welcome to the world of homemade ice cream! There’s nothing quite like the creamy, delicious taste of freshly made ice cream, and with the Dash Ice Cream Maker, you can whip up your favorite flavors in no time. Whether you’re a seasoned ice cream enthusiast or a beginner looking to embark on a sweet culinary adventure, this article will guide you through the process of using the Dash Ice Cream Maker to create frozen delights in the comfort of your own kitchen.
With its compact design and easy operation, the Dash Ice Cream Maker is the perfect appliance for anyone who wants to indulge in their homemade ice cream cravings. Gone are the days of churns and cranks – this innovative machine takes the hard work out of making ice cream and provides consistent results every time. From classic flavors like vanilla and chocolate to unique combinations like salted caramel or mint chocolate chip, the possibilities are endless.
Not only does making your own ice cream allow you to control the ingredients and customize the flavors, but it also brings a sense of satisfaction and joy that store-bought options simply can’t match. Whether you’re hosting a summer gathering, treating yourself on a lazy Sunday afternoon, or impressing your loved ones with a homemade dessert, the Dash Ice Cream Maker will become your new favorite kitchen companion.
In this article, we’ll walk you through the step-by-step process of using the Dash Ice Cream Maker, from choosing the right ingredients to adding mix-ins and flavors. We’ll also provide some useful tips to ensure that your homemade ice cream turns out perfectly every time. So, let’s get started on this frozen adventure!
Choosing the Right Ingredients
When it comes to making delicious ice cream, the quality of your ingredients can make all the difference. By selecting the freshest and finest ingredients, you’ll create a base that is rich, smooth, and bursting with flavor. Here are some key elements to consider when choosing the right ingredients for your homemade ice cream:
Dairy: The base of most ice creams is dairy, typically in the form of cream and milk. Opt for high-quality cream with a high fat content, as this will result in a creamier and smoother texture. You can use a combination of heavy cream and whole milk to achieve the desired richness and balance.
Sugar: Sugar not only adds sweetness to your ice cream but also helps to maintain the creamy texture. Choose a fine-grain sugar, such as granulated or caster sugar, to ensure it dissolves easily. If you prefer a less sweet ice cream, you can reduce the amount of sugar or experiment with alternative sweeteners like honey or maple syrup.
Flavorings:Extracts, such as vanilla or almond extract, are commonly used to enhance the flavor of ice cream. Pure extracts are recommended for the best taste. You can also get creative with other flavorings like cocoa powder, instant coffee granules, or fruit purees, depending on the flavor profile you desire.
Add-ins:Adding mix-ins like chopped nuts, chocolate chips, or cookie crumbs can elevate the texture and add extra bursts of flavor to your ice cream. Be sure to use high-quality add-ins and fold them into the ice cream during the churning process for even distribution.
Fresh Fruit: If you’re planning to incorporate fresh fruit into your ice cream, aim for ripe and flavorful options. Berries, peaches, and mangoes are popular choices and can be pureed or chopped and folded into the ice cream mixture.
Quality Ingredients: Remember, the quality of your ingredients will directly impact the taste and texture of your final product. Whenever possible, choose organic and natural ingredients to create a truly indulgent and wholesome ice cream experience.
Now that you know what ingredients to look for, it’s time to move on to the next step: preparing the ice cream mixture. Gather your chosen ingredients, and let’s dive into the world of homemade ice cream with the Dash Ice Cream Maker!
Preparing the Ice Cream Mixture
Before you can start churning your ice cream in the Dash Ice Cream Maker, you need to prepare a well-balanced and flavorful ice cream mixture. This mixture, often referred to as the ice cream base, serves as the foundation for your frozen treat. Here’s how to create a delicious ice cream mixture:
Step 1: Measure Ingredients: Begin by measuring out the necessary ingredients for your ice cream mixture. Follow your chosen recipe or use the following general guidelines: for a basic vanilla ice cream, use 2 cups of cream, 1 cup of milk, 3/4 cup of sugar, and 1 tablespoon of vanilla extract.
Step 2: Combine Dairy and Sugar: In a mixing bowl, combine the cream and milk. Gradually add the sugar, stirring until it dissolves completely. The sugar will sweeten the ice cream and help prevent ice crystals from forming. For smoother results, you can heat the mixture over low heat until it reaches a gentle simmer, stirring frequently.
Step 3: Add Flavorings: Add your desired flavorings to the ice cream mixture. This could be vanilla extract, cocoa powder, or any other flavorings you wish to include. Stir well to ensure even distribution of the flavors throughout the mixture.
Step 4: Chill the Mixture: Once combined, cover the bowl with plastic wrap and refrigerate the mixture for at least 2 hours, or ideally overnight. Chilling the mixture allows the flavors to develop and the ingredients to meld together, resulting in a smoother and creamier ice cream texture.
Preparing the ice cream mixture in advance not only allows for better flavor development but also ensures that the mixture is cold enough for the churning process. Once the ice cream mixture is properly chilled and you’re ready to start making ice cream, it’s time to assemble the Dash Ice Cream Maker.
Assembling the Dash Ice Cream Maker
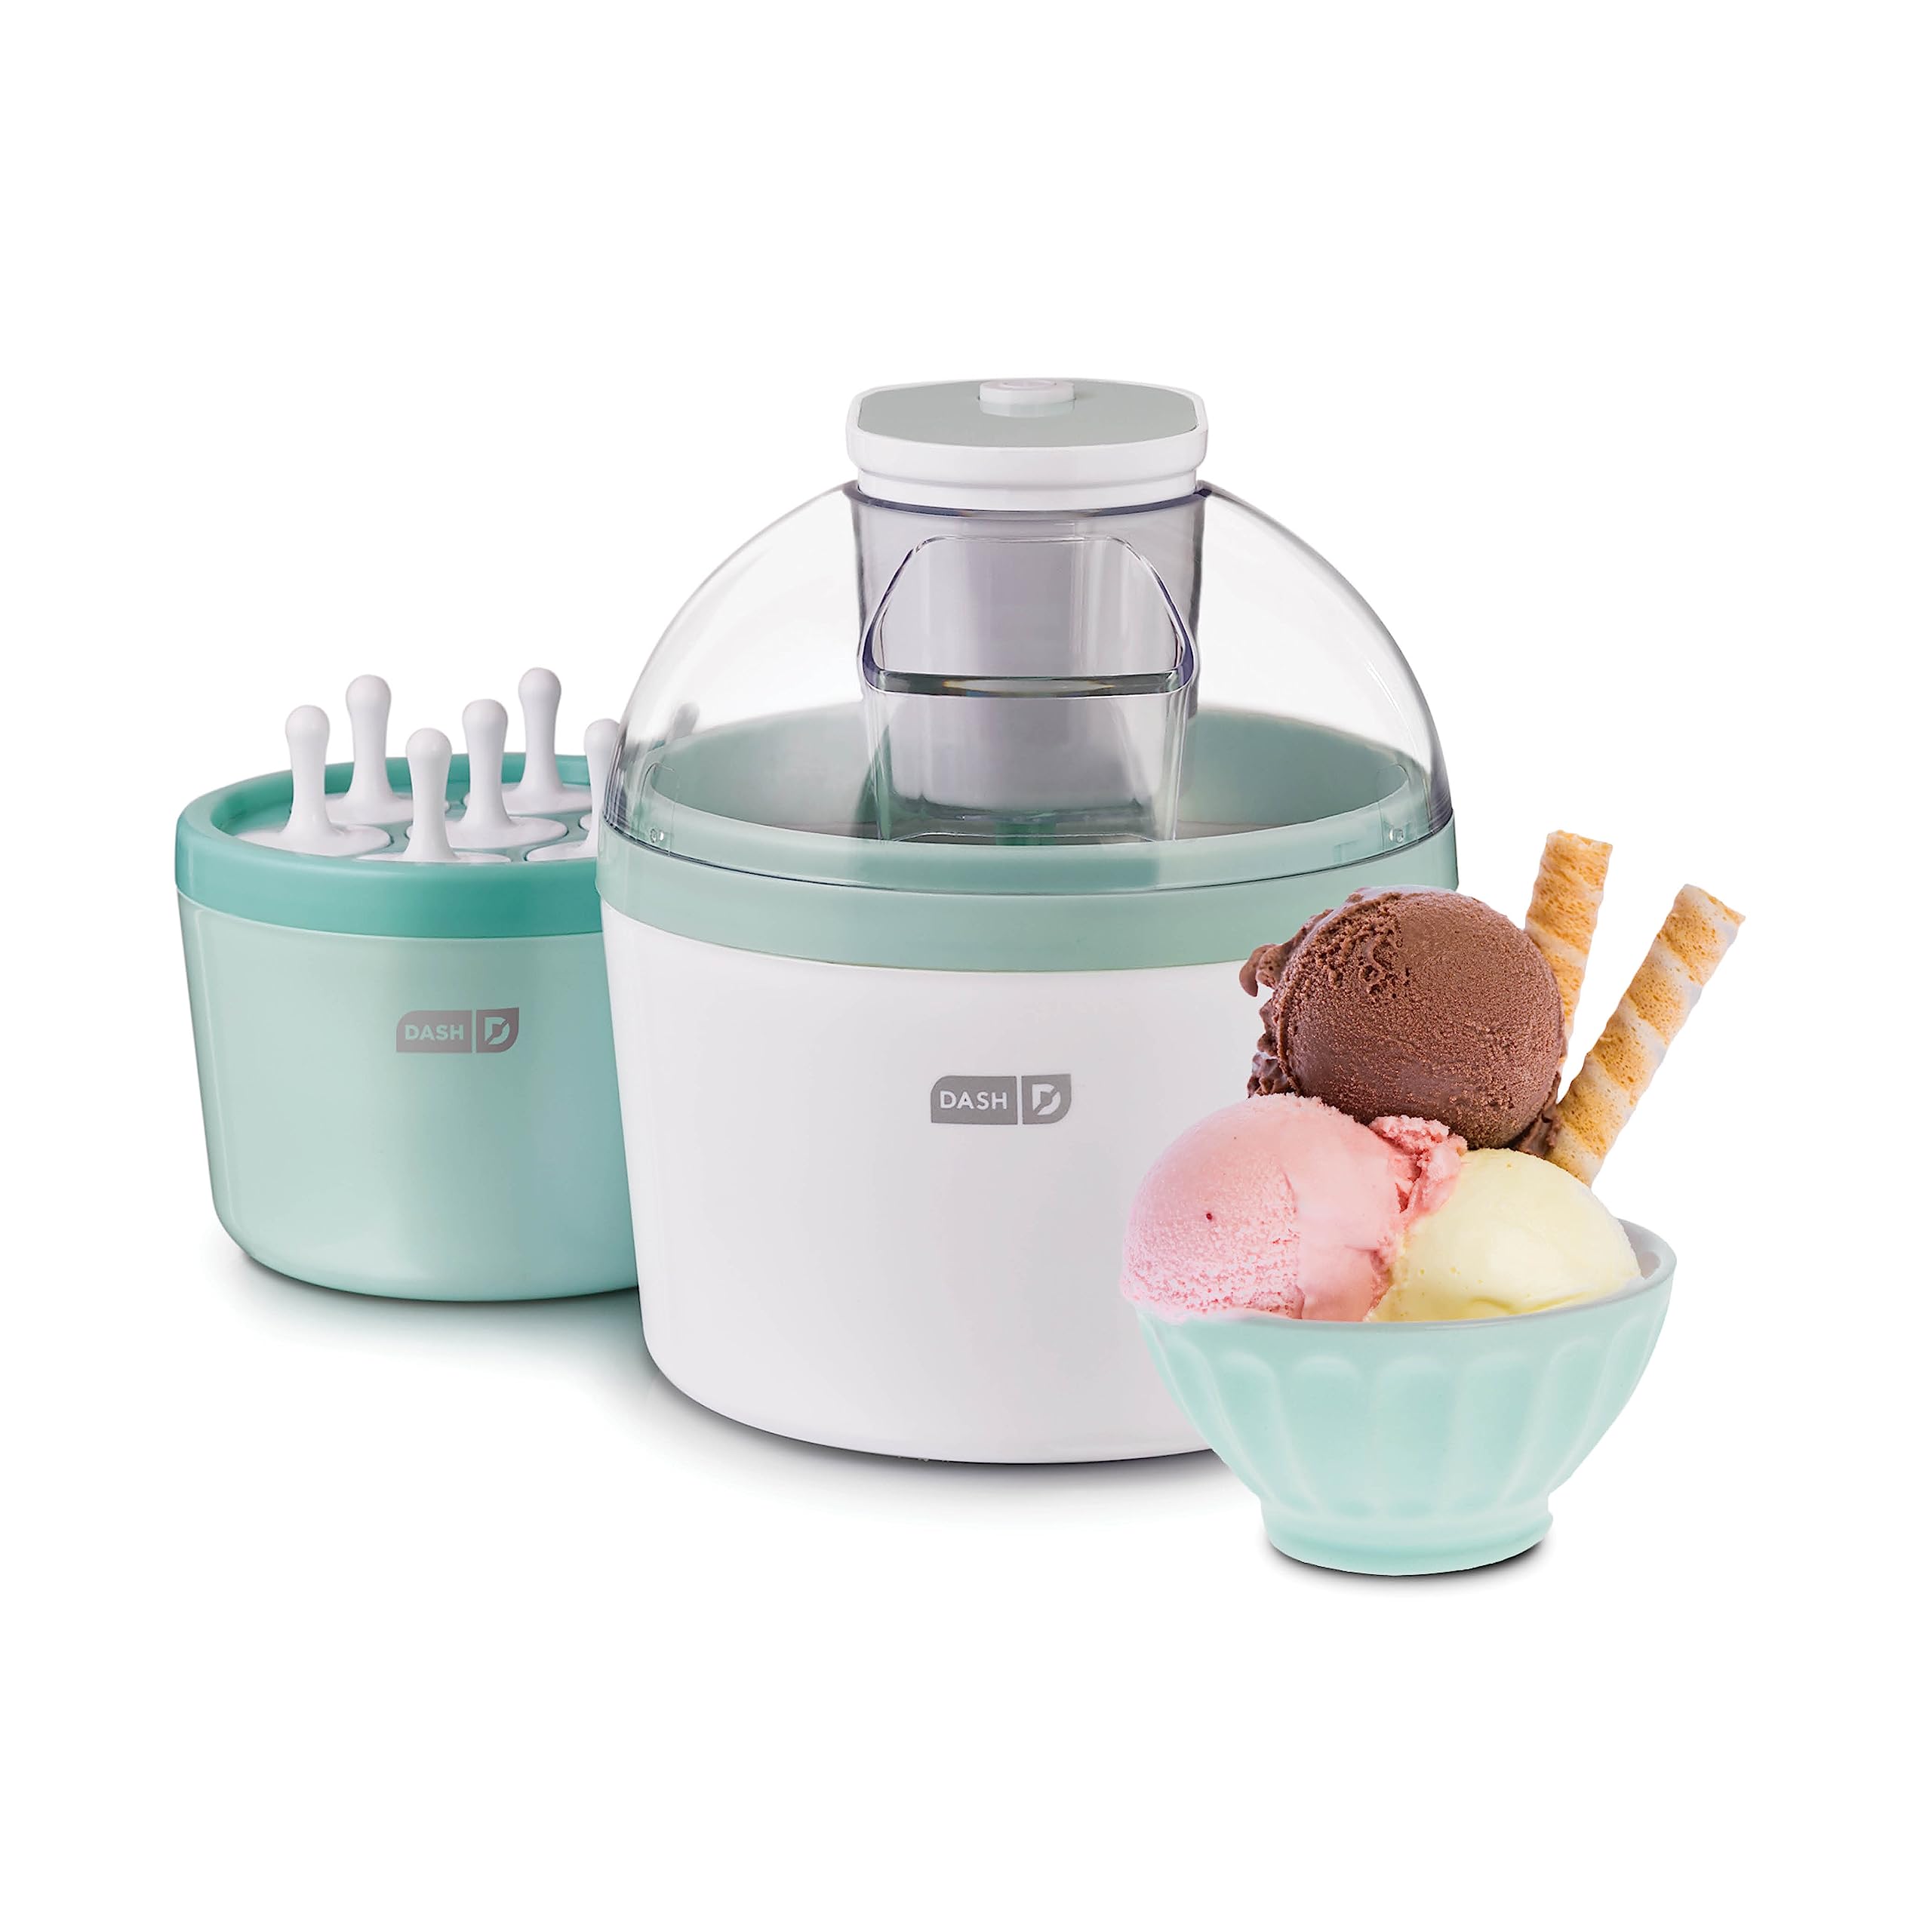
Assembling the Dash Ice Cream Maker is a breeze, and before you know it, you’ll be on your way to enjoying homemade ice cream. Follow these simple steps to set up the Dash Ice Cream Maker:
Step 1: Freeze the Freezer Bowl: Before assembling, make sure that the freezer bowl is thoroughly frozen. It is recommended to freeze the bowl for at least 12-24 hours prior to use. Place the freezer bowl in the coldest part of your freezer, ensuring that it is sitting flat and stable.
Step 2: Attach the Mixing Paddle: Remove the freezer bowl from the freezer and attach the mixing paddle to the inside of the bowl. The paddle should fit snugly and securely onto the spindle in the center of the bowl.
Step 3: Place the Lid: Place the lid on top of the freezer bowl, making sure it is aligned properly. The lid helps to keep the mixture contained and prevents any spills throughout the churning process.
Step 4: Plug in the Ice Cream Maker: Connect the Dash Ice Cream Maker to a power source and ensure that it is placed on a stable and level surface. The machine should be in a location where it is easily accessible for monitoring and adding mix-ins during the churn.
With the Dash Ice Cream Maker assembled and ready to go, you’re now just moments away from creating your own homemade ice cream. Move on to the next section to learn how to churn and freeze the ice cream.
Churning and Freezing the Ice Cream
Now that you’ve assembled the Dash Ice Cream Maker, it’s time to start the churning process and freeze your ice cream mixture into a delightful frozen treat. Follow these steps to churn and freeze your ice cream:
Step 1: Remove the Chilled Mixture: Take the chilled ice cream mixture out of the refrigerator. Give it a quick stir to ensure that it’s well mixed and ready to be churned.
Step 2: Pour the Mixture into the Freezer Bowl: Carefully pour the prepared ice cream mixture into the freezer bowl of the Dash Ice Cream Maker. Be careful not to overfill the bowl, as the mixture will expand as it churns.
Step 3: Start the Churning Process: Place the assembled ice cream maker on a stable surface and turn it on. The Dash Ice Cream Maker will begin churning the mixture, incorporating air and freezing it at the same time. The churning process typically takes about 15-20 minutes, but the time may vary depending on the recipe and desired consistency.
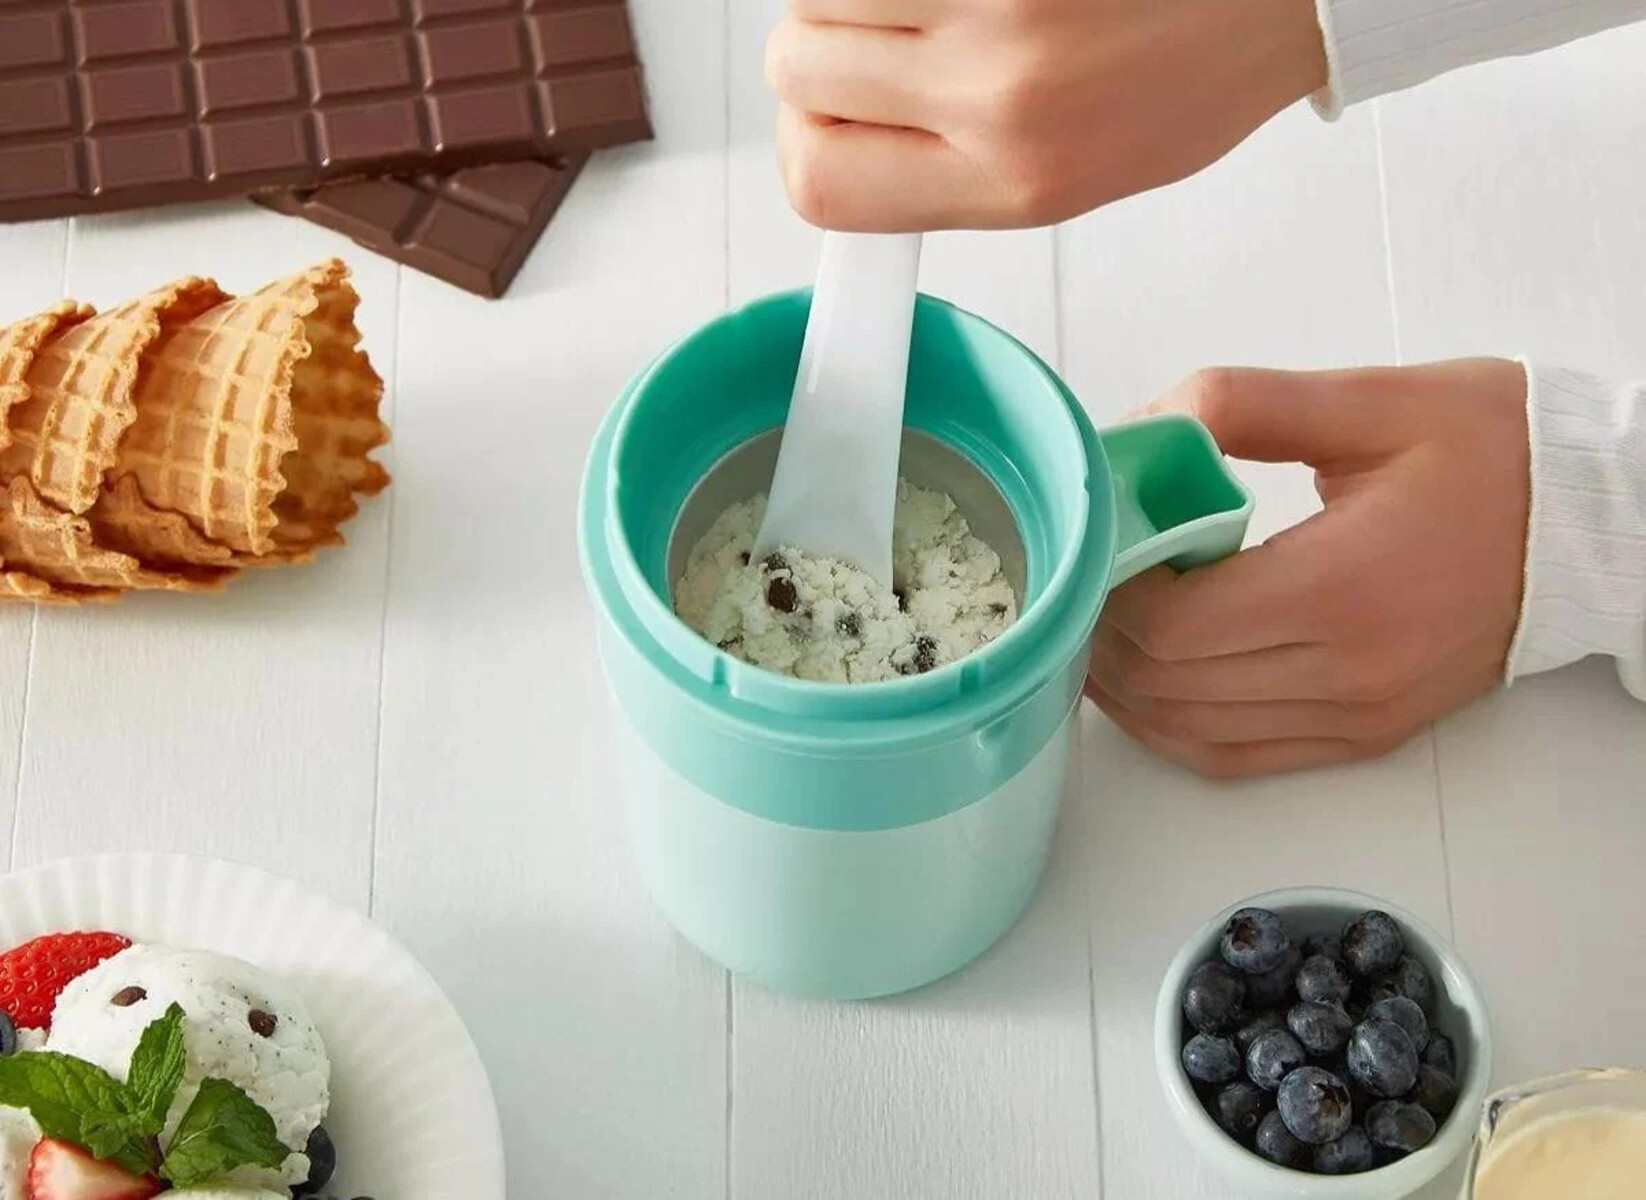
Step 4: Monitor and Add Mix-Ins: During the churning process, keep an eye on the consistency of the ice cream. As the ice cream starts to thicken and take shape, you can add any desired mix-ins, like chocolate chips or cookie crumbs. Simply pour the mix-ins into the freezing bowl through the opening in the lid while the machine is still running. This ensures that the mix-ins are evenly distributed throughout the ice cream.
Step 5: Check for Desired Consistency: After the recommended churning time, check the consistency of the ice cream. It should be soft and creamy but still hold its shape. If you prefer a firmer texture, transfer the ice cream to an airtight container and place it in the freezer for an additional 2-3 hours to fully set.
And there you have it – freshly churned homemade ice cream using the Dash Ice Cream Maker. It’s time to get creative by adding mix-ins and flavors to make your ice cream truly unique. In the next section, we’ll explore different mix-in options to take your ice cream to the next level.
Adding Mix-Ins and Flavors
One of the joys of homemade ice cream is the ability to customize it with your favorite mix-ins and flavors. Whether you prefer a simple vanilla base or a more adventurous combination, the Dash Ice Cream Maker allows you to easily incorporate various mix-ins and flavors. Here are a few ideas to inspire you:
1. Chopped Nuts: Add a satisfying crunch and a burst of flavor to your ice cream by incorporating chopped nuts. Whether it’s almonds, walnuts, or pecans, the addition of nuts adds a delightful texture and a toasty, nutty flavor to your frozen treat.
2. Chocolate or Fruit Swirls: For a marbled effect, create swirls of chocolate or fruit throughout your ice cream. Simply melt some chocolate or prepare a fruit puree, and drizzle it into the ice cream mixture while it churns. Use a spoon or a spatula to gently swirl the mixture, creating beautiful ribbons of flavor.
3. Cookie Crumbs or Brownie Bits: Crumble your favorite cookies or brownies and fold them into the ice cream during the churning process. The decadent combination of creamy ice cream and chunks of cookies or brownies is sure to be a crowd-pleaser.
4. Fresh Fruit Pieces: For a burst of fruity goodness, consider adding fresh fruit pieces to your ice cream. Choose ripe and juicy fruits like strawberries, mangoes, or peaches. Dice the fruit into small pieces and fold them into the ice cream mixture to create delicious fruity surprises with every scoop.
5. Candy or Chocolate Chips: Sprinkle in your favorite candy pieces or chocolate chips to elevate the flavor and add a delightful crunch. From classic choices like M&M’s or peanut butter cups to more unique options like crushed peppermint candies or caramel bits, the choice is yours.
Remember, the key to incorporating mix-ins is to gently fold them into the churned ice cream mixture, ensuring an even distribution without overmixing. Be creative and experiment with different combinations to discover your perfect ice cream creation.
If you’re looking to add additional flavors to your ice cream beyond mix-ins, you can explore various extracts, spices, or even liqueurs. Vanilla extract, mint extract, cinnamon, or a splash of your favorite liqueur can take your ice cream to the next level and add a signature touch.
Now that you’ve added your mix-ins and flavors, it’s time to ensure that your ice cream turns out perfectly every time. In the next section, we’ll share some helpful tips to achieve that goal.
Tips for Perfect Ice Cream
Creating homemade ice cream with the Dash Ice Cream Maker is a fun and rewarding experience. To help you achieve the best results every time, we’ve compiled some helpful tips to ensure that your ice cream turns out perfectly:
1. Chill the Ingredients: Before making your ice cream mixture, make sure that the dairy ingredients (cream and milk) are chilled. Keeping the ingredients cold helps the mixture freeze faster and results in a smoother texture. Additionally, chilling the mixture before churning enhances the flavors and improves the overall consistency.
2. Freezing Bowl: Remember to freeze the bowl of the Dash Ice Cream Maker for a sufficient period of time, as recommended in the instructions. A well-frozen bowl ensures that the ice cream mixture freezes properly during the churning process and yields the desired texture.
3. Don’t Overfill: When pouring the ice cream mixture into the freezer bowl, be careful not to overfill it. Overfilling can lead to spillage and prevent the mixture from churning and freezing evenly. Leave some room for expansion as the ice cream churns.
4. Patience is Key: Avoid the temptation to peek inside the ice cream maker during the churning process. Opening the lid frequently can cause temperature fluctuations and delay the freezing process. Trust the machine to do its job and resist the urge to check on it too often.
5. Add Mix-ins Gradually: If you’re adding mix-ins such as chopped nuts or chocolate chips, add them gradually during the churning process. Sprinkle them in little by little to ensure even distribution throughout the ice cream. This will prevent clumping and ensure a balanced distribution of flavors and textures.
6. Allow for Additional Freezing Time: While the ice cream may have reached a soft-serve consistency after churning, it’s recommended to transfer it to an airtight container and let it firm up in the freezer for a few hours. This additional freezing time allows the ice cream to set and develop a scoopable texture.
7. Serve and Store Properly: When serving the ice cream, use a sturdy metal scoop or a heated ice cream scoop dipped in warm water. This will help you achieve round, smooth scoops. After serving, promptly return any remaining ice cream to the freezer and store it in an airtight container to maintain its freshness.
With these tips in mind, you’re now equipped with the knowledge and techniques to create perfect, homemade ice cream every time you use the Dash Ice Cream Maker. So, grab your favorite ingredients, explore new flavors, and enjoy the delightful world of homemade frozen treats!
Serving and Storing the Ice Cream
Now that you’ve successfully made your homemade ice cream using the Dash Ice Cream Maker, it’s time to serve and store it properly to maintain its texture and flavor. Here are some tips for serving and storing your delicious frozen treat:
Serving:
– To serve your ice cream, use a sturdy metal scoop or a heated ice cream scoop. Dip the scoop in warm water before each serving to help it glide through the ice cream more easily and create smooth, round scoops.
– For an extra special touch, garnish your ice cream with toppings such as chocolate sauce, caramel syrup, whipped cream, sprinkles, or fresh fruit. The possibilities are endless and limited only by your imagination.
– Consider pairing your ice cream with complementary treats like warm brownies, crunchy waffle cones, or homemade cookies. These additions will elevate the overall dessert experience and make it even more enjoyable.
Storing:
– After serving, promptly return any remaining ice cream to the freezer to maintain its freshness. Transfer the ice cream to an airtight container to prevent freezer burn and to preserve the flavor and texture.
– When storing multiple flavors of ice cream in the same container, layer a sheet of parchment paper or plastic wrap between each flavor. This will prevent the flavors from mingling together and maintain their individual tastes.
– Store the ice cream in the coldest part of your freezer, away from the door where temperature fluctuations are more frequent. This will help to maintain a consistent freezing temperature and prevent ice crystals from forming.
– It is ideal to consume homemade ice cream within one to two weeks for the best flavor and texture. However, if stored properly, it can last up to three months. Just be sure to check the ice cream before consuming to ensure its quality.
By following these serving and storing tips, you can continue to enjoy your homemade ice cream for days to come. Whether you’re indulging in a sweet treat on a hot summer day or treating yourself to a dessert after a long day, your homemade ice cream will bring you joy with each and every scoop.
Conclusion
Congratulations! You’ve made it to the end of our guide on using the Dash Ice Cream Maker to create delicious homemade ice cream. We’ve covered everything from choosing the right ingredients to serving and storing your frozen creations. With this knowledge and the help of the Dash Ice Cream Maker, you’re well-equipped to embark on countless ice cream-making adventures.
The Dash Ice Cream Maker provides a convenient and fun way to satisfy your ice cream cravings in the comfort of your own home. By selecting quality ingredients, preparing a well-chilled ice cream mixture, and using the right techniques, you can create ice cream that rivals the best ice cream parlors.
Remember to get creative with mix-ins and flavors, adding your favorite ingredients to customize your ice cream. Whether you prefer traditional choices like chopped nuts and chocolate chips or want to experiment with unique combinations, the possibilities are endless.
Additionally, don’t forget to follow the tips for perfect ice cream, including properly freezing the bowl, being patient during the churning process, and storing your ice cream correctly to maintain its texture and flavor.
So, gather your ingredients, fire up the Dash Ice Cream Maker, and let your creativity flow. Whether you’re hosting a gathering, treating yourself, or impressing your loved ones, homemade ice cream is sure to bring smiles and satisfaction to everyone who indulges.
Thank you for joining us on this frozen adventure, and we hope you enjoy your homemade ice cream creations. May they bring you joy, sweetness, and a taste that’s simply unmatched. Happy churning!