Using a Blender
A blender is a versatile kitchen appliance that can be used to make a variety of recipes, including ice cream. Although a blender may not be specifically designed for making ice cream, it can still produce delicious homemade treats with the right technique and ingredients.
To make ice cream using a blender, start by gathering the following ingredients:
- 2 cups of heavy cream
- 1 cup of whole milk
- 3/4 cup of granulated sugar
- 2 teaspoons of vanilla extract
- A pinch of salt
Once you have all the ingredients ready, follow these steps:
- Pour the heavy cream, whole milk, sugar, vanilla extract, and salt into the blender jug.
- Blend the mixture on medium speed for about 2-3 minutes or until the sugar has dissolved completely.
- Place the blender jug in the refrigerator and let the mixture chill for at least 2 hours or until it is thoroughly cold.
- Once the mixture is cold, remove it from the refrigerator and give it a quick stir.
- Transfer the mixture back to the blender jug and blend on high speed for about 5-7 minutes or until it becomes thick and creamy.
- Pour the blended mixture into a freezer-safe container, cover it, and place it in the freezer for at least 4 hours or until it is firm.
- After the ice cream has frozen, remove it from the freezer and let it sit at room temperature for a few minutes to soften before serving.
Using a blender to make ice cream is a quick and easy method that does not require any special equipment. Keep in mind that the texture of the ice cream may not be as smooth and creamy as when using an ice cream maker, but it will still be delicious and homemade. So, next time you’re craving homemade ice cream but don’t have an ice cream maker, give the blender method a try!
Using a Food Processor
A food processor is another handy kitchen appliance that can be used to make homemade ice cream without the need for an ice cream maker. While it may not be the most traditional method, it can certainly yield tasty results.
To make ice cream using a food processor, gather the following ingredients:
- 2 cups of heavy cream
- 1 cup of whole milk
- 3/4 cup of granulated sugar
- 2 teaspoons of vanilla extract
- A pinch of salt
Follow these steps to make ice cream using a food processor:
- Pour the heavy cream, whole milk, sugar, vanilla extract, and salt into the food processor bowl.
- Process the mixture on medium speed for about 2-3 minutes or until the sugar has dissolved completely.
- Once the mixture is smooth and well combined, transfer it to a freezer-safe container.
- Cover the container and place it in the freezer for at least 4 hours or until the ice cream is set.
- After the ice cream has frozen, remove it from the freezer and let it sit at room temperature for a few minutes to soften.
- Scoop the homemade ice cream into bowls or cones and enjoy!
Using a food processor may not churn the ice cream like an ice cream maker, resulting in a slightly different texture. However, it is a convenient alternative for those who don’t have an ice cream maker but still want to enjoy homemade ice cream.
Be sure to monitor the processing time carefully to avoid overmixing and causing the ice cream to become too runny. With a food processor, you can experiment with various flavors and mix-ins to create your own unique ice cream creations.
So, the next time you’re in the mood for homemade ice cream but don’t have an ice cream maker on hand, give the food processor method a try!
Using a Stand Mixer
A stand mixer is a versatile tool commonly used for baking and mixing dough, but did you know it can also be used to make homemade ice cream? While it may not be the most conventional method, a stand mixer can produce creamy and delicious frozen treats.
To make ice cream using a stand mixer, gather the following ingredients:
- 2 cups of heavy cream
- 1 cup of whole milk
- 3/4 cup of granulated sugar
- 2 teaspoons of vanilla extract
- A pinch of salt
Follow these steps to make ice cream using a stand mixer:
- In the bowl of your stand mixer, combine the heavy cream, whole milk, sugar, vanilla extract, and salt.
- With the whisk attachment, whip the mixture on medium-high speed for about 5-7 minutes or until soft peaks form.
- Once the mixture has thickened and doubled in volume, transfer it to a freezer-safe container.
- Cover the container and place it in the freezer for at least 4 hours or until the ice cream is firm.
- When the ice cream has frozen, remove it from the freezer and let it sit at room temperature for a few minutes to soften before serving.
- Scoop the homemade ice cream into bowls or cones, and enjoy!
Using a stand mixer to make ice cream may not incorporate as much air or churn the mixture as consistently as an ice cream maker, but it is still a viable option for homemade treats.
Feel free to experiment with different flavors and add-ins to create your own unique ice cream creations. Whether it’s chocolate chips, fresh fruit, or cookie crumbles, the possibilities are endless.
So, if you find yourself craving homemade ice cream but don’t have an ice cream maker, don’t fret. Grab your stand mixer and give this method a try!
Using a Hand Mixer
If you don’t have a stand mixer or an ice cream maker, don’t worry! You can still make delicious homemade ice cream using a hand mixer. While it may require a bit more effort than using a machine, the end result will be worth it.
To make ice cream using a hand mixer, gather the following ingredients:
- 2 cups of heavy cream
- 1 cup of whole milk
- 3/4 cup of granulated sugar
- 2 teaspoons of vanilla extract
- A pinch of salt
Here’s a step-by-step guide to making ice cream using a hand mixer:
- In a mixing bowl, combine the heavy cream, whole milk, sugar, vanilla extract, and salt.
- Using a whisk or hand mixer, beat the mixture on medium-high speed for about 5-7 minutes or until soft peaks form.
- Once the mixture has thickened and increased in volume, transfer it to a freezer-safe container.
- Cover the container and place it in the freezer for at least 4 hours or until the ice cream is firm.
- When the ice cream has frozen, allow it to sit at room temperature for a few minutes to soften before serving.
- Scoop the homemade ice cream into bowls or cones, and enjoy the creamy goodness!
While using a hand mixer may not achieve the same level of air incorporation or consistency as an ice cream maker, it can still produce a delightful homemade treat. Just be sure to beat the mixture until soft peaks form to ensure a creamy and smooth texture.
Feel free to get creative with flavors and mixins. Whether you want to add crushed cookies, chocolate chunks, or swirls of caramel, the choice is yours!
So, the next time you’re craving homemade ice cream but don’t have the convenience of a machine, grab your trusty hand mixer and give it a whirl. You’ll be amazed at what you can create!
Using a Mixing Bowl and Whisk
If you’re looking for a low-tech method to make homemade ice cream, using just a mixing bowl and a whisk can be a great option. While it requires some manual effort, it can still deliver a creamy and delicious frozen treat.
To make ice cream using a mixing bowl and whisk, gather the following ingredients:
- 2 cups of heavy cream
- 1 cup of whole milk
- 3/4 cup of granulated sugar
- 2 teaspoons of vanilla extract
- A pinch of salt
Follow these steps to make ice cream using a mixing bowl and whisk:
- In a large mixing bowl, combine the heavy cream, whole milk, sugar, vanilla extract, and salt.
- Using a whisk, vigorously whisk the mixture for about 5-7 minutes or until the sugar has dissolved and the mixture has thickened slightly.
- Once the mixture is well combined, transfer it to a freezer-safe container.
- Cover the container and place it in the freezer for at least 4 hours or until the ice cream is firm.
- When the ice cream has frozen, allow it to sit at room temperature for a few minutes to soften.
- Scoop the homemade ice cream into bowls or cones, and savor the homemade goodness!
Using a mixing bowl and whisk may require more effort and time than using specialized equipment, but it’s a satisfying method that allows you to create homemade ice cream without any special tools.
Get creative with flavors and add-ins! You can incorporate fresh fruits, chocolate chips, or crushed cookies to personalize your ice cream creation.
So, if you’re up for a bit of whisking and arm exercise, grab a mixing bowl, a whisk, and give this method a try. You’ll be rewarded with a delightful homemade treat.
Using Ziplock Bags
Believe it or not, you can make homemade ice cream using Ziplock bags as a fun and alternative method. This method is perfect if you’re looking for a hands-on activity and a tasty treat to enjoy.
To make ice cream using Ziplock bags, gather the following ingredients:
- 2 cups of heavy cream
- 1 cup of whole milk
- 3/4 cup of granulated sugar
- 2 teaspoons of vanilla extract
- A pinch of salt
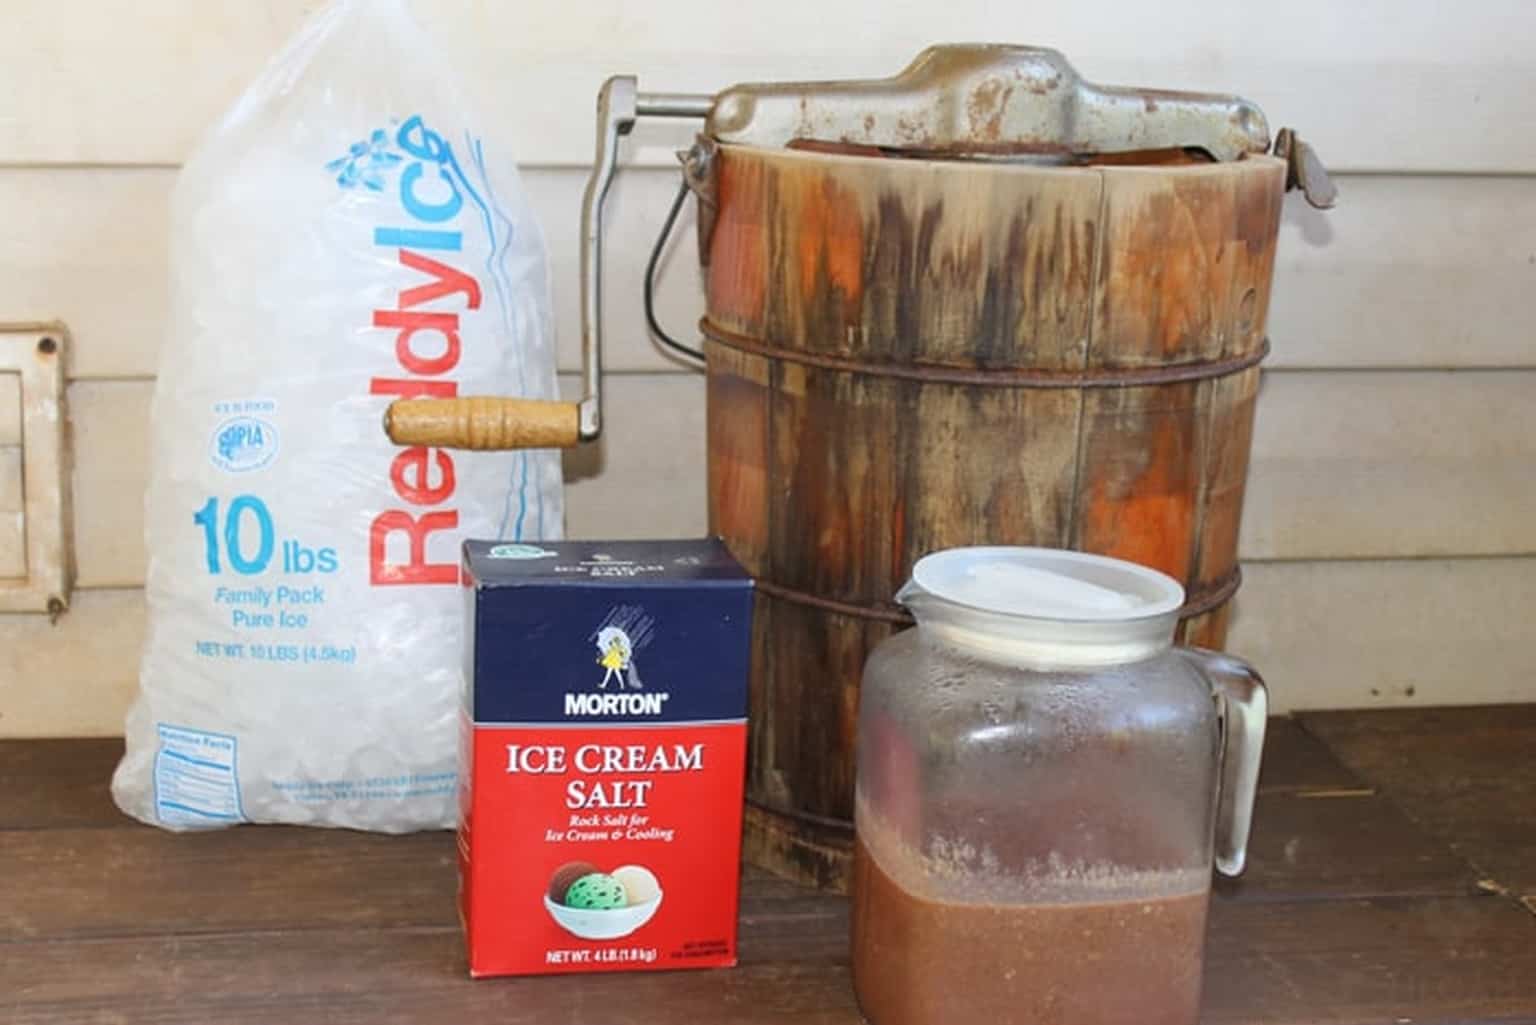
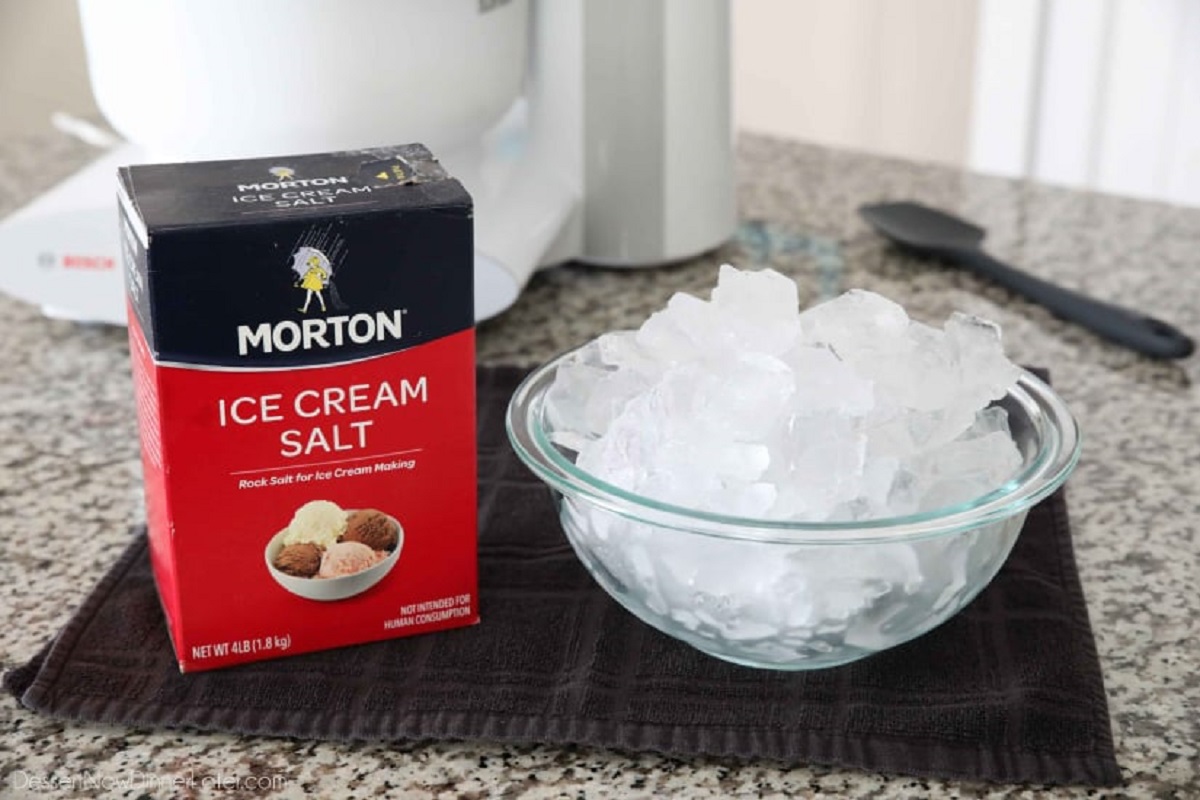
- Ice cubes
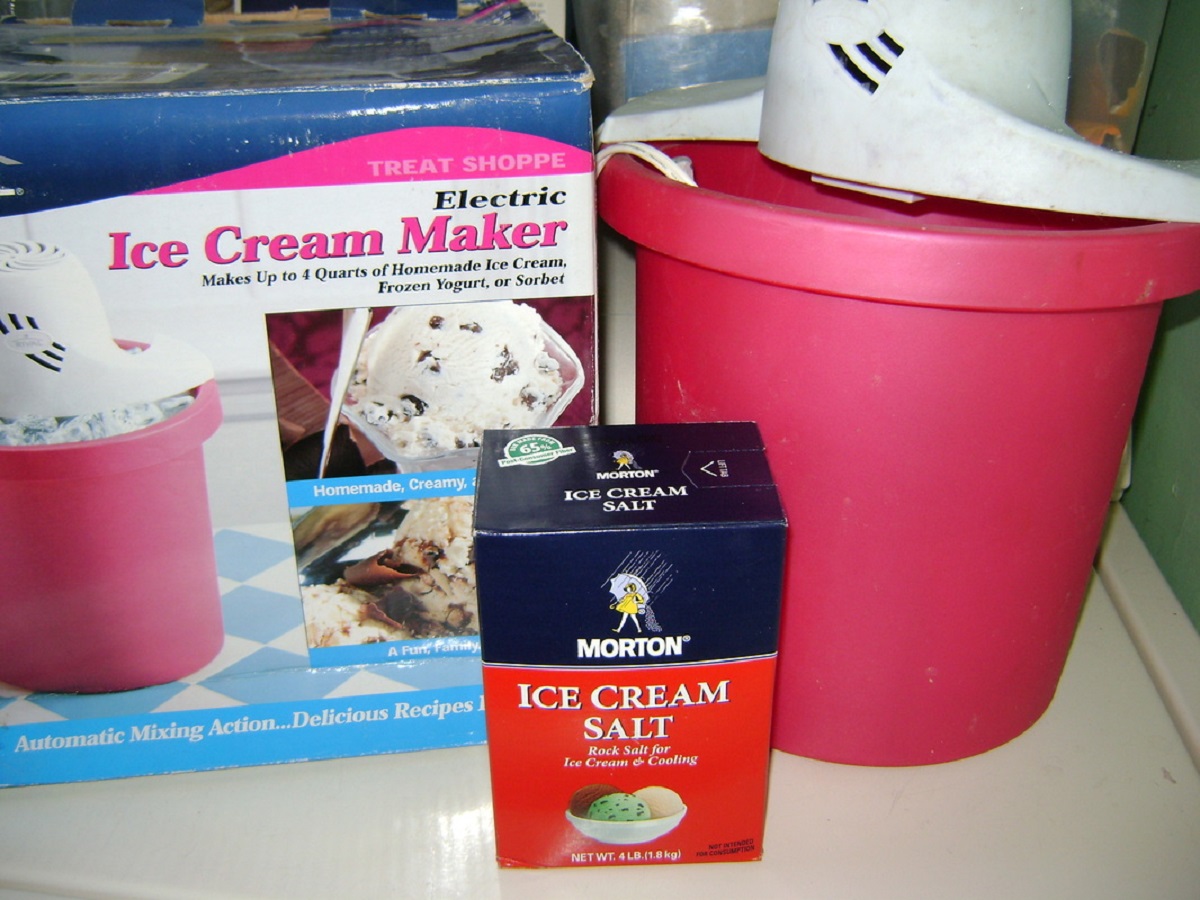
- Ice cream salt or coarse salt
Follow these steps to make ice cream using Ziplock bags:
- In a mixing bowl, combine the heavy cream, whole milk, sugar, vanilla extract, and salt.
- Pour the mixture into a small, sealable Ziplock bag and close it tightly, ensuring no air remains inside.
- In a larger Ziplock bag, fill it halfway with ice cubes and add about 1/2 cup of ice cream salt or coarse salt.
- Place the small sealed bag containing the ice cream mixture into the larger bag with the ice and salt.
- Seal the larger bag tightly, ensuring no salt or ice can escape.
- Hold the bag by the top corners and shake, toss, and roll it continuously for about 10-15 minutes or until the ice cream mixture thickens and hardens.
- Remove the small bag from the larger bag and wipe off any excess salt.
- Open the small bag and transfer the ice cream to a bowl or cone, and enjoy!
The Ziplock bag method works by using the ice and salt to create a freezing environment around the ice cream mixture, allowing it to solidify as it is shaken and agitated.
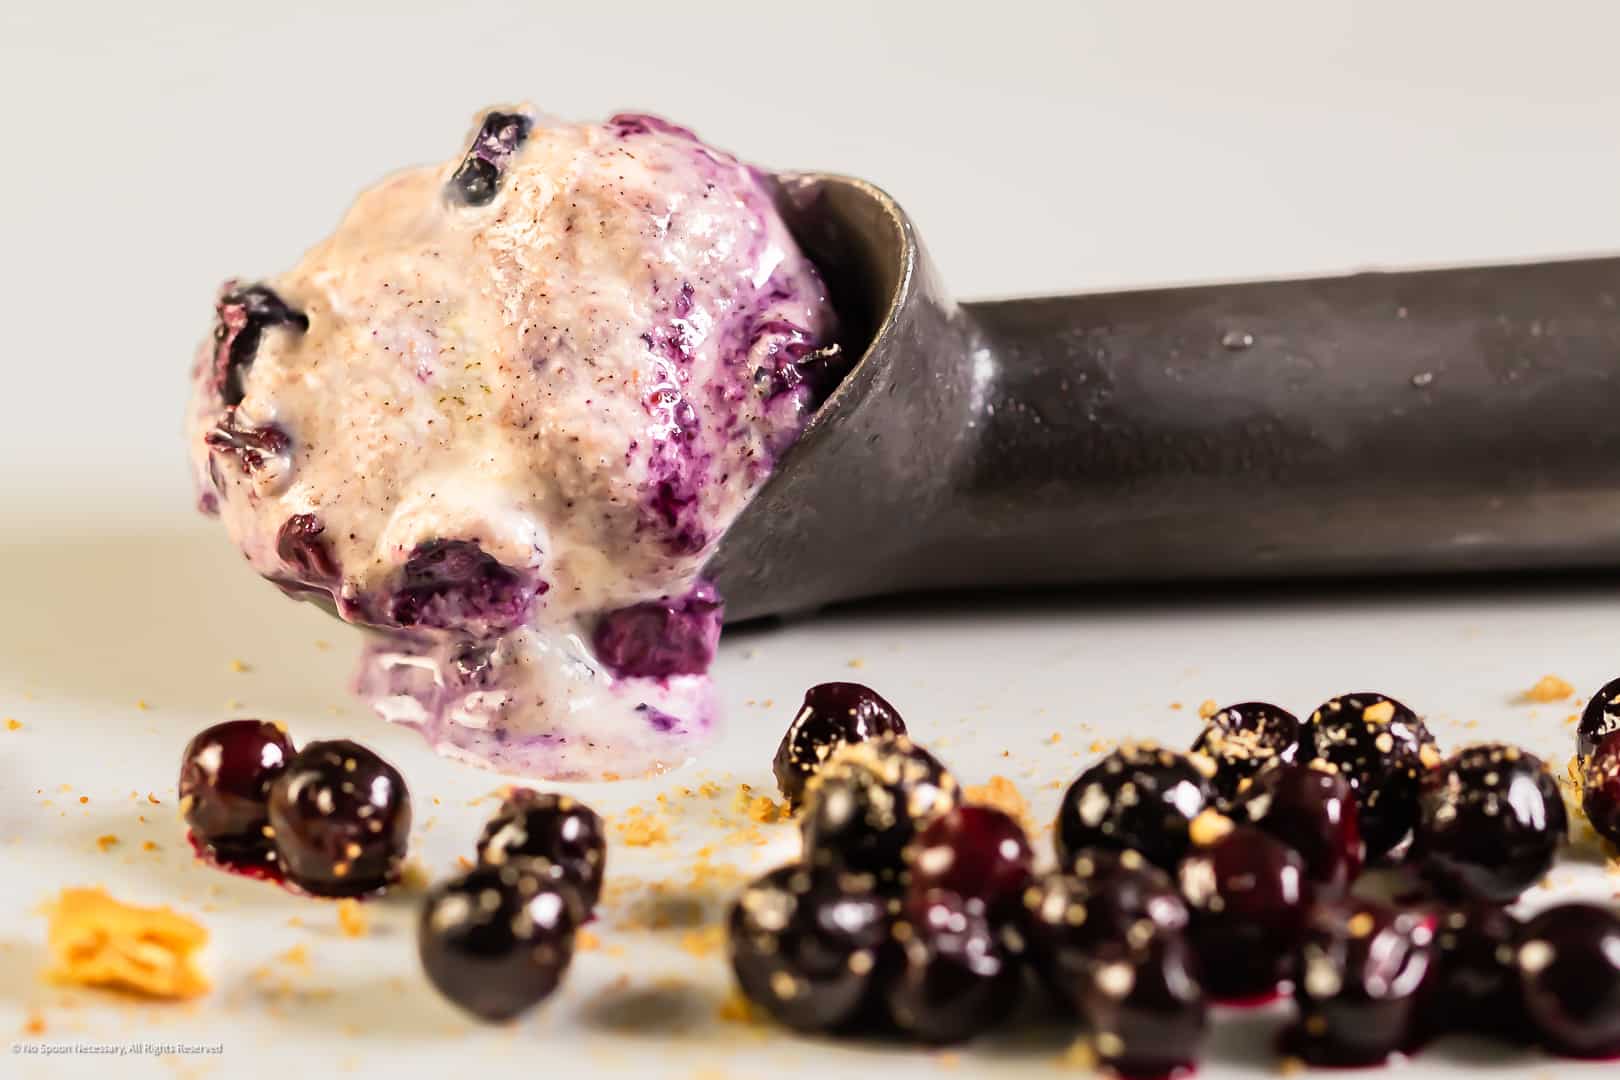
Consider adding your favorite mix-ins, such as crushed cookies, chocolate chips, or even fresh fruit, to enhance the flavor and texture of your homemade ice cream.
So, gather your Ziplock bags, embrace the shaking motion, and have fun creating delicious homemade ice cream!
Using a Mason Jar
Using a mason jar is a simple and enjoyable way to make homemade ice cream without the need for complex machinery. This method allows you to create individual servings of ice cream with minimal ingredients and equipment.
To make ice cream using a mason jar, gather the following ingredients:
- 1 cup of heavy cream
- 1 cup of whole milk
- 1/3 cup of granulated sugar
- 1 teaspoon of vanilla extract
- Ice cubes
- Rock salt or coarse salt
Here’s a step-by-step guide to making ice cream using a mason jar:
- In a mason jar, combine the heavy cream, whole milk, sugar, and vanilla extract.
- Securely seal the lid on the mason jar to prevent any leaks during the shaking process.
- In a larger container, place the sealed mason jar and surround it with ice cubes.
- Sprinkle a layer of rock salt or coarse salt over the ice cubes.
- Repeat the layering process of ice and salt until the ice reaches the top of the mason jar.
- Hold the mason jar by its sides and shake vigorously for about 10-15 minutes or until the mixture thickens and becomes ice cream.
- Remove the mason jar from the ice and wipe off any excess salt.
- Open the jar, scoop out the homemade ice cream, and enjoy!
The ice and salt combination in this method creates a freezing environment, enabling the mixture to freeze and solidify as it is shaken. The shaking action breaks up ice crystals, resulting in a smoother texture.
Feel free to customize your homemade ice cream by adding mix-ins like crushed cookies, chocolate chips, or nuts into the mason jar before shaking.
Using a mason jar to make ice cream provides a fun and interactive experience. It’s a fantastic activity for kids and adults alike, allowing you to savor the fruits of your labor.
So, grab your mason jar, get shaking, and enjoy the delight of homemade ice cream!