Introduction
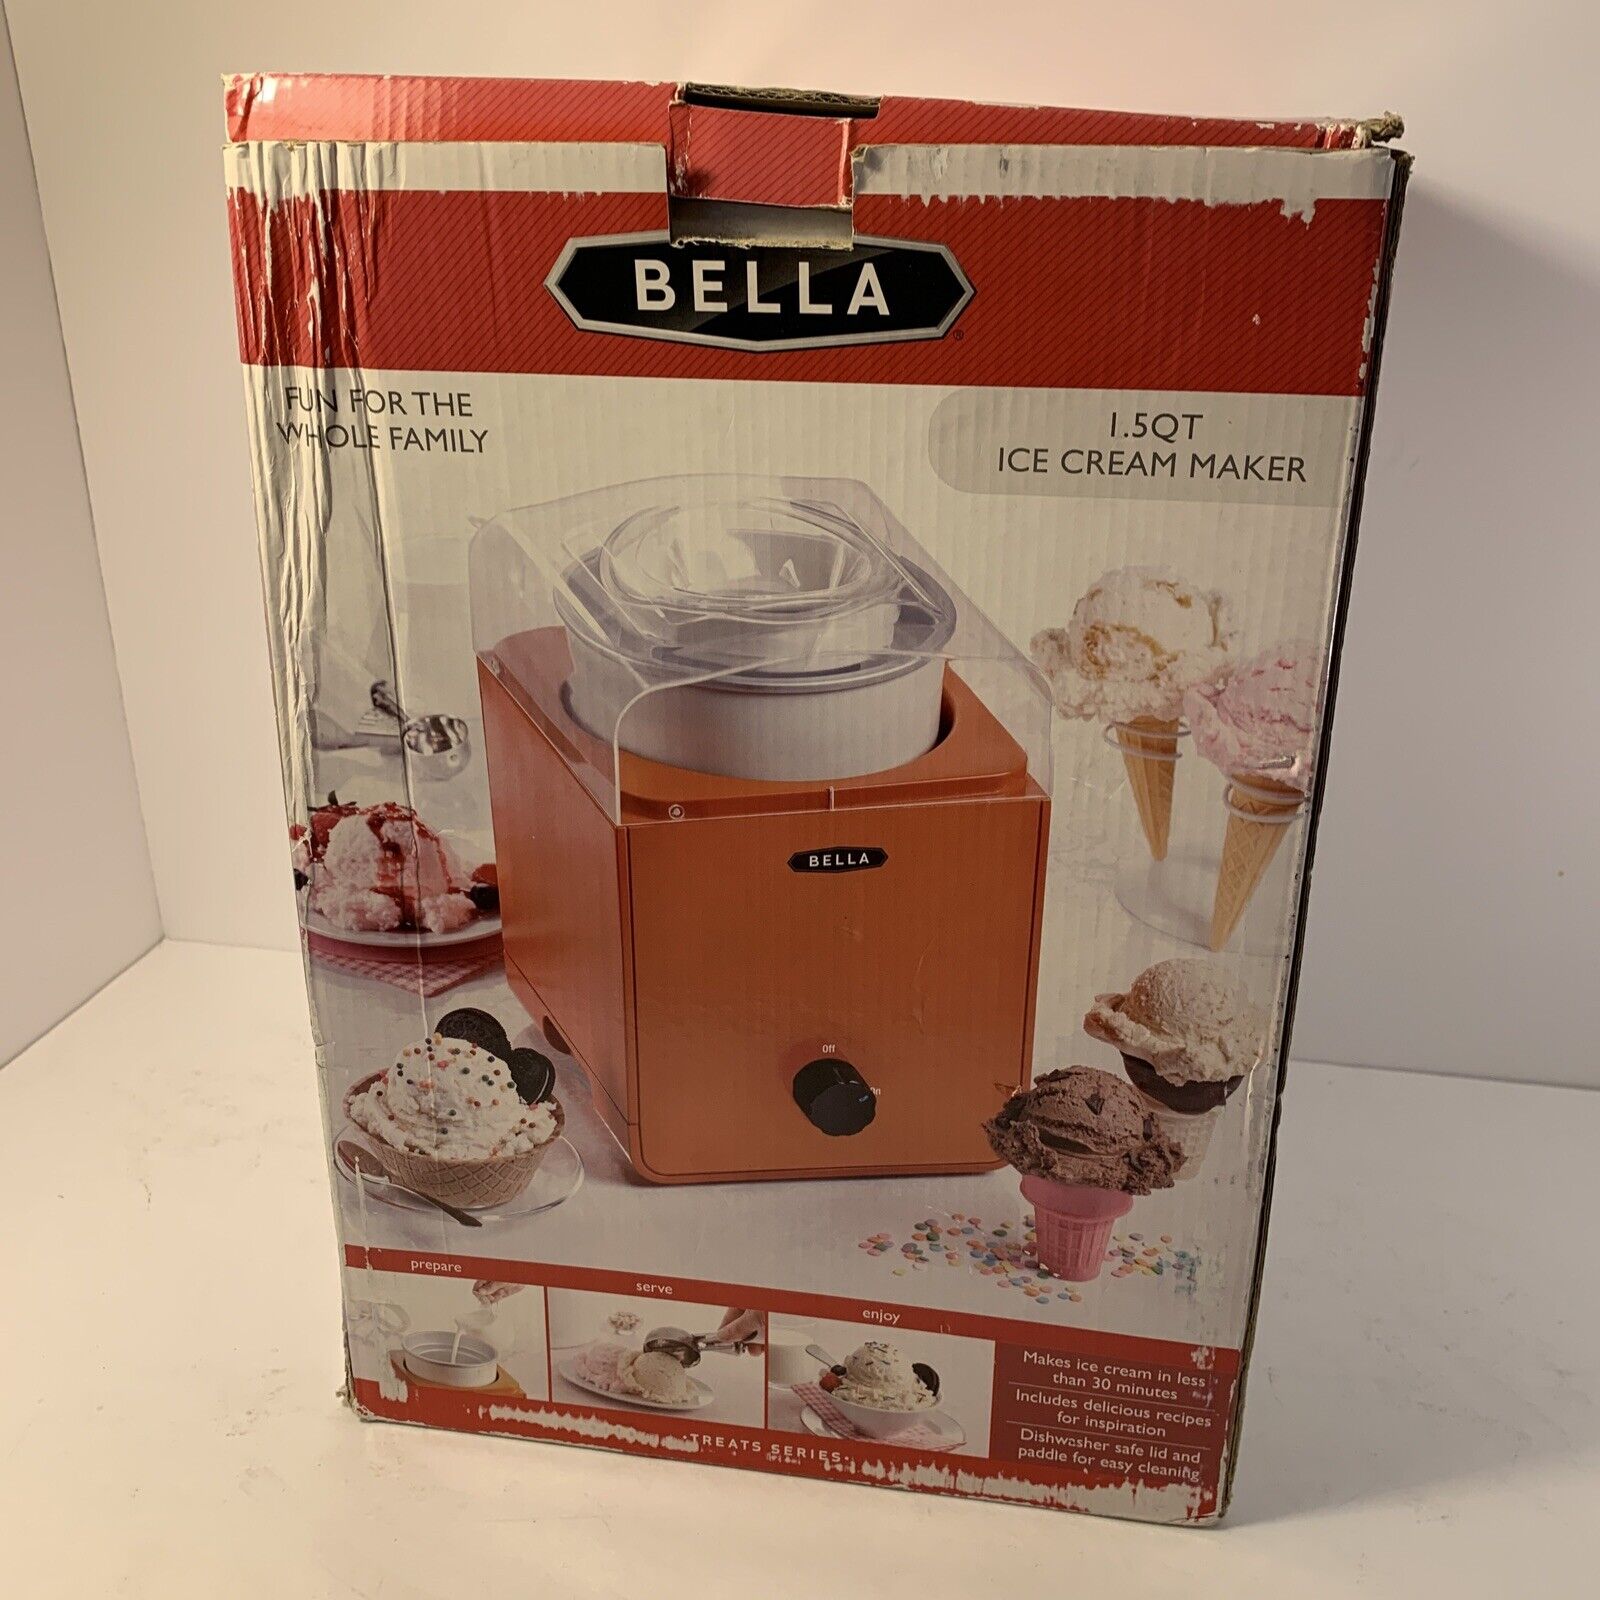
Welcome to the world of homemade ice cream! If you’re a fan of this frozen treat and want to take your love for ice cream to the next level, then the Bella Ice Cream Maker is just what you need. Say goodbye to store-bought ice cream and hello to delightful, creamy creations made right in your own kitchen.
The Bella Ice Cream Maker is a versatile and user-friendly appliance that allows you to make your own customized ice cream, sorbet, gelato, and frozen yogurt. Whether you’re a novice or a seasoned pro in the kitchen, this handy machine will help you whip up delicious frozen desserts in no time.
With its sleek design and easy-to-use features, the Bella Ice Cream Maker makes the process of creating homemade ice cream a breeze. Gone are the days of manually churning a heavy ice cream mixture for hours on end. This innovative appliance does all the hard work for you, allowing you to sit back, relax, and enjoy the fruits of your labor.
Not only does using the Bella Ice Cream Maker provide you with the satisfaction of creating your own frozen delights, but it also allows you to experiment with different flavors, textures, and mix-ins. From classic vanilla to exotic fruit flavors and decadent chocolate creations, the possibilities are endless. Unleash your creativity and get ready to indulge in creamy, dreamy treats that will impress everyone.
In this guide, we will walk you through the step-by-step process of using the Bella Ice Cream Maker. From preparing your ingredients to operating the machine and cleaning up afterward, we’ve got you covered. So, let’s dive in and discover the world of homemade ice cream with the Bella Ice Cream Maker!
Overview of the Bella Ice Cream Maker
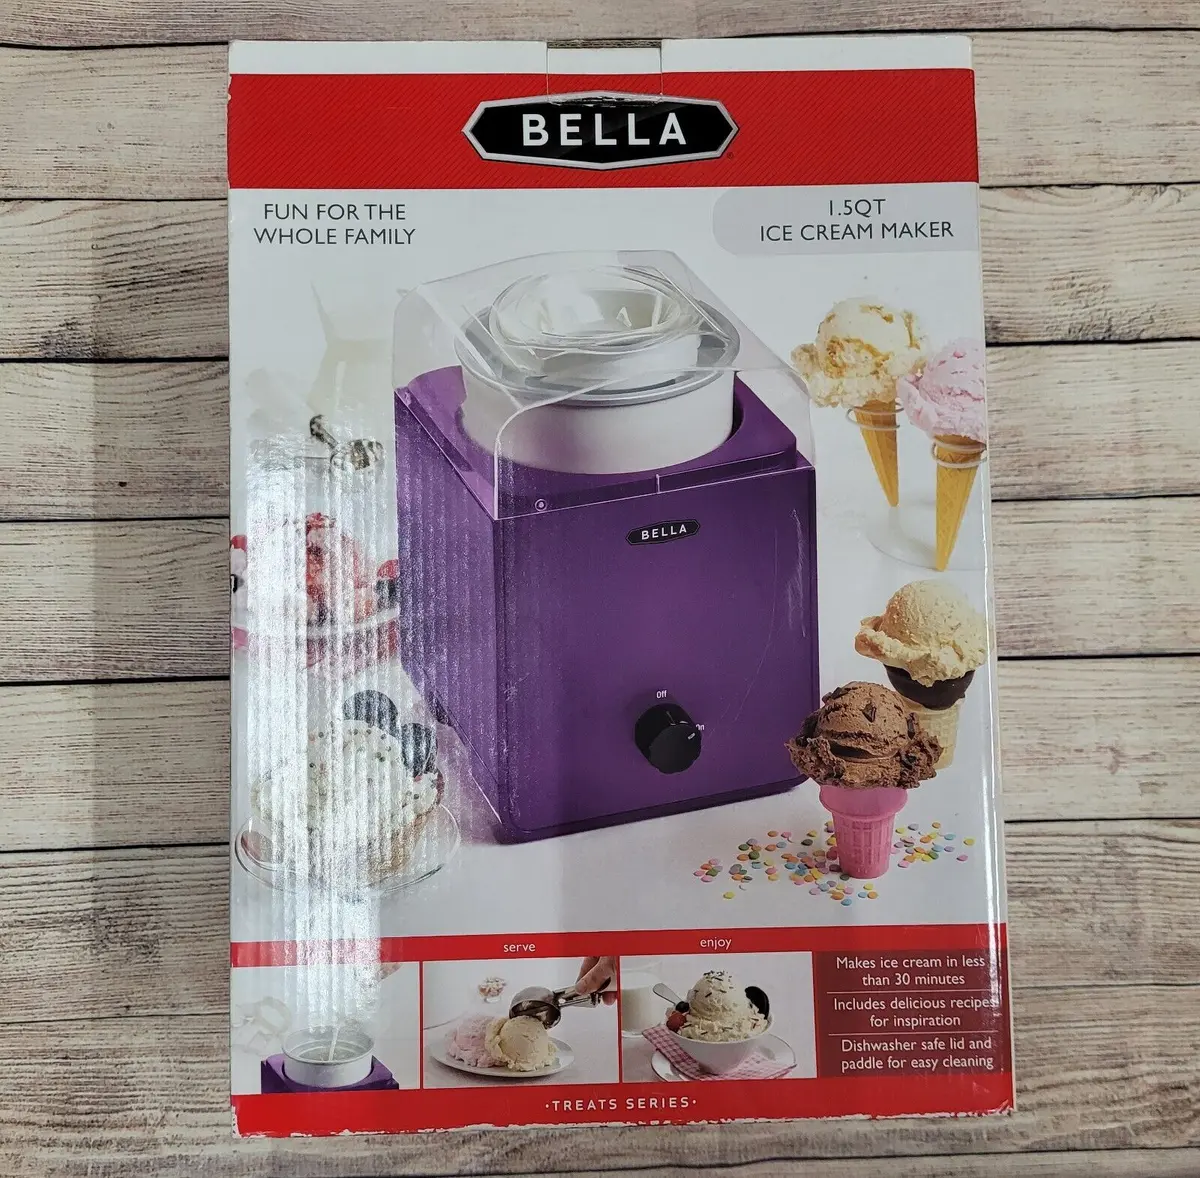
The Bella Ice Cream Maker is a compact and efficient appliance designed to simplify the process of making homemade ice cream. With its user-friendly interface and versatile capabilities, this machine allows you to create a wide variety of frozen treats to satisfy all your cravings.
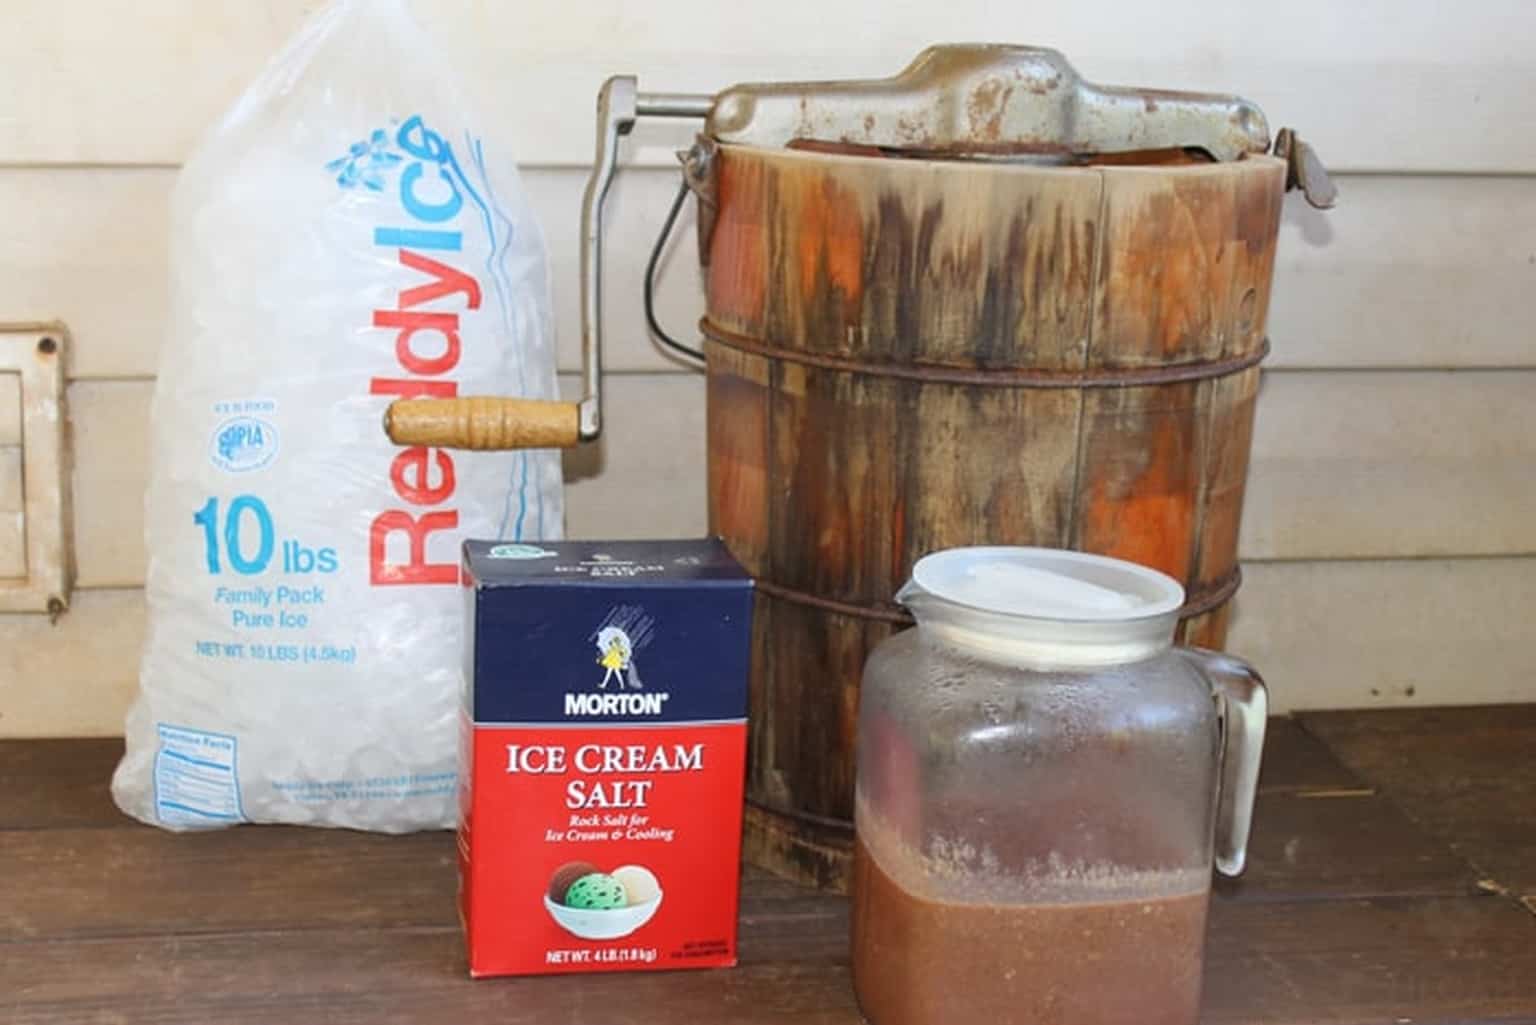
One of the key features of the Bella Ice Cream Maker is its quick freezing bowl. Made with a durable material that ensures even and consistent freezing, this bowl eliminates the need for ice and rock salt traditionally used in older ice cream makers. Simply pre-freeze the bowl for a few hours, and you’ll be ready to make your favorite frozen dessert in no time.
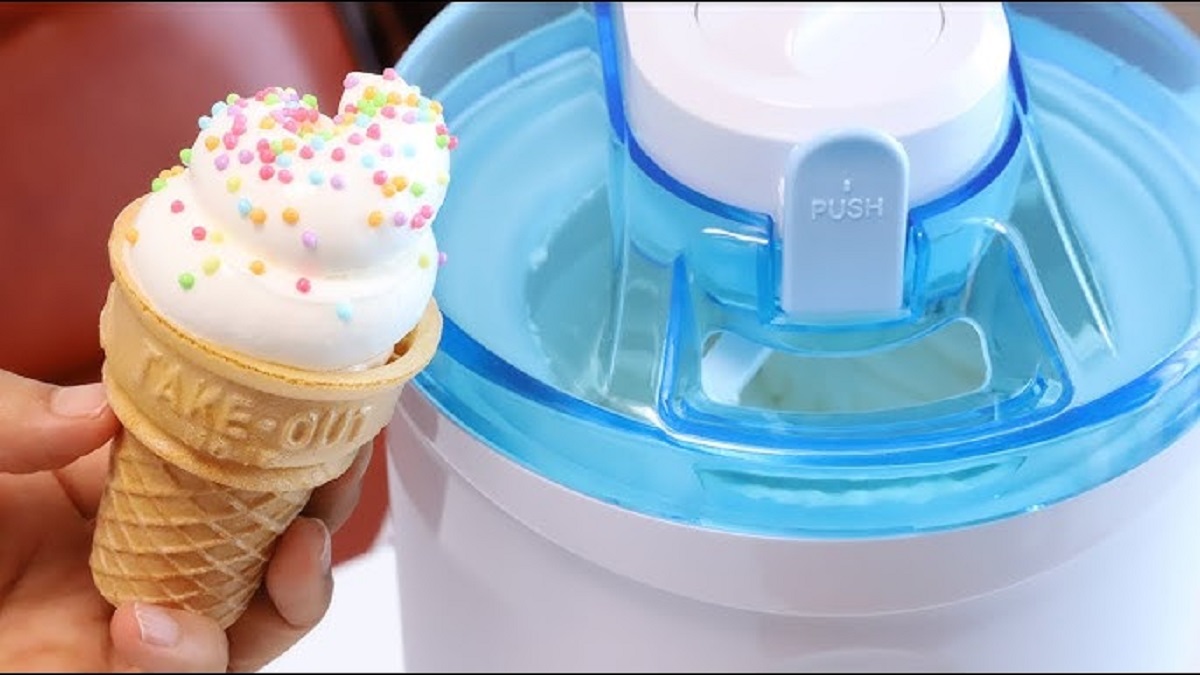
The machine also boasts a powerful motor that churns and mixes the ice cream mixture to the perfect consistency. With its precise controls, you can adjust the speed and time to achieve your desired texture, whether that’s soft-serve, creamy, or firm.
The Bella Ice Cream Maker comes with a transparent lid that allows you to monitor the progress of your ice cream as it churns. This lid also features a handy opening for adding mix-ins, such as chocolate chips, nuts, or fruit, to infuse your ice cream with additional flavors and textures.
With a compact size and sleek design, the Bella Ice Cream Maker is perfect for small kitchens or those with limited storage space. Its lightweight construction makes it easy to move and store when not in use. Additionally, all the removable parts are dishwasher safe, making cleaning a breeze.
Whether you’re a beginner or an experienced ice cream aficionado, the Bella Ice Cream Maker is the perfect addition to your kitchen. It provides a hassle-free way to indulge in homemade frozen treats without the need for expensive equipment or complicated techniques.
In the next section, we will guide you through the step-by-step process of using the Bella Ice Cream Maker to create your own delicious ice cream creations.
Step-by-Step Guide to Using the Bella Ice Cream Maker
Making homemade ice cream with the Bella Ice Cream Maker is a simple and enjoyable process. Follow these step-by-step instructions to create your own delectable frozen treats:
- Preparation: Before you begin, ensure that the freezing bowl of the Bella Ice Cream Maker has been thoroughly frozen. It is recommended to freeze the bowl for at least 24 hours in advance. Additionally, gather all the necessary ingredients for your chosen ice cream recipe.
- Assembling the Ice Cream Maker: Once the freezing bowl is frozen, remove it from the freezer and attach it to the base of the Bella Ice Cream Maker. Make sure it clicks into place securely. Next, insert the mixing paddle into the bowl’s center spindle.
- Adding Ingredients to the Ice Cream Maker: With the Bella Ice Cream Maker assembled, it’s time to add your chosen ice cream mixture. Pour the mixture into the freezing bowl while it is spinning. Be careful not to overfill the bowl, as the mixture expands during the freezing process.
- Operating the Bella Ice Cream Maker: Once the ice cream mixture is in the freezing bowl, carefully place the transparent lid on top. Ensure it is in the locked position. Plug in the Bella Ice Cream Maker and turn it on. Use the control panel to set the desired time and speed for churning. Start with a low speed for a few minutes, gradually increasing it as the mixture thickens.
- Monitoring and Adding Mix-ins: As the ice cream churns, you can monitor its progress through the transparent lid. If you wish to add any mix-ins, such as chocolate chips or nuts, do so through the designated opening on the lid. Add the mix-ins towards the end of the churning process to ensure they are evenly distributed.
- Finishing and Freezing: Once the desired consistency is reached, turn off the Bella Ice Cream Maker and unplug it from the power source. Remove the transparent lid and the mixing paddle. At this point, the ice cream is in a soft-serve consistency. Transfer it to an airtight container and place it in the freezer for a couple of hours to firm up.
- Serving and Enjoying: Once the ice cream has fully frozen, it is ready to be enjoyed. Scoop it into bowls or cones, or get creative and use it as a base for other desserts. Sit back, relax, and savor the delightful homemade ice cream you’ve created with the Bella Ice Cream Maker!
Now that you know the step-by-step process of using the Bella Ice Cream Maker, let’s move on to the next section where we’ll explore some tips and tricks for getting the best results from your homemade ice cream.
Preparing Your Ingredients
Before you start making your homemade ice cream with the Bella Ice Cream Maker, it’s essential to ensure that your ingredients are well-prepared. Properly preparing your ingredients will help you achieve the best flavor and texture in your finished frozen treat. Here are some key steps to follow:
- Gather Fresh Ingredients: Start by gathering high-quality and fresh ingredients for your ice cream base. This includes milk, cream, sugar, and any additional flavorings or mix-ins you plan to use. Using fresh ingredients will enhance the taste of your homemade ice cream.
- Measure Accurately: Precision is key when it comes to measuring your ingredients. Use measuring cups and spoons to ensure you add the correct amounts of each ingredient. Too much or too little of certain ingredients can affect the texture and taste of the ice cream.
- Chill the Base Mixture: For the best results, chill your ice cream base mixture before pouring it into the Bella Ice Cream Maker. This will help the mixture freeze faster and churn more efficiently. Place the mixture in the refrigerator for at least a couple of hours or overnight.
- Prep Mix-ins and Flavorings: If you plan to add any mix-ins or flavorings to your ice cream, make sure they are prepared and ready to use. Chop nuts, grate chocolate, or puree fruits in advance so that they are easily accessible while the ice cream is churning. This will ensure an even distribution of flavors throughout the ice cream.
- Adjust Sweetness Level: Consider adjusting the sweetness of your ice cream base mixture based on your personal preference. Taste the mixture before freezing and add more sugar if desired. Remember that the freezing process can slightly dull the sweetness, so it’s better to have the mixture slightly sweeter than you prefer.
By taking the time to properly prepare your ingredients, you are setting yourself up for success in creating delicious homemade ice cream with the Bella Ice Cream Maker. Next, we will guide you through assembling the ice cream maker to get ready for churning.
Assembling the Ice Cream Maker
Assembling the Bella Ice Cream Maker is a quick and straightforward process that gets you one step closer to enjoying homemade ice cream. Follow these simple steps to ensure proper assembly:
- Freezing Bowl: Start by placing the freezing bowl of the Bella Ice Cream Maker in the freezer. It is recommended to freeze the bowl for a minimum of 24 hours before use. This ensures that the bowl is thoroughly frozen and ready to churn your ice cream mixture.
- Base and Spindle: Once the freezing bowl is frozen, remove it from the freezer. Take the base of the Bella Ice Cream Maker and place it on a flat, sturdy surface. Look for the spindle in the center of the base.
- Attach the Bowl: Align the freezing bowl with the spindle in the center of the base. Gently press down and twist the bowl clockwise until it clicks into place. The bowl should fit securely onto the base.
- Insert the Mixing Paddle: Take the mixing paddle that comes with the Bella Ice Cream Maker and place it into the center spindle of the freezing bowl. Ensure that the paddle is inserted all the way, and it sits securely in place.
- Check for Stability: Once the bowl and mixing paddle are in place, check to make sure that everything is stable and properly assembled. Give the paddle a gentle spin to ensure it moves freely. If there are any loose or unstable parts, double-check the assembly or refer to the user manual for further instructions.
Once you have successfully assembled the Bella Ice Cream Maker, you are ready to move on to adding your ingredients and getting the machine ready for churning. The next section will provide you with a detailed guide on adding ingredients to the machine and operating it effectively.
Adding Ingredients to the Ice Cream Maker
Now that you have successfully assembled the Bella Ice Cream Maker, it’s time to add your ingredients and start creating your delicious homemade ice cream. Follow these steps to ensure a smooth and flavorful ice cream-making process:
- Pre-Chill Ingredients: Before adding your ingredients to the Bella Ice Cream Maker, make sure they are properly chilled. This is particularly important for the dairy components such as milk and cream. Chilling the ingredients helps to speed up the freezing process and ensures a creamy texture in the final ice cream.
- Add Base Mixture: Once your ingredients are chilled, pour the ice cream base mixture into the freezing bowl of the Bella Ice Cream Maker. Be mindful not to exceed the maximum fill line indicated on the bowl, as the mixture expands during the churning process.
- Add Flavorings and Mix-Ins: If you desire additional flavors or mix-ins in your ice cream, such as vanilla extract, cocoa powder, or chunks of chocolate, now is the time to add them. Gently stir or fold in the flavorings and mix-ins with the base mixture to ensure even distribution.
- Secure the Lid: Once all the ingredients are added, place the transparent lid onto the freezing bowl. Ensure that the lid is securely locked in place. The lid serves two purposes: to prevent the mixture from splattering during the churning process and to allow you to add mix-ins through the opening on top if desired.
- Insert the Mixing Paddle: With the lid in place, insert the mixing paddle into the center spindle of the freezing bowl. The paddle will help churn the mixture and incorporate air, resulting in a smooth and creamy texture.
By properly adding your ingredients to the Bella Ice Cream Maker, you are setting the stage for a delicious and well-blended homemade ice cream. In the next section, we’ll dive into operating the machine and setting the appropriate settings for churning.
Operating the Bella Ice Cream Maker
Operating the Bella Ice Cream Maker is a breeze when you follow a few simple steps. With its user-friendly controls and efficient design, you’ll be enjoying creamy, homemade ice cream in no time. Here’s how to operate the Bella Ice Cream Maker:
- Plug it in: Start by plugging in the Bella Ice Cream Maker into a power outlet. Ensure that the power cord is securely connected.
- Turn it on: Locate the power switch or button on the machine’s control panel. Flip the switch or press the button to turn on the Bella Ice Cream Maker.
- Set the Time and Speed: Most Bella Ice Cream Makers feature adjustable time and speed settings. Refer to the instruction manual to learn how to adjust these settings on your specific model. Set the desired time and speed based on your ice cream recipe and desired consistency.
- Start the Churning Process: Once the time and speed are set, press the start button or switch to begin the churning process. The mixing paddle will start rotating and churning the ice cream mixture.
- Monitor the Progress: Watch the ice cream mixture as it churns through the transparent lid. The consistency will gradually thicken and become creamier over time. This process typically takes around 20 to 30 minutes, depending on the recipe and desired texture.
- Add Mix-Ins (Optional): If you’d like to add mix-ins, such as chocolate chips or nuts, you can do so during the churning process. Many Bella Ice Cream Makers come with an opening on the lid specifically designed for this purpose. Simply lift the lid and drop the mix-ins through the opening while the machine is still running.
- Finish Churning: Once the desired consistency is reached, turn off the Bella Ice Cream Maker by flipping the power switch or pressing the stop button. The mixing paddle will come to a halt, indicating that the churning process is complete.
- Remove the Lid and Mixing Paddle: Carefully remove the transparent lid from the freezing bowl. Take out the mixing paddle from the center spindle. Be cautious as the paddle and freezing bowl may be cold.
- Transfer and Freeze: Transfer the freshly churned ice cream into an airtight container. Place it in the freezer for a few hours to further firm up the ice cream. This step will ensure a perfect scoopable texture.
With the Bella Ice Cream Maker’s easy-to-use controls and intuitive operation, you can create creamy, homemade ice cream with minimal effort. In the next section, we’ll share some tips and tricks to help you achieve the best results with your Bella Ice Cream Maker.
Tips and Tricks for the Best Results
To enhance your ice cream-making experience with the Bella Ice Cream Maker and achieve fantastic results, consider incorporating these tips and tricks:
- Pre-Freeze Your Ingredients: For even better results, pre-freeze your ice cream base mixture and any mix-ins prior to adding them to the Bella Ice Cream Maker. This will help speed up the freezing process and result in a smoother texture.
- Experiment with Ratios: Adjust the ratio of milk to cream in your ice cream base to achieve your desired level of richness. More cream will yield a creamier and richer ice cream, while a higher proportion of milk will result in a lighter and less rich texture.
- Maintain a Cold Environment: Ensure that your kitchen and workspace are cool before and during the churning process. A colder environment will help the freezing bowl stay chilled for longer, allowing the ice cream to freeze more efficiently.
- Layer Ice and Salt for Faster Freezing: If you’re in a hurry, you can speed up the freezing process by placing the freezing bowl inside a larger container filled with ice and rock salt. This technique creates a lower temperature, aiding in quicker freezing.
- Don’t Overfill the Freezing Bowl: Be cautious not to overfill the freezing bowl with the ice cream mixture. As the mixture churns, it expands, and overfilling can result in overflow or uneven freezing. Follow the manufacturer’s guidelines for maximum fill capacity.
- Use High-Quality Ingredients: Opt for high-quality ingredients to enhance the flavor and overall quality of your homemade ice cream. Fresh dairy, ripe fruits, and premium extracts will make a noticeable difference in the taste and texture of your frozen treat.
- Add Mix-ins at the Right Time: If you’re incorporating mix-ins like chocolate chips, nuts, or fruit, add them towards the end of the churning process. This ensures that they are evenly distributed throughout the ice cream without getting crushed or sinking to the bottom.
- Allow for Proper Firming: After churning, transfer the ice cream to an airtight container and place it in the freezer for a few hours to allow it to firm up. This step helps to achieve a scoopable texture and prevents freezer burn.
- Clean and Store Properly: After each use, clean the freezing bowl, lid, and mixing paddle according to the manufacturer’s instructions. Ensure that all parts are completely dry before storing them. Store the Bella Ice Cream Maker in a cool, dry place.
By following these tips and tricks, you can optimize your ice cream-making process and create delightful frozen treats with your Bella Ice Cream Maker. In the next section, we’ll cover the essential steps for cleaning and maintaining your machine.
Cleaning and Maintenance
Proper cleaning and maintenance are crucial for keeping your Bella Ice Cream Maker in top condition and ensuring that it continues to churn out delicious homemade ice cream. Follow these guidelines to clean and maintain your machine:
- Unplug and Disassemble: Before cleaning, make sure to unplug the Bella Ice Cream Maker from the power source. Disassemble the machine by removing the freezing bowl, lid, and mixing paddle.
- Hand Wash or Dishwasher: Check the manufacturer’s instructions to determine if the parts are dishwasher safe. If they are, you can safely place them in the dishwasher for cleaning. If not, wash the parts by hand in warm, soapy water. Use a non-abrasive sponge or cloth to avoid scratching the surfaces.
- Dry Thoroughly: After washing, thoroughly dry all the parts of the Bella Ice Cream Maker before reassembling or storing them. Excess moisture can lead to mold or damage to the machine.
- Wipe the Base: Use a damp cloth or sponge to wipe down the base of the machine. This will remove any spills or residue that may have accumulated during the churning process.
- Store Properly: Once the parts are clean and dry, store them in a cool, dry place. Ensure that they are stored in a manner that prevents any damage or warping.
- Regular Maintenance: Regularly check the machine’s moving parts, such as the spindle and motor, for any signs of wear or damage. If you notice any issues, contact the manufacturer or follow the suggested maintenance steps in the user manual.
- Follow Manufacturer’s Guidelines: It’s important to refer to the specific cleaning and maintenance instructions provided by the manufacturer. They will provide you with the most accurate and detailed information for caring for your Bella Ice Cream Maker.
By regularly cleaning and maintaining your Bella Ice Cream Maker, you’ll ensure its longevity and optimal performance. The next section will cover solutions to common issues you may encounter while using the machine.
Troubleshooting Common Issues
While the Bella Ice Cream Maker is designed to provide hassle-free ice cream-making, you may encounter a few common issues along the way. Here are some troubleshooting tips to help you overcome these challenges:
- Ice Cream Not Freezing: If your ice cream is not freezing properly, ensure that the freezing bowl is thoroughly frozen before use. Double-check that the bowl has been frozen for the recommended amount of time. If the problem persists, try placing the freezing bowl in a colder environment, such as a deep freezer, to achieve a lower temperature for better freezing.
- Mixture Not Thickening: If your ice cream mixture is not thickening during the churning process, ensure that the base ingredients are properly chilled before adding them to the freezing bowl. Additionally, check the speed and time settings on the machine. Adjusting these settings can help achieve the desired consistency.
- Bowl Movement: If you notice excessive movement or wobbling of the freezing bowl during operation, ensure that it is securely locked onto the base. Make sure the bowl is correctly latched and positioned. If the issue persists, contact the manufacturer for further assistance.
- Mix-Ins Not Incorporating: If your mix-ins, such as chocolate chips or fruit pieces, aren’t evenly distributed in the ice cream, it may be because they were added too early in the churning process. Add the mix-ins towards the end of the churning time to ensure they are adequately incorporated.
- Motor Overheating: If you notice that the Bella Ice Cream Maker’s motor is overheating or the machine shuts off unexpectedly, it could be due to overuse or excessive temperature. Allow the machine to cool down for a few minutes before resuming churning. If the problem persists, contact the manufacturer for further assistance.
- Unpleasant Odors: If your Bella Ice Cream Maker develops unpleasant odors over time, it’s likely due to the accumulation of residue or food particles. Clean the machine thoroughly by following the manufacturer’s cleaning instructions. Additionally, make sure to fully dry all parts before storing to prevent the growth of mold or mildew.
If you continue to experience issues with your Bella Ice Cream Maker that are not resolved with these troubleshooting tips, it is best to contact the manufacturer’s customer support or refer to the user manual for further assistance. Now that you are equipped with troubleshooting knowledge, you can confidently create delicious ice cream with your Bella Ice Cream Maker.
Conclusion
Congratulations! You have now reached the end of our guide on using the Bella Ice Cream Maker. With this versatile and user-friendly appliance, you can create delightful homemade ice cream, sorbet, gelato, and frozen yogurt right in the comfort of your own kitchen.
We started by introducing you to the Bella Ice Cream Maker, highlighting its features and benefits. We then walked you through the step-by-step process of using the machine, from preparing your ingredients to operating the appliance and achieving the perfect consistency for your frozen treats.
Throughout this guide, we provided valuable tips and tricks to help you obtain the best results. From adjusting ingredient ratios to adding mix-ins, these insights will enable you to explore your creativity and tailor your ice cream creations to your preferences.
We also covered important aspects of cleaning and maintaining your Bella Ice Cream Maker. By following the recommended cleaning procedures and conducting regular maintenance checks, you can ensure the longevity and optimal performance of your machine.
Lastly, we discussed common troubleshooting issues you may encounter along the way. By understanding these challenges and implementing the suggested solutions, you can overcome any obstacles and continue to enjoy the delightful taste of homemade ice cream with your Bella Ice Cream Maker.
We hope that this guide has given you the confidence and inspiration to embark on your ice cream-making journey. Get creative, try out new flavors, and indulge in the satisfaction of creating your very own frozen treats. Whether it’s a hot summer day or a cozy winter night, your Bella Ice Cream Maker will be there to satisfy your cravings for creamy and delicious ice cream.
Enjoy the process, savor the results, and have a scoop-tacular time with your Bella Ice Cream Maker!