Introduction
Welcome to the world of homemade ice cream! If you’re a fan of this frozen delight and want to try your hand at making it at home, you may have come across the term “ice cream maker rock salt.” But what exactly is it, and why is it used in the ice cream-making process? In this article, we will explore the ins and outs of ice cream maker rock salt and how to use it effectively to churn out delicious homemade ice cream.
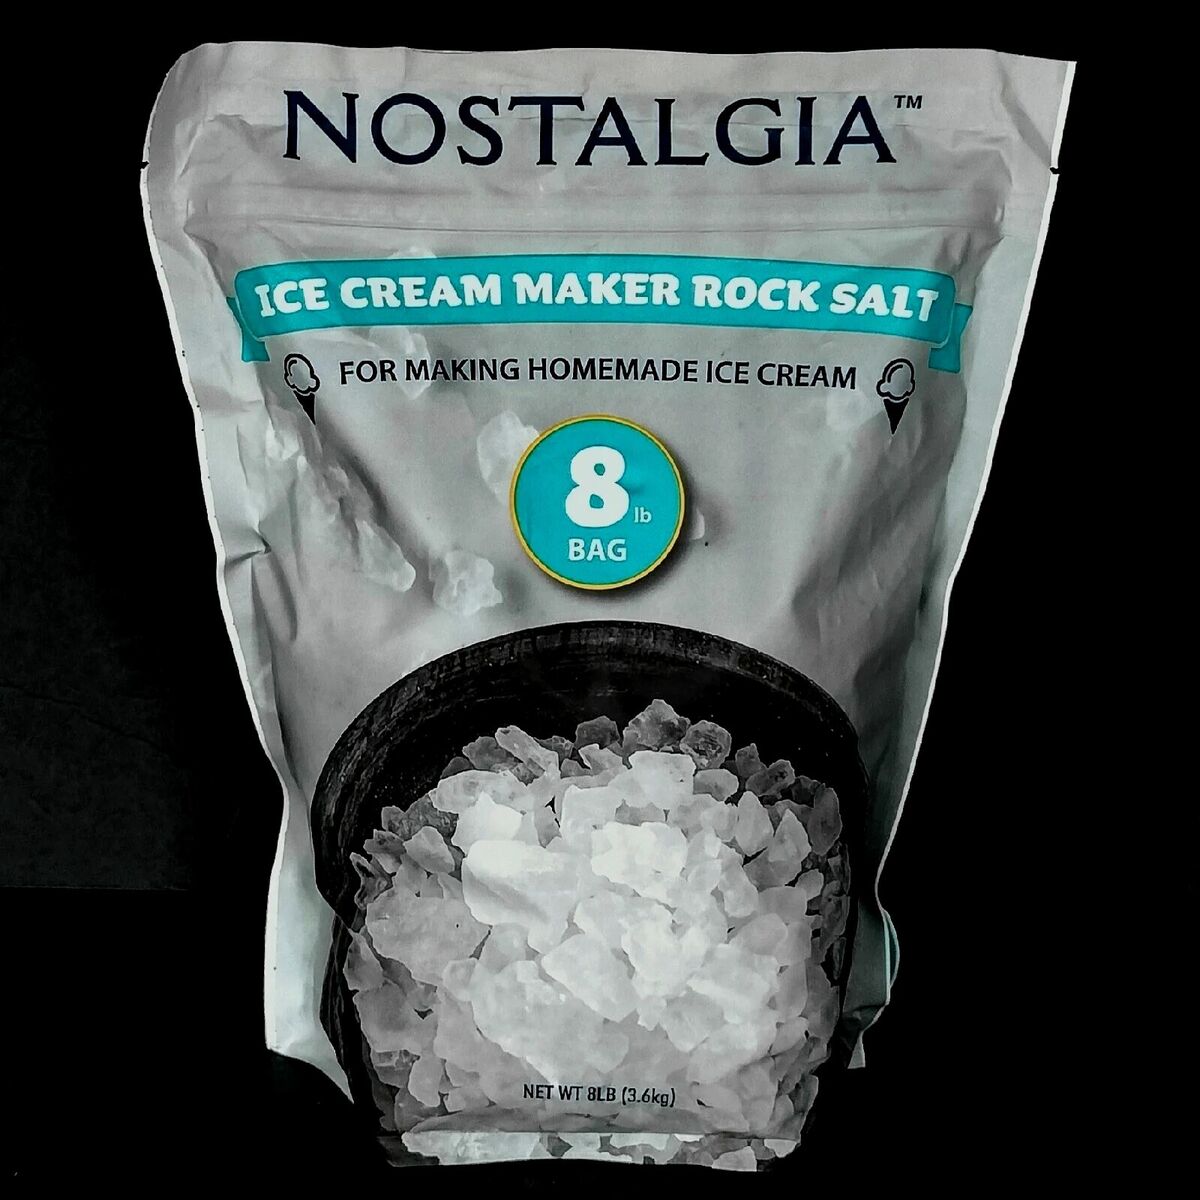
Ice cream maker rock salt, also known as ice cream salt or rock salt, is a type of salt that is commonly used in ice cream makers. Unlike regular table salt, rock salt is larger in size and contains less impurities. It is typically used in the freezing process of making ice cream to lower the temperature of the ice surrounding the mixing bowl, allowing the ice cream mixture to freeze properly.
But how does ice cream maker rock salt actually work? When salt is added to ice, it lowers the freezing point of the ice. This creates a super chilled brine solution, which is essential for freezing the mixture inside the ice cream maker. The rock salt helps to melt the ice, resulting in a cold and slushy mix that is perfect for making creamy, smooth ice cream.
Now that we understand what ice cream maker rock salt is and how it works, let’s take a look at what supplies you’ll need to use it effectively.
What is ice cream maker rock salt?
Ice cream maker rock salt, also known as ice cream salt or rock salt, is a unique type of salt that plays a crucial role in the ice cream-making process. It is a coarse-grained salt with larger crystals compared to table salt, and is specifically designed to be used in ice cream makers.
But why is rock salt used in ice cream makers? The key reason is its ability to lower the freezing point of ice. When rock salt is added to ice, it creates a brine solution with a temperature well below the freezing point of water. This super-chilled brine is essential for freezing the ice cream mixture inside the ice cream maker.
The rock salt works by melting the ice in the ice cream maker, which in turn absorbs heat from the surrounding environment, including the mixing bowl containing the ice cream mixture. As a result, the temperature inside the ice cream maker drops significantly, allowing the mixture to freeze and solidify into creamy ice cream.
It’s important to note that ice cream maker rock salt is not the same as table salt or other common salts. While all salts share the property of lowering the freezing point of water, rock salt is specifically formulated for use in ice cream makers due to its larger crystals and purity. These properties ensure that the salt dissolves at a slower rate, providing a longer-lasting cooling effect.
Furthermore, rock salt is typically less refined compared to table salt, with fewer impurities. This purity is crucial for maintaining the taste and quality of the ice cream, as any impurities could potentially affect the flavor or texture of the final product.
In summary, ice cream maker rock salt is a specialized type of salt used to create a low-temperature brine solution in ice cream makers. Its larger crystals and purity make it ideal for effectively freezing the ice cream mixture and producing smooth and creamy homemade ice cream.
How does ice cream maker rock salt work?
Ice cream maker rock salt, also known as ice cream salt or rock salt, works by lowering the freezing point of ice and creating a super-chilled brine solution. This brine solution is essential for freezing the ice cream mixture and turning it into delicious homemade ice cream.
When rock salt is added to ice, it starts to dissolve, creating a brine solution. This brine has a lower freezing point than plain water, allowing it to stay in a liquid state at temperatures below 0 degrees Celsius (32 degrees Fahrenheit). By doing so, the brine solution remains colder than the ice cream mixture, which helps extract heat from it efficiently.
As the ice cream maker churns the mixture and the ice cream mixture comes into contact with the freezing-cold brine, heat is transferred from the mixture to the brine. This transfer of heat causes the ice cream mixture to cool down rapidly, allowing it to freeze and solidify.
The rock salt aids in the process by melting the ice. The energy required to melt the ice comes from its surroundings, including the surrounding air and the ice cream mixture itself. As the ice melts, the temperature of the ice cream maker decreases even further, enhancing the freezing process.
The key to the effectiveness of ice cream maker rock salt lies in its ability to create a concentrated brine solution. This solution has a lower freezing point than pure water, making it ideal for turning the ice cream mixture into a frozen treat. Additionally, the large crystals of rock salt dissolve at a slower rate, ensuring that the brine solution remains cold for a longer period of time during the churning process.
It’s worth noting that while ice cream maker rock salt is an essential component for making homemade ice cream, it should not come into direct contact with the ice cream mixture itself. It is the brine solution created by the rock salt and ice that indirectly freezes the mixture, allowing it to transform into creamy ice cream.
In summary, ice cream maker rock salt works by creating a super-chilled brine solution that extracts heat from the ice cream mixture and causes it to freeze. The rock salt helps lower the freezing point of the ice, maintaining a freezing temperature for a longer duration, and resulting in delectable homemade ice cream.
Supplies needed to use ice cream maker rock salt
To make delicious homemade ice cream using ice cream maker rock salt, you will need a few essential supplies. These supplies ensure that you have everything required to create the perfect ice cream texture and consistency. Here are the supplies you will need:
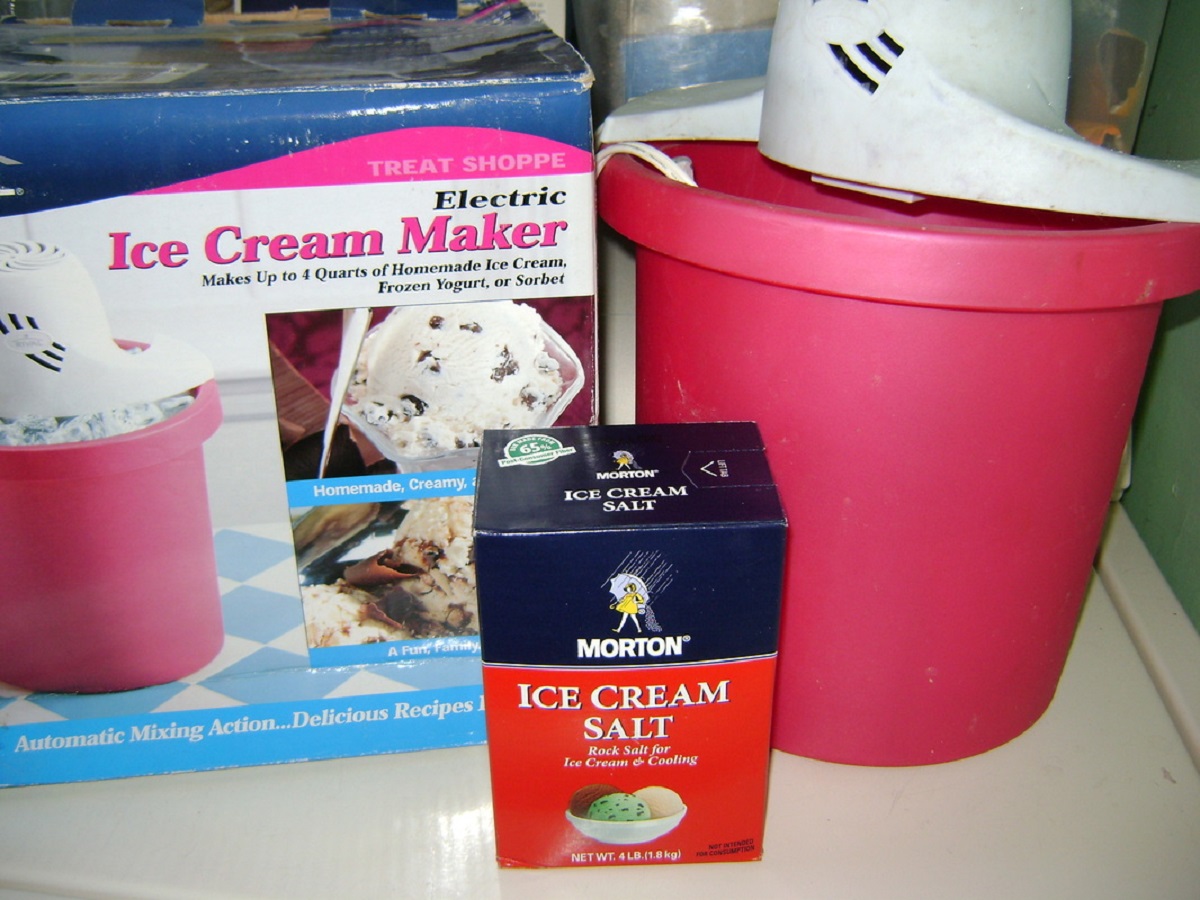
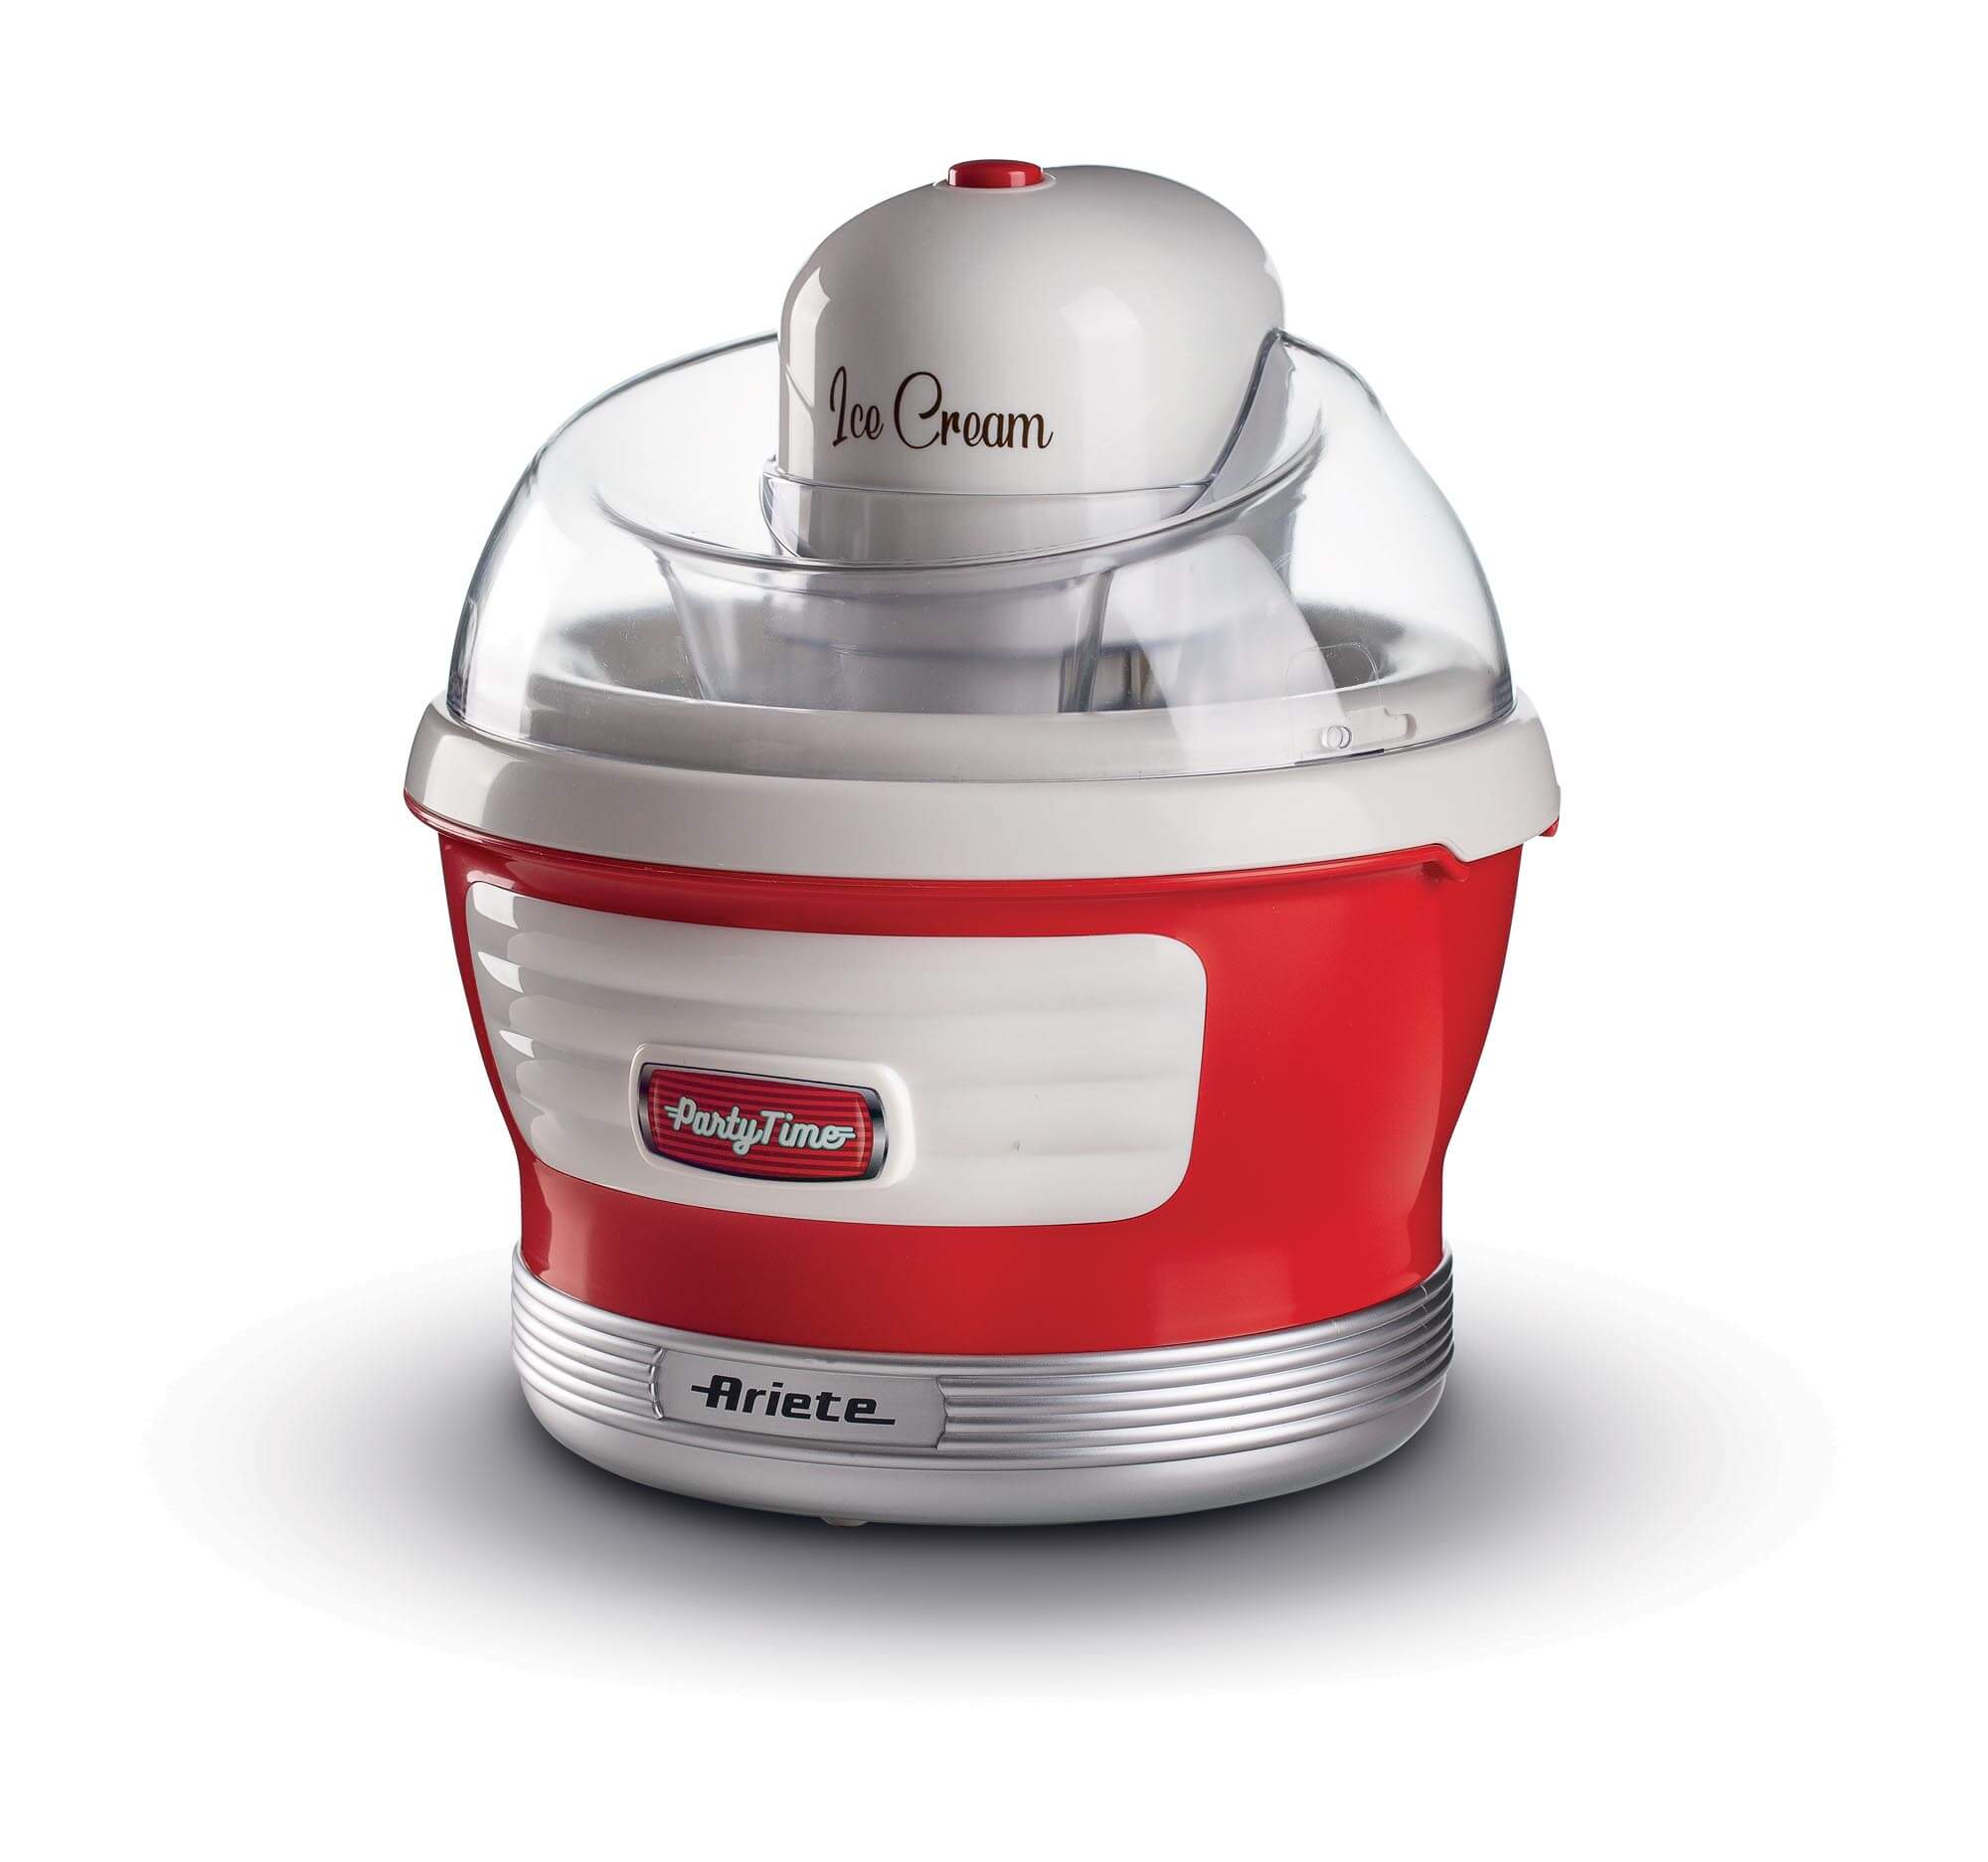
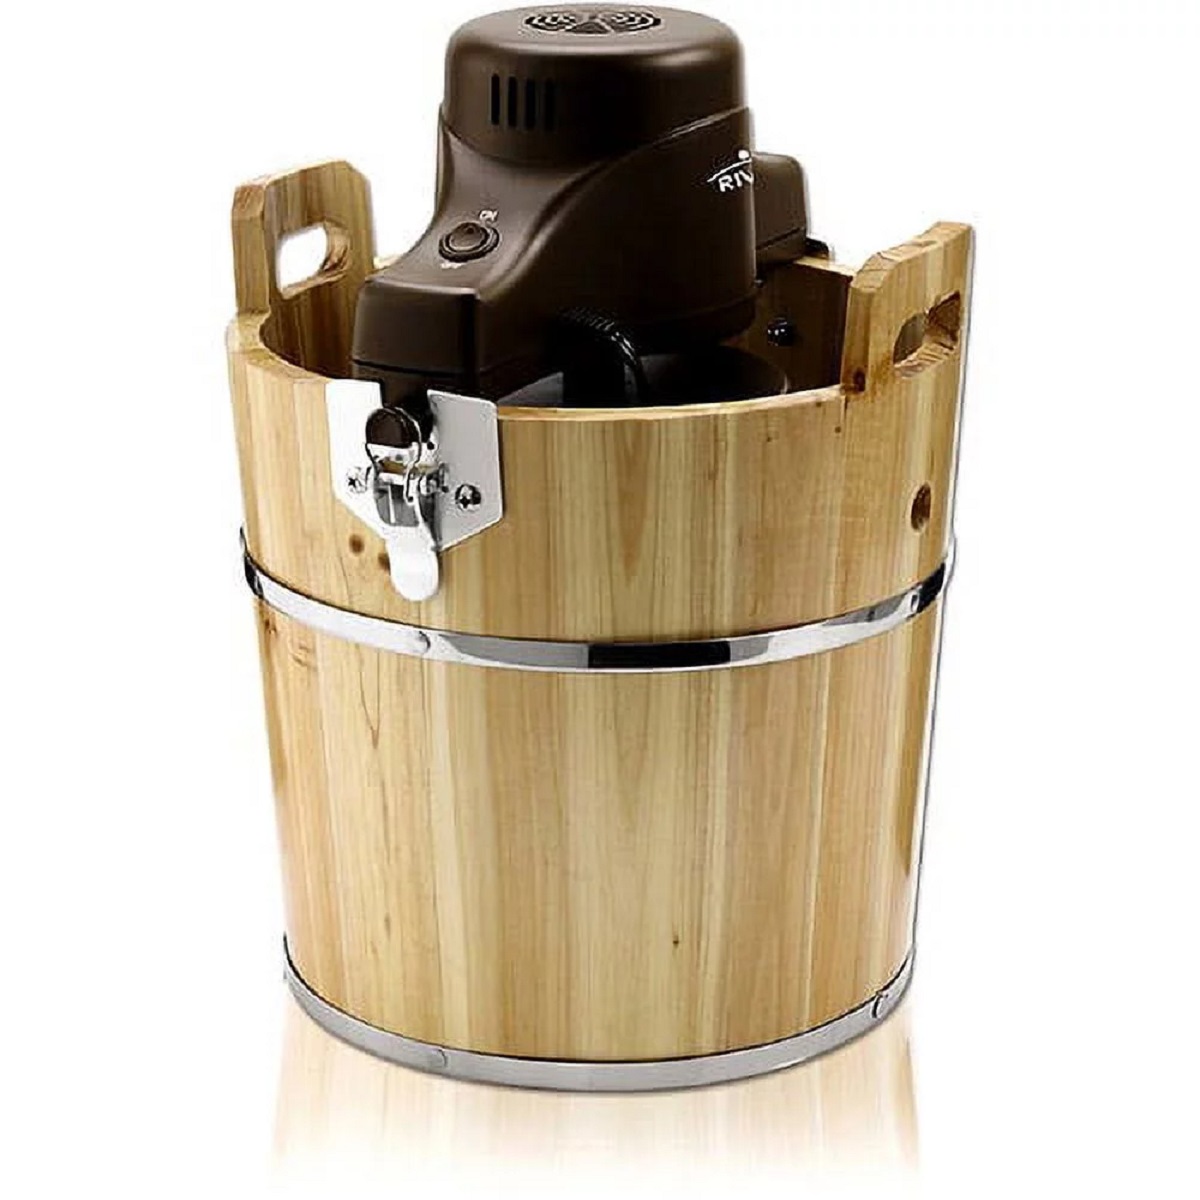
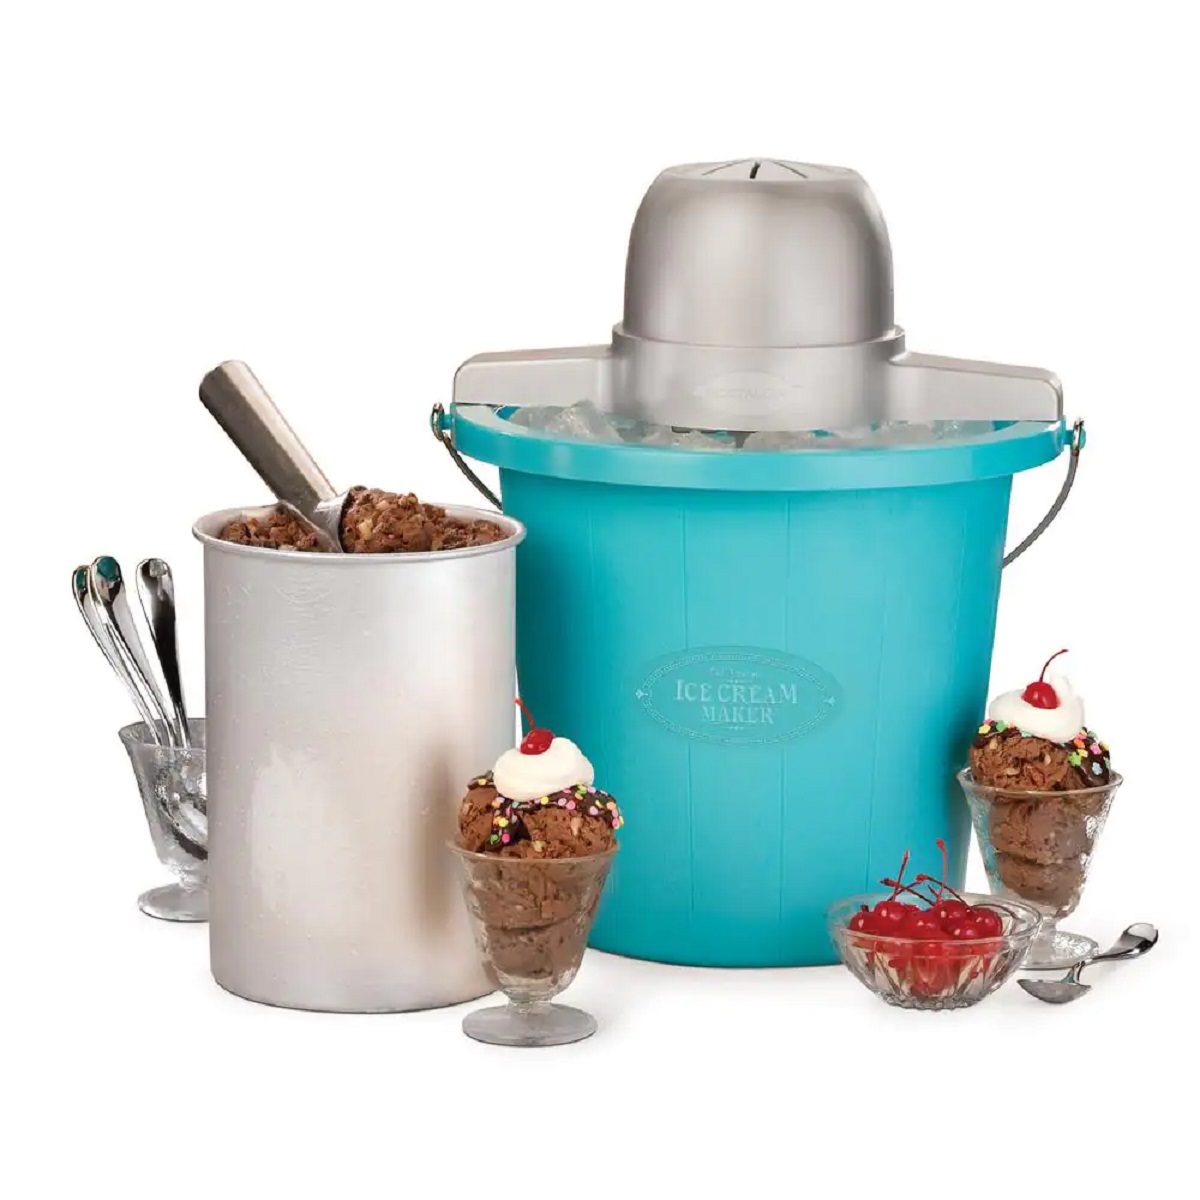
- Ice cream maker: First and foremost, you will need an ice cream maker. Whether you prefer a traditional hand-crank ice cream maker or an electric one, make sure to choose a model that suits your needs and preferences.
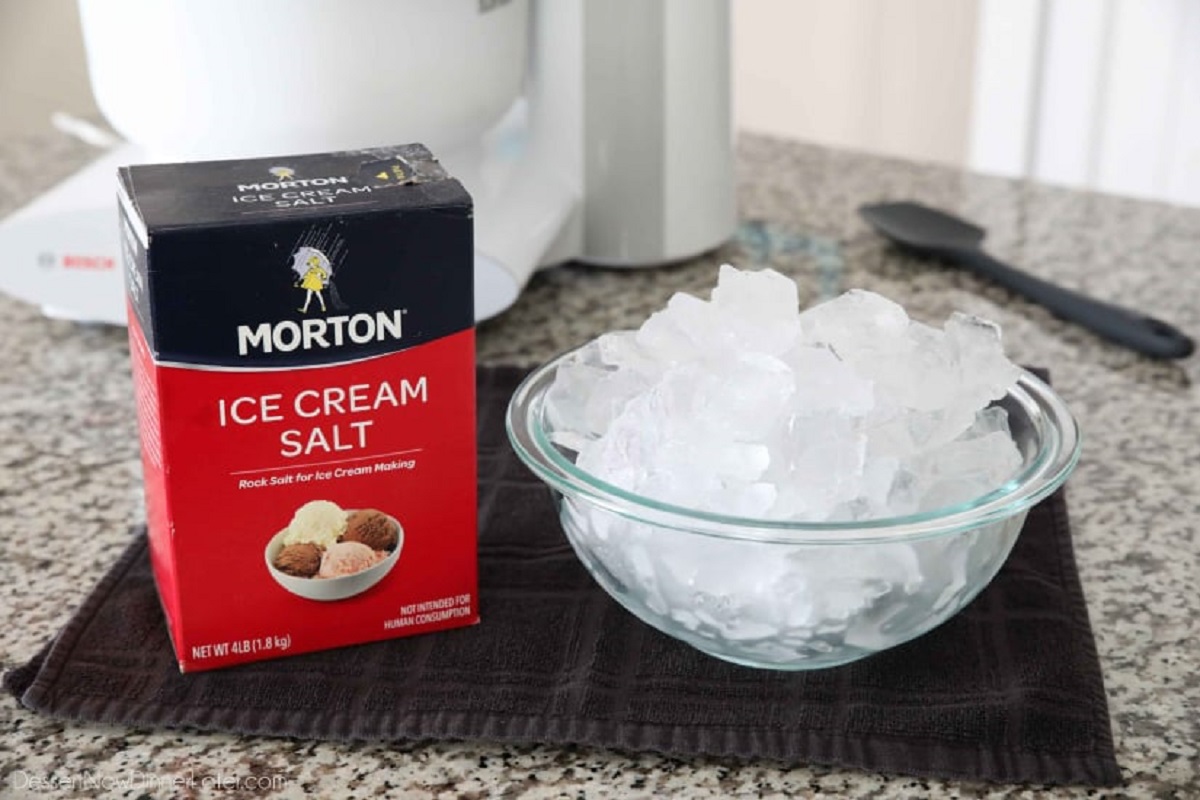
- Ice cream maker rock salt: Of course, you will need ice cream maker rock salt to create the cold brine solution necessary for freezing the ice cream mixture. Ensure that you have enough rock salt on hand for the size of your ice cream maker and the duration of the freezing process.
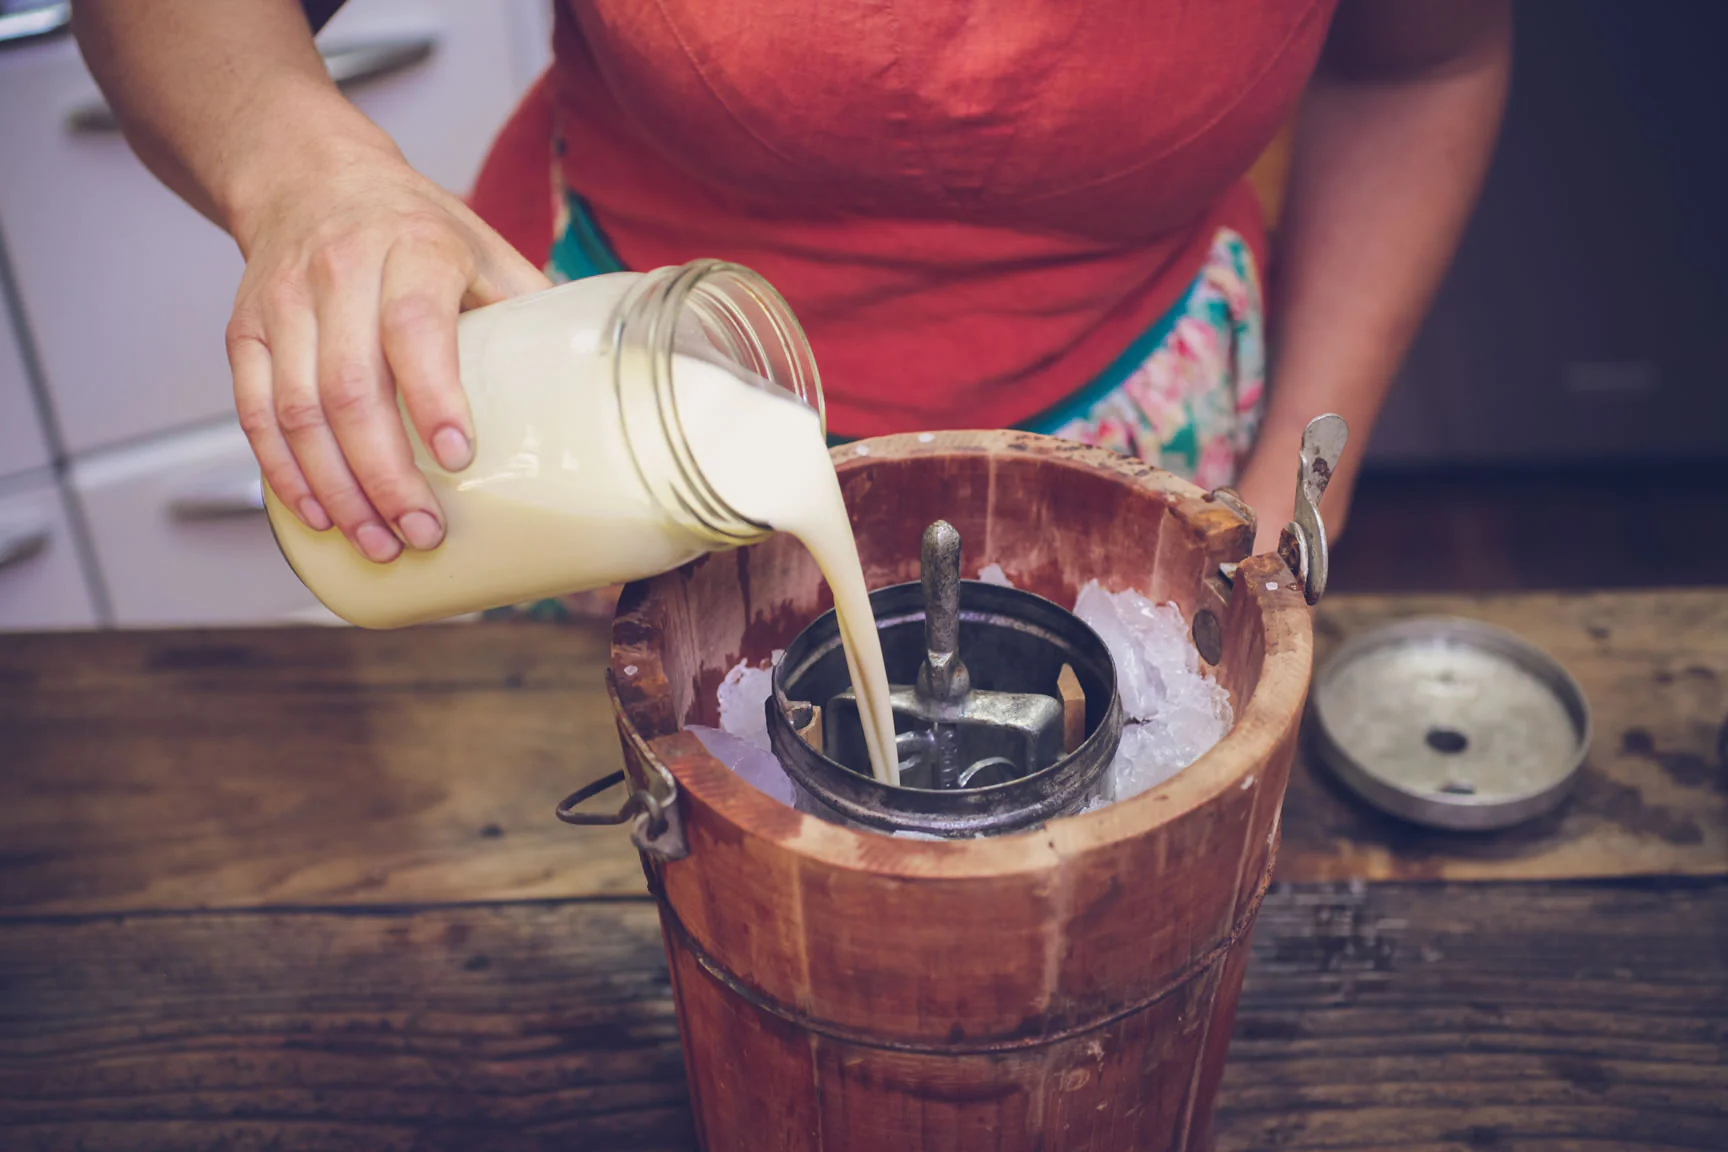
- Ice: Ice is essential for chilling the ice cream maker and creating the necessary temperature drop to freeze the ice cream mixture. Use fresh or bagged ice for best results.
- Ice cream mixture ingredients: You will need the ingredients for your desired ice cream flavor. This typically includes milk, cream, sugar, and any additional flavorings or mix-ins such as vanilla extract, chocolate chips, or fruit.
- Mixing bowl: A mixing bowl is necessary for combining the ice cream mixture ingredients before pouring it into the ice cream maker. Choose a bowl that is large enough to comfortably hold the mixture, allowing for proper mixing.
- Measuring cups and spoons: Accurate measurements are crucial when it comes to creating balanced and flavorful ice cream. Make sure you have measuring cups and spoons to measure the ingredients precisely.
- Whisk or mixer: Whisk or mixer to thoroughly combine the ice cream mixture ingredients and create a smooth consistency. This ensures that the flavors are evenly distributed throughout the mixture.
- Freezer-safe storage containers: Once the ice cream is ready, you will need storage containers to store the finished product. Choose containers that can be safely stored in the freezer without affecting the texture or taste of the ice cream.
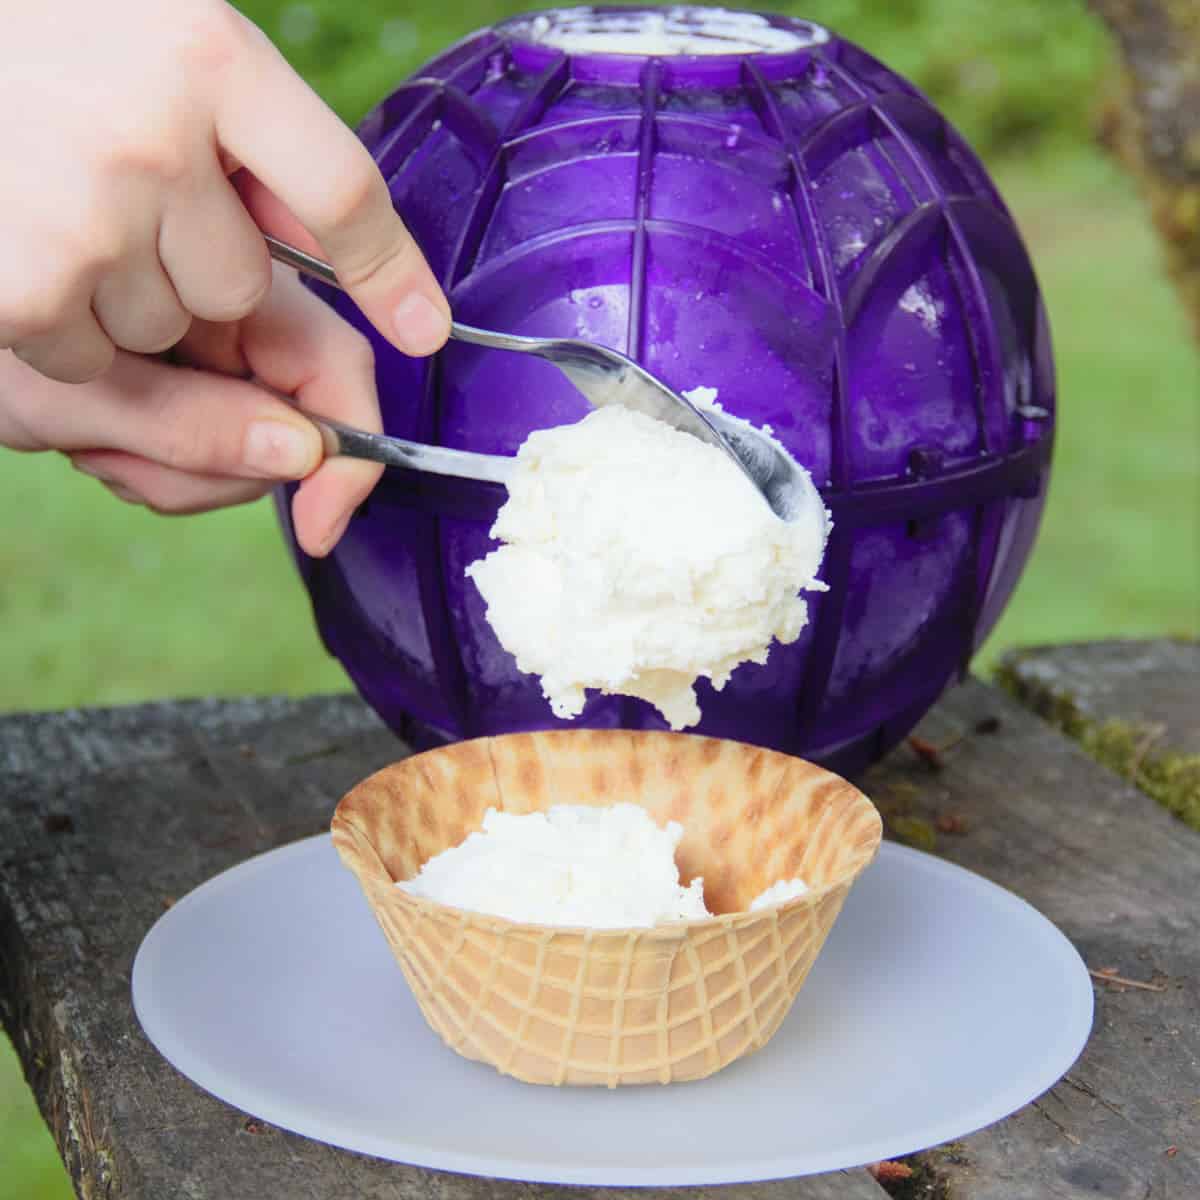
- Spatula or ice cream scoop: Finally, don’t forget a spatula or an ice cream scoop to serve up your homemade ice cream. These tools make it easy to portion out and serve the ice cream, ensuring a delightful presentation.
By ensuring that you have these supplies ready, you will be well-equipped to use ice cream maker rock salt and create delectable homemade ice cream that will impress friends and family.
Ice cream maker rock salt alternatives
If you don’t have access to ice cream maker rock salt or prefer an alternative option, there are a few substitutes you can use to achieve similar results. These alternatives can be particularly useful if you have dietary restrictions or simply cannot find rock salt readily available. Here are some ice cream maker rock salt alternatives:
- Kosher salt: Kosher salt is a popular alternative to ice cream maker rock salt. It has a coarser texture and larger crystals, which makes it an effective substitute. Use kosher salt in the same amount as the rock salt called for in the recipe.
- Epsom salt: Epsom salt, also known as magnesium sulfate, can be used as a substitute for rock salt. However, it’s important to note that epsom salt is not edible and should only be used in the outer layer of the ice cream maker. This helps to lower the temperature of the ice surrounding the mixing bowl, aiding in the freezing process.
- Sea salt: Sea salt can be used as a substitute for ice cream maker rock salt, although it may not be as effective in lowering the freezing point of ice as rock salt or kosher salt. Use sea salt in a slightly larger amount than the recipe calls for to compensate for its lower potency.
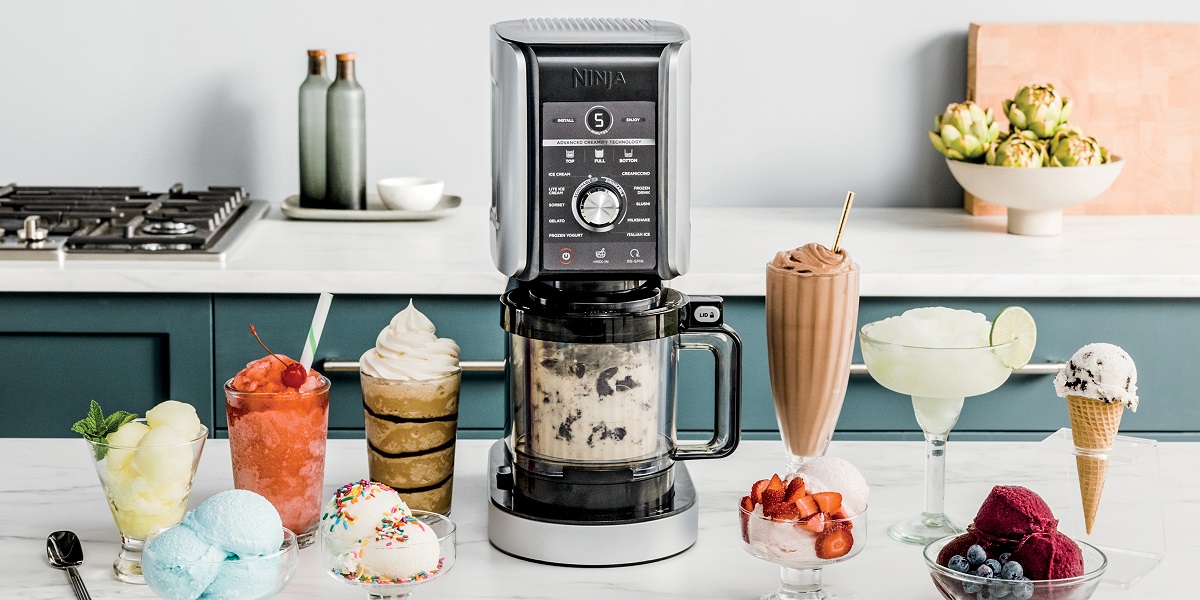
- Ice cream maker with built-in freezing mechanism: If you don’t want to deal with salt alternatives, consider investing in an ice cream maker with a built-in freezing mechanism. These machines do not require rock salt or manual freezing, as they have a built-in compressor to freeze the ice cream mixture. While they may be more expensive, they offer convenience and eliminate the need for ice and salt.
- Electric ice cream maker: An electric ice cream maker is another alternative that does not require ice cream maker rock salt. These machines utilize a freezing bowl that needs to be pre-frozen before use. Once the bowl is frozen, it chills the ice cream mixture as it churns, without the need for additional ice and salt.
When using an alternative to ice cream maker rock salt, it’s important to carefully follow the instructions provided with your specific ice cream maker or appliance. This will ensure that you achieve the desired freezing and consistency for your homemade ice cream.
Ultimately, the choice of ice cream maker rock salt alternative depends on personal preference, dietary considerations, and the type of ice cream maker you have at your disposal. Experiment with different options to find the one that best suits your needs and allows you to enjoy creamy and delicious homemade ice cream.
Tips for using ice cream maker rock salt
Making homemade ice cream using ice cream maker rock salt is a fun and rewarding process. To ensure the best results and a smooth ice cream-making experience, here are some helpful tips to keep in mind:
- Read the instructions: Familiarize yourself with the instructions provided with your ice cream maker. Every model may have specific guidelines for using ice cream maker rock salt and the freezing process.
- Pre-chill the ice cream mixture: Before adding the ice cream mixture to the ice cream maker, make sure it is properly chilled. Ideally, refrigerate the mixture for at least a few hours or overnight. This will help it freeze more efficiently once it’s in the ice cream maker.
- Layer ice and rock salt: When setting up your ice cream maker, create alternate layers of ice and rock salt in the outer chamber. This ensures even distribution and helps lower the temperature surrounding the mixing bowl.
- Avoid overfilling the ice cream maker: Be mindful not to overfill the ice cream maker with the mixture. Leave some room for expansion as the ice cream freezes and churns. Check the manufacturer’s guidelines for the recommended maximum fill line.
- Monitor the freezing process: Keep an eye on the ice level and periodically check the consistency of the ice cream mixture as it churns. If the ice level is too low or the ice cream isn’t freezing properly, add more ice and rock salt as needed.
- Handle the ice cream maker with care: When removing the mixing bowl from the ice cream maker, be cautious as it may be extremely cold. Use oven mitts or a towel to handle the bowl and prevent any accidental injuries.
- Store ice cream properly: Once your homemade ice cream is ready, transfer it to freezer-safe containers and place it in the freezer. To prevent ice crystals from forming, press a piece of plastic wrap directly onto the surface of the ice cream before sealing the container.
- Experiment with flavors and mix-ins: Get creative with your ice cream creations! Mix in your favorite flavors, such as chocolate chips, crushed cookies, or fruit, to customize your homemade ice cream and make it extra special.
- Clean the ice cream maker thoroughly: After use, clean the ice cream maker according to the manufacturer’s instructions. Proper cleaning ensures that the machine is ready for your next batch of ice cream.
By following these tips, you can maximize the effectiveness of ice cream maker rock salt and create smooth, creamy, and flavorful homemade ice cream that will be a hit with friends and family.
Conclusion
Ice cream maker rock salt is an essential ingredient for creating homemade ice cream. It plays a vital role in lowering the temperature and freezing the ice cream mixture, resulting in rich, creamy, and satisfying ice cream. By understanding the purpose of ice cream maker rock salt and following the tips provided, you can achieve optimal results and enjoy the process of making your own ice cream at home.
While ice cream maker rock salt may be the traditional method for freezing homemade ice cream, there are alternative options available, such as kosher salt or electric ice cream makers. These alternatives provide flexibility for those with dietary restrictions or limited access to rock salt.
Remember to carefully read the instructions for your specific ice cream maker and ensure that the ice cream mixture is properly chilled before adding it to the machine. Layering ice and rock salt, monitoring the freezing process, and properly storing the finished ice cream will help you create the perfect scoop every time.
Get creative with flavors and mix-ins, and don’t be afraid to experiment. Making homemade ice cream is a delightful and rewarding experience that allows you to customize your frozen treats to suit your taste preferences.
So, gather your supplies, including ice cream maker rock salt, and embark on a journey of creating delicious homemade ice cream. With a little patience and a sprinkle of creativity, you can indulge in the sweet satisfaction of enjoying your very own decadent ice cream creations.