Introduction
Welcome to the world of homemade ice cream! If you’ve recently purchased a 4 Qt ice cream maker and are getting ready to whip up some delicious frozen treats, you may be wondering how much ice you need to add to achieve the perfect consistency. Don’t worry, we’ve got you covered!
The amount of ice required for your 4 Qt ice cream maker can vary depending on several factors, including the specific model you own, the ambient temperature, and the recipe you’re using. It’s crucial to add the right amount of ice to ensure that your ice cream freezes properly, resulting in a creamy and satisfying end product.
In this guide, we’ll discuss the factors to consider when determining the amount of ice needed, the capacity of a typical 4 Qt ice cream maker, and provide some tips and recommendations to help you achieve optimal results.
Whether you’re a novice ice cream enthusiast or a seasoned pro, understanding how much ice to use will make a significant difference in the texture and consistency of your homemade ice cream. So, let’s dive in and discover the secrets to perfecting your frozen delights!
Factors to Consider When Determining the Amount of Ice Needed
When determining the amount of ice needed for your 4 Qt ice cream maker, there are several factors to take into account. These factors can significantly impact the freezing process and ultimately affect the texture and consistency of your ice cream. Let’s explore them in detail:
- Ambient Temperature: The temperature of the environment where you’re using your ice cream maker plays a vital role in determining the amount of ice required. If the room is warmer, you’ll need more ice to maintain a low temperature and facilitate optimal freezing.
- Ice Cream Maker Model: The design and efficiency of your particular ice cream maker can affect the amount of ice needed. Models with more advanced insulation may require less ice, while those with less insulation might necessitate more ice to achieve the desired results.
- Recipe Ingredients: The ingredients in your ice cream recipe can also impact the amount of ice required. Recipes with a higher fat content, such as those using heavy cream or whole milk, tend to freeze faster and may require less ice. Conversely, recipes with lower fat content might need more ice to achieve the desired consistency.
- Desired Texture: It’s essential to consider the texture you want to achieve when determining the amount of ice to use. If you prefer a firmer, harder ice cream, you may need to add more ice. On the other hand, if you prefer a softer and creamier texture, you might need less ice.
By carefully considering these factors, you can adjust and optimize the amount of ice to suit your specific situation and preferences. It may take some experimentation and adjustment to find the perfect balance, but with practice, you’ll be able to create ice cream with the ideal texture and consistency.
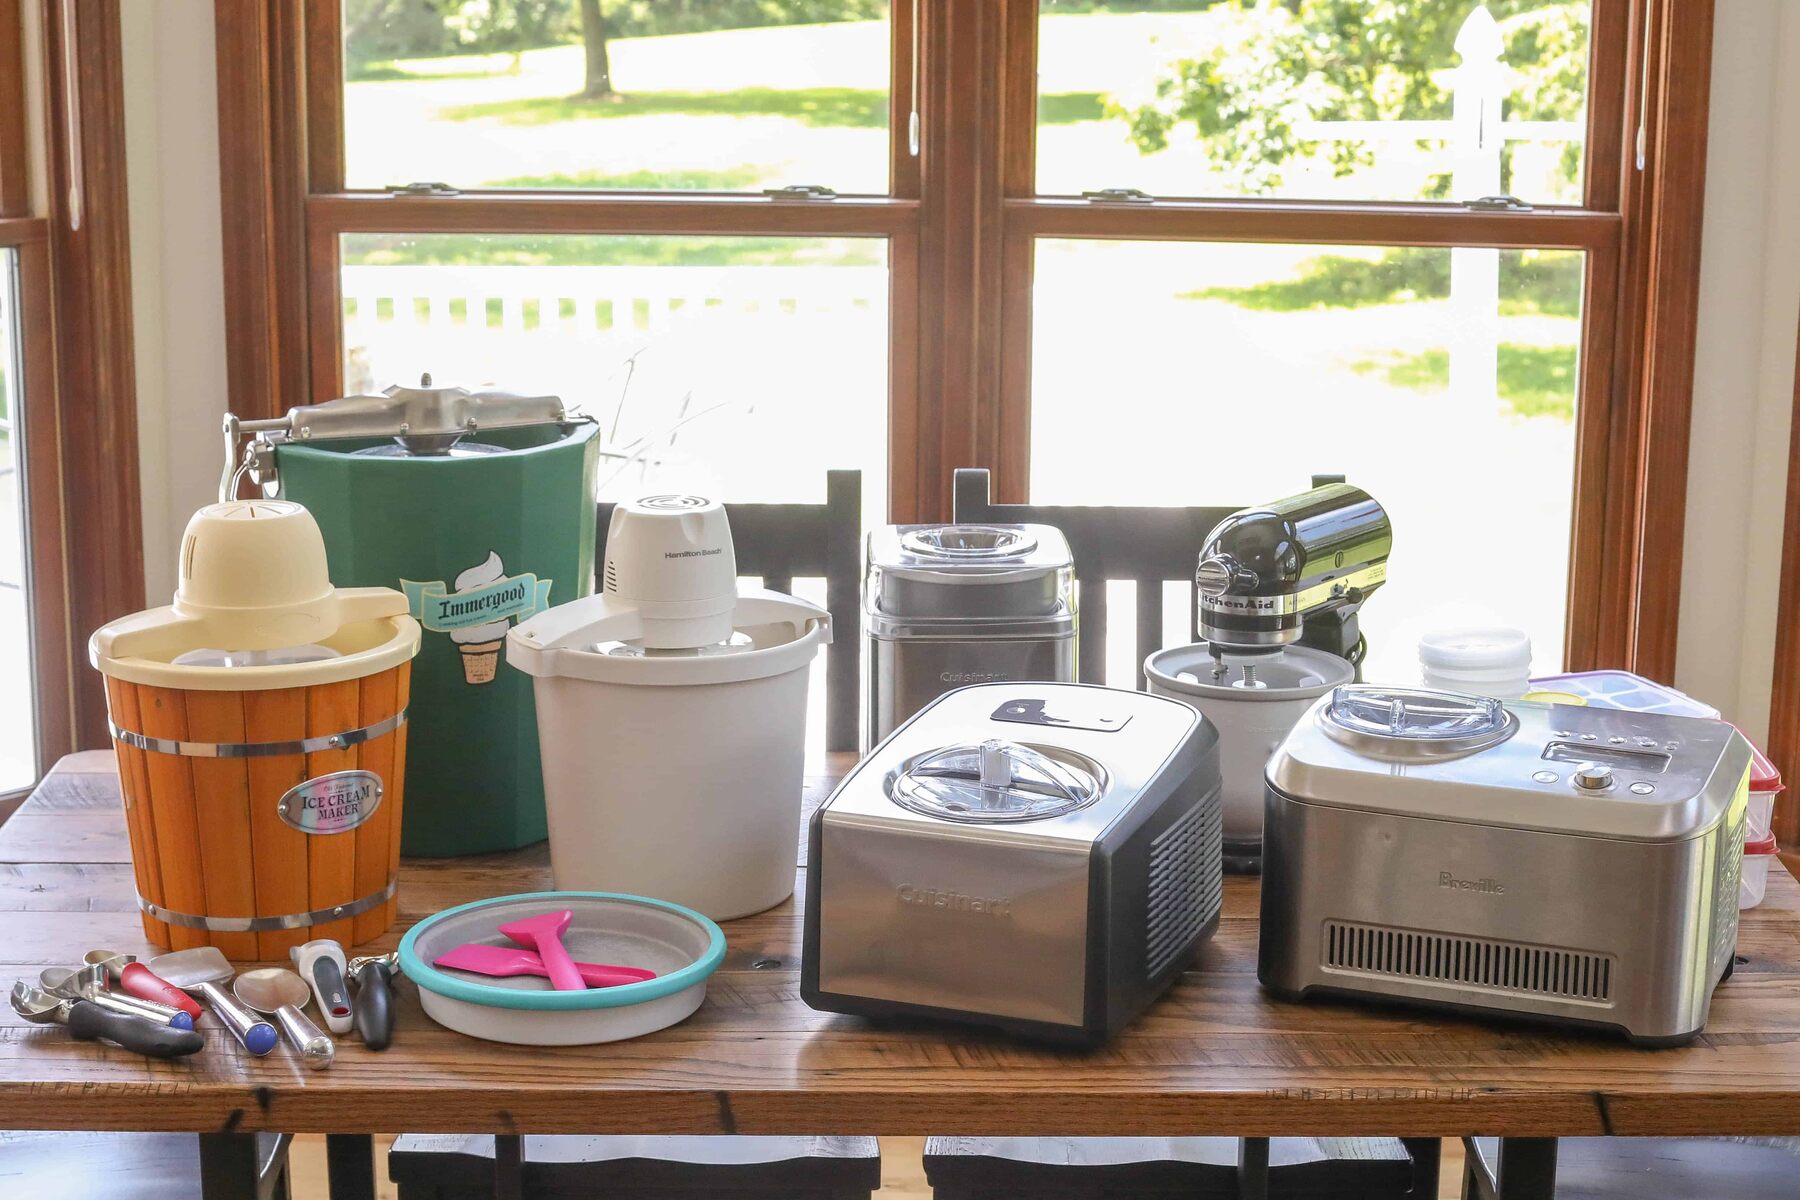
The Capacity of a 4 Qt Ice Cream Maker
Understanding the capacity of your 4 Qt ice cream maker is crucial when determining the amount of ice needed. The capacity refers to the maximum amount of ice cream mixture that the machine can handle at one time. Let’s delve into this important aspect:
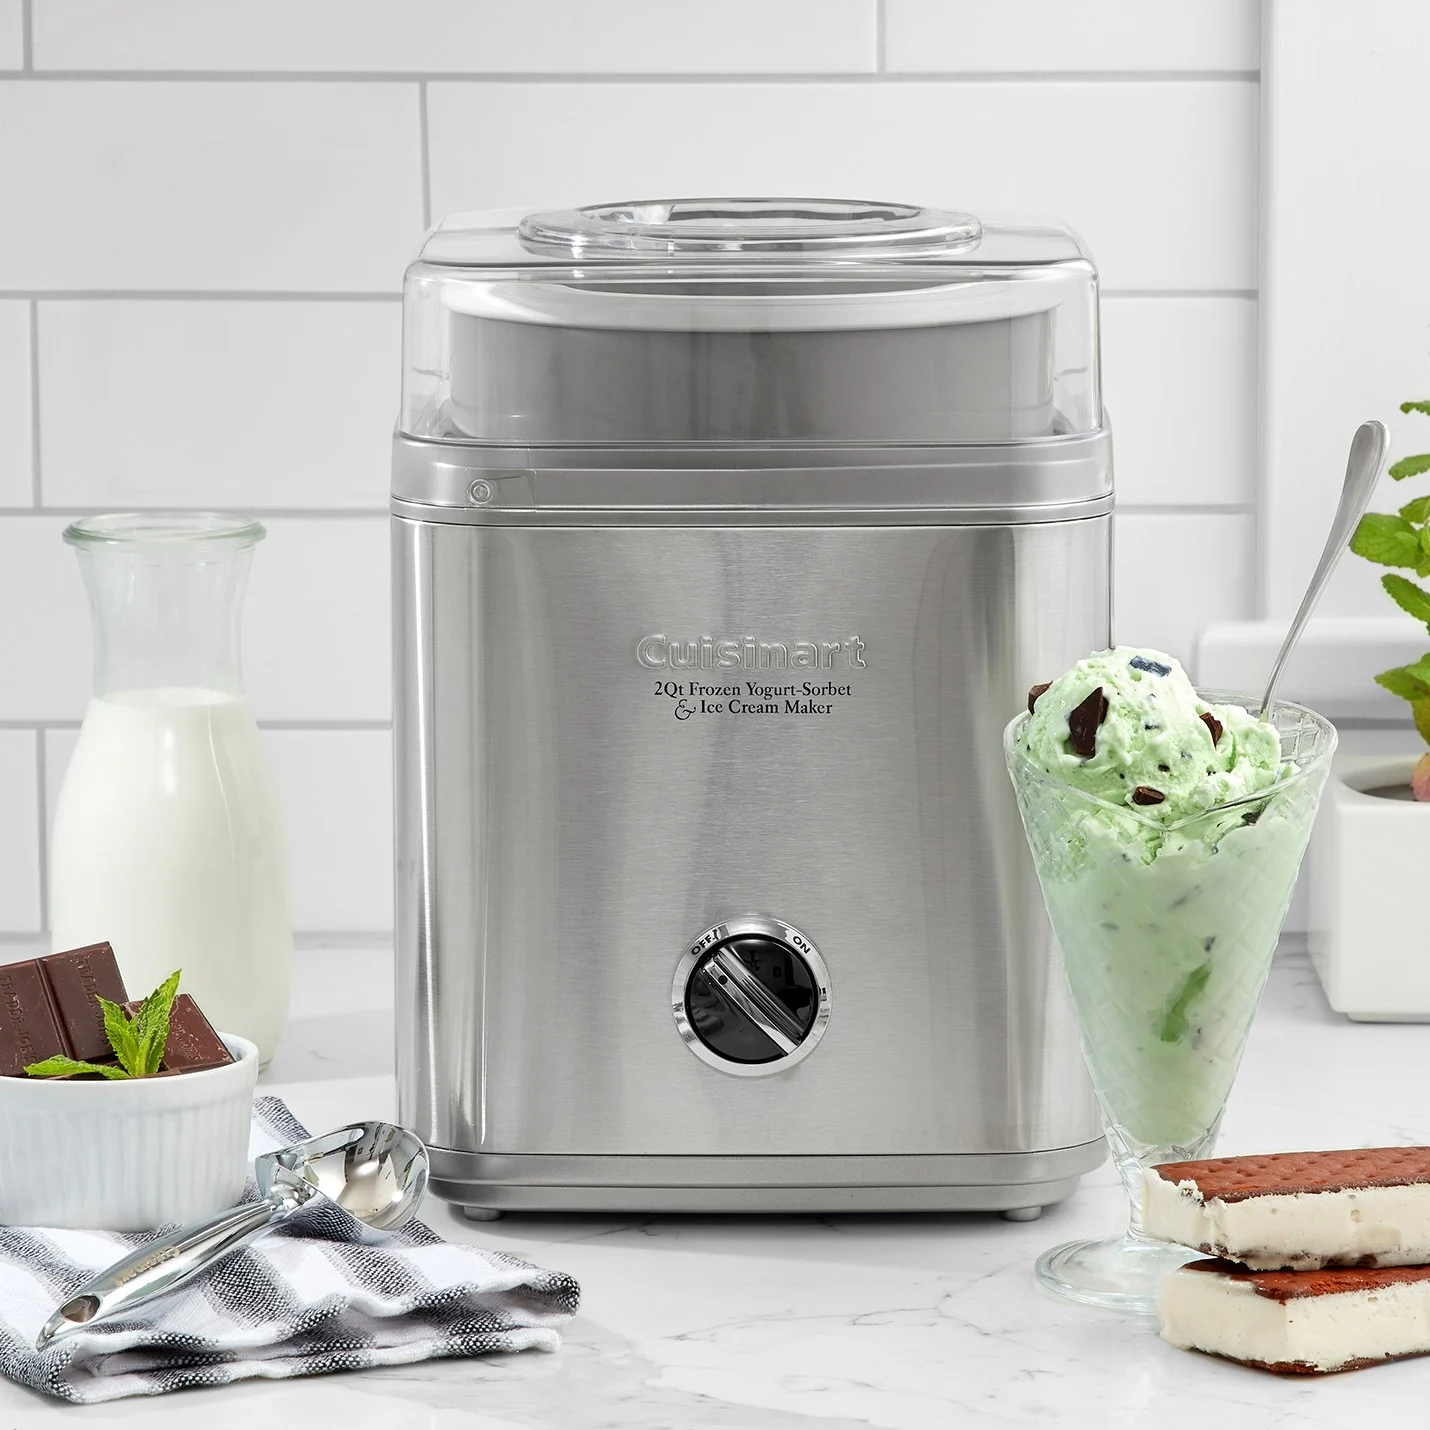
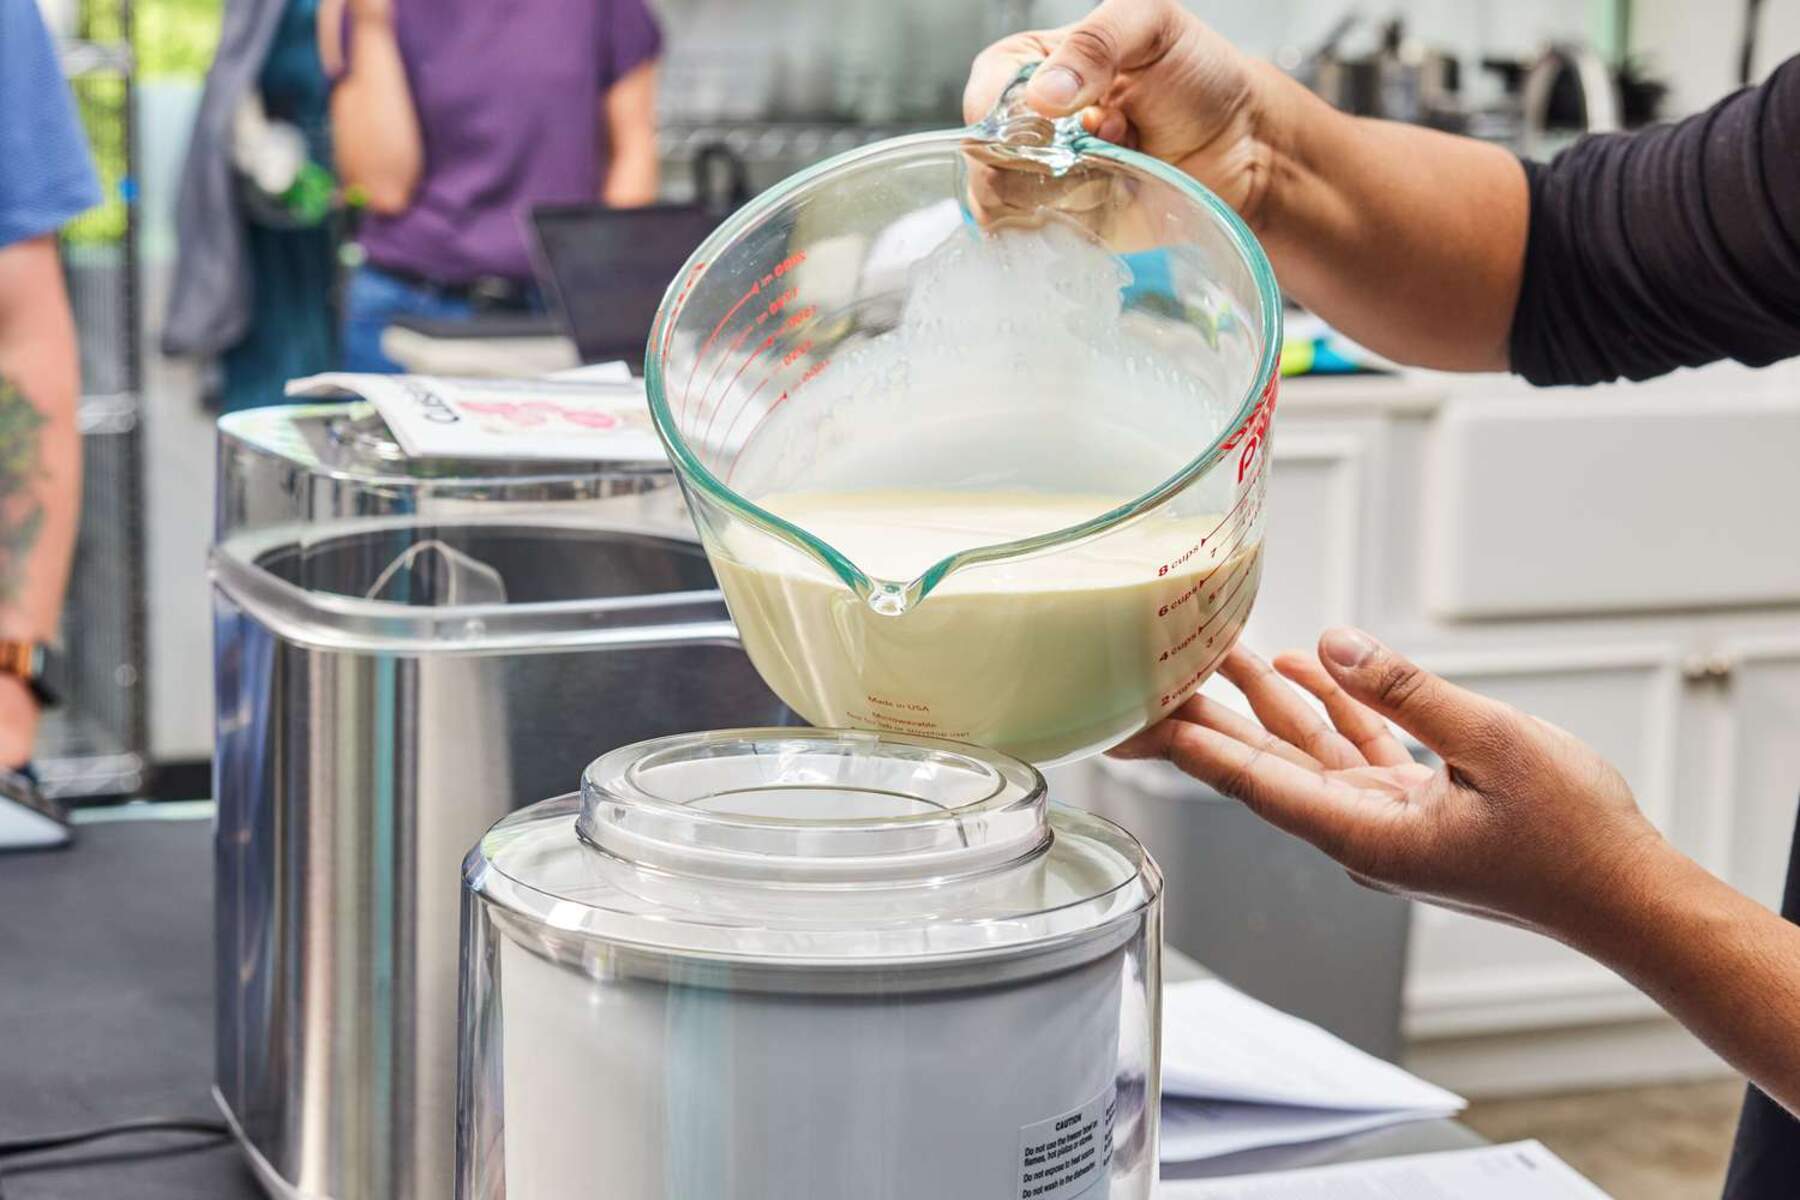
A 4 Qt ice cream maker is designed to hold up to 4 quarts or 1 gallon of ice cream mixture. This capacity is perfect for homemade batches of ice cream, providing ample space for the mixture to churn and freeze properly.
It’s worth noting that the capacity of an ice cream maker refers to the maximum amount of liquid-based mixture rather than the finished frozen volume. As the mixture freezes, it expands and can increase in volume, resulting in slightly less frozen ice cream than the initial liquid volume.
It’s important not to exceed the maximum capacity of your ice cream maker. Overfilling the machine can lead to overflow, inconsistent freezing, and ultimately affect the overall quality of your ice cream. So, it’s best to stick within the recommended capacity to ensure optimal results.
By understanding the capacity of your 4 Qt ice cream maker, you can accurately gauge the amount of ice needed to freeze the desired quantity of mixture. This knowledge will help you prepare the right amount of ice and achieve the perfect batch of homemade ice cream.
Recommended Amount of Ice to Use
While the exact amount of ice needed for a 4 Qt ice cream maker can vary based on factors such as ambient temperature, ice cream maker model, and recipe ingredients, it’s helpful to have a general guideline to follow. Here are some recommendations for the amount of ice to use:
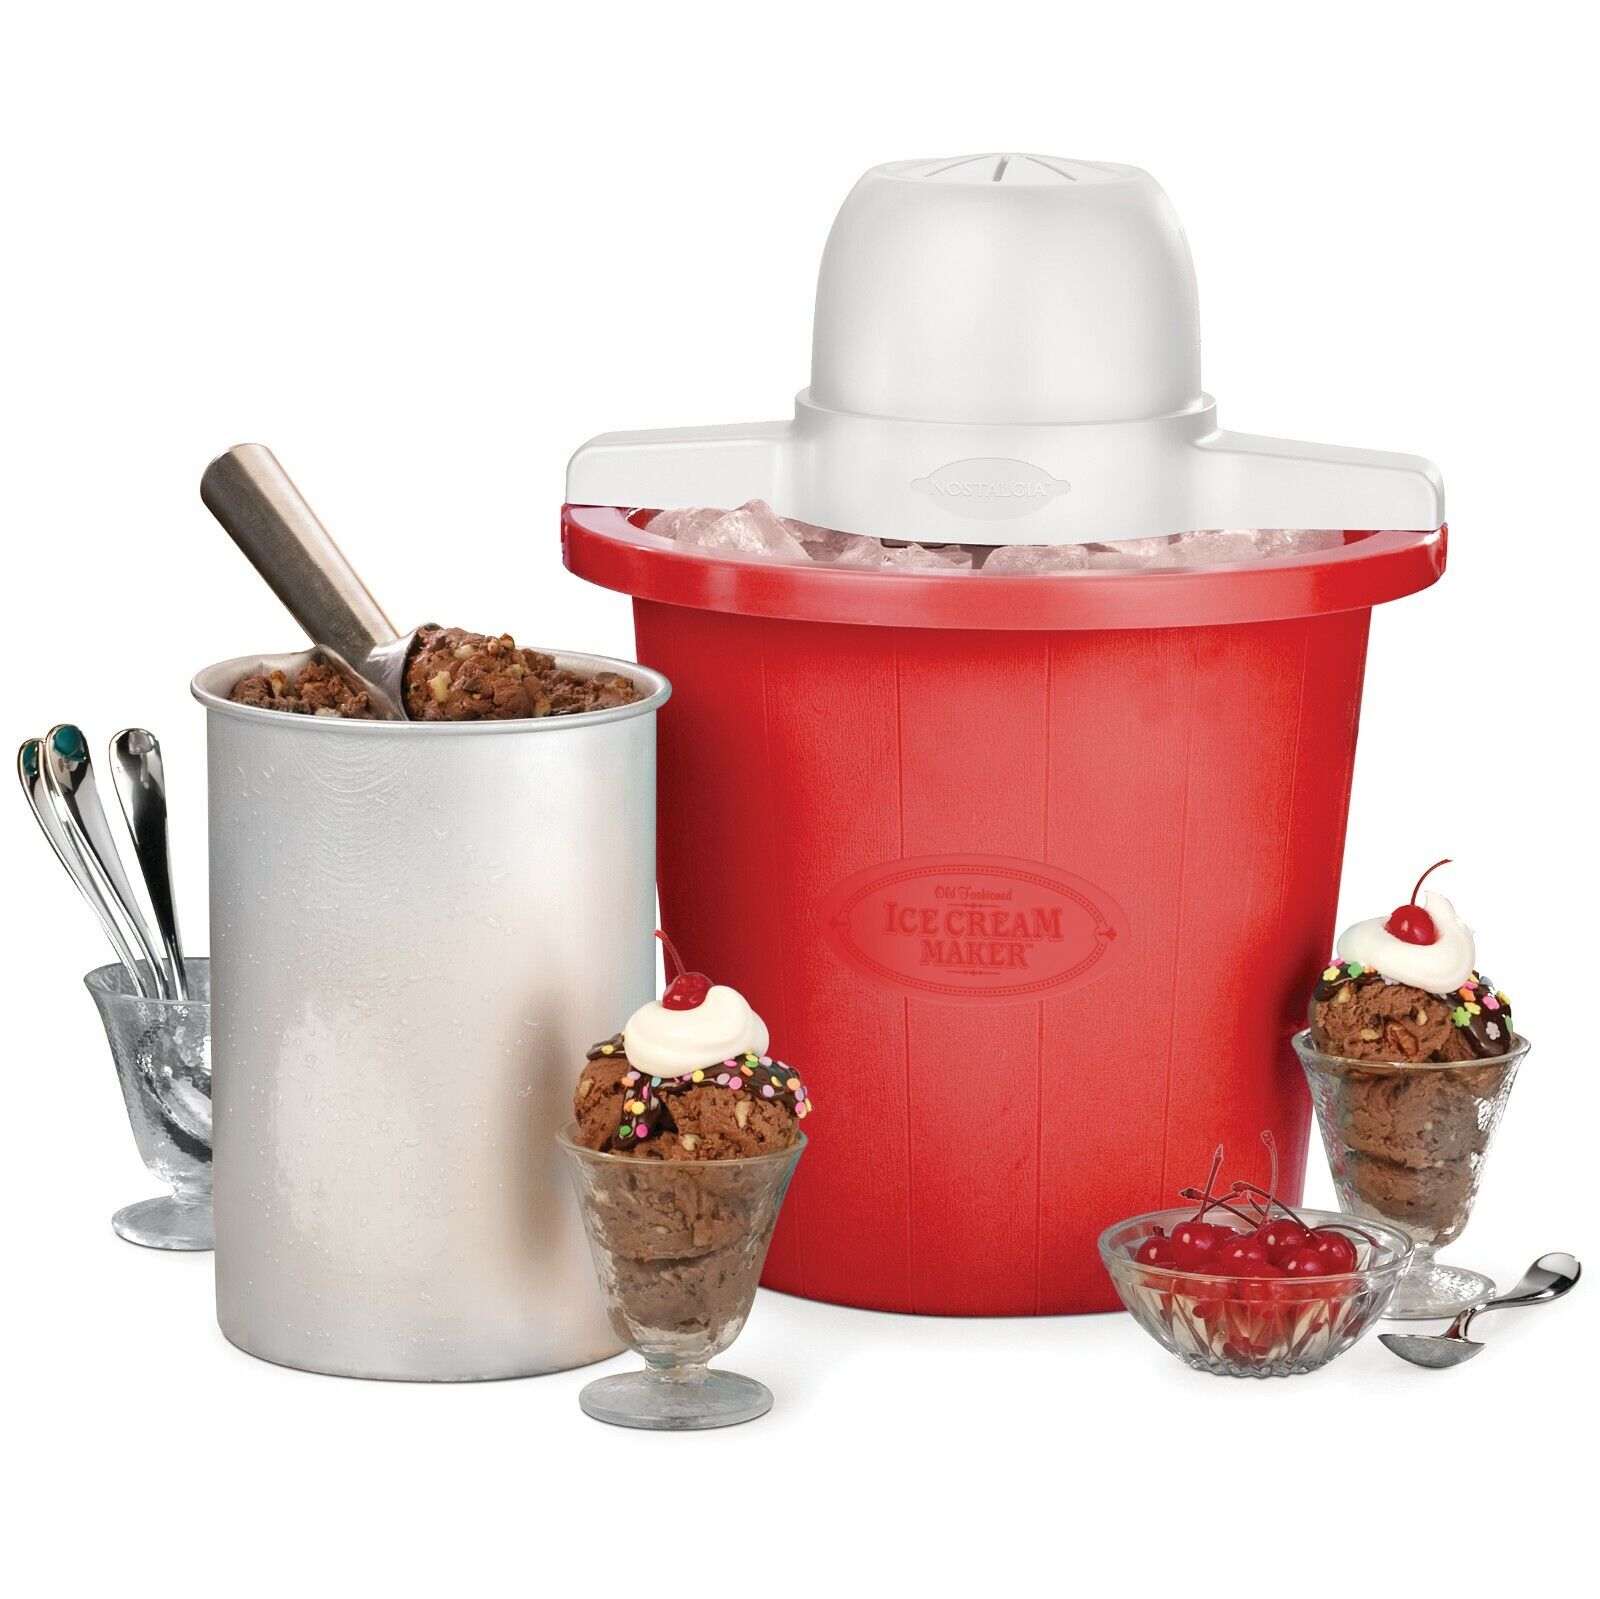
Start with approximately 3 parts ice to 1 part rock salt. This ratio has proven to be effective in creating the ideal freezing environment for most ice cream makers.
- For a 4 Quart ice cream maker, you’ll typically need about 12 cups of ice.
- Depending on the size of the rock salt crystals, aim for about 4 cups of rock salt.
It’s important to note that the ice and rock salt mixture should be added in layers around the canister, with the ice layer closest to the canister. Adding the mixture in layers allows for efficient heat transfer and even freezing throughout the ice cream making process.
Remember to follow the manufacturer’s instructions for your specific ice cream maker, as some models may have specific recommendations or modifications to the ice and salt ratio.
Always monitor the progress of the ice cream as it churns. If needed, add more ice and salt mixture gradually to maintain the optimum freezing temperature. Be cautious not to overfill the machine with ice, as this can hinder the freezing process and result in a less creamy consistency.
By using these recommendations as a starting point and making adjustments based on the specific factors mentioned earlier, you’ll be able to find the perfect balance of ice and salt for your 4 Qt ice cream maker, ensuring that your homemade ice cream freezes to perfection.
Tips for Adding Ice to the Machine
Adding ice to your 4 Qt ice cream maker may seem like a straightforward task, but a few tips can help you achieve the best results and ensure a smooth freezing process. Consider the following tips when adding ice to your machine:
- Crush the Ice: Before adding the ice to the machine, it’s best to crush it into smaller pieces. This helps create a more even distribution of cold temperatures and promotes efficient and consistent freezing.
- Layer the Ice and Salt Mixture: As mentioned earlier, layering the ice and salt mixture is crucial. Start with a layer of ice closest to the canister, followed by a layer of rock salt. Repeat this layering process until you have filled the ice cream maker adequately.
- Avoid Overfilling the Machine: It’s tempting to fill the ice cream maker with as much ice as possible to speed up the freezing process. However, overfilling can lead to inadequate freezing and hinder the movement of the paddle. Stick to the recommended capacity mentioned in your ice cream maker’s instructions.
- Monitor the Ice Level: Keep an eye on the level of ice as the ice cream maker churns. As the ice melts, you may need to add more ice to maintain the desired temperature for freezing. Avoid adding too much at once to ensure a gradual and consistent freezing process.
- Use Salt Specifically for Ice Cream Making: Rock salt is commonly used in ice cream makers to lower the freezing point and facilitate a rapid freezing process. However, make sure you use salt specifically labeled for ice cream making to ensure it is suitable and safe for consumption.
By following these tips, you’ll be able to add the ice to your 4 Qt ice cream maker efficiently and effectively, resulting in delicious homemade ice cream with an ideal texture and consistency.
Common Mistakes to Avoid When Adding Ice
While adding ice to your 4 Qt ice cream maker may seem straightforward, there are some common mistakes that can hinder the freezing process and affect the quality of your homemade ice cream. By avoiding these mistakes, you’ll ensure a smoother and more successful ice cream-making experience. Let’s take a look at some common mistakes to steer clear of:
- Adding Too Much Ice: Overfilling the ice cream maker with an excessive amount of ice can impede the movement of the paddle and hinder the freezing process. Stick to the recommended capacity and avoid the temptation to add more ice than necessary.
- Not Crushing the Ice: It’s important to crush the ice into smaller pieces before adding it to the machine. Large chunks of ice can hinder the even distribution of cold temperatures and result in uneven freezing of the ice cream mixture.
- Forgetting to Layer the Ice and Salt: Layering the ice and salt mixture is essential for efficient freezing. The layers allow for better cold transfer and promote consistent freezing throughout the canister. Don’t forget to alternate layers of ice and rock salt as instructed.
- Not Monitoring the Ice Level: As the ice melts during the churning process, the level can decrease, affecting the freezing temperature. It’s important to monitor the ice level and add more ice gradually to maintain the desired freezing temperature for optimal results.
- Using Incorrect Salt: Ensure that you use salt specifically labeled for ice cream making. Using the wrong type of salt can affect the freezing process or result in salt contamination, compromising the flavor and quality of the ice cream.
By avoiding these common mistakes, you’ll be one step closer to creating perfect homemade ice cream every time. Following the correct methods and techniques for adding ice to your 4 Qt ice cream maker will help you achieve the desired consistency and texture in your frozen treats.
How to Achieve the Best Consistency with the Right Amount of Ice
Achieving the perfect consistency in homemade ice cream relies on using the right amount of ice in your 4 Qt ice cream maker. Here are some key steps to follow when aiming for the best results:
- Measure and Crush the Ice: Start by measuring the amount of ice you’ll need based on your ice cream maker’s capacity. Once measured, use a blender or ice crusher to crush the ice into smaller, more manageable pieces. This allows for better distribution of cold temperatures throughout the ice cream mixture.
- Layer the Ice with Salt: When adding the ice to your ice cream maker, layer it with rock salt or ice cream salt. Layering the ice and salt mixture facilitates faster freezing and helps maintain a consistently low temperature.
- Monitor and Adjust: As the ice cream maker churns, keep a close eye on the consistency of the freezing mixture. If it appears to be freezing too slowly or not freezing evenly, you may need to add more ice and salt or adjust the layering ratio to maintain the desired freezing temperature.
- Be Patient: Achieving the perfect consistency takes time. Avoid the temptation to open the ice cream maker too frequently to check on the progress, as this can cause temperature fluctuations and affect the consistency of the ice cream. Allow the machine to complete its freezing cycle as instructed by the manufacturer.
- Follow Recipe Instructions: Each ice cream recipe may have specific instructions for how to achieve the best consistency. Follow the recipe guidelines, including the recommended amount of ice and freezing time, to ensure the desired texture and taste.
Remember that practice makes perfect when it comes to homemade ice cream. It may take a few attempts to find the perfect balance of ice and salt, as well as the ideal freezing time for your specific ice cream maker and recipes. Experiment, adjust, and take note of the results to continuously improve your ice cream-making skills.
By following these steps and adjusting the amount of ice as needed, you’ll be able to achieve a smooth and creamy consistency in your homemade ice cream, making your dessert creations a delight to enjoy.
Conclusion
Mastering the art of homemade ice cream requires not only the right ingredients and recipes but also understanding the importance of using the right amount of ice in your 4 Qt ice cream maker. By considering factors such as ambient temperature, ice cream maker model, recipe ingredients, and desired texture, you can determine the optimum amount of ice to create delicious frozen treats.
Remember to follow the recommended guidelines, such as using approximately 3 parts ice to 1 part rock salt, and starting with around 12 cups of ice for a 4 Qt ice cream maker. Crush the ice, layer it with salt, and monitor the freezing process to achieve the best results.
Avoid common mistakes, such as overfilling the machine or using incorrect salt, and be patient throughout the freezing process. Following these tips, along with the instructions provided by your ice cream maker’s manufacturer, will help you create ice cream with the perfect consistency and texture.
Experimentation and practice are key to finding the ideal amount of ice for your specific ice cream maker and recipes. Take note of the adjustments made and learn from each batch to continually improve your ice cream-making skills.
So, go ahead and confidently embark on your ice cream-making adventure with the knowledge and understanding of how to add the right amount of ice to your 4 Qt ice cream maker. Create delectable frozen delights that will impress family and friends, and indulge in the sheer joy of homemade ice cream that rivals even the best store-bought varieties.