Introduction
Ice cream is a beloved frozen treat enjoyed by people of all ages. There’s something magical about that creamy, flavorful dessert that can bring pure joy and satisfaction. While you can always opt for store-bought ice cream, there’s nothing quite like the taste of homemade ice cream made with a 4 Qt ice cream maker.
In this article, we will explore the essentials you need to create your own ice cream masterpiece using a 4 Qt ice cream maker. From the basic ingredients to the step-by-step process, we will guide you through the journey of making delicious ice cream in the comfort of your own home.
With a 4 Qt ice cream maker, you have the capacity to make a substantial amount of ice cream, perfect for family gatherings, parties, or simply indulging in your favorite dessert any time you please. Whether you’re a seasoned ice cream enthusiast or a beginner looking to embark on this delightful culinary adventure, this article will provide you with all the necessary information to get started.
Before we dive into the specifics, it’s worth mentioning that making ice cream requires patience and attention to detail. It’s a process that involves a few key components, including the ice cream base, sweeteners, flavorings, and mix-ins. Each element contributes to the overall taste and texture of the final product, allowing you to customize your ice cream to suit your preferences.
Now, let’s gather our ingredients, put on our aprons, and get ready to create a heavenly batch of homemade ice cream using a 4 Qt ice cream maker!
Ingredients Needed
Before we delve into the process of making ice cream with a 4 Qt ice cream maker, let’s gather all the necessary ingredients. Here are the primary components you’ll need to create the perfect ice cream base:
- 1 quart of whole milk: Whole milk will provide a rich and creamy texture to your ice cream.
- 2 cups of heavy cream: Heavy cream adds additional creaminess and helps achieve a smooth consistency in your ice cream.
- 1 cup of granulated sugar: Sugar adds sweetness to the ice cream base and also helps prevent the formation of ice crystals.
- 1 tablespoon of pure vanilla extract: Vanilla extract enhances the flavor and aroma of the ice cream.
- A pinch of salt: Salt helps balance the sweetness and enhances the overall taste of the ice cream.
Once you have the basic ice cream base ingredients, you can further customize your creation with various sweeteners, flavorings, and mix-ins. Let’s explore the additional ingredients you may want to consider:
- Sweeteners: You can experiment with different sweeteners such as honey, maple syrup, or even alternative sweeteners like stevia or agave nectar for a healthier option.
- Flavorings: Besides vanilla extract, you can add other extracts like chocolate, strawberry, or mint to create a variety of flavors. Don’t be afraid to get creative!
- Mix-ins: To add texture and extra bursts of flavor, consider adding mix-ins such as chocolate chips, crushed cookies, fresh fruits, chopped nuts, or swirls of caramel or fudge.
Remember, the choice of ingredients is entirely up to you and your preferences. Feel free to experiment with different combinations to create your signature ice cream flavor.
Now that we have all the necessary ingredients ready, it’s time to dive into the process of creating the ice cream base in preparation for churning it in the 4 Qt ice cream maker.
Ice Cream Base
The ice cream base is the foundation of your homemade ice cream. It’s the mixture that creates that creamy and smooth texture we all love. To create the ice cream base, you’ll need to combine the milk, heavy cream, sugar, vanilla extract, and a pinch of salt.
Start by pouring the quart of whole milk and two cups of heavy cream into a saucepan. Heat the mixture over medium-low heat, stirring occasionally until it reaches a simmer. Be careful not to let it boil.
Once the milk and cream are heated, gradually add the cup of granulated sugar, stirring constantly until it’s completely dissolved. The sugar will add sweetness and help achieve a smooth consistency in the ice cream.
Next, add the tablespoon of pure vanilla extract to the mixture. The vanilla extract will infuse the ice cream with its delightful aroma and flavor. Stir it well to ensure it’s evenly distributed throughout the base.
Finally, add a pinch of salt to balance out the sweetness and enhance the overall taste of the ice cream. Stir the mixture one last time, ensuring all the ingredients are well incorporated.
Once your ice cream base is prepared, you’ll need to chill it completely before transferring it to the 4 Qt ice cream maker for churning. Pour the base into a container and cover it with plastic wrap, ensuring the wrap touches the surface of the base to prevent a “skin” from forming.
Refrigerate the ice cream base for at least four hours, but preferably overnight, to allow it to cool and develop its flavors. Chilling the base is crucial as it helps in achieving a smoother consistency during the churning process.
Once the ice cream base is thoroughly chilled, it’s time to move on to the exciting part – churning the ice cream in the 4 Qt ice cream maker!
Sweeteners
When it comes to sweetening your homemade ice cream, there are a variety of options to choose from. While the base recipe typically includes granulated sugar, you can explore other sweeteners to suit your taste preferences or dietary restrictions.
Here are a few alternatives to consider:
- Honey: Honey adds a natural sweetness to the ice cream, and its distinct flavor can complement a variety of flavors. Keep in mind that honey has a lower freezing point, so your ice cream may be slightly softer.
- Maple syrup: Maple syrup is another natural sweetener that can be used to sweeten your ice cream. It lends a rich, caramel-like flavor that pairs well with many flavors, particularly nutty or autumn-inspired ones.
- Stevia: For those looking for a sugar-free option, stevia is a popular alternative. It is a natural, calorie-free sweetener derived from the Stevia rebaudiana plant. Keep in mind that it’s much sweeter than sugar, so only a small amount is needed.
- Agave nectar: Agave nectar is a liquid sweetener extracted from the agave plant. It has a mild flavor and a lower glycemic index compared to sugar, making it a suitable choice for those mindful of their sugar consumption.
When using alternative sweeteners, it’s essential to follow specific guidelines provided with the sweetener to ensure proper measurements and ratios. Experimenting with different sweeteners can add a unique flavor profile to your ice cream and make it more suitable for your dietary needs.
Remember, the amount of sweetener you use in your ice cream depends on personal preference. Some individuals may prefer a sweeter base, while others may enjoy a more subtle sweetness. Start with the recommended amount and adjust as needed to achieve your desired taste.
Now that you have explored different sweetener options, it’s time to move on to the next exciting step – adding flavorings to your homemade ice cream!
Flavorings
Adding flavorings to your homemade ice cream is where you can get truly creative and tailor the taste to your liking. While the classic vanilla flavor is always a crowd-pleaser, there are countless other options to explore to create unique and delightful combinations. Here are some popular flavorings to consider:
- Chocolate: For all the chocolate lovers out there, adding cocoa powder or melted chocolate to the ice cream base will create a rich and indulgent chocolate flavor. You can also experiment with different types of chocolate, such as dark, milk, or white chocolate, to vary the intensity of the flavor.
- Strawberry: Incorporating fresh strawberries or strawberry puree into the ice cream base will give it a refreshing and fruity taste. You can even add chunks of fresh strawberries for added texture.
- Mint: Mint is a popular flavor that pairs well with chocolate or stands alone for a refreshing and vibrant taste. You can use mint extract or even fresh mint leaves to infuse the ice cream with that distinct minty flavor.
- Coffee: Adding instant coffee granules or brewed coffee to the ice cream base will create a robust and aromatic coffee flavor. This is perfect for all the coffee enthusiasts who want that caffeine kick in their dessert.
- Fruit flavors: Apart from strawberries, you can experiment with other fruits like raspberries, blueberries, mangoes, or peaches to create delicious fruit-flavored ice creams. Pureed fruit or fruit extracts work well in infusing the ice cream with natural sweetness and vibrant colors.
- Spices: Spices like cinnamon, nutmeg, or cardamom can add warmth and depth to your ice cream. These spices pair well with flavors like apple, pumpkin, or even caramel.
Feel free to combine different flavors and get creative with your combinations. You can even mix in multiple flavorings to create unique and exciting profiles. Remember to taste and adjust the flavorings as you go along to achieve the desired taste.
Now that you’ve added your chosen flavorings, it’s time to explore another element that can take your homemade ice cream experience to the next level – mix-ins!
Mix-ins
Adding mix-ins to your homemade ice cream is a fantastic way to create texture and enhance the overall flavor experience. Mix-ins can range from chunks of chocolate or cookies to swirls of caramel or fruit. Here are some ideas for mix-ins that you can incorporate into your ice cream:
- Chocolate Chips: Whether you prefer dark, milk, or white chocolate, adding chocolate chips to your ice cream gives it delightful bursts of rich, creamy goodness.
- Crushed Cookies: For a crunchy and flavorful twist, crush your favorite cookies and fold them into the ice cream base. This works great with cookies like Oreos, chocolate chip, or even shortbread.
- Fruit Swirls: If you’re using fruits for flavoring, consider creating a fruit swirl by blending or mashing the fruit and gently swirling it into the ice cream mixture. This adds a burst of freshness and a visually appealing element.
- Nuts: Chopped nuts like almonds, pecans, or walnuts can add a delightful crunch and nutty flavor to your ice cream. Toasting them beforehand enhances their aroma and gives them a more intense flavor.
- Caramel or Fudge Swirls: Drizzling caramel or fudge sauce into your ice cream mixture and lightly swirling it creates ribbons of gooey sweetness throughout the dessert. It adds a luxurious touch and a decadent taste.
- Sprinkles or Confetti: For a splash of color and fun, add sprinkles or confetti to your ice cream mixture as it churns. This instantly transforms your ice cream into a playful treat that kids and adults alike will enjoy.
Remember to fold in the mix-ins gently so as not to overmix the ice cream. You want to distribute the mix-ins evenly without deflating the air that has been incorporated during the churning process.
The great thing about mix-ins is that you can customize them to suit your personal preferences. Get creative and experiment with different combinations to find your favorite mix-ins that take your homemade ice cream to the next level.
Now that you’ve added your mix-ins, the next step is to prepare your 4 Qt ice cream maker for the churning process!
Preparing the Ice Cream Maker
Before you start churning your ice cream, it’s essential to prepare your 4 Qt ice cream maker properly. This will ensure that the machine is ready to create the perfect consistency and texture for your ice cream. Here are the steps to follow:
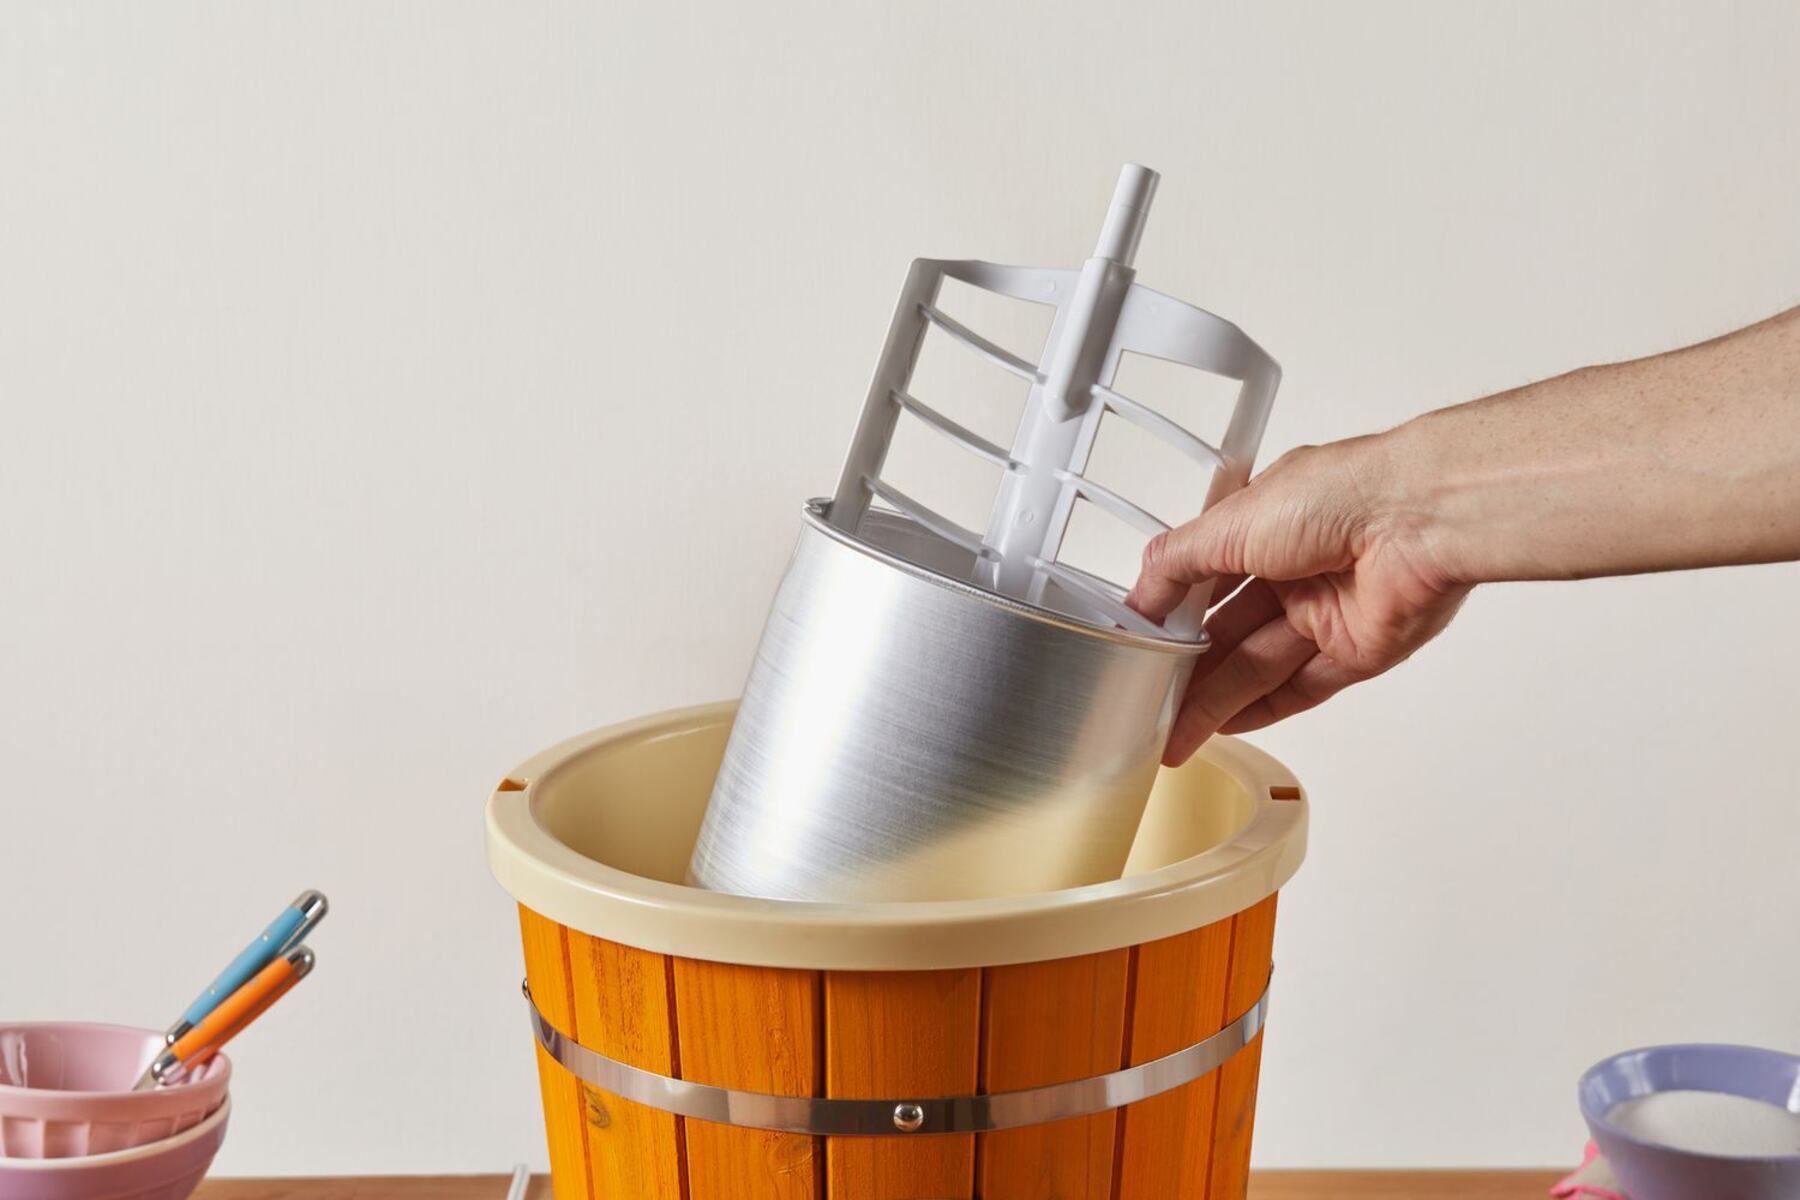
- Freeze the bowl: Most 4 Qt ice cream makers come with a removable freezer bowl. Ensure that it has been properly frozen according to the manufacturer’s instructions. It usually takes around 24 hours to freeze the bowl completely. It’s a good idea to keep the bowl in the freezer at all times so that it’s ready whenever you have the craving for homemade ice cream.
- Assembly: Once the bowl is frozen, assemble your ice cream maker according to the manufacturer’s instructions. This typically involves attaching the paddle or dasher to the motor, placing the frozen bowl into the machine, and securing it in place.
- Pre-chill the machine: Turn on the machine and let it run for a few minutes to pre-chill the bowl. This helps maintain a consistent temperature during the churning process and ensures that the ice cream freezes evenly.
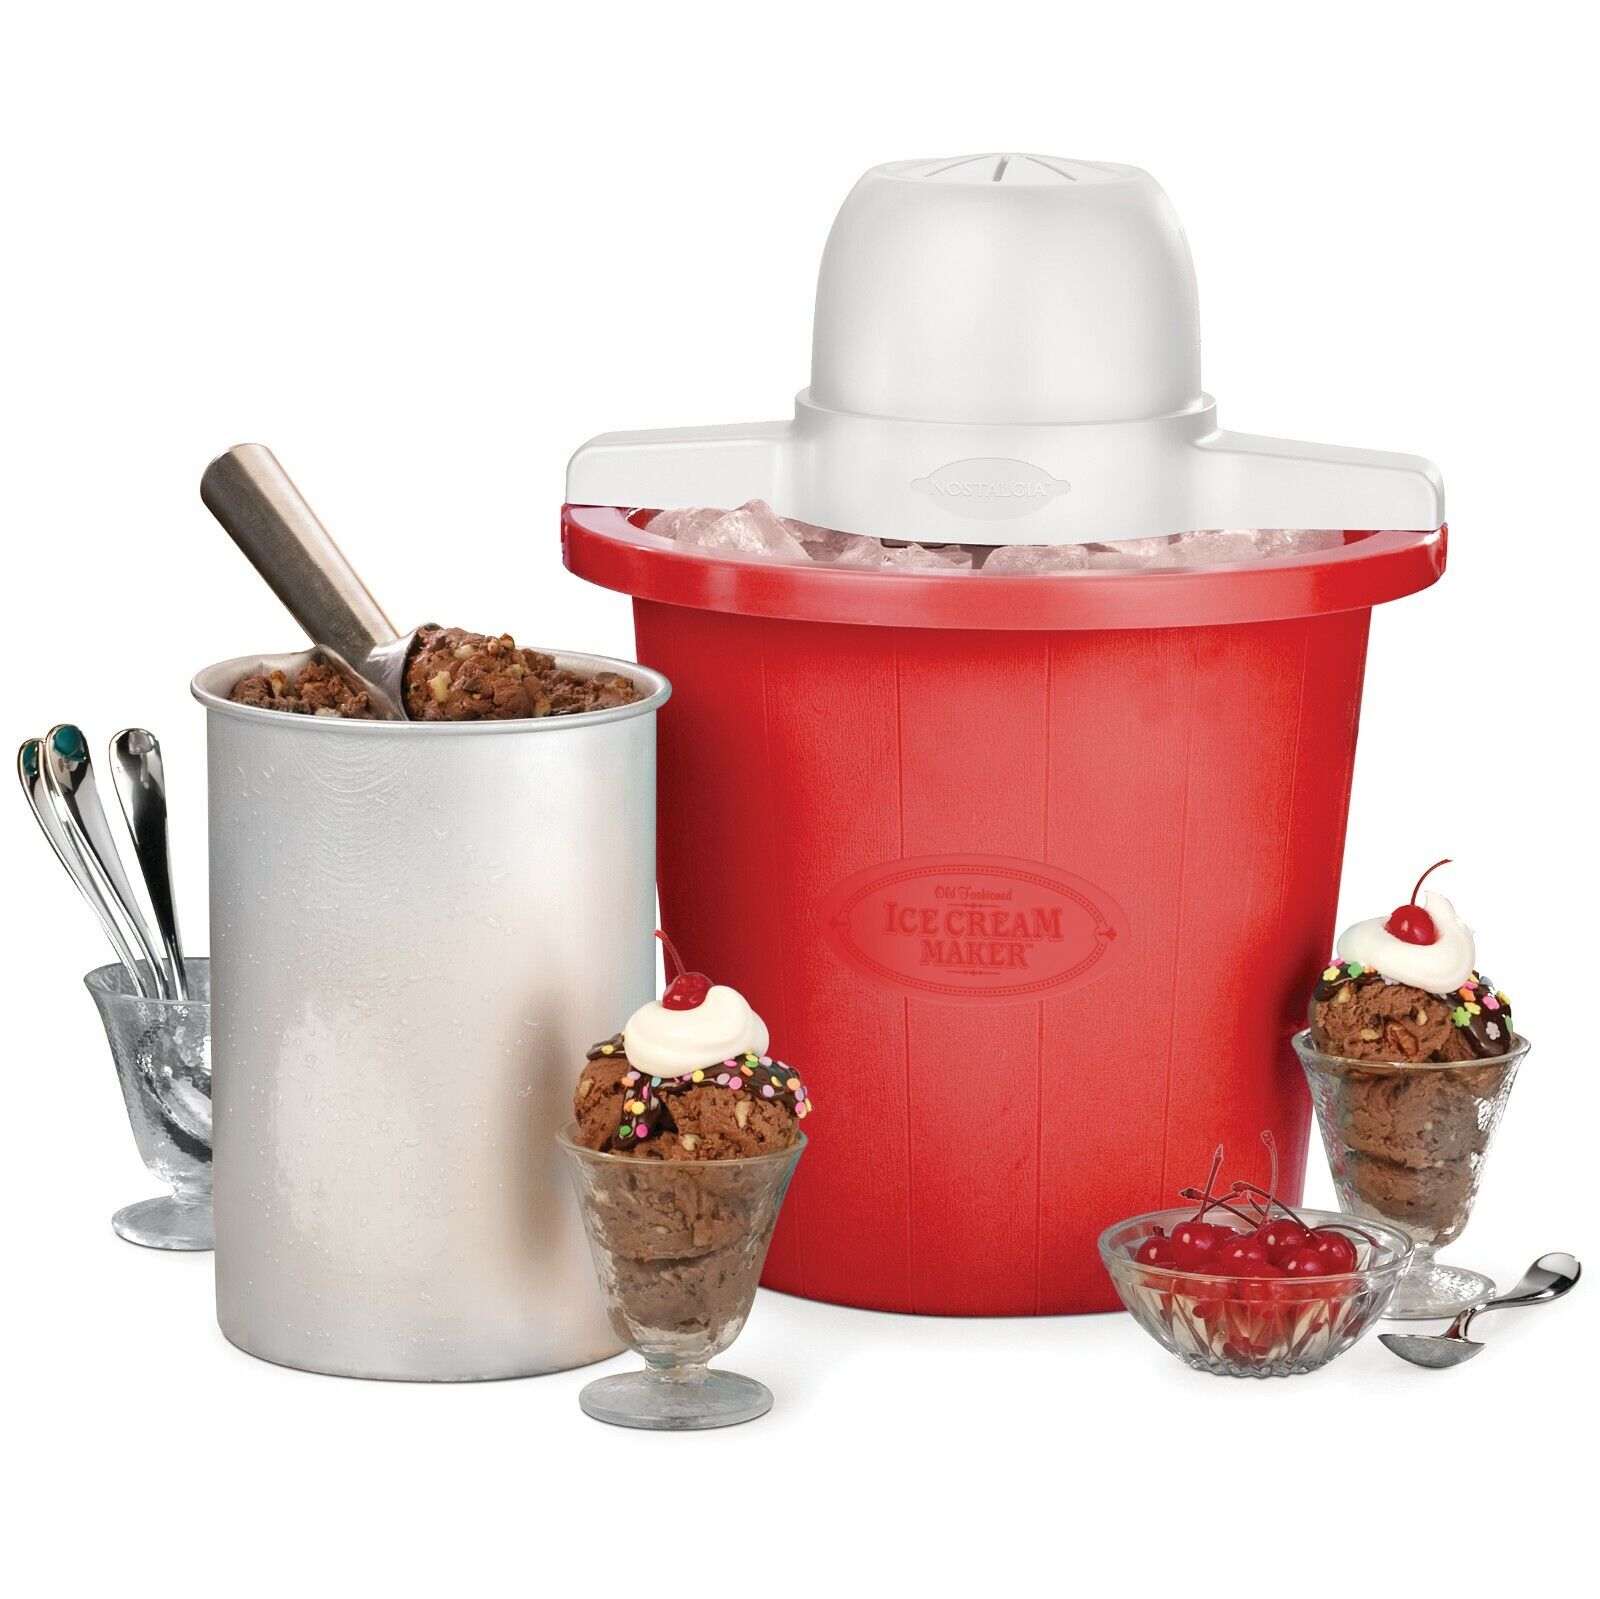
- Get your ice and rock salt ready: To create the freezing environment needed for proper churning, you’ll need ice and rock salt. Layer the ice and rock salt around the base of the frozen bowl inside the machine. The rock salt helps lower the freezing point of the ice, creating a frigid environment for the ice cream to freeze.
- Let it chill: Allow the machine to chill for a few minutes with the ice and rock salt mixture. This will further lower the temperature inside the bowl and prepare it for churning the ice cream base.
Once you have prepped your 4 Qt ice cream maker, it’s time to take out the chilled ice cream base from the refrigerator and pour it into the frozen bowl. Follow the instructions on your ice cream maker for adding the base, as the process may vary slightly depending on the model.
Now you’re all set to start churning your ice cream and turning it into a delectable frozen dessert. Get ready for the exciting part of bringing together all the elements you’ve prepared – the ice cream base, sweeteners, flavorings, and mix-ins!
Chilling the Ice Cream Base
After preparing the ice cream base, it’s crucial to chill it thoroughly before churning it in the 4 Qt ice cream maker. This step is essential for achieving a smooth and creamy consistency in your homemade ice cream. Here’s how to properly chill the ice cream base:
- Container selection: Transfer the ice cream base from the mixing bowl into a storage container suitable for chilling. A lidded container, such as a glass or plastic container, works best. Make sure the container is large enough to hold the entire ice cream base without overflowing.
- Covering the base: To prevent a skin from forming on the surface of the ice cream base, cover it with a layer of plastic wrap. Press the plastic wrap directly onto the surface of the base to create a tight seal, reducing air exposure.
- Refrigeration time: Place the covered container with the ice cream base in the refrigerator. Allow it to chill for a minimum of four hours, but preferably overnight. The extended chilling time allows the flavors to meld and the base to cool completely.
During the chilling process, the ice cream base undergoes several transformations. The cold temperature helps develop the flavors and allows the fat molecules to solidify, resulting in a smoother texture once churned in the ice cream maker later. The longer the base chills, the better the results.
It’s important to note that the chilling time can vary depending on the specific recipe and ice cream maker model. Consult the instructions provided with your ice cream maker to determine the optimal chilling time for the best results.
Once the ice cream base has chilled thoroughly, it’s time to move on to the exciting step of churning the base into luscious ice cream using your 4 Qt ice cream maker!
Churning the Ice Cream
Now that the ice cream base has chilled, it’s time to churn it and transform it into a creamy, frozen delight using your 4 Qt ice cream maker. Churning is the process of freezing the ice cream base while incorporating air to create a light and smooth texture. Follow these steps to churn your ice cream:
- Set up the ice cream maker: Ensure that the pre-chilled bowl is properly secured in the machine and the paddle or dasher is in place.
- Start the machine: Switch on the ice cream maker and begin the churning process. The machine will begin rotating the bowl and dasher, creating a constant motion that freezes the base while incorporating air.
- Pour in the ice cream base: With the machine running, carefully pour the chilled ice cream base into the bowl of the ice cream maker. Be cautious not to overfill the bowl, as the mixture will expand as it freezes and churns.
- Churn the ice cream: Allow the ice cream maker to churn the base for the recommended duration provided by the manufacturer or follow the recipe guidelines. Typically, it takes around 20-30 minutes for the ice cream to reach the desired consistency.
As the ice cream churns, the base will gradually freeze and increase in volume. The constant movement of the dasher helps incorporate air into the mixture, resulting in a lighter and creamier texture.
While churning, you can periodically check the consistency of the ice cream by lifting the lid of the machine and observing its thickness. It should thicken and resemble a soft-serve consistency when it’s ready. Be cautious not to open the machine too frequently to prevent heat from entering and slowing down the freezing process.
Once the ice cream has reached the desired consistency, it’s time to halt the churning process and move on to the next step of adding mix-ins to elevate your homemade ice cream experience.
Adding Mix-ins
Adding mix-ins to your freshly churned ice cream is where you can really get creative and elevate the flavor and texture of your homemade delight. It’s an opportunity to personalize your ice cream and add an extra layer of excitement. Here’s how to incorporate mix-ins into your ice cream:
- Pause the churning process: Before adding any mix-ins, pause the ice cream maker and stop the churning process. This will allow you to work with the ice cream without the continuous motion.
- Prepare your mix-ins: Gather your desired mix-ins and have them ready. These can include chunks of chocolate, crushed cookies, nuts, fruits, or any other ingredient you want to add to your ice cream.
- Add the mix-ins: With the churning paused, carefully add the mix-ins to the partially churned ice cream. Sprinkle them evenly throughout the mixture to ensure a well-distributed incorporation of flavors and textures.
- Resume churning: Once the mix-ins are added, resume the churning process by turning on the ice cream maker. The machine will blend the mix-ins with the ice cream base, ensuring they are evenly distributed.
- Continue churning: Allow the ice cream maker to continue churning until the mix-ins are thoroughly combined, which typically takes a few more minutes. Be mindful not to overmix, as this can cause the ice cream to become too soft.
Remember, the type and amount of mix-ins you add to your ice cream are entirely up to you and your preferences. You can experiment with different combinations to create unique and exciting flavors. Just ensure that the mix-ins are suitable for freezing and won’t compromise the texture of the ice cream.
Once the mix-ins are fully incorporated, your homemade ice cream is ready to be enjoyed immediately for a soft-serve consistency. However, if you prefer a firmer texture, transfer the ice cream to a lidded container, press a sheet of plastic wrap onto the surface, and place it in the freezer for a few hours to harden before serving.
Now that you’ve added your mix-ins, you’re ready to savor the fruits of your labor. Get ready to indulge in a delectable, homemade ice cream that is both delicious and uniquely yours!
Storage and Freezing Tips
Proper storage and freezing techniques are essential for maintaining the quality and flavor of your homemade ice cream. Here are some tips to help you keep your ice cream at its best:
- Transfer to an airtight container: Once the ice cream has reached the desired texture, transfer it to an airtight container with a lid. This will help prevent freezer burn and the absorption of unwanted odors from other foods in the freezer.
- Press plastic wrap: Before sealing the container, press a sheet of plastic wrap onto the surface of the ice cream to create a protective barrier. This will help minimize the formation of ice crystals and keep the ice cream silky smooth.
- Label and date the container: To keep track of the freshness and flavors of your ice cream, label the container with the date it was made. This will help you prioritize and consume the ice cream within a reasonable timeframe.
- Store in the coldest part of the freezer: Place your container of ice cream in the coldest part of your freezer, typically towards the back or bottom. Keeping it in a consistently cold environment will prevent premature melting and ensure the best texture.
- Avoid temperature fluctuations: Try not to repeatedly open and close the freezer door, as this can cause temperature fluctuations that negatively impact the quality of the ice cream. Keep the freezer door closed as much as possible.
- Consume within a few weeks: Homemade ice cream is best enjoyed within 2-4 weeks of freezing. While it will remain safe to eat for longer, the taste and texture may deteriorate over time.
- Thaw before serving: When you’re ready to enjoy your homemade ice cream, remove it from the freezer and let it sit at room temperature for a few minutes to soften. This will make scooping and serving much easier.
- Store in small portions: If you prefer to enjoy your ice cream over several days, consider storing it in smaller portions. This allows you to thaw and enjoy only what you need, minimizing the number of freeze-thaw cycles.
By following these storage and freezing tips, you can ensure that your homemade ice cream maintains its optimal taste and texture, delivering a delightful frozen treat whenever you’re in the mood.
Now that you’re armed with these tips, go ahead and savor every luscious spoonful of your homemade ice cream!
Conclusion
Making ice cream at home with a 4 Qt ice cream maker is an enjoyable and rewarding experience. By following the steps outlined in this article, you can create a luscious and personalized frozen treat that surpasses store-bought options. From preparing the ice cream base to adding sweeteners, flavorings, and mix-ins, each step contributes to the overall flavor and texture of your homemade ice cream.
Remember to be creative and experiment with various combinations of ingredients to discover your favorite flavors. Whether you prefer classic vanilla, rich chocolate, or fruity indulgence, the options are endless.
Properly chilling the ice cream base, using high-quality ingredients, and carefully incorporating mix-ins all contribute to the success of your creation. Don’t forget to store and freeze your homemade ice cream correctly to maintain its freshness and taste.
So, embrace your inner ice cream artisan and have fun exploring different flavors, textures, and mix-ins. Enjoy the delicious rewards of your efforts and share the joy of homemade ice cream with loved ones. With your 4 Qt ice cream maker, you have the power to create memorable and mouth-watering frozen treats for all occasions.
Now, gather your ingredients, unleash your creativity, and indulge in the wonderful world of homemade ice cream!