Introduction
Craving a bowl of creamy, delicious ice cream but can’t have dairy? No problem! You can satisfy your sweet tooth with a homemade dairy-free ice cream that is just as luscious and indulgent as the traditional version. The best part? You don’t even need an ice cream maker to whip up this frozen treat in the comfort of your own kitchen.
Whether you have dietary restrictions, are lactose intolerant, or simply choose to follow a dairy-free lifestyle, making your own dairy-free ice cream allows you to have full control over the ingredients while still enjoying the rich and creamy goodness.
In this guide, we’ll walk you through a simple and foolproof method to create mouthwatering dairy-free ice cream without the need for an ice cream maker. By following a few easy steps and getting a little creative with flavors and mix-ins, you’ll be on your way to delighting your taste buds with a homemade icy treat that is sure to impress.
But before we dive into the process, let’s take a look at the ingredients and equipment you’ll need to have on hand.
Ingredients and Equipment Needed
Before you embark on your dairy-free ice cream adventure, gather the following ingredients and equipment:
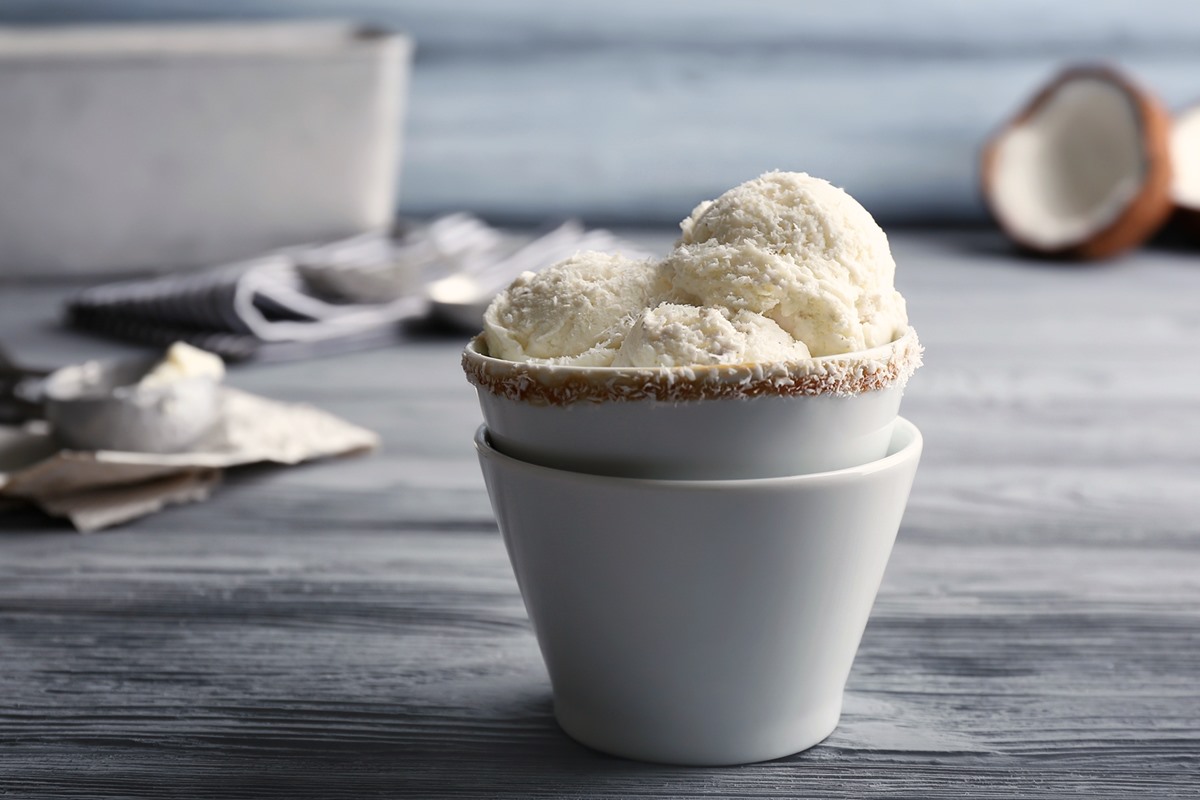
- 1 can (14 ounces) of full-fat coconut milk
- 1/2 cup of your choice of dairy-free milk (almond, soy, cashew, oat, etc.)
- 1/2 cup of granulated sugar or sweetener of your choice
- 2 teaspoons of pure vanilla extract
- Pinch of salt
- Optional: Flavorings such as cocoa powder, fruit puree, almond extract, coffee, etc.
- Optional: Mix-ins like chocolate chips, nuts, crushed cookies, or sprinkles
For equipment, you’ll need:
- A blender or food processor
- A mixing bowl
- A spatula
- Airtight containers or a loaf pan
- Plastic wrap or wax paper
Once you have all the ingredients and equipment in place, it’s time to start blending the base of your dairy-free ice cream. Keep reading to learn how to achieve a smooth and creamy texture without the need for an ice cream maker.
Blending the Base
Now that you have gathered all the necessary ingredients and equipment, it’s time to blend the base of your dairy-free ice cream.
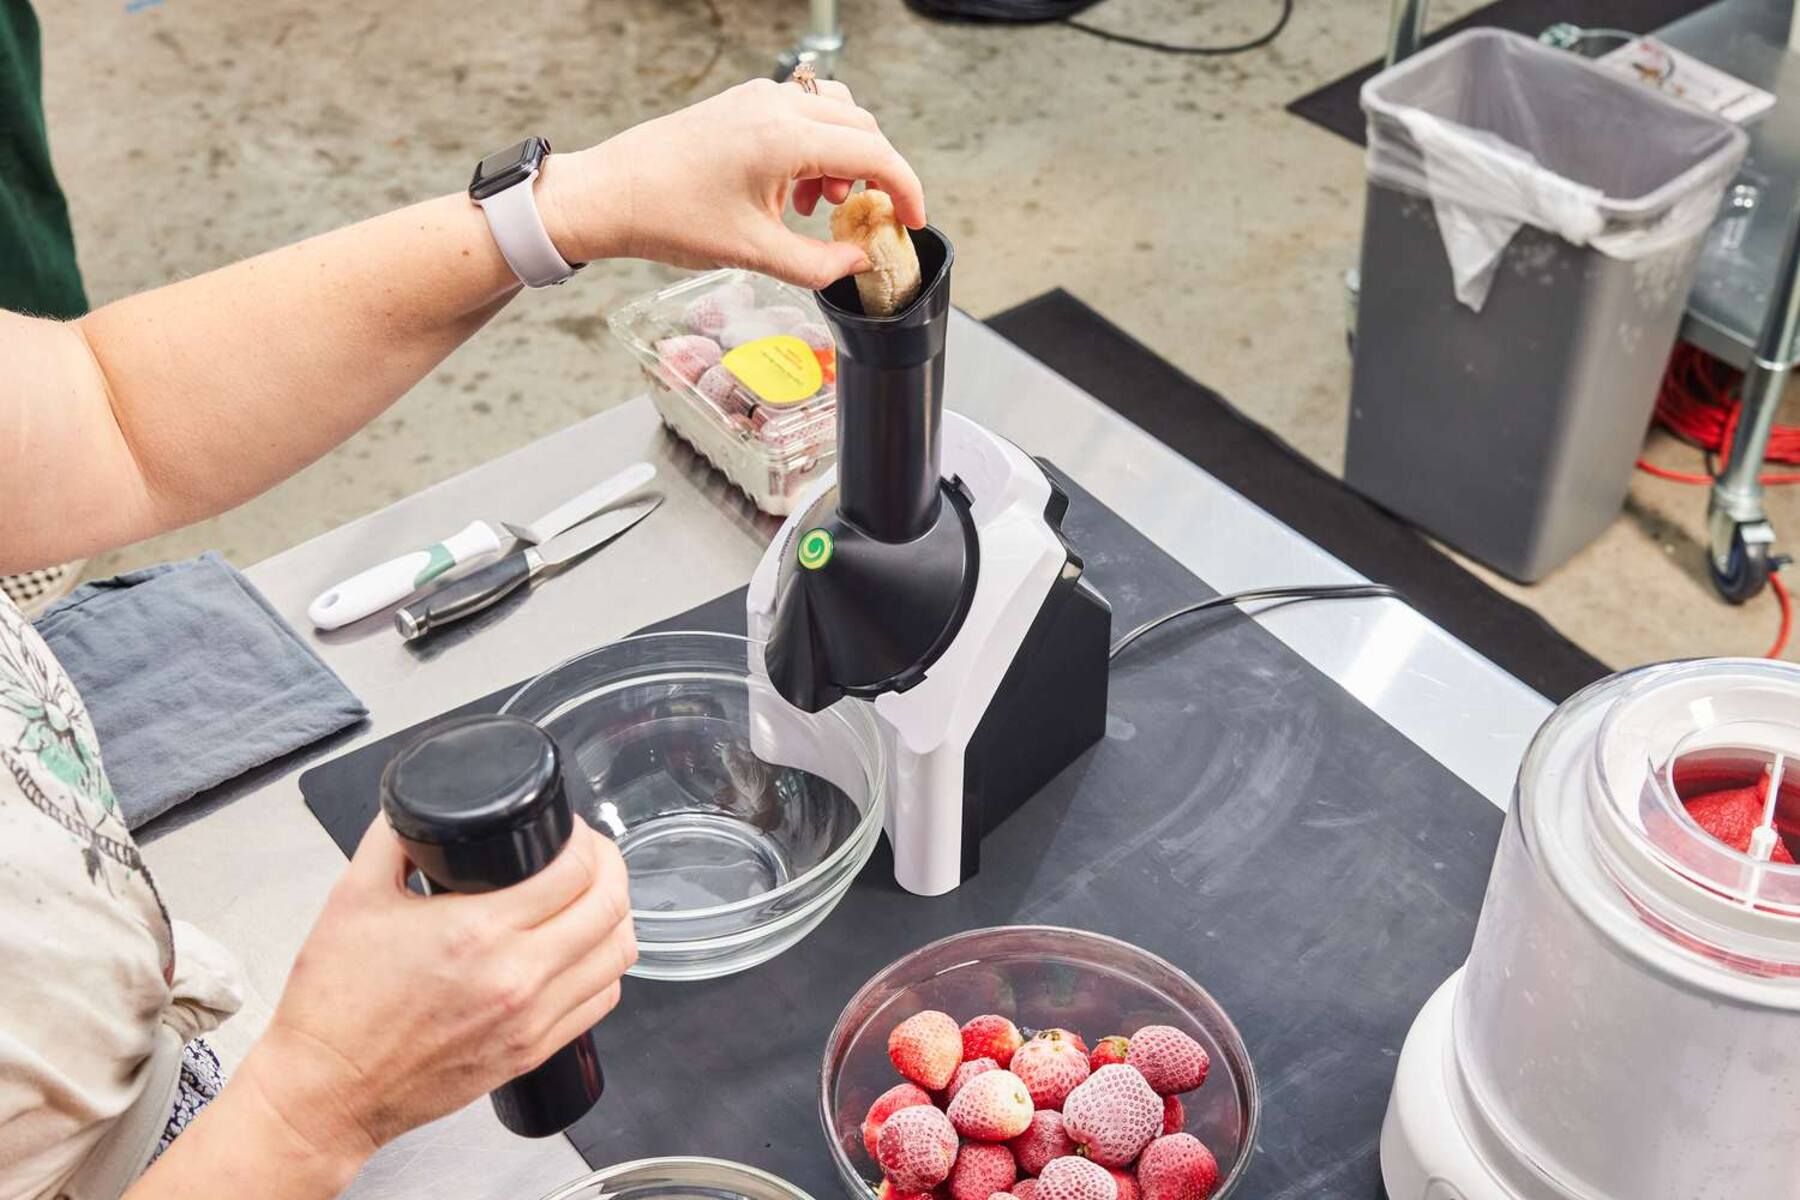
- Start by pouring the full-fat coconut milk and your choice of dairy-free milk into a blender or food processor. If you prefer a thicker and richer ice cream, you can use more coconut milk and less dairy-free milk.
- Add the granulated sugar or sweetener of your choice to the blender. Adjust the amount according to your desired level of sweetness.
- Sprinkle in a pinch of salt to enhance the flavors and balance the sweetness.
- Add the pure vanilla extract for a classic ice cream taste and aroma. If you want to experiment with other flavors, now is the time to add them, such as cocoa powder for chocolate ice cream or fruit puree for a fruity twist.
- Secure the lid of the blender or food processor and blend the ingredients on high speed until you achieve a smooth and creamy mixture. This usually takes about 1-2 minutes, but the time may vary depending on the power of your equipment.
Once you have a velvety-smooth ice cream base, it’s time to explore different flavor combinations and add your favorite mix-ins. Read on to discover how to customize your dairy-free ice cream to your heart’s content.
Adding Flavors and Mix-ins
One of the joys of making your own dairy-free ice cream is the ability to customize it with a wide range of flavors and mix-ins. Here are some ideas to inspire your creativity:
1. Cocoa Lover’s Dream: Add a few tablespoons of cocoa powder to the ice cream base during the blending process for a rich and indulgent chocolate flavor. You can also mix in some dairy-free chocolate chips for added texture.
2. Fruity Delight: Incorporate your favorite fruit puree or mashed fruits, like strawberries, bananas, or blueberries, into the ice cream base. Just make sure to adjust the sweetness accordingly. For an extra burst of freshness, consider adding some zest or a squeeze of lemon or lime juice.
3. Nutty Sensation: If you’re a fan of nut-based ice creams, add a tablespoon or two of your preferred nut butter, such as almond butter or peanut butter, to the base. You can also mix in some chopped nuts like almonds, walnuts, or pecans for a delightful crunch.
4. Coffee Kick: Brew a strong cup of coffee and let it cool completely. Then, add it to the ice cream base during the blending process for a delicious coffee-flavored treat. You can even mix in some crushed espresso beans or chocolate-covered coffee beans for an extra caffeine boost.
5. Cookie Crumble: Break up your favorite dairy-free cookies into small pieces and fold them into the ice cream base. Whether it’s gluten-free chocolate sandwich cookies or oatmeal raisin cookies, the cookie crumbles will add a delightful texture to your ice cream.
Feel free to get creative and experiment with different flavor combinations and mix-ins to suit your taste preferences. Once you have added the desired flavors and mix-ins to the ice cream base, it’s time to freeze it. Read on to learn the freezing process.
Freezing the Ice Cream
After you have prepared the flavored ice cream base with your desired mix-ins, it’s time to freeze it to achieve that smooth and creamy texture.
- Transfer the ice cream mixture from the blender or food processor into an airtight container or a loaf pan.
- Cover the surface of the ice cream with plastic wrap or wax paper to prevent ice crystals from forming. This step is essential for maintaining the creamy consistency.
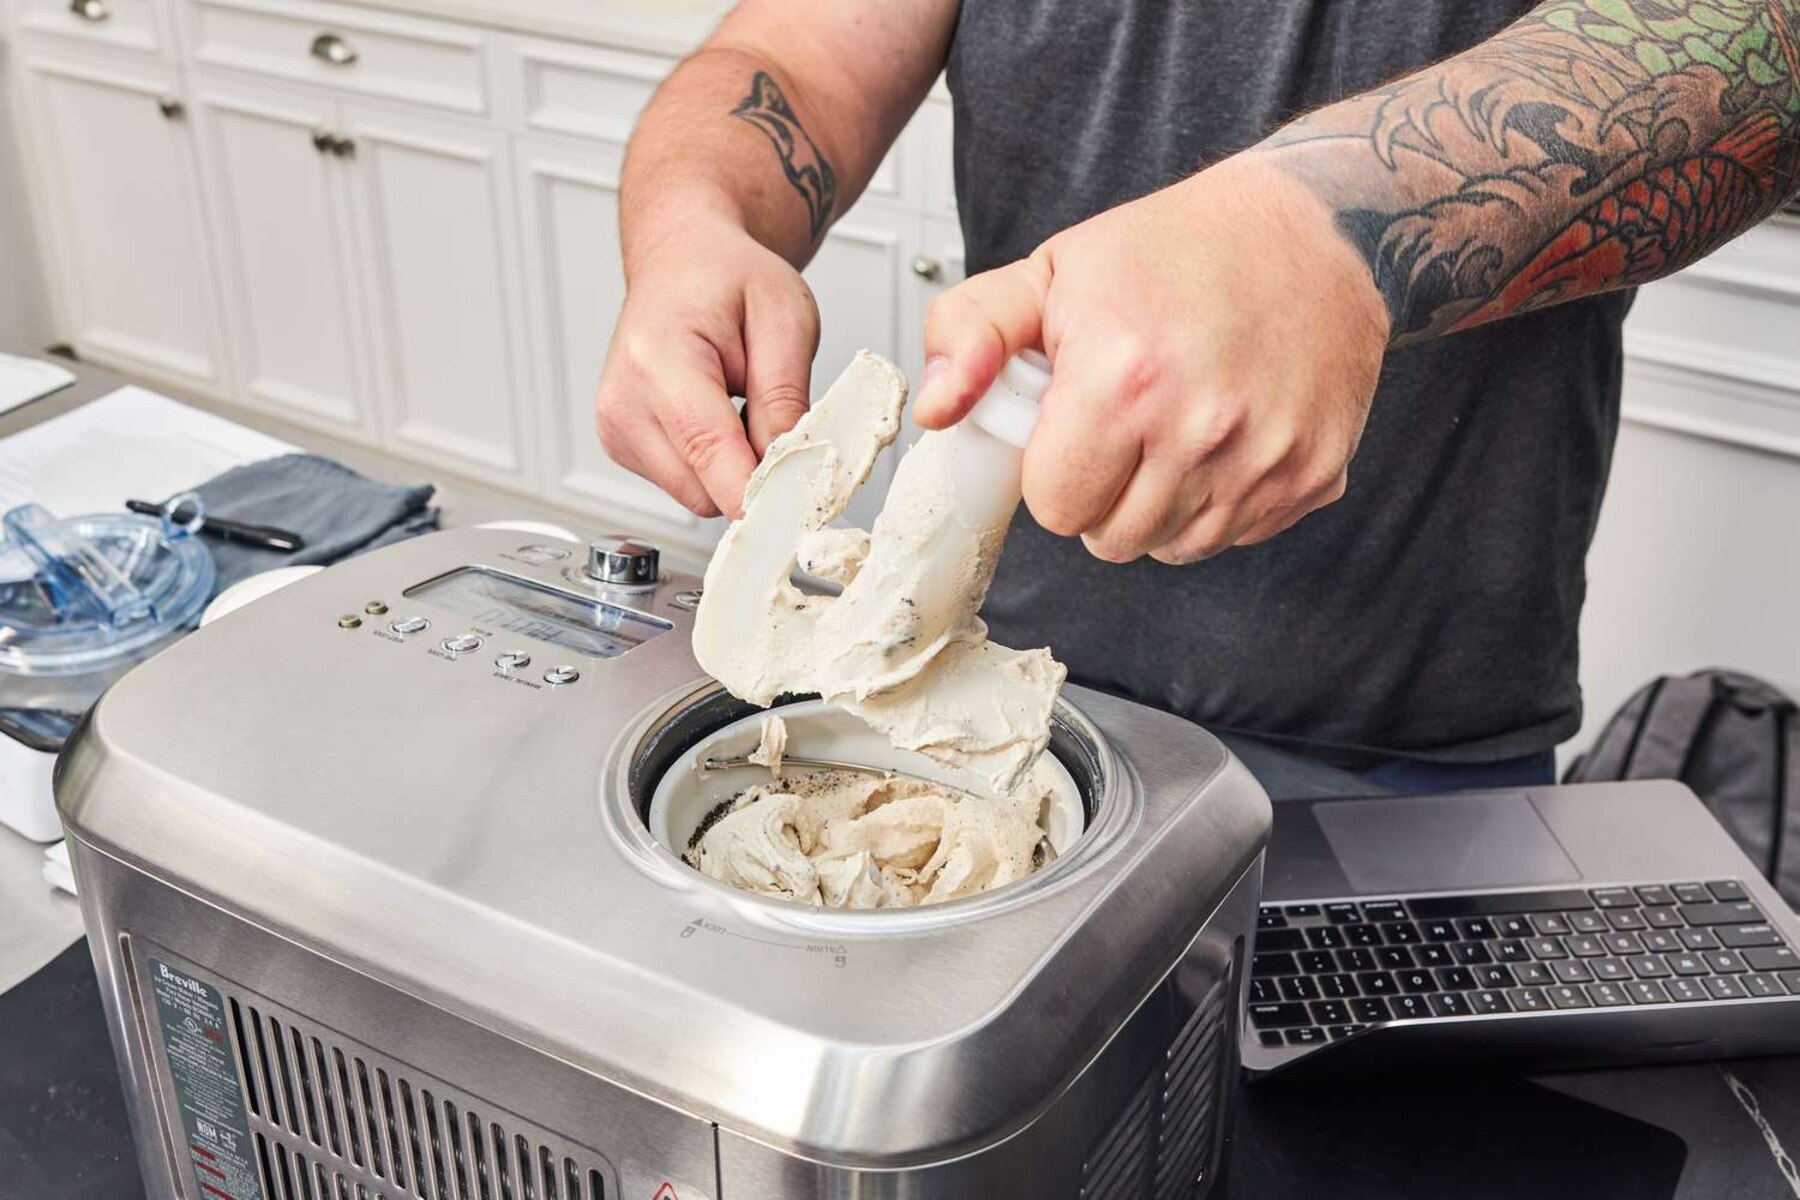
- Place the container or pan in the freezer and let the ice cream set for at least 4-6 hours or overnight. The longer it freezes, the firmer it will be.
- Every hour during the first two hours, remove the container from the freezer and give it a good stir with a spatula. This will help distribute any ice crystals and ensure a smoother texture.
It’s important to note that dairy-free ice cream may have a slightly softer consistency compared to traditional ice cream due to the lack of dairy fat. Nevertheless, following these freezing steps will help achieve the closest texture possible.
Once the ice cream has reached your preferred firmness, it’s time to indulge in a creamy, dairy-free treat. But before you do, let’s explore some tips and tricks to ensure the best results and enhance your ice cream experience.
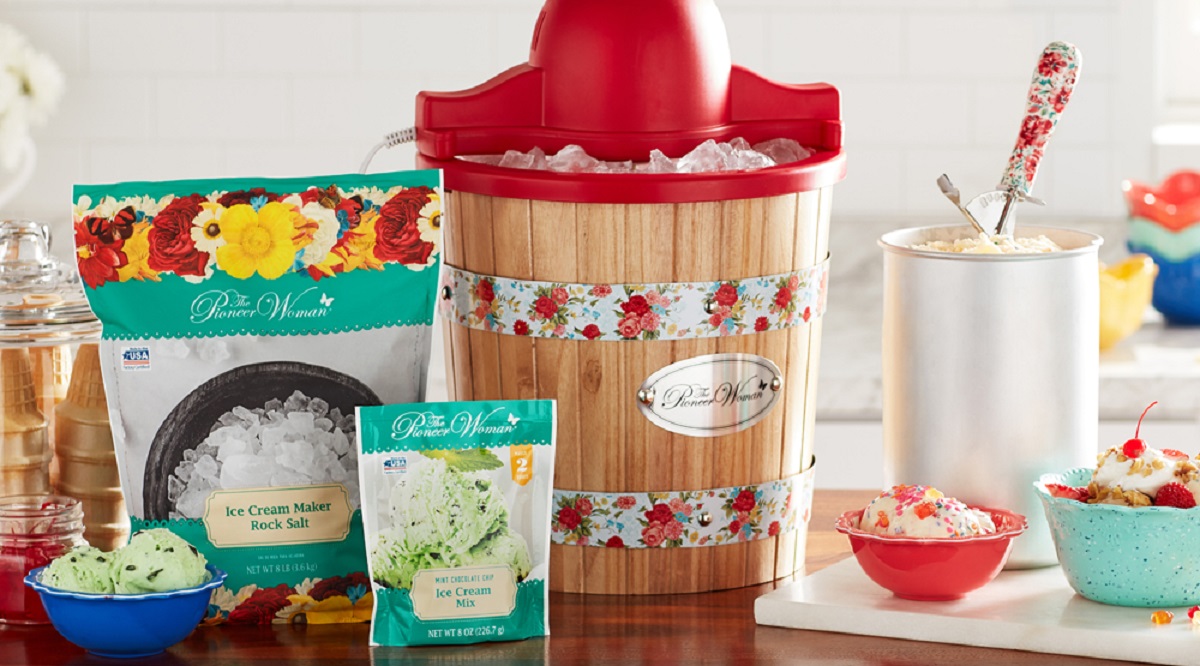
Tips and Tricks for the Best Dairy-Free Ice Cream
Creating the perfect dairy-free ice cream requires a little extra attention to detail. Here are some tips and tricks to help you achieve the best results:
1. Use full-fat coconut milk: Opt for full-fat coconut milk as it provides a creamy base that mimics the richness of dairy. Low-fat coconut milk may result in a less creamy texture.
2. Chill the ingredients: To speed up the freezing process, ensure that all the ingredients, especially the coconut milk and dairy-free milk, are chilled before blending. This will help the ice cream solidify faster and minimize ice crystal formation.
3. Experiment with sweeteners: Don’t limit yourself to granulated sugar. Explore other sweeteners like maple syrup, agave nectar, or coconut sugar. Adjust the amount according to your taste preferences and the sweetness level of the flavorings and mix-ins.
4. Embrace the power of freezing time: Letting the ice cream sit in the freezer for several hours or overnight allows it to mature and develop a smoother texture. Patience is key!
5. Maintain airtight packaging: To prevent ice crystals from forming and keep your ice cream fresh, always store it in an airtight container. This will ensure a consistently creamy texture over time.
6. Get creative with mix-ins: Don’t hesitate to experiment with different mix-ins. From crushed cookies and chocolate chunks to fresh fruit and nuts, the possibilities are endless. Just be mindful of the size and quantity of the mix-ins to avoid overwhelming the ice cream base.
7. Enjoy it fresh: While homemade dairy-free ice cream can be stored in the freezer for a couple of weeks, it’s often at its best within the first few days. So indulge in your creation as soon as it’s ready for the ultimate taste experience.
By following these tips and tricks, you can create a delectable batch of dairy-free ice cream that rivals any store-bought variety. Now, let’s explore some serving and storage suggestions to ensure you enjoy your frozen treat to the fullest.
Serving and Storage Suggestions
Now that you have successfully made your dairy-free ice cream, it’s time to serve and store it properly to maintain its quality and taste. Here are some serving and storage suggestions:
Serving:
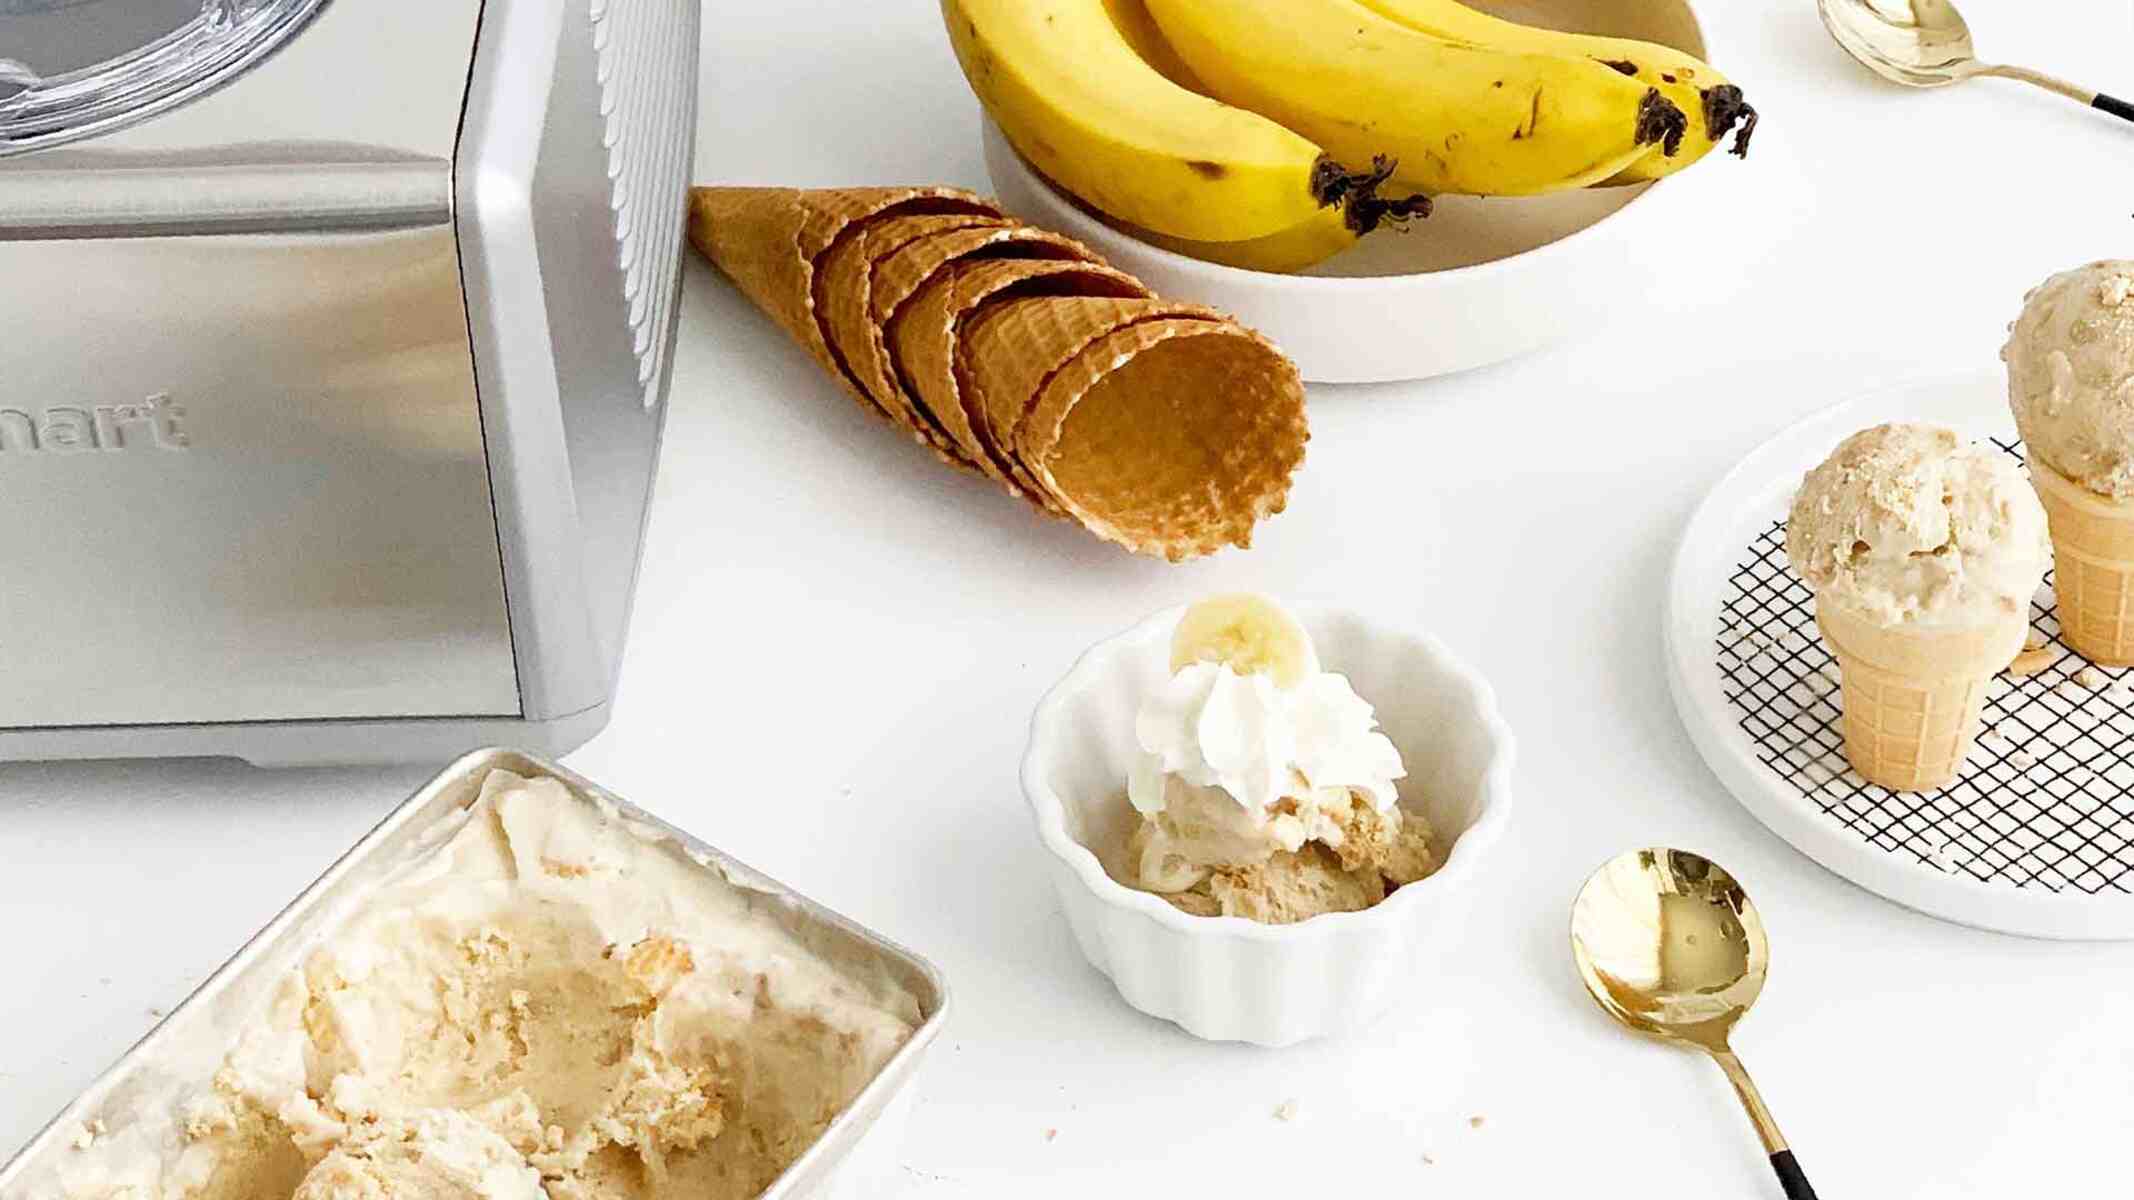
- Scoop the ice cream into bowls or waffle cones, and garnish with your favorite toppings, such as fresh fruit, chocolate sauce, crushed nuts, or a sprinkle of cinnamon.
- For an elegant presentation, consider serving the ice cream alongside homemade dairy-free cookies or a slice of warm dairy-free cake.
- If you prefer a softer texture, allow the ice cream to sit at room temperature for a few minutes before scooping and serving.
Storage:
- Transfer any leftover ice cream into an airtight container to prevent freezer burn and maintain its freshness.
- Place a piece of plastic wrap directly on the surface of the ice cream before sealing the container. This extra barrier will help minimize ice crystal formation and maintain a smooth texture.
- Store the ice cream in the coldest part of your freezer to maintain its quality and prevent melting.
- Dairy-free ice cream is best consumed within 2-3 weeks from the time it was made. However, it’s recommended to enjoy it within the first week for the best taste and texture.
Remember, homemade dairy-free ice cream may slightly harden in the freezer compared to store-bought varieties. To soften it before serving, let it sit at room temperature for a few minutes or microwave it in short intervals, checking and stirring between each heating burst.
Now that you know how to serve and store your dairy-free ice cream, it’s time to indulge in the delightful flavors and creamy texture you’ve created. Enjoy every spoonful of this homemade frozen treat!
Conclusion
Crafting your own dairy-free ice cream without the need for an ice cream maker is a rewarding and delicious endeavor. With just a few simple ingredients and some creativity, you can whip up a batch of smooth and creamy frozen goodness that caters to your dietary needs and preferences.
By using full-fat coconut milk as a base and adding your preferred dairy-free milk, sweeteners, flavors, and mix-ins, you can customize your ice cream to suit your taste buds. Whether you crave a classic chocolate flavor, a fruity explosion, or a nutty sensation, the possibilities are endless.
Remember to freeze your ice cream for several hours, giving it the time to firm up and develop that luscious texture. And don’t forget to experiment with different mix-ins and toppings to add an extra layer of flavor and indulgence.
When it comes to serving and storing your homemade dairy-free ice cream, follow the suggestions provided to maintain its freshness and optimal taste. Serve it in bowls or cones, and consider adding additional garnishes or enjoying it alongside a complimentary dessert.
Lastly, savor the satisfaction and joy of creating your own dairy-free ice cream that rivals any store-bought version. With each creamy spoonful, you can appreciate the fact that you’ve crafted a delightful frozen treat that suits your dietary needs while tickling your taste buds.
So go ahead, unleash your creativity in the kitchen, and start making your own dairy-free ice cream without an ice cream maker. Enjoy the process, experiment with flavors, and relish every frozen delight you create!