Introduction
Are you craving a refreshing and fruity dessert to beat the summer heat? Look no further than homemade strawberry sorbet made with an ice cream maker! This delectable treat is not only lusciously smooth and bursting with the natural sweetness of ripe strawberries, but it’s also incredibly easy to make.
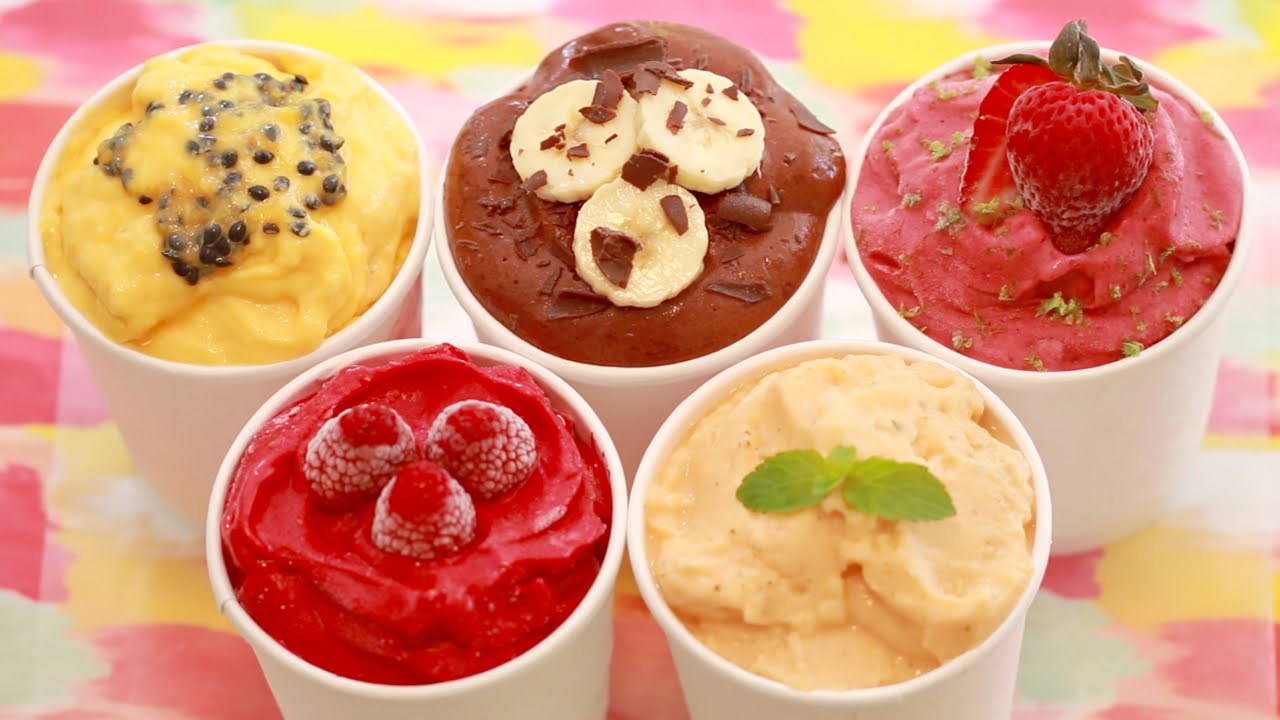
Strawberry sorbet is a timeless classic that captures the essence of summer in every spoonful. With its vibrant pink hue and irresistible flavor, it’s the perfect dessert to enjoy on a sunny day or to impress your guests at a backyard barbecue.
Making strawberry sorbet at home allows you to customize the ingredients to your liking and enjoy a guilt-free indulgence. By using fresh, ripe strawberries and minimal added sugar, you can enjoy the pure, natural flavors without any artificial additives or preservatives.
With the help of an ice cream maker, you’ll achieve that velvety smooth texture that sets sorbet apart from other frozen treats. The machine churns the mixture while freezing it simultaneously, resulting in a light and airy texture that melts in your mouth.
In this article, we will guide you through the step-by-step process of making strawberry sorbet using an ice cream maker. From preparing the strawberries to freezing the sorbet, we’ve got you covered. So, let’s roll up our sleeves, gather our ingredients, and embark on this delightful culinary adventure!
Ingredients
To make mouthwatering strawberry sorbet, you’ll need the following ingredients:
- 1 pound (450 grams) of fresh strawberries
- 1 cup (200 grams) of granulated sugar
- 1/4 cup (60 milliliters) of water
- 1 tablespoon (15 milliliters) of freshly squeezed lemon juice
- Pinch of salt
When selecting strawberries, opt for ripe, fragrant ones that are bright red and firm. Avoid using strawberries that are overly mushy or have blemishes, as they may affect the texture and taste of your sorbet.
Granulated sugar is the preferred sweetener for this recipe, as it dissolves easily in the mixture. However, you can experiment with alternative sweeteners like honey or agave syrup if you prefer a healthier option.
The addition of freshly squeezed lemon juice not only enhances the flavor of the strawberries but also helps balance the sweetness and adds a refreshing tang to the sorbet. Be sure to use freshly squeezed lemon juice for the best results.
Lastly, a pinch of salt is added to enhance the overall flavor of the sorbet. The salt helps to bring out the natural sweetness of the strawberries and creates a more balanced taste.
Now that we have our ingredients ready, let’s move on to the equipment needed to make this delightful strawberry sorbet.
Equipment
To make strawberry sorbet in an ice cream maker, you will need the following equipment:
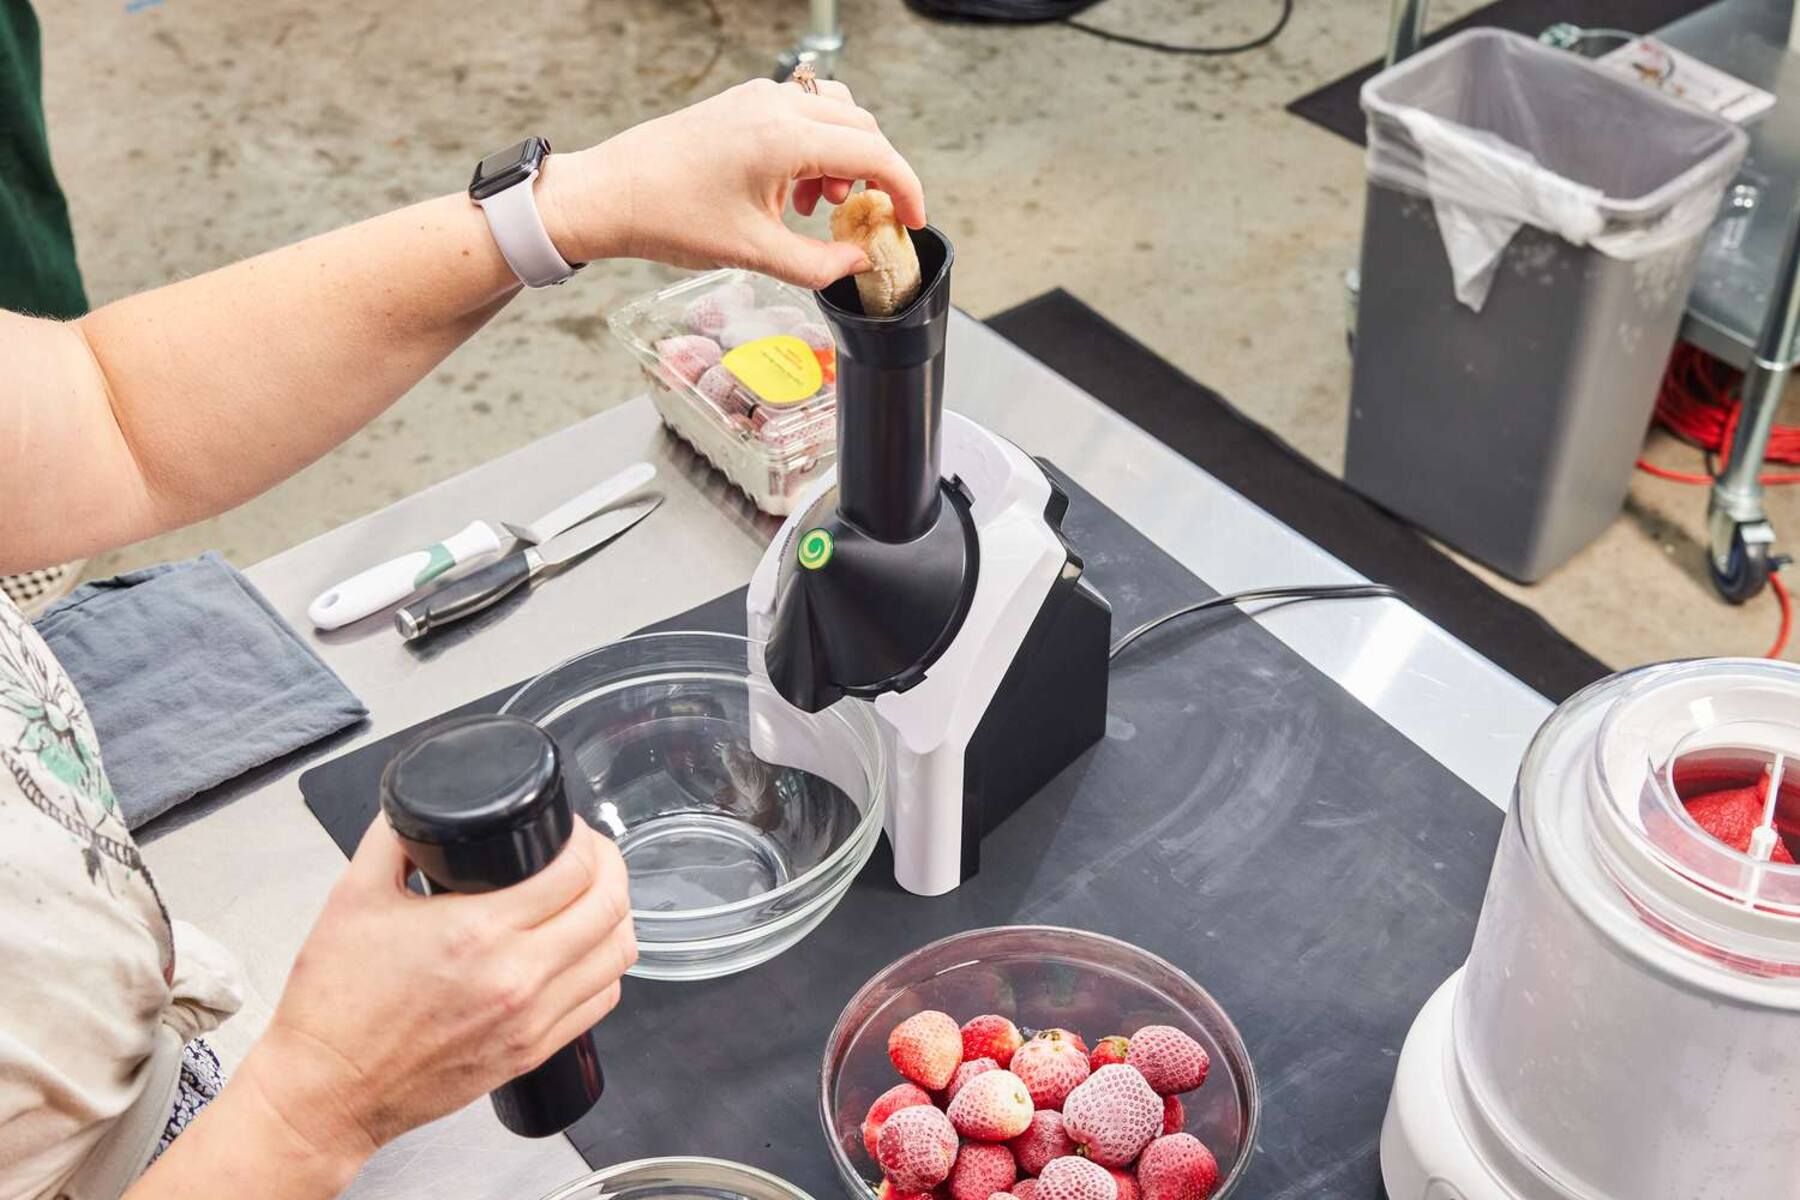
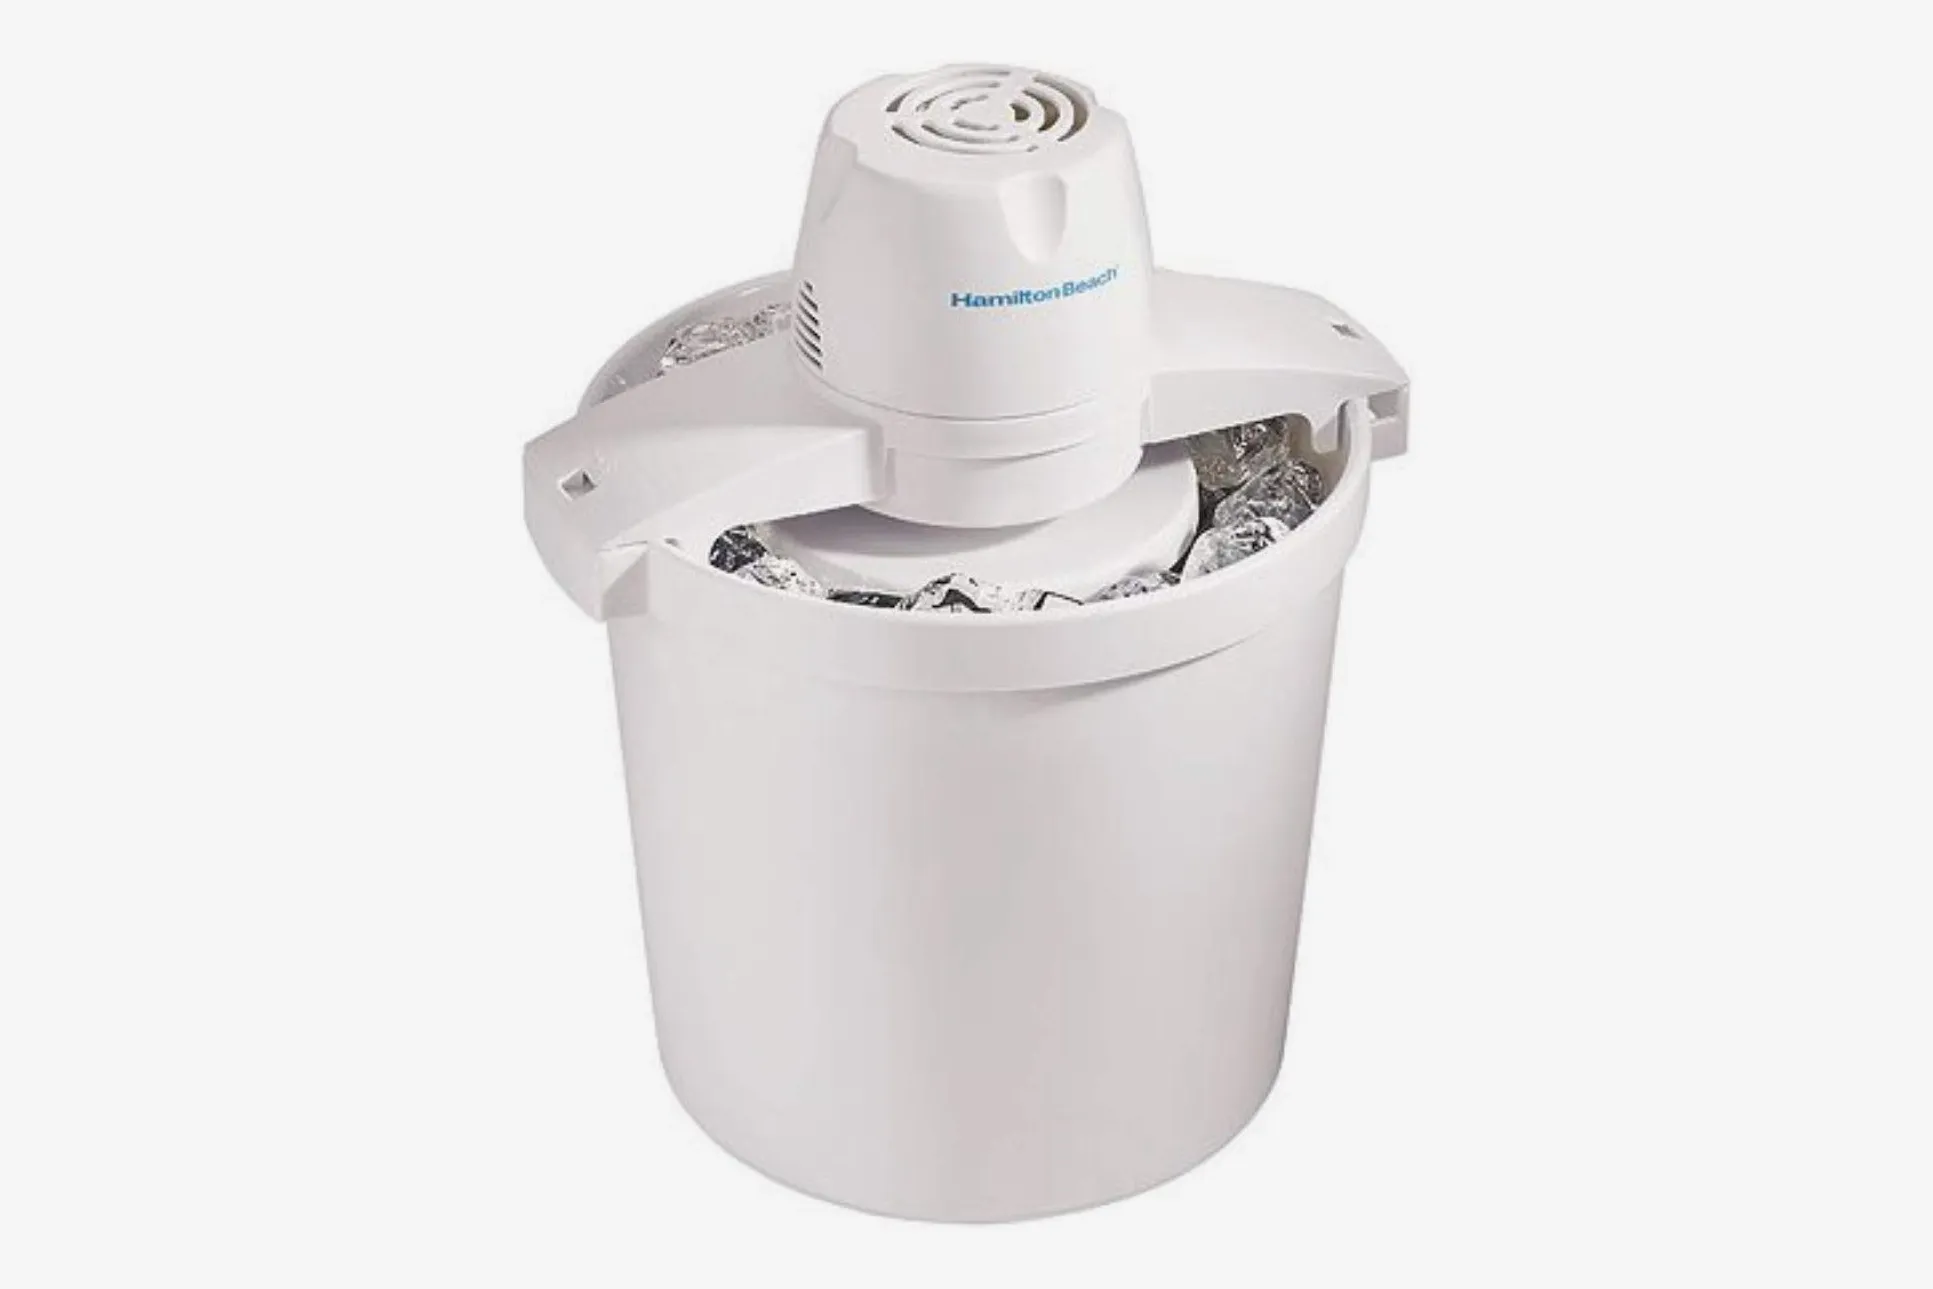
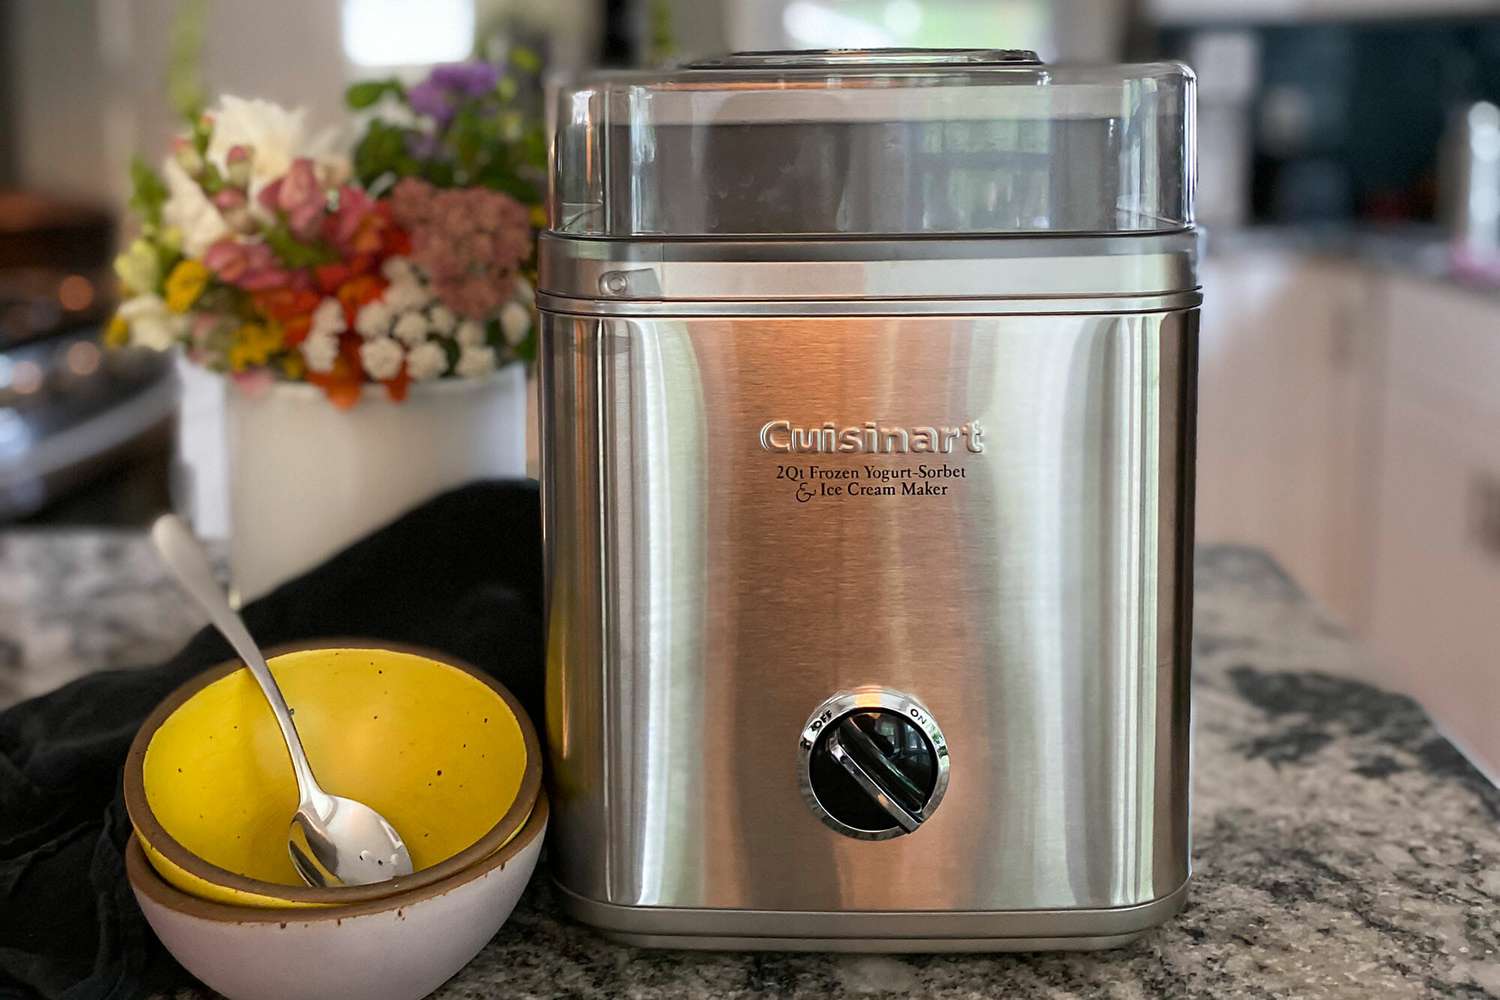
- Ice cream maker: This is the star of the show, as it is essential for churning and freezing the sorbet mixture. There are various types of ice cream makers available, including electric and manual ones. Choose the one that suits your needs and budget.
- Blender or food processor: You will need either a blender or a food processor to puree the strawberries into a smooth consistency. This will ensure that there are no lumps or chunks in your sorbet.
- Saucepan: A medium-sized saucepan is required to make the simple syrup, which will be combined with the strawberry puree.
- Measuring cups and spoons: Accurate measurements are crucial for the success of any recipe. Make sure to have a set of measuring cups and spoons on hand to measure the ingredients precisely.
- Lemon squeezer: A lemon squeezer or juicer will come in handy to extract the fresh lemon juice needed for the sorbet recipe. Alternatively, you can manually squeeze the lemon juice using your hands.
- Freezer-safe container: Once the sorbet is made, you’ll need a freezer-safe container to store and freeze it. Choose a container that is the right size to hold the sorbet, with an airtight lid to prevent freezer burn.
Having the right equipment is essential for achieving the perfect texture and consistency of your strawberry sorbet. Now that you have your equipment ready, it’s time to dive into the step-by-step process of making this delightful frozen treat.
Step 1: Prepare the Strawberries
The first step in making strawberry sorbet is to prepare the strawberries. Follow these simple instructions to ensure your strawberries are ready for pureeing:
- Wash the strawberries: Place the strawberries in a colander and rinse them gently under cold running water. Pat them dry with a clean kitchen towel or paper towel.
- Hull the strawberries: Use a small paring knife or a strawberry huller to remove the green leafy tops of the strawberries. Simply insert the knife or huller at an angle and cut around the stem to remove it.
- Slice the strawberries: Once hulled, slice the strawberries into smaller pieces. This will make it easier to puree them later on. You can choose to slice them into quarters or smaller depending on your preference.
- Measure the strawberries: Once sliced, measure out the desired amount of strawberries according to the recipe. In most cases, you’ll need around 1 pound (450 grams) of strawberries.
Remember to handle the strawberries gently to avoid bruising or crushing them. The goal is to preserve their shape and texture for the best results in the sorbet. Now that the strawberries are prepared, let’s move on to making the simple syrup in the next step.
Step 2: Make the Simple Syrup
Now that the strawberries are prepared, it’s time to make the simple syrup. The simple syrup will add sweetness and help prevent the sorbet from freezing too hard. Here’s how to make it:
- In a saucepan, combine 1 cup (200 grams) of granulated sugar with 1/4 cup (60 milliliters) of water.
- Place the saucepan over medium heat and stir the mixture until the sugar has completely dissolved.
- Once the sugar has dissolved, remove the saucepan from heat and let the simple syrup cool completely.
Making the simple syrup is quick and easy, and it provides the necessary sweetness for the sorbet. Once the simple syrup has cooled, we can move on to the next step of blending the strawberries and simple syrup to create the base of our sorbet.
Step 3: Blend the Strawberries and Simple Syrup
Now that the simple syrup is ready, it’s time to blend the prepared strawberries with the sweet syrup to create the base for the strawberry sorbet. Follow these simple steps:
- Transfer the sliced strawberries into a blender or a food processor.
- Pour the cooled simple syrup over the strawberries.
- Add a tablespoon (15 milliliters) of freshly squeezed lemon juice to the mixture. The lemon juice will brighten the flavors of the strawberries and add a tangy kick.
- Add a pinch of salt to enhance the overall taste of the sorbet.
- Secure the lid of the blender or food processor tightly.
- Blend the mixture on high speed until it becomes smooth and well combined. This process should only take a few minutes.
Be sure to scrape down the sides of the blender or food processor with a spatula if any strawberry chunks remain. The goal is to achieve a smooth and homogeneous mixture. Once blended, the vibrant pink color of the strawberries should be evenly distributed throughout the mixture.
Now that we have the strawberry puree ready, it’s time to chill the mixture in preparation for the next step of making the sorbet in an ice cream maker.
Step 4: Chill the Mixture
After blending the strawberries with the simple syrup, it’s important to chill the mixture before moving on to the next step. Chilling the mixture helps enhance the texture and allows the flavors to meld together. Follow these steps to properly chill the mixture:
- Pour the blended strawberry mixture into a large, airtight container.
- Cover the container with a lid or plastic wrap to prevent any unwanted flavors or odors from seeping in.
- Place the container in the refrigerator and let it chill for at least 2 to 4 hours, or until the mixture is thoroughly chilled.
- Chilling the mixture for a longer period, such as overnight, is even better as it allows the flavors to fully develop.
During this chilling process, the flavors will intensify, and the mixture will thicken slightly. The colder the mixture, the better the result will be when it’s churned in the ice cream maker. Patience is key at this stage, as proper chilling will ultimately lead to a smoother and creamier sorbet.
While the mixture is chilling, it’s a good time to get your ice cream maker ready for the next step. Take the time to thoroughly clean and freeze the bowl of the ice cream maker according to the manufacturer’s instructions. Once the mixture is chilled and the ice cream maker is ready, it’s time to transform the strawberry mixture into delectable sorbet.
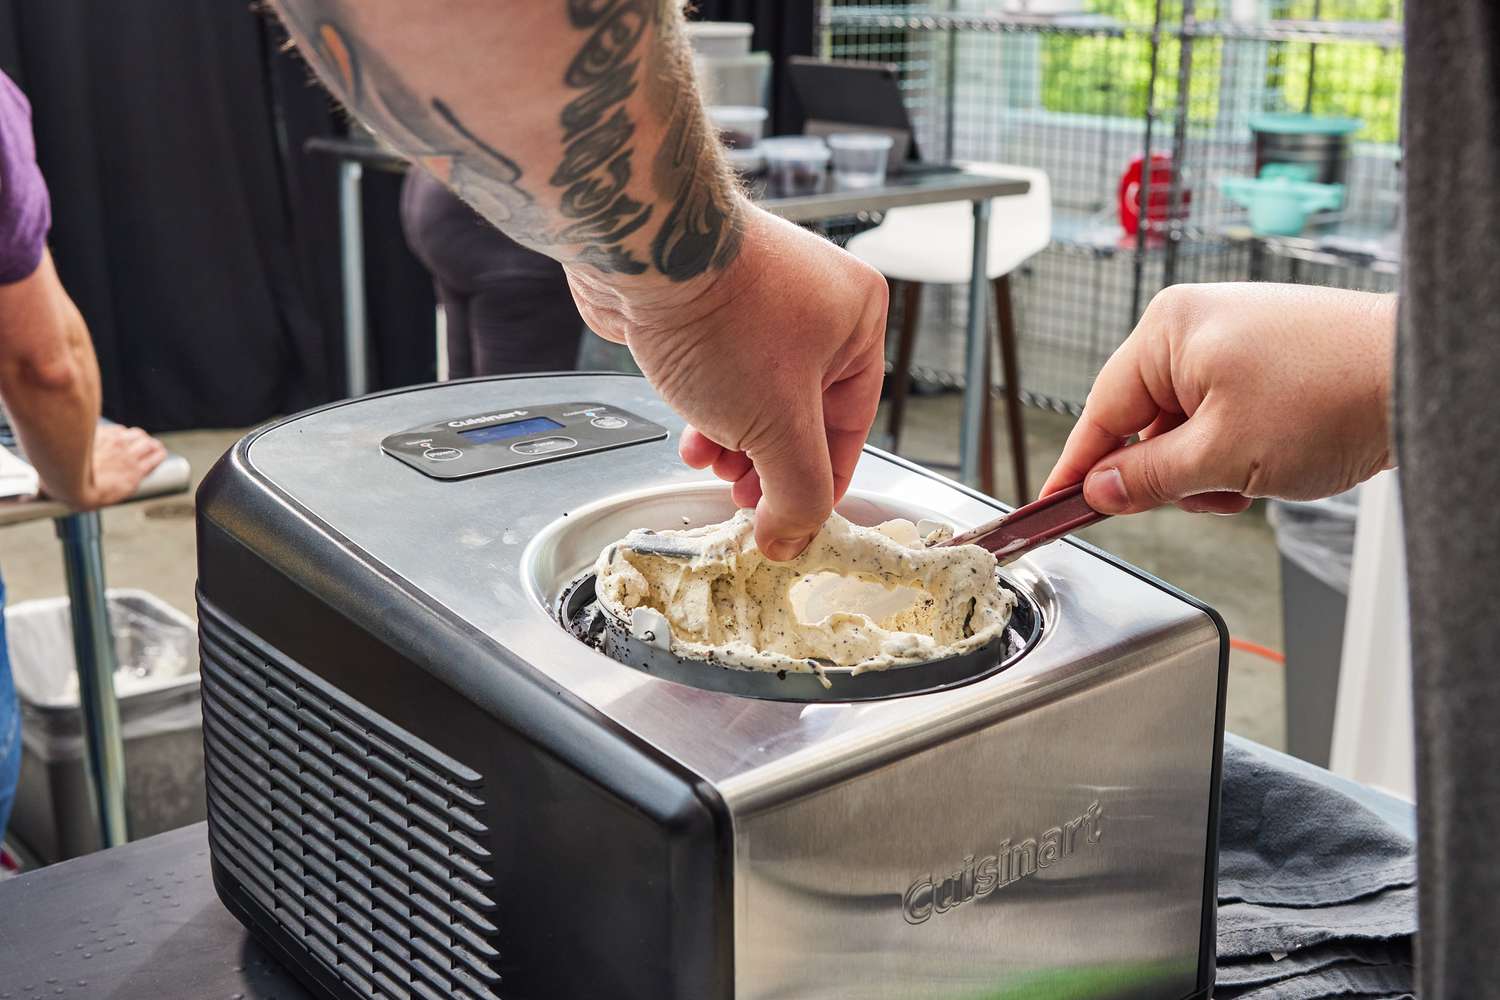
Step 5: Make the Sorbet in an Ice Cream Maker
Now that the strawberry mixture is thoroughly chilled and the ice cream maker bowl is properly frozen, it’s time to transform the mixture into a creamy and refreshing sorbet. Follow these steps to make the sorbet using an ice cream maker:
- Take the ice cream maker bowl out of the freezer and assemble the machine according to the manufacturer’s instructions.
- Pour the chilled strawberry mixture into the ice cream maker bowl.
- Turn on the ice cream maker and let it churn the mixture for about 20-25 minutes, or until the sorbet reaches a thick and semi-frozen consistency. The time may vary depending on your particular ice cream maker model.
- As the mixture churns, it will freeze and incorporate air to create a creamy texture.
- Avoid over-churning, as it may result in a grainy texture. Pay close attention to the consistency and stop the machine once the sorbet has thickened and reached your desired texture.
During the churning process, you’ll notice the sorbet transforming from a liquid mixture into a smooth and scoopable dessert. The ice cream maker does the work of freezing the mixture while incorporating air, resulting in a light and airy texture that will melt in your mouth.
Once the sorbet has reached the desired consistency, it’s time to transfer it to a freezer-safe container and freeze it to firm up.
Step 6: Freeze the Sorbet
After churning the sorbet in the ice cream maker, it’s necessary to transfer it to a freezer-safe container and allow it to freeze for a firmer texture. Follow these steps to properly freeze the strawberry sorbet:
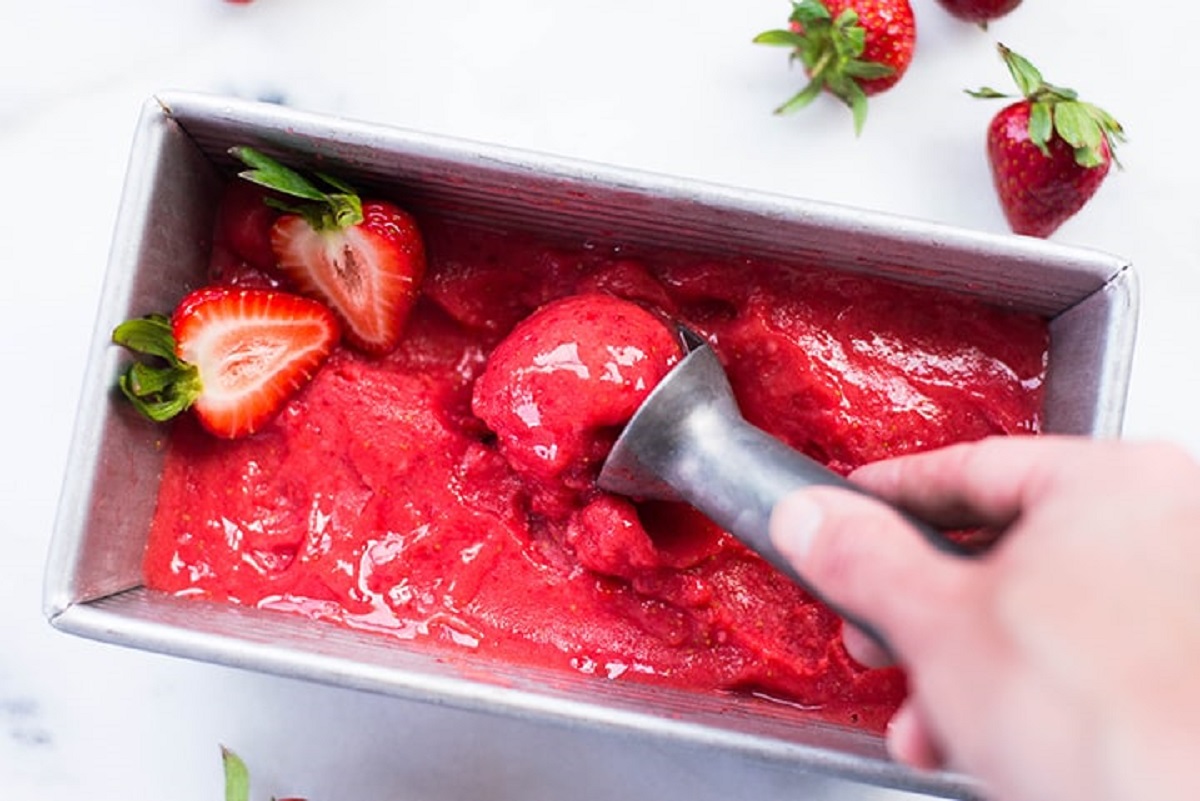
- Using a spatula or a spoon, carefully transfer the churned sorbet from the ice cream maker bowl into a freezer-safe container.
- Smooth out the top of the sorbet with the back of the spoon or a spatula to create an even surface.
- Place a lid on the container or cover it tightly with plastic wrap to seal in the freshness and prevent freezer burn.
- Place the container in the freezer and allow the sorbet to freeze for at least 2-4 hours, or until it reaches your desired firmness.
- For a harder consistency, you can freeze the sorbet overnight.
Freezing the sorbet allows it to solidify and develop a texture that can be easily scooped and served. It’s important to make sure the container is airtight to prevent any ice crystals from forming on the surface of the sorbet.
Once the sorbet is fully frozen, you can enjoy it as a refreshing dessert on its own or serve it as a delightful accompaniment to other desserts. Get creative with your presentation by garnishing the sorbet with fresh strawberries, mint leaves, or a drizzle of chocolate sauce.
Now that you have successfully made strawberry sorbet using an ice cream maker, it’s time to serve and savor the delicious fruits of your labor!
Serving Suggestions
Strawberry sorbet is a versatile dessert that can be enjoyed in various ways. Here are some serving suggestions to enhance your strawberry sorbet experience:
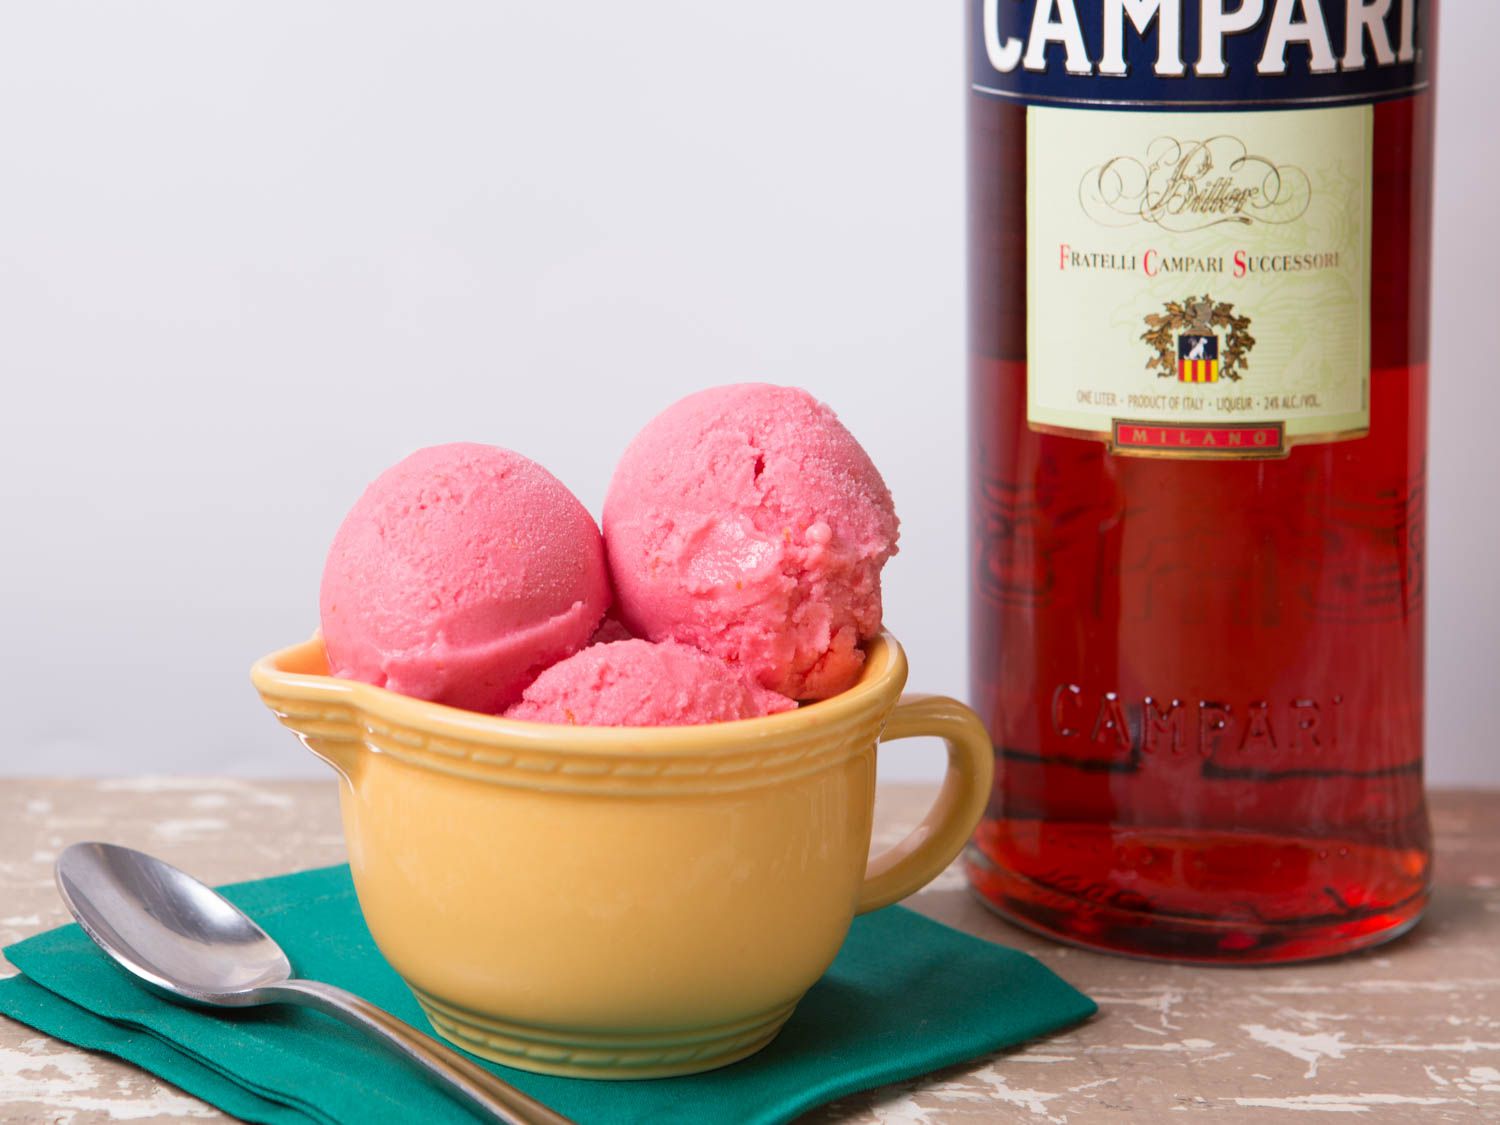
- Scoop into bowls: Serve generous scoops of strawberry sorbet into bowls and enjoy it as a refreshing standalone dessert.
- Make a sorbet float: Fill a glass halfway with sparkling water or soda, then add a scoop or two of strawberry sorbet. The fizzy bubbles combined with the fruity sorbet create a delightful and refreshing float.
- Create a sundae: Layer the strawberry sorbet with freshly chopped strawberries, whipped cream, and crushed cookies or granola. Drizzle with chocolate syrup or fruit sauce for a decadent strawberry sorbet sundae.
- Pair with fresh fruits: Serve the strawberry sorbet alongside a platter of sliced fresh strawberries, raspberries, blueberries, or even tropical fruits like mango or pineapple.
- Top with mint leaves: Add a touch of freshness by garnishing the sorbet with a few sprigs of fresh mint leaves. The vibrant green color and aromatic flavor will complement the strawberry sweetness beautifully.
- Serve in a waffle cone: Scoop the strawberry sorbet into a crispy waffle cone for a classic and portable dessert that can be enjoyed on the go.
- Drizzle with a sauce: Elevate the flavor by drizzling a sauce of your choice over the strawberry sorbet. Options include chocolate sauce, caramel sauce, strawberry sauce, or even a tangy balsamic reduction for a unique twist.
Feel free to get creative and customize your serving suggestions based on your preferences and the occasion. Whether enjoyed solo or alongside other ingredients, strawberry sorbet is a delightful treat that will satisfy your sweet cravings and refresh your taste buds.
Now that you have explored various serving options, it’s time to dive in and enjoy your delicious homemade strawberry sorbet!
Tips and Tricks
To ensure your strawberry sorbet turns out perfect every time, here are some helpful tips and tricks to keep in mind:
- Use ripe and flavorful strawberries: Choose strawberries that are fully ripe, fragrant, and juicy for the best flavor in your sorbet.
- Adjust the sweetness: If you prefer a less sweet sorbet, reduce the amount of sugar in the simple syrup. You can also experiment with alternative sweeteners like honey or agave syrup.
- Experiment with flavors: Add a touch of creativity to your sorbet by incorporating other flavors. Consider adding a splash of almond extract, a sprinkle of cinnamon, or a few drops of rosewater for a unique twist.
- Chill the mixture thoroughly: Ensure that the strawberry mixture is perfectly chilled before churning it in the ice cream maker. This will result in a smoother sorbet with the perfect consistency.
- Pre-freeze the ice cream maker bowl: For optimal results, make sure to freeze the ice cream maker bowl for the recommended amount of time according to the manufacturer’s instructions.
- Avoid over-churning: Pay close attention to the consistency of the sorbet while it churns. Over-churning can result in a grainy texture, so stop the machine once the sorbet has thickened and reached a semi-frozen consistency.
- Store properly: If there are any leftovers, store the sorbet in airtight containers to prevent freezer burn. Place a piece of plastic wrap directly on the surface of the sorbet before sealing the container to minimize ice crystal formation.
- Allow time to soften: After freezing, sorbet may become hard. For easy scooping, let it sit at room temperature for a few minutes to soften slightly before serving.
By following these tips and tricks, you’ll be able to create a perfectly delicious strawberry sorbet that will impress your family and friends. Enjoy the process and feel free to experiment with flavors and presentation to make it your own!
Now you’re equipped with the knowledge and skills to make your own mouthwatering strawberry sorbet. So, gather your ingredients, assemble your equipment, and get ready to indulge in this delightful frozen treat!
Conclusion
Congratulations on successfully learning how to make strawberry sorbet in an ice cream maker! With its vibrant color, refreshing flavor, and delightful texture, strawberry sorbet is a perfect treat for any occasion, especially during the sunny summer months. By following the step-by-step process outlined in this article, you’ll be able to create a homemade sorbet that rivals any store-bought version.
Remember to start by preparing the strawberries, making the simple syrup, and blending them to create a smooth puree. Chilling the mixture thoroughly and freezing it in an ice cream maker will give you that velvety sorbet consistency. Don’t forget to experiment with different serving suggestions, such as pairing it with fresh fruits or making a sorbet float to elevate the experience.
By using the tips and tricks provided, you can customize your sorbet to suit your taste preferences and create exciting flavor variations. Whether you enjoy it on its own, in a waffle cone, or as part of a decadent sundae, strawberry sorbet is sure to be a crowd-pleaser.
So, gather your ingredients, get your ice cream maker ready, and embark on the journey of creating your own delicious homemade strawberry sorbet. Enjoy the sweet, fruity burst of flavor, and savor every cool and refreshing bite. Happy sorbet-making!