Choosing the Right Ingredients
When it comes to making sorbet in an ice cream maker, selecting the right ingredients is crucial for achieving a delicious and refreshing treat. While the base of sorbet is typically fruit, there are a few factors to consider when choosing your ingredients.
First and foremost, opt for ripe and flavorful fruit. Whether you prefer classic flavors like strawberry, lemon, or mango, or more exotic options like lychee or passion fruit, using ripe and juicy fruit will ensure a vibrant and natural flavor in your sorbet. Avoid fruits that are overly ripe or mushy, as this can affect the texture of your final product.
Additionally, consider the sweetness of the fruit you’re using. Some fruits, like berries or citrus, naturally have a tartness to them. In order to balance the flavors and achieve the perfect sweetness, you may need to add a sweetener. Traditional sorbet recipes often call for a simple syrup, which is a mix of equal parts water and sugar, but you can also experiment with alternative sweeteners like honey or agave syrup for a healthier twist.
Furthermore, take note of the water content in the fruit you’re using. Fruits with high water content, such as watermelon or pineapple, will result in a more icy texture, while fruits with lower water content, like bananas or avocados, will yield a creamier sorbet. Consider your preference and the desired texture when selecting your ingredients.
Lastly, don’t be afraid to get creative with your flavor combinations. Mix different fruits together to create unique and exciting flavor profiles. Add a splash of citrus juice or a hint of mint to enhance the taste. You can even experiment with incorporating herbs or spices like basil or ginger for an added depth of flavor.
Remember, the quality and freshness of your ingredients will significantly impact the taste of your sorbet. Choose the best fruits available, balance the sweetness, and embrace your creativity to make a truly delightful sorbet.
Preparing the Fruit
Before you can begin making sorbet in your ice cream maker, it’s important to properly prepare the fruit you’ll be using as the base. This preparation step will ensure that your sorbet has a smooth texture and a consistent flavor.
Start by washing the fruit thoroughly under cold water. This helps remove any dirt or residue that may be present on the skin. If necessary, gently scrub the skin of the fruit with a soft brush. Once cleaned, pat the fruit dry with a clean towel.
Next, remove any stems, seeds, or tough parts from the fruit. For fruits like strawberries or raspberries, simply remove the green stem and any blemished areas. For citrus fruits, cut them in half and extract the seeds with a spoon. Larger fruits like watermelon or cantaloupe will need to be peeled, deseeded, and cut into smaller pieces.
If you prefer a smoother texture, consider pureeing the fruit. This can be done with a blender or food processor. Simply add the fruit pieces to the appliance and pulse until it reaches the desired consistency. Keep in mind that some fruits, like berries, will naturally have some seeds. If you prefer a seedless sorbet, pass the pureed fruit through a fine mesh strainer to remove any unwanted seeds or fibers.
Once the fruit is prepared, it’s a good idea to taste it. This will give you an idea of its sweetness and flavor intensity. If the fruit is not as sweet as desired, you can add a small amount of sweetener at this stage. Remember that the simple syrup or alternative sweeteners will be added later, so use caution to avoid making the mixture too sweet.
To enhance the flavor of the fruit, consider incorporating additional ingredients such as fresh herbs or spices. Citrus zest, mint leaves, or a sprinkle of cinnamon can elevate the taste of your sorbet and add a unique touch.
By properly preparing your fruit, you ensure that the flavors are at their peak and that any unwanted parts or textures are removed. This sets the foundation for a delicious and smooth sorbet that will impress your family and friends.
Making the Simple Syrup
Simple syrup is a key ingredient in sorbet that helps balance the flavors and add a touch of sweetness. It’s a straightforward mixture of sugar and water that dissolves easily and distributes the sweetness evenly throughout the sorbet.
To make the simple syrup, start by combining equal parts water and sugar in a saucepan. For example, if you’re using 1 cup of water, you’ll need 1 cup of sugar. Place the saucepan over medium heat and stir until the sugar has completely dissolved.
Once the sugar has dissolved, you can customize the simple syrup to suit your taste preferences. If you prefer a sweeter sorbet, you can add extra sugar to the mixture. On the other hand, if you prefer a less sweet sorbet, reduce the amount of sugar accordingly. Remember that the sweetness of the fruit you’re using should also be taken into consideration when adjusting the sweetness of the simple syrup.
For enhanced flavors, consider infusing the simple syrup with additional ingredients. You can add citrus zest, such as lemon or orange, to impart a subtle tang. You can also include a small amount of fresh herbs, like mint or basil, to give the sorbet a refreshing twist. Simply add these ingredients to the saucepan along with the water and sugar, and simmer for a few minutes to extract the flavors.
Once the simple syrup is ready, remove it from the heat and let it cool completely. You can transfer it to a heatproof container and refrigerate it until you’re ready to use it in the sorbet-making process. It’s important to ensure that the simple syrup is chilled before adding it to the fruit mixture to prevent the sorbet from melting too quickly once it’s in the ice cream maker.
Remember that the simple syrup not only adds sweetness to the sorbet, but it also helps in achieving a smoother texture. It prevents large ice crystals from forming and creates a velvety consistency in the final product.
By mastering the art of making a simple syrup, you will have the perfect tool to sweeten and enhance the flavors of your homemade sorbet. It’s a versatile ingredient that can be tailored to your taste preferences, making your sorbet truly one-of-a-kind.
Blending the Fruit and Simple Syrup
Now that you have prepared the fruit and made the simple syrup, it’s time to bring these two components together to create a harmonious mixture for your sorbet. This step is crucial in ensuring that the flavors are well-incorporated and that the sorbet has a smooth and consistent texture.
Start by pouring the prepared fruit into a blender or food processor. If you prefer a chunkier texture, you can simply mash the fruit with a fork or potato masher. However, blending the fruit will result in a smoother sorbet.
Next, add the cooled simple syrup to the fruit. The amount of simple syrup you add will depend on your taste preferences and the sweetness of the fruit. Start by adding about half the amount of simple syrup and then taste the mixture. Adjust the sweetness by adding more simple syrup if desired.
Blend the fruit and simple syrup together until they are well-combined and form a smooth puree. Stop blending once the desired consistency is achieved. Be cautious not to over-blend, as this can introduce excess air into the mixture and result in a less dense sorbet.
If you want to enhance the flavors or add additional ingredients, such as herbs, spices, or citrus zest, this is the time to do so. Simply add them to the blender or food processor along with the fruit and simple syrup, and blend for a few seconds to combine all the flavors.
Once the fruit and simple syrup are blended together, give the mixture a taste test. This is the perfect opportunity to make any adjustments and add more simple syrup or extra ingredients if needed. Remember that the flavors may intensify slightly once the sorbet is frozen, so it’s better to slightly over-season the mixture at this stage.
By blending the fruit and simple syrup together, you create a unified mixture that marries the sweetness of the syrup with the vibrant flavors of the fruit. This step sets the stage for freezing the sorbet and ultimately enjoying a refreshing and delightful frozen treat.
Chilling the Mixture
After blending the fruit and simple syrup together, it’s important to chill the mixture before transferring it to the ice cream maker. This step allows the flavors to meld, and helps prevent the sorbet from melting too quickly during the freezing process.
Start by transferring the blended mixture into a clean bowl or container. Cover the container with a lid or plastic wrap to prevent any unwanted flavors or odors from seeping into the mixture. Place the container in the refrigerator and let it chill for at least 1 to 2 hours, or until it reaches a cold and semi-solid consistency.
While the mixture is chilling, take a moment to clean your ice cream maker according to the manufacturer’s instructions. This ensures that your ice cream maker is ready for use and that there are no residual flavors or particles that could affect the taste of your sorbet.
Chilling the mixture not only allows the flavors to meld together, but it also helps to thicken the mixture. This will result in a smoother and creamier sorbet texture once it’s frozen. The cold temperature also helps in retaining the flavors and preventing them from dissipating during the freezing process.
During the chilling process, you may notice that the mixture thickens further. This is normal and desired, as it will help the sorbet maintain its shape and prevent it from becoming too runny once it’s in the ice cream maker.
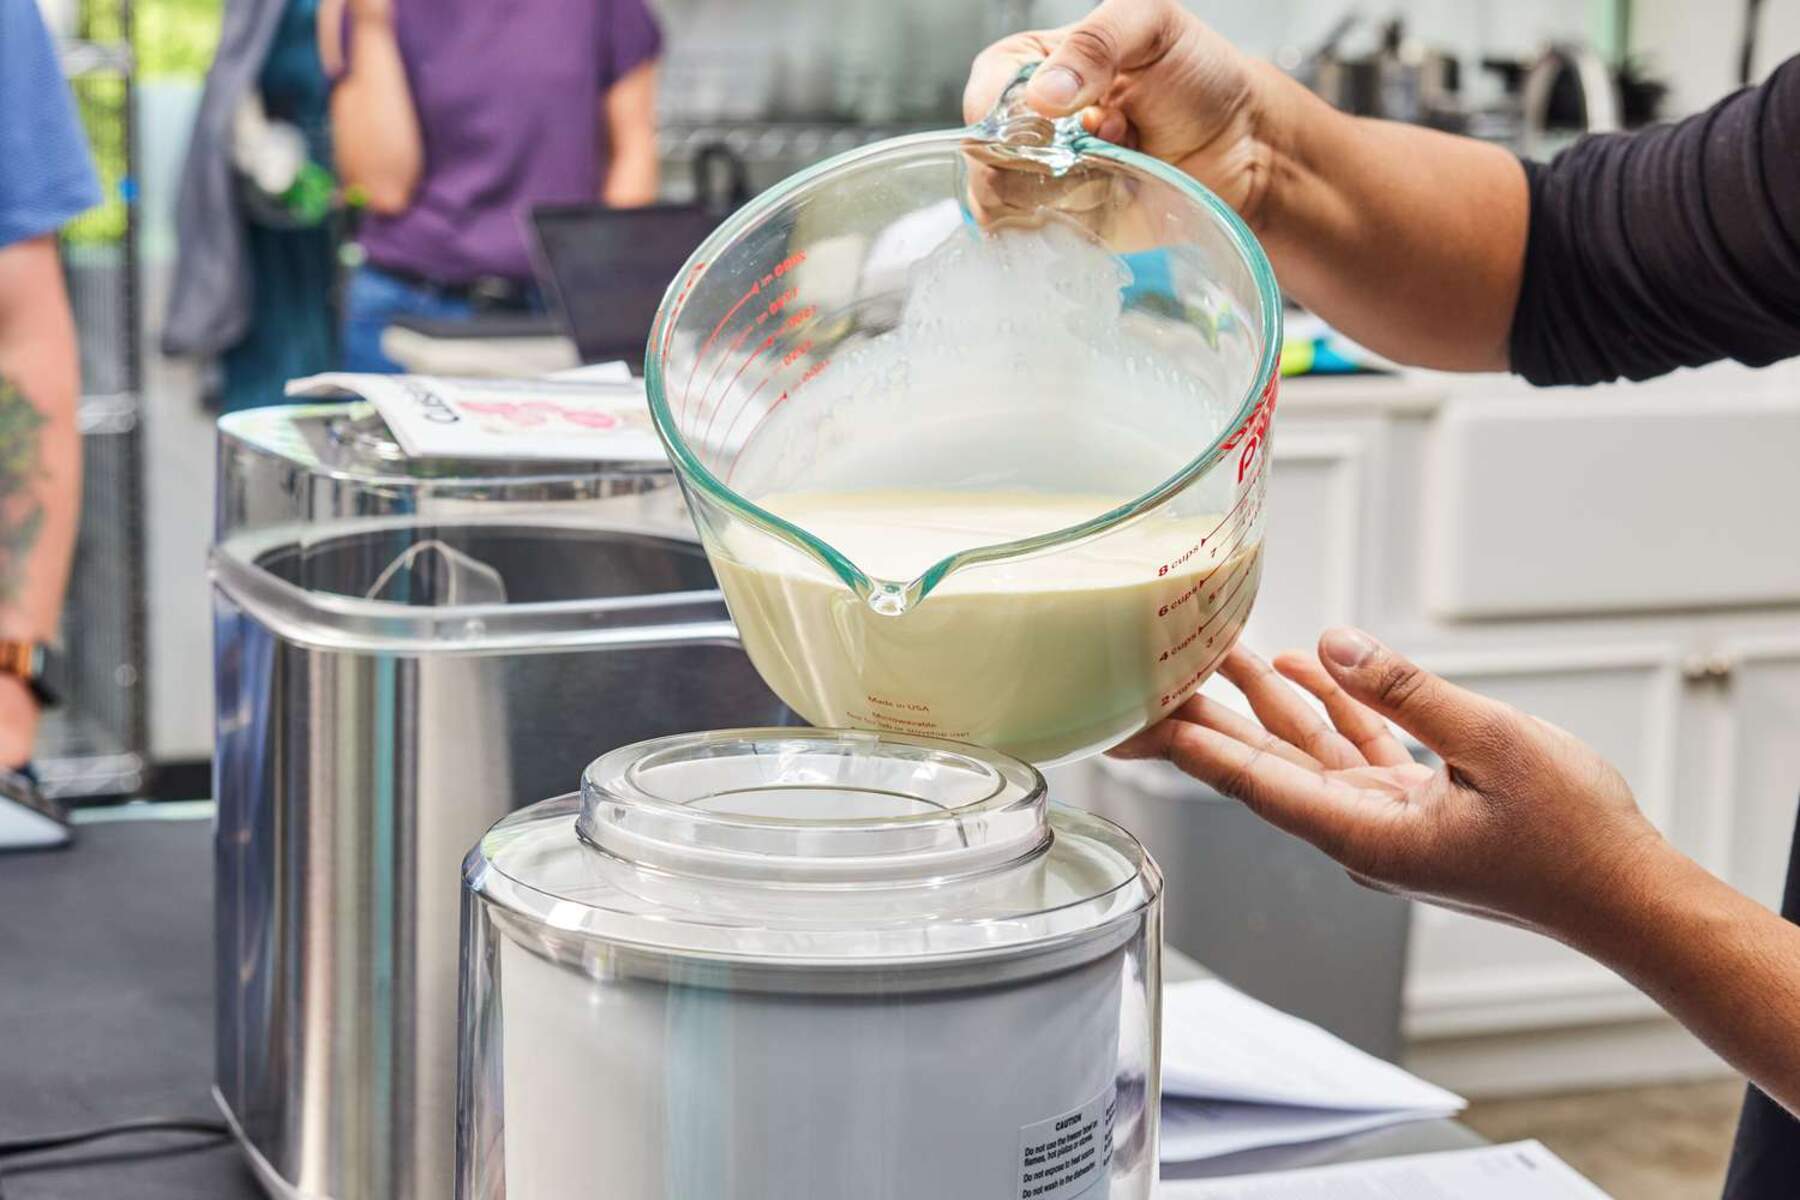
Once the mixture has chilled to the desired consistency, it’s ready to be transferred to the ice cream maker for freezing. Remember to give the mixture a gentle stir before pouring it into the ice cream maker to ensure that any settled ingredients are evenly distributed.
By properly chilling the mixture before freezing it, you set the stage for creating a flavorful and smooth sorbet with a delightful texture. This crucial step allows the flavors to develop and ensures that your homemade sorbet will be a hit among family and friends.
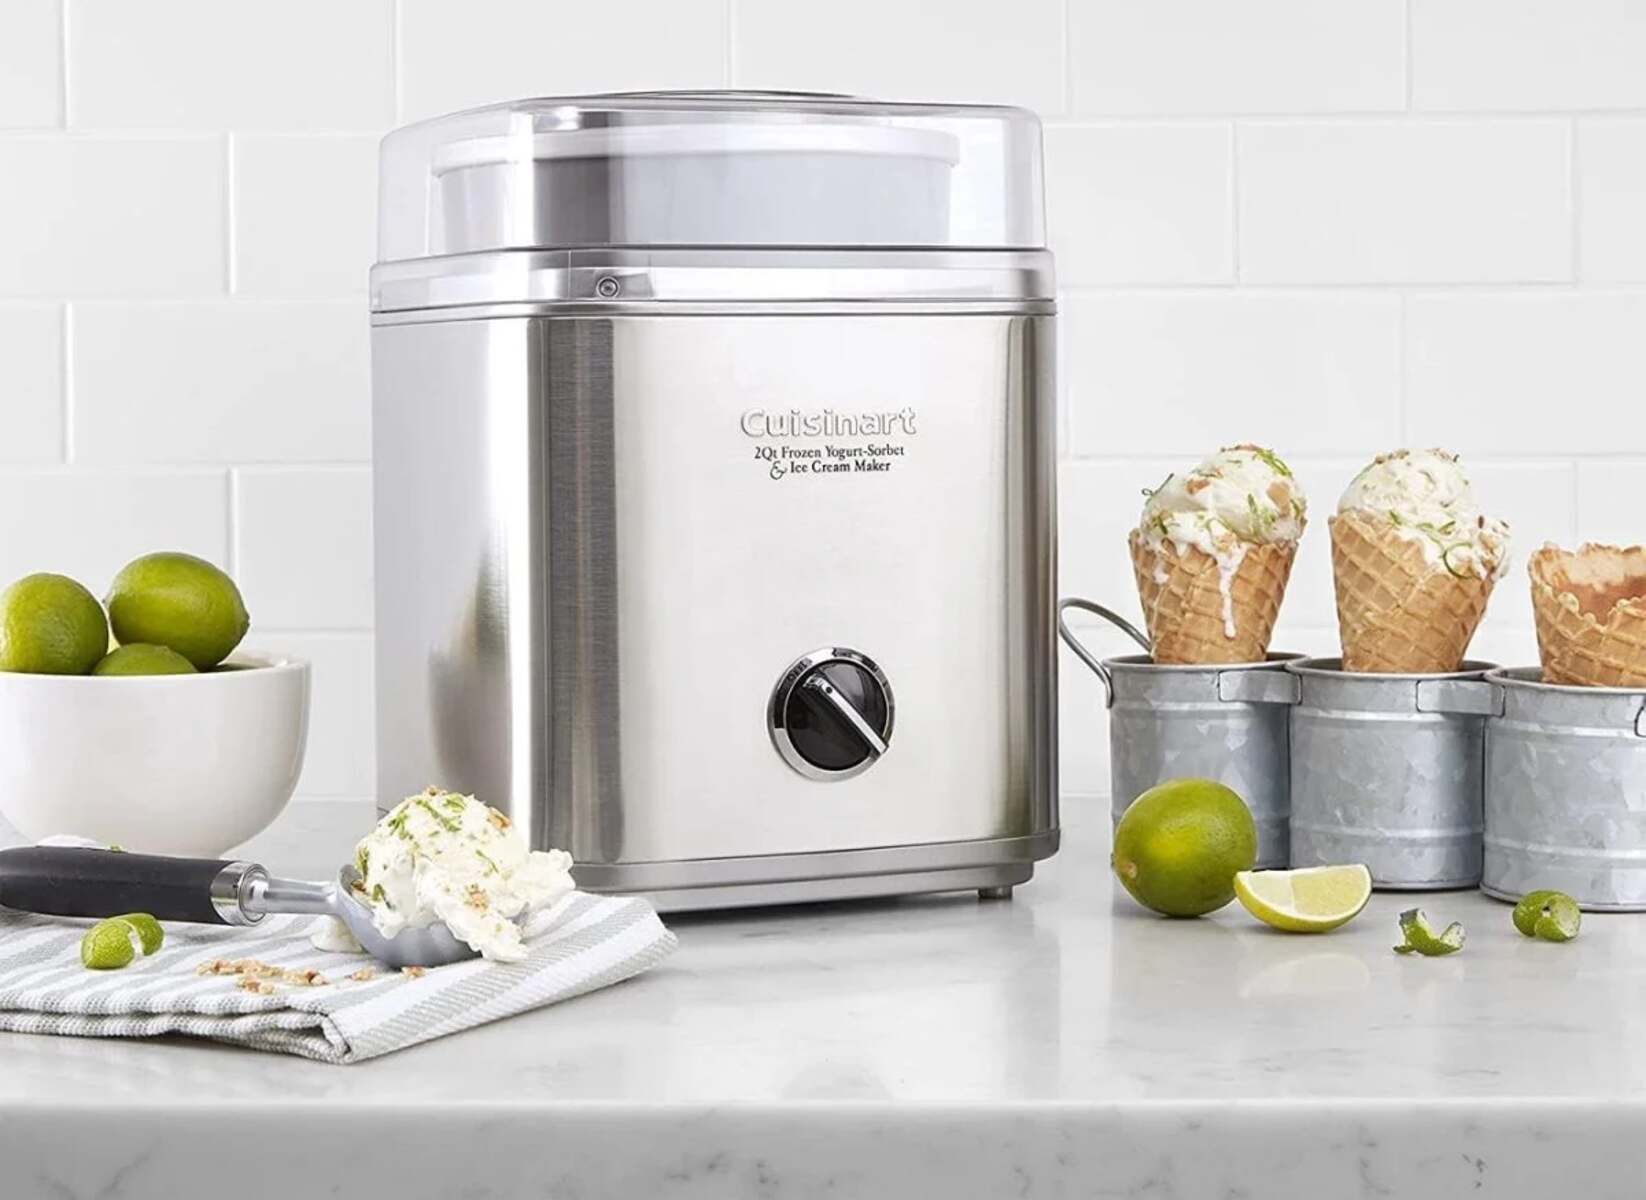
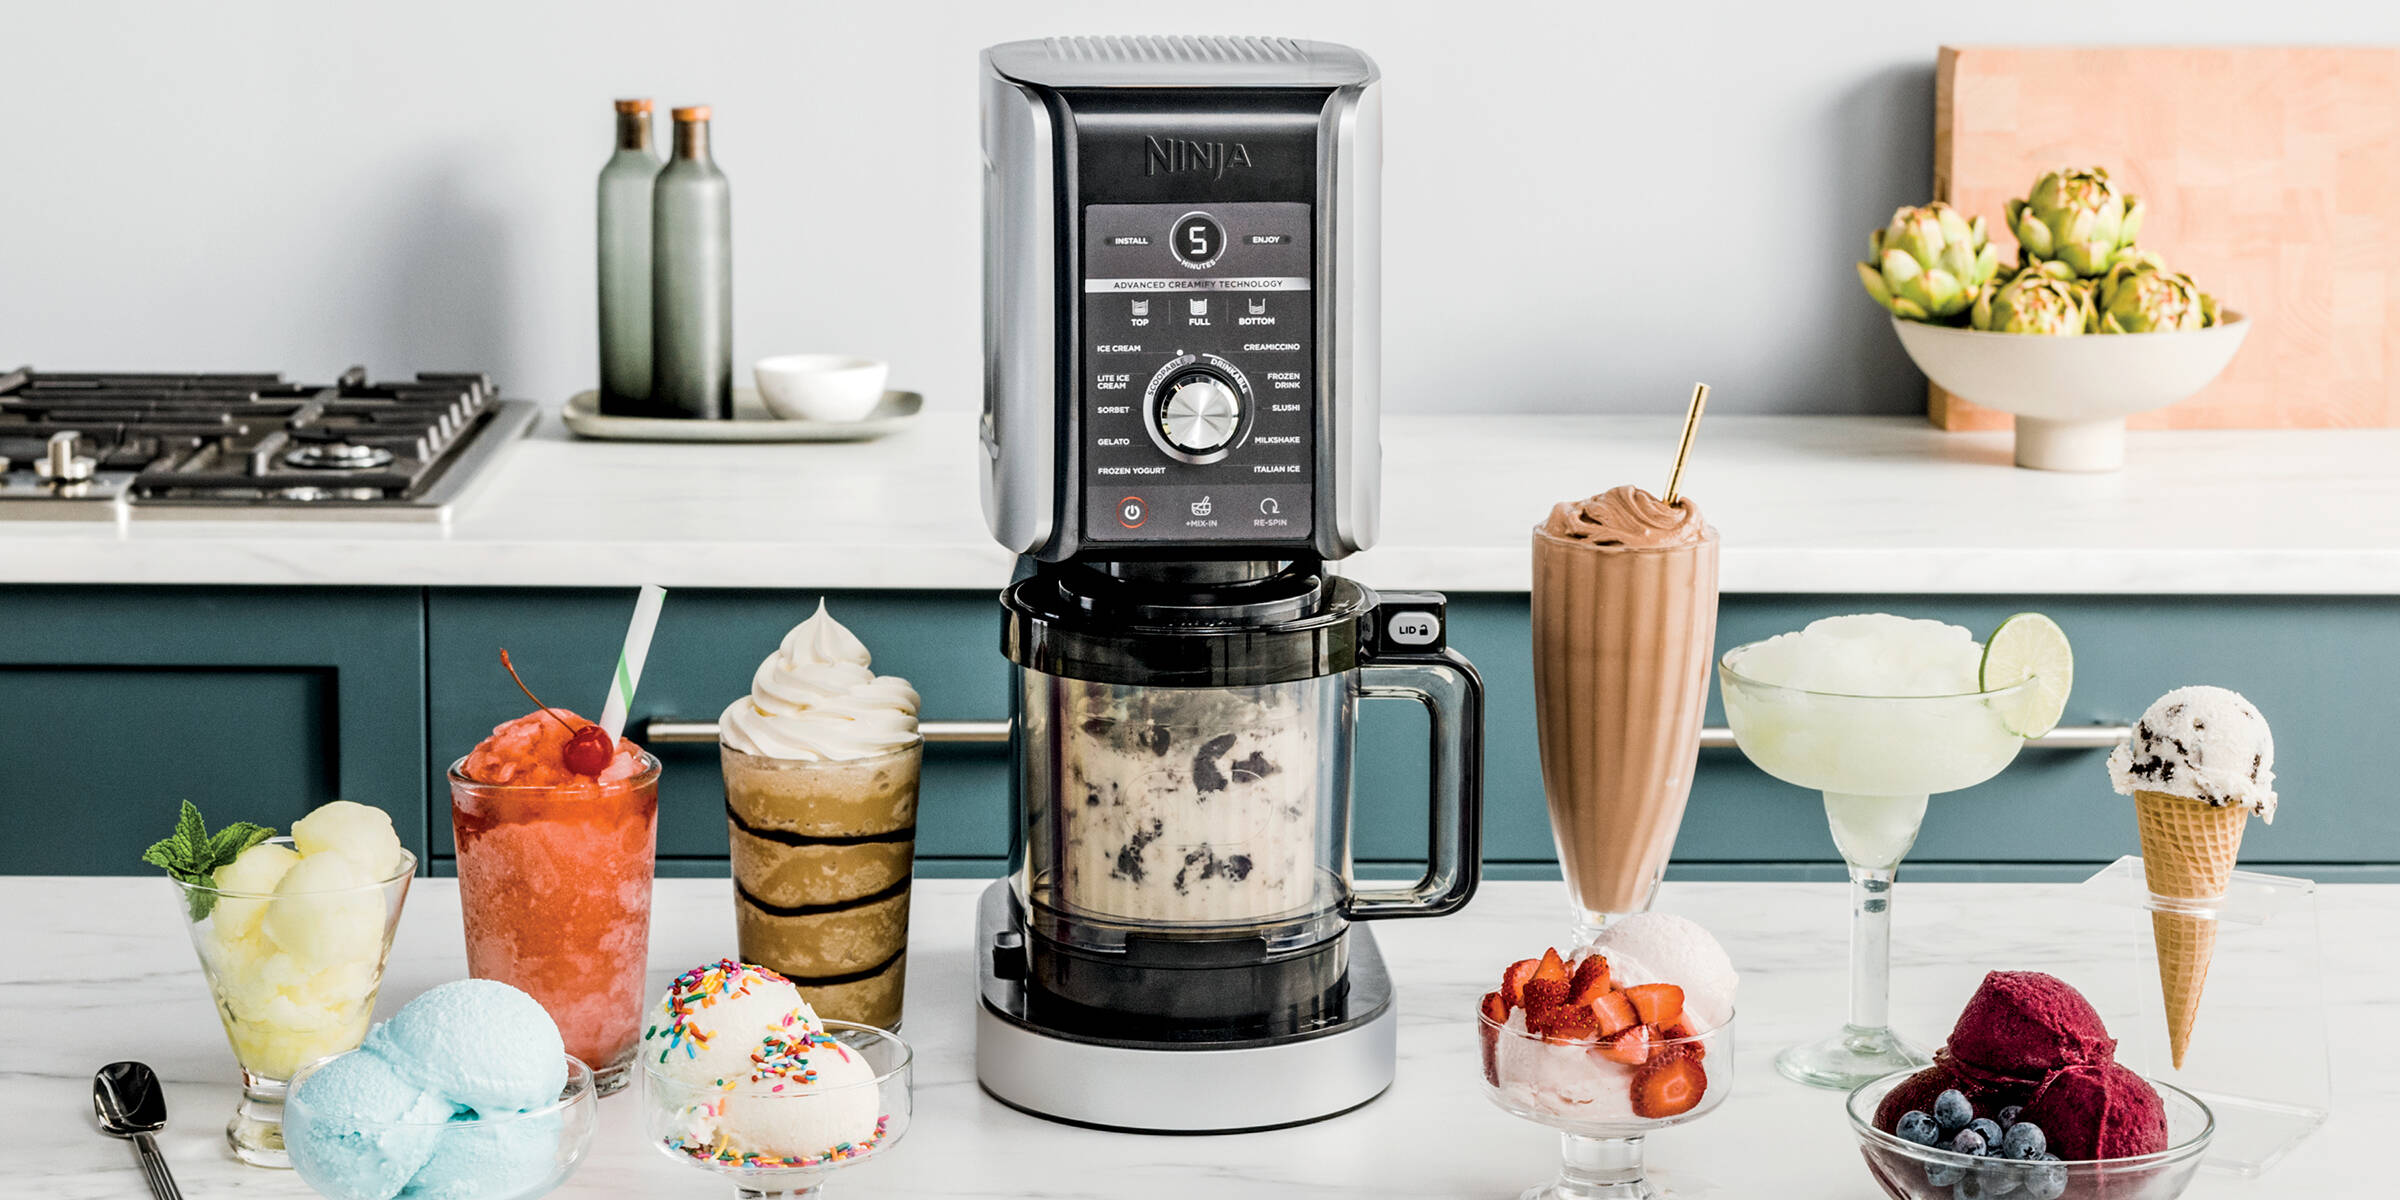
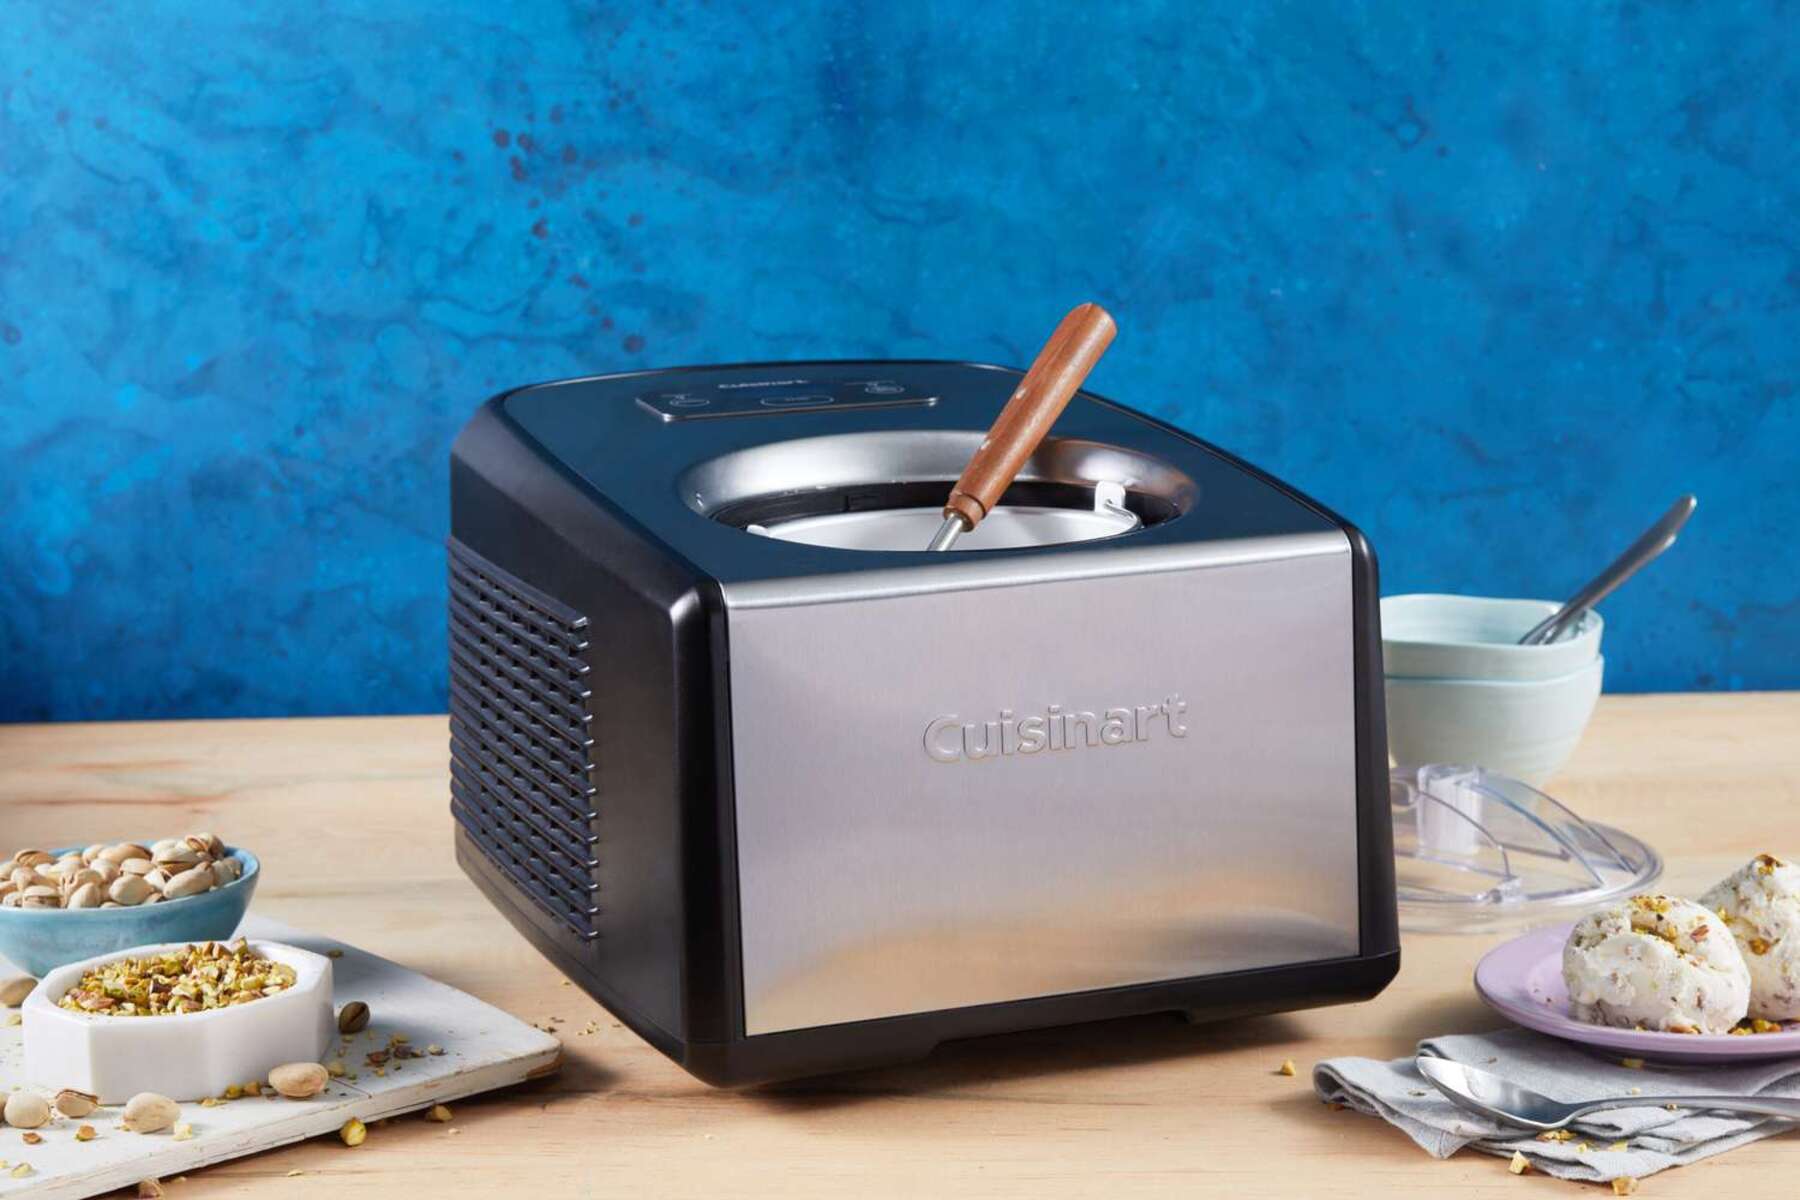
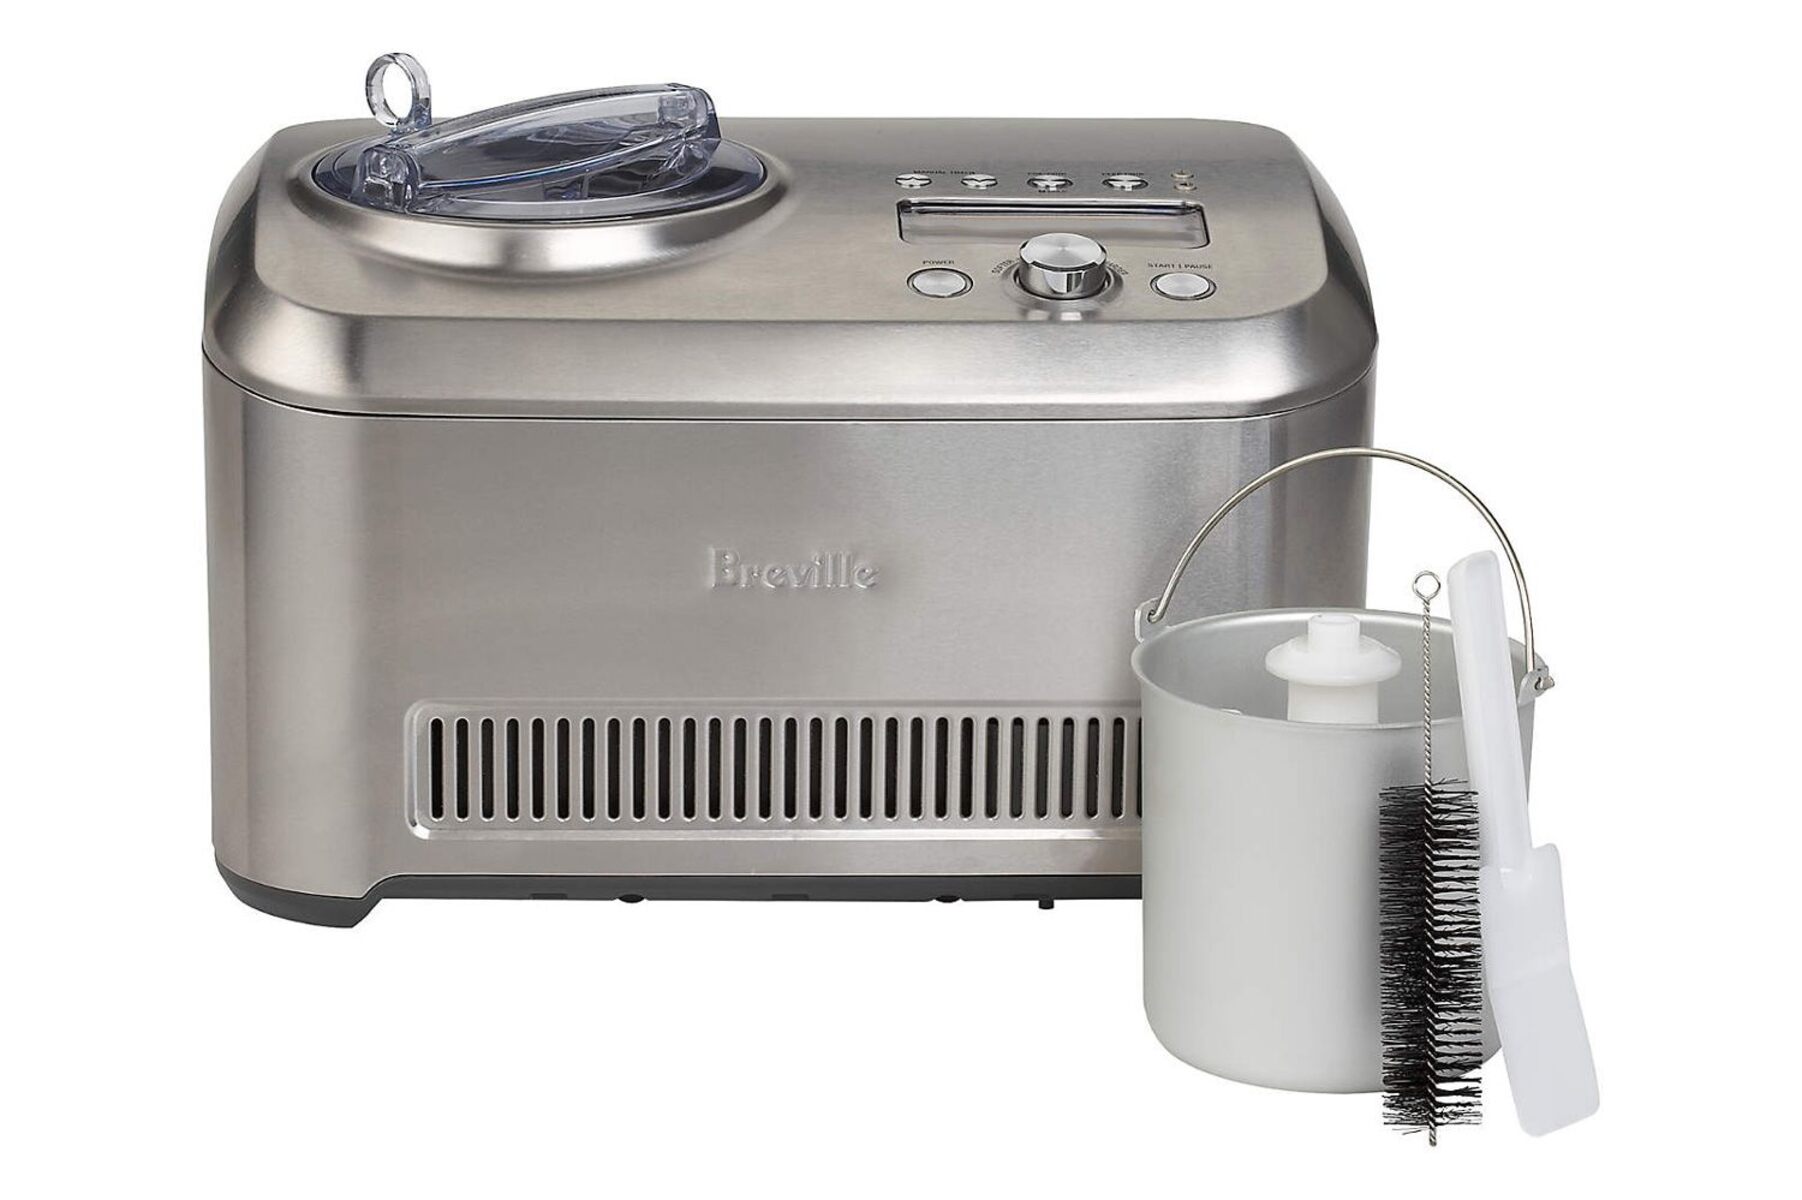
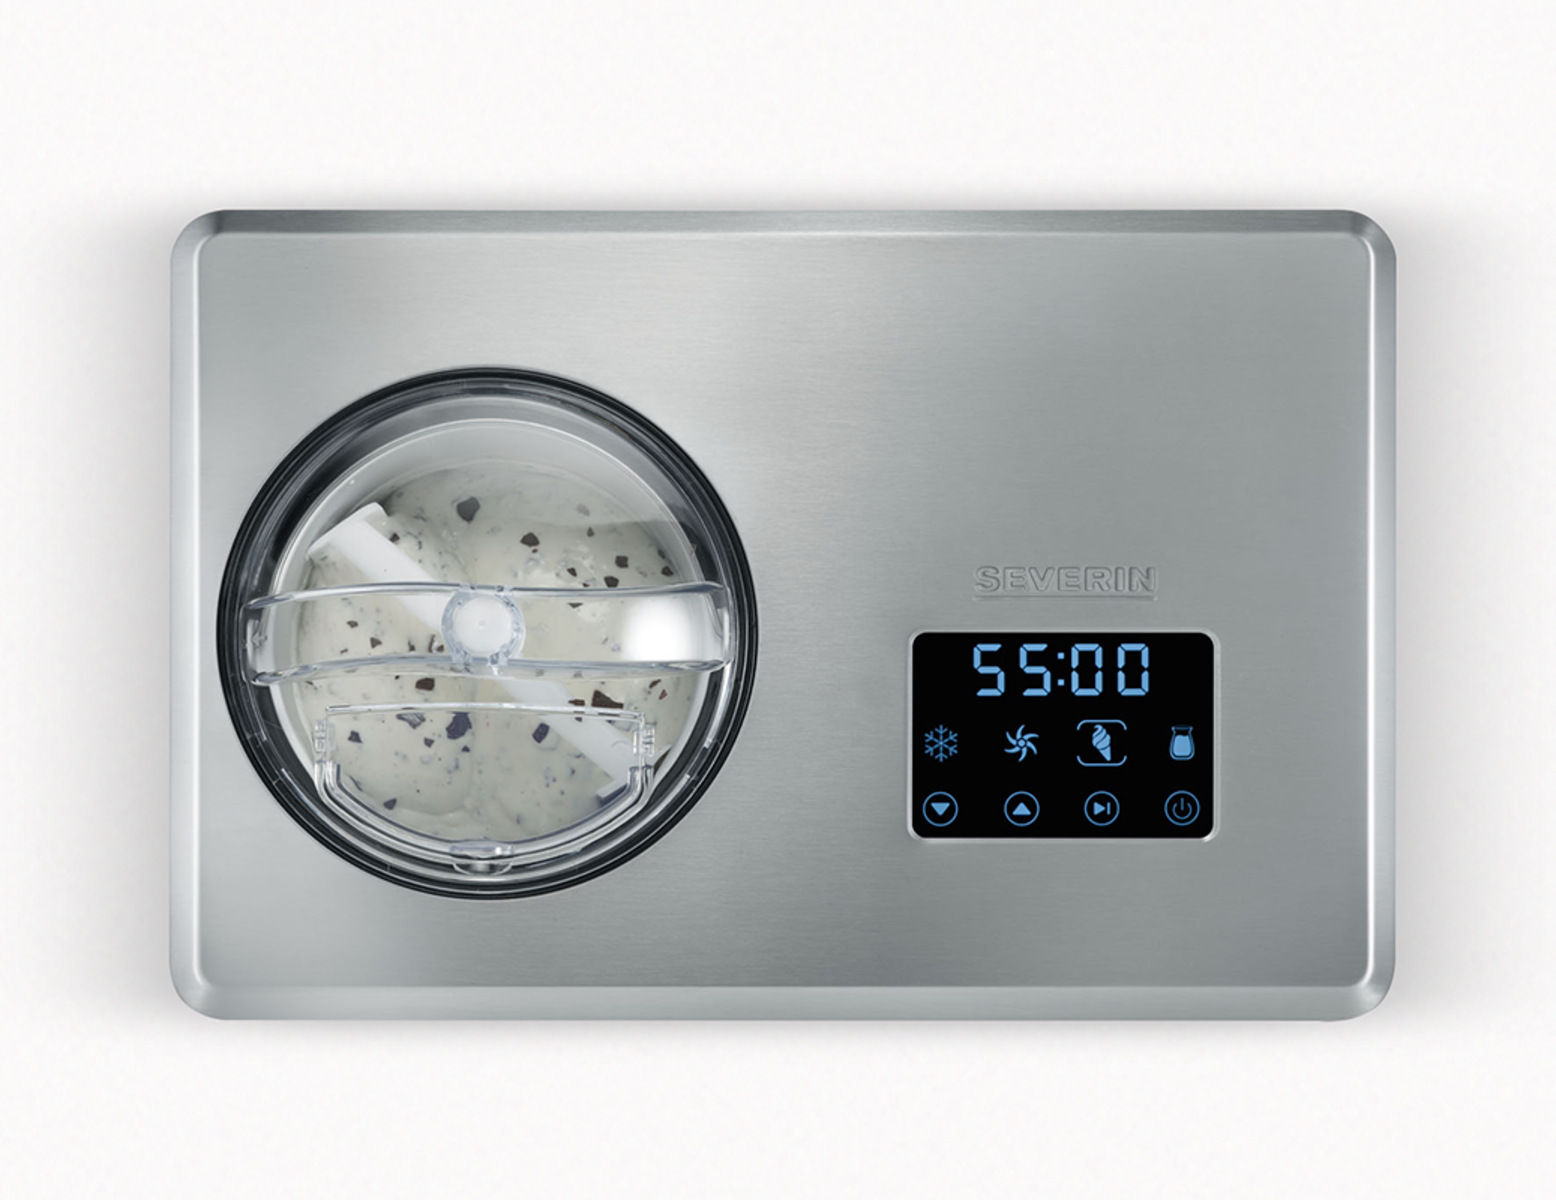
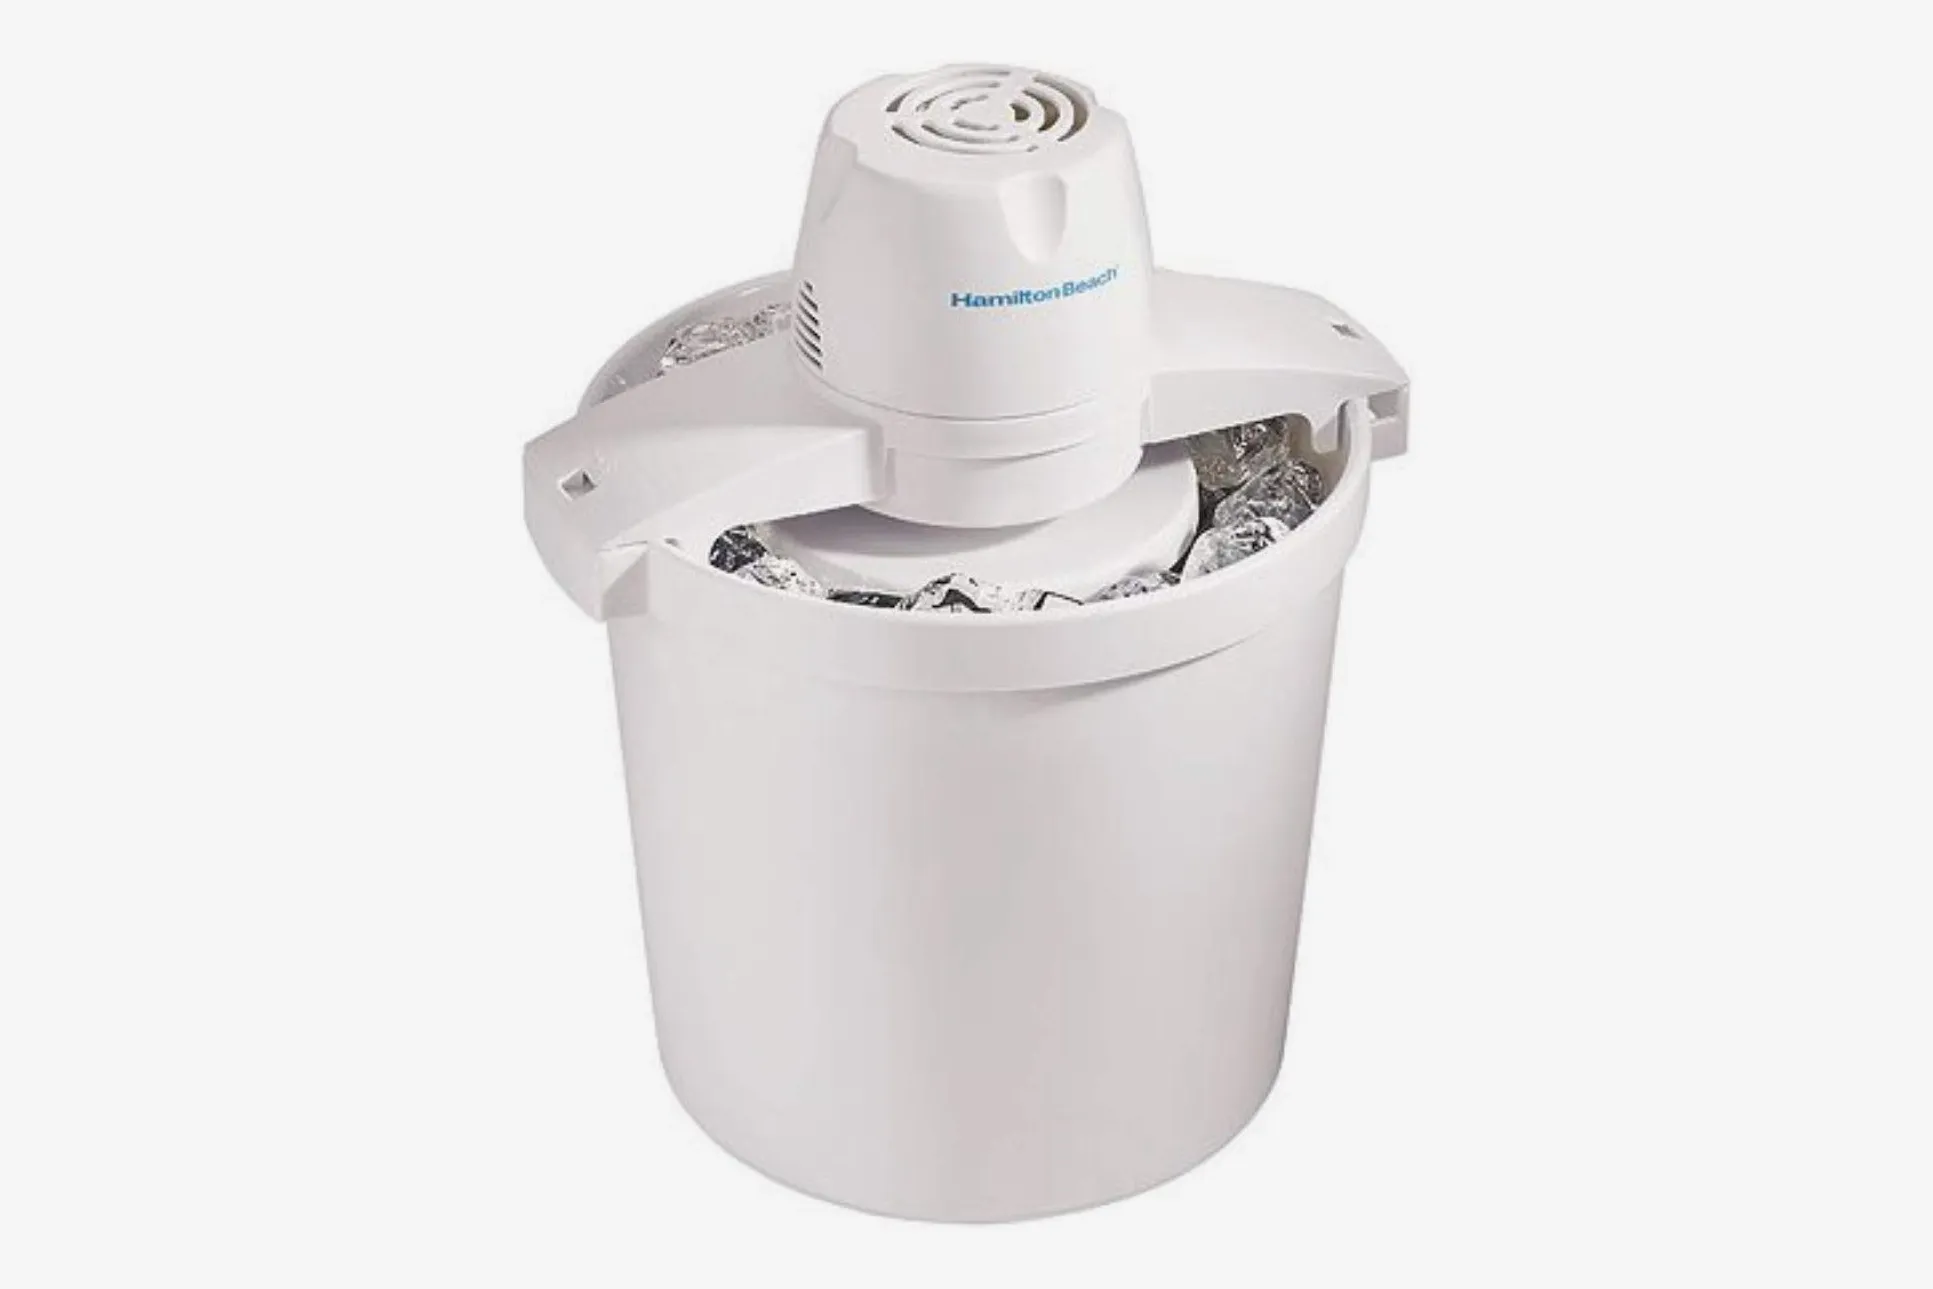
Using the Ice Cream Maker
Now that you have chilled the sorbet mixture, it’s time to bring out your trusty ice cream maker and start the freezing process. The ice cream maker will help transform the chilled mixture into a smooth and velvety sorbet with the perfect consistency.
Begin by setting up your ice cream maker according to the manufacturer’s instructions. Depending on the type of ice cream maker you have, this may involve adding ice and rock salt to a canister or freezing the bowl beforehand. Make sure that your ice cream maker is properly assembled and ready to use.
Next, pour the chilled sorbet mixture into the ice cream maker. Leave some space at the top, as the sorbet will expand during the churning process. It’s important not to overload the ice cream maker, as this can impede the churning action and result in a less desirable texture.
Turn on the ice cream maker and let it run for the recommended amount of time, typically around 20 to 30 minutes. The exact time may vary depending on your specific ice cream maker. Pay close attention to the consistency of the sorbet as it churns.
As the ice cream maker churns, it freezes the mixture while incorporating air into it. This results in a lighter and creamier texture. Keep an eye on the sorbet as it thickens and reaches the desired consistency. The sorbet should be firm but still scoopable.
During the churning process, avoid over-churning the sorbet. Over-churning can lead to excessive crystallization and a grainy texture. It’s better to slightly under-churn the sorbet and let it firm up in the freezer, as it will continue to solidify during the freezing process.
Once the sorbet has reached the desired consistency, turn off the ice cream maker. Carefully remove the frozen mixture from the canister or bowl, making sure to scrape off any excess sorbet from the churner blades. Remember to handle the frozen sorbet gently to avoid breaking up the structure.
Transfer the sorbet into a lidded container, ensuring that it is an airtight and freezer-safe container. Smooth out the top of the sorbet with a spatula to create an even surface. Place the container in the freezer and let the sorbet firm up for at least 2 to 4 hours, or until it reaches the desired firmness.
Using an ice cream maker allows you to achieve a professional-quality sorbet with a smooth and creamy texture. The churning process not only freezes the mixture but also incorporates air, resulting in a light and delightful frozen treat that will surely impress your taste buds.
Storing and Serving the Sorbet
After the sorbet has firmed up in the freezer, it’s time to store and serve this delectable frozen treat. Proper storing ensures that the sorbet maintains its texture and flavor, while serving it in an appealing way enhances the overall experience. Let’s explore some tips on how to store and serve your homemade sorbet.
When it comes to storing sorbet, it’s important to keep it in an airtight container to prevent freezer burn and the absorption of unwanted odors. Transfer the sorbet into a lidded container, ensuring that it fits well and leaves minimal empty space, as exposure to air can cause ice crystals to form. Store the sorbet in the coldest part of your freezer to maintain its freshness and texture.
Label the container with the flavor and date of preparation to easily identify it later. Sorbet can be stored in the freezer for a few weeks, but it’s best enjoyed within the first month for optimal taste. Remember that sorbet tends to harden in the freezer, so it’s a good idea to remove it a few minutes before serving to soften slightly.
When it’s time to serve the sorbet, consider the presentation. Scoop the sorbet into chilled bowls or glasses for an elegant touch. For added flair, garnish the sorbet with fresh fruit slices, a sprig of mint, or a drizzle of chocolate sauce. Get creative with your presentations and let your imagination run wild!
A handy tip for ensuring neat and attractive scoops is to warm the ice cream scoop with hot water before each use. This makes it easier to form smooth and round scoops of sorbet. Additionally, if you want to add a touch of sophistication, serve the sorbet in hollowed-out fruit shells, such as half a lemon or a hollowed-out pineapple.
If you’re serving the sorbet at a gathering or dinner party, you can offer a variety of flavors to cater to different preferences. Arrange the different flavors on a dessert platter and provide small tasting spoons for guests to sample and enjoy. It’s a fantastic way to create a visually appealing and interactive dessert experience.
Remember to store any leftover sorbet properly to maintain its freshness. Press a layer of plastic wrap against the surface of the sorbet before sealing the container with the lid. This helps prevent freezer burn and preserves the flavor and texture.
From storing it right and presenting it beautifully to serving it in delightful ways, these tips will help you make the most of your homemade sorbet. Enjoy the refreshing and tangy taste of the sorbet, savor every spoonful, and relish the satisfaction of creating a delicious frozen treat in your own kitchen.