Introduction
Ice cream is one of the most beloved desserts, and making it at home allows for endless flavor possibilities and the use of wholesome ingredients. The Kitchen Aid Ice Cream Maker is a popular attachment for Kitchen Aid stand mixers, making it convenient to churn your own homemade ice cream without the need for a separate machine. However, one important aspect of the ice cream-making process is the churning time, which plays a crucial role in achieving the perfect texture and consistency.
When it comes to churning ice cream, the Kitchen Aid Ice Cream Maker requires a specific amount of time to achieve the desired results. Churning time refers to the duration that the ice cream mixture spends in the ice cream maker before it reaches the desired consistency. It is the critical stage where the mixture is transformed from a liquid to a creamy frozen treat.
The importance of churning time lies in its ability to incorporate air into the ice cream mixture while simultaneously freezing it. This process is essential for ensuring a smooth and creamy texture, preventing ice crystals from forming, and creating a light and airy mouthfeel.
Several factors can affect the churning time, including the composition of the ice cream mixture, its temperature, and the capacity and power of the Kitchen Aid Ice Cream Maker. Understanding these factors and determining the appropriate churning time for your specific recipe is crucial to achieve the best results.
Next, we will explore the various factors that can influence the churning time when using the Kitchen Aid Ice Cream Maker. Understanding these factors will help you make necessary adjustments and ultimately result in a delightful homemade ice cream experience.
What is the Kitchen Aid Ice Cream Maker?
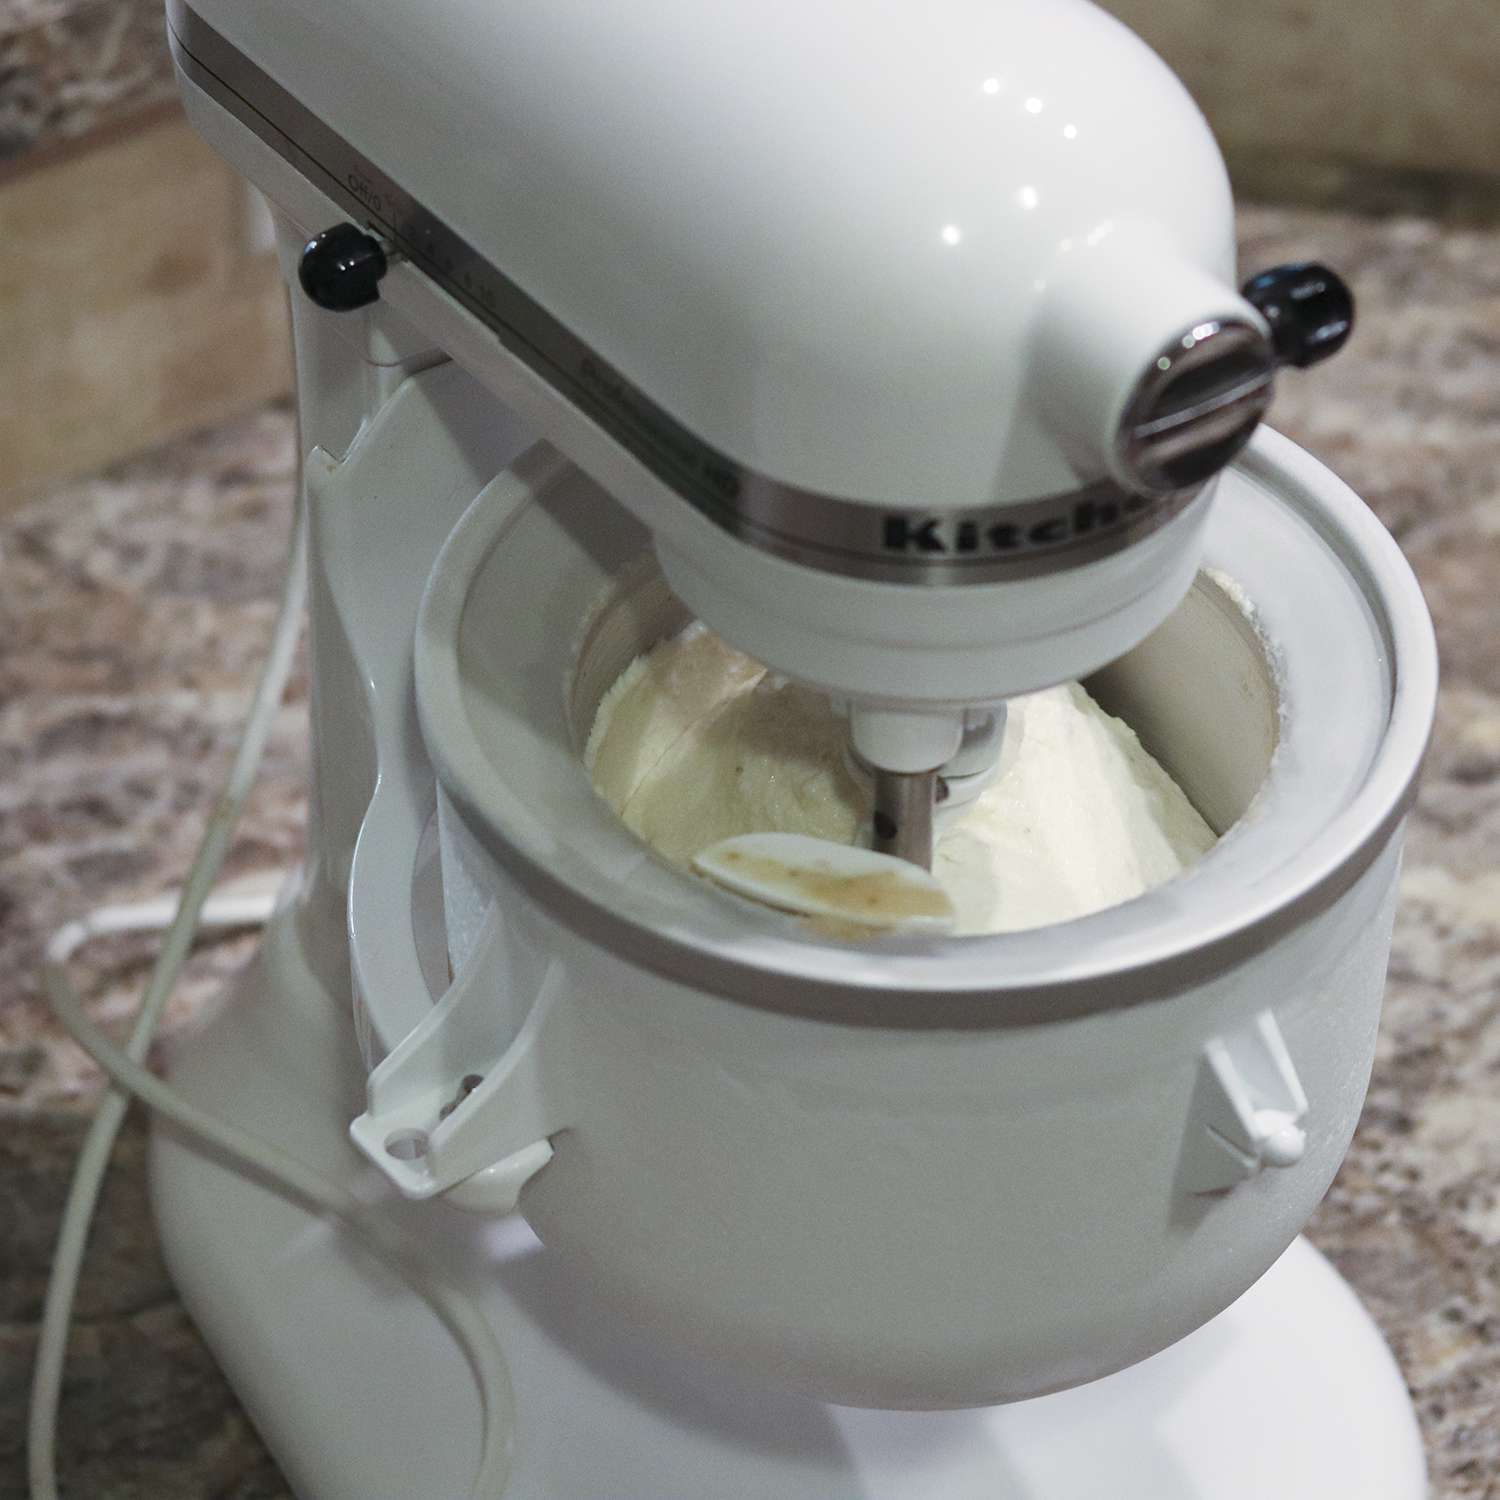
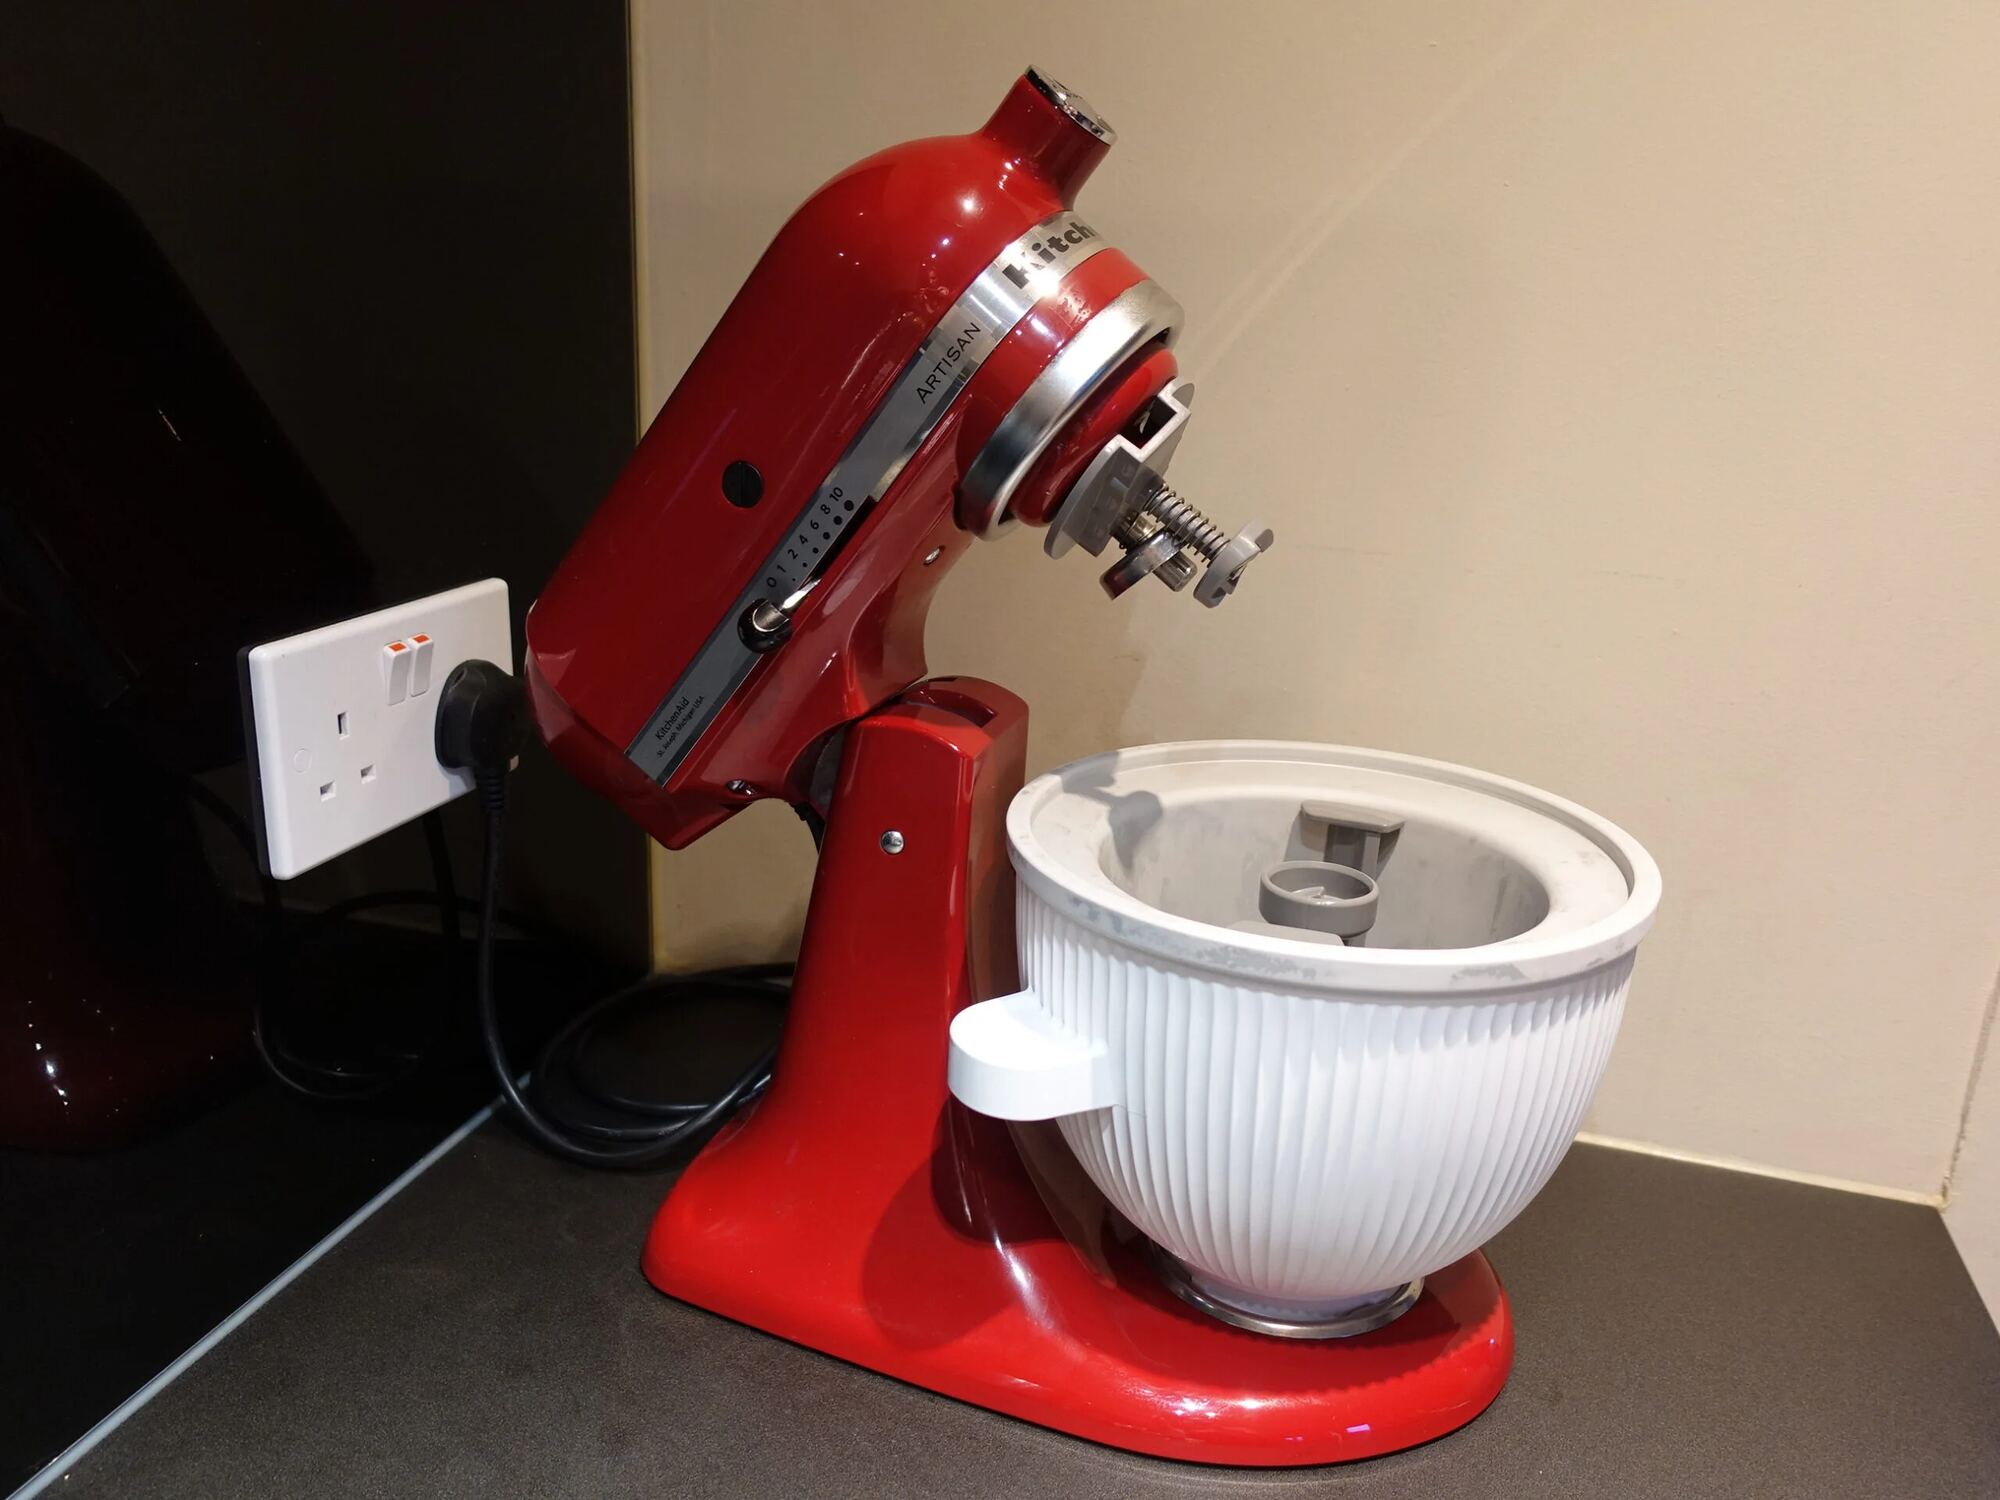
The Kitchen Aid Ice Cream Maker is an attachment designed for use with Kitchen Aid stand mixers. It allows you to easily churn and freeze homemade ice cream, sorbet, or gelato right in the comfort of your own kitchen. The attachment consists of a freeze bowl, dasher, and drive assembly.
The freeze bowl is the key component of the Kitchen Aid Ice Cream Maker. It needs to be pre-frozen before use to ensure proper churning and freezing of the ice cream mixture. By freezing the bowl in advance, it creates a cold environment that enables the mixture to solidify and take on that creamy, frozen texture.
The dasher, or paddle, is responsible for thoroughly mixing the ice cream mixture while incorporating air into it during the churning process. This motion helps to break up ice crystals that may form and results in a smoother and creamier consistency.
The drive assembly connects the freeze bowl to the Kitchen Aid stand mixer, allowing the attachment to spin and churn the ice cream mixture. This attachment is simple to install and remove, making it a convenient option for making homemade ice cream.
One of the benefits of using the Kitchen Aid Ice Cream Maker is its versatility. You have complete control over the ingredients used, allowing for the creation of endless flavor combinations. Whether you prefer classic flavors like vanilla or chocolate or want to experiment with unique fruit, nut, or cookie combinations, the Kitchen Aid Ice Cream Maker allows you to unleash your creativity.
With the Kitchen Aid Ice Cream Maker, you can create high-quality ice cream in the comfort of your own kitchen. No need to rely on store-bought options with additives and preservatives. Enjoy the satisfaction of knowing exactly what goes into your ice cream and indulge yourself and your loved ones with delicious frozen treats made from scratch.
Why is the Churning Time Important?
The churning time is a critical aspect of making ice cream using the Kitchen Aid Ice Cream Maker. It determines the texture, consistency, and overall quality of the final product. Here are several reasons why the churning time is important:
1. Texture and Consistency: The churning process incorporates air into the ice cream mixture, resulting in a lighter and creamier texture. This aeration helps prevent the formation of large ice crystals, ensuring a smoother mouthfeel. The churning time plays a crucial role in achieving the desired texture and consistency.
2. Homogeneous Mixture: During the churning process, the dasher continuously agitates the ice cream mixture, ensuring even distribution of ingredients. This promotes the blending of flavors and prevents any clumps or uneven distribution of mix-ins.
3. Freezing Efficiency: The churning time allows the ice cream mixture to be in contact with the cold surface of the freeze bowl, facilitating the freezing process. It ensures that the mixture freezes evenly and at the right rate, preventing icy or slushy sections in the ice cream.
4. Development of Flavors: The churning time is not just about freezing the mixture; it also allows the flavors to develop fully. The continuous motion of the dasher aids in blending and intensifying the flavors, resulting in a more flavorful and enjoyable ice cream experience.
It’s important to note that the churning time will vary depending on the specific recipe, mix-ins, and personal preferences. Longer churning times tend to produce a denser and creamier texture, while shorter times may result in a lighter and softer consistency.
Understanding the importance of the churning time allows you to customize your ice cream-making process to achieve the desired results. Experimenting with different churning times can be a fun way to discover your personal preference and create unique ice cream creations.
Factors Affecting Churning Time
Several factors can impact the churning time when using the Kitchen Aid Ice Cream Maker. Understanding these factors will help you make necessary adjustments to achieve the perfect consistency and texture in your homemade ice cream. Here are the key factors affecting churning time:
1. Recipe Composition: The ingredients used in your ice cream recipe can influence the churning time. Higher fat content in the mixture, such as heavy cream or egg yolks, tends to result in a longer churning time. This is because the fat particles take longer to freeze, leading to a creamier and more stable texture.
2. Mixture Temperature: The temperature of the ice cream mixture before churning can significantly impact the churning time. If the mixture is too warm, it will take longer to freeze, and the churning time may need to be extended. On the other hand, if the mixture is too cold, it may freeze too quickly, resulting in an icy texture.
3. Bowl Freezing Temperature: The temperature of the freeze bowl plays a crucial role in the churning time. Ensure that the freeze bowl is adequately frozen according to the manufacturer’s instructions. If the bowl is not frozen enough, the ice cream mixture may not freeze properly, leading to a longer churning time.
4. Machine Capacity and Power: The capacity and power of the Kitchen Aid Ice Cream Maker can affect the churning time. If you are making large batches or using a machine with lower power, the churning time may be longer to freeze the larger quantity effectively. Consider adjusting the churning time accordingly based on the machine’s capacity and power.
5. Mix-ins and Flavors: The addition of mix-ins, such as nuts, chocolate chips, or cookies, can impact the churning time. Dense mix-ins may require additional churning time to distribute evenly and freeze properly. Similarly, the use of certain flavorings, such as alcohol-based extracts, can affect freezing time due to their lower freezing point.
It’s important to remember that these factors are interconnected, and adjustments may be needed to achieve the desired results. Experimenting with different combinations of ingredients, temperatures, and churning times will help you find the perfect balance for your homemade ice cream.
How to Determine the Churning Time?
Determining the optimal churning time for your ice cream using the Kitchen Aid Ice Cream Maker requires a combination of recipe guidelines, observations, and personal preferences. Here are some steps to help you determine the ideal churning time:
1. Follow the Recipe: Start by following the recommended churning time provided in your ice cream recipe. This serves as a baseline and a starting point for your experimentation. The recipe developer has typically tested the recipe to determine the ideal churning time based on the ingredients used.
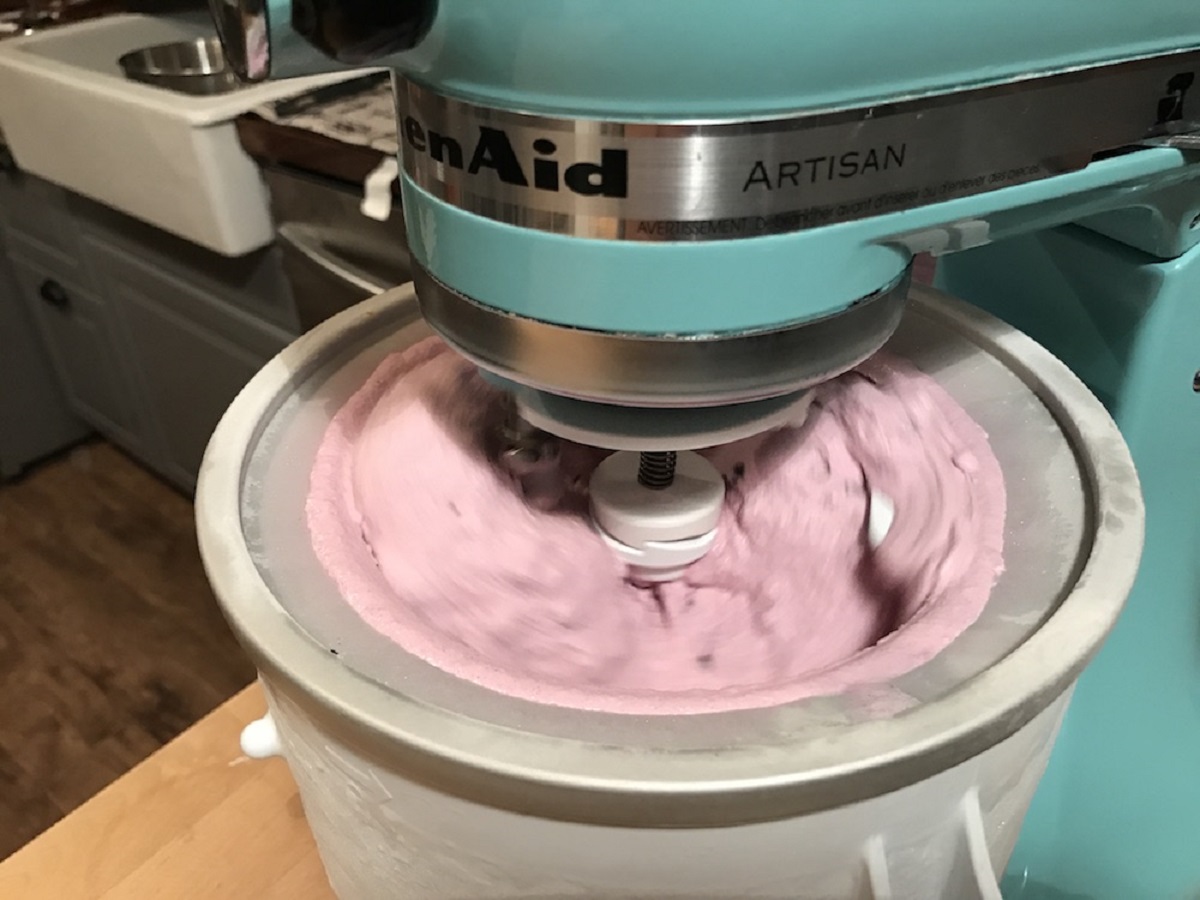
2. Observe the Consistency: Pay close attention to the consistency of the ice cream mixture during the churning process. As the mixture churns, it should gradually thicken and become creamier. It’s important to avoid over-churning, as this can lead to a dense and icy texture. Once the ice cream reaches a soft-serve consistency, it is typically ready to be transferred to a freezer-safe container for further freezing.
3. Watch for Visual Cues: Keep an eye out for visual cues that indicate the ice cream is nearing completion. The mixture should begin to pull away from the sides of the freeze bowl and form distinct mounds or peaks. This is a sign that the churning is close to completion.
4. Use the Finger Test: Another method to determine the churning time is to perform the finger test. Gently touch the surface of the ice cream mixture with your finger. If it leaves a clean swipe and doesn’t feel overly soft or slushy, it’s an indication that the ice cream is ready to be transferred.
5. Consider Personal Preferences: Take into account your personal preference for the consistency and texture of the ice cream. Some individuals prefer a softer, softer-serve style, while others like a firmer, scoopable texture. Adjust the churning time accordingly to achieve the desired result.
Remember that churning times may vary depending on the specific recipe, machine, and environmental factors. It’s essential to keep a record of your observations and adjustments for future batches, allowing you to refine the churning time over time.
Tips for Achieving the Perfect Churn
Mastering the art of churning ice cream with the Kitchen Aid Ice Cream Maker requires practice and attention to detail. Here are some helpful tips to ensure you achieve the perfect churn every time:
1. Pre-Freeze the Freeze Bowl: Ensure that the freeze bowl is thoroughly frozen before starting the churning process. It’s recommended to freeze the bowl for at least 24 hours prior to use. A properly frozen bowl provides the necessary cold surface for effective and efficient churning.
2. Chill the Mixture: Before pouring the ice cream mixture into the freeze bowl, ensure it is properly chilled. Storing the mixture in the refrigerator for a few hours or overnight will help develop the flavors and enhance the churning process. A colder mixture will freeze more quickly and result in a smoother texture.
3. Be Mindful of the Capacity: Ensure that the ice cream mixture does not exceed the maximum capacity of the Kitchen Aid Ice Cream Maker. Overfilling the machine can affect the churning efficiency and lead to uneven freezing. Follow the manufacturer’s guidelines for maximum fill level.
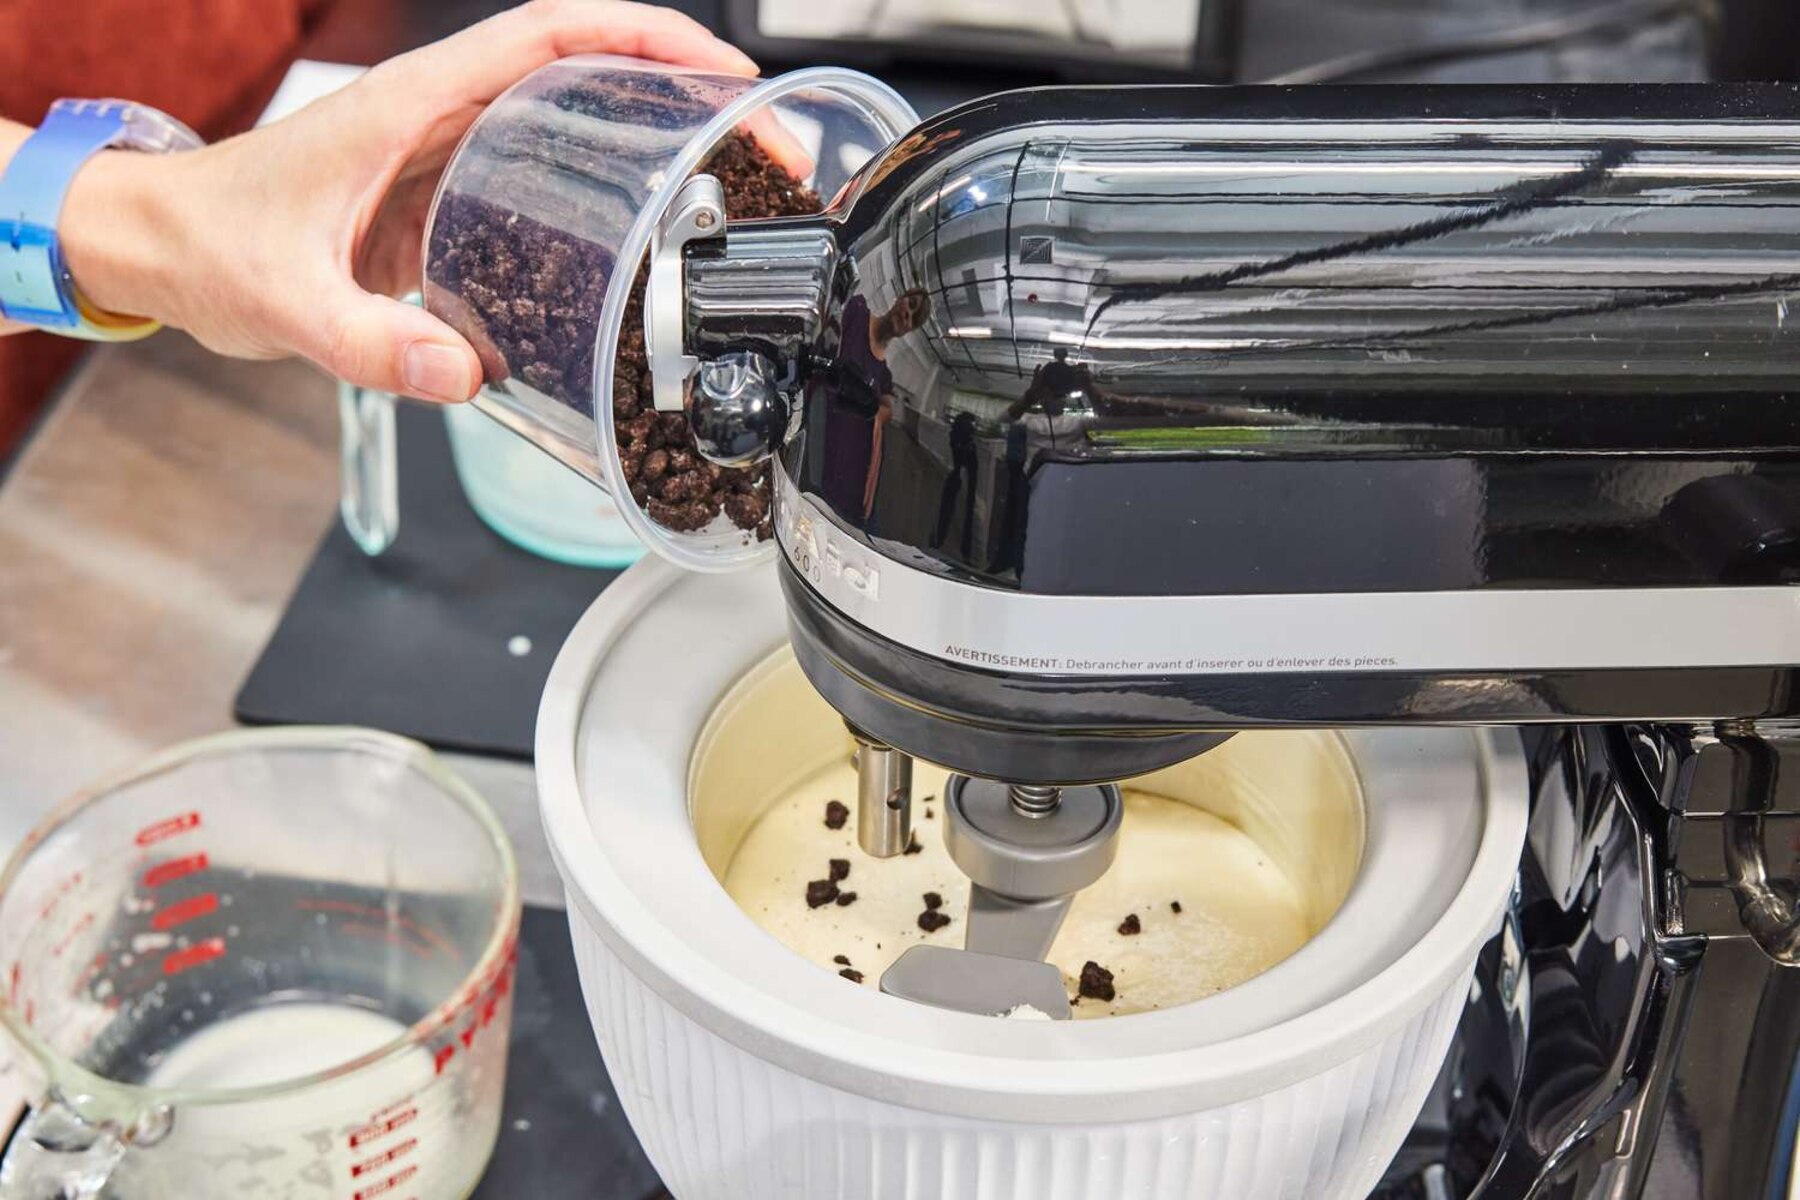
4. Add Mix-Ins at the Right Time: If your ice cream recipe includes mix-ins like nuts, chocolate chips, or cookie dough, consider adding them towards the end of the churning process. Adding them too early can result in their sinking to the bottom. Add the mix-ins during the last few minutes of churning to evenly distribute them throughout the ice cream.
5. Don’t Rush the Churning Process: Patience is key when churning ice cream. Avoid the temptation to decrease the churning time to speed up the process. Proper churning ensures the development of a smooth and creamy texture. Rushing the process can result in a grainy or icy consistency.
6. Store Properly: Once the churning is complete, transfer the ice cream to a freezer-safe container and place it in the freezer. Allow it to harden for a few hours or overnight to further enhance the texture and flavor. Cover the container tightly to prevent freezer burn and maintain the freshness of the ice cream.
7. Experiment and Have Fun: Ice cream making is an enjoyable and creative process. Don’t be afraid to experiment with different flavors, mix-ins, and churning times. Keep a record of your experiments to fine-tune your recipes and techniques for future batches.
By following these tips and techniques, you’ll be well on your way to creating delicious, homemade ice cream with the perfect churn every time using the Kitchen Aid Ice Cream Maker.
Conclusion
The Kitchen Aid Ice Cream Maker is a fantastic attachment that allows you to create homemade ice cream with ease. Understanding the importance of churning time and the factors that affect it is essential for achieving the perfect texture and consistency in your frozen creations.
By following recipe guidelines, observing the consistency, and paying attention to visual cues, you can determine the ideal churning time for your ice cream. Adjustments may be necessary based on personal preferences and the specific ingredients and flavors used.
Remember to pre-freeze the freeze bowl, chill the mixture, and be mindful of the machine’s capacity. These steps, combined with proper technique and patience, will help you achieve a smooth and creamy ice cream with each batch.
Don’t hesitate to experiment and have fun with different flavors and mix-ins. Ice cream making is a creative process, and with the Kitchen Aid Ice Cream Maker, the possibilities are endless.
So, grab your favorite ingredients, unleash your creativity, and start churning delicious homemade ice cream with the Kitchen Aid Ice Cream Maker. Enjoy the satisfaction of seeing your efforts turn into sweet, creamy treats that will delight family and friends.