Ingredients
When it comes to making coffee ice cream without an ice cream maker, you only need a handful of simple ingredients. Here’s what you’ll need:
- 2 cups of heavy cream
- 1 cup of whole milk
- 3/4 cup of granulated sugar
- 1/4 cup of good-quality coffee beans
- 4 large egg yolks
- 1 teaspoon of pure vanilla extract
- A pinch of salt
The heavy cream will give the ice cream its rich and creamy texture, while the whole milk adds a smooth consistency. The granulated sugar adds sweetness to balance out the bitterness of the coffee. Using good-quality coffee beans is important to ensure a strong and flavorful coffee taste in the ice cream. Make sure to use fresh coffee beans for the best flavor.
The egg yolks act as a binding agent and help create a smooth texture. They also add a hint of richness to the ice cream base. The vanilla extract enhances the overall flavor profile, while a pinch of salt helps to bring out the flavors and balance the sweetness.
These simple ingredients combine to create a delicious coffee ice cream that you can make at home without the need for a fancy ice cream maker. It’s a perfect treat for any coffee lover, and you’ll be amazed at how easy it is to achieve that classic ice cream texture and taste.
Step 1: Brewing the Coffee
The first step to making coffee ice cream without an ice cream maker is to brew a strong pot of coffee. The coffee flavor will be the star of the show in this recipe, so it’s essential to use high-quality coffee beans and brew it to perfection. Here’s how to do it:
- Grind the coffee beans: Start by grinding 1/4 cup of coffee beans to a medium-coarse consistency. This will allow the coffee to infuse into the ice cream base without overpowering it.
- Heat the water: Bring 2 cups of water to a boil in a kettle or saucepan.
- Brew the coffee: Place the ground coffee in a coffee filter or French press. Slowly pour the hot water over the coffee grounds, saturating them completely. Let the coffee steep for about 4 minutes for a strong brew.
- Strain the coffee: Once the brewing time is up, strain the coffee through a fine-mesh sieve or remove the plunger of the French press to separate the liquid from the grounds. You should be left with a rich and flavorful coffee concentrate.
At this stage, you can choose to let the coffee concentrate cool before adding it to the ice cream base, or you can add it while it’s still warm for a more intense coffee flavor. Just make sure the coffee concentrate is completely cooled before moving on to the next step.
Brewing the coffee is an important step in achieving that bold coffee taste in your homemade ice cream. Take your time to make a good-quality coffee concentrate, and the results will be worth it.
Step 2: Preparing the Ice Cream Base
After brewing a strong pot of coffee, it’s time to move on to preparing the ice cream base. This is where the magic happens and the creamy texture starts to come together. Follow these steps to create the perfect base for your coffee ice cream:
- In a saucepan, combine 2 cups of heavy cream and 1 cup of whole milk over medium heat. Stir occasionally and heat the mixture until it reaches a gentle simmer. Be careful not to let it boil.
- In a separate bowl, whisk together 4 large egg yolks and 3/4 cup of granulated sugar until well combined and slightly thickened.
- Slowly pour a small amount of the hot cream mixture into the egg yolks while whisking continuously. This helps to temper the eggs and prevent them from curdling.
- Pour the tempered egg mixture back into the saucepan with the remaining hot cream mixture. Whisk everything together until well combined.
- Return the saucepan to the stove over low heat and cook the mixture, stirring constantly, until it thickens slightly and coats the back of a spoon. This should take about 5-7 minutes.
- Remove the saucepan from the heat and add 1 teaspoon of pure vanilla extract and a pinch of salt. Stir everything together until incorporated.
This step is crucial in creating the creamy base for your coffee ice cream. The combination of heavy cream, whole milk, sugar, egg yolks, vanilla extract, and salt results in a luscious and flavorful base that will perfectly complement the coffee flavor.
Make sure to stir or whisk continuously while heating the cream mixture and tempering the eggs to prevent any lumps or curdling. Patience and attention to detail during this step will ensure a smooth and velvety ice cream base.
Step 3: Chilling the Ice Cream Base
Once you have prepared the ice cream base, it’s time to cool it down and let the flavors meld together. Chilling the ice cream base is an essential step to ensure a smooth and creamy texture. Follow these instructions for optimal results:
- Transfer the ice cream base to a clean bowl or container. Cover it with plastic wrap, making sure to press the wrap directly onto the surface of the mixture. This prevents a skin from forming on the top.
- Place the covered container in the refrigerator and allow the ice cream base to chill for at least 4 hours, or preferably overnight. Chilling it thoroughly will help the flavors mingle and develop.
The extended chill time is crucial for achieving a rich and creamy texture in homemade ice cream. It allows the ingredients to cool and solidify, which ensures a smooth consistency when churning. Patience is key during this step, as the longer the base chills, the better the final result.
While chilling the ice cream base, you can also take the opportunity to chill any additional mix-ins or toppings you plan to add to your coffee ice cream. This ensures that everything stays cold during the churning process and doesn’t melt into the ice cream too quickly.
Remember that proper chilling is a crucial step in making homemade ice cream. It sets the stage for a velvety texture and enhances the flavors, allowing you to fully savor the delicious coffee-infused treat you’re about to create.
Step 4: Churning the Ice Cream
Now that the ice cream base has chilled and the flavors have melded together, it’s time to transform it into a creamy delight by churning it. Churning incorporates air into the mixture, giving the ice cream its light and fluffy texture. Follow these steps to churn your coffee ice cream:
- Take the chilled ice cream base out of the refrigerator. Remove the plastic wrap and give the mixture a good stir to ensure it is well mixed.
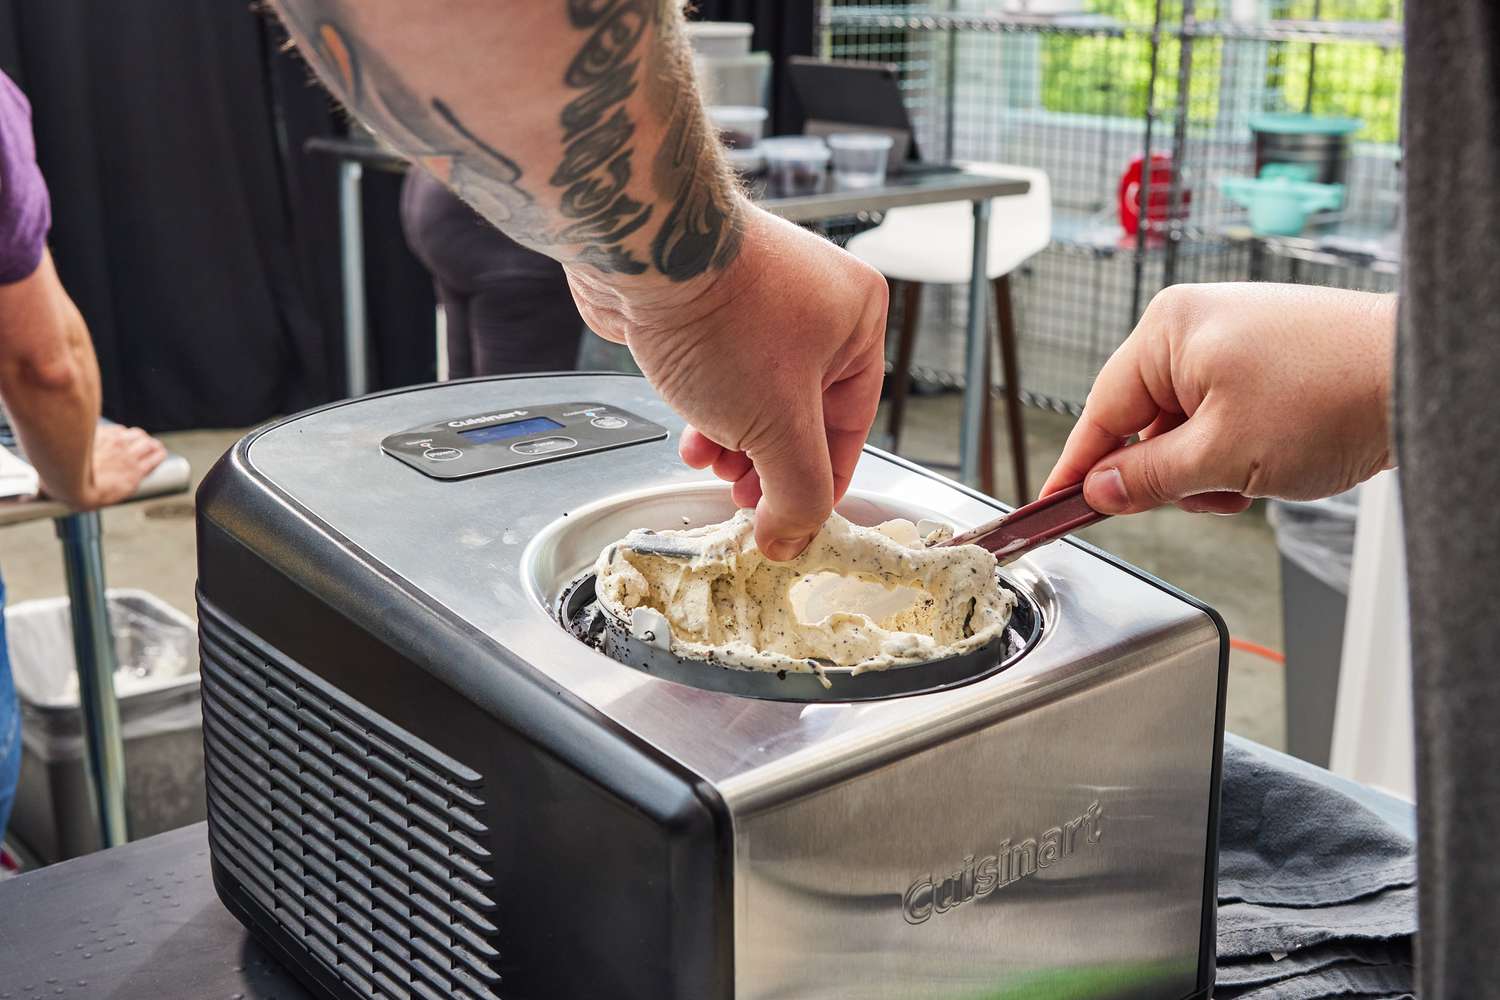
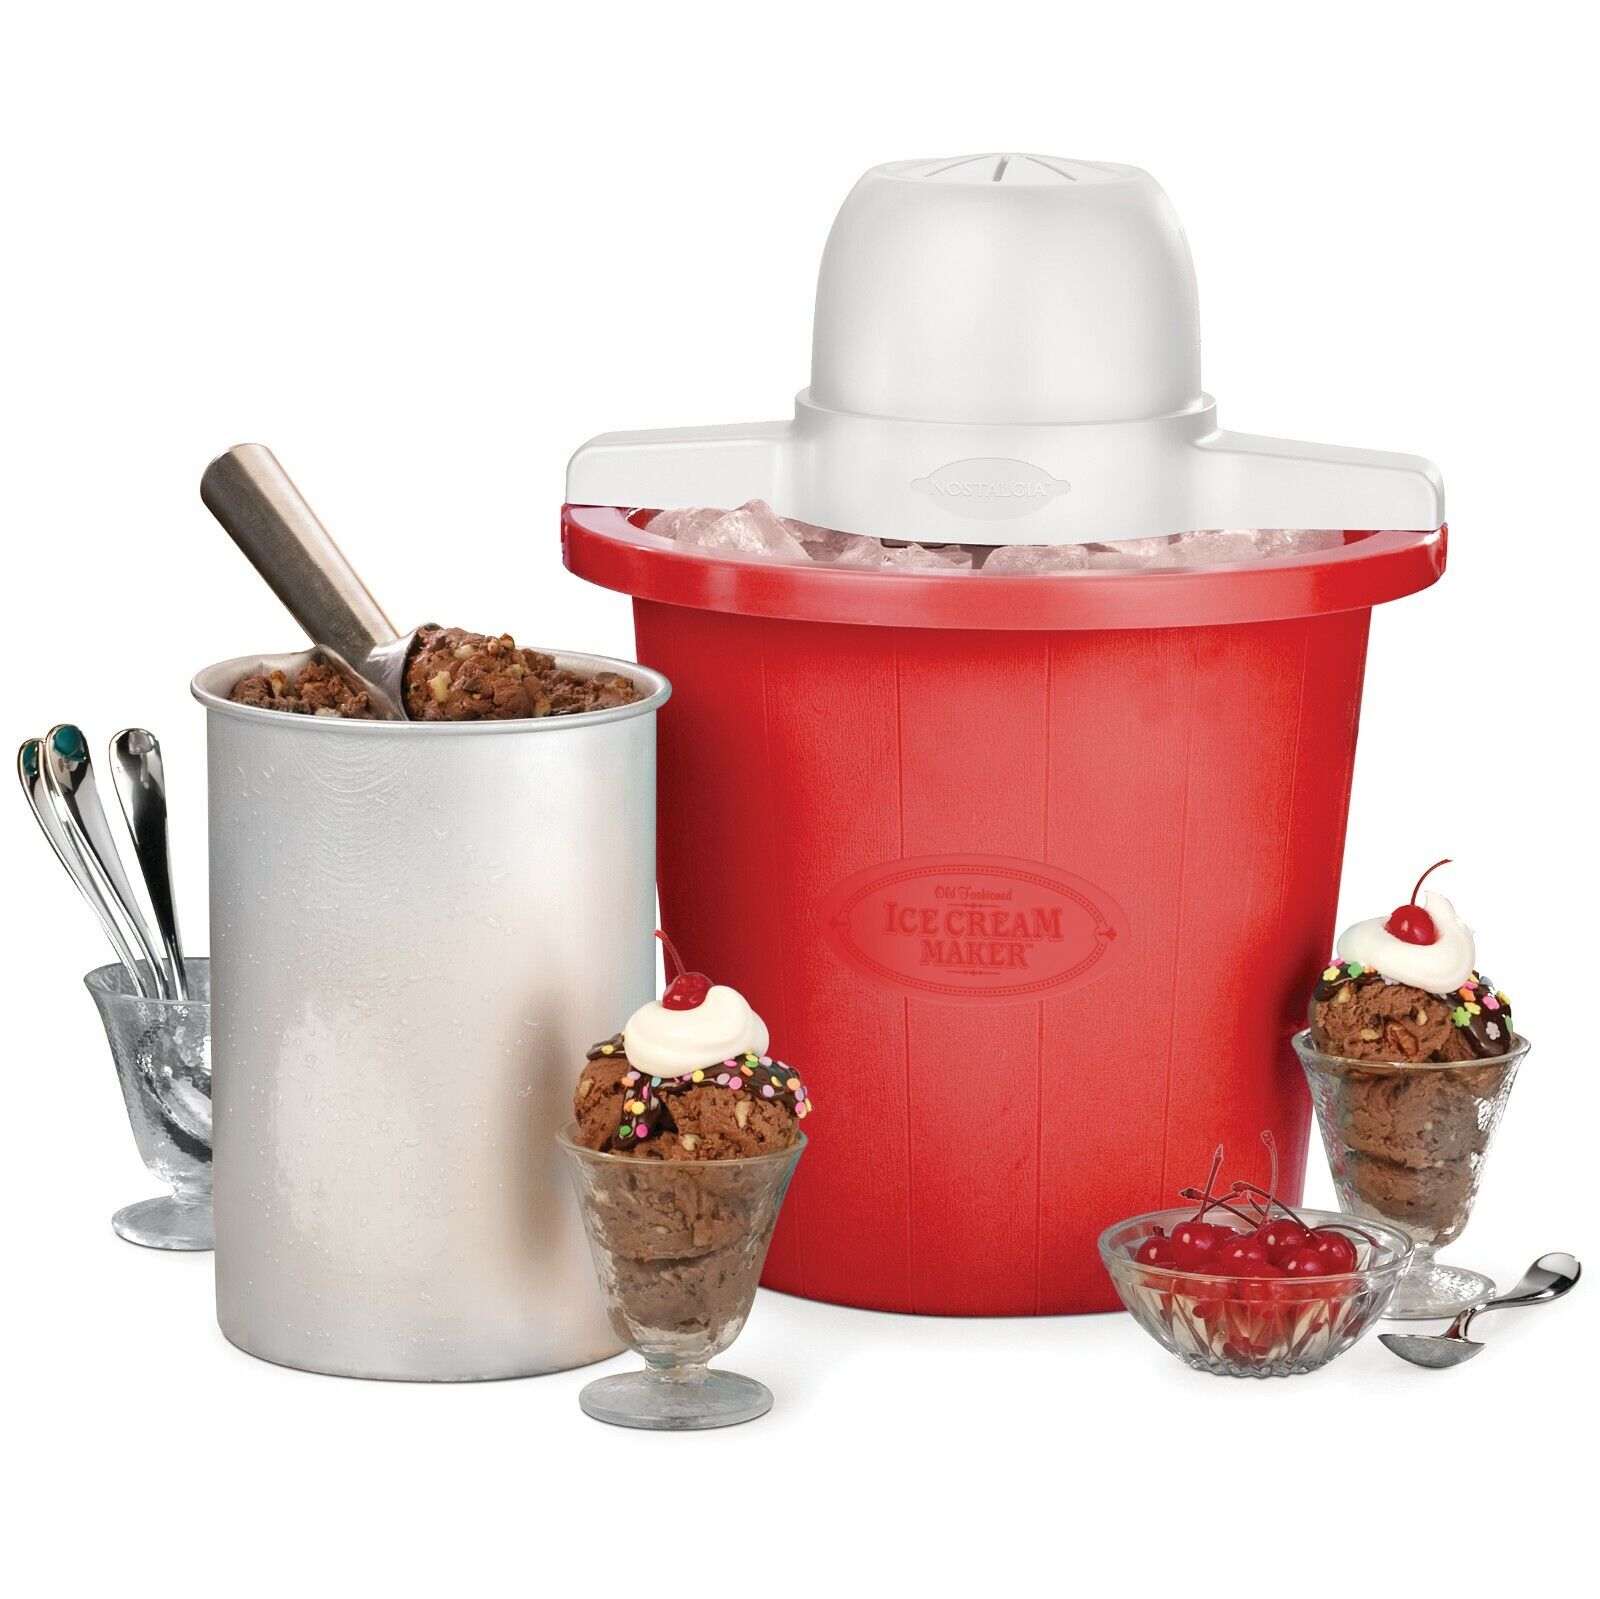
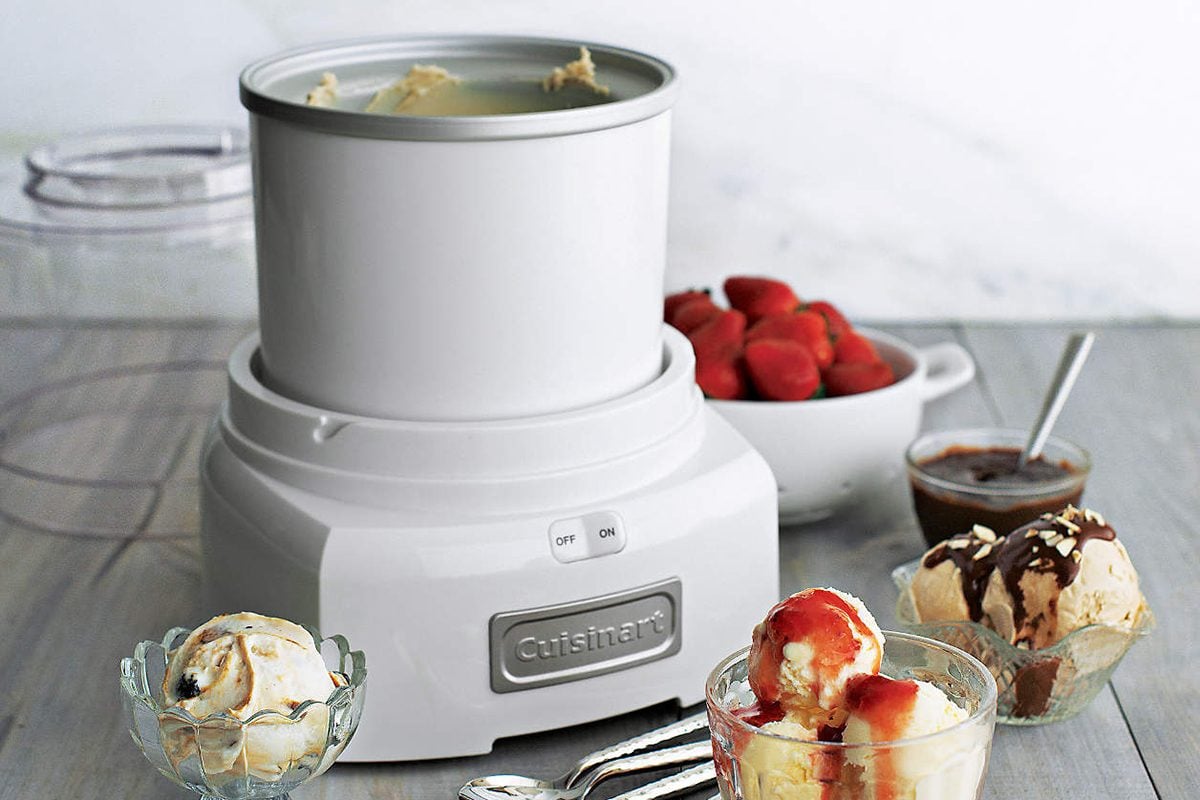
- If you have an ice cream maker, pour the ice cream base into the machine and follow the manufacturer’s instructions for churning. Typically, this involves running the machine for about 15-20 minutes or until the ice cream reaches a soft-serve consistency.
- If you don’t have an ice cream maker, don’t worry! You can still achieve a creamy texture by using the hand-churning method. Pour the ice cream base into a shallow, freezer-safe container and place it in the freezer. Set a timer for 45 minutes.
- After 45 minutes, take the container out of the freezer and vigorously whisk or beat the mixture with a fork or electric hand mixer to break up any ice crystals that have formed.
- Return the container back to the freezer and repeat this whisking process every 30 minutes for the next 2-3 hours. This helps to create a smooth texture and prevent ice crystals from forming.
Churning is a crucial step in creating that irresistible creamy texture in your coffee ice cream. If using an ice cream maker, be sure to follow the manufacturer’s instructions for best results. If using the hand-churning method, be patient and diligent with the whisking process to achieve a velvety consistency.
Regardless of the method you choose, the goal is to break up ice particles and incorporate air into the mixture. This results in a light and smooth ice cream that is perfect for savoring.
Step 5: Freezing the Ice Cream
After the ice cream has been churned to a creamy consistency, it’s time to freeze it to achieve a firm and scoopable texture. Follow these steps to properly freeze your coffee ice cream:
- Transfer the churned ice cream into a lidded, freezer-safe container. Ensure that the container is large enough to hold the entire batch of ice cream without overflowing.
- Smooth the surface of the ice cream with a spatula to create an even layer.
- Place the lid securely on the container to prevent any air from getting in and causing freezer burn.
- Put the container in the coldest part of your freezer, typically in the back or on the bottom shelf.
- Allow the ice cream to freeze for at least 4 hours, or preferably overnight. This will give it enough time to harden and set to a scoopable consistency.
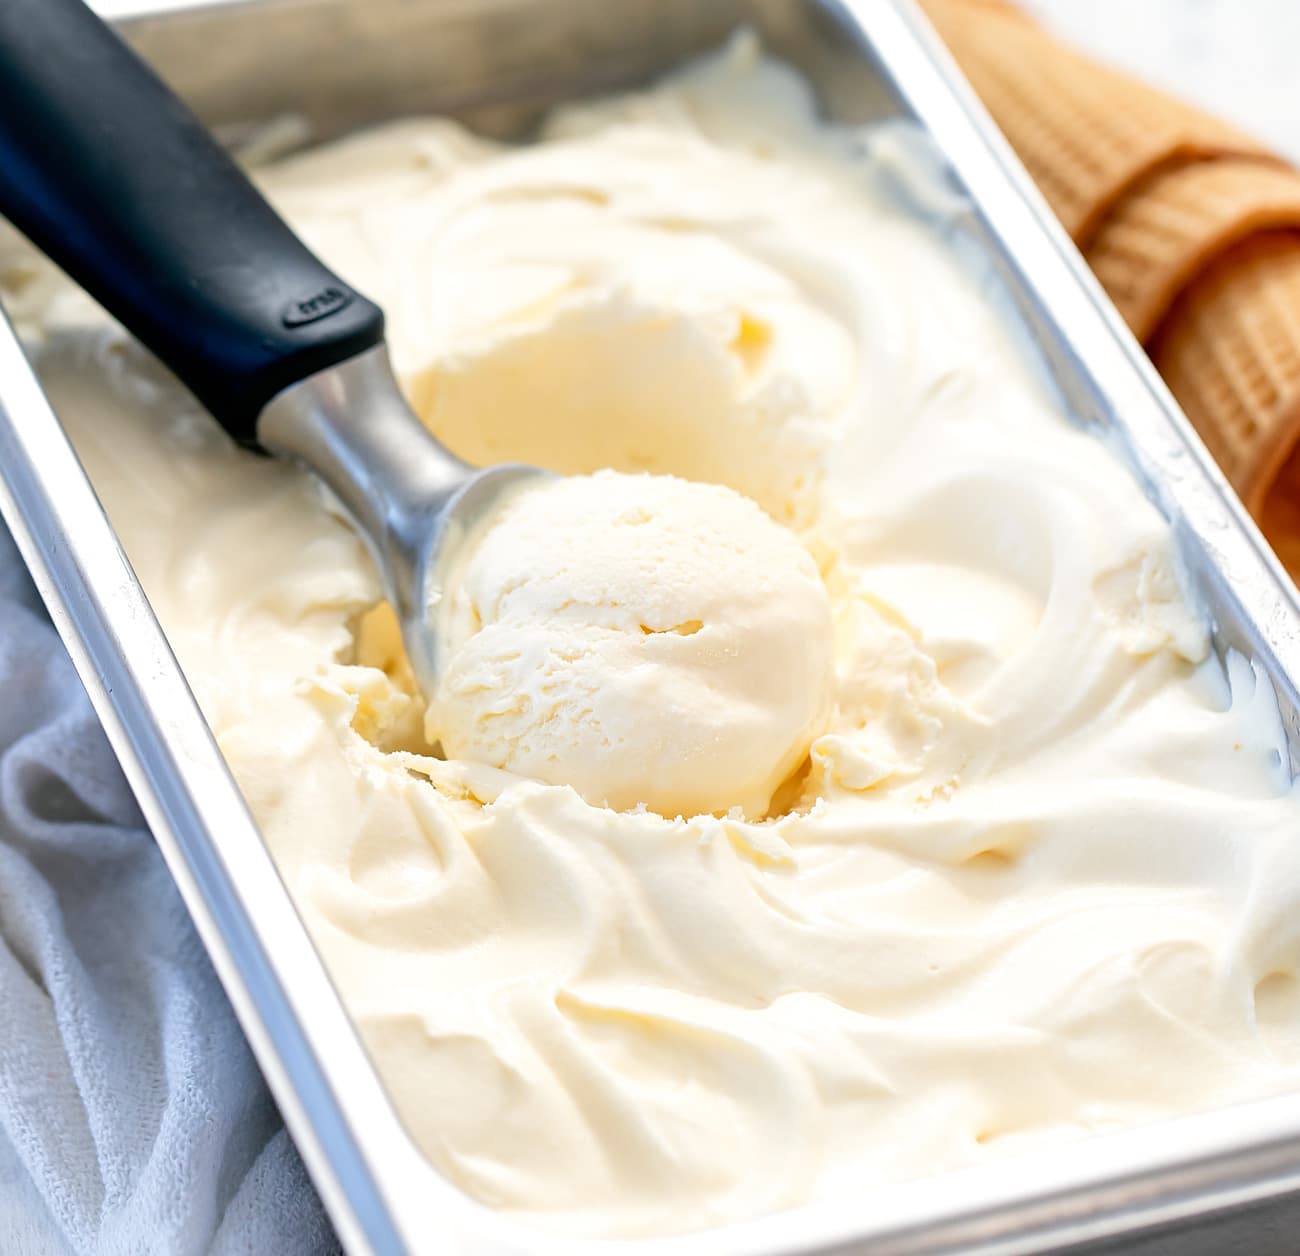
Properly freezing the ice cream is crucial to achieve the desired texture. The low temperature of the freezer helps solidify the mixture, resulting in a smooth, creamy, and scoopable ice cream. Giving it enough time to freeze properly ensures that it holds its shape and doesn’t melt too quickly when served.
It’s important to note that homemade ice cream may become harder than store-bought versions due to a lower fat and sugar content. If the ice cream becomes too hard, simply let it sit at room temperature for a few minutes to soften before scooping.
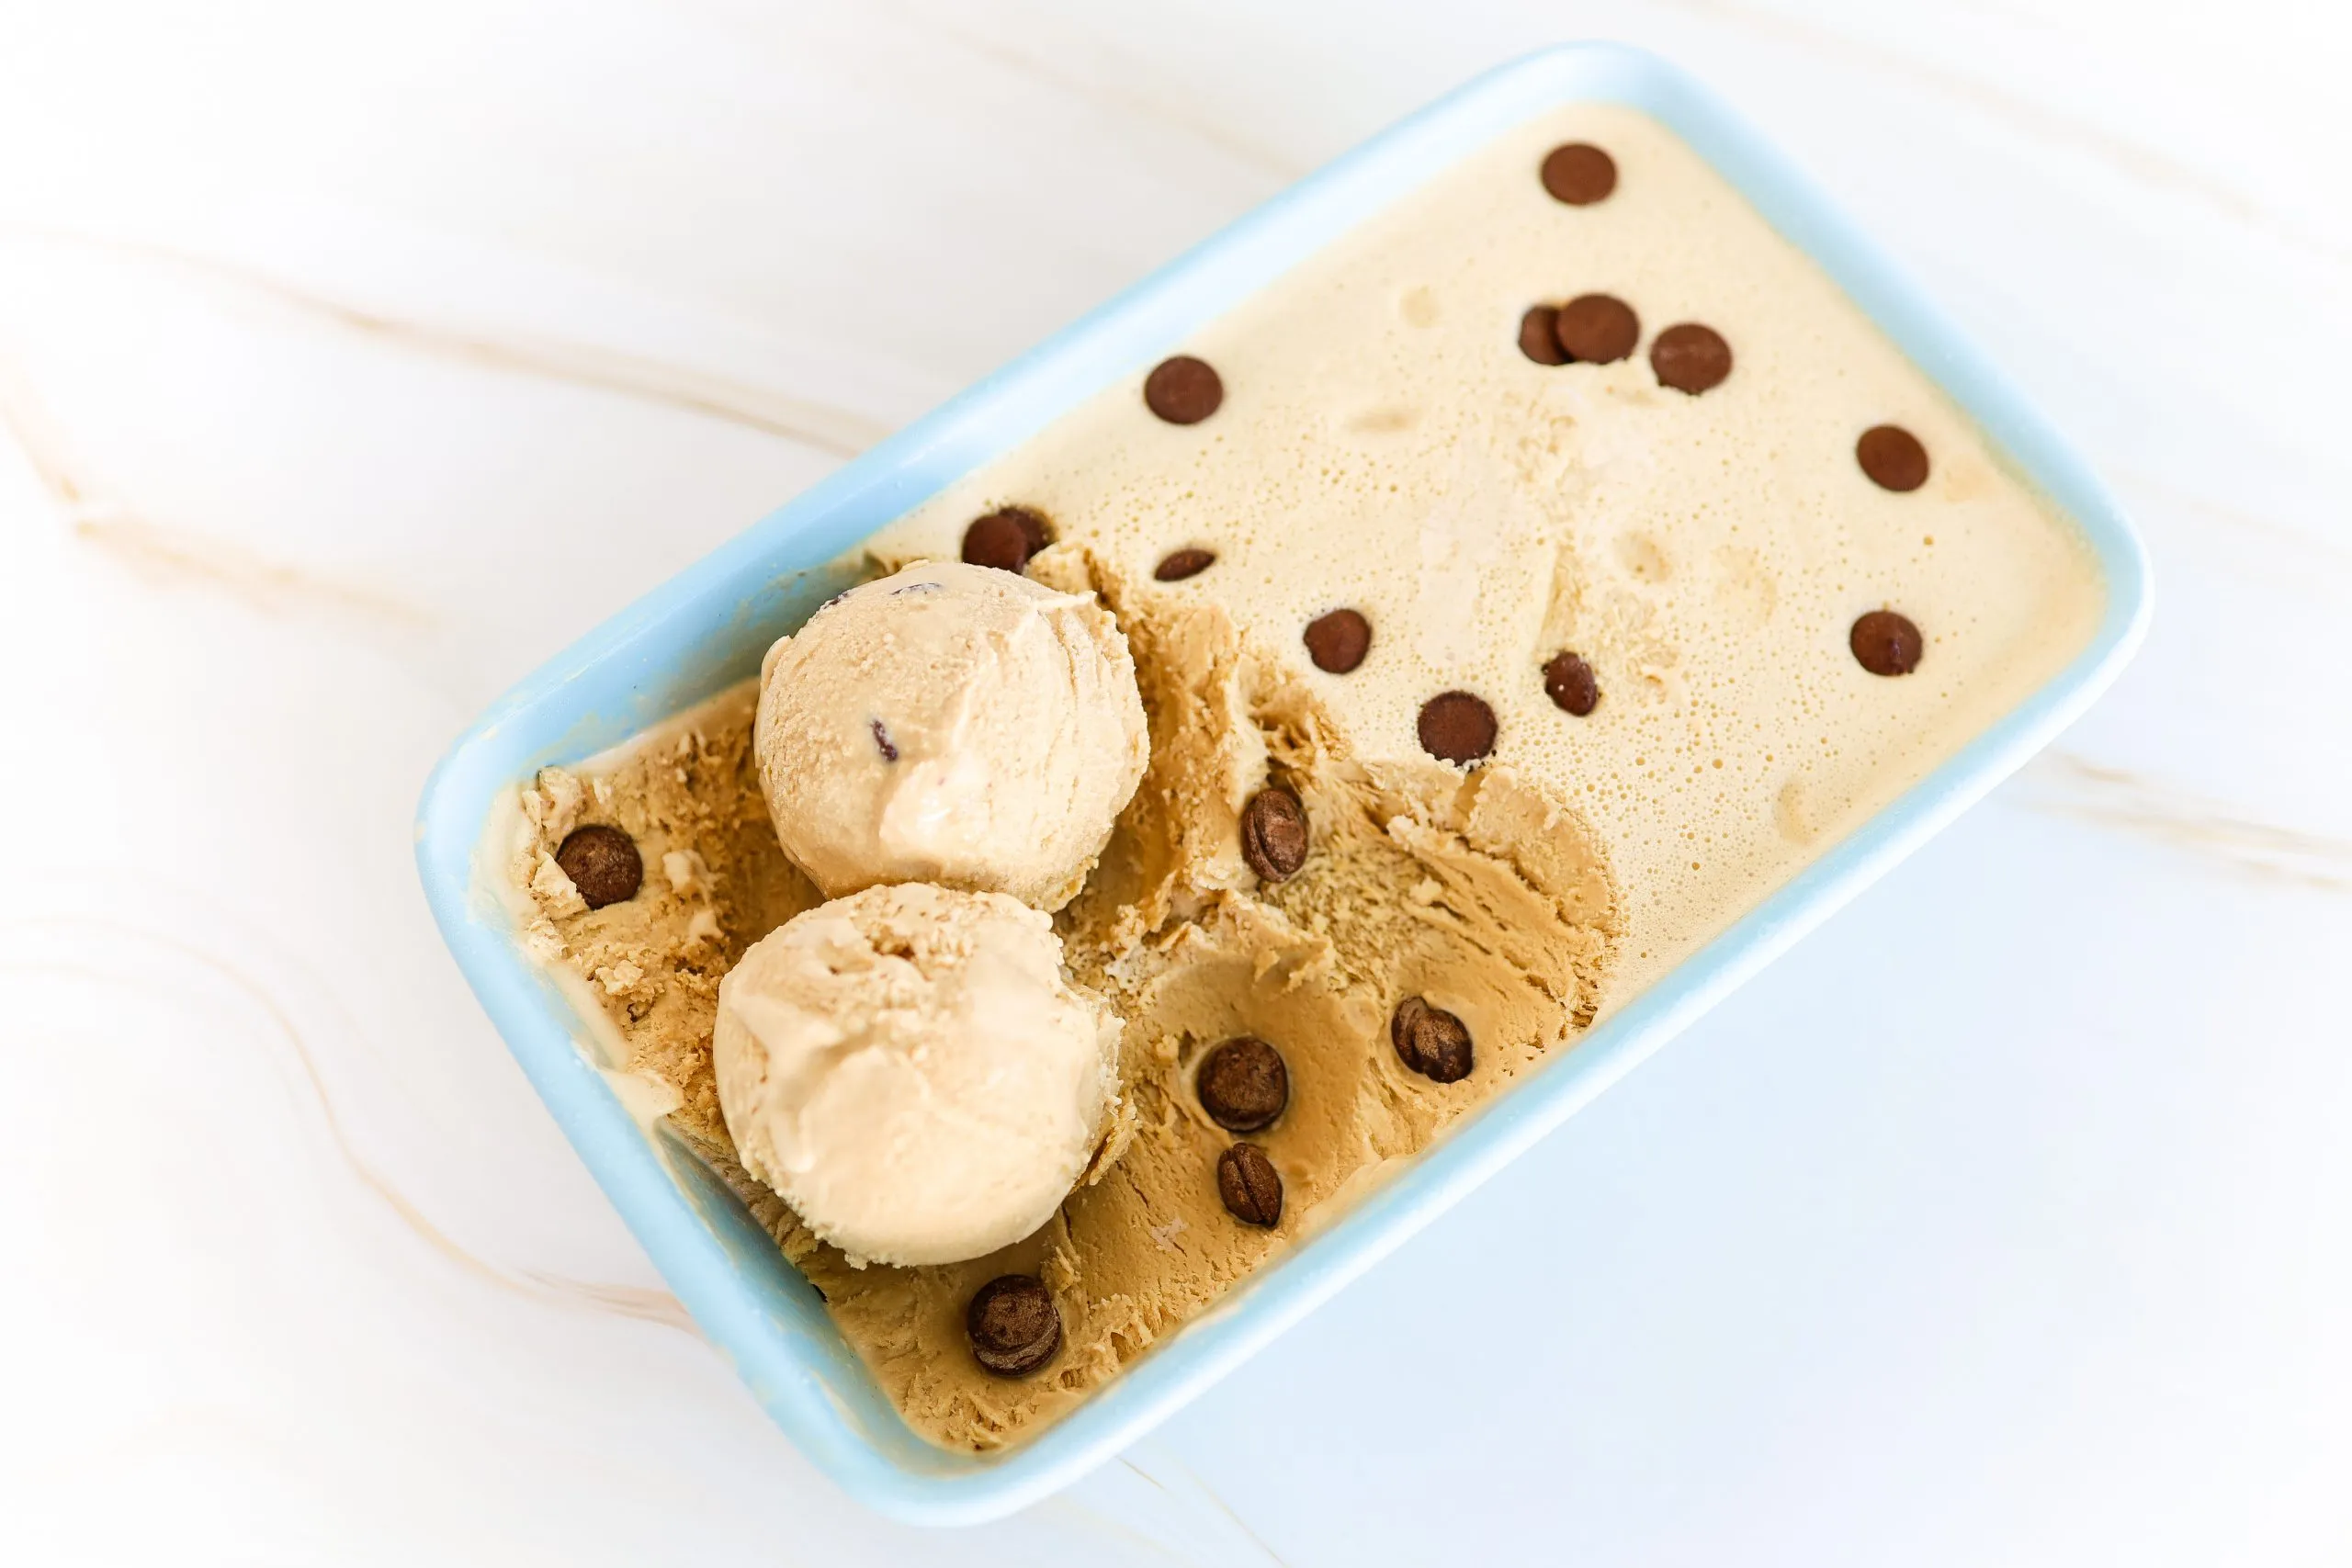
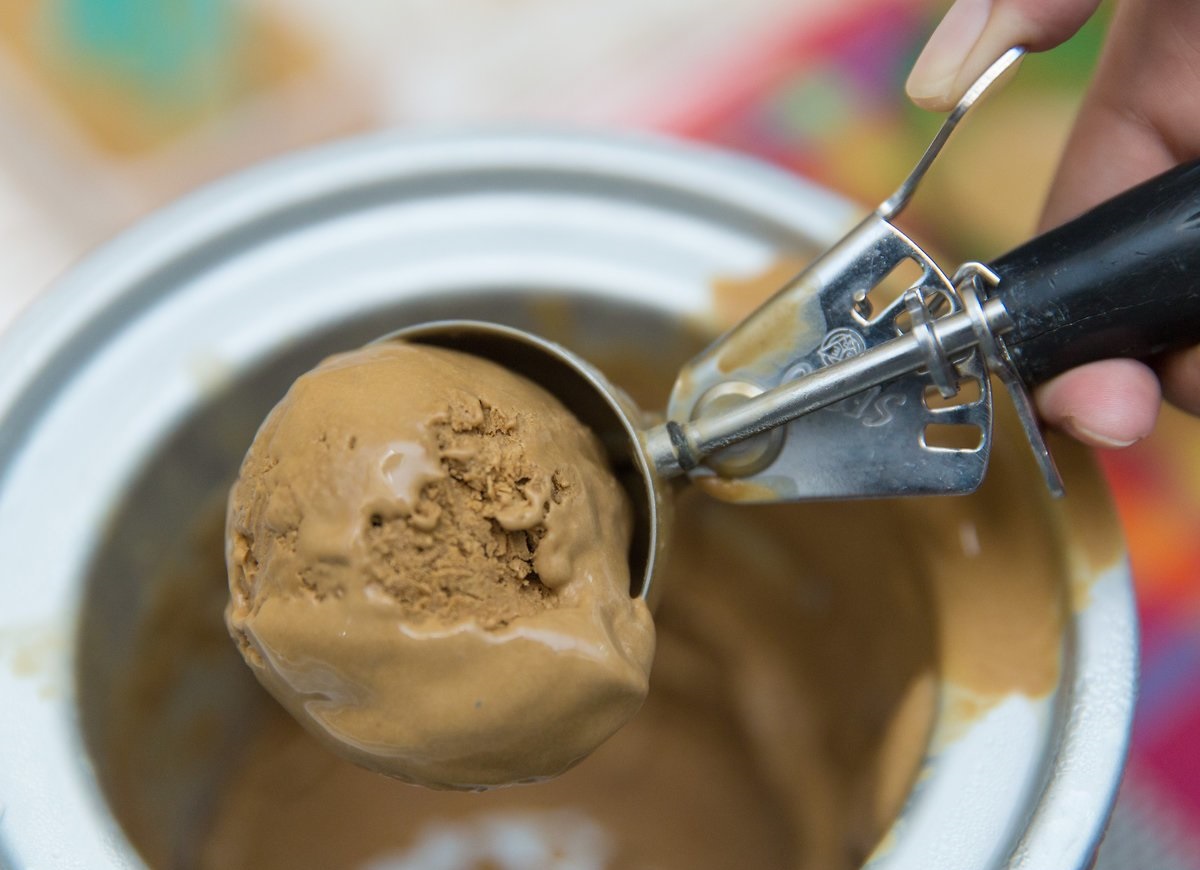
Once properly frozen, your coffee ice cream is ready to be enjoyed! Whether on its own, in a cone, or as a delightful addition to a dessert, savor the fruits of your labor and indulge in the creamy goodness of homemade ice cream.
Step 6: Serving and Enjoying!
Congratulations! You’ve made your very own homemade coffee ice cream without the need for an ice cream maker. Now it’s time to enjoy the fruits of your labor. Here’s how to serve and savor your delicious creation:
- Remove the container of coffee ice cream from the freezer and let it sit at room temperature for a few minutes to soften slightly. This will make it easier to scoop.
- Prepare your favorite ice cream bowls or cones to serve the coffee ice cream. You can also get creative and use it as a topping for pies, cakes, or other desserts.
- Using an ice cream scoop or a large spoon, scoop generous portions of the coffee ice cream into each bowl or cone.
- If desired, you can garnish your coffee ice cream with chocolate shavings, crushed cookies, or a drizzle of caramel or chocolate sauce.
- Grab a spoon and dig in! Savor the rich, creamy coffee flavor and appreciate the satisfaction of making your own homemade ice cream.
Remember to enjoy your creation slowly, allowing the flavors to unfold on your palate. Take in the delightful combination of the coffee aroma and the creamy texture as you savor each spoonful.
Don’t forget to share your homemade coffee ice cream with family and friends too! They’ll surely be impressed by your culinary skills and appreciate the delicious treat you’ve made from scratch.
Now, sit back, relax, and indulge in this homemade coffee ice cream that’s bursting with creamy goodness and the perfect hint of caffeine. Enjoy every last bite!