Introduction
Are you craving a delicious scoop of coffee ice cream, but don’t have an ice cream maker or heavy whipping cream on hand? No worries! In this guide, we will show you how to make homemade coffee ice cream without the need for specialized equipment or heavy cream.
Coffee ice cream is a classic favorite, combining the rich and bold flavors of coffee with the smooth and creamy texture of ice cream. While traditional recipes often call for heavy cream and an ice cream maker, we have found a simple and accessible alternative that still delivers a delectable frozen treat.
By using everyday ingredients and a few clever techniques, you can create a dreamy coffee ice cream at home. Whether you’re a coffee lover or just looking to try something new, this recipe is sure to satisfy your dessert cravings.
So, let’s dive in and discover how to make coffee ice cream without an ice cream maker and heavy whipping cream. Get ready to indulge in a delicious frozen treat that will surely impress your friends and family.
Ingredients
To make coffee ice cream without an ice cream maker and heavy whipping cream, you will need the following ingredients:
- 2 cups of full-fat milk: The milk will provide the creamy base for the ice cream.
- 1/2 cup of granulated sugar: The sugar will add sweetness to balance out the bitterness of the coffee.
- 2 tablespoons of instant coffee granules: Choose a high-quality coffee for maximum flavor.
- 1 tablespoon of vanilla extract: The vanilla will enhance the overall taste of the ice cream.
- 1 cup of heavy cream substitute: Instead of using heavy whipping cream, we will create a whipped cream substitute using a combination of ingredients.
- 1/2 cup of cold water: The water will help create a lighter texture in the cream substitute.
- 1/4 cup of powdered sugar: The powdered sugar will sweeten and stabilize the cream substitute.
- 1 teaspoon of cornstarch: The cornstarch will help thicken the cream substitute.
With these simple ingredients, you can recreate the creamy and flavorful goodness of coffee ice cream without the need for specialized equipment or heavy cream.
Step 1: Making the Coffee Base
The first step in making coffee ice cream without an ice cream maker is to create a flavorful coffee base. Follow these simple steps to get started:
- Heat the milk: In a saucepan, pour the full-fat milk and place it over medium heat. Heat the milk until it is steaming hot but not boiling.
- Add the sugar and coffee: Once the milk is hot, add the granulated sugar and instant coffee granules. Stir well until the sugar and coffee granules are completely dissolved.
- Infuse the flavors: Remove the saucepan from the heat and let it sit for 10 minutes to allow the flavors to infuse. This will ensure a robust coffee flavor in the ice cream.
- Stir in the vanilla extract: After 10 minutes, add the vanilla extract to the coffee-milk mixture. Stir well to incorporate the vanilla flavor.
Now that you have prepared the coffee base, you are one step closer to enjoying homemade coffee ice cream. The next step involves creating a whipped cream substitute, which will give the ice cream its creamy texture.
Step 2: Preparing the Whipped Cream Substitute
In this step, we will create a whipped cream substitute to give our coffee ice cream a creamy and light texture. Follow these instructions to prepare the substitute:
- Cold water and cornstarch mixture: In a small bowl, whisk together the cold water and cornstarch until the cornstarch is completely dissolved. Set aside.
- Whisk the cream substitute: In a separate mixing bowl, add the heavy cream substitute, which can be made by beating together equal parts of softened butter and milk. Start whisking the cream substitute on low speed.
- Gradually add the powdered sugar: While whisking, gradually add the powdered sugar to the cream substitute. Continue to whisk until the mixture becomes light and fluffy.
- Add the cornstarch mixture: Slowly pour the cornstarch mixture into the bowl with the whipped cream substitute while whisking continuously. Mix until well incorporated and the mixture thickens slightly.
The whipped cream substitute will not only provide a creamy texture to the ice cream but also help stabilize the mixture during the freezing process. Once you’ve prepared the substitute, it’s time to combine it with the coffee base and continue making your homemade coffee ice cream.
Step 3: Combining the Coffee Base and Whipped Cream Substitute
Now that you have prepared the coffee base and the whipped cream substitute, it’s time to combine the two to create a smooth and creamy mixture for your coffee ice cream. Follow these steps:
- Gradually add the coffee base: Begin by adding a small amount of the coffee base to the whipped cream substitute. Gently fold the mixture using a spatula or whisk until well combined.
- Continue adding the coffee base: Gradually pour the remaining coffee base into the whipped cream substitute, folding gently as you go. The key is to combine the mixtures without deflating the whipped cream substitute, so be careful not to overmix.
- Mix until evenly incorporated: Once all the coffee base has been added, gently continue folding until the mixture is well combined and there are no streaks of whipped cream substitute remaining.
By gently folding the coffee base into the whipped cream substitute, you will create a creamy and uniform mixture that is ready to be frozen and churned into delectable coffee ice cream.
Step 4: Freezing the Mixture
Now that you have combined the coffee base and whipped cream substitute, it’s time to freeze the mixture to transform it into delicious coffee ice cream. Follow these steps:
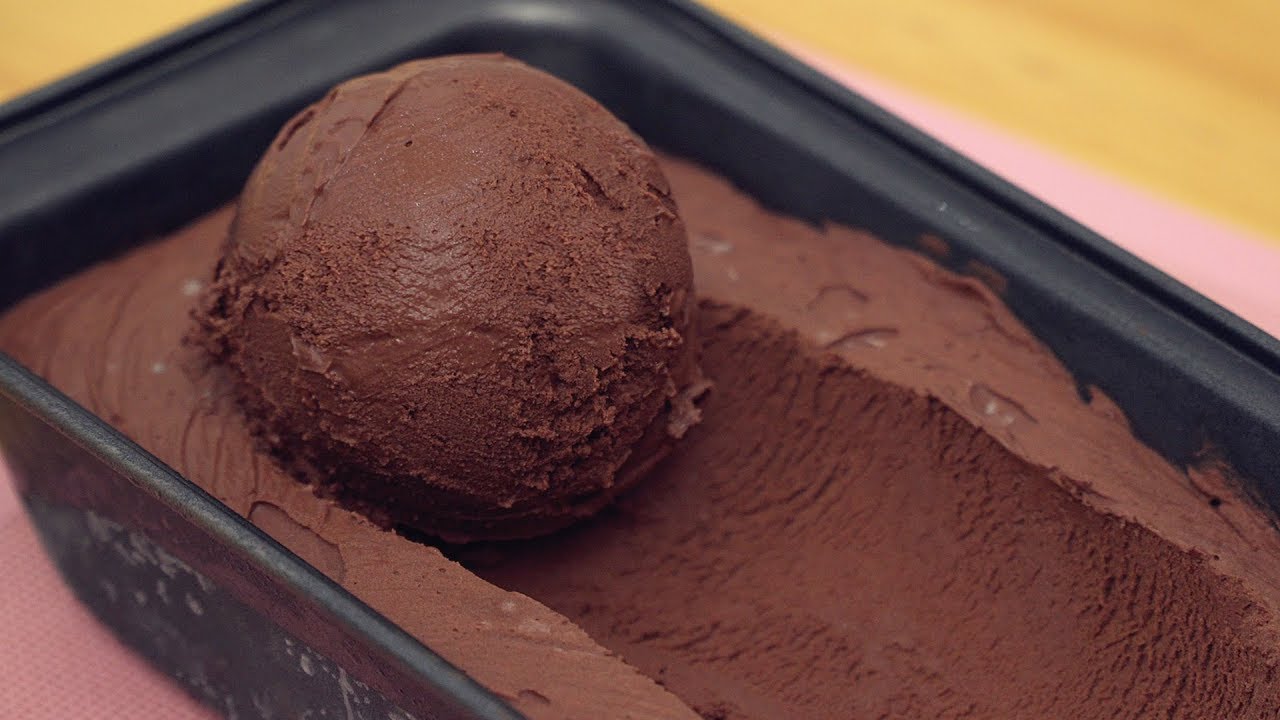
- Transfer the mixture to a freezer-safe container: Pour the coffee ice cream mixture into a freezer-safe container with a lid. Make sure to leave some space at the top as the mixture will expand while freezing.
- Smooth the surface: Use a spatula or the back of a spoon to smooth the surface of the mixture, ensuring an even texture and appearance.
- Place the container in the freezer: Cover the container with the lid and place it in the freezer. The ice cream mixture needs to freeze for at least 4 hours, or until it becomes firm and scoopable.
- Avoid ice crystals: To prevent ice crystals from forming, make sure the lid is tightly sealed and the container is placed in the coldest part of the freezer.
During the freezing process, the coffee ice cream mixture will solidify, resulting in a creamy and velvety texture. Once the mixture is fully frozen, it’s time to move on to the next step: churning.
Step 5: Churning the Mixture
Churning is an essential step in making ice cream as it incorporates air into the mixture, giving it a light and creamy texture. Even without an ice cream maker, you can still achieve this by following these simple steps:
- Remove the frozen mixture from the freezer: Take the container with the frozen coffee ice cream mixture out of the freezer and let it sit at room temperature for about 5-10 minutes. This will slightly soften the mixture, making it easier to work with.
- Transfer the mixture to a mixing bowl: Scoop the partially softened coffee ice cream mixture into a mixing bowl. Using an electric mixer or a whisk, beat the mixture at medium speed for a few minutes. This will break up any ice crystals and incorporate air into the ice cream, resulting in a smoother texture.
- Return the mixture to the container: Once the mixture has been churned, transfer it back to the freezer-safe container. Smooth the surface with a spatula, if needed.
- Freeze again until firm: Place the container back into the freezer and allow the churned ice cream to freeze for at least 2-4 hours, or until it reaches a scoopable consistency.
Churning the coffee ice cream mixture may take a bit of effort, but it is well worth it for the creamy and luxurious texture it imparts to the final product. Once the ice cream has reached the desired consistency, it’s time for the last step: storing and serving.
Step 6: Storing and Serving the Coffee Ice Cream
After successfully making your homemade coffee ice cream, it’s time to store it properly and serve it in a way that showcases its delicious flavors. Follow these steps:
- Transfer the ice cream to an airtight container: Once the coffee ice cream has reached the desired consistency, transfer it to an airtight container with a lid. This will help prevent freezer burn and maintain the ice cream’s freshness.
- Label and date the container: To keep track of your ice cream creations, label the container with the flavor and date of preparation. This way, you can enjoy the ice cream at its peak freshness.
- Store in the freezer: Place the container back in the freezer and allow the ice cream to harden for a few more hours or overnight. This will ensure a firm and scoopable texture when serving.
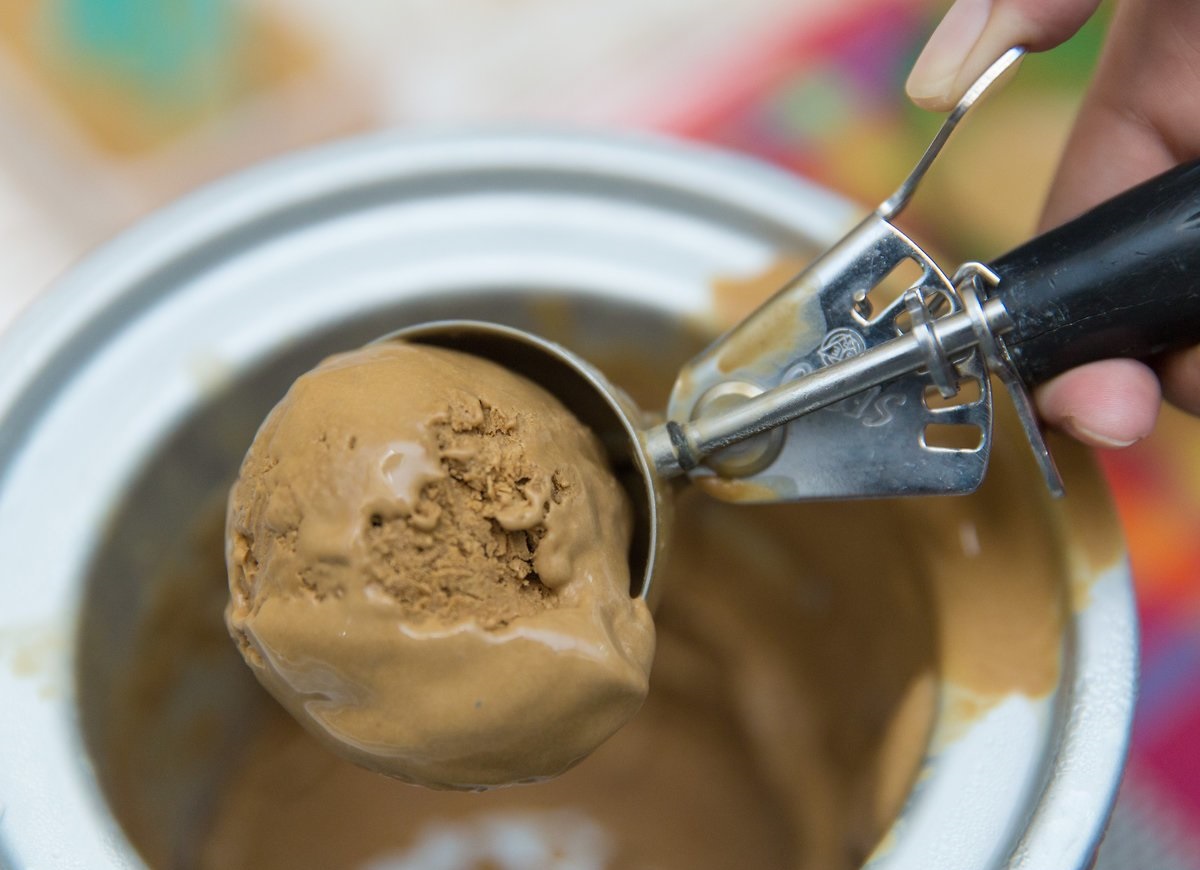
- Serving suggestion: When it’s time to serve the coffee ice cream, remove the container from the freezer and let it sit at room temperature for a few minutes to soften slightly. This makes scooping easier and enhances the creamy texture.
- Garnish and enjoy: Serve the coffee ice cream in bowls or cones. For an extra touch, you can garnish with chocolate shavings, a drizzle of caramel sauce, or a sprinkle of cocoa powder.
Now, savor each spoonful of your homemade coffee ice cream that combines the rich coffee flavor with the indulgent creaminess. Enjoy it as is or pair it with your favorite desserts for an unforgettable treat.
Conclusion
Creating homemade coffee ice cream without an ice cream maker and heavy whipping cream is not only achievable but also incredibly rewarding. By following the steps outlined in this guide, you can indulge in a creamy and delicious frozen treat that captures the rich flavors of coffee.
Starting with a flavorful coffee base and a whipped cream substitute, you can combine the two to create a smooth and creamy mixture. Freezing the mixture allows it to solidify, while churning adds air to create a light and velvety texture. Properly storing the coffee ice cream in an airtight container ensures its freshness and scoopability.
With this homemade coffee ice cream recipe, you have the flexibility to control the ingredients and customize the flavors according to your preferences. You can experiment with different types of coffee, add mix-ins like chocolate chips or crushed cookies, or even drizzle your favorite toppings over the finished ice cream.
Whether enjoyed on its own, paired with a warm dessert, or added to a decadent milkshake, homemade coffee ice cream is sure to satisfy your cravings and impress your family and friends. So, gather the ingredients, follow the steps, and treat yourself to a delightful frozen dessert that will have everyone asking for seconds.