Introduction
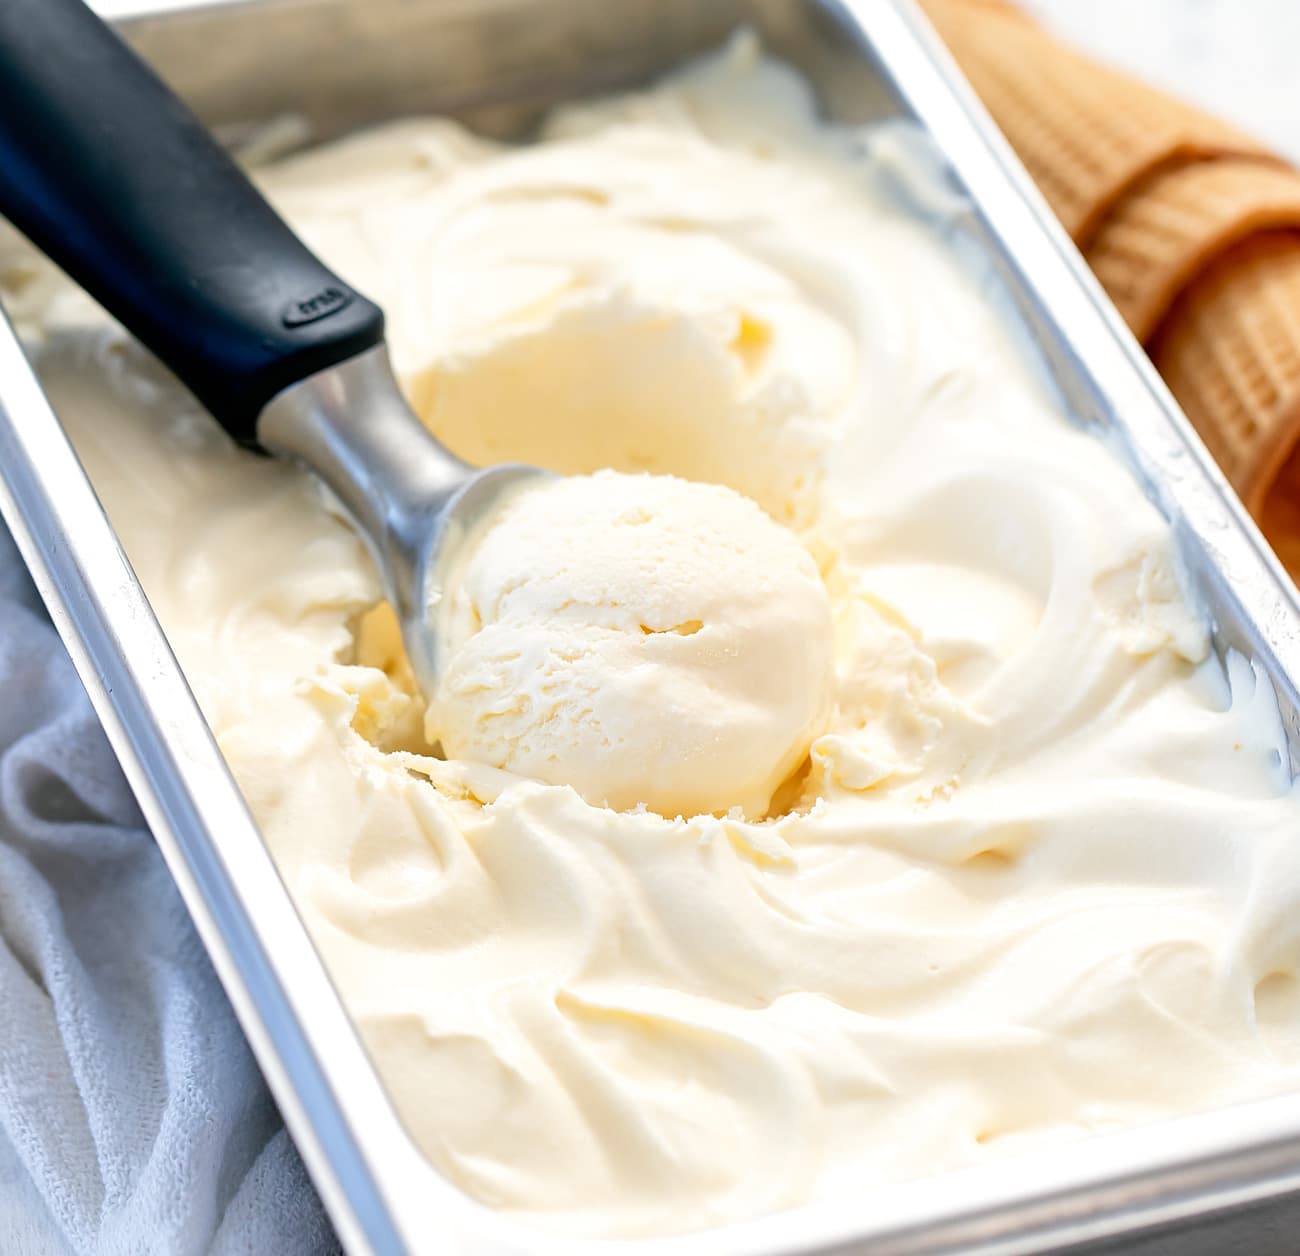
Welcome to the wonderful world of homemade ice cream! Who doesn’t love the creamy, sweet indulgence of a perfectly crafted scoop of ice cream? While you may think that making ice cream at home is a daunting task, especially without an ice cream maker, I’m here to show you that it’s easier than you think. With a few simple ingredients and some clever techniques, you can create delicious homemade ice cream that rivals the best artisanal brands.
The beauty of making ice cream without an ice cream maker is that you don’t need any fancy equipment. Instead, you can use everyday kitchen tools to achieve the same creamy consistency and luscious flavors. Whether you’re craving classic vanilla, rich chocolate, or something more exotic like mango or mint chip, the possibilities are endless. Plus, making your own ice cream allows you to control the ingredients, ensuring you can indulge in a treat that is tailored to your taste and dietary preferences.
In this article, we will explore different methods for making ice cream without an ice cream maker. From the simple Ziplock bag technique to using a stand mixer or a food processor, I will guide you through the step-by-step process of creating your own frozen delight. But before we dive into the methods, let’s discuss the essential ingredients needed for homemade ice cream.
Whether you prefer a classic custard-based ice cream or a lighter eggless version, the basic ingredients remain the same. You’ll need cream (either heavy or whipping), milk, sugar, and flavorings of your choice. These ingredients are the building blocks of any ice cream recipe, providing the creamy base and sweetness that we all adore. Don’t forget to gather any additional mix-ins and toppings you’d like to include, such as chocolate chips, fruit, or nuts, to elevate your homemade creation.
Now that we’ve covered the basics, it’s time to delve into the various methods for making ice cream without an ice cream maker. Whether you have limited kitchen tools or want to experiment with different techniques, there’s a method that will suit your needs. So, let’s roll up our sleeves and start making some delicious homemade ice cream!
Ingredients for Homemade Ice Cream
Before you embark on your homemade ice cream adventure, it’s important to gather the right ingredients. While the specific ingredients may vary depending on your chosen recipe, here are the essential components that you’ll need:
- Cream: The cream is what gives ice cream its rich and creamy texture. You can use heavy cream, which contains a higher fat content, or whipping cream, which has a slightly lower fat content. Both will yield delicious results.
- Milk: Milk acts as the liquid base for the ice cream. You can use whole milk for a richer flavor, or if you prefer a lighter option, you can use low-fat or skim milk.
- Sugar: Sugar adds sweetness to the ice cream and helps to prevent crystal formation. You can use regular granulated sugar or experiment with alternative sweeteners like honey or maple syrup.
- Flavorings: This is where you can unleash your creativity and personalize your ice cream. Whether you prefer classic flavors like vanilla or chocolate or want to explore more unique options like fruit purees, extracts, or even spices, the choice is yours.
- Additional Mix-ins: To take your homemade ice cream to the next level, consider adding mix-ins such as chocolate chips, crushed cookies, nuts, or fresh fruit. These additions will add texture and flavor bursts to your frozen treat.
- Toppings: Lastly, don’t forget about the finishing touches. Gather your favorite toppings, such as hot fudge sauce, caramel drizzle, whipped cream, or sprinkles, to make your ice cream even more delightful.
When selecting your ingredients, opt for high-quality products to ensure the best results. Fresh and flavorful ingredients will elevate your ice cream and make it truly memorable.
Now that you have gathered all the necessary ingredients, it’s time to choose the right recipe for your homemade ice cream. The recipe you select will determine the specific measurements and instructions to follow, leading you to a creamy and delicious treat.
Choosing the Right Recipe for Ice Cream
When it comes to making homemade ice cream, choosing the right recipe is key. With countless recipes available, each offering different flavors, textures, and levels of complexity, it’s important to consider your preferences and skill level. Here are some factors to keep in mind when selecting a recipe:
1. Flavor: Consider the flavor you’re craving. Whether you’re a fan of classic vanilla, decadent chocolate, or more adventurous flavors like lavender or salted caramel, there’s a recipe out there for you. Look for recipes that highlight the flavors you’re most excited about.
2. Level of Complexity: Evaluate your skill level and the time you’re willing to invest. Some recipes require a custard base, which involves cooking the mixture over the stove and tempering eggs. This method offers a rich and creamy result but may be more time-consuming. On the other hand, there are simpler recipes that skip the custard base and rely on whipped cream for a lighter texture.
3. Equipment Needed: Take into account the equipment you have available. If you don’t own an ice cream maker, look for recipes specifically designed for making ice cream without one. These recipes often utilize alternative methods and tools, such as a Ziplock bag or a stand mixer.
4. Dietary Restrictions: If you have specific dietary needs, such as being lactose intolerant or following a vegan lifestyle, look for recipes that cater to those requirements. There are wonderful dairy-free and vegan ice cream recipes that use alternatives like coconut milk or cashew cream.
5. Reviews and Ratings: Before settling on a recipe, read reviews and ratings from others who have tried it. This can give you insights into the taste, texture, and success rate of the recipe. Look for recipes with consistently positive feedback.
6. Personalization: Remember that recipes are just a starting point. Feel free to add your own twist by incorporating mix-ins or adjusting the sweetness level to your taste. The joy of homemade ice cream is the ability to personalize it according to your preferences.
Once you’ve chosen a recipe that checks all your boxes, gather the ingredients and equipment needed. Read through the recipe thoroughly before starting to ensure you understand each step and have all the necessary tools. With the right recipe in hand, you’re ready to embark on a delicious ice cream-making adventure.
Preparing the Base for Ice Cream
Now that you have selected the perfect recipe for your homemade ice cream, it’s time to prepare the base. The base is the foundation of your ice cream, providing the creamy texture and the sweetness that we all love. Here’s a step-by-step guide on how to prepare the base:
1. Gather the Ingredients: Double-check that you have all the ingredients listed in your chosen recipe. Having everything prepared in advance will make the process smoother.
2. Mix the Cream and Milk: In a saucepan, combine the cream and milk in the ratio specified in your recipe. This mixture will give your ice cream its creamy consistency. Heat the mixture over medium heat until it starts to steam, but be careful not to let it boil.
3. Add the Sugar: Gradually whisk in the sugar until it dissolves completely. This will sweeten the base of your ice cream and help prevent ice crystals from forming.
4. Incorporate the Flavorings: If your recipe calls for flavored extracts or other liquid flavorings, add them to the warm mixture and stir until well combined. If you’re using solid flavorings like spices or grated chocolate, you can add them later during the mixing process.
5. Let the Mixture Cool: It’s essential to let the base mixture cool completely before continuing. You can either transfer it to a clean bowl and let it sit on the countertop or refrigerate it until chilled. Cooling the mixture allows the flavors to develop and gives the ice cream a better texture.
6. Prep the Equipment: While the mixture is cooling, prepare the equipment you’ll be using to make the ice cream. If you’re using an alternative method like a Ziplock bag or a food processor, make sure they are clean and ready to use.
7. Chill the Equipment: If your recipe requires using specific equipment, such as an ice cream maker bowl or a stand mixer’s mixing bowl, ensure that they have been properly chilled according to the manufacturer’s instructions. Cold equipment helps the ice cream freeze faster and results in a smoother texture.
Once your base mixture is completely cooled, and your equipment is prepped, you’re ready to move on to the next step: making the ice cream! Each method will have its own unique instructions, so follow the specific steps outlined in your chosen recipe.
Remember to have fun with the process and don’t be afraid to experiment with different flavors and mix-ins. The beauty of homemade ice cream is the ability to create endless variations and tailor the taste to your liking. So, get ready to enjoy the fruits of your labor and indulge in a delectable homemade treat!
Methods for Making Ice Cream without an Ice Cream Maker
Not having an ice cream maker shouldn’t stop you from enjoying homemade ice cream. There are several alternative methods you can use to achieve that creamy, dreamy texture without the need for specialized equipment. Here are three popular methods for making ice cream without an ice cream maker:
Method 1: Using the Ziplock Bag Technique:
This method involves placing the ice cream mixture in a Ziplock bag and using ice and salt to create a freezing environment. Here’s how to do it:
- Pour your chilled ice cream base into a quart-sized Ziplock bag, ensuring it is securely sealed.
- Fill a large gallon-sized Ziplock bag halfway with ice cubes.
- Add a generous amount of salt, such as kosher or rock salt, to the bag of ice. The salt helps lower the freezing point of the ice, creating a colder environment for freezing the ice cream.
- Place the sealed bag containing the ice cream mixture into the larger bag of ice and salt.
- Seal the larger bag tightly, ensuring there is no leakage.
- Using oven mitts or a kitchen towel to protect your hands, gently shake and massage the bags for approximately 10-15 minutes, or until the ice cream base thickens and reaches your desired consistency.
- Once the ice cream is frozen to your liking, carefully remove the smaller bag from the larger bag, wipe it clean, and open it.
- Scoop the ice cream into bowls or cones, and enjoy!
Method 2: Using a Stand Mixer or Hand Mixer:
If you have a stand mixer or a hand mixer with whisk attachments, you can use it to whip up your ice cream base. Here’s how:
- Chill your stand mixer bowl or a large mixing bowl in the refrigerator for at least 15 minutes.
- Pour your chilled ice cream base into the chilled bowl.
- Using the whisk attachment on your stand mixer or a hand mixer, beat the mixture on medium to high speed until it begins to thicken. This should take about 3-5 minutes.
- Once the mixture has thickened to a soft-serve consistency, you can optionally fold in any mix-ins or flavorings.
- Transfer the mixture to a freezable container, cover it, and place it in the freezer.
- Freeze for at least 4-6 hours or until the ice cream is firm.
- Serve and enjoy the creamy goodness!
Method 3: Using a Food Processor or Blender:
If you have a food processor or a high-powered blender, you can use it to churn your ice cream base. This method works best for recipes that don’t require adding too many mix-ins. Here’s what to do:
- Pour your chilled ice cream base into the food processor or blender.
- Blend the mixture on high speed until it thickens and starts to resemble soft-serve ice cream, typically about 3-5 minutes.
- If desired, add any mix-ins or flavorings and pulse a few times to incorporate them.
- Transfer the mixture to a freezable container, cover it, and place it in the freezer.
- Allow the ice cream to freeze for at least 4-6 hours or until it reaches a firm consistency.
- Scoop, serve, and relish your homemade creation!
These alternative methods provide you with the opportunity to indulge in homemade ice cream, even without an ice cream maker. Choose the method that suits your equipment and preferences, and enjoy the satisfaction of making your very own creamy frozen treat.
Method 1: Using the Ziplock Bag Technique
The Ziplock bag technique is a simple and fun way to make ice cream without an ice cream maker. It involves using a Ziplock bag, ice, and salt to create a freezing environment that churns the ice cream mixture. Here’s a step-by-step guide on how to use this method:
- Pour your chilled ice cream base into a quart-sized Ziplock bag, ensuring it is securely sealed. Make sure to remove any excess air from the bag to prevent leakage.
- Fill a large gallon-sized Ziplock bag halfway with ice cubes. Crushed ice works best, as it surrounds the smaller bag more evenly.
- Add a generous amount of salt, such as kosher or rock salt, to the bag of ice. The salt helps lower the freezing point of the ice, creating a colder environment for freezing the ice cream. About 1/2 cup of salt should be sufficient.
- Place the sealed bag containing the ice cream mixture into the larger bag of ice and salt. Ensure that both bags are sealed tightly to prevent any leakage.
- Using oven mitts or a kitchen towel to protect your hands from the cold, gently shake and massage the bags for approximately 10-15 minutes. This constant movement of the ice and salt mixture creates a freezing effect on the ice cream base, causing it to thicken and freeze.
- Throughout the shaking process, check the smaller bag occasionally to monitor the consistency. The ice cream mixture will gradually thicken and reach your desired consistency. Keep in mind that the longer you shake, the firmer the ice cream will become.
- Once the ice cream is frozen to your liking, carefully remove the smaller bag from the larger bag, wipe it clean, and open it.
- Scoop the freshly made ice cream into bowls or cones, and enjoy the fruits of your labor!
The Ziplock bag technique is not only effective, but it also allows you to get creative with flavors and mix-ins. Feel free to experiment by adding your favorite flavorings, such as vanilla extract, cocoa powder, or fresh fruit purees, to the ice cream base before sealing the bag. You can also add mix-ins like chocolate chips, crushed cookies, or nuts during the shaking process to incorporate extra texture and flavor.
Keep in mind that the ice and salt mixture will eventually melt, so it’s important to use this method when you’re prepared to consume the ice cream immediately or transfer it to a freezer-safe container for later enjoyment. The Ziplock bag technique is a fantastic way to satisfy your ice cream cravings without the need for specialized equipment, making it a perfect activity for kids and adults alike.
Now that you’re well-versed in the Ziplock bag technique, let’s explore another method for making ice cream without an ice cream maker.
Method 2: Using a Stand Mixer or Hand Mixer
If you have a stand mixer or a hand mixer with whisk attachments, you can easily make homemade ice cream without an ice cream maker. This method utilizes the power of the mixer to whip the ice cream base and create a smooth and creamy texture. Follow these steps to make ice cream using a stand mixer or hand mixer:
- Chill your stand mixer bowl or a large mixing bowl in the refrigerator for at least 15 minutes. This helps keep the ice cream mixture cold during the mixing process.
- Pour your chilled ice cream base into the chilled bowl. Make sure the mixture is well-combined and smooth.
- Attach the whisk attachment to your stand mixer or use the beaters with your hand mixer.
- Turn on the mixer to medium or high speed and start whisking the ice cream base. Beat the mixture for about 3-5 minutes, or until it begins to thicken and reaches a soft-serve consistency.
- If your recipe includes any additional mix-ins or flavorings, like chocolate chips or chopped fruit, you can add them at this stage. Be sure to fold them into the mixture gently.
- Once you’ve incorporated any desired mix-ins, transfer the ice cream mixture to a freezable container. Use a spatula to scrape every last bit of ice cream from the bowl.
- Cover the container and place it in the freezer to allow the ice cream to firm up and freeze completely. This typically takes 4-6 hours.
- Once the ice cream has reached your desired consistency, it’s ready to be served. Use an ice cream scoop to portion the ice cream into bowls, cones, or dishes.
- Enjoy the creamy and luscious homemade ice cream you’ve made with the power of your stand mixer or hand mixer!
This method allows you to control the speed and duration of the whisking process, resulting in a creamier and more whipped texture. The mixer incorporates air into the mixture, creating a light and fluffy ice cream base. It’s important to monitor the whisking process and check the texture regularly to achieve your preferred consistency.
Feel free to experiment with different flavors and add-ins to make your custom creations. From traditional favorites like cookies and cream to unique combinations like lavender and honey, the possibilities are endless.
Now that you’ve learned the second method for making ice cream without an ice cream maker, let’s explore the final method: using a food processor or blender.
Method 3: Using a Food Processor or Blender
If you have a food processor or a high-powered blender, you can create delicious homemade ice cream without an ice cream maker. This method allows for a smooth and creamy texture by utilizing the blending power of the appliance. Here’s how to make ice cream using a food processor or blender:
- Pour your chilled ice cream base into the food processor or blender.
- Secure the lid and make sure it is tightly in place.
- Turn on the appliance and blend the mixture on high speed until it starts to thicken and resemble a soft-serve ice cream consistency. This process usually takes about 3-5 minutes.
- If your recipe includes any additional mix-ins or flavorings, like crushed cookies or fruit chunks, you can add them at this stage. Pulse the mixture a few times to incorporate the mix-ins evenly.
- Transfer the ice cream mixture to a freezable container, ensuring that it is clean and has an airtight seal.
- Place the container in the freezer and allow the ice cream to firm up and freeze for at least 4-6 hours, or until it reaches your desired consistency.
- Once the ice cream is fully frozen, it’s ready to be served. Use an ice cream scoop to portion it into bowls or cones.
- Sit back, relax, and savor the creamy goodness of your homemade ice cream made with the convenience of a food processor or blender.
The food processor or blender method is especially effective for creating smooth and silky ice cream, thanks to its powerful blades that blend the ingredients thoroughly. It’s important to monitor the blending process to prevent the mixture from becoming too liquefied or overmixed. You want to achieve a soft-serve consistency that will freeze into a solid ice cream in the freezer.
Feel free to get creative with flavors and mix-ins to personalize your ice cream. Whether it’s adding your favorite fruits, swirls of chocolate sauce, or a sprinkle of crushed nuts, the food processor or blender method can accommodate a variety of flavors and add-ins.
Now that you’ve discovered the third method for making ice cream without an ice cream maker, you’re well-equipped to create your own frozen delights. Experiment with different recipes, techniques, and flavor combinations to find your favorite homemade ice cream recipe.
Tips for Successful Homemade Ice Cream without an Ice Cream Maker
Making homemade ice cream without an ice cream maker can be a fun and rewarding experience. To ensure your ice cream turns out deliciously smooth and creamy, here are some tips to keep in mind:
1. Chill your ingredients: Before you begin, make sure to chill your cream, milk, and any other ingredients that need to be cold. Chilled ingredients help the ice cream freeze faster, resulting in a smoother texture.
2. Use high-quality ingredients: Opt for fresh and high-quality ingredients to enhance the flavor and creamy texture of your ice cream. Use real vanilla extract, premium cocoa powder, and fresh fruits for the best results.
3. Monitor the temperature: When heating the cream and milk mixture, be careful not to let it boil. Heating it gently until it steams will be sufficient to dissolve the sugar and infuse any added flavorings.
4. Mix thoroughly: Whether you’re using the Ziplock bag technique, a mixer, or a blender, ensure that you mix the ice cream base thoroughly to incorporate air and create a smoother texture.
5. Chill your tools and equipment: If you’re using a stand mixer, food processor, or blender, chill the mixing bowl or container in the refrigerator before using it. Cold equipment speeds up the freezing process and helps achieve a creamier consistency.
6. Add mix-ins at the right time: If you’re adding mix-ins like chocolate chips, nuts, or fruits, make sure to fold them in at the appropriate stage of the process. For example, with the stand mixer or hand mixer method, add the mix-ins once the ice cream base has reached a soft-serve consistency.
7. Freeze in a shallow container: To facilitate even freezing and quick chilling, use a shallow container rather than a deep one. It allows for a larger surface area, resulting in faster freezing and a smoother texture.
8. Avoid over-churning: When using alternative methods to an ice cream maker, avoid over-churning or excessive mixing. Over-churning can incorporate too much air and lead to a fluffier consistency rather than the desired creamy texture.
9. Let it soften before serving: After freezing the ice cream, allow it to sit at room temperature for a few minutes before serving. This will soften it slightly and make it easier to scoop and enjoy.
10. Experiment and have fun: Don’t be afraid to experiment with flavors, mix-ins, and techniques. Ice cream making is a creative process, so feel free to add your own twist and create unique and delicious combinations.
By following these tips, you’ll be well on your way to making successful homemade ice cream without an ice cream maker. So, grab your ingredients, get creative, and indulge in the sweet and creamy goodness of your own frozen delight!
Flavoring and Mix-Ins for Homemade Ice Cream
One of the joys of making homemade ice cream is the ability to experiment with an array of flavors and mix-ins. From classic combinations to unique and adventurous creations, the options are virtually limitless. Here are some suggestions for flavoring and mix-ins to elevate your homemade ice cream:
1. Classic Flavors: Vanilla, chocolate, and strawberry are timeless classics that never disappoint. Use high-quality extracts or real vanilla beans, cocoa powder, or fresh strawberries to infuse intense flavors into your ice cream base.
2. Fruity Delights: Incorporate the vibrant flavors of fruits into your ice cream. Puree fruits like mangoes, berries, or peaches and stir them into the base during the churning process. Chunky pieces of fresh fruit can also be added as mix-ins.
3. Decadent Chocolates: Go beyond plain chocolate and experiment with variations like dark chocolate, milk chocolate, or white chocolate. Enhance the chocolate experience by incorporating chocolate chips, chocolate chunks, or even fudge ripple into your ice cream.
4. Coffee Lovers’ Paradise: Add a kick of caffeine by infusing your ice cream base with strong brewed coffee or espresso. For an extra indulgence, consider adding crushed cookies or chocolate-covered espresso beans as mix-ins.
5. Nutty Delights: Toasted and chopped nuts provide a satisfying crunch and a burst of flavor. Consider mixing in favorites like almonds, pecans, walnuts, or pistachios. For a delightful combination, pair nuts with chocolate or caramel flavors.
6. Cookie Madness: Crush your favorite cookies, such as Oreos, chocolate chip cookies, or peanut butter cookies, and fold them into the ice cream base. The cookie crumbs will add a delightful texture and bursts of flavor throughout.
7. Sweet Swirls: Create beautiful ribbons of sweetness by swirling in caramel sauce, chocolate fudge, or fruit compote into the ice cream base. Use a spoon or spatula to gently fold in the swirls, creating a visually stunning and flavor-packed treat.
8. Spices and Herbs: Experiment with unique and unexpected flavors by incorporating spices and herbs. Add dashes of cinnamon, nutmeg, cardamom, or even fresh mint leaves to create interesting and aromatic ice cream experiences.
9. Candy Crush: Crush your favorite candies, such as peppermint candies, peanut butter cups, or toffee bits, and mix them into the ice cream base. The candy pieces will provide delightful bursts of flavor and texture.
10. Exotic Twists: For the adventurous ice cream enthusiasts, explore exotic flavors like lavender, matcha, or chai. These unique flavors can be achieved through infusing the ice cream base with dry tea leaves, culinary-grade matcha powder, or dried lavender buds.
Remember, the key to successful flavoring and mix-ins is balance. Start with small quantities, taste as you go, and adjust accordingly. Let your taste buds be your guide as you create your own signature flavors and combinations.
Now that you’re armed with a plethora of flavoring and mix-in ideas, it’s time to churn up an ice cream creation that will delight your taste buds!
Storing and Serving Homemade Ice Cream
After putting in the effort to make homemade ice cream, it’s important to properly store it to maintain its freshness and deliciousness. Here are some tips for storing and serving your homemade ice cream:
1. Freezing the Ice Cream: Once your homemade ice cream has reached the desired consistency, transfer it to a freezable container with an airtight seal. This will prevent ice crystals from forming and keep the ice cream fresh. Use a container that is the appropriate size for the amount of ice cream you have, leaving a little space at the top to allow for expansion as it freezes.
2. Covering the Container: To further protect your ice cream from freezer burn and unwanted odors, cover the container with a layer of plastic wrap or parchment paper before sealing it with the lid. This extra step will help maintain the quality and flavor of the ice cream.
3. Proper Freezer Placement: When storing your homemade ice cream in the freezer, place it in the coldest part of the freezer, usually in the back. Avoid storing it in the freezer door, as it experiences more temperature fluctuations. This will ensure that your ice cream stays frozen solid and maintains its creamy texture.
4. Softening Before Serving: Homemade ice cream tends to freeze harder than store-bought varieties due to the absence of additives and stabilizers. To make it easier to scoop and serve, remove the ice cream from the freezer and let it sit at room temperature for a few minutes to soften slightly. The time required for softening will depend on the initial firmness and temperature of the ice cream.
5. Accurate Scooping: To achieve perfectly rounded and smooth scoops, use a sturdy ice cream scoop dipped in warm water. This will help the ice cream release easily from the scoop and preserve its shape. For best results, dip the scoop in warm water between each scoop of ice cream.
6. Creative Serving Options: In addition to serving ice cream in bowls or cones, consider exploring creative serving options. Create ice cream sandwiches using cookies or wafers, or layer the ice cream between cake slices for a delicious ice cream cake. Experiment with various toppings, such as whipped cream, hot fudge sauce, sprinkles, nuts, or maraschino cherries, to enhance the presentation and flavor of your homemade treat.
7. Reusing the Container: If you plan to store your homemade ice cream for an extended period, make sure to label the container with the date. This helps you keep track of the freshness and avoids confusion with multiple containers. When you finish the ice cream, wash and reuse the container for future batches.
By following these storing and serving tips, you can ensure that your homemade ice cream maintains its quality and delightful taste. So, indulge in the creamy deliciousness and savor the satisfaction of enjoying your very own frozen creation!
Conclusion
Congratulations! You have now mastered the art of making homemade ice cream without the need for an ice cream maker. Armed with the knowledge of various methods, tips, and flavoring options, you can create countless batches of creamy and delicious frozen treats right in your own kitchen.
Whether you choose to use the Ziplock bag technique, a stand mixer or hand mixer, or a food processor/blender, you now have the tools to whip up homemade ice cream with ease. Remember to chill your ingredients, follow the recipe instructions, and enjoy the process of creating your own unique flavors and mix-ins.
With the ability to personalize your ice cream, you can cater to your taste preferences, dietary restrictions, and creative desires. From classic flavors like vanilla and chocolate to more adventurous combinations such as coffee almond or mint chocolate chip, the possibilities are truly endless.
Make sure to store your homemade ice cream properly in airtight containers in the coldest part of your freezer to maintain its freshness. And don’t forget to have fun with presentation. Serve your ice cream in bowls, cones, or get creative with ice cream sandwiches or ice cream cakes. Add a variety of toppings to elevate the presentation and flavor profile.
Now that you have the knowledge and skills to make homemade ice cream without an ice cream maker, let your imagination run wild and experiment with different techniques, flavors, and mix-ins. Share your creations with family and friends, and enjoy the sweet satisfaction of indulging in your very own frozen delights.
So, what are you waiting for? Unleash your inner ice cream maker, gather your ingredients, and embark on a journey of homemade ice cream bliss. Happy churning!


