Overview
The Dell Inspiron N5040 is a reliable laptop that has served you well over the years. However, if you’re experiencing issues with your hard disk drive or simply need to upgrade to a larger capacity, you may need to remove the existing hard drive. Removing a hard drive from your Dell Inspiron N5040 is a fairly straightforward process that can be completed with a few simple steps and basic tools.
In this guide, we will walk you through the process of removing the hard disk drive from your Dell Inspiron N5040. We will also cover the necessary tools needed for the task, as well as optional steps for installing a new hard drive.
By following these instructions carefully, you can safely remove the hard drive from your laptop without causing any damage. However, please note that opening your laptop may void the warranty, so proceed with caution if your device is still under warranty.
Whether you are replacing a faulty hard drive or upgrading to a larger capacity drive, this guide will help you navigate the process smoothly. So, let’s get started with the step-by-step instructions on how to remove the hard disk drive from your Dell Inspiron N5040.
Tools Needed
Before you begin the process of removing the hard disk drive from your Dell Inspiron N5040, you’ll need to gather a few essential tools. Having these tools on hand will make the process much smoother and ensure that you can complete the task efficiently. Here are the tools you will need:
1. Screwdriver: You’ll need a screwdriver with the appropriate size and type for removing the screws that secure the access panel and the hard drive itself. Most laptops use small Phillips-head screws, so make sure you have a screwdriver that fits.
2. Anti-static wrist strap (optional): While not necessary, using an anti-static wrist strap can help protect the sensitive internal components of your laptop from static electricity. This can be especially useful if you work in an environment with low humidity or carpeted floors.
3. Soft cloth or mat: To prevent scratches or damage to the surface of your laptop, it’s a good idea to have a soft cloth or mat on hand to place your laptop on while you work.
4. Storage container: It’s always a good idea to have a small container or tray to hold the screws and other small components that you remove from the laptop. This will help you keep track of everything and prevent any loss or confusion during reassembly.
By ensuring you have these tools ready before you start, you will have a smoother and more efficient experience removing the hard disk drive from your Dell Inspiron N5040. Having the right tools on hand will save you time and prevent any potential damage to your laptop.
Step 1: Shut Down the Laptop
Before you begin the process of removing the hard disk drive from your Dell Inspiron N5040, it’s important to shut down the laptop properly. This will ensure that you don’t accidentally damage any files or lose any unsaved data. Follow these steps to shut down your laptop:
1. Save your work: Before shutting down your laptop, make sure to save any open files and close any applications you may have been using. This will prevent any data loss or corruption.
2. Close all applications: Once you have saved your work, close all open applications on your laptop. This will ensure that no processes are running in the background when you shut down.
3. Click on the Start menu: On the bottom left corner of your screen, you will find the Start menu icon. Click on it to open the Start menu.
4. Select “Shutdown”: In the Start menu, you will see various options. Locate and click on the “Shutdown” option. This will initiate the shutdown process.
5. Wait for the laptop to shut down: After clicking on “Shutdown,” wait for your laptop to completely power off. You may see a message indicating that Windows is shutting down. Once your screen is black and the laptop is no longer making any sounds, you can proceed to the next step.
Shutting down your laptop properly is an important first step before removing the hard disk drive. This ensures the safety of your data and prevents any potential damage to the system. Once your laptop is completely shut down, you can move on to the next step of the process.
Step 2: Disconnect the Power Adapter and Remove the Battery
To ensure your safety and prevent any risk of electrical shock, it’s important to disconnect the power source before proceeding with the removal of the hard disk drive. Follow these steps to disconnect the power adapter and remove the battery from your Dell Inspiron N5040:
1. Unplug the power adapter: Start by unplugging the power adapter from the laptop. The power adapter is the cord that connects your laptop to a power source. Locate the connector where the power adapter plugs into your laptop and gently pull it out.
2. Power down the laptop: If your laptop is still powered on, press and hold the power button until it shuts down completely. This will ensure that no power is running through the system.
3. Turn the laptop over: Flip your laptop over, so the bottom side is facing up. Locate the battery release latch or button, which is usually located near the bottom of the laptop.
4. Release the battery latch: Depending on the model of your Dell Inspiron N5040, you may need to slide or press the battery release latch to unlock it. Once unlocked, the latch should remain in the released position.
5. Remove the battery: With the battery release latch unlocked, gently slide or lift the battery out of its compartment. It is recommended to hold the battery from the sides and lift it straight up to avoid any damage.
By disconnecting the power adapter and removing the battery, you ensure that there is no power running through the laptop and minimize the risk of electrical shock during the removal process. Make sure to place the battery in a safe and dry location until you are ready to reassemble your laptop.
Step 3: Remove the Access Panel
Once you have disconnected the power adapter and removed the battery, you can proceed to remove the access panel of your Dell Inspiron N5040. The access panel provides access to the internal components of your laptop, including the hard disk drive. Follow these steps to remove the access panel:
1. Locate the access panel: Flip your laptop over and inspect the bottom side. Look for a small panel that is secured with screws. The location and design of the access panel may vary depending on your laptop model.
2. Use a screwdriver to remove the screws: Once you have located the access panel, use a screwdriver to remove the screws that secure it in place. Keep the screws in a safe place, as you will need them for reassembly later on.
3. Remove the access panel: With the screws removed, gently lift the access panel away from the laptop. Be careful not to force it or damage any of the components inside. The access panel should come off easily, exposing the internal components of your laptop.
4. Set aside the access panel: Place the access panel in a safe and clean area, as you will need it again when reassembling your laptop. It’s a good idea to keep it in a location where it won’t get damaged or collect dust.
By removing the access panel, you gain access to the internal components of your laptop, including the hard disk drive. Take care to handle the access panel and screws with care, as they are important for the reassembly process. With the access panel removed, you can now proceed to the next step of disconnecting the hard drive.
Step 4: Locate and Disconnect the Hard Drive
Now that you have removed the access panel, you can proceed to locate and disconnect the hard drive from your Dell Inspiron N5040. Follow these steps to successfully locate and disconnect the hard drive:
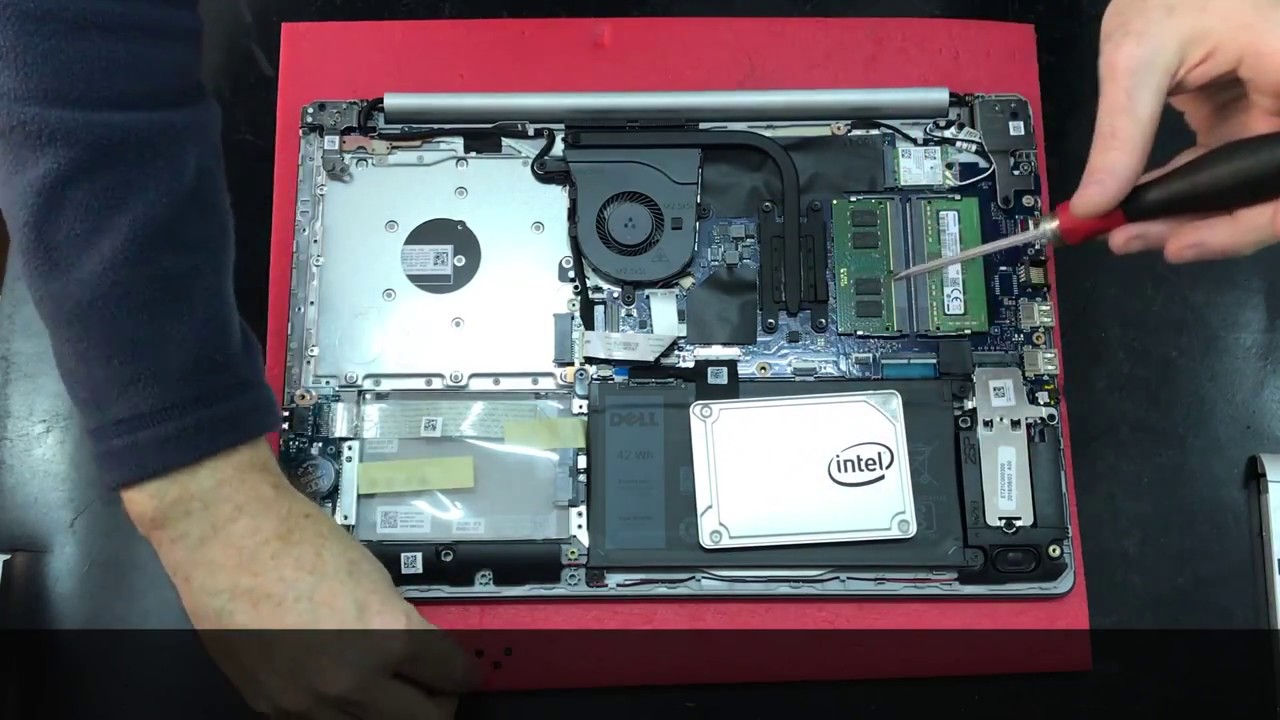
1. Identify the hard drive: Look for a rectangular-shaped component inside your laptop. This is the hard drive. It should be positioned in a bay or slot and connected to the motherboard and other components via a data cable and power cable.
2. Disconnect the data cable: Locate the data cable connected to the hard drive. It is a thin and wide cable typically connected to a socket on the hard drive. Carefully pull the tab or connector away from the socket to detach the data cable. Be gentle and avoid tugging on the cable itself to prevent damage.
3. Disconnect the power cable: Next, locate the power cable connected to the hard drive. It is a smaller cable with a connector that supplies power to the hard drive. Similar to the data cable, gently pull the power cable connector away from the socket on the hard drive to disconnect it.
4. Remove any mounting screws: In some laptops, the hard drive may be secured with screws or brackets. If you see any screws holding the hard drive in place, use a screwdriver to remove them. Keep the screws in a safe place for reassembly later.
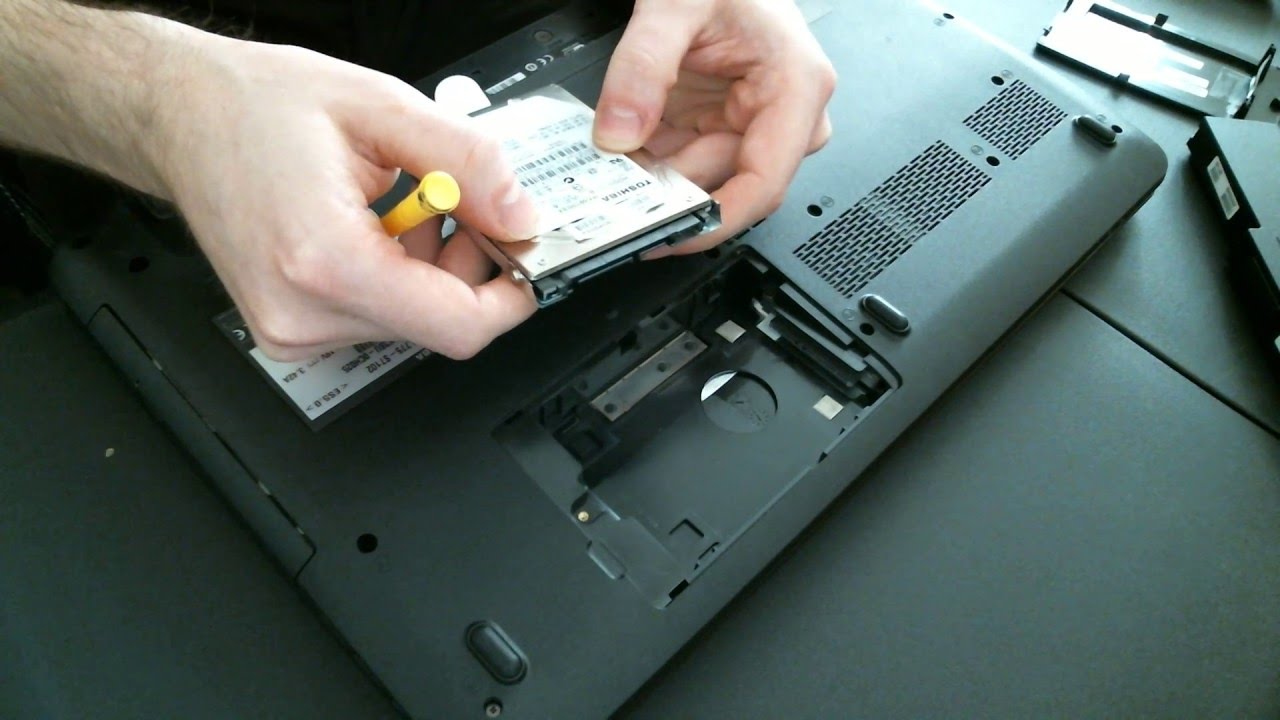
5. Gently remove the hard drive: Once the cables and screws are disconnected, carefully slide or lift the hard drive out of its bay or slot. Handle the hard drive by its edges and avoid touching any of the delicate components.
By following these steps, you should now have successfully located and disconnected the hard drive from your Dell Inspiron N5040. Proceed with caution and take your time to avoid any damage to the hard drive or other internal components. With the hard drive disconnected, you can move on to the next step of removing it from the laptop.
Step 5: Remove the Hard Drive from the Laptop
Now that you have successfully disconnected the hard drive from your Dell Inspiron N5040, you can proceed to remove it from the laptop. Follow these steps to remove the hard drive:
1. Prepare a safe workspace: Before removing the hard drive, ensure you have a clean and safe workspace to place it. This will help prevent any damage or static electricity buildup that could harm the hard drive.
2. Handle the hard drive carefully: Hold the hard drive by its sides, avoiding touching any of its delicate components or circuitry. Be mindful not to drop or mishandle the hard drive, as this could cause irreparable damage.
3. Slide or lift the hard drive: Depending on the design of your laptop, you may need to slide the hard drive out of its bay or lift it upwards to remove it from the laptop. Follow the direction indicated by the arrows or guides to safely remove the hard drive.
4. Set aside the removed hard drive: Once you have removed the hard drive, place it in a protective anti-static bag or on an anti-static mat. This will prevent any static electricity from damaging the drive while it is not in use.
5. Keep the hard drive in a safe location: Store the removed hard drive in a safe and dry location until you are ready to install a new one or use it for other purposes. To prevent any damage, avoid exposing the hard drive to extreme temperatures, moisture, or physical impact.
By following these steps, you have successfully removed the hard drive from your Dell Inspiron N5040. Congratulations! Take care to handle the hard drive with caution, as it contains important data and delicate components. With the hard drive removed, you can now proceed to install a new one if needed or move on to reassembling your laptop.
Step 6: Install a New Hard Drive (Optional)
If you are replacing your old hard drive with a new one or upgrading to a larger capacity, you can follow these optional steps to install a new hard drive in your Dell Inspiron N5040. Please note that this step is only applicable if you have a new hard drive ready for installation.
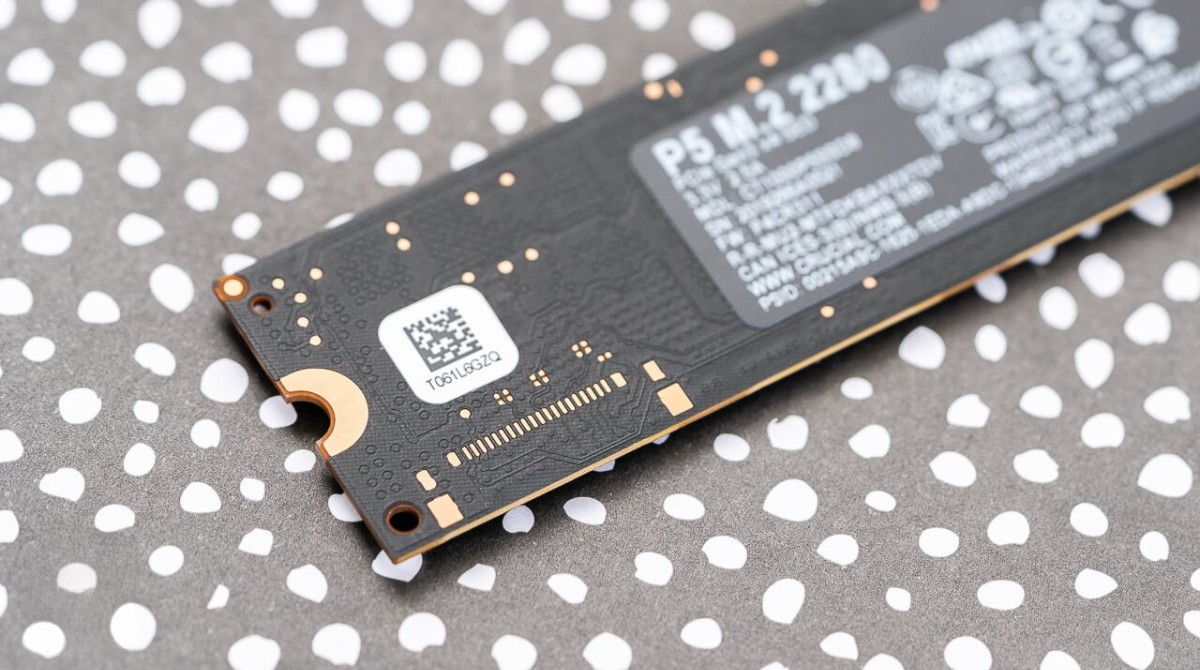
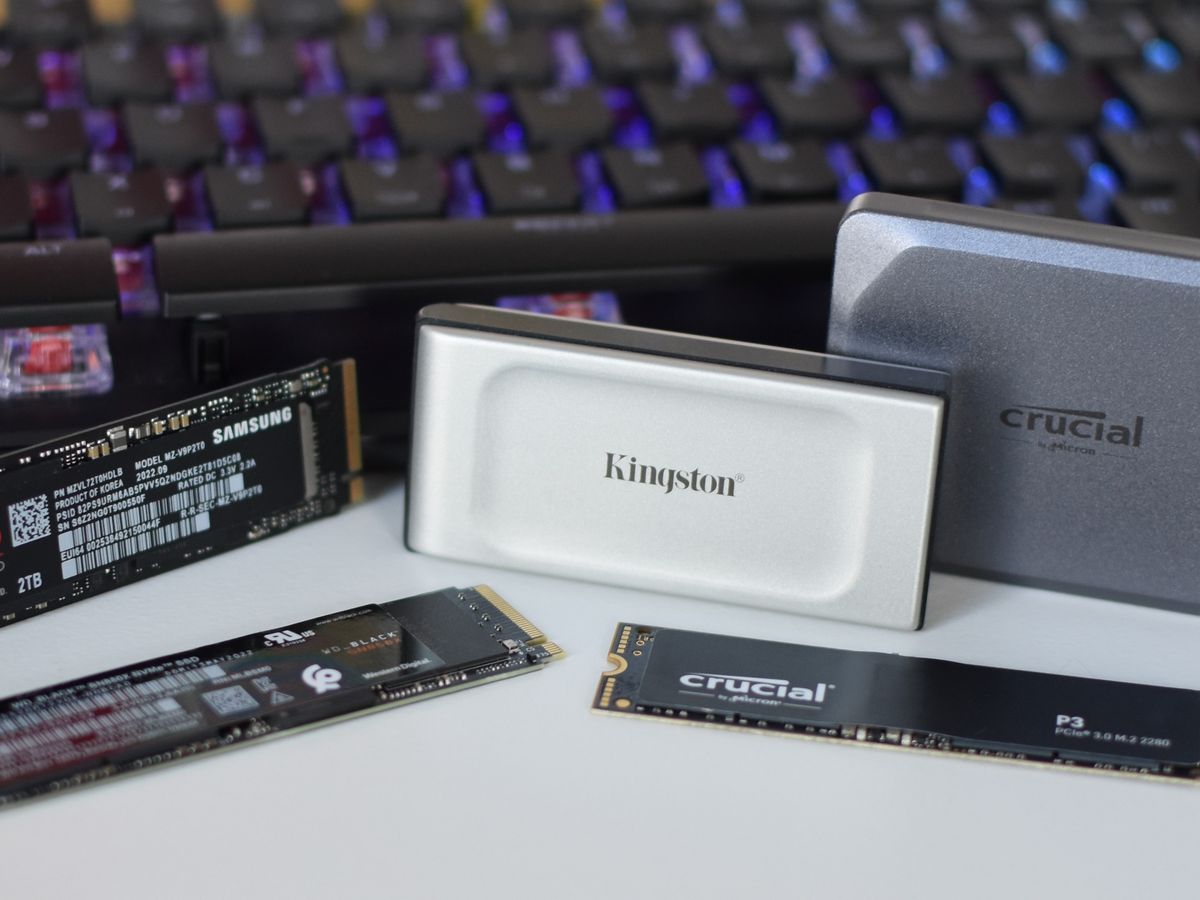
1. Choose a compatible hard drive: Before purchasing a new hard drive, make sure it is compatible with your Dell Inspiron N5040. Consider factors such as the form factor (e.g., 2.5-inch SATA), storage capacity, and speed (RPM) when selecting a replacement.
2. Orient the new hard drive: Take your new hard drive and orient it correctly for installation. Align its connectors with the corresponding sockets inside the laptop.
3. Insert the hard drive: Carefully slide or insert the new hard drive into the bay or slot in the same manner as the original hard drive. Make sure it is firmly connected and properly seated.
4. Secure the hard drive: If your laptop has mounting screws or brackets, use a screwdriver to secure the hard drive in place. Ensure that the hard drive is securely fastened and does not move or rattle inside the laptop.
5. Connect the data and power cables: Reconnect the data cable and power cable to the new hard drive, following the same steps as in Step 4. Ensure that the cables are properly inserted and securely connected to the hard drive.
6. Reassemble the laptop: Place the access panel back onto the laptop and secure it with the screws you removed earlier. Double-check that all screws are tightened properly.
By following these optional steps, you can successfully install a new hard drive in your Dell Inspiron N5040. Remember to select a compatible hard drive and handle it with care during installation. If you’re not confident in your technical skills, it’s always a good idea to seek professional assistance for hard drive installation.
Step 7: Reassemble the Laptop
Now that you have removed or installed a new hard drive, it’s time to reassemble your Dell Inspiron N5040. Follow these steps to successfully put your laptop back together:
1. Place the access panel: Position the access panel back onto the laptop in its original orientation. Make sure it aligns perfectly with the screw holes.
2. Secure the access panel: Use the screwdriver to reinstall and tighten the screws that secure the access panel. Ensure that all screws are snug but not overly tight.
3. Insert the battery: Take the battery that you removed earlier and slide it back into its compartment. Ensure that it is properly aligned and snaps into place.
4. Connect the power adapter: Plug the power adapter back into the laptop, ensuring a secure connection between the adapter and the socket.
5. Power on the laptop: Press the power button to turn on your laptop. Wait for it to boot up and verify that everything is functioning properly.
6. Test the hard drive: If you have installed a new hard drive, test it by accessing files, creating folders, or performing other tasks to ensure it is working correctly.
7. Check for any loose screws: Finally, inspect your laptop to make sure all screws are tightened and that there are no loose or protruding components.
By following these steps, you can successfully reassemble your Dell Inspiron N5040 after removing or installing a hard drive. Ensure that all connections are secure and that your laptop functions properly before proceeding to use it normally.
It is recommended to refer to the Dell Inspiron N5040 user manual or seek professional assistance if you encounter any difficulties during the reassembly process.
Conclusion
In this guide, we have walked you through the step-by-step process of removing the hard disk drive from your Dell Inspiron N5040. We covered the necessary tools and precautions needed to safely and successfully complete this task. Whether you are replacing a faulty hard drive or upgrading to a larger capacity, following these steps will help you navigate the process with confidence.
Remember to always shut down your laptop properly and disconnect the power adapter and battery before working with the internal components. Take caution when removing the access panel, locating and disconnecting the hard drive, and handling the components.
If you are reinstalling a new hard drive, ensure it is compatible with your Dell Inspiron N5040 and securely fasten all connections. After reassembling the laptop, power it on and test the hard drive to confirm its proper functionality.
If you are unsure or uncomfortable with any step of the process, it is recommended to consult the Dell Inspiron N5040 user manual or seek professional assistance to avoid any potential damage to your laptop.
We hope this guide has provided you with the necessary information and guidance to remove and install a hard drive on your Dell Inspiron N5040. By following these instructions, you can successfully complete this task and continue to enjoy the functionality of your laptop.