Introduction
Upgrading the storage drive on your Dell Inspiron Ultrabook 14 to a solid-state drive (SSD) can significantly improve its performance and speed. SSDs are known for their faster read and write speeds, durability, and energy efficiency compared to traditional hard disk drives (HDDs).
In this guide, we will walk you through the process of cloning and installing an SSD on your Dell Inspiron Ultrabook 14. By cloning your existing drive, you can seamlessly transfer all your data, including the operating system, applications, and files, to the new SSD without the need to reinstall everything from scratch. This ensures a smooth transition and saves you time and effort.
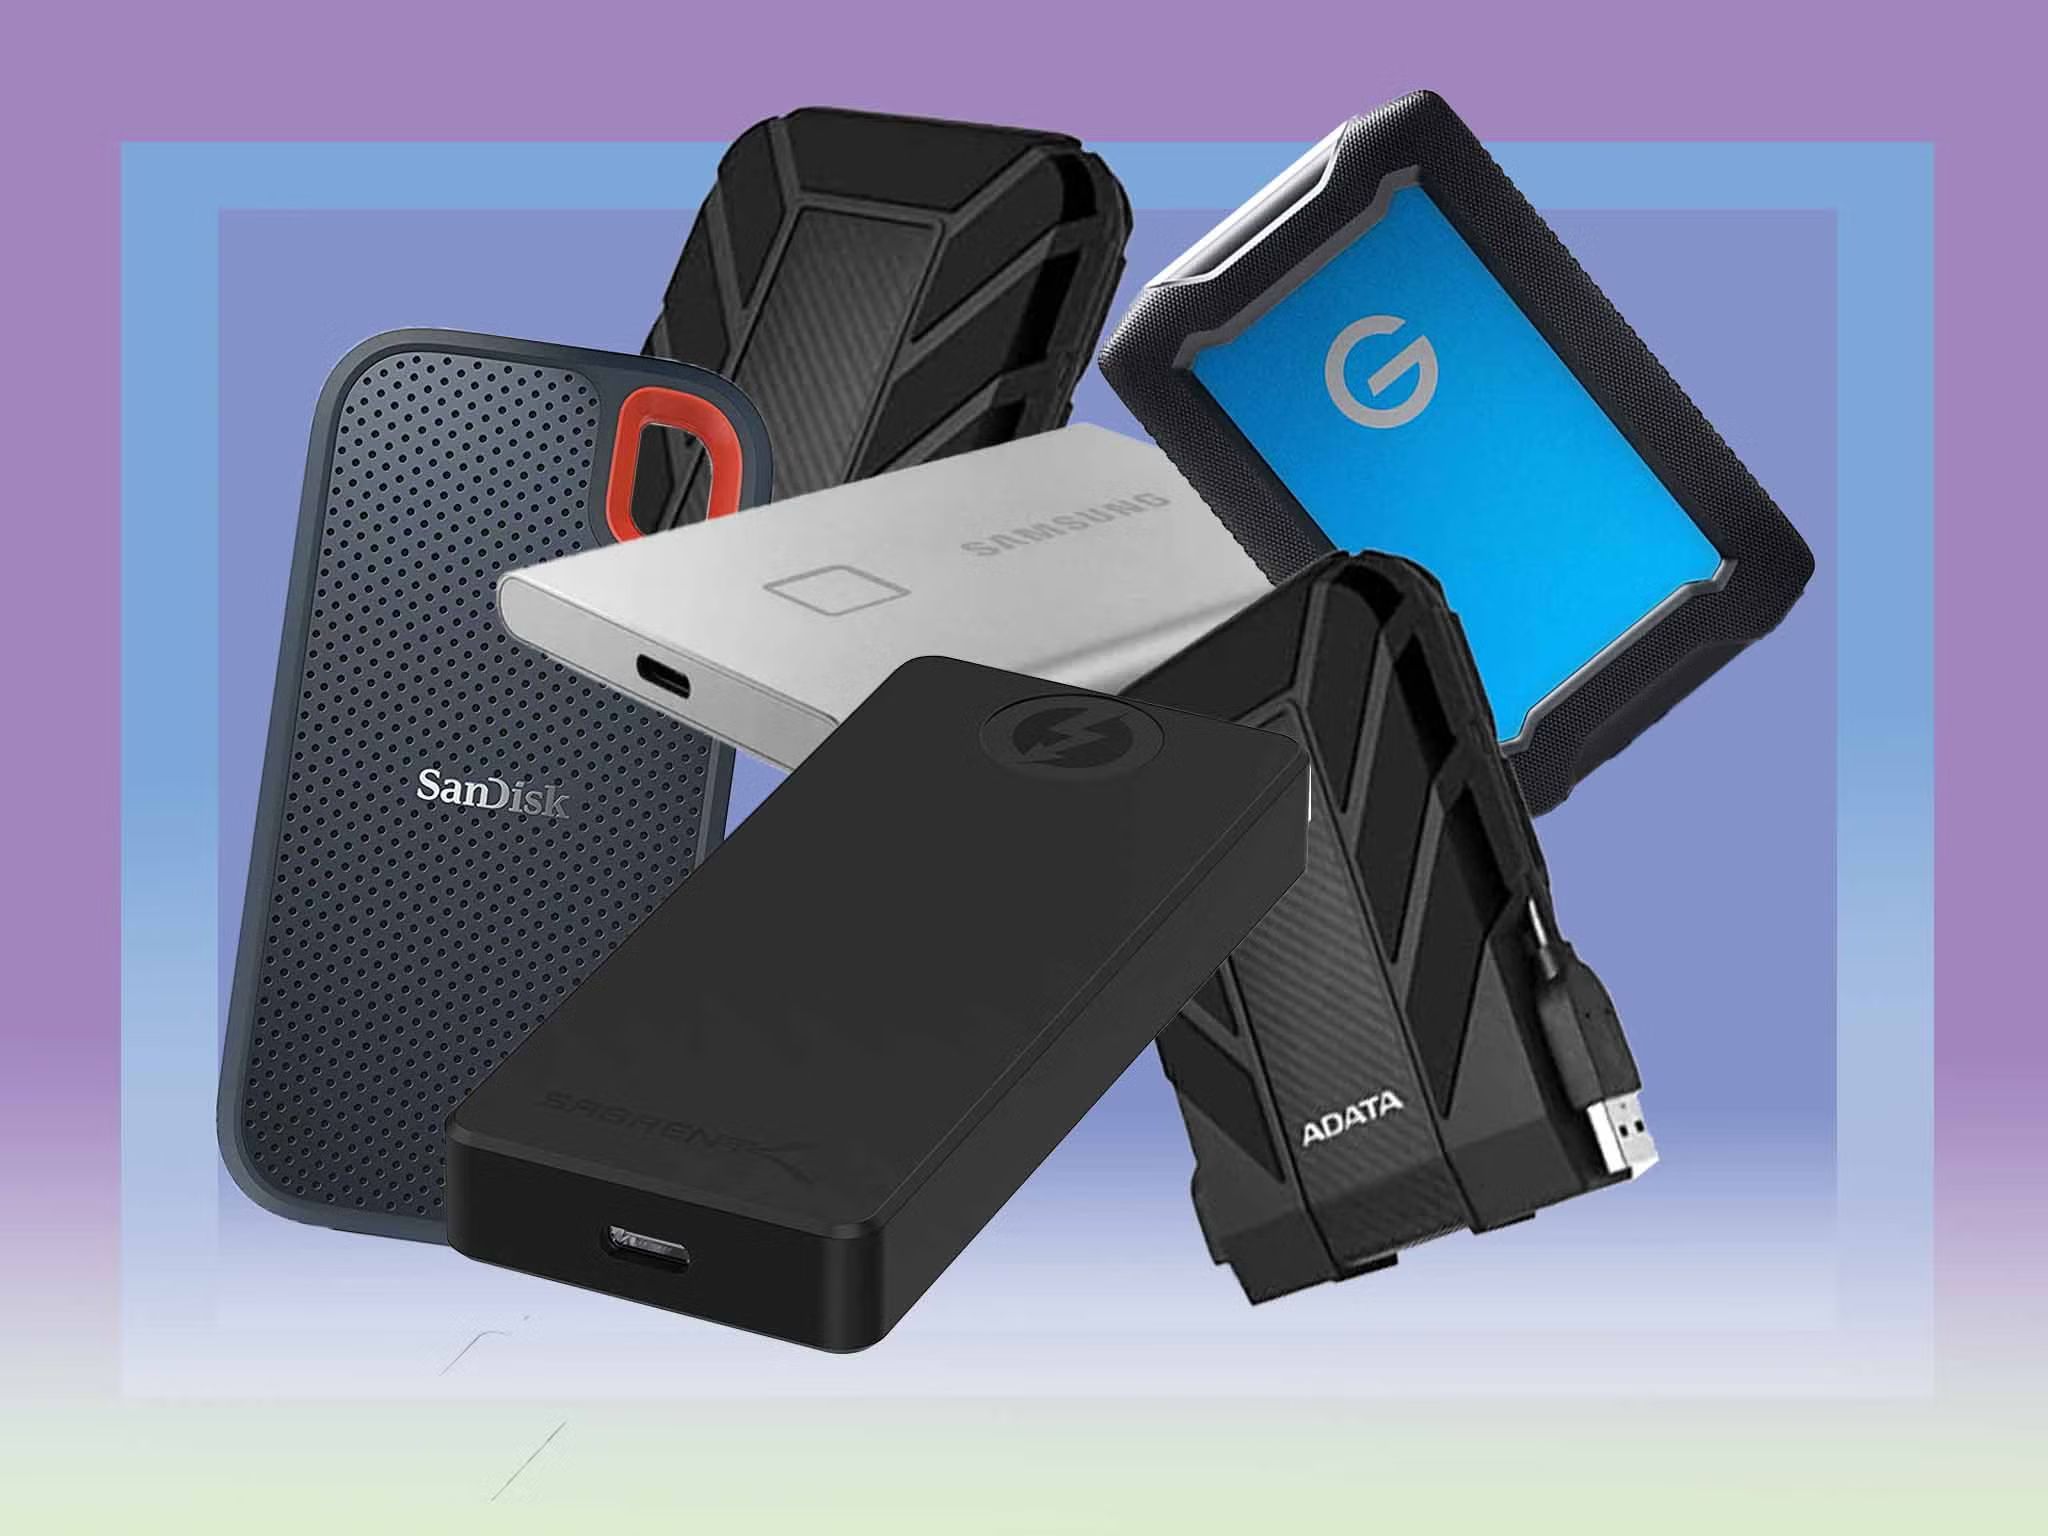
Before diving into the cloning and installation process, it’s essential to gather the necessary tools and ensure you have a compatible SSD. Make sure to choose an SSD with sufficient storage capacity to accommodate all your files and applications.
It’s also recommended to create a backup of all your important data before proceeding with the cloning process. While the cloning process itself is generally safe, having a backup can provide an extra layer of security for your valuable files and ensure peace of mind.
In the following sections, we will guide you through the step-by-step process of preparing for the cloning and installation, cloning the SSD, removing the old drive, installing the new SSD, and setting up the cloned SSD. Additionally, we will cover troubleshooting tips in case you encounter any issues during the process.
Note: Please ensure that you have basic technical knowledge and follow the instructions carefully to avoid any potential data loss or damage to your laptop. If you are uncertain about any step, it’s always advisable to seek assistance from a professional.
Preparing for the Cloning and Installation Process
Before you begin the cloning and installation process, it’s important to take a few preparatory steps to ensure a smooth transition to your new SSD. Here are some essential tasks to complete:
- Check compatibility: Make sure that the SSD you have chosen is compatible with your Dell Inspiron Ultrabook 14. Check the specifications and requirements of your laptop to ensure a seamless installation.
- Gather necessary tools: You will need a few tools to complete the process, including a screwdriver (typically Phillips-head) to remove the back panel of your laptop and any brackets holding the old SSD in place. Additionally, make sure you have an external storage device or cloud storage for backing up your important files.
- Create a backup: It’s wise to create a backup of your important files, documents, and media before proceeding with the cloning process. This ensures that your data is safe in case of any unexpected issues that may arise during the installation process.
- Clean up unnecessary files: Before cloning your existing drive, take some time to clean up any unnecessary files, applications, or data that you no longer need. This will not only help to free up storage space on your new SSD but also make the cloning process faster and smoother.
- Download cloning software: Choose a reliable cloning software that is compatible with your laptop and the SSD you have selected. There are several reputable options available, such as Acronis True Image, EaseUS Todo Backup, and Clonezilla. Research and choose the one that best suits your needs.
By completing these preparatory tasks, you will be well-equipped to begin the cloning and installation process with confidence. It’s always better to be prepared and ensure a successful transition to your new SSD.
Cloning the SSD
Cloning the SSD involves creating an exact replica of your existing drive onto the new SSD. This process ensures that all your data, including the operating system and installed applications, are transferred seamlessly to the new drive. Here’s a step-by-step guide on how to clone your SSD:
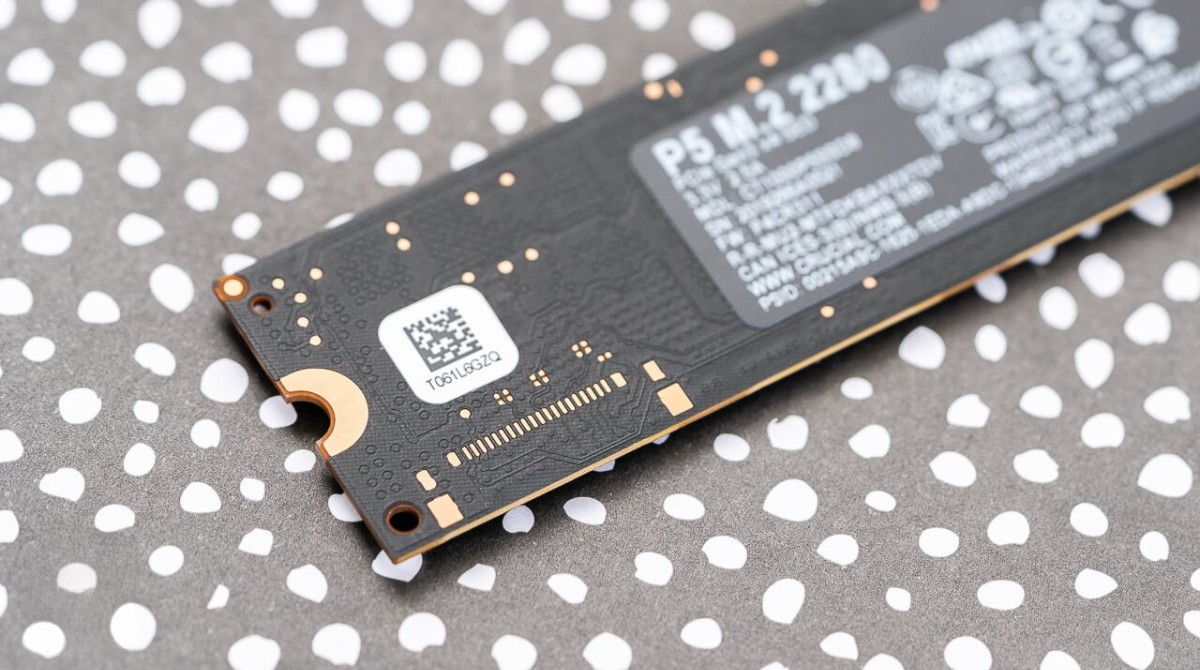
- Connect the new SSD: Connect the new SSD to your Dell Inspiron Ultrabook 14 using an external USB enclosure or adapter. Ensure that the SSD is detected by your laptop.
- Install and launch the cloning software: Install the cloning software you downloaded in the previous section. Launch the software and follow the on-screen instructions to initialize the cloning process.
- Select the source and destination drives: In the cloning software, select your existing SSD as the source drive and the new SSD as the destination drive. Make sure to double-check the drive selection to avoid any accidental data loss.
- Configure cloning settings: Depending on the cloning software you are using, you may have the option to configure additional settings. These settings may include disk partition resizing, sector-by-sector cloning, or excluding certain files from the cloning process. Adjust these settings according to your preferences.
- Start the cloning process: Once you have verified the settings, start the cloning process. It may take some time to complete, depending on the amount of data being transferred. During the process, do not interrupt the laptop or disconnect the SSD.
- Verify the cloning process: After the cloning process is complete, verify that all your files and data have been successfully transferred to the new SSD. You can do this by navigating through the file system or checking the drive properties.
- Keep the source SSD as a backup: It’s always a good idea to keep your original SSD as a backup, especially during the transition period. Store it in a safe place in case you need to access any data or revert back to it in the future.
Cloning the SSD allows you to seamlessly transfer all your data to the new drive, maintaining the same system configuration and settings. Once you have successfully cloned the SSD, you are ready to proceed with removing the old drive and installing the new SSD into your Dell Inspiron Ultrabook 14.
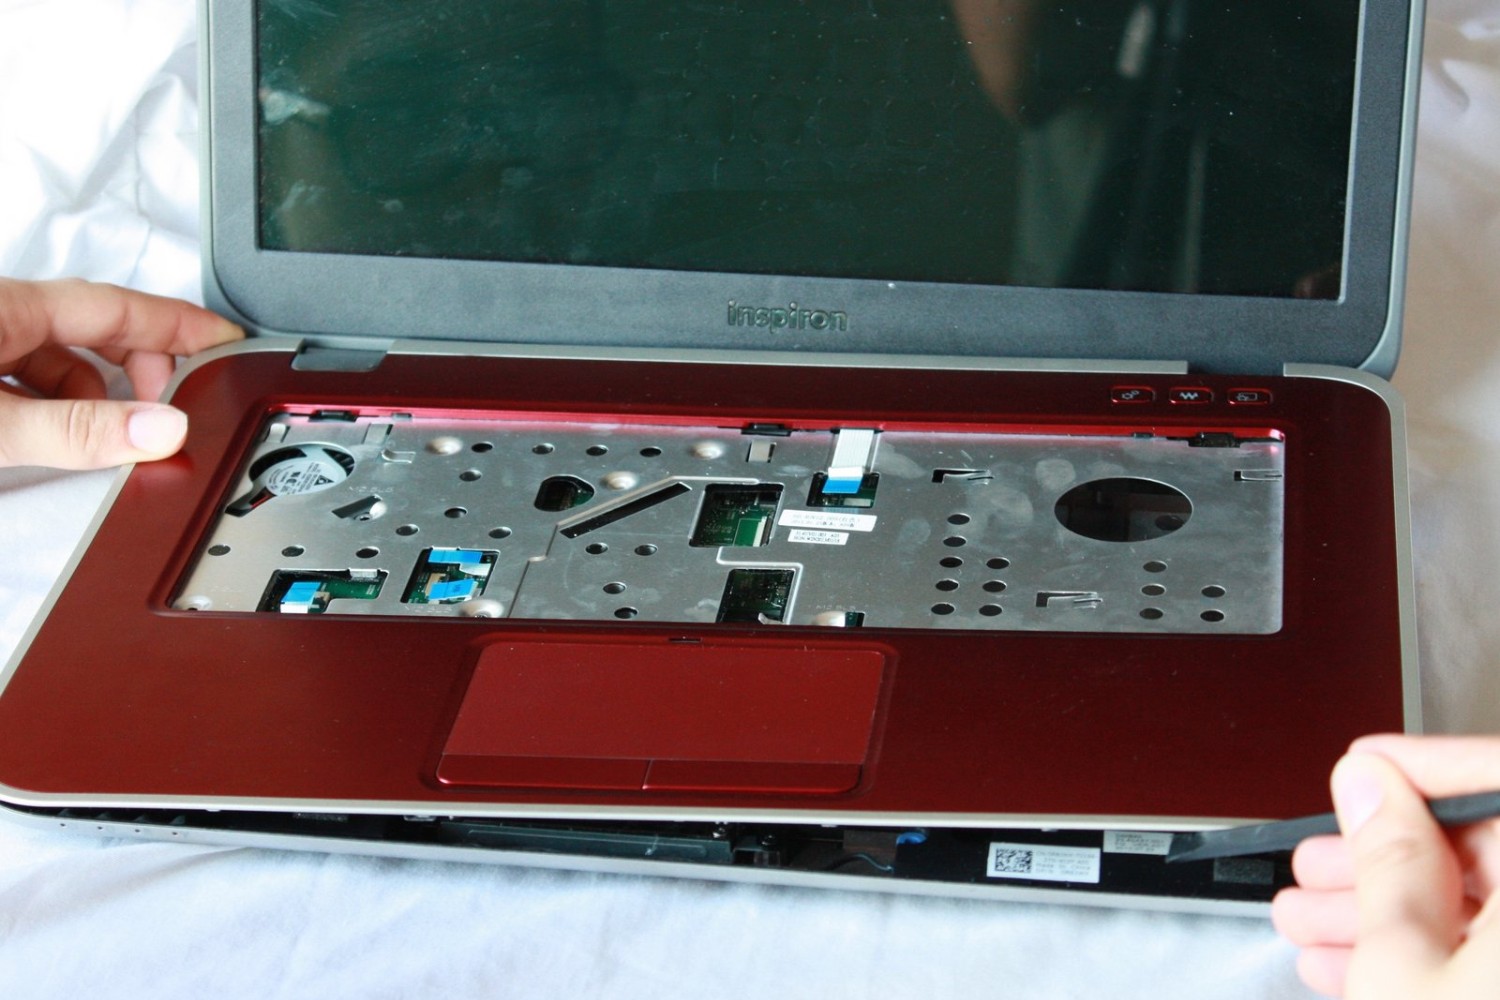
Removing the Old SSD and Installing the New SSD
Now that you have successfully cloned your SSD, it’s time to remove the old drive and install the new SSD into your Dell Inspiron Ultrabook 14. Follow these steps:
- Power off your laptop: Shut down your laptop completely and disconnect it from any power source.
- Remove the back panel: Use a Phillips-head screwdriver to remove the screws that secure the back panel of your laptop. Carefully lift off the panel to expose the internal components.
- Locate the old SSD: Identify the location of the old SSD. It is usually a small rectangular-shaped drive connected to the motherboard. If there are any brackets holding the SSD in place, remove them using the appropriate screwdriver.
- Disconnect the old SSD: Gently unplug the cables connected to the old SSD. Take note of the specific connections to ensure proper reconnection of the new SSD later.
- Remove the old SSD: Carefully lift the old SSD out of its slot. Handle it by the sides to avoid touching the circuit board or any sensitive components.
- Install the new SSD: Take the new SSD and align it with the slot in the motherboard. Gently insert it into the slot and press down until it is securely in place.
- Connect the cables: Reconnect the cables to the new SSD according to their respective connections. Ensure that they are securely plugged in and aligned properly.
- Secure the SSD: If there were any brackets holding the old SSD, reattach them to secure the new SSD in place. Make sure all screws and connections are tightened but avoid overtightening to prevent any damage.
- Replace the back panel: Carefully place the back panel of your laptop back into position. Align it properly with the screw holes and secure it by tightening the screws with the screwdriver.
With the new SSD successfully installed in your Dell Inspiron Ultrabook 14, you are now ready to proceed with setting up the cloned SSD and configuring the necessary settings to optimize its performance.
Setting Up the Cloned SSD
After installing the new SSD in your Dell Inspiron Ultrabook 14, it’s time to set it up and configure the necessary settings to ensure optimal performance. Follow these steps to get started:
- Power on your laptop: Connect your laptop to a power source and power it on. Wait for it to boot up and recognize the newly installed SSD.
- Configure BIOS settings: During the boot-up process, press the appropriate key (usually F2 or Del) to enter the BIOS settings. Make sure that the new SSD is detected by the BIOS and set it as the primary boot device if necessary.
- Initialize the SSD: If the new SSD is not yet initialized, you may need to format it to be recognized by the operating system. Open the Disk Management utility in Windows and follow the prompts to initialize and format the SSD.
- Restore files and applications: If you have backed up your files and applications, now is the time to restore them to the new SSD. Use the backup method that you have previously chosen, whether it’s from an external storage device or cloud storage.
- Update drivers and firmware: It’s important to update the drivers and firmware of your Dell Inspiron Ultrabook 14 to ensure compatibility and improved performance. Visit the Dell support website and download the latest drivers and firmware updates for your laptop model.
- Optimize SSD settings: There are a few settings you can optimize to maximize the performance of your new SSD. These include enabling TRIM support, disabling disk defragmentation, and adjusting power settings to prevent excessive wear on the SSD.
- Test and verify: Once you have completed the setup and configuration process, test the performance of your new SSD. Run speed tests, launch applications, and ensure that everything is running smoothly.
By following these steps, you can ensure that your cloned SSD is fully set up and ready to deliver enhanced performance and faster data access on your Dell Inspiron Ultrabook 14.
Troubleshooting the Cloning Process
While the cloning process is generally straightforward, there may be instances where you encounter issues or encounter unexpected errors. In such cases, troubleshooting can help you identify and resolve the problem. Here are some common troubleshooting steps for the cloning process:
- Check connection and cables: Ensure that all cables connecting the SSD and your Dell Inspiron Ultrabook 14 are securely connected. Loose or improperly connected cables can cause cloning issues.
- Restart the cloning software: Sometimes, restarting the cloning software can resolve temporary glitches or errors. Close the program, reopen it, and retry the cloning process.
- Update the cloning software: Ensure that you are using the latest version of the cloning software. Check the software developer’s website for any updates or patches that may address known issues.
- Check compatibility: Verify that the cloning software and the SSD are compatible with your Dell Ultrabook 14. Review the software and hardware specifications to ensure compatibility.
- Run diagnostics on the SSD: Use SSD diagnostic tools provided by the manufacturer to check the health and functionality of the SSD. This can help identify any hardware issues that may be affecting the cloning process.
- Perform a clean reinstall: If all else fails, you can try performing a clean install of the operating system and then manually reinstalling your applications and files. This may require reinstalling the cloning software as well.
- Seek professional assistance: If you have exhausted all troubleshooting steps and are still encountering issues, it may be best to seek assistance from a professional. They can provide expert advice and guidance tailored to your specific situation.
Remember, it’s important to approach troubleshooting with patience and caution. Take your time and follow the recommended steps. If you are unsure or uncomfortable with any troubleshooting steps, seek professional assistance to avoid potential data loss or damage to your laptop.
Conclusion
Congratulations! You have successfully learned how to clone and install an SSD on your Dell Inspiron Ultrabook 14. By upgrading to an SSD, you can enjoy faster performance, improved reliability, and increased storage capacity. The process of cloning and installing an SSD may seem daunting at first, but with the right tools and guidance, it can be a rewarding experience.
In this guide, we covered the necessary steps to prepare for the cloning and installation process, clone the SSD, remove the old drive, install the new SSD, and set up the cloned SSD. We also provided troubleshooting tips to help you overcome any potential issues that may arise during the process.
Remember to take precautionary measures such as backing up your data before beginning the cloning process. This will ensure that your valuable files are safe in case of any unforeseen issues.
With your new SSD installed and set up, you can now enjoy faster boot times, quicker application launches, and improved overall performance on your Dell Inspiron Ultrabook 14. Take the time to optimize your SSD by updating drivers, enabling TRIM support, and configuring power settings to prolong its lifespan.
Should you encounter any difficulties or feel unsure about any step, it is always recommended to seek assistance from a professional or consult Dell’s customer support for further guidance.
Enjoy the benefits of your new SSD and experience a faster and more efficient computing experience on your Dell Inspiron Ultrabook 14!