Introduction
Welcome to the world of homemade ice cream! There’s something incredibly satisfying about creating your own frozen treat from scratch, and an ice cream maker is the perfect tool to help you do just that. But how do you know when your ice cream maker has done its job and your dessert is ready to be savored?
In this article, we will explore the ins and outs of determining whether your ice cream maker has completed its churn. From understanding how an ice cream maker works to looking for visual signs and testing the consistency, we’ll cover all the bases to ensure your homemade ice cream turns out perfectly every time.
Before we delve into the details, let’s quickly go over the basic concept of an ice cream maker. These handy appliances work by continuously churning the ice cream mixture while it freezes. This churning process helps break up ice crystals and incorporates air, resulting in a smooth and creamy texture.
Now, let’s discuss how to know if your ice cream maker is done. By paying attention to visual cues, testing the consistency of the ice cream, and listening for a specific sound, you’ll become an expert in determining when your frozen dessert is at its prime.
Understanding How an Ice Cream Maker Works
Before we dive into the indicators of a finished ice cream, it’s important to have a basic understanding of how an ice cream maker works. At its core, an ice cream maker is designed to freeze and churn the ice cream mixture to achieve a smooth and creamy texture.
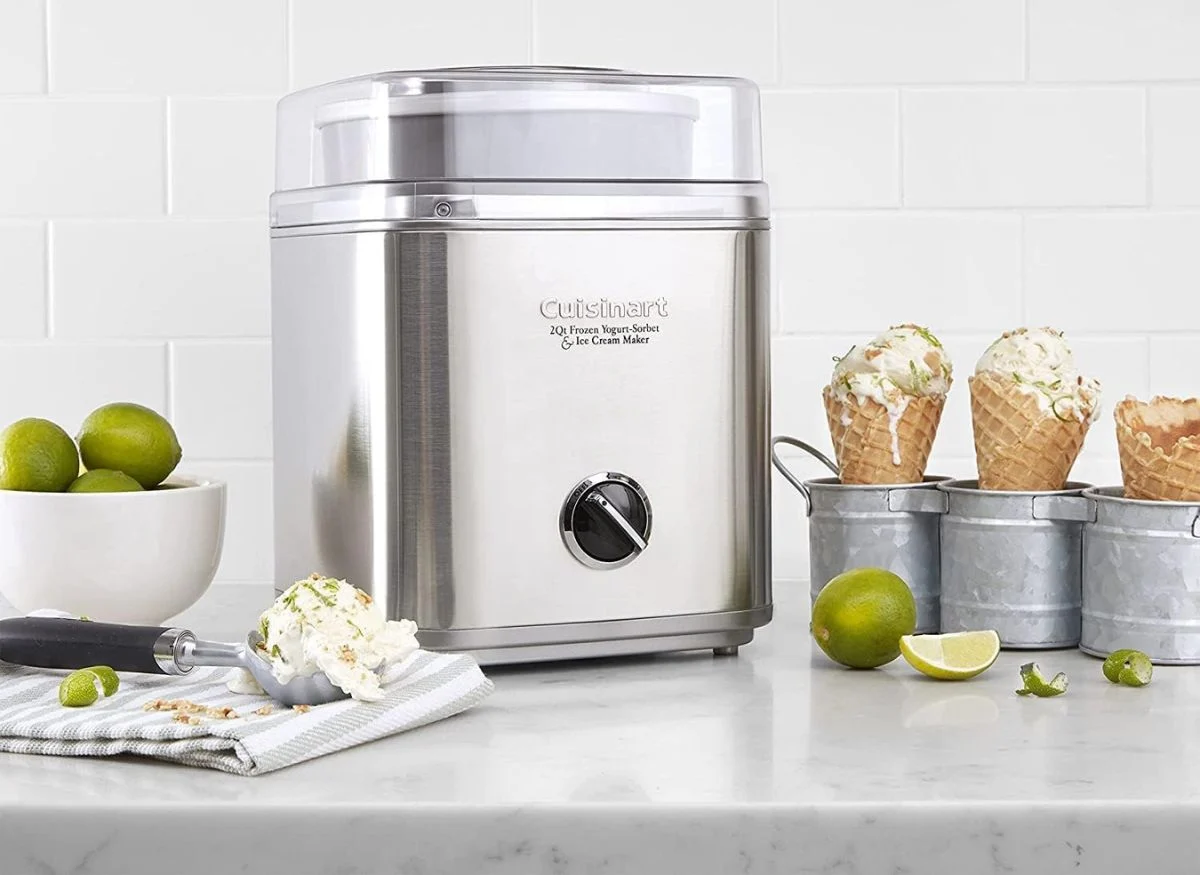
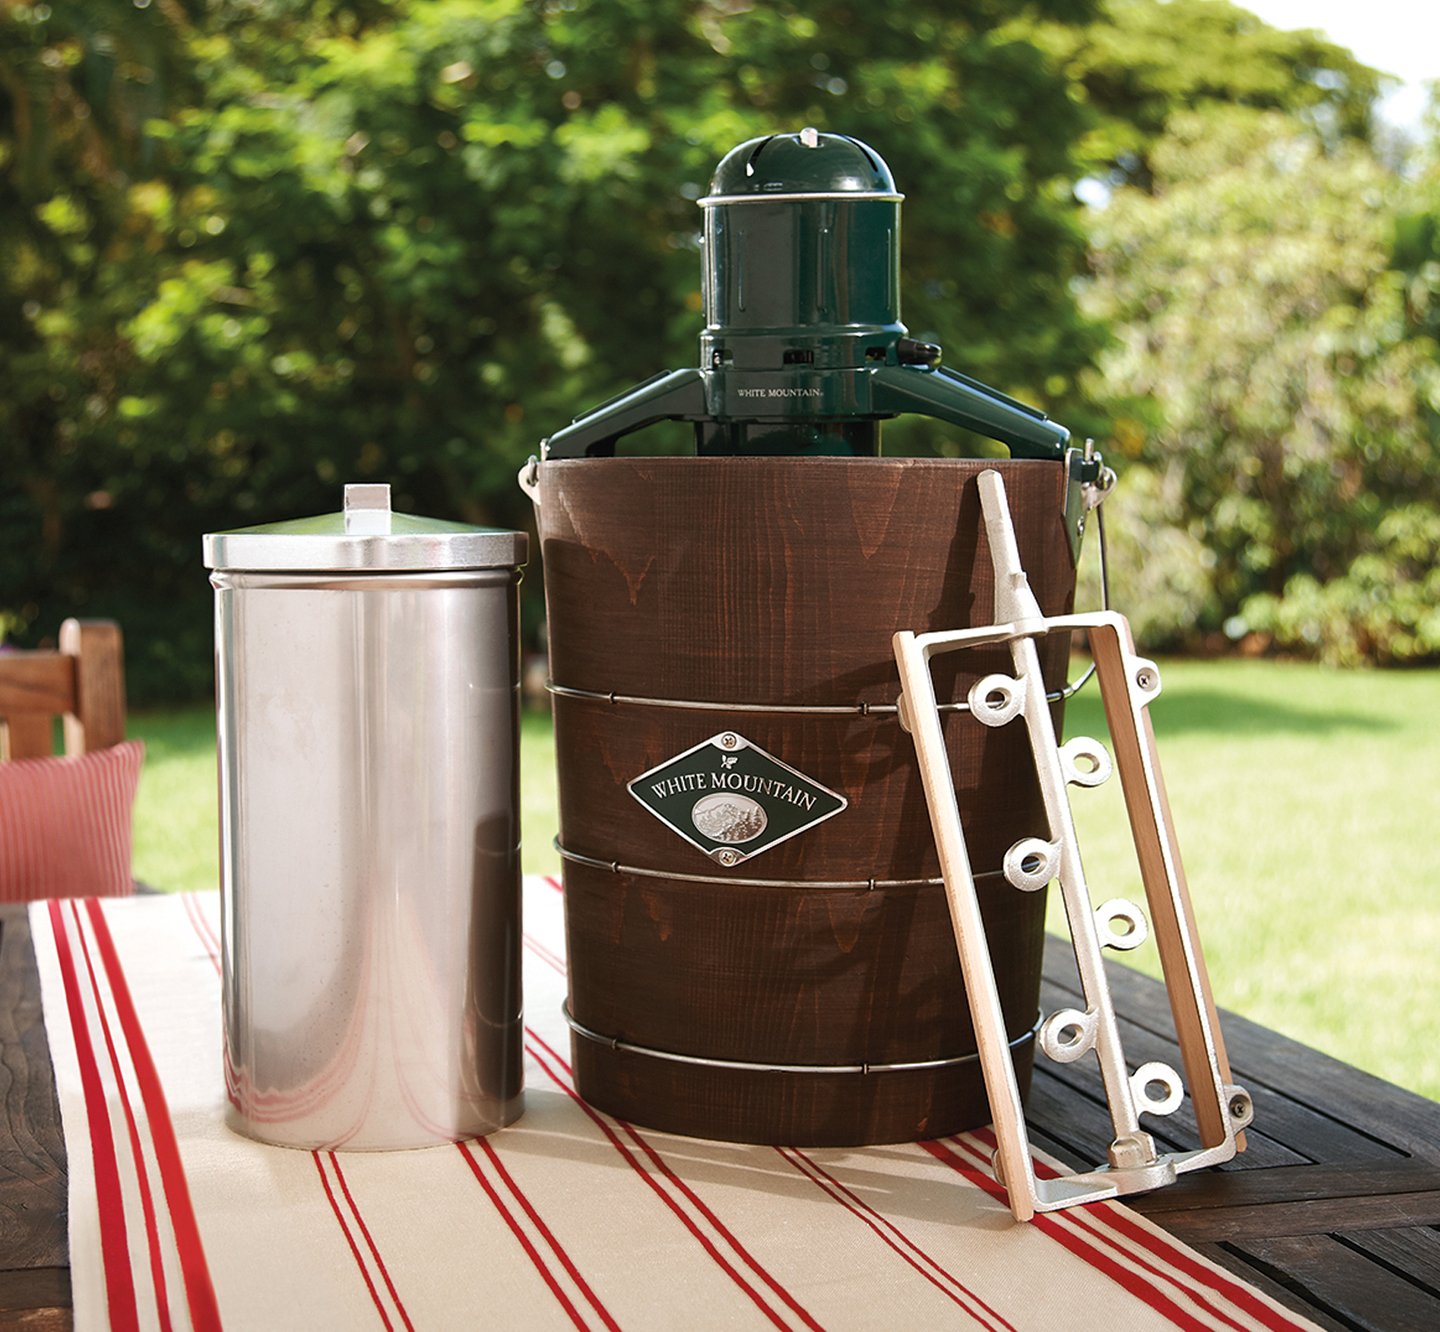
Ice cream makers consist of a freezing bowl, a motorized paddle or dasher, and a lid. The freezing bowl is pre-frozen prior to use, which helps to rapidly freeze the ice cream mixture. The paddle or dasher in the center of the bowl is responsible for continuously stirring and agitating the mixture during the freezing process.
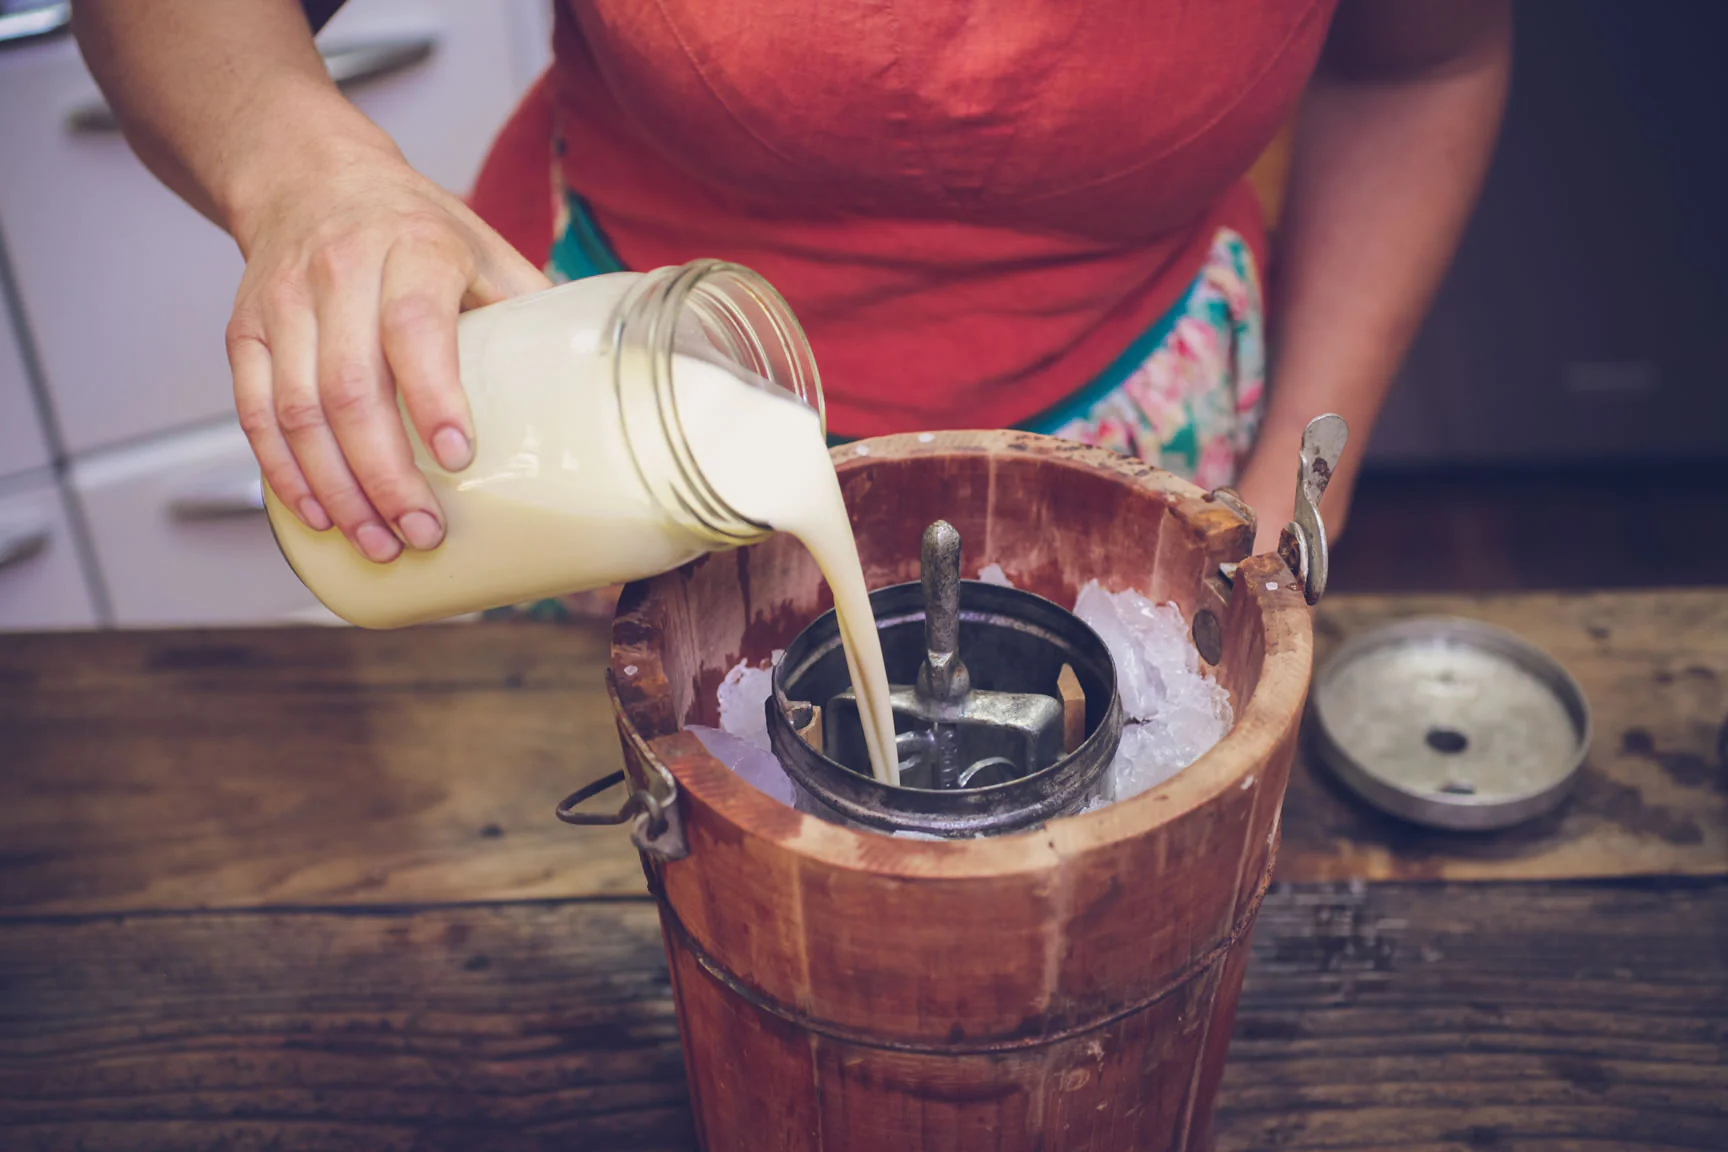
As the ice cream mixture is poured into the freezing bowl and the machine is turned on, the paddle begins to rotate, breaking up ice crystals and preventing them from forming large, unwanted chunks. Additionally, the constant stirring process helps to incorporate air into the mixture, creating a light and fluffy texture.
It’s important to note that the freezing time can vary depending on the specific ice cream maker and the recipe being used. Typically, most ice cream makers take anywhere from 20 to 30 minutes to freeze the mixture to the desired consistency.
Now that we have a better understanding of how an ice cream maker operates, let’s delve into the telltale signs that your homemade ice cream is ready to be enjoyed.
Signs to Look For When Ice Cream Is Ready
As you eagerly await the completion of your homemade ice cream, there are a few key signs to look for to determine if it is ready to be enjoyed. These signs include visual indicators, testing the consistency, and listening for the right sound.
One of the most obvious visual indicators of finished ice cream is the increase in volume. When the ice cream is fully churned, you will notice that it has significantly expanded in size and has a light and fluffy appearance. Additionally, the color of the ice cream will become more vibrant and appealing.
Texture is another important aspect to consider when determining if your ice cream is ready. Use a spoon to scoop a small sample from the ice cream maker. The texture should be smooth and creamy, without any ice crystals or large chunks. Take note of how easily the spoon glides through the ice cream – it should have a soft and velvety consistency.
Another helpful method to test the readiness of your ice cream is to listen for the right sound. As the ice cream freezes and churns, it will emit a distinct sound. Initially, you may hear a slushy or sloshing noise as the mixture begins to freeze. However, as it nears completion, the sound will become more solid and consistent.
It’s important to keep in mind that the time it takes for ice cream to reach its desired consistency can vary depending on factors such as the recipe, ambient temperature, and the specific ice cream maker you are using. Be patient and trust your instincts when determining if your ice cream is ready.
Visual Indicators of Finished Ice Cream
When it comes to determining if your ice cream is ready, visual cues can be highly informative. By observing certain characteristics, you can assess whether your ice cream has reached its optimal consistency. Here are some key visual indicators to look for:
Increased Volume: When the ice cream is fully churned, it should have visibly increased in volume. The mixture will expand, becoming thicker and fluffier. This increase in volume is a clear sign that your ice cream is nearing completion.
Light and Creamy Appearance: As the ice cream churns, it will develop a smooth and creamy texture. Look for a luscious appearance with no visible ice crystals or chunks. The color of the ice cream will also become more vibrant, indicating a well-blended mixture.
Satin-like Texture: The texture of your ice cream should be silky and soft, almost like a satin or velvet fabric. As you scoop a small sample, observe how the spoon glides effortlessly through the mixture. The ice cream should hold its shape but still feel creamy and light on the tongue.
Defined Peaks: When you lift the paddle or dasher from the ice cream mixture, it should leave behind defined peaks. These peaks should hold their shape temporarily before slowly settling back into the rest of the ice cream. This indicates that the mixture has built up enough structure and is on the verge of being perfectly churned.
Keep in mind that visual indicators may vary depending on the specific recipe and ingredients used. Some recipes may naturally yield a denser or more textured ice cream, while others may produce a lighter and smoother consistency. It’s always a good idea to refer to your specific recipe guidelines for visual cues specific to that recipe.
By paying attention to these visual cues, you will develop a keen eye for determining if your ice cream is finished churning. Remember, patience is key. Don’t rush the process, as achieving the perfect texture and flavor takes time. Take pleasure in observing the beautiful transformation of your ice cream as it nears completion.
Testing the Consistency of Ice Cream
One of the most important aspects to consider when determining if your ice cream is ready is its consistency. The texture of the ice cream can significantly impact the overall enjoyment of the dessert. Here are a few methods to test the consistency of your ice cream:
Spoon Test: Take a spoonful of ice cream and observe its texture. It should be smooth and creamy, without any icy or grainy sensations. The ice cream should hold its shape on the spoon, but still be soft and easily melt in your mouth. If the ice cream feels too firm or icy, it may need more time in the ice cream maker.
Melting Test: Allow a small portion of the ice cream to melt slightly. The melted ice cream should have a smooth and velvety consistency, without any separation or chunks. It should have a rich and creamy mouthfeel, indicating that it has reached the desired texture.
Bite Test: Take a small bite of the ice cream and savor the texture. It should feel smooth and luxurious on your tongue, with no gritty or icy particles. The ice cream should have a satisfying “mouth-coating” quality, leaving a lingering creamy sensation.
Scoopability: When you try to scoop the ice cream, it should be relatively easy to form smooth and rounded scoops. If the ice cream is too hard and requires excessive force to scoop, it may need more time in the ice cream maker. On the other hand, if the ice cream is too soft and doesn’t hold its shape when scooped, it may have been over-churned.
Remember that achieving the perfect consistency may require some trial and error, especially when experimenting with different recipes or ingredients. Follow the guidelines in your specific recipe and trust your instincts when testing the texture of your ice cream.
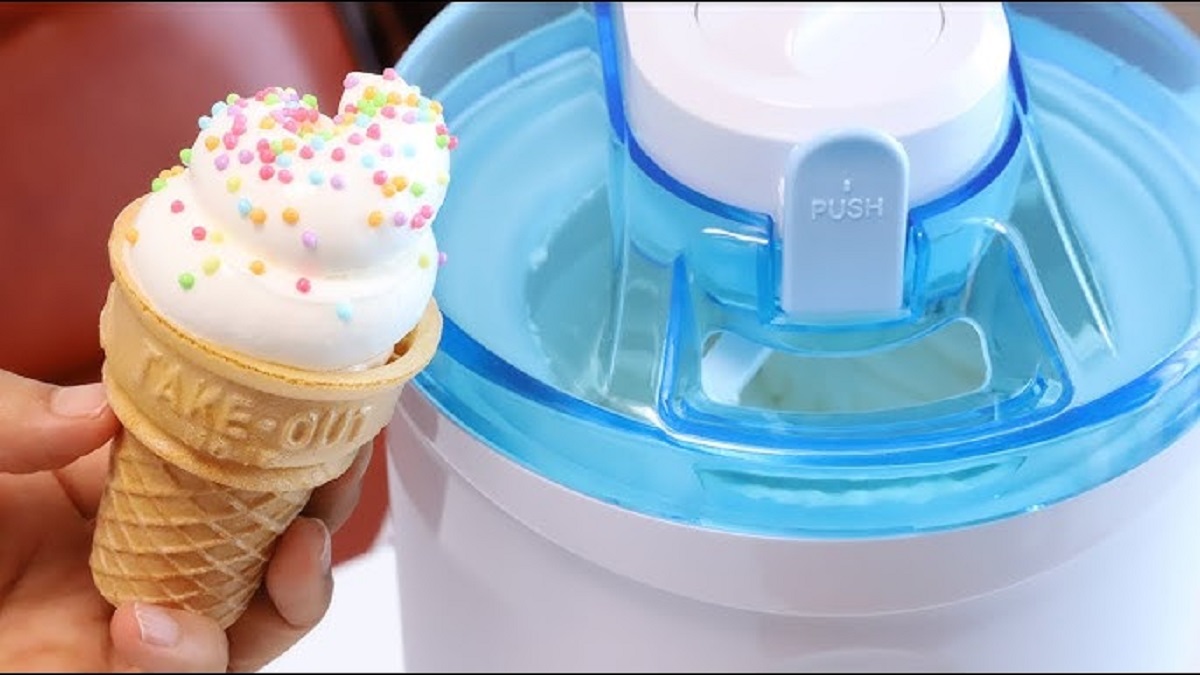
Once you are satisfied with the consistency of your ice cream, it’s time to savor the fruits of your labor. Whether you enjoy it in a crispy cone, a fancy dish, or straight from the container, relish the smooth and creamy goodness that your ice cream maker has helped you create.
Listening for the Right Sound
While visual cues and consistency are essential when determining if your ice cream is ready, another tool you can use is your sense of hearing. Listening for the right sound can give you valuable insight into the progress of your ice cream. Here’s what to listen for:
As your ice cream churns in the machine, you will notice a distinct sound. At the beginning of the freezing process, you may hear a sloshing or slushy noise. This indicates that the mixture is still in the early stages of freezing, and the ice crystals are starting to form.
As the churning continues and the ice cream begins to solidify, the sound will change. You will hear a more solid and consistent sound, signaling that the ice cream is nearing completion. The mixture will become thicker, and the churning paddle will encounter more resistance as the ice cream solidifies.
It’s important to note that the sound you hear may vary depending on the specific model of your ice cream maker. The key is to listen for a distinct change in sound from the initial slushy noise to a more solid and consistent sound.
While listening for the right sound is helpful, it’s important to rely on other indicators as well, such as the visual cues and the consistency of the ice cream. The sound serves as an additional confirmation that your ice cream is completing the churning process.
Be patient and attentive as you listen to the sound of your ice cream maker. Trust your instincts and rely on all your senses to determine when your ice cream is ready to be enjoyed.
Now that we’ve covered the importance of listening for the right sound, let’s explore the general time frame for making ice cream in an ice cream maker.
Time Frame for Making Ice Cream
When it comes to making ice cream in an ice cream maker, the time frame can vary depending on various factors such as the recipe, the specific machine you’re using, and the desired consistency. Here are some general guidelines to keep in mind:
The average time it takes to make ice cream in a typical ice cream maker ranges from 20 to 30 minutes. During this time, the freezing bowl cools the mixture while the paddle or dasher churns it continuously, incorporating air and preventing ice crystals from forming.
However, it’s important to note that this is just an estimate and the actual time can vary. It may take slightly longer or shorter depending on factors like the temperature of the ingredients, the specific machine’s capabilities, and the recipe’s composition. Some machines may have a faster freezing process or more powerful motors, which can speed up the overall churn time.
Moreover, the recipe itself can influence the freezing time. Ingredients like alcohol or excessive sugar content can affect the freezing process, potentially increasing the churn time. On the other hand, fruit-based ice creams may freeze faster due to their lower fat content.
As you gain experience with your ice cream maker, you’ll develop a better understanding of the optimal time frame for your preferred recipes. Take note of the recommended churn times provided in your specific recipe, as they are tailored to achieve the desired consistency and flavor for that particular batch.
It’s important to avoid over-churning your ice cream, as this can lead to a denser and less creamy texture. On the other hand, under-churning can result in a mixture that is too soft and lacks structure. Finding the sweet spot in terms of the churn time will help you achieve the perfect balance.
Remember, the primary goal is to achieve a smooth and creamy texture, so rely on the visual and consistency indicators we discussed earlier in conjunction with the approximate time frame. With practice, you’ll become more attuned to the signals that your ice cream is ready to be enjoyed.
Now that we have covered the time frame for making ice cream let’s proceed to some tips for using an ice cream maker effectively.
Tips for Using an Ice Cream Maker Effectively
To ensure that you get the best results from your ice cream maker, here are some tips to help you use it effectively:
- Freeze the bowl in advance: Most ice cream makers require the freezing bowl to be pre-frozen before use. Make sure to allow enough time for the bowl to completely freeze according to the manufacturer’s instructions. This step is crucial for achieving the desired consistency of your ice cream.
- Chill the mixture: It’s a good idea to chill your ice cream mixture before adding it to the ice cream maker. This helps to reduce the churn time and ensures a smoother freezing process. Ideally, let the mixture cool in the refrigerator for a few hours or overnight before pouring it into the machine.
- Don’t overfill the machine: Follow the manufacturer’s guidelines regarding the maximum fill level of your ice cream maker. Overfilling can prevent proper churning and may result in a mess. Leave enough room for the mixture to expand as it churns and freezes.
- Prepare mix-ins separately: If you plan to add mix-ins such as chocolate chips or nuts to your ice cream, it’s best to prepare them separately. Once the ice cream has nearly finished churning, fold in the mix-ins manually to distribute them evenly throughout the ice cream.
- Allow for additional freezing time: While an ice cream maker does its job of freezing and churning the mixture, it’s important to note that the ice cream may still need additional time in the freezer to firm up further. Transfer the churned ice cream into a lidded container and let it freeze for a few hours or until it reaches your desired consistency.
- Clean the machine properly: After each use, make sure to clean your ice cream maker according to the manufacturer’s instructions. This will help to maintain the machine’s performance and prevent any buildup that can affect the quality of your ice cream.
By following these tips, you’ll be able to use your ice cream maker effectively and create delectable homemade treats with ease. Remember to experiment with different recipes, flavors, and mix-ins to discover your favorite combinations. Enjoy the process and let your creativity shine through as you master the art of making homemade ice cream.
Conclusion
Congratulations! You have now learned how to know if your ice cream maker is done and ready to be enjoyed. By paying attention to visual cues, testing the consistency, and listening for the right sound, you can confidently determine when your homemade ice cream is at its prime.
We explored the basic workings of an ice cream maker, understanding how it freezes and churns the mixture to produce a smooth and creamy treat. Through visual indicators such as increased volume and a light and creamy appearance, we learned to recognize the signs of finished ice cream.
Testing the consistency of ice cream allowed us to gauge the texture and mouthfeel of the frozen dessert. By using methods such as the spoon test and bite test, we can ensure that the ice cream is smooth, velvety, and free from ice crystals.
Additionally, we discovered that listening for the right sound can provide valuable insight into the progress of our ice cream, transitioning from a slushy noise to a solid and consistent sound as the churn nears completion.
While keeping in mind that the time frame for making ice cream can vary, we learned that most ice cream makers take around 20 to 30 minutes to achieve the desired consistency. It’s important to trust our instincts and rely on visual, consistency, and sound cues to determine when our ice cream is ready.
Lastly, we discussed some tips for using an ice cream maker effectively, such as pre-freezing the bowl, chilling the mixture, and properly cleaning the machine after use. Following these tips will help us create the best homemade ice cream possible.
Now armed with this knowledge, it’s time to put it into practice and create delicious frozen treats for yourself, family, and friends. Experiment with various flavors, mix-ins, and recipes to discover your favorites. Enjoy the process of creating homemade ice cream and relish the wonderful moments they bring, one delightful spoonful at a time.