Introduction
Welcome to the world of delicious and guilt-free keto ice cream! If you’re following a ketogenic diet and craving a sweet treat, homemade keto ice cream made with an ice cream maker is the perfect solution. Not only does it satisfy your craving, but it also allows you to control the ingredients and flavors, ensuring that you stick to your low-carb, high-fat diet.
Traditional ice cream recipes are loaded with sugar and high-carb ingredients, making them off-limits for those on a keto diet. However, with a few simple tweaks and the right ingredients, you can create a creamy and indulgent ice cream that won’t sabotage your ketosis.
Using an ice cream maker will significantly improve the texture and consistency of your keto ice cream. It creates a smooth and creamy base, allowing you to experiment with various flavors and mix-ins to your heart’s content. Plus, it’s a fun and easy process that the whole family can enjoy.
In this step-by-step guide, we will walk you through the process of making keto ice cream in an ice cream maker. From choosing the right ingredients to freezing and serving the final product, we’ve got you covered. So grab your favorite ice cream maker and let’s get started!
Choosing the Right Ingredients
When it comes to making keto ice cream, the key is to choose ingredients that are low in carbs and high in healthy fats. Here are some essential ingredients you’ll need for your homemade keto ice cream:
1. Low-carb sweeteners: Traditional sugar is a big no-no on a keto diet, but you can still enjoy sweetness by using alternative sweeteners such as erythritol, stevia, or monk fruit. These sweeteners have minimal impact on blood sugar levels and can be used in the same amount as regular sugar.
2. Full-fat dairy products: To achieve that rich and creamy texture, opt for full-fat dairy products like heavy cream and full-fat coconut milk. These ingredients add a smooth and luscious mouthfeel to your ice cream.
3. Eggs: Adding eggs to your ice cream base helps to stabilize and emulsify the mixture, resulting in a smoother and creamier consistency. Make sure to use pasteurized eggs to avoid any risk of foodborne illness.
4. Healthy fats: Since the keto diet is all about high-fat consumption, it’s essential to incorporate healthy fats into your ice cream. Consider using ingredients like avocado, coconut oil, or nut butter to add richness and improve the nutritional profile.
5. Flavor extracts: Enhance the taste of your keto ice cream by adding flavor extracts like vanilla, almond, or mint. These extracts are low in carbs and can transform your ice cream into a delectable dessert.
6. Mix-ins: Get creative with mix-ins like dark chocolate chunks, crushed nuts, fresh berries, or shredded coconut. Just make sure to choose low-carb options to keep your ice cream keto-friendly.
When shopping for ingredients, always check the labels to ensure they are low in carbs and free from added sugars. It’s also worth investing in high-quality ingredients to achieve the best flavor and texture in your keto ice cream.
Preparing the Ice Cream Base
Now that you have your ingredients ready, it’s time to prepare the ice cream base. The ice cream base serves as the foundation of your keto ice cream and gives it a creamy and smooth texture. Follow these steps to create the perfect base:
- Combine the ingredients: In a mixing bowl, whisk together the heavy cream (or full-fat coconut milk), low-carb sweetener, and any desired flavor extracts. For added richness, you can also incorporate a few tablespoons of healthy fats like melted coconut oil or nut butter.
- Cook the mixture (optional): If you prefer a custard-based ice cream, you can cook the mixture on the stovetop. In a saucepan, heat the mixture over low heat, stirring constantly until it thickens slightly. Be careful not to let it boil.
- Temper the eggs (if using): If your recipe calls for eggs, you’ll need to temper them to ensure a smooth and safe ice cream base. Gradually pour a small amount of the heated mixture into the beaten eggs, whisking constantly. This helps avoid cooking the eggs when they come into contact with the hot mixture.
- Combine everything: Pour the tempered egg mixture (if using) back into the saucepan and continue to cook over low heat, stirring constantly, until the mixture thickens further. Remove from heat and let it cool completely.
- Chill the mixture: Once the ice cream base is cooled, transfer it to the refrigerator and let it chill for at least 2 hours or overnight. Chilling the mixture will improve the texture and allow the flavors to develop.
Preparing the ice cream base is an essential step in ensuring a smooth and creamy keto ice cream. Take your time to follow the instructions and be patient during the chilling process. Now that your ice cream base is ready, it’s time to move on to the next step: using the ice cream maker.
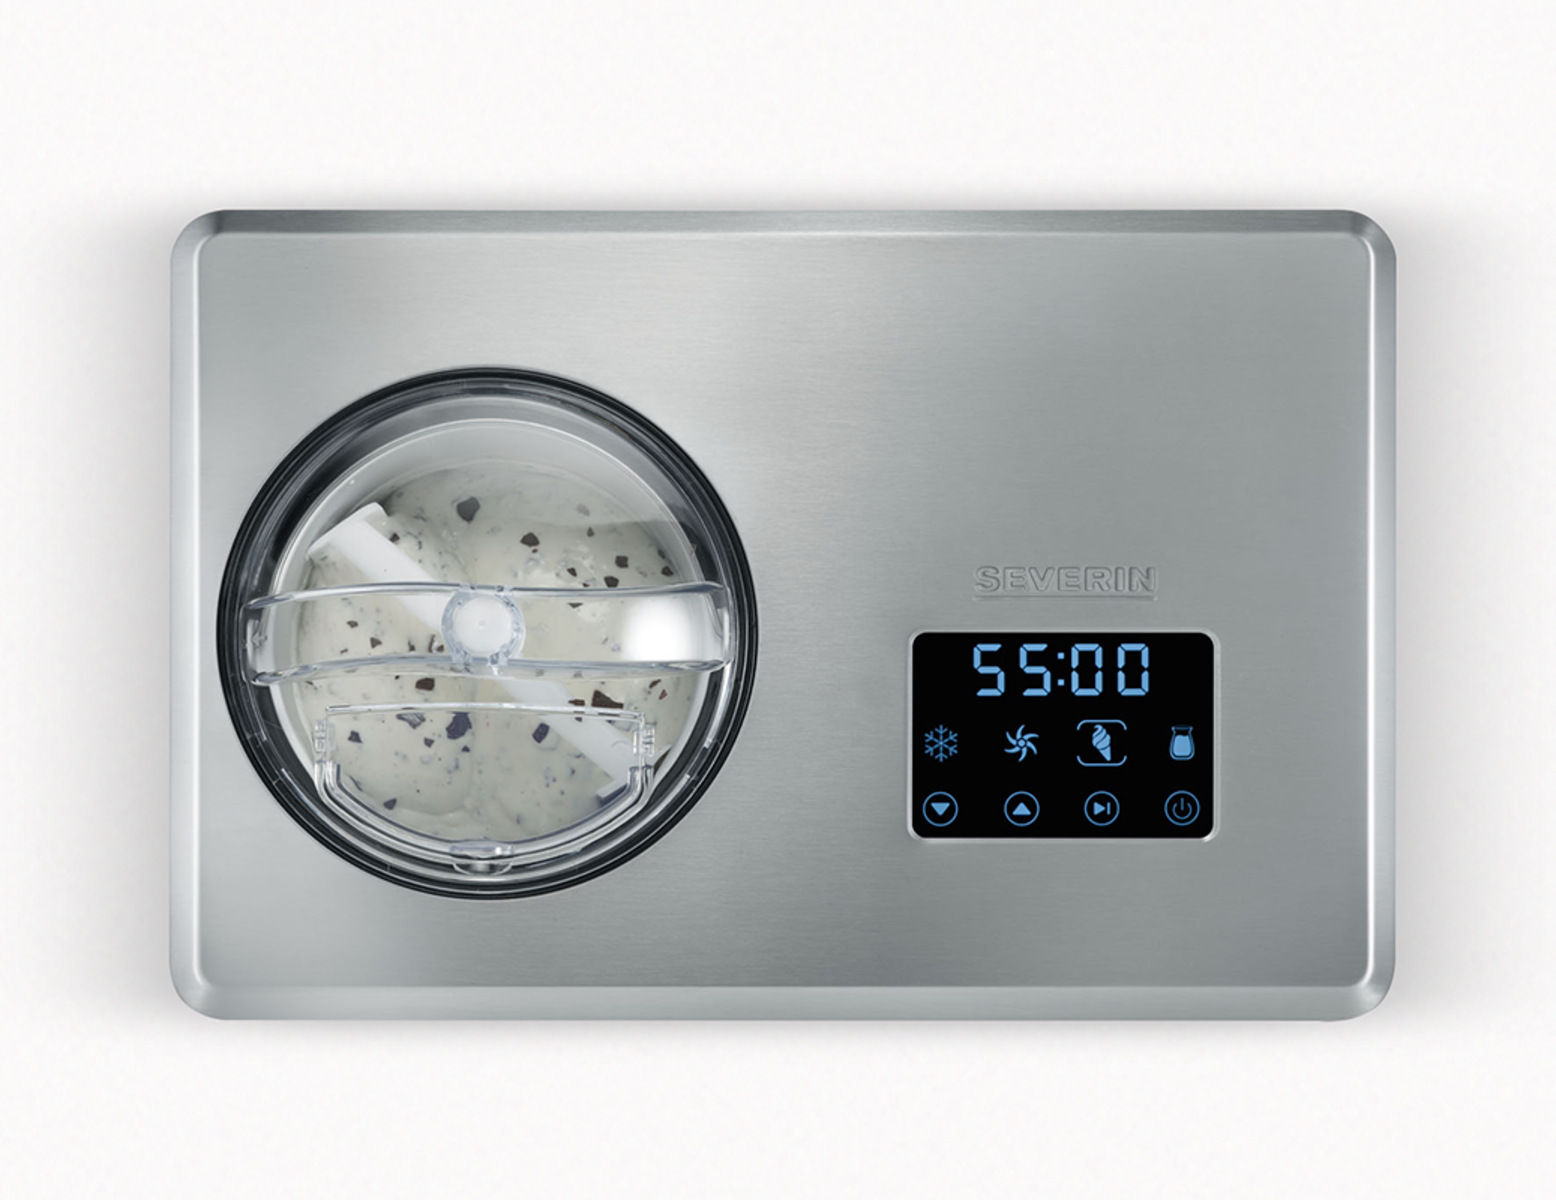
Using the Ice Cream Maker
Now that your ice cream base is chilled and ready, it’s time to bring out the star of the show – your ice cream maker. Follow these steps to create perfectly churned and creamy keto ice cream:
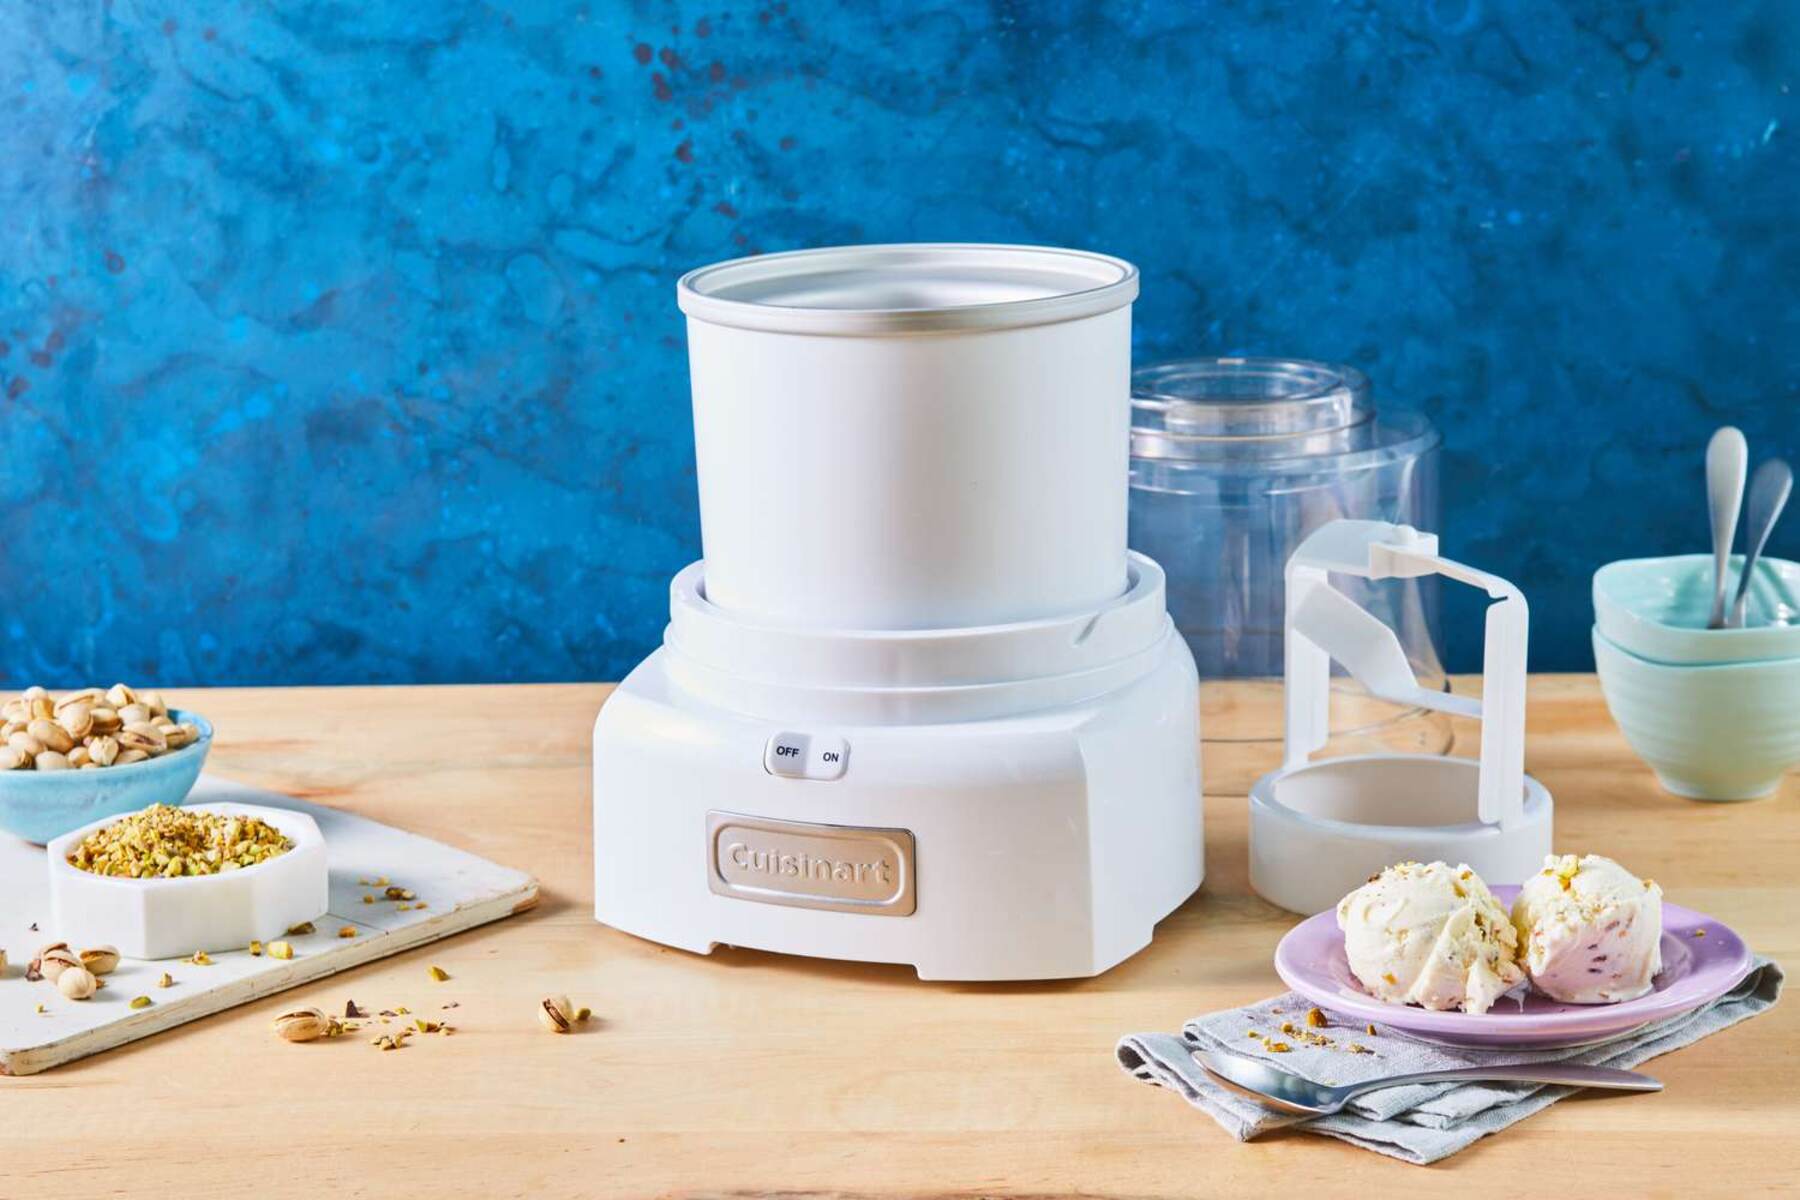
- Pre-freeze the ice cream maker: Ensure that the bowl of your ice cream maker is thoroughly frozen according to the manufacturer’s instructions. Most ice cream makers require at least 24 hours in the freezer before use.
- Assemble the ice cream maker: Once the bowl is frozen, assemble your ice cream maker and turn it on.
- Pour in the ice cream base: Take the chilled ice cream base out of the refrigerator and give it a good stir. Pour the mixture into the ice cream maker while it’s running.
- Churn the ice cream: Let the ice cream maker do its magic and churn the mixture for about 20-30 minutes, or until the ice cream reaches a soft and creamy consistency. Keep an eye on the ice cream as it churns, as it can quickly become too firm if left in for too long.
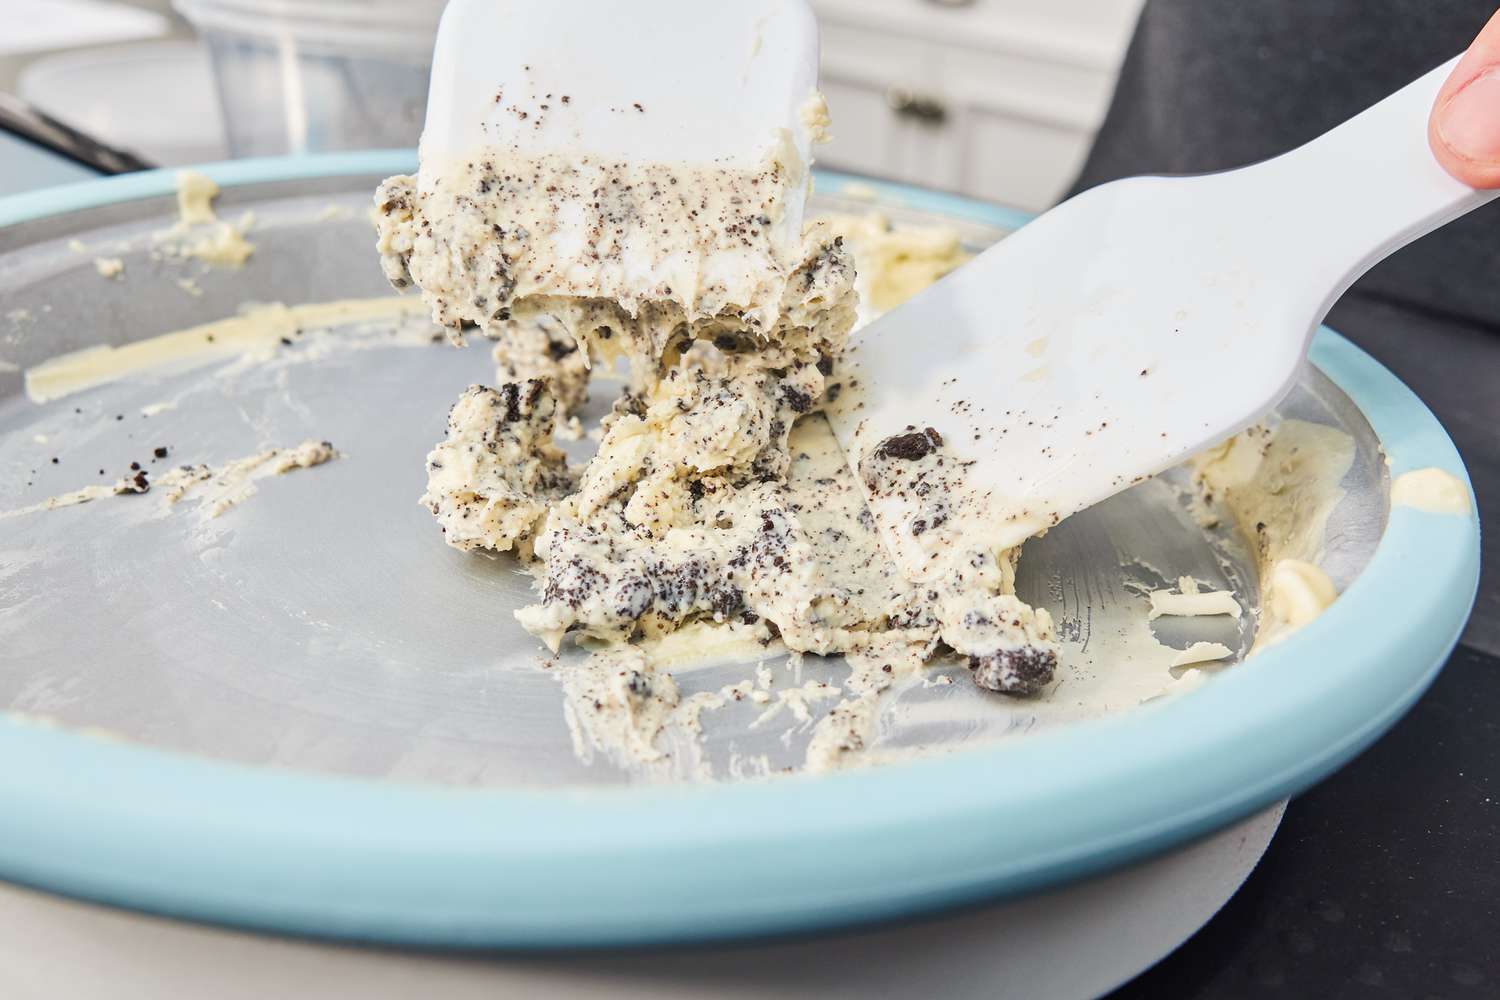
- Add mix-ins: If you plan to add mix-ins like chocolate chips or nuts, it’s best to add them during the last few minutes of churning to evenly distribute them throughout the ice cream.
- Transfer and freeze: Once the desired consistency is achieved, transfer the churned ice cream to a freezer-safe container. Smooth the top with a spatula and cover it with a lid. Place it in the freezer for at least 2-4 hours, or until it’s firm enough to scoop.
Using an ice cream maker ensures that your keto ice cream has a velvety smooth texture and prevents ice crystals from forming. It aerates the mixture and gives your ice cream that classic scoopable consistency.
Remember to consult your ice cream maker’s instruction manual for specific details and recommended churning times. And don’t forget to clean and dry your ice cream maker thoroughly after use to keep it in top condition for your next batch of keto ice cream.
Adding Mix-Ins and Flavors
One of the joys of making homemade keto ice cream is the ability to customize the flavors and add delicious mix-ins. Here are some ideas to take your keto ice cream to the next level:
1. Nutty Delights: Add a crunchy texture and nutty flavor to your ice cream by incorporating mix-ins like chopped almonds, walnuts, or pecans. Lightly toast the nuts before adding them to enhance their flavors.
2. Decadent Chocolate: Keto-friendly dark chocolate is rich in flavor and low in carbs. Add chopped sugar-free chocolate or sugar-free chocolate chips to create a chocolate lover’s dream ice cream.
3. Berry Bliss: Fresh or frozen berries are a great way to add natural sweetness and vibrant colors to your ice cream. Consider adding raspberries, strawberries, blueberries, or blackberries for a fruity twist.
4. Creamy Nut Butters: Nut butters like almond butter, peanut butter, or cashew butter not only add a creamy texture but also bring a delicious nutty flavor to your ice cream. Swirl them into the ice cream during the churning process for a delightful treat.
5. Refreshing Mint: A hint of mint can transform your keto ice cream into a refreshing and indulgent dessert. Add a few drops of mint extract and some sugar-free chocolate chips to create a mint chocolate chip flavor.
6. Coconut Paradise: For a tropical twist, incorporate shredded coconut or coconut flakes into your ice cream. You can also use coconut milk as the base for a creamy and dairy-free keto ice cream option.
7. Coffee Kick: Coffee enthusiasts can add a few tablespoons of strong brewed coffee or espresso to their ice cream base to create a rich and flavorful coffee ice cream.
Remember to choose mix-ins and flavors that are low in carbs and align with your keto diet. Be creative, experiment with different combinations, and don’t be afraid to try new flavors to find your favorite keto ice cream creation.
Once you’ve added your desired mix-ins and flavors, continue the churning process according to your ice cream maker’s instructions. The result will be a delectable combination of creamy ice cream with bursts of flavor and texture.
Freezing and Serving the Ice Cream
After the churning process is complete, it’s time to freeze your keto ice cream and get ready to enjoy a delightful frozen treat. Follow these steps to ensure the best texture and flavor:
- Transfer to a freezer-safe container: Carefully transfer the churned ice cream from the ice cream maker into a freezer-safe container. Use a spatula to smooth the top of the ice cream.
- Cover and seal: Place a lid or cover on the container to prevent any air from getting in, which can cause ice crystals to form. Ensure a tight seal to maintain the freshness of your ice cream.
- Freeze for a few hours: Place the container in the freezer and allow the ice cream to firm up for at least 2-4 hours. This will give the ice cream time to set and reach a scoopable consistency.
- Proper storage: If you have any leftovers, store them in the freezer with a layer of plastic wrap pressed against the surface of the ice cream. This prevents ice crystals from forming and protects the flavor and texture.
When it’s time to serve your keto ice cream, remove it from the freezer and let it sit at room temperature for a few minutes to soften slightly. This will make it easier to scoop. Use an ice cream scoop dipped in warm water to create perfect scoops of creamy goodness.
You can enjoy your keto ice cream as is or get creative with various toppings. Fresh berries, crushed nuts, a sprinkle of unsweetened shredded coconut, or a drizzle of sugar-free chocolate syrup are all fantastic options.
If you have any leftovers, be sure to return them to the freezer promptly to maintain the quality of the ice cream. Keep in mind that keto ice cream may become harder when frozen for an extended period due to the absence of sugar and additional stabilizers. Allow it to soften at room temperature for a few minutes before serving.
Now that you’re all set with the freezing and serving process, it’s time to indulge in your homemade keto ice cream. Enjoy each creamy spoonful, savoring the flavors and satisfaction without derailing your ketogenic lifestyle.
Conclusion
Congratulations! You’ve successfully learned how to make keto ice cream using an ice cream maker. By choosing the right ingredients, preparing a creamy base, incorporating delicious mix-ins, and properly freezing the ice cream, you can create a delicious and satisfying dessert that fits perfectly into your keto lifestyle.
The beauty of making your own keto ice cream is the ability to customize flavors, add your favorite mix-ins, and control the ingredients to fit your dietary needs. Experiment with different flavors, such as chocolate, berries, nuts, or coffee, and create your own signature creations.
Remember to always choose ingredients that are low in carbs and high in healthy fats to stay in ketosis. Pay attention to the nutritional content and quality of the ingredients you use to create a wholesome and delicious treat.
Whether you enjoy your keto ice cream on its own or top it with your favorite low-carb toppings, savoring each spoonful is a guilt-free pleasure. Share your creations with family and friends, impressing them with your homemade keto ice cream skills.
So, pull out your ice cream maker, gather the ingredients, and unleash your creativity to enjoy a refreshing and satisfying dessert while staying true to your keto lifestyle.