Introduction
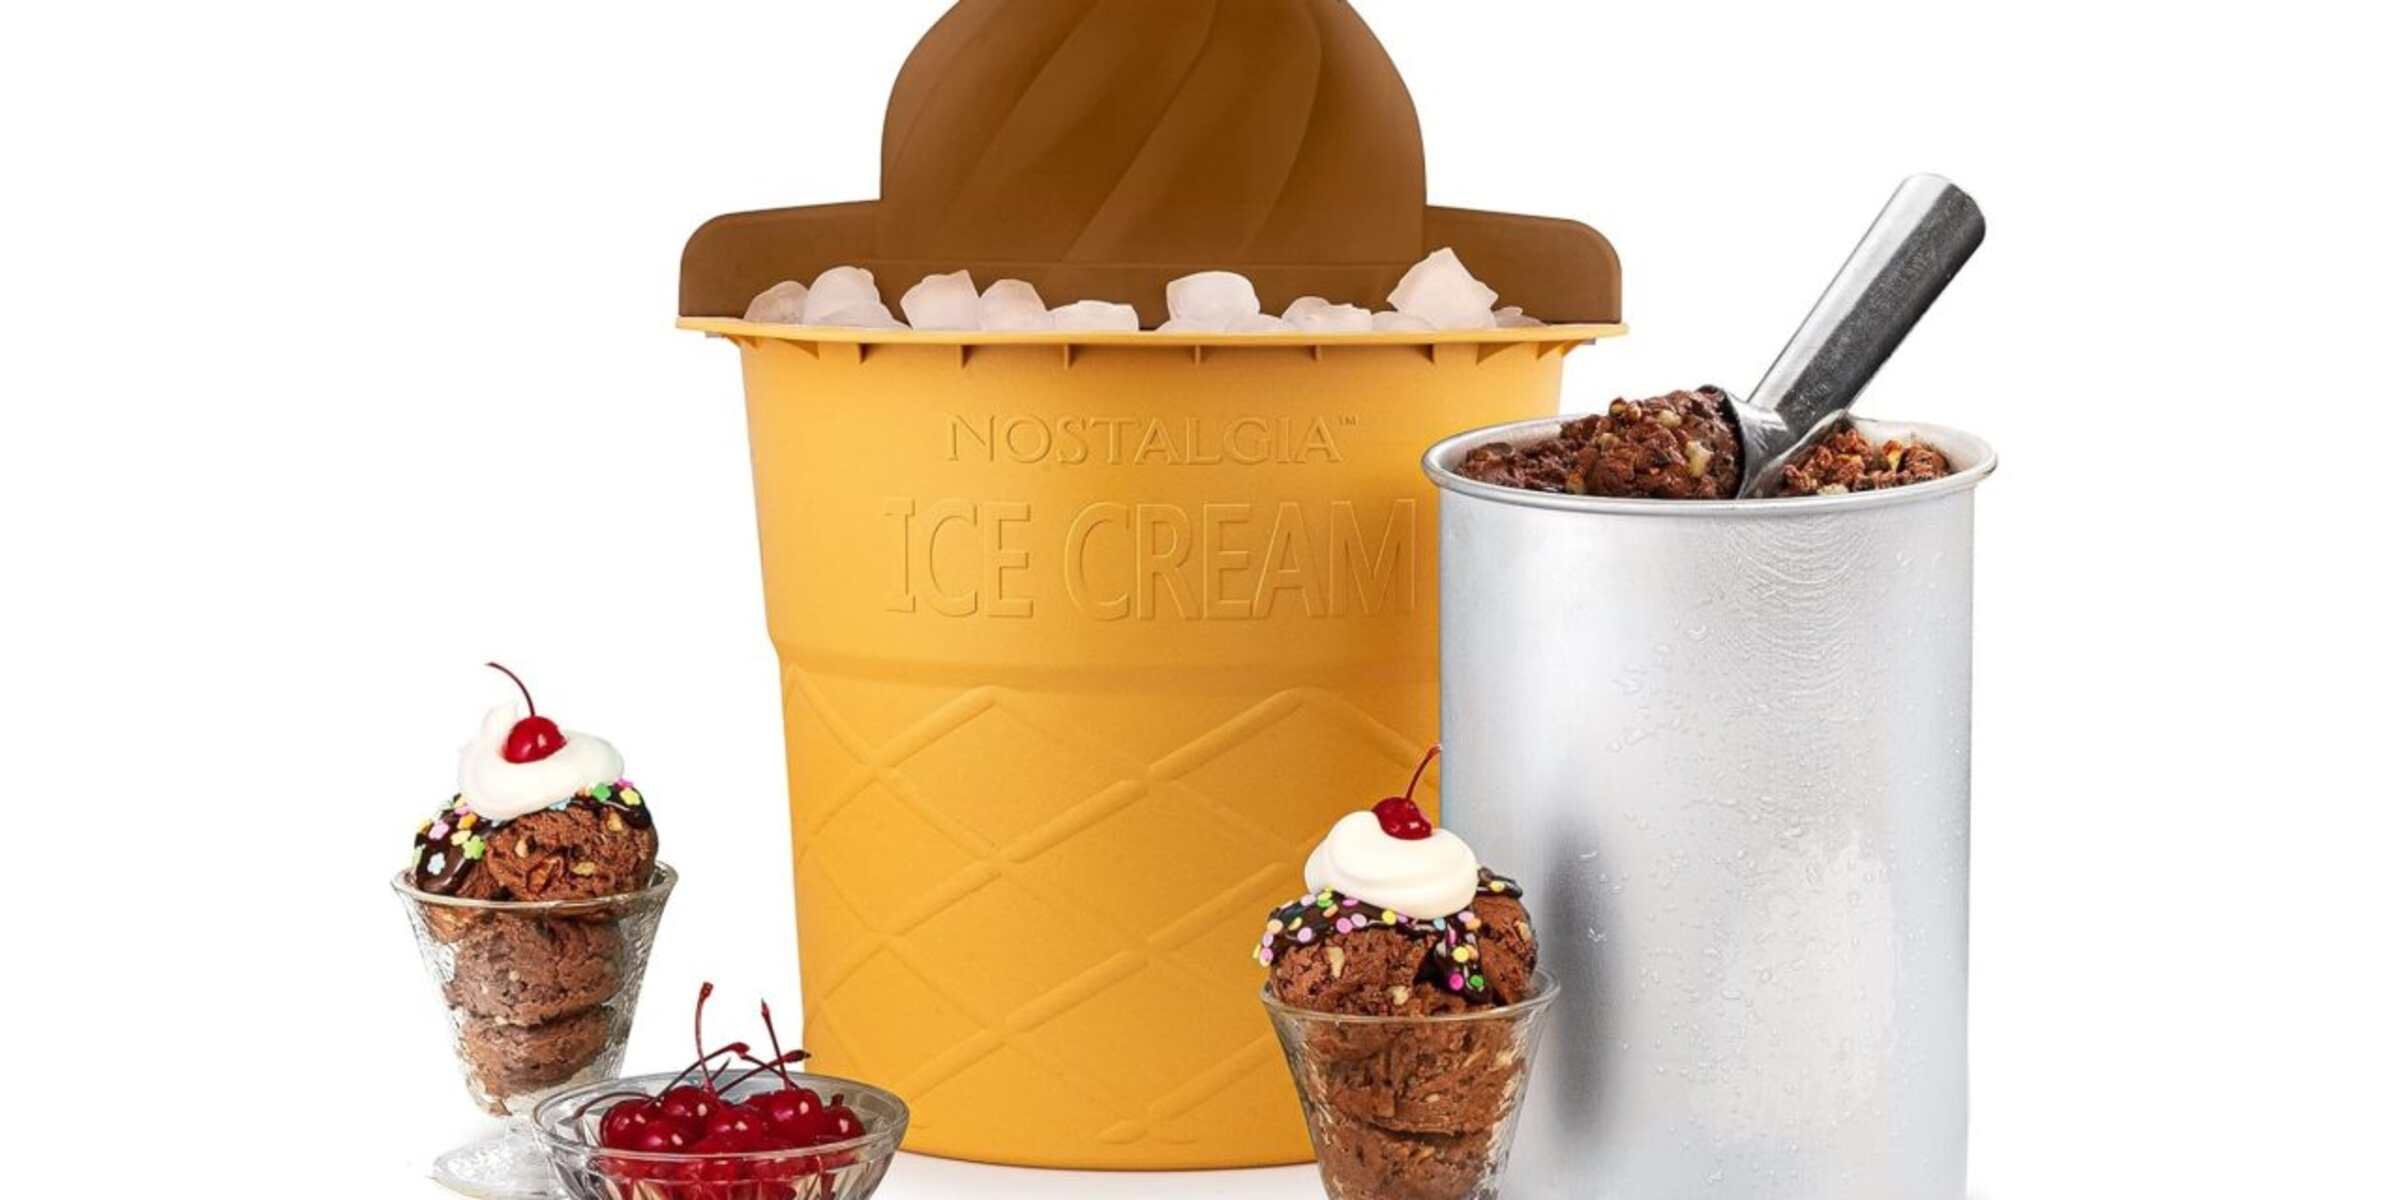
Welcome to the world of homemade ice cream! There’s something truly special about creating your own frozen treats, and with the Oster Ice Cream Maker, you can easily turn your kitchen into an ice cream parlor. Whether you have a craving for classic vanilla or a hankering for a unique flavor combination, this versatile appliance allows you to whip up delicious ice cream, gelato, or sorbet in the comfort of your own home.
With its user-friendly features and innovative design, the Oster Ice Cream Maker takes the hassle out of making ice cream from scratch. Gone are the days of hand-cranking or relying on store-bought options. Now, you can create creamy, dreamy delights tailored to your own tastebuds.
Not only does homemade ice cream taste incredible, but it also gives you the opportunity to experiment with different flavors and ingredients. From tangy fruit swirls to decadent chocolate chunks, the possibilities are endless. With the Oster Ice Cream Maker, you have the freedom to concoct luscious creations that will impress your friends and family.
In this comprehensive guide, we will take you through the step-by-step process of using the Oster Ice Cream Maker. Whether you’re a seasoned ice cream aficionado or a novice in the kitchen, this article will provide you with all the information you need to make the most out of your ice cream maker.
So, put on your apron, gather your favorite ingredients, and get ready to embark on a delightful ice cream-making adventure with the Oster Ice Cream Maker!
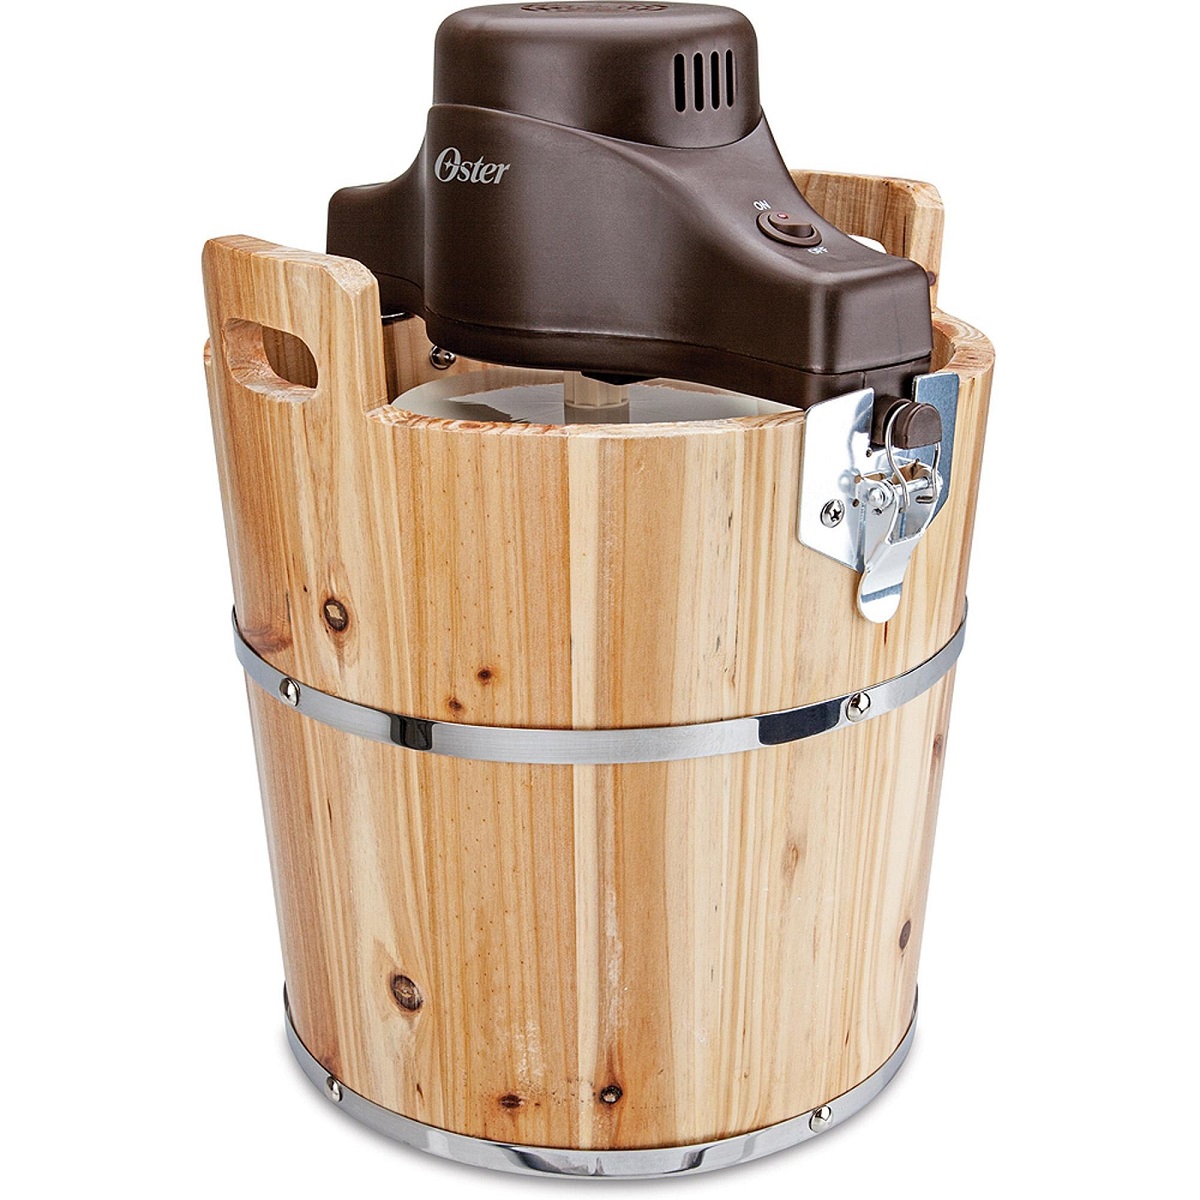
Step 1: Unboxing and Assembly
Before you can start churning out delicious ice cream, you’ll need to unbox and assemble your Oster Ice Cream Maker. The process is straightforward, and you’ll be ready to make your first batch in no time. Here’s what you need to do:
- Remove all the components from the packaging and ensure that you have everything you need, including the freezing canister, paddle, lid, and base.
- Carefully wash the parts with warm soapy water and dry them thoroughly.
- Place the freezing canister in the freezer for at least 24 hours to ensure it is completely frozen. It’s a good idea to keep it in the freezer even when not in use so that you’re always ready to whip up a batch of ice cream.
- Once the freezing canister is frozen, place it onto the base of the ice cream maker. Ensure that it fits securely and aligns with the motor unit.
- Attach the paddle to the motor unit. Make sure it is properly inserted and securely locked in place.
- Put the lid onto the freezing canister, ensuring that it fits snugly.
- Plug in the ice cream maker and you’re ready to move on to the next step!
It’s important to note that each model of the Oster Ice Cream Maker may have slight variations in its assembly process. Therefore, it’s a good idea to consult the user manual that comes with your specific model for any additional instructions or guidance.
Now that your Oster Ice Cream Maker is assembled and ready to go, it’s time to move on to the next exciting step: preparing the ingredients for your delicious homemade ice cream!
Step 2: Preparing the Ingredients
Now that your Oster Ice Cream Maker is all set up, it’s time to gather and prepare the ingredients for your homemade ice cream. Here’s what you need to do:
- Decide on the flavor of ice cream you want to make. Whether it’s classic vanilla, rich chocolate, or a unique combination, the choice is yours!
- Gather the necessary ingredients. This typically includes heavy cream, whole milk, sugar, and any flavorings or mix-ins you desire. Be sure to follow a recipe or create your own based on your taste preferences.
- Mix the ingredients together in a separate container. Whisk them together until the sugar is fully dissolved and the mixture is well-blended. This will ensure a smooth and creamy texture in your final ice cream.
- For flavors that require infusing, such as vanilla or coffee, gradually heat the mixture in a saucepan until it reaches a gentle simmer. Once simmering, remove it from the heat and allow it to cool completely before using.
- If you’re incorporating mix-ins like chocolate chips, nuts, or fruit, prepare them by chopping or crushing them to your preferred size. This will ensure that they are evenly distributed throughout the ice cream.
Remember, the beauty of making homemade ice cream is that you can get creative with your flavor combinations and mix-ins. Don’t be afraid to experiment and try new ingredients to personalize your ice cream.
Once your ingredients are prepared and ready, it’s time to move on to the exciting part: operating your Oster Ice Cream Maker to transform these ingredients into a delectable frozen treat.
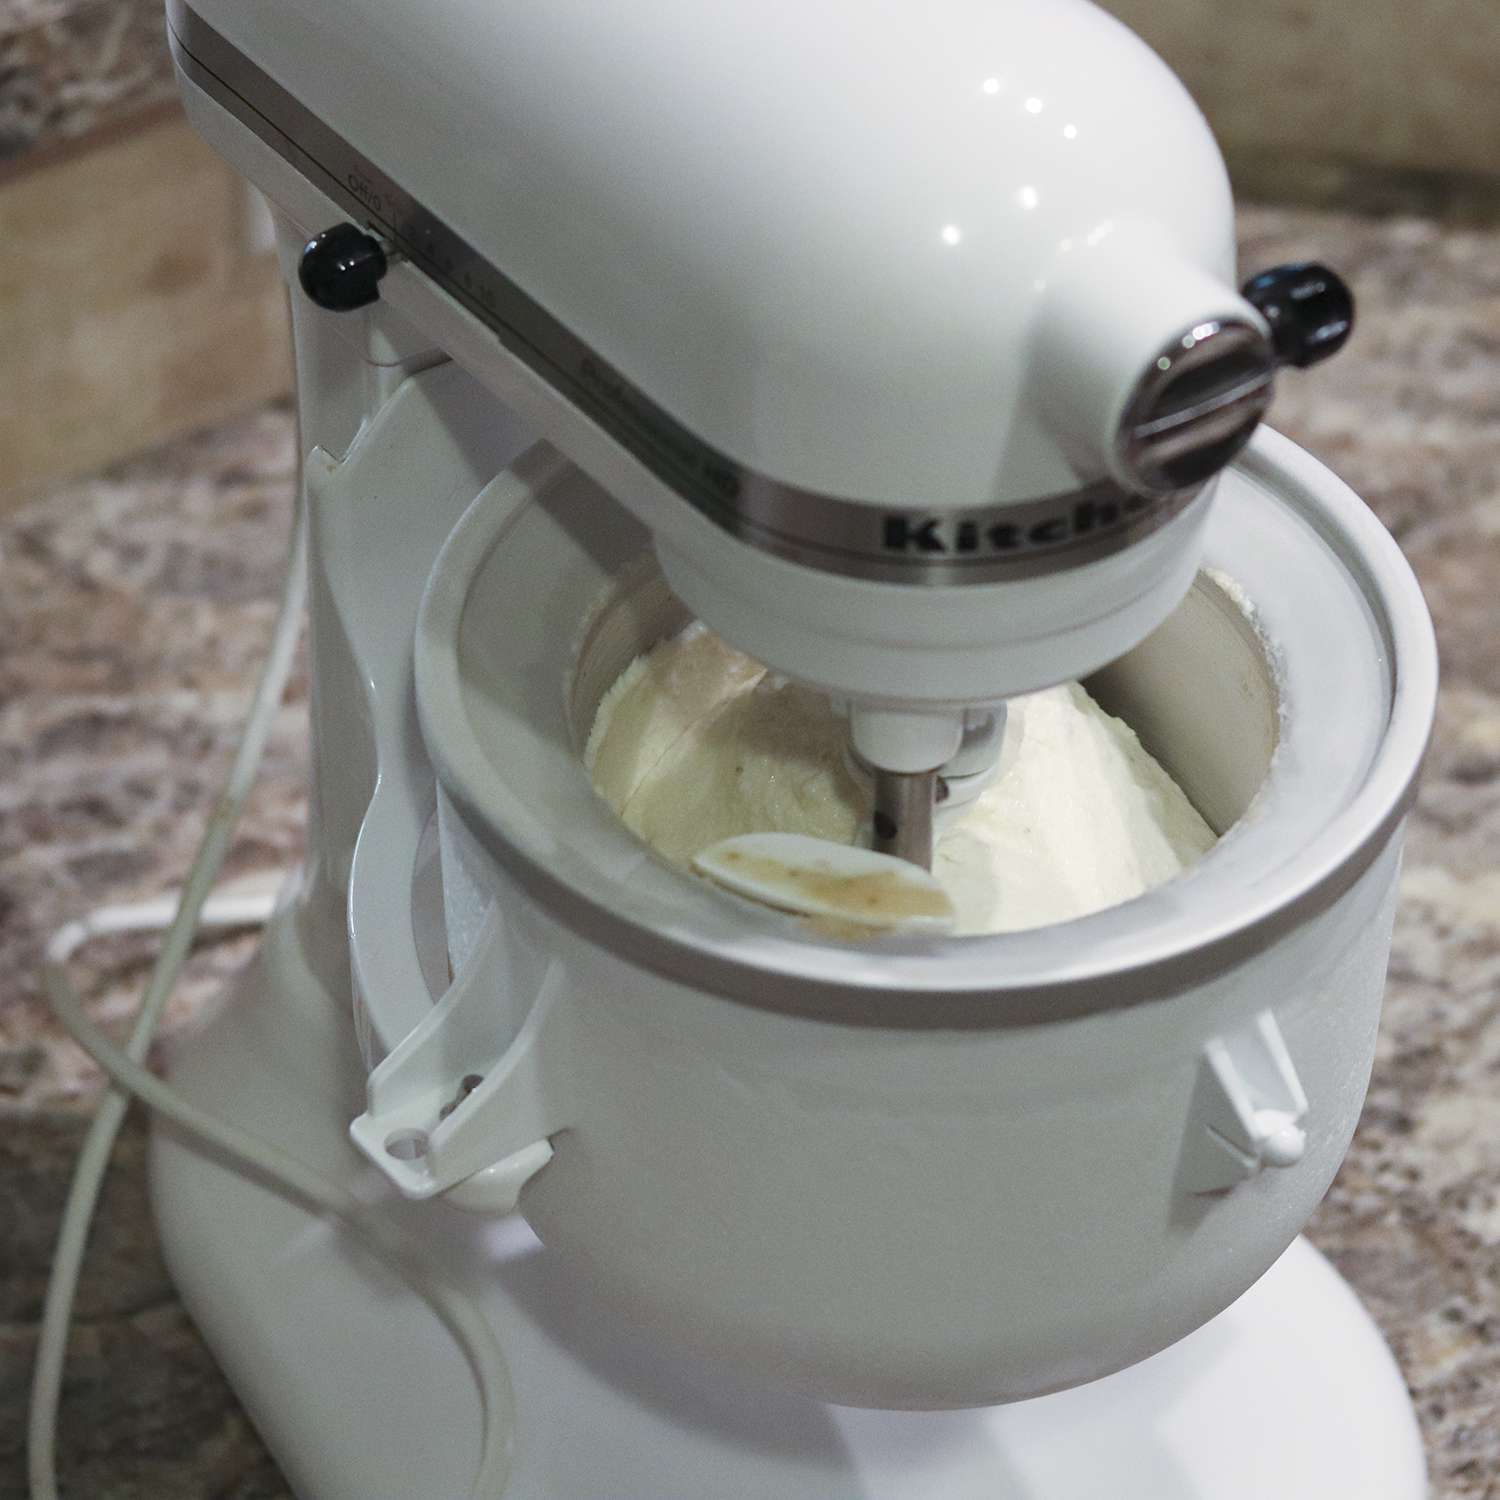
Step 3: Operating the Oster Ice Cream Maker
Now that you have your ingredients prepared, it’s time to bring your Oster Ice Cream Maker to life and start churning. Follow these steps to operate the machine:
- Retrieve the freezing canister from the freezer and place it onto the base of the ice cream maker. Ensure that it fits securely and aligns properly with the motor unit.
- Attach the paddle to the motor unit by inserting it and securely locking it in place.
- Pour your prepared ice cream mixture into the freezing canister. Be cautious not to overfill it, as the mixture will expand as it freezes.
- Place the lid onto the freezing canister, making sure it is tightly secured. This will prevent any ice cream from leaking and help maintain the desired consistency.
- Plug in the ice cream maker and switch it on. The motor will start spinning the paddle, which will churn the mixture as it freezes.
- Allow the machine to operate for the specified time recommended in your recipe or according to the manufacturer’s instructions. This typically ranges from 20 to 30 minutes, but it may vary depending on the desired consistency and the model of your ice cream maker.
- You may notice that the mixture becomes thicker and creamier as the freezing process progresses. This is a sign that your ice cream is coming together beautifully!
- While the machine is running, you can also add any desired mix-ins through the ingredient chute. This allows the mix-ins to be evenly distributed throughout the ice cream.
- Once the ice cream reaches your desired consistency, turn off the machine and unplug it from the power source. Be cautious when removing the freezing canister as it may be frozen and ice-cold to the touch.
Now that your homemade ice cream is ready, you can scoop it into a container, serve it in bowls or cones, or even enjoy it straight from the freezing canister. The choice is yours!
Operating the Oster Ice Cream Maker is a simple and exciting process. However, it’s essential to refer to your specific model’s user manual for any additional instructions or safety guidelines provided by the manufacturer.
Now that you’ve mastered the art of operating the Oster Ice Cream Maker, let’s move on to the next step: adding mix-ins to enhance the flavor and texture of your homemade ice cream.
Step 4: Adding Mix-Ins
One of the joys of homemade ice cream is the ability to customize it with delicious mix-ins. Whether you prefer chunks of chocolate, swirls of caramel, or a burst of fruity goodness, adding mix-ins to your ice cream can take it to the next level. Here’s how to incorporate mix-ins into your Oster Ice Cream Maker:
- Once your ice cream mixture has reached the desired consistency, you can start adding your chosen mix-ins. This is typically done during the last few minutes of churning.
- Prepare your mix-ins by chopping, crushing, or softening them, depending on their texture and desired final result. This will ensure that they are evenly distributed throughout the ice cream.
- If your mix-ins are larger chunks, such as chocolate chips or nuts, you can add them directly to the freezing canister while the machine is running. Gradually feed them through the ingredient chute, allowing them to be evenly distributed by the spinning paddle.
- If your mix-ins are in a liquid or sauce form, such as caramel or fruit syrups, drizzle them into the freezing canister while the machine is running. Aim for an even distribution to ensure each scoop of ice cream is infused with the desired flavor.
- Remember not to overload the ice cream with mix-ins, as this could affect the texture and hinder the churning process. It’s best to start with a smaller amount and adjust according to your preference.
- Continue churning the ice cream for an additional minute or two after adding the mix-ins to ensure they are well incorporated.
Adding mix-ins to your homemade ice cream allows you to unleash your creativity and tailor your frozen treat to your liking. Experiment with different combinations and quantities until you find your perfect mix-in balance.
Once you’re satisfied with the mix-ins, it’s time to move on to the next step: freezing and storing your delightful creation.
Step 5: Freezing and Storing the Ice Cream
After the churning process is complete and you’ve added your desired mix-ins, it’s time to freeze and store your homemade ice cream. Follow these steps to ensure it maintains its delicious texture and flavor:
- Using a rubber spatula, transfer the freshly churned ice cream from the freezing canister into a freezer-safe container. Make sure to scrape off as much ice cream as possible.
- Smooth out the surface of the ice cream in the container to create an even layer. This will help prevent ice crystals from forming and maintain a creamy texture.
- Place a piece of plastic wrap directly on the surface of the ice cream to create a barrier that prevents air from reaching it. This will minimize ice formation and maintain the best quality.
- Secure the lid of the container tightly to ensure a proper seal. This will prevent any unwanted odors from entering and affecting the taste of your ice cream.
- Label the container with the name of the flavor and the date it was made. This will help you keep track of the freshness and avoid any confusion in the future.
- Place the container in the freezer and allow the ice cream to harden for at least 4 to 6 hours, or until it reaches the desired level of firmness.
It’s important to note that homemade ice cream is best enjoyed within a few weeks of being made. This ensures optimal flavor and texture. Although it can be stored for longer periods, the quality may gradually decline over time.
When you’re ready to serve the ice cream, remove it from the freezer and let it sit at room temperature for a few minutes to soften slightly. This will make scooping easier and give you that perfect creamy consistency.
Congratulations, you now have your very own homemade ice cream ready to be enjoyed! It’s time to savor the fruits of your labor and indulge in a scoop or two of your delicious creation.
But before you dig in, let’s move on to the next step: cleaning and maintaining your Oster Ice Cream Maker for future use.
Step 6: Cleaning and Maintenance
Keeping your Oster Ice Cream Maker clean and properly maintained is essential for its longevity and optimal performance. Follow these steps to ensure your machine remains in pristine condition:
- Before cleaning, make sure to unplug the ice cream maker and allow it to cool down completely.
- Remove the freezing canister, paddle, and lid from the base of the machine.
- Thoroughly wash these components with warm soapy water. Use a non-abrasive sponge or cloth to gently scrub away any residue.
- Rinse the components thoroughly to ensure all soap is removed.
- Dry the components completely before reassembling them. You can use a clean towel or air-drying rack.
- Wipe down the base of the machine with a damp cloth to remove any spills or drips.
- Make sure all components are completely dry before reassembling the ice cream maker for storage.
It’s important to note that the freezing canister should always be hand-washed and never placed in the dishwasher. The high heat and harsh detergents can damage the freezing agent inside the canister.
In addition to regular cleaning, it’s also important to keep your ice cream maker in good working order. Here are a few maintenance tips:
- Store the ice cream maker in a cool and dry place when it’s not in use.
- Follow the recommended freezing time for the canister to ensure it is properly frozen before each use.
- Refer to the user manual for any specific maintenance instructions provided by the manufacturer.
By following these cleaning and maintenance steps, you can ensure that your Oster Ice Cream Maker remains in excellent condition and continues to churn out delectable frozen treats for years to come.
Now that your ice cream maker is clean and well-maintained, let’s move on to the final step: troubleshooting common issues that may arise during the ice cream-making process.
Step 7: Troubleshooting Common Issues
While using your Oster Ice Cream Maker, you may encounter some common issues that can be easily resolved. Here are a few troubleshooting tips to help you overcome these challenges:
- Ice cream not freezing: If your ice cream is not freezing properly, ensure that the freezing canister has been frozen for the recommended amount of time. Make sure the mixture is cold before pouring it into the canister.
- Inconsistent freezing: If your ice cream freezes unevenly, it may be due to insufficient mixing. Make sure the paddle is securely attached and running smoothly throughout the churning process. Additionally, avoid overfilling the canister to allow proper airflow.
- Ice cream too soft: If your ice cream is too soft, the churning time may have been too short. Check the manufacturer’s instructions or recipe for the recommended churning time, and adjust accordingly for a firmer consistency.
- Ice crystals forming: Ice crystals can form when the ice cream is not stored properly or when there is an excessive amount of air in the mixture. Ensure that the ice cream is tightly sealed and place plastic wrap directly on the surface before sealing the container.
- Loud or unusual noise: If you notice any loud or unusual noises coming from the machine during operation, make sure that all components are securely fitted and not touching the sides of the canister.
If you encounter any other issues or require further assistance, refer to the user manual provided with your specific Oster Ice Cream Maker. This will contain troubleshooting tips and contact information for customer support.
Remember, practice makes perfect. It may take a couple of tries to master the art of making homemade ice cream with your Oster Ice Cream Maker. Don’t get discouraged. Enjoy the learning process and the delicious results you’ll achieve along the way.
With these troubleshooting tips in mind, you’re now equipped to tackle any challenges that may arise during your ice cream-making adventures.
Now that you’re an expert in using and maintaining your Oster Ice Cream Maker, go ahead and enjoy the delightful world of homemade frozen treats!
Conclusion
Congratulations on mastering the art of using the Oster Ice Cream Maker! You now have the knowledge and skills to create delicious homemade ice cream from scratch. By following the step-by-step instructions in this guide, you can whip up creamy, dreamy treats that will impress your friends and family.
From unboxing and assembly to preparing the ingredients, operating the machine, adding mix-ins, freezing and storing the ice cream, cleaning and maintenance, and troubleshooting common issues, each step is essential in achieving the perfect homemade ice cream.
With the Oster Ice Cream Maker, you can unleash your creativity and experiment with various flavors, mix-ins, and textures. The possibilities are endless, allowing you to cater to your unique taste preferences and create truly personalized frozen treats.
Remember, making ice cream at home not only brings joy and satisfaction but also gives you full control over the quality of ingredients used. You can use fresh fruits, premium chocolates, and other high-quality components to craft desserts that are not only delicious but also healthier alternatives to store-bought options.
So, put your newfound knowledge into practice, gather your favorite ingredients, and let your imagination run wild. Indulge in the delights of homemade ice cream created with the Oster Ice Cream Maker.
Enjoy the process of creating, tasting, and sharing your homemade frozen creations with your loved ones. With your Oster Ice Cream Maker, every day can become a celebration of sweet treats and memorable moments.
Now go forth and let your culinary creativity soar as you transform ordinary ingredients into extraordinary frozen delights. Happy ice cream making!