Introduction
Welcome to the world of homemade ice cream! There’s nothing quite like the taste of creamy, delicious ice cream made right in your own kitchen. And with the Oster 4 Quart Wooden Bucket Ice Cream Maker, you can easily create your favorite flavors and indulge in the ultimate frozen treat.
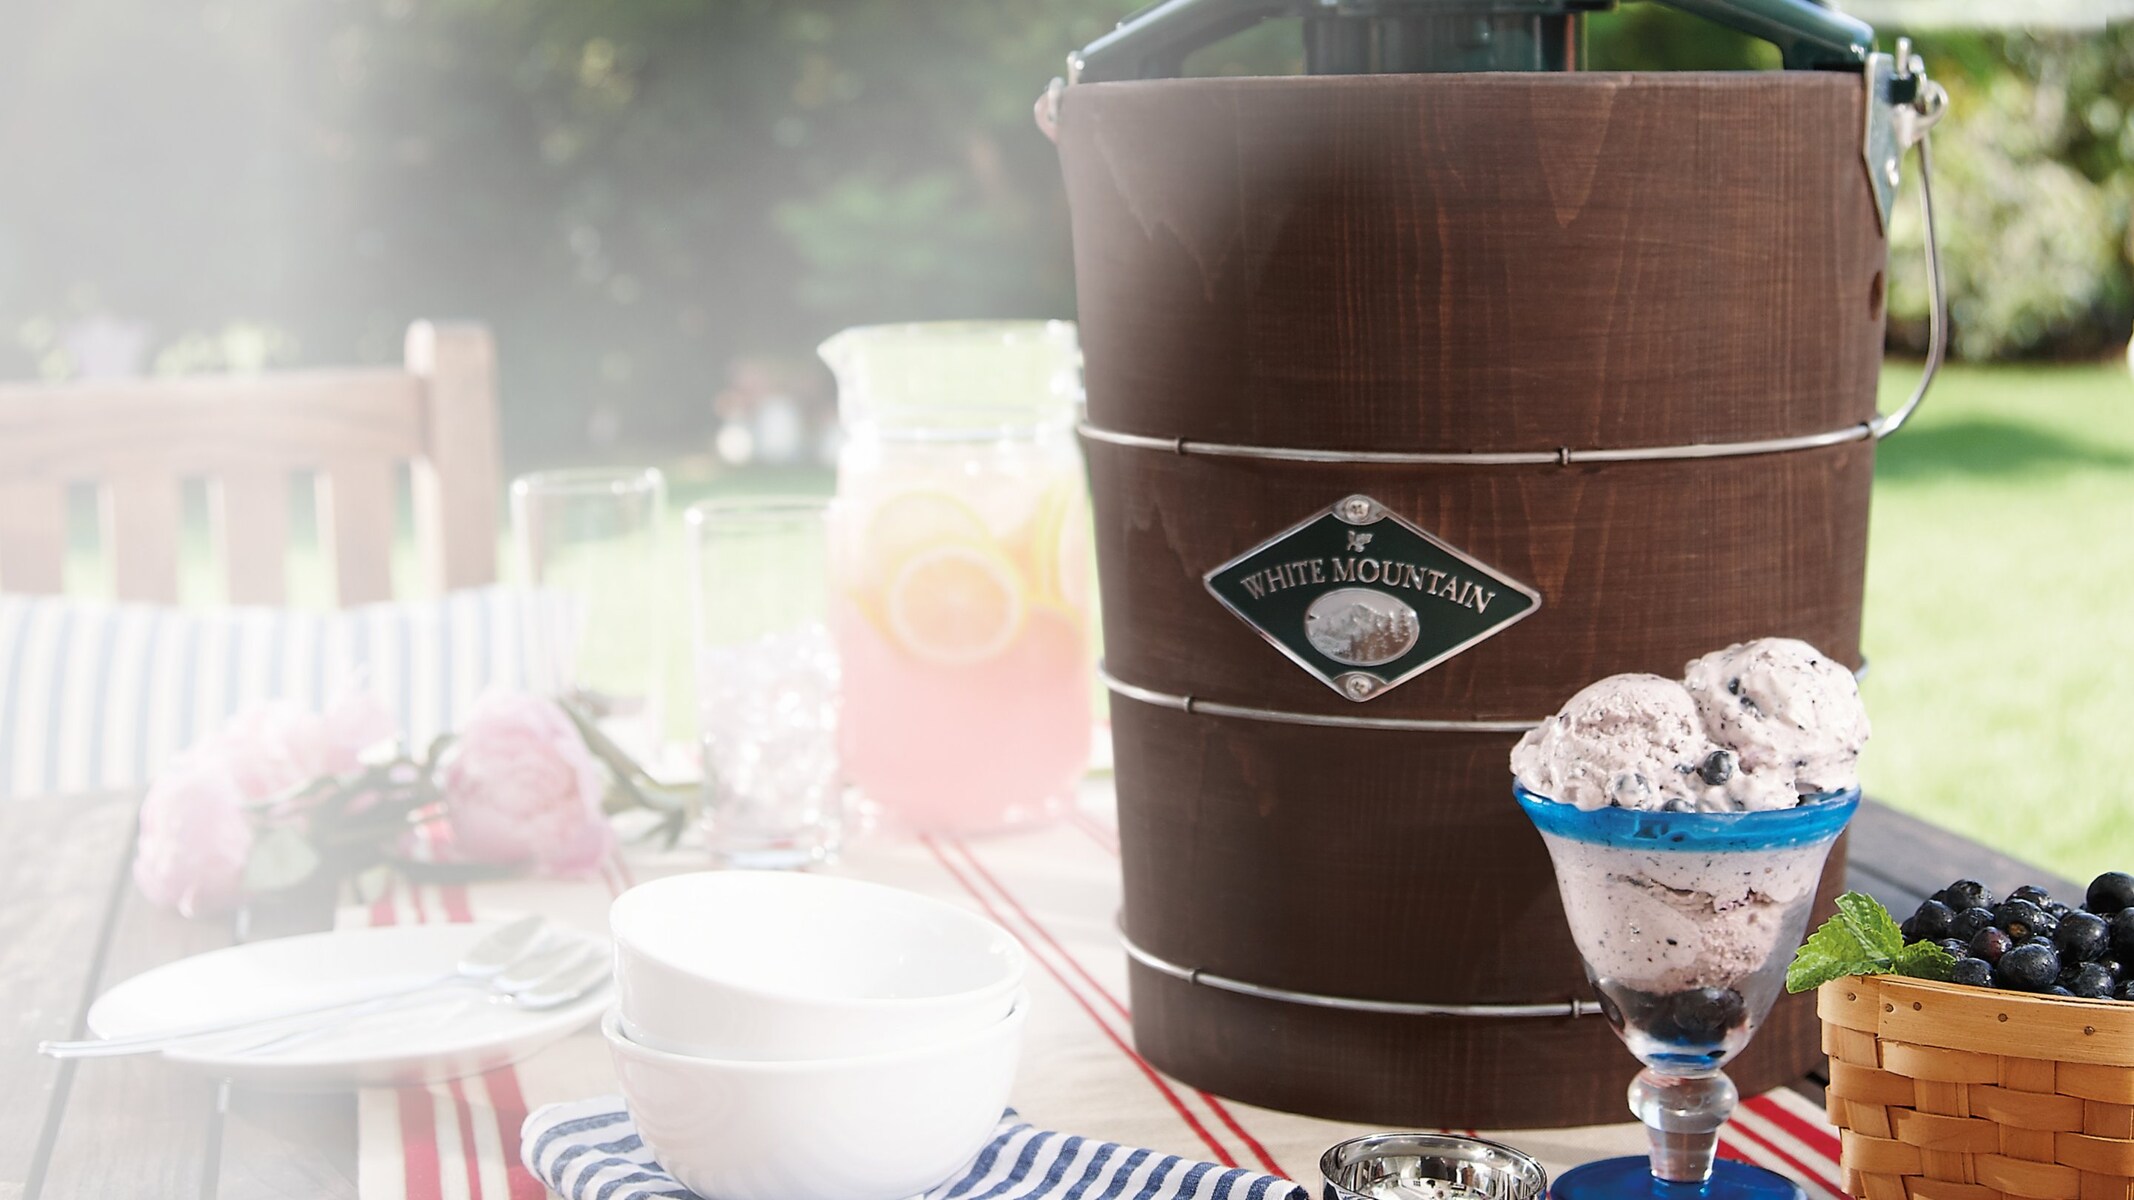
Whether you’re hosting a summer party, celebrating a special occasion, or simply satisfying your sweet tooth, this ice cream maker is your ticket to frozen dessert bliss. Designed with a wooden bucket for a rustic touch, the Oster 4 Quart Ice Cream Maker combines old-fashioned charm with modern convenience to make the process of making ice cream a breeze.
In this guide, we will take you step-by-step through the process of using the Oster 4 Quart Wooden Bucket Ice Cream Maker, from preparing the ice cream mixture to serving up the perfect scoop. You’ll learn tips and tricks to ensure the best results, as well as how to clean and maintain your ice cream maker for long-lasting enjoyment.
Get ready to embark on a delicious journey as we dive into the world of homemade ice cream with the Oster 4 Quart Wooden Bucket Ice Cream Maker!
Overview of the Oster 4 Quart Wooden Bucket Ice Cream Maker
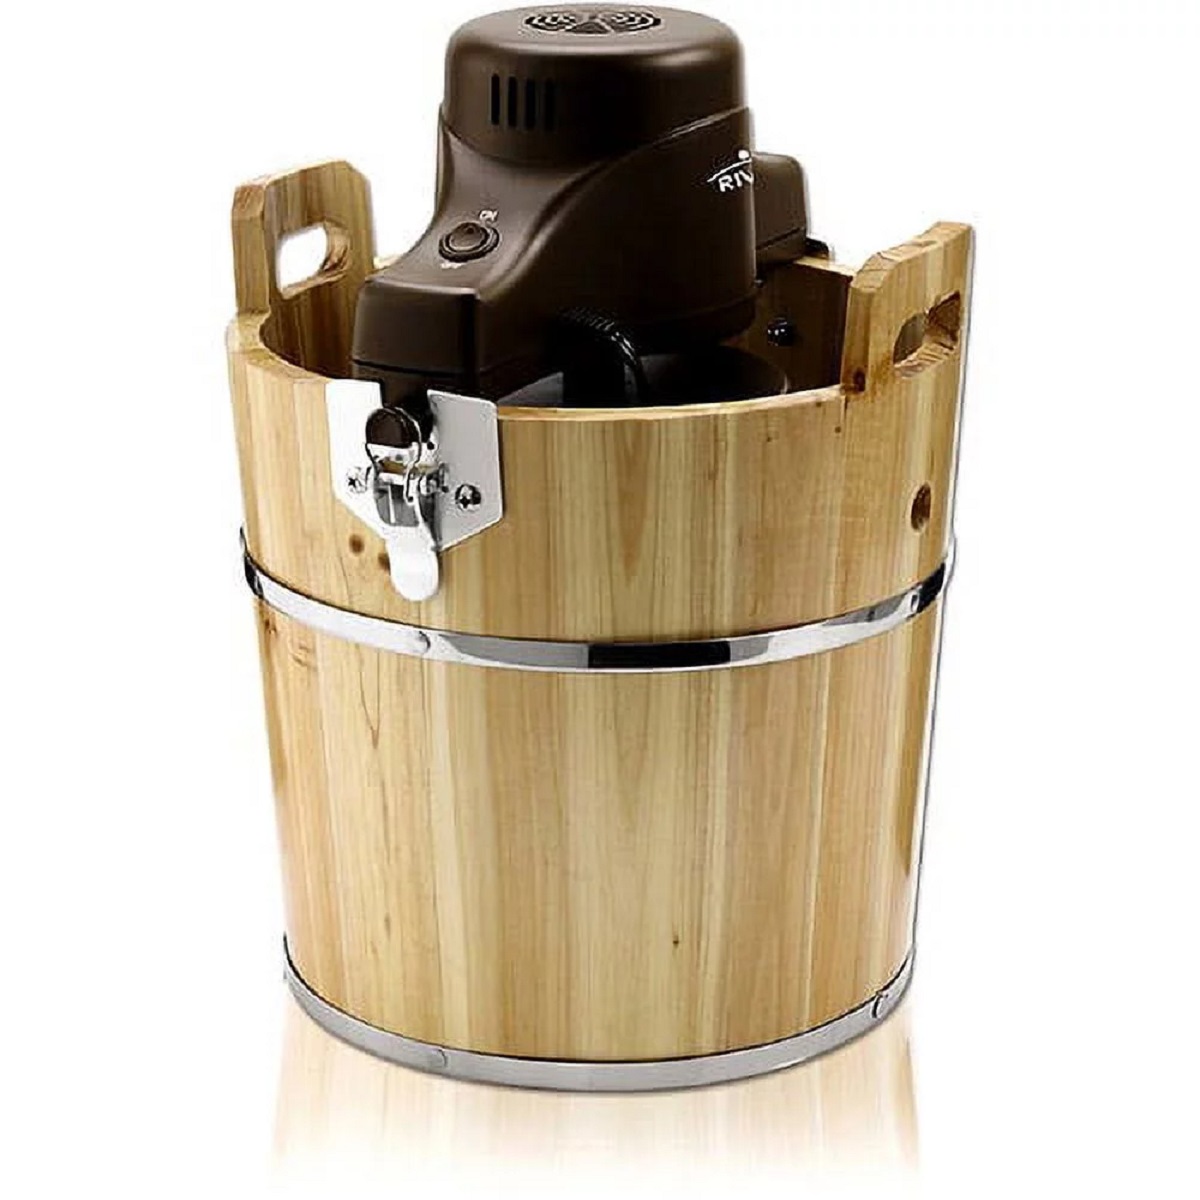
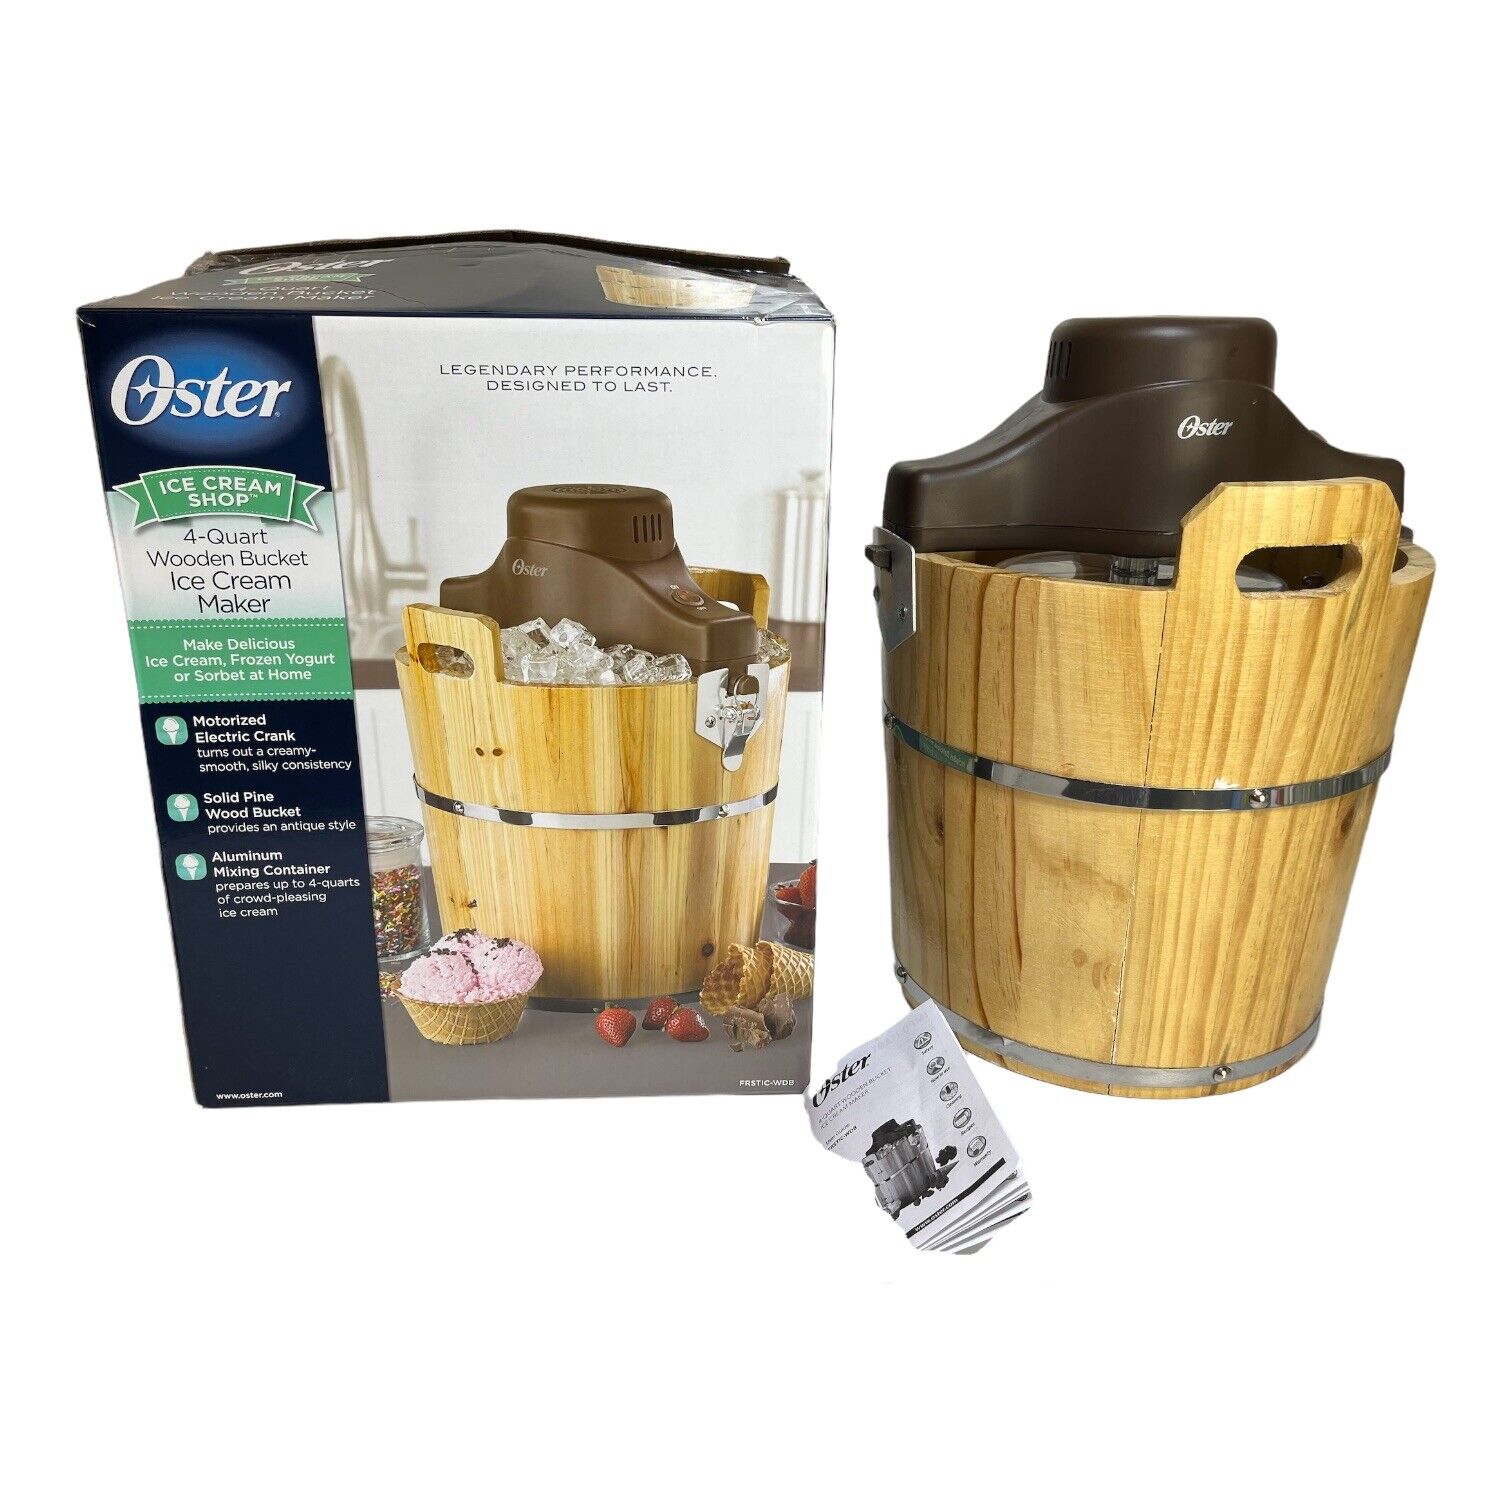
The Oster 4 Quart Wooden Bucket Ice Cream Maker is a versatile and user-friendly appliance that allows you to create homemade ice cream, sorbet, and frozen yogurt with ease. It features a durable wooden bucket with a removable aluminum canister that holds up to 4 quarts of your favorite frozen treat.
Equipped with a powerful electric motor, this ice cream maker takes the hassle out of churning your mixture by hand. Simply add your ingredients to the canister, lock it into place, and let the machine do all the work. The motor rotates the canister at a consistent speed, ensuring smooth and creamy results every time.
The Oster 4 Quart Wooden Bucket Ice Cream Maker also comes with a transparent lid that allows you to monitor the churning process without removing the lid and interrupting the freezing cycle. This not only saves you time but also maintains the desired temperature for optimal ice cream texture.
Additionally, this ice cream maker features a convenient motor protection function. If the motor gets overloaded or the mixture becomes too thick, the machine will automatically shut off to prevent overheating or damage. This guarantees both safety and longevity of the appliance.
With its compact and stylish design, the Oster 4 Quart Wooden Bucket Ice Cream Maker is a great addition to any kitchen countertop. It is also easy to assemble, disassemble, and clean, making it a hassle-free appliance to use.
Whether you’re a novice or an experienced ice cream enthusiast, the Oster 4 Quart Wooden Bucket Ice Cream Maker offers a simple and enjoyable way to indulge in homemade frozen treats. Let’s dive into the step-by-step guide of using this ice cream maker to create the perfect batch of ice cream.
Step-by-Step Guide to Using the Oster 4 Quart Wooden Bucket Ice Cream Maker
Making homemade ice cream with the Oster 4 Quart Wooden Bucket Ice Cream Maker is a delightful and rewarding process. Follow these simple steps to create creamy and delicious frozen treats in no time:
- Prepare the Ice Cream Mixture: Start by gathering your ingredients and preparing the ice cream base. This can be a classic vanilla custard, a fruity sorbet, or any other flavor of your choice. Make sure to chill the mixture in the refrigerator for at least an hour before using it.
- Assemble the Ice Cream Maker: Take the wooden bucket and insert the aluminum canister inside. Ensure that it fits securely and is positioned in the center. Next, attach the electric motor to the top of the bucket, aligning it with the notches. The motor should now be in a vertical position.
- Starting the Ice Cream Maker: Plug in the ice cream maker and turn it on. The motor will start rotating the canister. Carefully pour the prepared ice cream mixture into the canister, leaving some space at the top for expansion during the churning process. Don’t overfill the canister, as the ice cream will expand as it freezes.
- Monitoring and Adjusting the Churning Process: Place the transparent lid on top of the canister. This will allow you to keep an eye on the consistency of the ice cream as it churns. Let the machine run for about 20-30 minutes or until the ice cream reaches your desired thickness. You can adjust the churn time depending on your preferences. Note that the longer you churn, the firmer the ice cream will be.
- Adding Mix-ins to the Ice Cream: If you want to incorporate any mix-ins, such as chocolate chips, nuts, or fruit, this is the time to do it. Stop the machine, remove the lid, and add your desired mix-ins. Give the mixture a quick stir with a spoon or spatula to evenly distribute the mix-ins.
- Storing and Serving the Homemade Ice Cream: Once the ice cream has reached the desired consistency, halt the churning process and carefully remove the canister from the machine. Transfer the ice cream to a storage container with an airtight lid and place it in the freezer for a couple of hours to firm up. When ready to serve, scoop the homemade ice cream into bowls or cones and enjoy!
With these step-by-step instructions, you’ll be able to create your own delectable ice cream creations right at home using the Oster 4 Quart Wooden Bucket Ice Cream Maker. Let your culinary creativity soar and enjoy the sweet rewards of homemade frozen treats.
Preparing the Ice Cream Mixture
The key to a delicious homemade ice cream starts with creating a well-balanced and flavorful ice cream mixture. Here’s a step-by-step guide on how to prepare the perfect ice cream mixture for use with the Oster 4 Quart Wooden Bucket Ice Cream Maker:
- Gather Your Ingredients: Begin by gathering all the necessary ingredients for your chosen ice cream flavor. These typically include dairy, sweeteners, flavorings, and any additional mix-ins you desire.
- Choose Your Base: Decide on the base for your ice cream, which can be either a custard base or a simpler base using milk or cream. A custard base typically consists of egg yolks, sugar, milk, and cream, while a simpler base may only require milk or cream depending on your preference.
- Heat the Base: If you’re using a custard base, heat the milk and cream in a saucepan over medium heat until it reaches a simmer. In a separate bowl, whisk together the egg yolks and sugar until well combined. Slowly pour the heated milk and cream into the egg yolk mixture, stirring constantly. Return the mixture to the saucepan and cook over low heat, stirring continuously, until the custard thickens. Remove from heat and let it cool completely.
- Add Flavorings and Mix-ins: Once the base has cooled, add your desired flavorings such as pure vanilla extract, cocoa powder, or extracts like mint or almond. Stir in the flavorings until well incorporated. If you wish to add mix-ins like chocolate chips, crushed cookies, or chopped nuts, fold them into the mixture at this stage.
- Chill the Mixture: Transfer the ice cream mixture to a container or bowl and cover it with plastic wrap, ensuring it touches the surface of the mixture to prevent a skin from forming. Place it in the refrigerator and allow it to chill for at least 1-2 hours, or overnight if possible. Chilling the mixture enhances the flavor and results in smoother ice cream.
By following these steps, you can prepare a rich and creamy ice cream mixture that will serve as the foundation for the frozen delight you’ll create with the Oster 4 Quart Wooden Bucket Ice Cream Maker. Experiment with different flavors and mix-ins to discover your signature homemade ice cream recipes.
Assembling the Ice Cream Maker
Before you can start churning your homemade ice cream, it’s important to properly assemble the Oster 4 Quart Wooden Bucket Ice Cream Maker. Follow these steps to ensure a secure and efficient setup:
- Prepare the Wooden Bucket: Start by placing the wooden bucket on a flat and stable surface. Make sure it is clean and dry before continuing with the assembly.
- Insert the Aluminum Canister: Take the aluminum canister and gently insert it into the wooden bucket. Ensure that it fits securely and is positioned in the center of the bucket.
- Attach the Electric Motor: Locate the electric motor, which is designed to sit on top of the wooden bucket. Align the motor with the notches on the sides of the bucket and carefully slide it into place. The motor should now be in a vertical position, parallel to the canister.
- Secure the Motor Locking Plate: To ensure that the motor stays in place during the churning process, locate the motor locking plate. Position it at the top of the motor and engage the locking mechanism by turning it clockwise. This will hold the motor securely in place.
- Check the Alignment: Double-check that the aluminum canister and motor are properly aligned. They should be centered and securely fastened to avoid any imbalance or disruptions during the churning process.
Once you have successfully assembled the Oster 4 Quart Wooden Bucket Ice Cream Maker, it is ready to be used for creating your favorite frozen treats. The sturdy construction of the wooden bucket and the secure attachment of the aluminum canister and electric motor ensure a stable and efficient churning process.
Now that your ice cream maker is assembled and ready to go, it’s time to start the churning process and turn your prepared ice cream mixture into a delightful frozen dessert.
Starting the Ice Cream Maker
Now that your Oster 4 Quart Wooden Bucket Ice Cream Maker is properly assembled, it’s time to start the churning process and transform your prepared ice cream mixture into a smooth and creamy delight. Follow these steps to get your ice cream maker up and running:
- Plug in the Ice Cream Maker: Locate the power cord connected to the electric motor and insert it into a nearby electrical outlet. Ensure that the cord is safely positioned and away from any water or hazards.
- Turn on the Machine: Find the power switch or button on the ice cream maker. Depending on the model, it may be a simple on/off switch or a push-button mechanism. Flip the switch or press the button to turn on the machine.
- Pour in the Ice Cream Mixture: With the motor running, carefully pour your prepared ice cream mixture into the aluminum canister. Leave some space at the top to account for expansion as the ice cream freezes. Avoid overfilling the canister, as this may impede proper churning and freezing.
- Replace the Transparent Lid: Once you’ve poured in the ice cream mixture, securely place the transparent lid on top of the aluminum canister. The lid allows you to monitor the churning process without disrupting the freezing cycle, as it provides visibility into the machine.
- Allow the Churning Process to Begin: With the lid in place and the ice cream mixture inside the canister, allow the machine to run and begin the churning process. The electric motor will rotate the canister, evenly distributing the cold temperature and incorporating air into the mixture for a creamy texture.
Now that you’ve started the Oster 4 Quart Wooden Bucket Ice Cream Maker, sit back, relax, and let the machine work its magic. The consistent rotation of the canister will gradually freeze the ice cream mixture, resulting in a delightful frozen treat.
Make sure to monitor the churning process periodically and adjust the time as needed, depending on the desired consistency of your ice cream. Remember, the longer the churning time, the firmer the ice cream will become.
Continue to the next section to learn how to monitor the churning process and make any necessary adjustments to ensure the perfect batch of homemade ice cream with the Oster 4 Quart Wooden Bucket Ice Cream Maker.
Monitoring and Adjusting the Churning Process
As your Oster 4 Quart Wooden Bucket Ice Cream Maker continues to churn the ice cream mixture, it’s important to monitor the process to ensure the desired consistency and texture of your homemade treat. Here’s how to effectively monitor and make any necessary adjustments during the churning process:
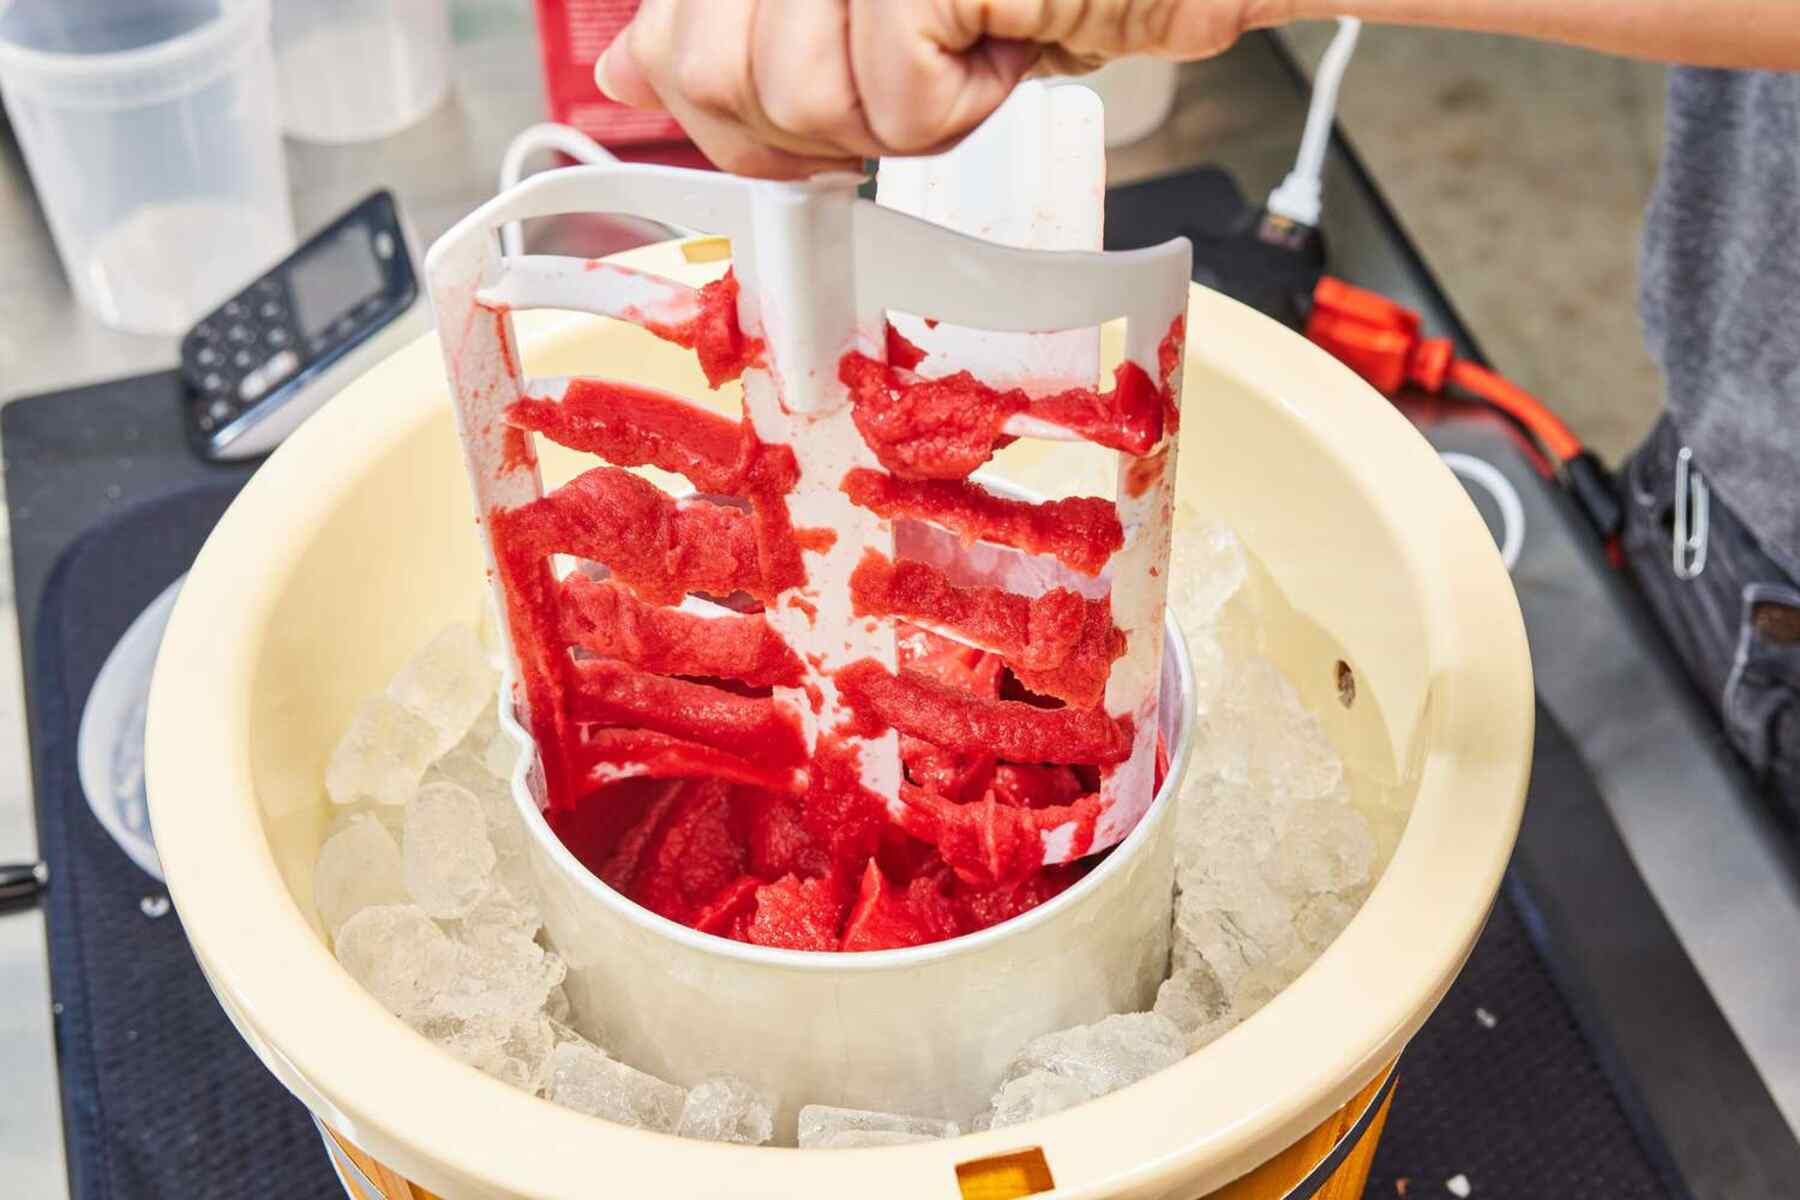
- Observing the Churning Process: With the transparent lid in place, you can easily observe the churning process. Watch as the mixture thickens and freezes, gradually transforming into a creamy ice cream consistency.
- Checking the Texture: To determine if the ice cream is reaching the desired consistency, periodically remove the lid and use a spatula or spoon to scoop some of the mixture from the sides of the canister. Observe the texture and taste a small amount to assess its creaminess and sweetness. If it’s not yet to your liking, continue to churn.
- Adjusting the Churn Time: If the ice cream is churning too slowly or taking longer than expected, it may be due to factors such as room temperature or the ingredients used. Increase the churn time by a few minutes to allow for more thorough freezing and incorporation of air. Similarly, if the ice cream is freezing too quickly or becoming too hard, shorten the churn time to achieve a softer consistency.
- Adding Ice or Salt (If Needed): If you notice that the ice cream mixture is not freezing properly or taking an unusually long time to reach the desired consistency, it may be necessary to add more ice and rock salt. This helps to create a lower temperature environment, facilitating the freezing process. Add a layer of ice and a handful of rock salt around the canister, making sure not to overflow the bucket.
- Temperature and Humidity Considerations: Keep in mind that the ambient temperature and humidity levels can affect the churning process. In warmer environments, the ice cream may take longer to freeze, so be patient and adjust the churn time accordingly.
By monitoring the churning process and making any necessary adjustments, you can ensure that your homemade ice cream achieves the perfect texture and consistency. Remember to be attentive while making observations and trust your instincts when it comes to adjusting the churn time or adding ice and salt.
Now that you’re well-versed in monitoring and adjusting the churning process, you’re ready for another crucial step – adding mix-ins to your homemade ice cream. Continue reading to learn how to elevate your frozen treat with additional flavors and textures.
Adding Mix-ins to the Ice Cream
One of the joys of homemade ice cream is the ability to customize it with your favorite mix-ins, adding extra flavors, textures, and tasty surprises. The Oster 4 Quart Wooden Bucket Ice Cream Maker allows you to easily incorporate these mix-ins during the churning process. Follow these steps to enhance your ice cream with delicious additions:
- Stop the Churning Process: Once your ice cream mixture has reached the desired consistency, pause the machine by turning it off or unplugging it from the power source. Carefully remove the transparent lid and place it aside.
- Add your Mix-ins: Take this opportunity to add your desired mix-ins into the partially churned ice cream. This can include anything from chopped chocolate, crushed cookies, nuts, fruits, or even swirls of caramel or fudge. Sprinkle or drizzle the mix-ins evenly over the ice cream mixture in the canister.
- Stir and Incorporate: Use a spatula or spoon to gently stir the ice cream mixture, ensuring that the mix-ins are evenly distributed. Be careful not to overmix or apply too much force, as this can result in deflating the ice cream or blending the mix-ins too much.
- Resume Churning (If Desired): If you prefer your mix-ins to be more frozen and evenly distributed, you can resume the churning process for a few more minutes. Simply replace the lid, ensure everything is properly secured, and restart the churning process.
- Monitor and Remove: Watch closely as the mix-ins incorporate into the ice cream during the additional churning time. Once they are evenly dispersed and the ice cream maintains your desired consistency, it’s time to remove the canister from the ice cream maker.
Adding mix-ins to your homemade ice cream allows for endless creativity and flavor combinations. From classic options like chocolate chips or cookie dough to unique choices like crushed candy bars or fresh fruit chunks, the Oster 4 Quart Wooden Bucket Ice Cream Maker provides the perfect canvas for you to craft your personalized frozen dessert.
With the mix-ins incorporated, your homemade ice cream is now ready to be stored and served. Continue reading to learn how to properly store your ice cream and get ready to indulge in the sweet rewards of your hard work!
Storing and Serving the Homemade Ice Cream
After churning and adding mix-ins to your homemade ice cream using the Oster 4 Quart Wooden Bucket Ice Cream Maker, it’s time to properly store and serve your delicious creation. Follow these steps to maintain the quality and enjoy your homemade ice cream:
- Transfer to Storage Container: Carefully remove the aluminum canister from the ice cream maker. Using a spatula or spoon, transfer the freshly churned ice cream into a freezer-safe container with an airtight lid. This will help prevent ice crystal formation and maintain the desired texture.
- Level the Surface: Smooth out the surface of the ice cream in the container using the back of a spoon or spatula. This will ensure an even consistency and make it easier to scoop when serving later.
- Cover and Seal: Place the lid securely on the container, ensuring a tight seal to prevent air from entering. This will help maintain the freshness and prevent any unwanted flavors from permeating the ice cream.
- Label and Date: If you have multiple batches or flavors of homemade ice cream, consider labeling the container with the flavor and date of preparation. This will make it easier to identify and consume the ice cream within a reasonable timeframe.
- Freeze Properly: Transfer the container to the coldest part of your freezer, preferably the back. Allow the ice cream to freeze for a minimum of 2-4 hours or until it reaches your desired firmness. Remember, the longer the ice cream freezes, the firmer it will become.
- Serving: When ready to serve, remove the container from the freezer and let it sit at room temperature for a few minutes to soften slightly. This will make scooping easier and result in a creamier texture.
- Scoop and Enjoy: Use an ice cream scoop or a spoon to portion out the ice cream into bowls, cones, or any desired serving dish. Top with additional toppings or garnishes if desired, and savor the moment as you indulge in your homemade ice cream creation.
Properly storing and serving your homemade ice cream is essential for maintaining its quality and flavor. By following these steps, you can ensure that your ice cream remains delicious and ready to enjoy whenever the craving strikes.
Now that you know how to store and serve your homemade ice cream, let’s move on to the next section to learn how to clean and maintain your Oster 4 Quart Wooden Bucket Ice Cream Maker for continued ice cream-making adventures.
Cleaning and Maintaining the Oster 4 Quart Wooden Bucket Ice Cream Maker
Proper cleaning and maintenance of your Oster 4 Quart Wooden Bucket Ice Cream Maker are crucial for ensuring its longevity and optimal performance. Here are some guidelines to help you keep your ice cream maker in pristine condition:
- Unplug and Disassemble: Before cleaning, make sure the ice cream maker is unplugged and completely cooled down. Disassemble the aluminum canister, electric motor, and other removable parts as applicable, following the specific instructions in the user manual.
- Wash Removable Parts: Wash the removable parts, such as the aluminum canister and the transparent lid, with warm soapy water. Use a gentle dishwashing liquid and a sponge or soft cloth to remove any residue or build-up. Rinse thoroughly with clean water and dry completely before reassembly.
- Wipe the Wooden Bucket: Use a damp cloth to wipe down the wooden bucket, removing any ice cream splatters or spills. Avoid immersing the wooden bucket in water or using harsh cleaning agents, as they can damage the wood. Dry the bucket thoroughly after cleaning.
- Clean the Electric Motor: Wipe the electric motor with a soft, damp cloth to remove any dust or spills. Avoid using excessive water or immersing the motor in water, as it contains electrical components. Ensure the motor is completely dry before storing or reassembling.
- Store Properly: Once all the parts are clean and dry, reassemble the ice cream maker and store it in a cool, dry place. If possible, store it with the parts separated or loosely assembled to allow for airflow and prevent moisture build-up.
- Regular Maintenance: Periodically inspect the ice cream maker for any signs of wear, damage, or malfunction. Check the power cord for any fraying or loose connections and replace if necessary. Regularly cleaning and maintaining your ice cream maker will help to ensure its longevity and keep it operating smoothly.
By following these cleaning and maintenance practices, you can keep your Oster 4 Quart Wooden Bucket Ice Cream Maker in excellent condition for years to come. It’s essential to take care of your ice cream maker to ensure its optimal performance and continued enjoyment of homemade ice cream.
Now that you know how to clean and maintain your ice cream maker, you’re equipped with all the knowledge needed to create delectable frozen treats over and over again. Start experimenting with different flavors and enjoy the homemade ice cream-making experience with your Oster 4 Quart Wooden Bucket Ice Cream Maker!
Tips and Tricks for Making the Best Ice Cream with the Oster 4 Quart Wooden Bucket Ice Cream Maker
Creating the perfect batch of homemade ice cream with the Oster 4 Quart Wooden Bucket Ice Cream Maker is an art in itself. Here are some valuable tips and tricks to elevate your ice cream-making game and achieve the best results:
- Chill Ingredients: Before preparing your ice cream mixture, ensure that all the ingredients, especially the dairy, are well chilled. This helps to speed up the freezing process and results in smoother ice cream.
- Experiment with Flavor Combinations: Don’t be afraid to get creative with your ice cream flavors. Mix and match extracts, herbs, spices, and mix-ins to come up with unique and delightful combinations.
- Batch Size: The Oster 4 Quart Wooden Bucket Ice Cream Maker can accommodate up to 4 quarts of ice cream mixture. However, be mindful not to overfill the canister, as it needs room to expand during the churning process.
- Pre-Chill the Canister: For quicker freezing, place the aluminum canister in the freezer for a couple of hours before churning. This pre-chilling step helps to kickstart the freezing process and can result in smoother ice cream.
- Use Quality Ingredients: The flavor and quality of your homemade ice cream heavily rely on the ingredients you use. Opt for fresh, high-quality dairy products, and use real vanilla extract, cocoa powder, or other flavorings for the best results.
- Don’t Over-Churn: Be mindful of not over-churning your ice cream. Once it reaches a creamy consistency, stop the machine. Over-churning can result in a grainy texture and excess air incorporation.
- Freeze and Firm Up: After churning, allow the ice cream to properly freeze and firm up in the freezer for a few hours. This step ensures that your ice cream reaches the perfect scooping consistency and enhances the flavors.
- Experiment with Mix-Ins: Get creative with mix-ins such as chocolate chunks, cookie dough, fruit swirls, or crushed candies. Add them during the churning process or fold them in after to create a delicious variety of textures and flavors.
- Be Patient: Homemade ice cream takes time, so be patient throughout the process. From preparing the mixture to allowing it to freeze, each step contributes to the final outcome. The end result will be well worth the wait.
- Share and Enjoy: Homemade ice cream is meant to be enjoyed with family and friends. Share your creations and savor every scoop together, creating lasting memories.
With these tips and tricks, you’re well-equipped to make the best ice cream possible using the Oster 4 Quart Wooden Bucket Ice Cream Maker. Get creative, have fun, and let your taste buds guide you on a delicious ice cream adventure!
Conclusion
Congratulations! You are now equipped with all the knowledge and tips needed to make delicious homemade ice cream using the Oster 4 Quart Wooden Bucket Ice Cream Maker. This user-friendly appliance allows you to indulge in the satisfying process of creating your own frozen treats right in your kitchen.
From preparing the ice cream mixture to assembling the ice cream maker, monitoring the churning process, adding mix-ins, and finally storing and serving the finished product, each step plays a crucial role in achieving the perfect scoop of ice cream.
Remember to experiment with different flavors, mix-ins, and techniques to create unique and delightful ice cream creations that suit your taste buds. Whether you prefer classic flavors like vanilla or chocolate or enjoy more adventurous combinations, the possibilities are endless with the Oster 4 Quart Wooden Bucket Ice Cream Maker.
Don’t forget to properly clean and maintain your ice cream maker to ensure its longevity and continued performance. Regularly caring for your appliance will allow you to enjoy homemade ice cream for years to come.
So, gather your ingredients, unleash your creativity, and embark on the sweet journey of making homemade ice cream with the Oster 4 Quart Wooden Bucket Ice Cream Maker. The satisfaction of indulging in a scoop of creamy, flavorful ice cream that you made from scratch is truly unparalleled.
Enjoy the process, share your delicious creations with loved ones, and savor every spoonful of your homemade ice cream. Happy churning!