Introduction
Welcome to the wonderful world of homemade ice cream! Making your own ice cream at home is a delightful experience that allows you to customize flavors and indulge in a refreshing treat whenever you desire. With the help of the Oster Ice Cream Maker, you can easily create creamy, delicious ice cream right in your kitchen.
Whether you’re a novice in the kitchen or an experienced dessert enthusiast, this article will guide you through the process of making ice cream using the Oster Ice Cream Maker. From selecting the perfect ingredients to mastering the art of churning, we’ll cover all the essential steps to ensure your homemade ice cream turns out absolutely scrumptious.
Not only will you have the joy of creating a delectable frozen treat, but you’ll also have complete control over the ingredients. No more worrying about artificial additives or preservatives – you get to choose the freshest, highest quality ingredients to create a batch of ice cream that suits your taste and dietary preferences.
So, if you’re ready to embark on an ice cream making adventure, gather your ingredients, put on your apron, and let’s dive into the world of homemade ice cream with the Oster Ice Cream Maker!
What You Will Need
Before you start making your homemade ice cream with the Oster Ice Cream Maker, it’s important to gather all the necessary ingredients and equipment. Here is a list of what you will need:
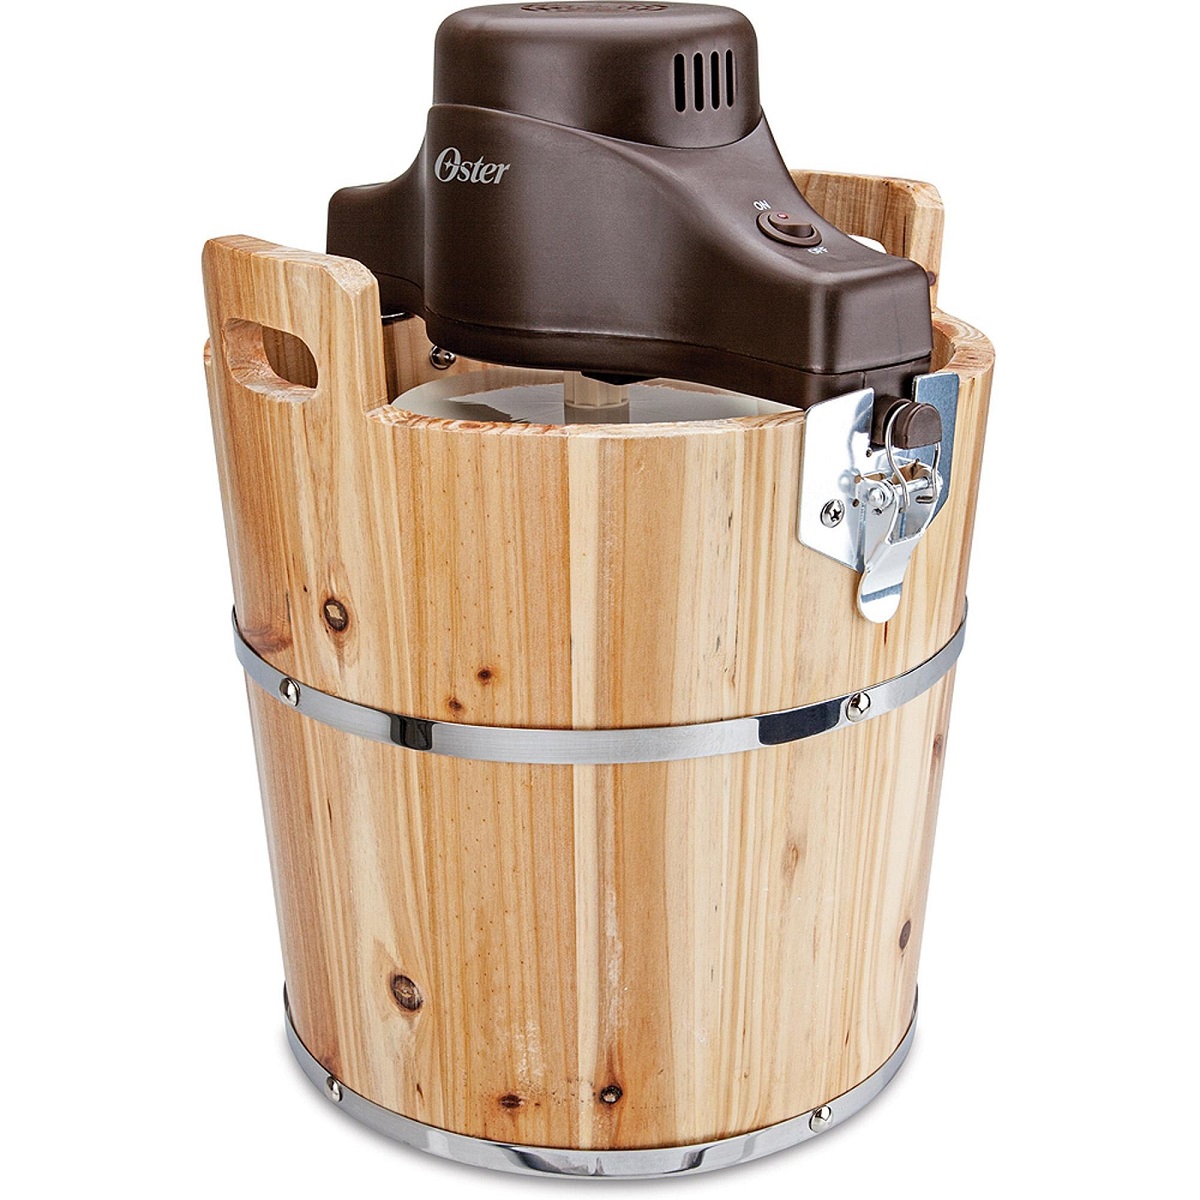
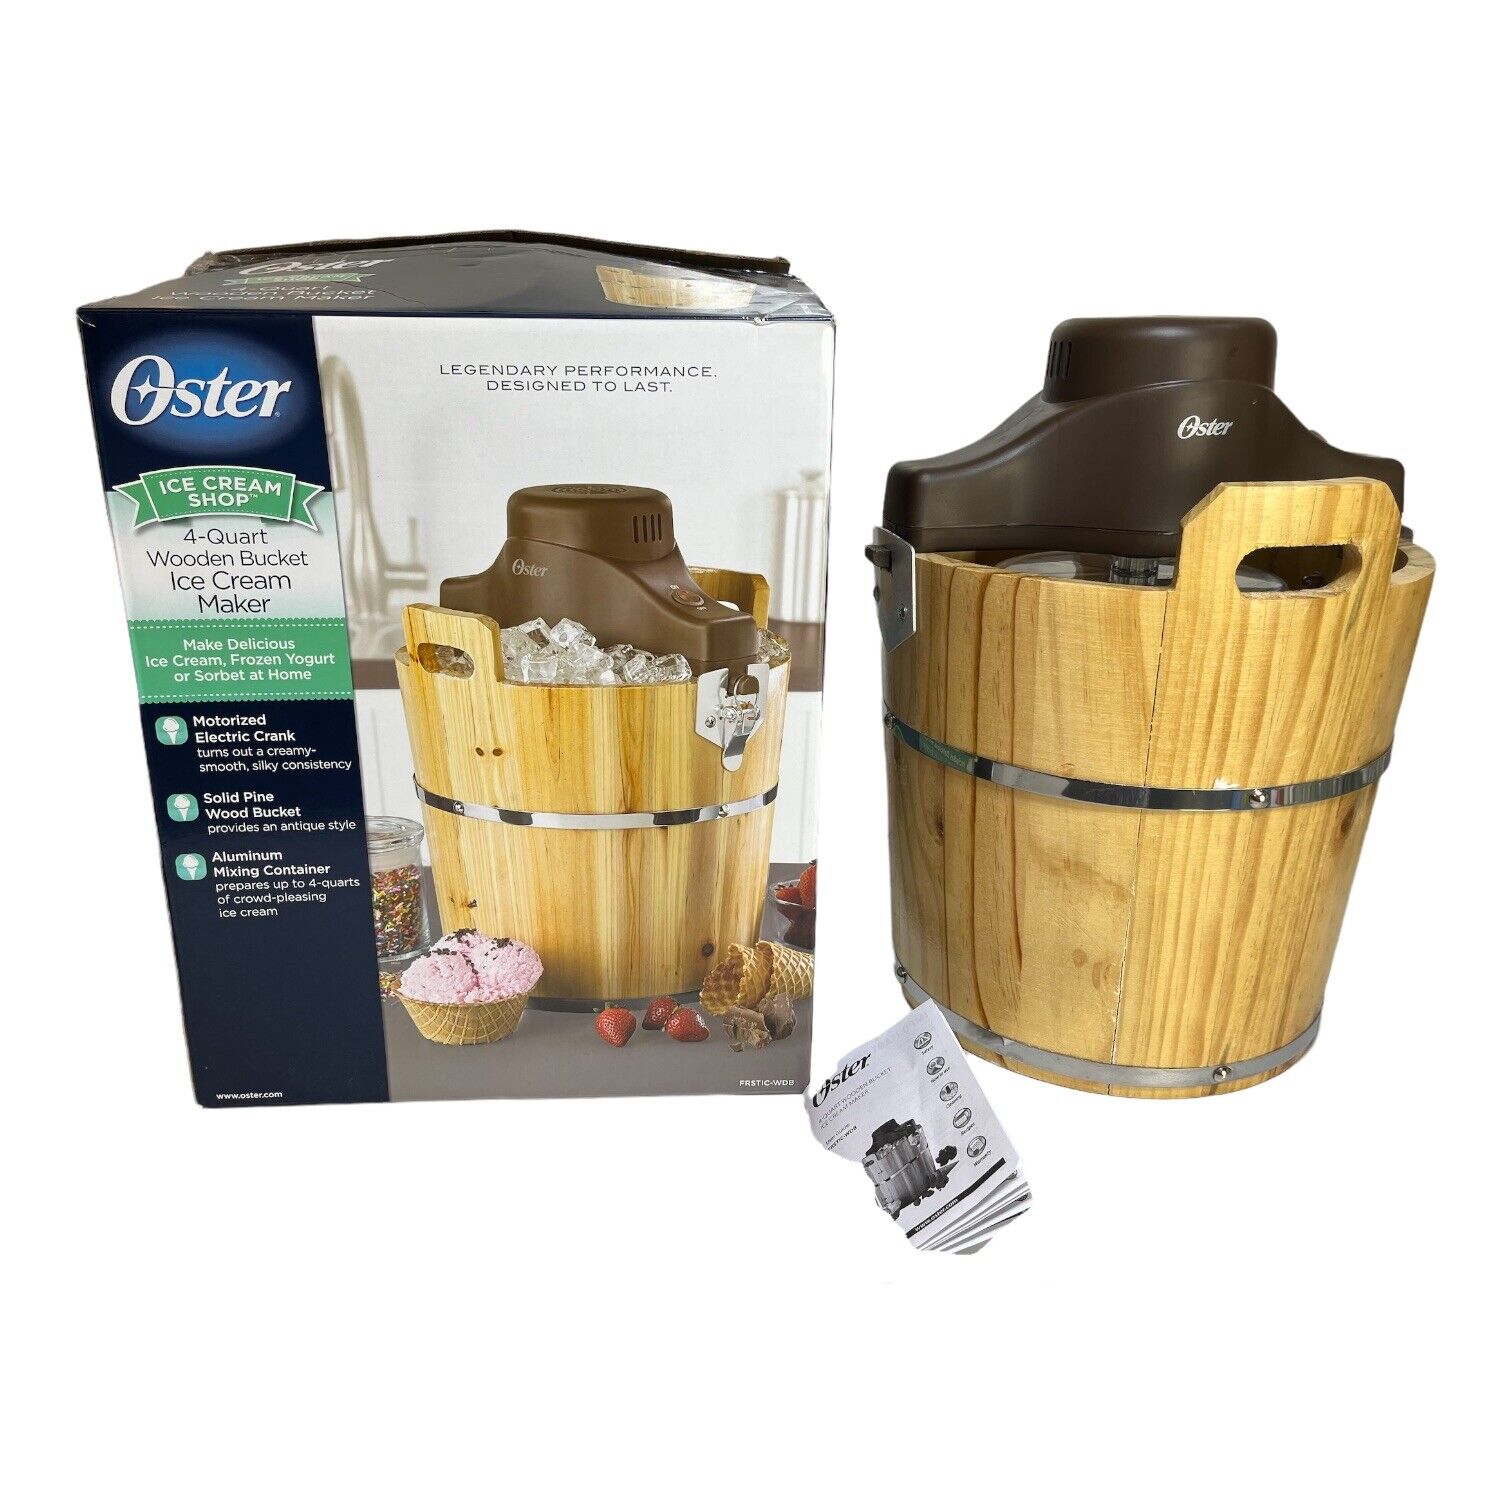
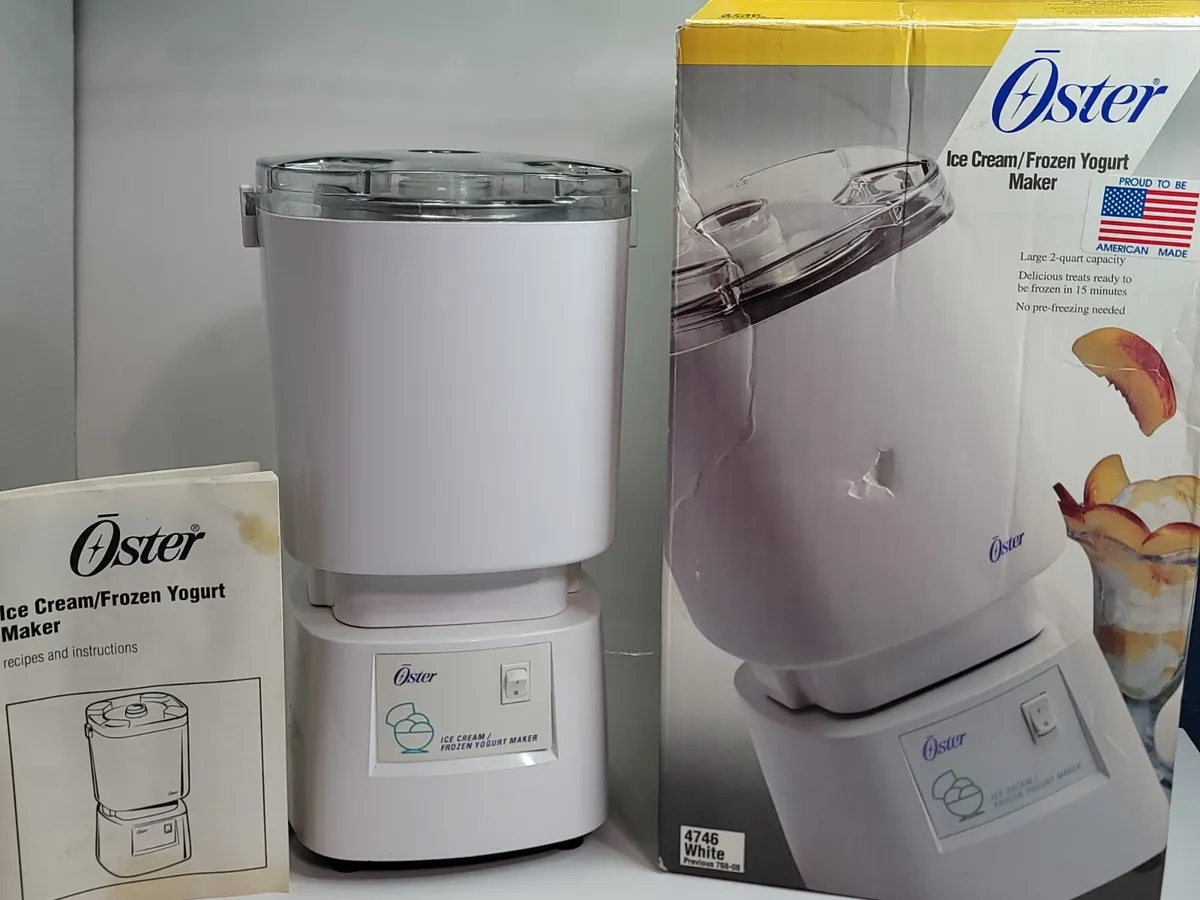
- An Oster Ice Cream Maker: This is the star of the show! Make sure you have the Oster Ice Cream Maker ready to go.
- Ice Cream Base: You’ll need a basic ice cream base, which typically consists of heavy cream, whole milk, sugar, and vanilla extract. You can also experiment with alternative bases like coconut milk or almond milk for a dairy-free option.
- Flavorings and Mix-Ins: Get creative with your ice cream flavors! Choose your favorite extracts, such as chocolate, strawberry, or mint. Additionally, consider adding chunks of chocolate, fruit, nuts, or cookie dough as mix-ins for added texture.
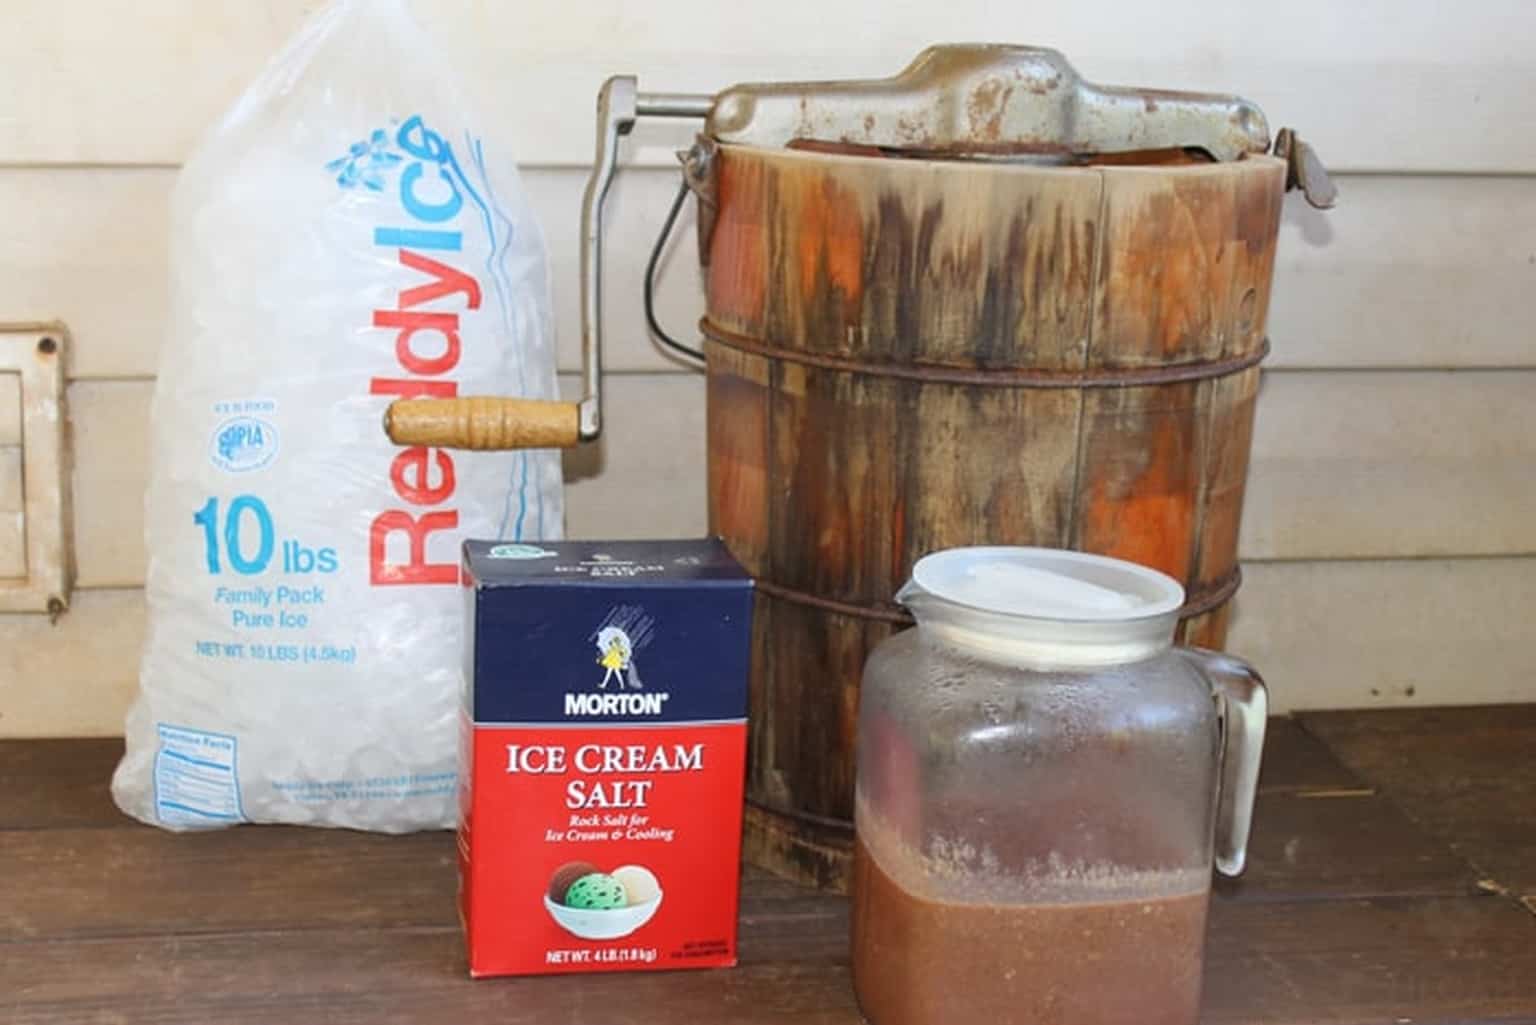
- Ice and Rock Salt: The Oster Ice Cream Maker requires ice and rock salt to create a freezing environment for the churned ice cream mixture. Make sure you have enough ice and rock salt on hand.
- Bowls and Utensils: You’ll need mixing bowls, a whisk or spatula for mixing the ice cream base, and a spoon or ice cream scoop for serving.
- Freezer Containers: Prepare airtight freezer containers to store your homemade ice cream once it’s finished churning. This will ensure that your ice cream stays fresh and delicious for future enjoyment.
With these ingredients and equipment ready, you’re well on your way to creating a delectable batch of homemade ice cream. Before you begin, make sure you have enough space in your freezer to accommodate the Oster Ice Cream Maker and freezer containers. It’s also a good idea to plan ahead and allocate enough time for the entire ice cream-making process.
Now that you have everything prepared, let’s move on to the next step: preparing the ice cream mixture!
Preparing the Ice Cream Mixture
Now that you have gathered all your ingredients and equipment, it’s time to prepare the ice cream mixture. The ice cream base serves as the foundation for your flavor creations, so it’s important to get it just right. Follow these steps to prepare the perfect ice cream mixture:
- Gather your ingredients: Make sure you have all the ingredients for your ice cream base ready, including heavy cream, whole milk, sugar, and vanilla extract (or any other flavorings you prefer).
- Combine the ingredients: In a mixing bowl, whisk together the heavy cream, whole milk, sugar, and vanilla extract until well combined. If you’re using alternative ingredients like coconut milk or almond milk, adjust the quantities accordingly.
- Taste and adjust: Take a small spoonful of the mixture and taste it. This is your chance to add more sugar or flavorings if needed. Adjust the sweetness or flavor until you’re satisfied with the taste.
- Chill the mixture: Cover the mixing bowl with plastic wrap and place it in the refrigerator for at least 1 hour, but preferably overnight. Chilling the mixture will help develop the flavors and enhance the texture of the ice cream.
Once your ice cream mixture is chilled and ready, you’re one step closer to enjoying your homemade frozen treat. Next, we’ll guide you through the process of setting up the Oster Ice Cream Maker and churning the ice cream.
Setting Up the Oster Ice Cream Maker
Before you can start churning your ice cream, it’s important to properly set up the Oster Ice Cream Maker. Here are the steps to get it ready:
- Freeze the canister: Place the canister of the Oster Ice Cream Maker in the freezer for at least 24 hours before you plan to make ice cream. This step is crucial as it ensures that the canister is cold enough to freeze the ice cream mixture as it churns.
- Assemble the ice cream maker: Once the canister is properly frozen, remove it from the freezer and assemble the Oster Ice Cream Maker according to the manufacturer’s instructions. Typically, this involves securing the paddle or dasher onto the motorized base and attaching the canister in place.
- Add ice and rock salt: Fill the bottom of the Oster Ice Cream Maker with a layer of ice, followed by a sprinkling of rock salt. Repeat this process until the ice reaches just below the top of the canister. The rock salt helps to lower the freezing point of the ice and create a cold environment necessary to freeze the ice cream mixture.
- Place the canister: Carefully place the frozen canister into the ice-filled Oster Ice Cream Maker. Make sure it fits snugly into the machine without any excessive movement.
- Secure the lid: Once the canister is in place, securely attach the lid of the Oster Ice Cream Maker to prevent any ice or salt from entering the ice cream mixture during the churning process.
With the Oster Ice Cream Maker properly set up and ready to go, you’re now prepared to churn your ice cream to creamy perfection. In the next section, we will guide you through the process of churning the ice cream and achieving that smooth, luscious texture we all love.
Churning the Ice Cream
Now comes the fun part – churning the ice cream with the Oster Ice Cream Maker! This step involves combining the prepared ice cream mixture with the frozen canister and letting the machine work its magic. Follow these instructions to churn your ice cream:
- Take the chilled ice cream mixture out of the refrigerator and give it a good stir to ensure that it’s well mixed.
- Pour the ice cream mixture into the frozen canister of the Oster Ice Cream Maker. Leave some room at the top as the mixture will expand slightly during the churning process.
- Secure the lid tightly to prevent any leaks or spills during the churning process.
- Turn on the Oster Ice Cream Maker and let it run for about 20 to 30 minutes. The exact time may vary depending on the machine and the desired consistency of your ice cream. Refer to the manufacturer’s instructions for specific guidelines.
- As the machine churns, you’ll notice the ice cream mixture gradually thickening and freezing. This is a result of the cold canister and the continuous movement of the paddle or dasher.
- Keep an eye on the consistency of the ice cream as it churns. Once it reaches a smooth and soft-serve consistency, it’s ready to be transferred to freezer containers.
It’s important not to over-churn the ice cream, as it can result in a grainy texture. Pay close attention to the consistency and remove the ice cream from the machine when it reaches the desired consistency.
Now that you’ve successfully churned your ice cream, it’s time to take it to the next level by adding mix-ins. In the next section, we’ll explore different mix-in options and how to incorporate them into your homemade ice cream.
Adding Mix-Ins
Adding mix-ins to your homemade ice cream is a great way to elevate the flavor and texture of your frozen treat. Whether you prefer chunks of chocolate, swirls of caramel, or bits of fruit, here are some tips on incorporating mix-ins into your ice cream:
- Prepare your mix-ins: Chop or prepare your desired mix-ins ahead of time. This could include chocolate chips, nuts, cookie crumbs, fruit puree, or any other ingredient you’d like to include in your ice cream.
- Add mix-ins during churning: Once your ice cream reaches a soft-serve consistency, pause the Oster Ice Cream Maker and add your mix-ins. Sprinkle them across the surface of the ice cream while the machine is still running to ensure they are evenly distributed.
- Continue churning: Resume churning the ice cream for a few more minutes to incorporate the mix-ins and evenly distribute them throughout the ice cream. This ensures that every scoop is packed with deliciousness.
- Be creative with layering: For more complex mix-ins like caramel swirls or fudge ribbons, you can create layers by adding a portion of the ice cream to a container, drizzling the mix-in, and repeating the process. This results in beautiful swirls and layers when the ice cream is scooped.
Remember to keep the ratio of mix-ins to ice cream balanced to avoid overpowering the base flavor. The mix-ins should complement the ice cream without overwhelming it.
Once the mix-ins are incorporated, it’s time to transfer the ice cream to freezer containers and freeze it for optimal texture and consistency. We’ll cover this step in the next section.
Transferring and Freezing the Ice Cream
After churning the ice cream and incorporating your desired mix-ins, it’s time to transfer the ice cream to freezer containers and freeze it to achieve the perfect scoopable texture. Follow these steps to ensure your homemade ice cream stays fresh and delicious:
- Prepare freezer containers: Have a set of airtight freezer containers ready to store your ice cream. Make sure they are clean and dry, as any moisture can affect the texture of the frozen dessert.
- Scoop the ice cream: Using a spoon or an ice cream scoop, scoop the freshly churned ice cream into the prepared freezer containers. Fill each container, leaving about half an inch of space at the top to allow for expansion as the ice cream freezes.
- Smooth the surface: Use the back of a spoon or a spatula to smooth the surface of the ice cream in each container. This helps create an even texture and prevents ice crystals from forming.
- Seal and label the containers: Securely seal the freezer containers with their lids or tightly wrap them with plastic wrap. Don’t forget to label the containers with the flavor and date for easy identification later on.
- Place in the freezer: Carefully place the sealed containers of ice cream in the freezer. Make sure they are placed on a flat surface away from any items that may cause them to be disturbed or get squished.
- Freeze until firm: Allow the ice cream to freeze for at least 4-6 hours, or preferably overnight, to achieve a firm, scoopable consistency. The longer it freezes, the better the texture will be.
Once the ice cream has fully frozen, it’s ready to be served and enjoyed. But before we dig into the delectable treat, let’s explore some tips and tricks to ensure your homemade ice cream turns out incredible every time.
Serving and Enjoying Your Homemade Ice Cream
Now that your homemade ice cream is perfectly frozen and ready to be enjoyed, it’s time to serve it up and savor every delicious scoop. Follow these tips for the best ice cream experience:
- Remove from the freezer: Take the container of ice cream out of the freezer and let it sit at room temperature for a few minutes to soften slightly. This will make it easier to scoop and enhance the creaminess of the ice cream.
- Scoop and serve: Using an ice cream scoop, gently scoop out portions of the ice cream and place them in serving bowls or cones. Aim for smooth, round scoops for an enticing presentation.
- Add toppings: Enhance your ice cream with a variety of delicious toppings. Whether it’s hot fudge, sprinkles, whipped cream, or fresh fruit, get creative and customize your ice cream to your liking.
- Enjoy and savor: Take a moment to appreciate the delightful flavors, creamy texture, and all the hard work you put into making your homemade ice cream. Let each spoonful melt on your tongue and enjoy the indulgence.
Remember, homemade ice cream is best enjoyed fresh, so try to consume it within a few days to ensure optimal flavor and texture. If you have any leftovers, tightly seal the remaining ice cream in the freezer containers and store them in the freezer for future enjoyment.
Now that you’ve mastered the art of making homemade ice cream with the Oster Ice Cream Maker, it’s time to unleash your creativity and experiment with different flavors, mix-ins, and techniques. Have fun exploring new combinations and sharing your delicious creations with family and friends!
Tips and Tricks
Creating homemade ice cream with the Oster Ice Cream Maker is a rewarding and enjoyable experience. To help you achieve the best results and enhance your ice cream-making journey, here are some helpful tips and tricks:
- Chill ingredients beforehand: For faster and more efficient chilling of the ice cream mixture, refrigerate the ingredients, especially the cream and milk, before using them.
- Experiment with flavors: Don’t be afraid to get creative with flavors! Explore different extracts, spices, and mix-ins to create unique and delicious combinations.
- Allow for mix-in variations: While it’s best to add solid mix-ins during the churning process, softer mix-ins like caramel or fudge sauce can be swirled in after the ice cream has been transferred to freezer containers.
- Use high-quality ingredients: The quality of your ingredients will greatly impact the taste and texture of your homemade ice cream. Opt for fresh, high-quality dairy products and premium flavorings for the best results.
- Avoid overfilling the canister: Be cautious not to overfill the frozen canister with the ice cream mixture, as it needs room to expand as it churns. Stick to the recommended fill level provided by the manufacturer.
- Freeze the serving bowls: For an extra touch, place the serving bowls in the freezer before scooping the ice cream. This helps keep the ice cream cold and prevents it from melting too quickly.
- Store ice cream properly: To maintain the best texture and prevent ice crystals from forming, make sure to tightly seal the freezer containers and store them at the back of the freezer, where the temperature remains most consistent.
- Clean the Oster Ice Cream Maker promptly: After each use, clean the Oster Ice Cream Maker according to the manufacturer’s instructions. This ensures that it’s ready for your next batch of homemade ice cream.
Remember, making ice cream at home is a journey of exploration and creativity. Don’t be afraid to try new flavors, experiment with techniques, and make the process your own. With the Oster Ice Cream Maker as your trusty companion, the possibilities are endless.
Now armed with these tips and tricks, it’s time to unleash your inner ice cream connoisseur and enjoy the delightful world of homemade ice cream!
Conclusion
Making homemade ice cream with the Oster Ice Cream Maker is a delightful experience that brings joy, creativity, and deliciousness into your kitchen. By following the step-by-step process outlined in this article, you can create luscious, creamy ice cream that perfectly suits your taste preferences.
From preparing the ice cream mixture to churning and adding mix-ins, each step plays a crucial role in creating the perfect frozen treat. The Oster Ice Cream Maker simplifies the process, ensuring that you achieve a smooth and creamy consistency every time.
By customizing flavors, trying different mix-ins, and experimenting with ingredients, you can create an array of delightful ice cream flavors that will impress your family and friends. Whether it’s classic vanilla, rich chocolate, or exotic fruit combinations, the possibilities are endless.
Remember to savor the entire journey of making ice cream at home. Enjoy the anticipation as the mixture chills, the aroma that fills your kitchen while it churns, and the excitement of scooping out the finished ice cream to savor every mouthwatering bite.
With the Oster Ice Cream Maker as your trusty tool, you can now embark on a delicious adventure, sharing your homemade ice cream creations with your loved ones and making memories that will last a lifetime.
So, gather your ingredients, unleash your creativity, and prepare to indulge in the delightful world of homemade ice cream with the Oster Ice Cream Maker. Enjoy the process, enjoy the flavors, and enjoy the satisfaction of creating something truly special in your own kitchen.