Introduction
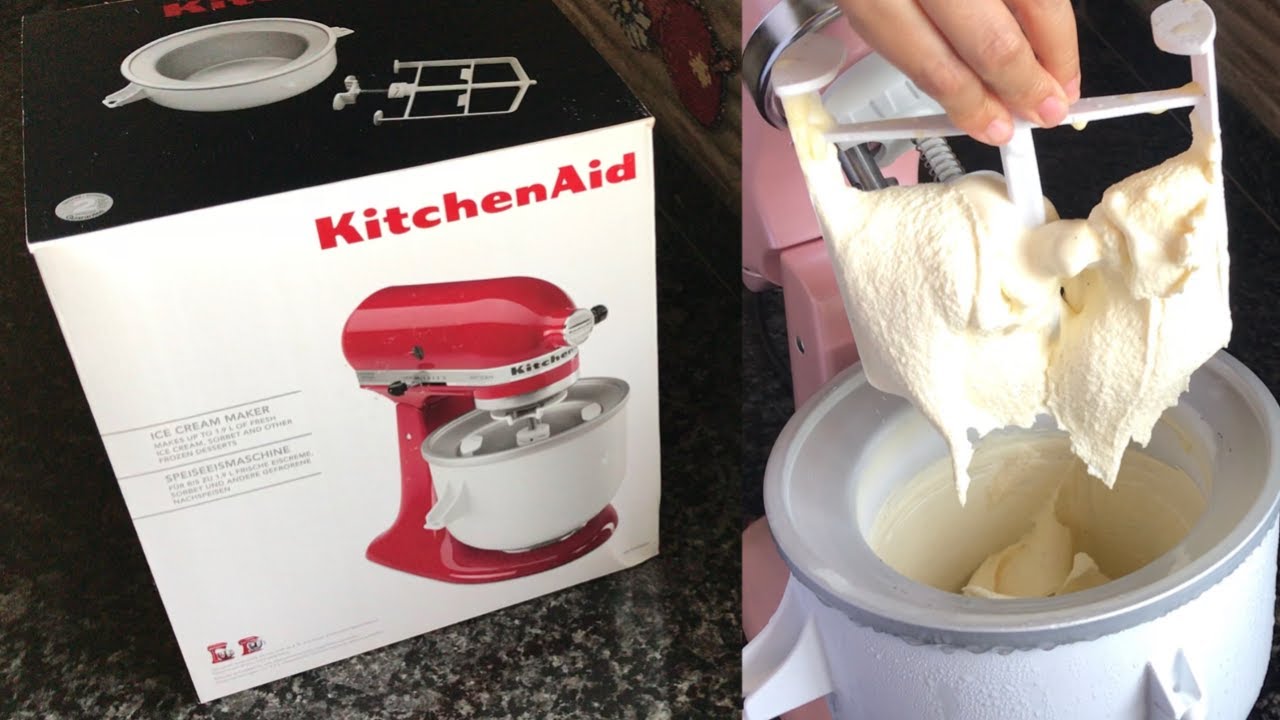
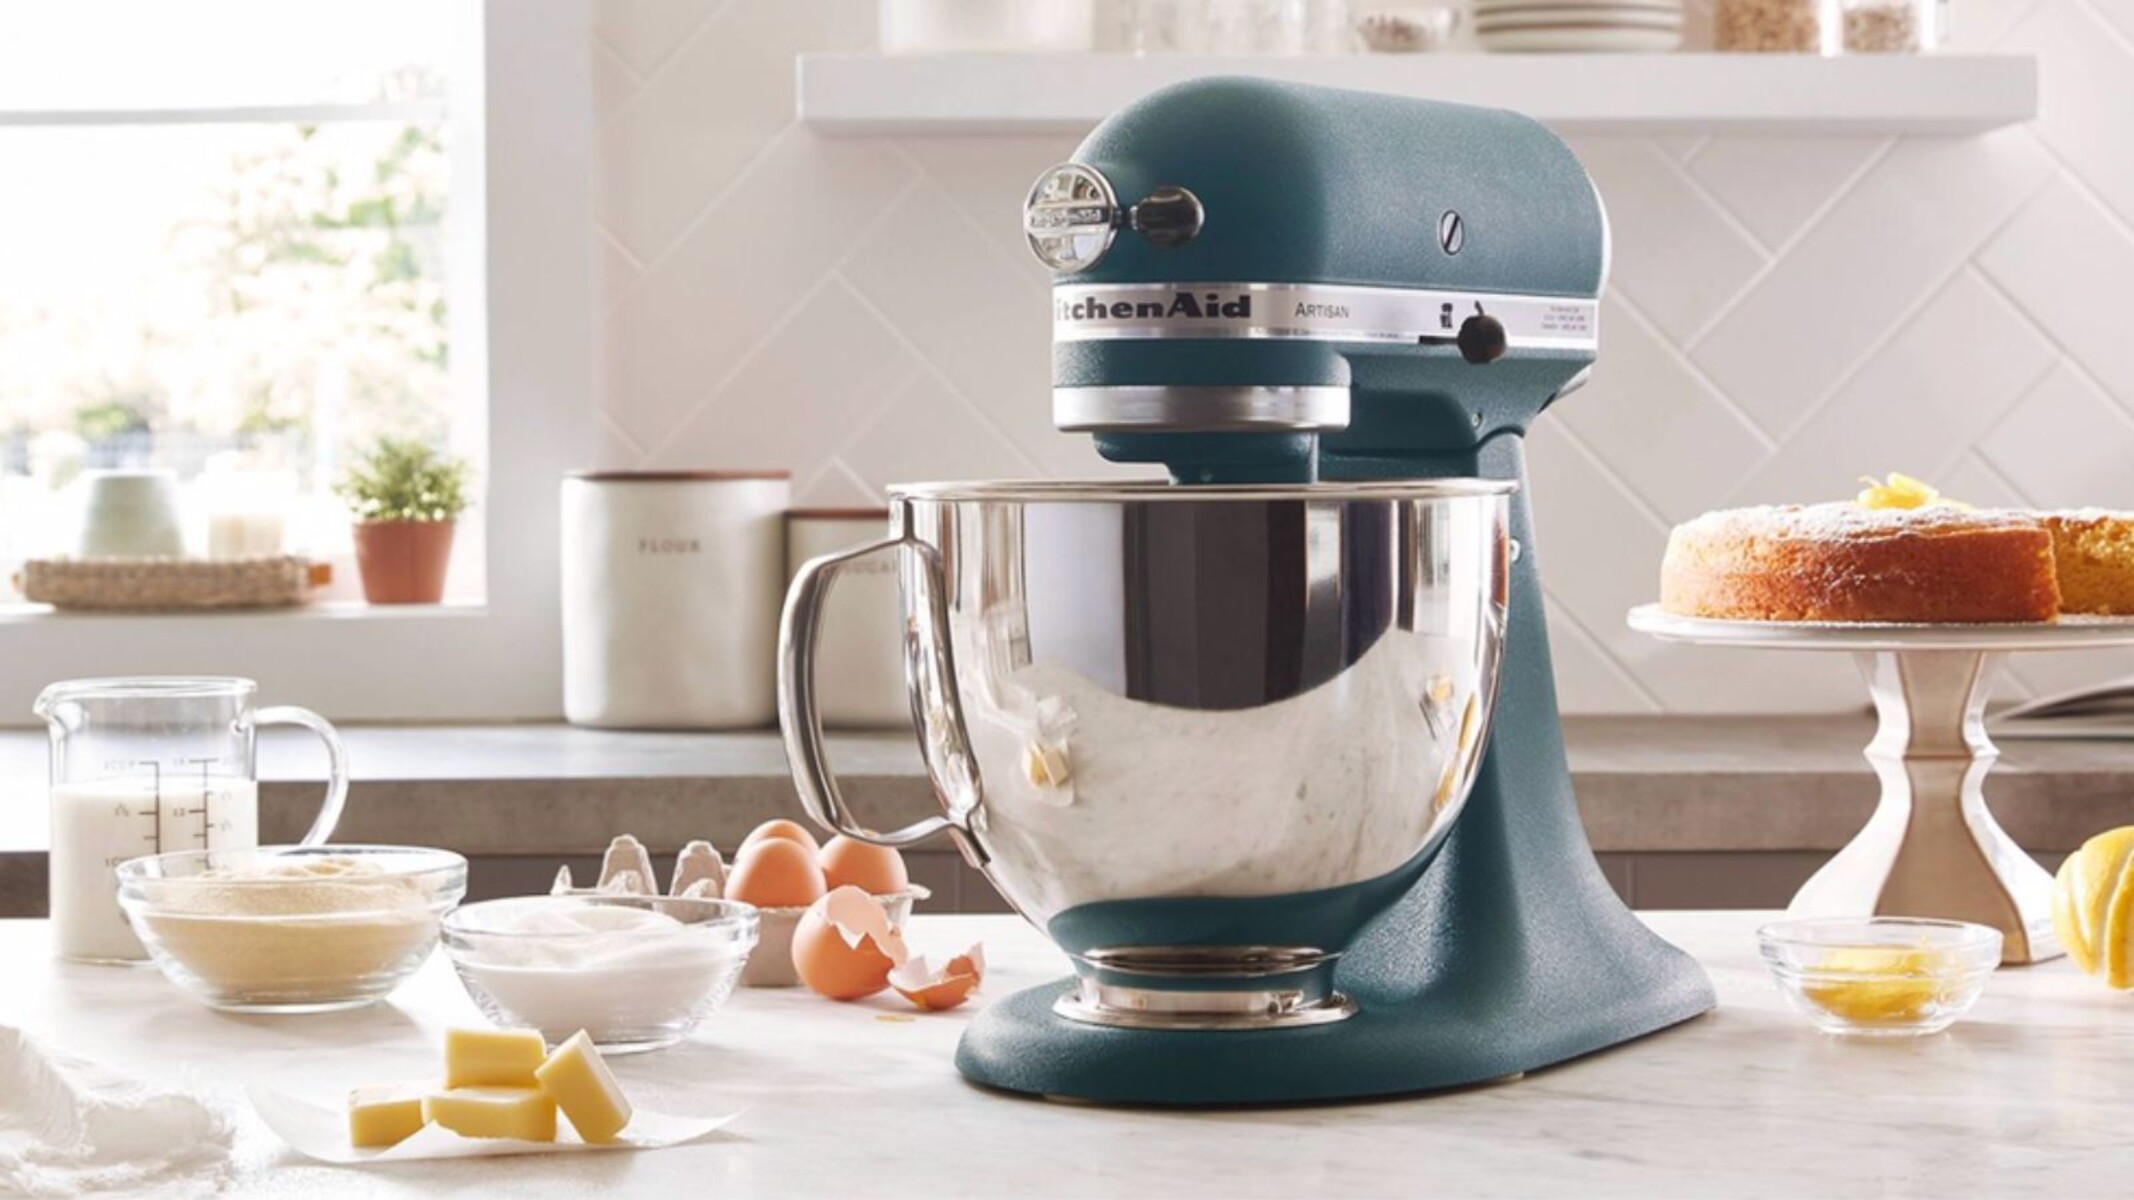
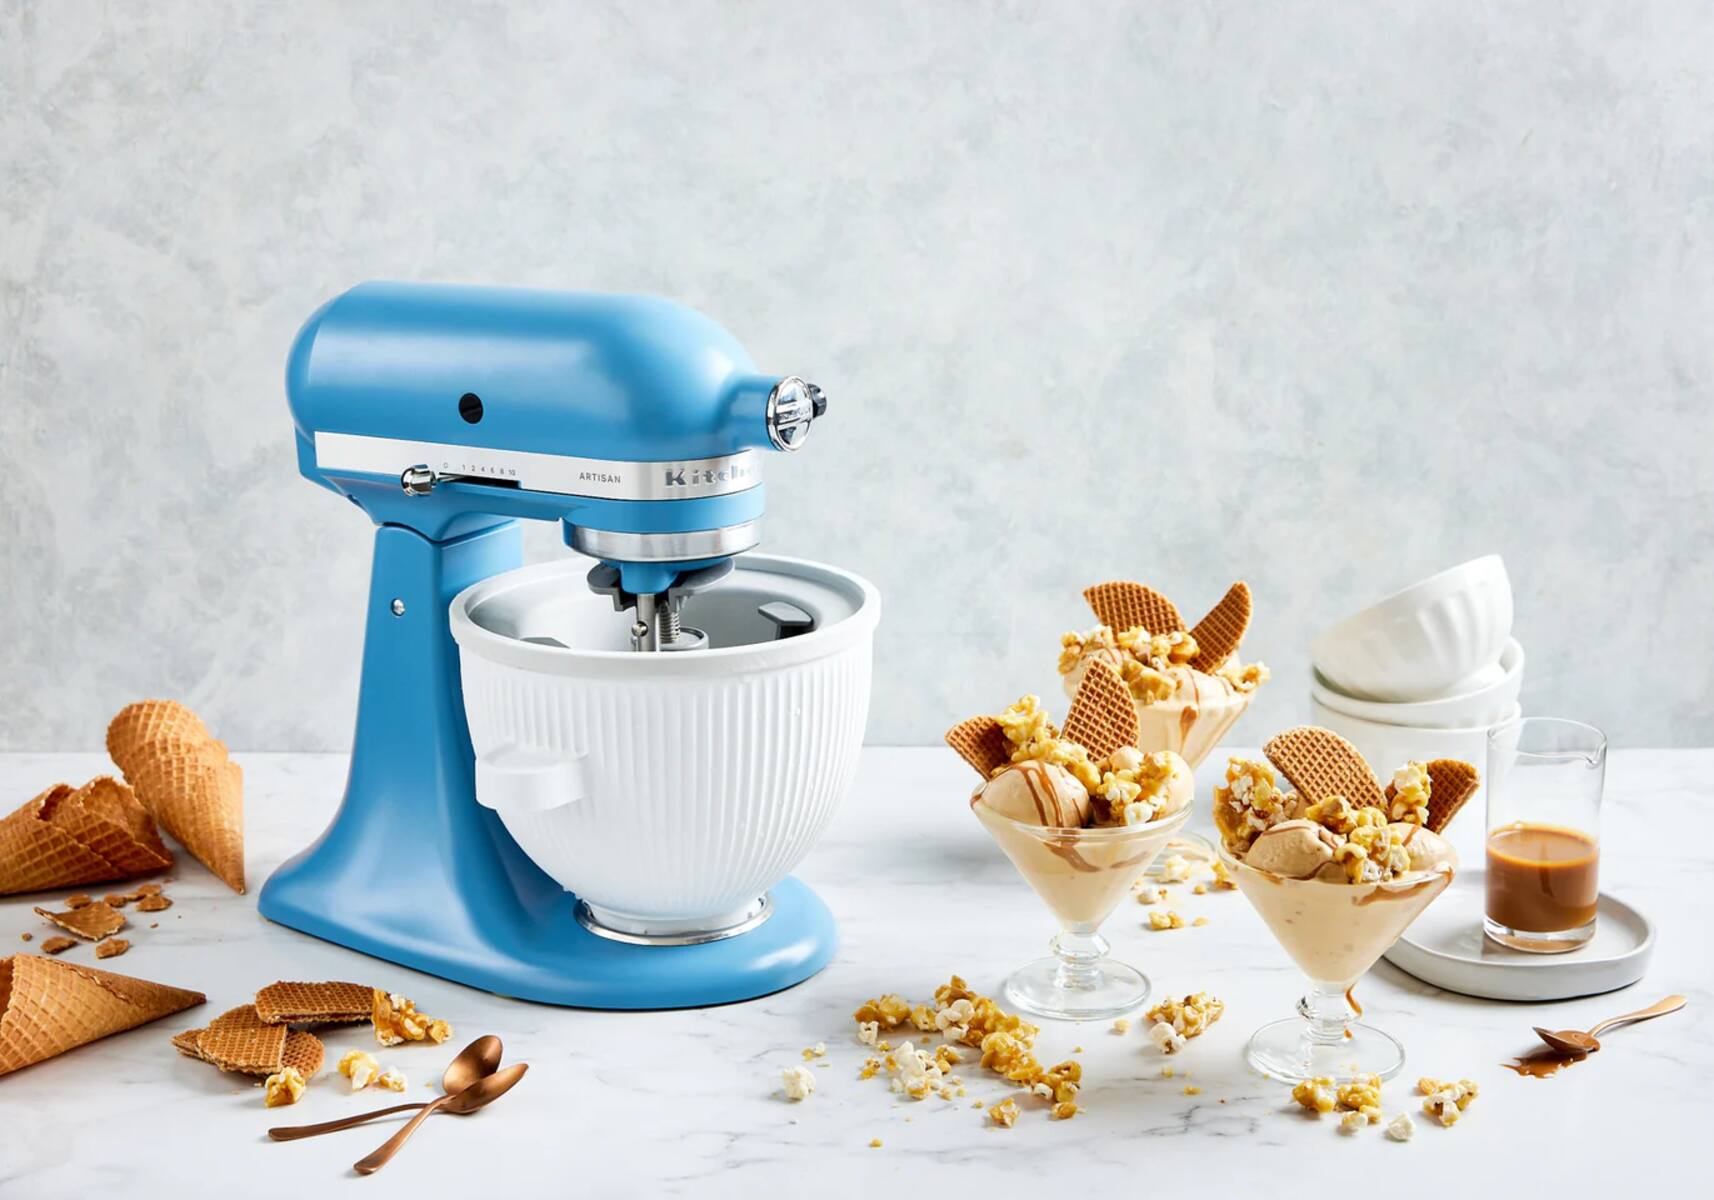
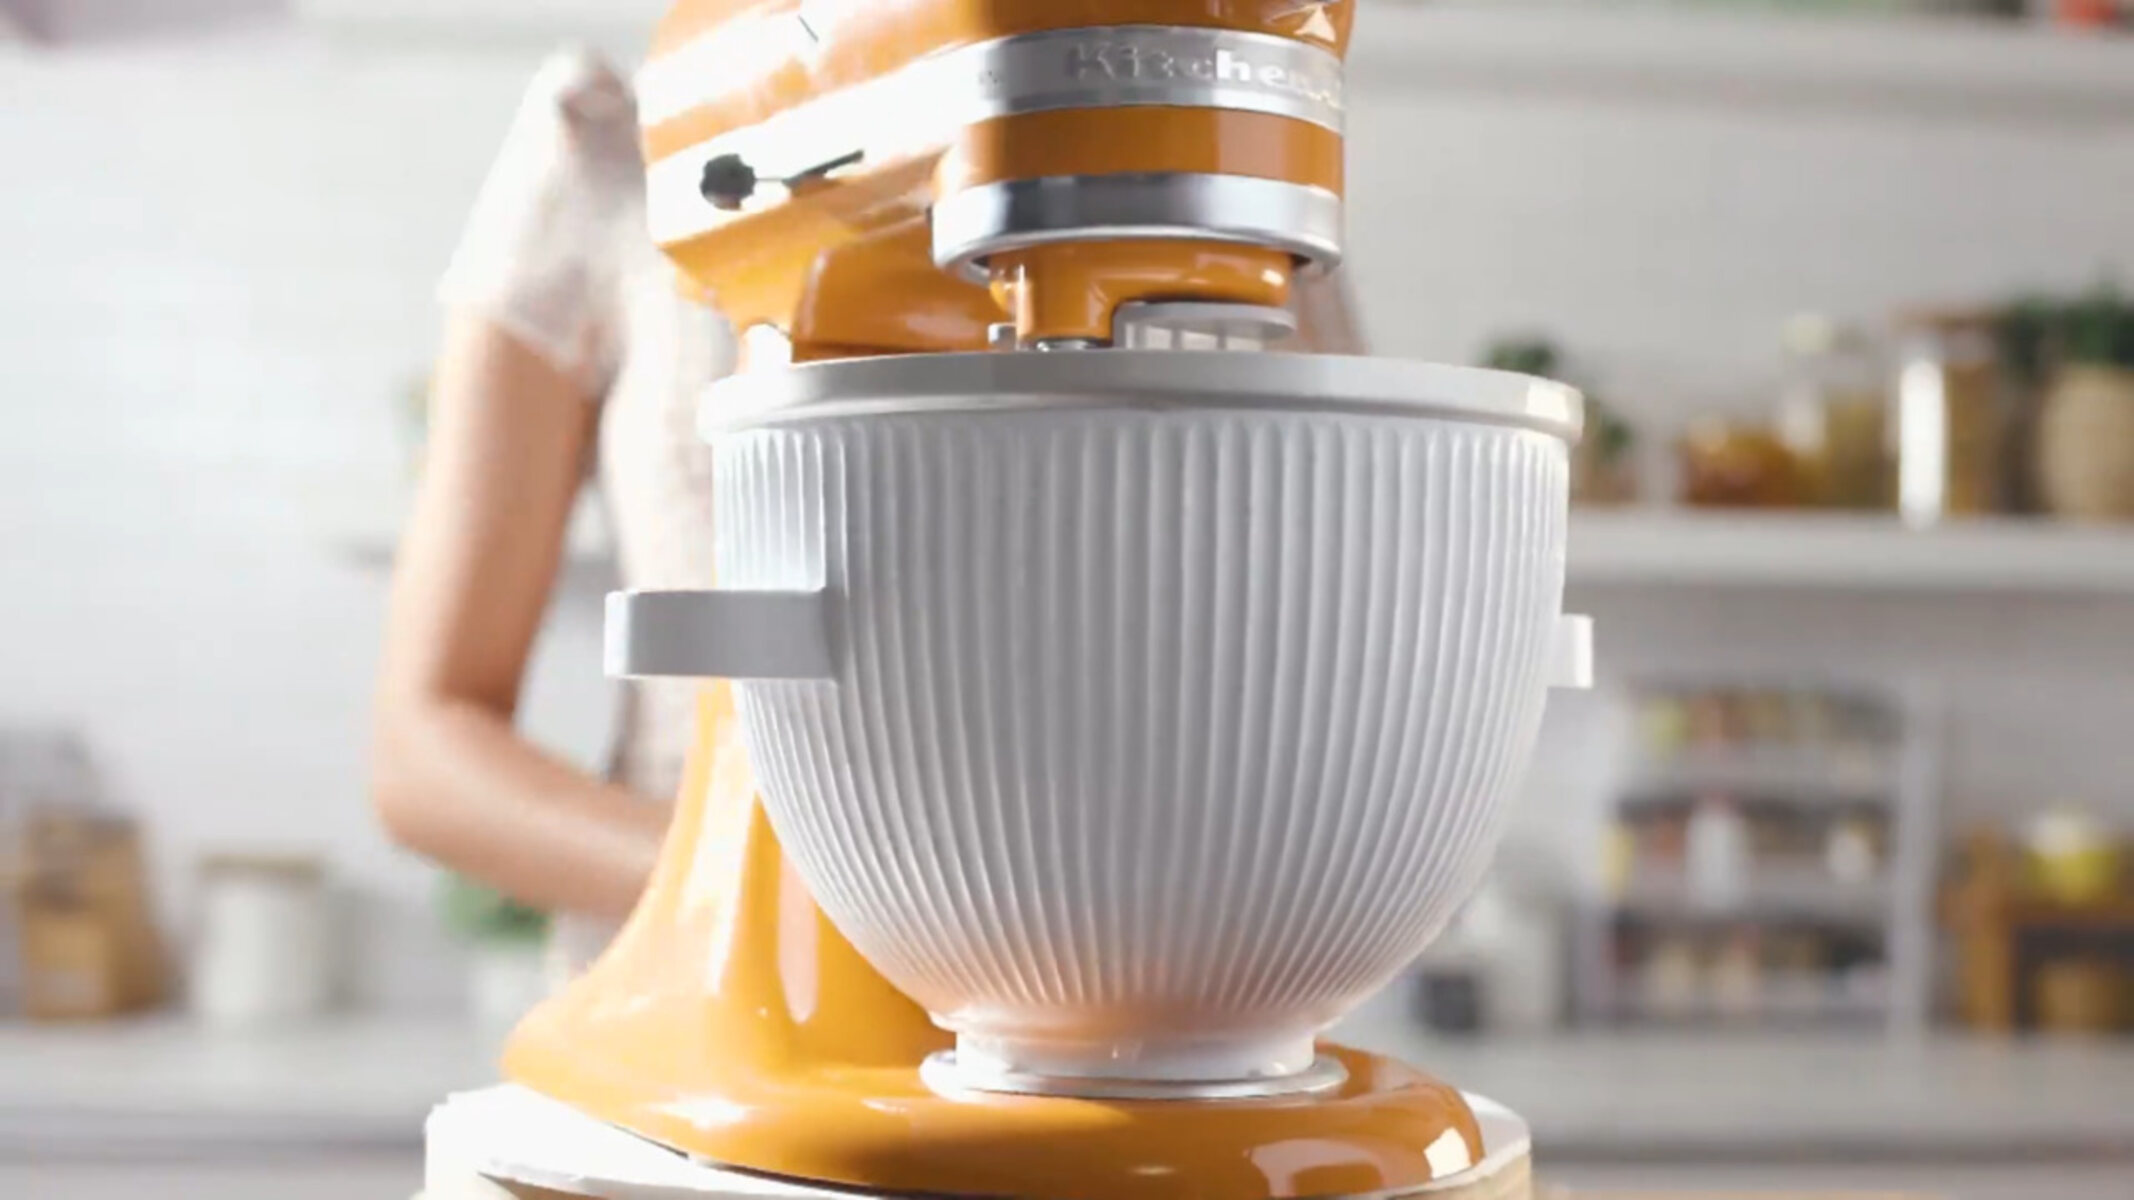
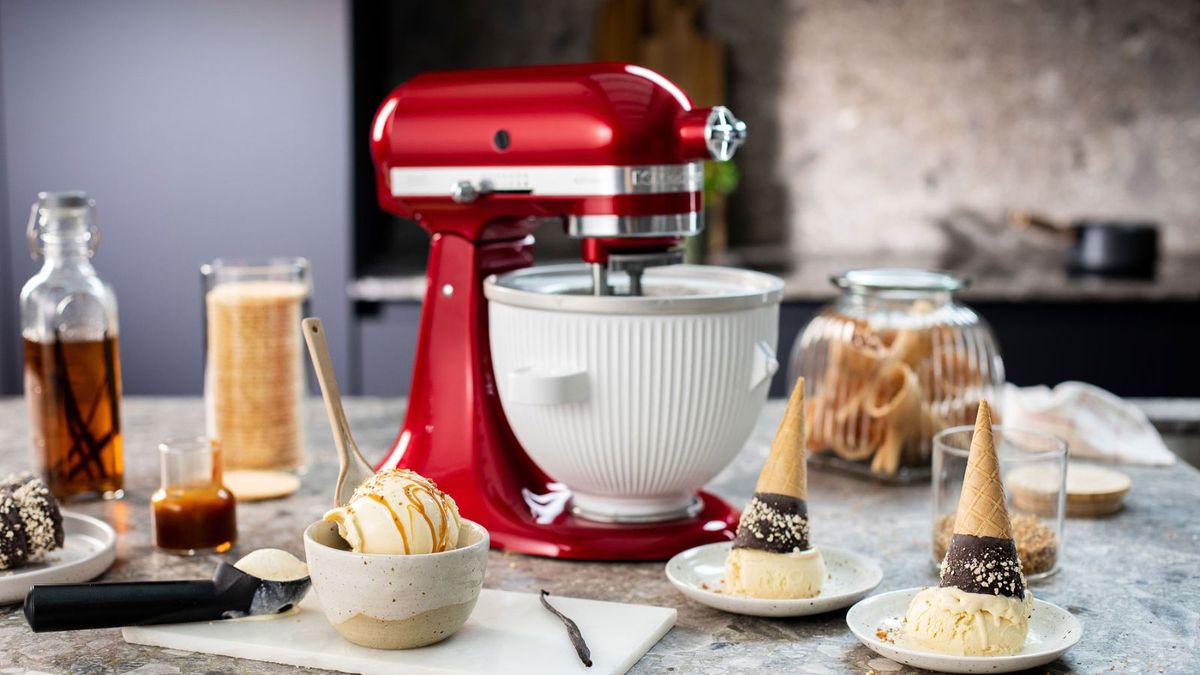
The Kitchenaid Ice Cream Maker is a popular attachment for Kitchenaid stand mixers that allows you to make delicious homemade ice cream, sorbet, and gelato in the comfort of your own home. One common question that arises when using this ice cream maker is how long it takes to freeze the ice cream properly.
The freezing time of the Kitchenaid Ice Cream Maker can vary depending on several factors, including the temperature of the ingredients, the type of ice cream being made, and the pre-freezing of the ice cream maker bowl. Understanding these factors and following some tips can help ensure that your ice cream freezes perfectly every time.
In this article, we will explore the factors that affect freezing time, provide a guideline for pre-freezing the ice cream maker bowl, discuss the freezing times for different types of ice cream, and offer some tips for efficient freezing. We will also address some common issues that may arise during the freezing process.
So, if you are a fan of homemade ice cream and want to make sure you achieve the perfect texture and consistency, keep reading to discover everything you need to know about the freezing time of the Kitchenaid Ice Cream Maker.
Factors Affecting Freezing Time
The freezing time of the Kitchenaid Ice Cream Maker can be influenced by several factors. By understanding these factors, you can better anticipate the time it will take for your ice cream to freeze to the desired consistency.
1. Temperature of the Ingredients: The temperature of the ingredients used in your ice cream mixture can significantly impact the freezing time. It is important to ensure that the ingredients, particularly the dairy base, are properly chilled before pouring the mixture into the ice cream maker. Cold ingredients will freeze faster, resulting in a shorter freezing time.
2. Type of Ice Cream: Different types of ice cream, such as custard-based, sorbet, or gelato, may require varying freezing times. Custard-based ice creams typically have a higher fat content, which can affect the freezing process. Sorbets and gelatos, on the other hand, may freeze more quickly due to their lower fat content.
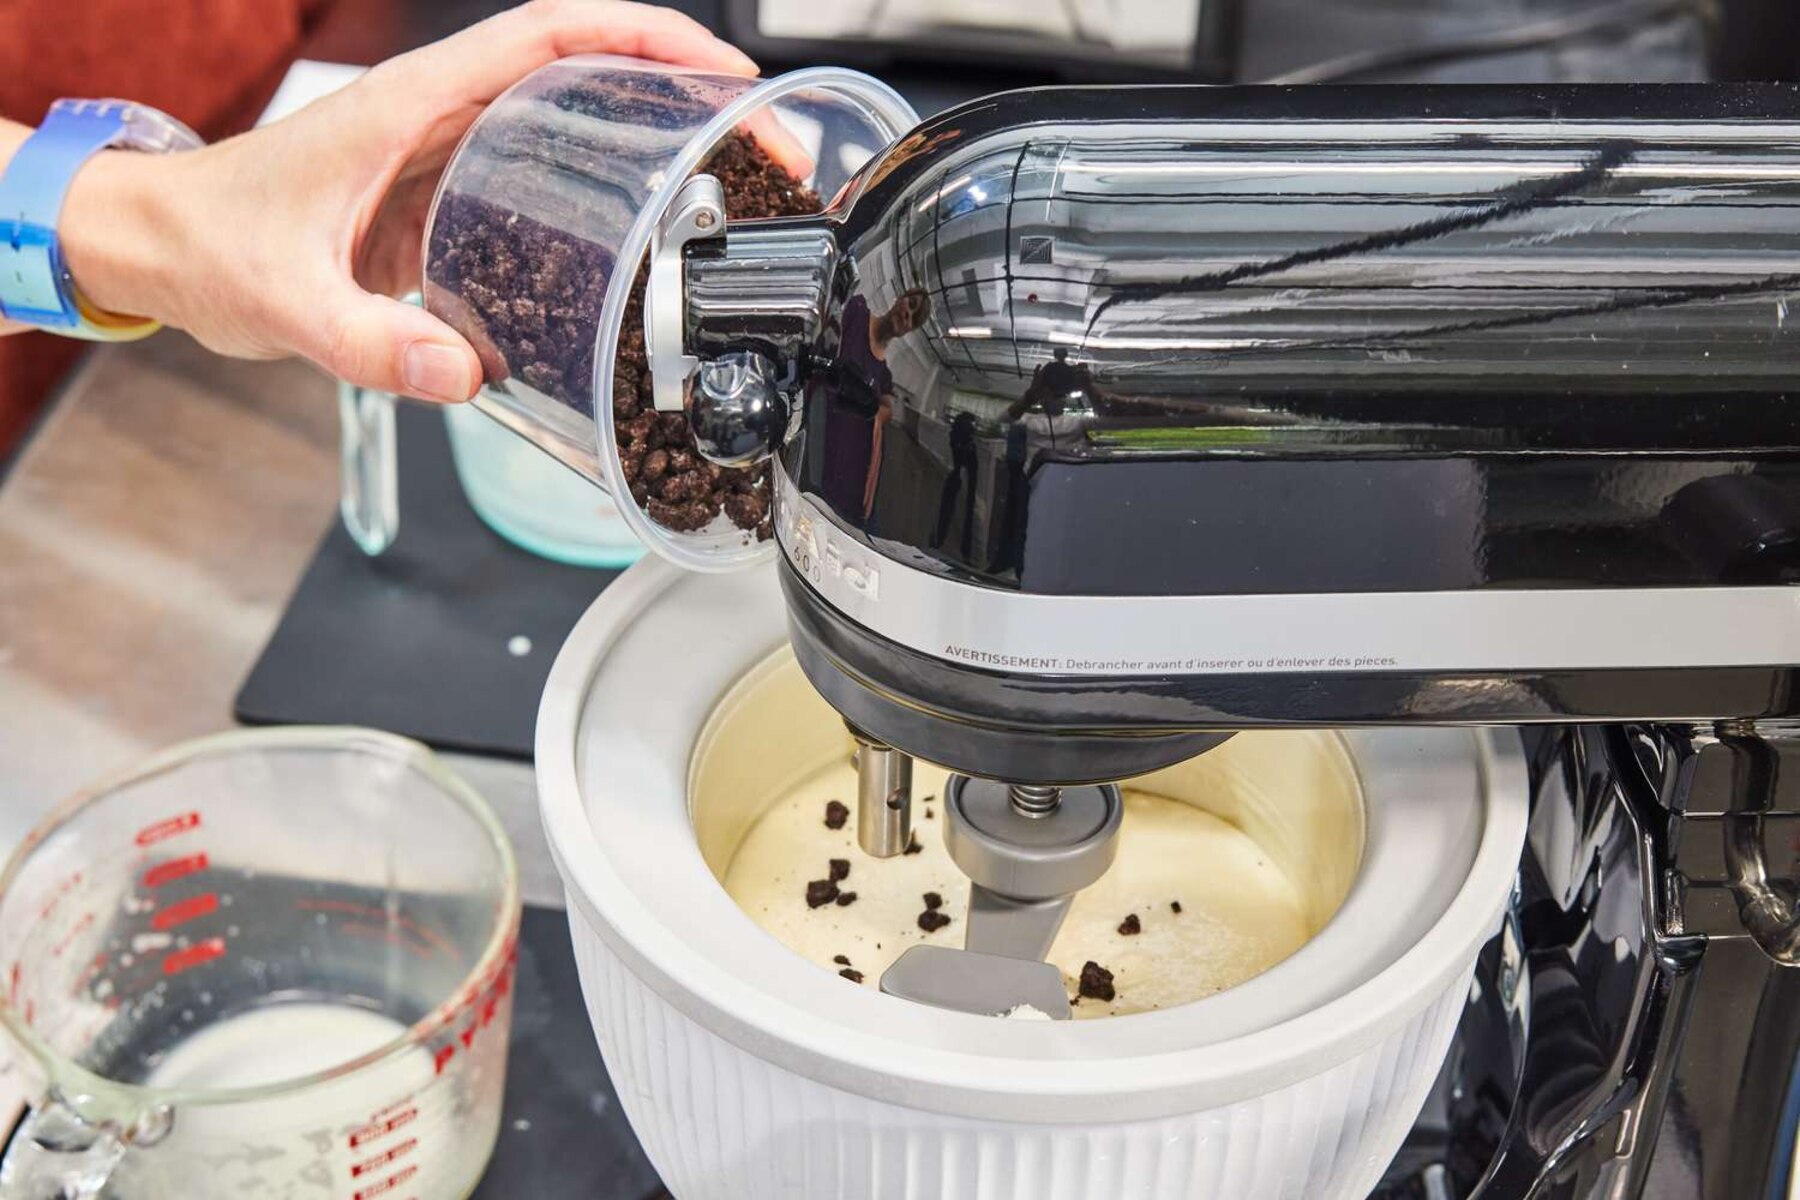
3. Quantity of Ice Cream: The volume of ice cream mixture you pour into the ice cream maker can impact the freezing time. If you are making a larger batch, it may take longer to freeze compared to a smaller quantity. Keep in mind that overfilling the ice cream maker bowl can impede airflow and result in longer freezing times.
4. Temperature of the Ice Cream Maker Bowl: Pre-freezing the ice cream maker bowl is essential for efficient freezing. If the bowl is not properly chilled, it will take longer for the ice cream mixture to freeze. It is recommended to pre-freeze the bowl for at least 15 hours at a temperature of 0°F (-18°C) or lower to ensure optimal freezing performance.
5. Ambient Temperature: The temperature of your kitchen environment can also impact the freezing time. If your kitchen is warm, it may take longer for the ice cream mixture to freeze. It is advisable to prepare the ice cream in a cool and well-ventilated area to promote faster freezing.
By considering these factors and making necessary adjustments, you can significantly impact the freezing time of your homemade ice cream. Understanding the role each factor plays will help you achieve the perfect consistency and texture for your frozen treats.
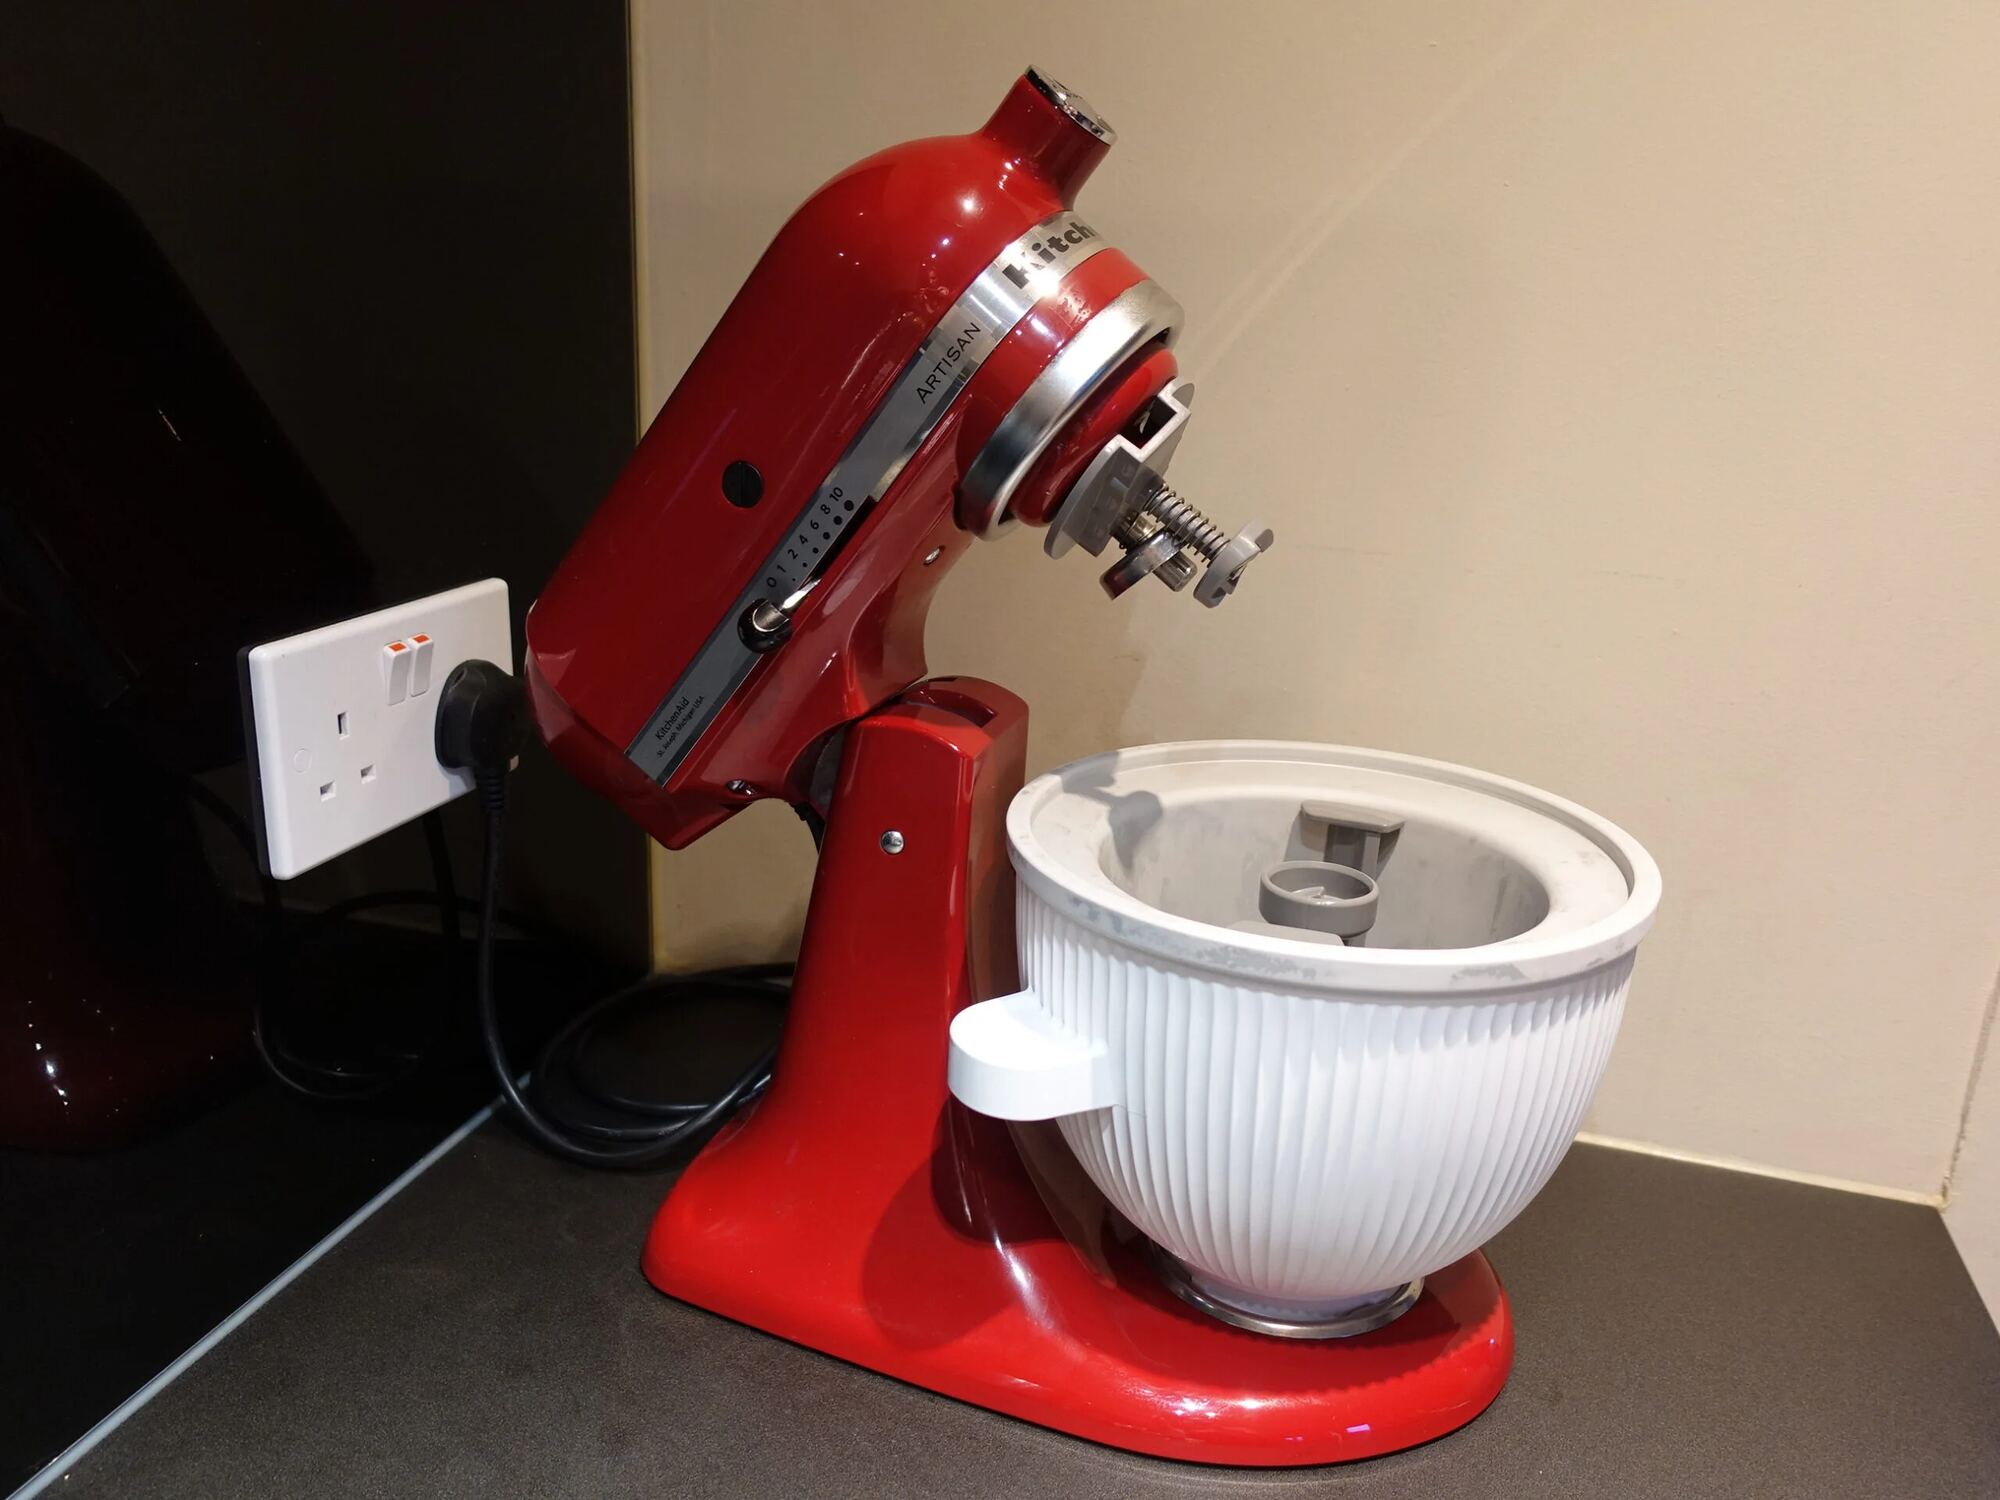
Pre-Freezing the Ice Cream Maker Bowl
Properly pre-freezing the ice cream maker bowl is a crucial step in ensuring efficient freezing and optimal results. The following guidelines will help you prepare the ice cream maker bowl for the best freezing performance:
1. Clean the Bowl: Before pre-freezing, make sure the ice cream maker bowl is clean and dry. Remove any food particles or residue from previous use. This will prevent any contamination and ensure the best results.
2. Place in Freezer: Place the clean bowl in the freezer for a minimum of 15 hours prior to using it. Ensure the temperature of your freezer is at 0°F (-18°C) or lower. Consistent and prolonged exposure to low temperatures will help the bowl reach its ideal freezing point.
3. Use a Freezer Bag: To prevent the bowl from picking up any unwanted odors or flavors from the freezer, consider placing it inside a clean freezer bag before placing it in the freezer. This extra layer of protection will help maintain the integrity of the ice cream flavors.
4. Plan Ahead: It’s a good practice to plan ahead and pre-freeze the bowl well in advance. This ensures that it’s always ready to use whenever you have the craving for homemade ice cream. Consider leaving the bowl in the freezer between batches if you plan on making multiple batches.
5. Check for Proper Freezing: Before starting your ice cream-making process, check the bowl’s temperature to ensure that it is properly frozen. Touch the bowl with your hand to feel if it is extremely cold. Additionally, a visual inspection for any frost on the bowl’s surface is also a good way to ensure that it has reached its optimal freezing point.
Pre-freezing the ice cream maker bowl is a simple yet critical step to achieving successful results. By following the guidelines mentioned above, you will ensure that the bowl is properly chilled and ready to help freeze your ice cream mixture efficiently, resulting in creamy and delicious homemade ice cream!
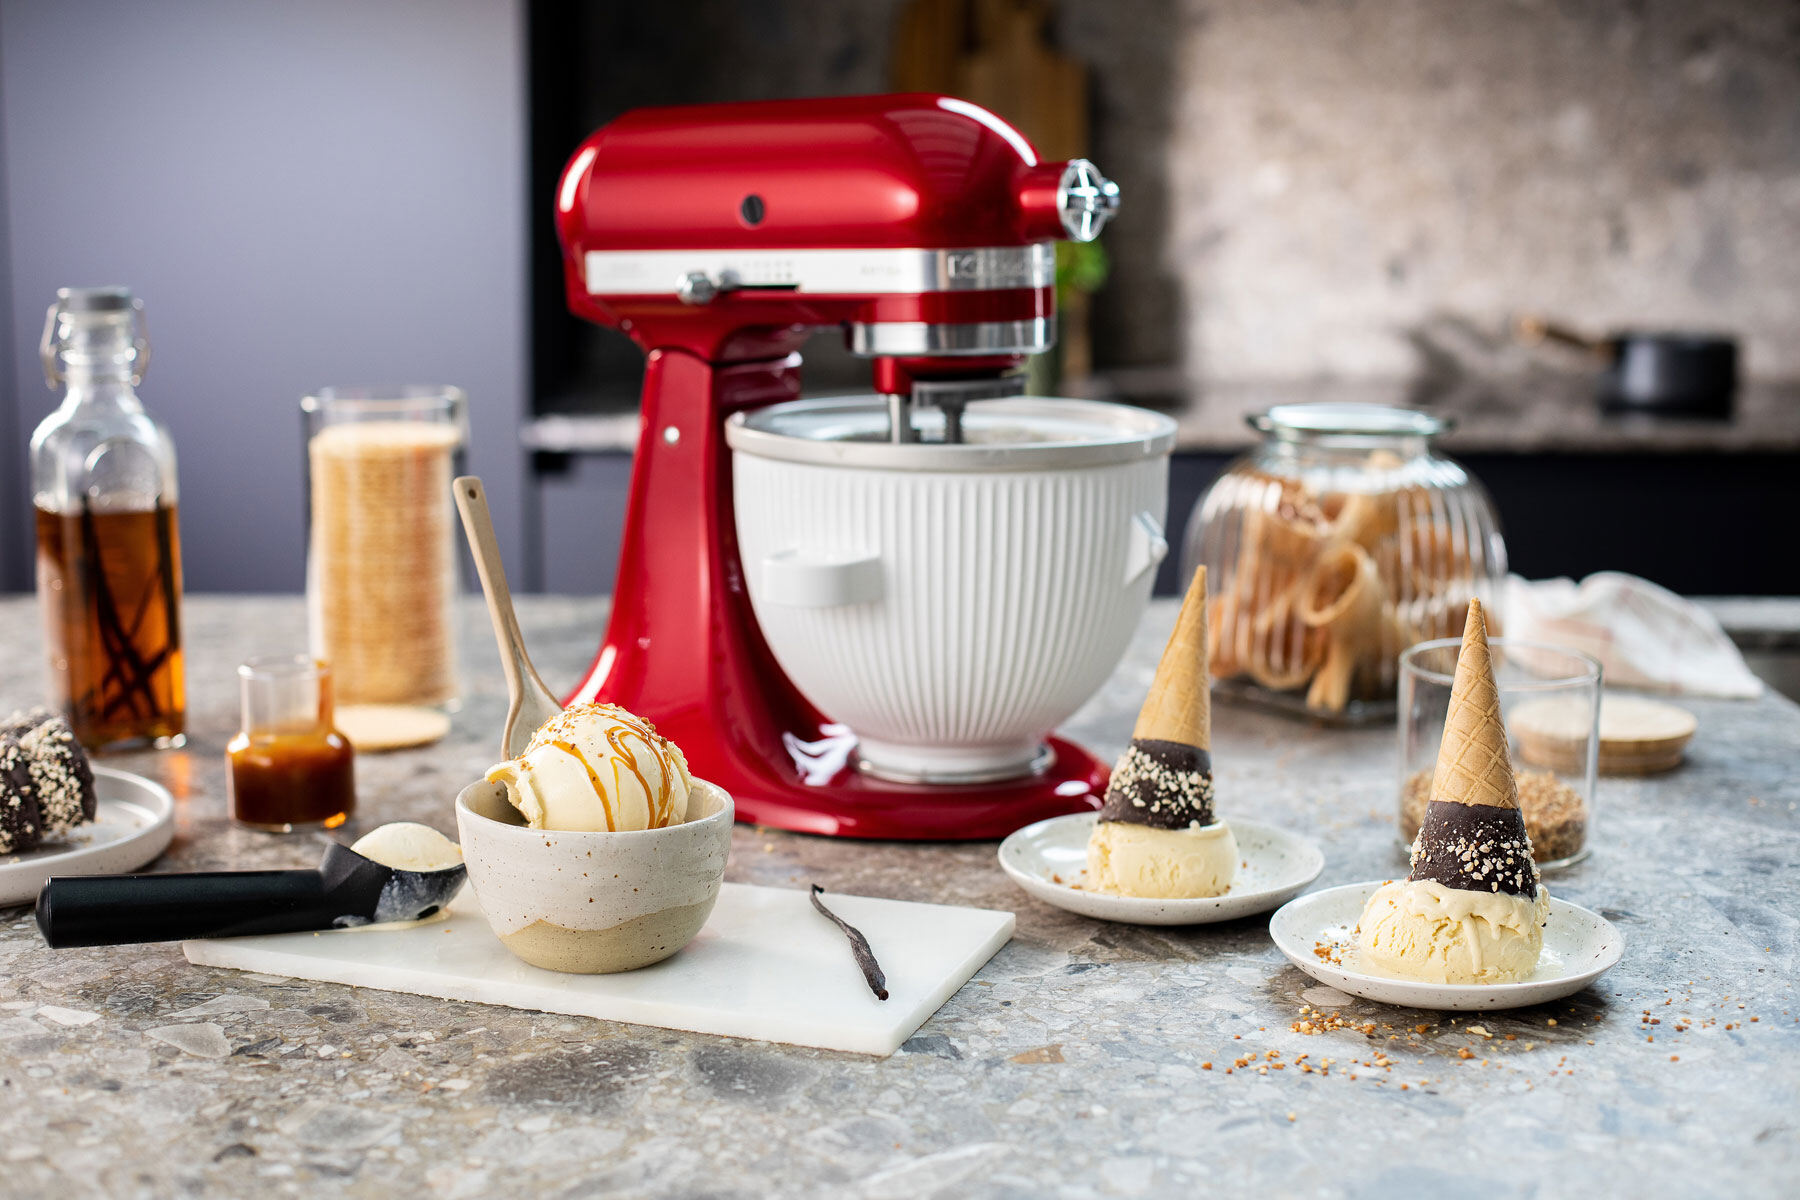
Freezing Time for Different Types of Ice Cream
The freezing time for different types of ice cream can vary due to variations in their ingredients and composition. Understanding the freezing times for each type will help you plan and anticipate the time required to achieve the desired consistency. Here’s a general guideline for the freezing times of common types of ice cream:
1. Custard-based Ice Cream: This type of ice cream, made with a rich and creamy custard base, typically takes longer to freeze. The high fat content from the eggs and cream requires more time to solidify. In general, custard-based ice cream can take anywhere from 20 to 30 minutes to freeze properly in the Kitchenaid Ice Cream Maker.
2. Sorbet: Sorbets, which are made with fruit puree, sugar, and water, usually freeze faster than custard-based ice creams due to their lower fat content. Depending on the specific recipe and the consistency desired, sorbets can take around 15 to 25 minutes to freeze in the ice cream maker.
3. Gelato: Gelato, an Italian-style ice cream, has a lower butterfat content and less air incorporated, resulting in a denser and smoother texture. Due to the reduced fat content, gelato typically freezes faster than traditional custard-based ice cream. It usually takes around 15 to 30 minutes for gelato to freeze properly in the ice cream maker.
It’s important to note that these times are approximate and can vary depending on the specific recipe, temperature of ingredients, and the efficiency of your ice cream maker. It is always advisable to refer to the recipe instructions to get the most accurate estimate of freezing times for your specific ice cream mixture.
During the freezing process, keep an eye on the texture and consistency of the ice cream. It should become thicker and start to resemble a soft-serve consistency. If the ice cream is not freezing within the expected time frame, it may be due to factors such as room temperature, ingredient ratios, or incorrect pre-freezing of the ice cream maker bowl.
By understanding the typical freezing times for different types of ice cream, you can plan accordingly and achieve excellent results with your Kitchenaid Ice Cream Maker.
Tips for Efficient Freezing
To ensure efficient freezing and achieve the best results with your Kitchenaid Ice Cream Maker, consider implementing the following tips:
1. Chill Ingredients: Before starting the freezing process, make sure all the ingredients, especially the dairy base, are properly chilled. This will help the mixture freeze faster and yield a smoother texture.
2. Pre-Freeze the Bowl: As mentioned earlier, pre-freezing the ice cream maker bowl for at least 15 hours in a freezer set at 0°F (-18°C) or lower is crucial. A properly chilled bowl will promote faster freezing and better results.
3. Don’t Overfill: Avoid overfilling the ice cream maker bowl with the mixture. Leave some room for expansion as the ice cream freezes and churns. Overfilling can impede airflow and result in longer freezing times and uneven texture.
4. Monitor Texture: Keep a close eye on the texture and consistency of the ice cream as it freezes. It should start to thicken and resemble a soft-serve consistency. Avoid over-churning, as it can lead to a grainy texture.
5. Use Cold Tools: When transferring the frozen ice cream to a storage container, use cold utensils and containers. This will help maintain its temperature and prevent premature melting.
6. Proper Storage: Once the ice cream is fully frozen, transfer it to an airtight container and store it in the coldest part of your freezer. This will help maintain its texture and prevent the formation of ice crystals.
7. Experiment with Recipe Ratios: If you find that your ice cream is consistently taking longer to freeze, you can experiment with adjusting the ratio of ingredients in your recipe. Increase the fat content by adding more cream or reduce the sugar content to help achieve a faster freezing time.
8. Consider a Pre-Chilled Mix: To reduce the initial freezing time, especially for custard-based ice creams, you can pre-chill the ice cream mixture in the refrigerator before pouring it into the ice cream maker. This can help jumpstart the freezing process.
By implementing these tips, you can optimize the freezing process of your homemade ice cream and achieve a creamy and delightful end result. Remember to experiment and adjust based on your personal preferences and the specific conditions of your ice cream maker.
Troubleshooting Common Issues
While using the Kitchenaid Ice Cream Maker, you may encounter some common issues that can affect the freezing process and the quality of your ice cream. Here are some troubleshooting tips to help you overcome these obstacles:
1. Ice Cream is Not Freezing: If your ice cream is not freezing within the expected time frame, check the temperature of your ingredients. Make sure they are properly chilled before starting the process. Additionally, ensure that the ice cream maker bowl has been pre-frozen for the recommended duration and is at the optimal temperature.
2. Inconsistent Texture: If your ice cream has a grainy or icy texture, it may be due to over-churning or not using enough fat in the mixture. Avoid over-churning the ice cream and ensure that you follow the recipe instructions for the correct ratios of ingredients.
3. Ice Cream is Melting Too Quickly: If your ice cream is melting too quickly after being removed from the ice cream maker, it may be due to warm kitchen temperatures or improper storage containers. Make sure to store the ice cream in an airtight container and place it in the coldest part of your freezer.
4. Inadequate Pre-Freezing: If the ice cream maker bowl is not pre-frozen properly, it can result in longer freezing times and unsatisfactory texture. Double-check that the bowl has been pre-frozen for the recommended duration and at the correct temperature before starting the freezing process.
5. Incomplete Churn: If the ice cream mixture is not churning properly, it may be due to insufficient pre-freezing of the ice cream maker bowl or overfilling the bowl. Ensure that the bowl is properly pre-frozen and that you do not exceed the recommended fill level to allow sufficient space for the mixture to churn and expand.
6. Unpleasant Flavor: If your ice cream has an off-flavor or unpleasant taste, it may be due to ingredients that have spoiled or improper measurements. Make sure to use fresh and high-quality ingredients, follow the recipe measurements accurately, and taste the mixture before freezing to ensure a delectable flavor.
By troubleshooting these common issues and making necessary adjustments, you can overcome challenges and achieve exceptional results with your Kitchenaid Ice Cream Maker. Remember to refer to the instruction manual for any specific troubleshooting guidance provided by the manufacturer.
Conclusion
The Kitchenaid Ice Cream Maker is a fantastic tool for creating delectable homemade ice cream, sorbet, and gelato. By understanding the factors that affect freezing time, pre-freezing the ice cream maker bowl, and following some helpful tips, you can achieve excellent results every time.
Factors such as the temperature of ingredients, the type of ice cream being made, and the quantity of the mixture can impact the freezing time. Pre-freezing the ice cream maker bowl for at least 15 hours at 0°F (-18°C) or lower is essential for efficient freezing.
It is important to keep in mind that freezing times can vary depending on the specific recipe and the efficiency of your ice cream maker. Custard-based ice creams typically take longer to freeze compared to sorbets and gelatos due to their higher fat content.
To ensure efficient freezing, consider chilling your ingredients, monitoring the texture, and using cold tools during the process. Proper storage of the frozen ice cream is crucial to maintaining its consistency and flavor over time.
If you encounter any issues during the freezing process, troubleshooting tips such as checking ingredient temperatures, adjusting recipe ratios, and ensuring adequate pre-freezing can help resolve common problems.
By applying these guidelines and using the Kitchenaid Ice Cream Maker with care and precision, you can enjoy the delight of making your own personalized frozen treats in the comfort of your home.