Introduction
Indulging in a sweet, creamy bowl of homemade ice cream is a delight that many of us crave. If you’re a fan of this frozen treat, then having an ice cream maker in your kitchen is a game-changer. One popular option is the Ice Cream Maker Kitchenaid, a versatile appliance that allows you to create your favorite flavors right at home.
With the Ice Cream Maker Kitchenaid, you can control the ingredients and create custom flavors that suit your preferences. Whether you prefer classic vanilla, decadent chocolate, or adventurous combinations like strawberry cheesecake or peanut butter fudge, the possibilities are endless.
In this guide, we will take you through everything you need to know to successfully use your Ice Cream Maker Kitchenaid. From understanding the appliance and its features to creating mouthwatering batches of homemade ice cream, we’ve got you covered. So, let’s dive in and embark on a delightful journey of ice cream making!
Getting Familiar with your Ice Cream Maker Kitchenaid
Before you start churning out delicious batches of homemade ice cream, it’s important to familiarize yourself with the Ice Cream Maker Kitchenaid and its various components. Here are the essential aspects you need to know:
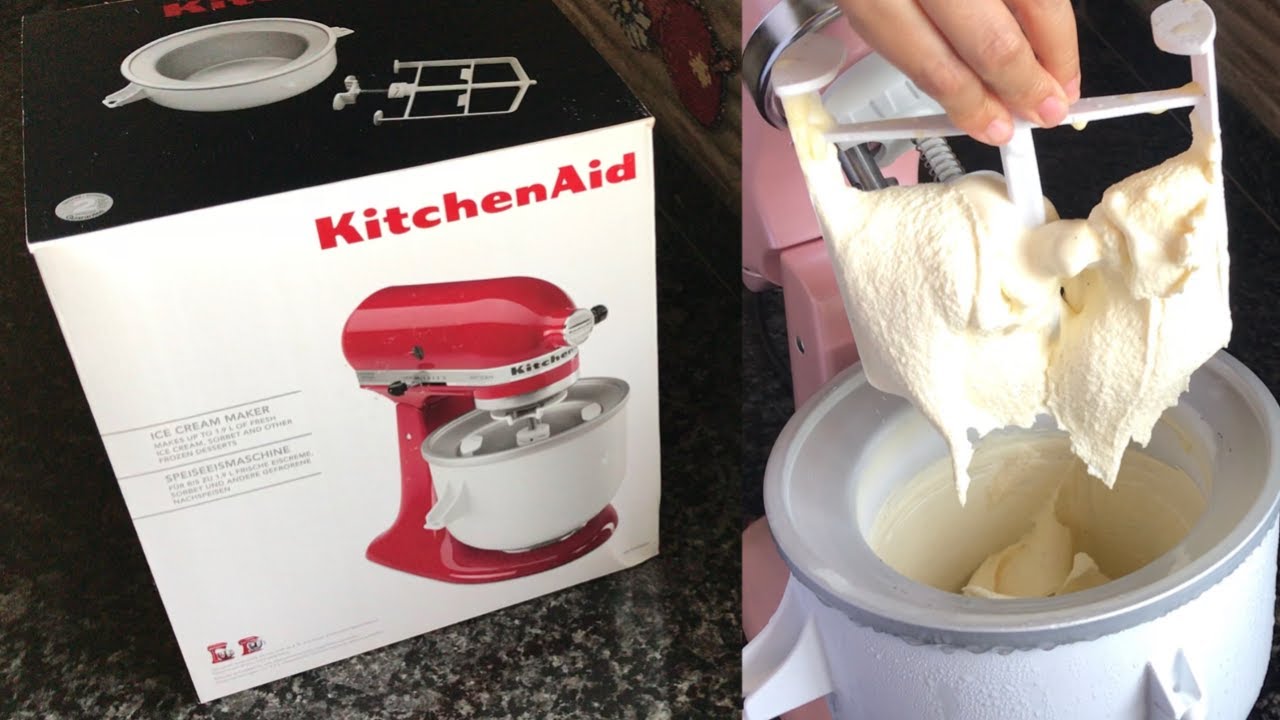
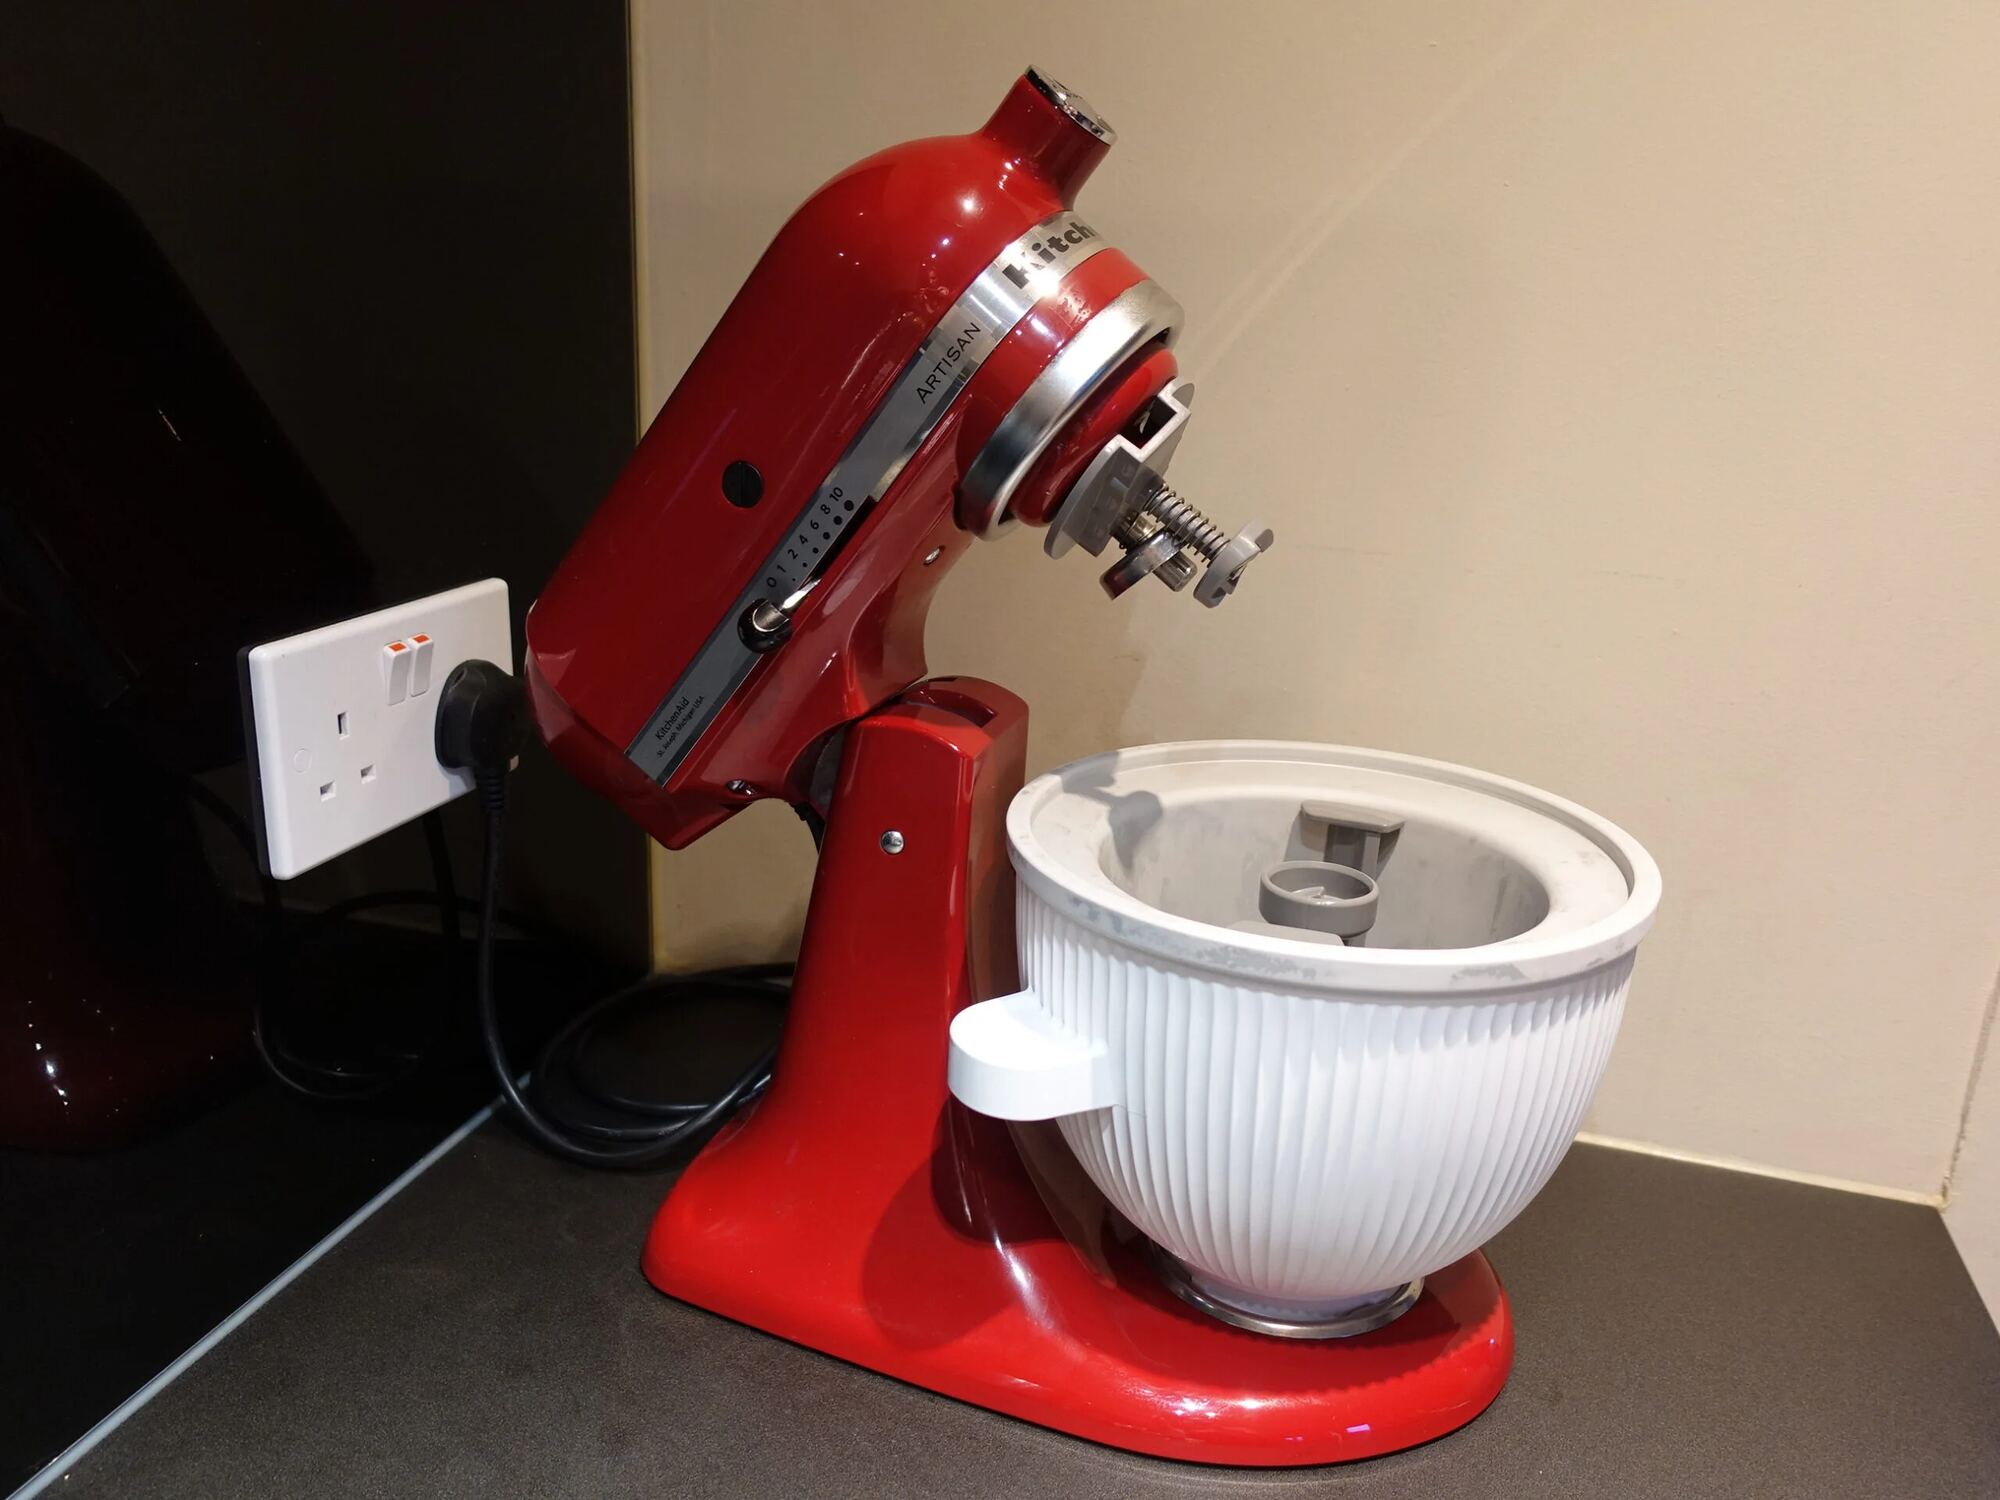
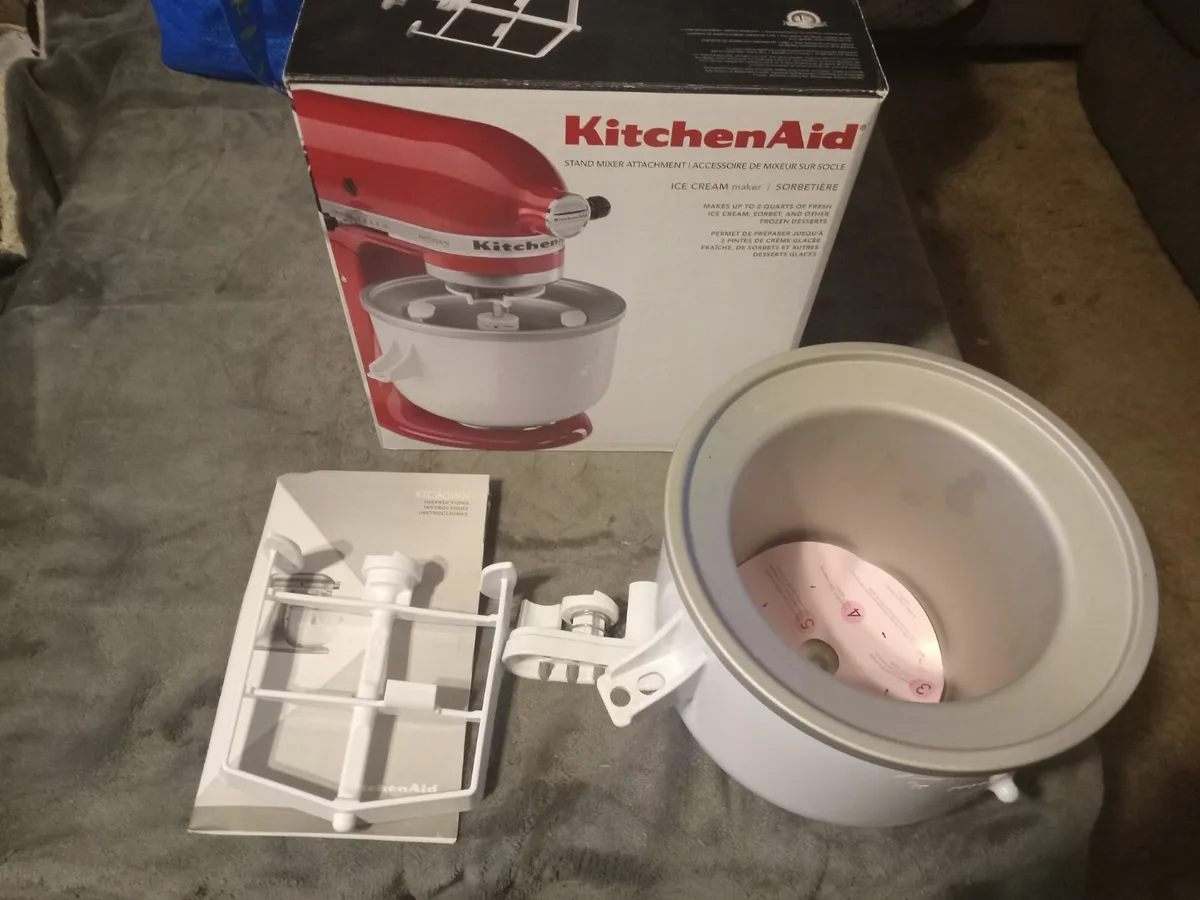
1. Attachment and Bowl: The Ice Cream Maker Kitchenaid consists of an attachment that fits onto your Kitchenaid stand mixer and a freezer bowl that is pre-frozen. The attachment connects to the power hub of the stand mixer, allowing it to rotate and churn the ice cream mixture efficiently.
2. Freezer Bowl: The freezer bowl is a key component of the Ice Cream Maker. Before using it, ensure that it has been properly frozen according to the manufacturer’s instructions. It’s recommended to freeze the bowl for at least 24 hours prior to using it for optimal results.
3. Churning Paddle: The churning paddle, also known as the dasher, is designed to mix and aerate the ice cream mixture as it freezes. It attaches to the center of the Ice Cream Maker attachment and spins within the bowl, creating the creamy consistency we all love.
4. Speed Control: The Kitchenaid stand mixer allows you to control the speed at which the attachment rotates. For ice cream preparation, it’s generally recommended to use the low to medium speed setting, as higher speeds can lead to over-churning and result in a less creamy texture.
5. Capacity: The Ice Cream Maker Kitchenaid has a generous capacity, allowing you to make up to two quarts of ice cream at a time. This is ideal for family gatherings, parties, or simply stocking up your freezer with your favorite frozen treat.
Now that you have a good understanding of the Ice Cream Maker Kitchenaid and its components, you’re ready to move on to the next step: preparing your ice cream maker for usage. Let’s dive into the details in the following section.
Preparing your Ice Cream Maker
Before you start making your homemade ice cream, it’s crucial to properly prepare your Ice Cream Maker Kitchenaid. These preparation steps ensure that your ice cream churns to perfection and achieves the desired consistency. Here’s what you need to do to prepare your ice cream maker:
1. Freeze the Bowl: To ensure optimal ice cream freezing, the freezer bowl needs to be cold. Place the freezer bowl in your freezer for a minimum of 24 hours before starting the ice cream-making process. It’s a good idea to store it in the freezer at all times so that it’s ready whenever you have the urge to make ice cream.
2. Chill the Mixer: It’s essential to chill the stand mixer and the Ice Cream Maker attachment for about 15 to 20 minutes before starting. This step helps maintain a consistent temperature throughout the ice cream-making process.
3. Prepare the Ice Cream Mixture: While the bowl is freezing, you can use this time to prepare your ice cream mixture. Whether you’re following a specific recipe or experimenting with your own flavors, make sure to have all the ingredients ready and the mixture well-chilled before proceeding.
4. Assemble the Ice Cream Maker: Once the bowl is properly frozen, remove it from the freezer and attach the Ice Cream Maker attachment to your stand mixer. Ensure that it securely locks into place and is properly aligned with the power hub of the mixer.
5. Place the Churning Paddle: Insert the churning paddle into the attachment, making sure it fits snugly. This paddle will mix and aerate the ice cream mixture as it freezes, creating a creamy and smooth texture.
6. Start the Mixer: Turn on your stand mixer and select a low to medium speed setting, depending on the manufacturer’s instructions or the recipe you’re following. With the mixer running, carefully pour the chilled ice cream mixture into the freezer bowl, avoiding overfilling it.
7. Churn the Ice Cream: Let the Ice Cream Maker Kitchenaid work its magic! Allow the mixture to churn for the recommended time specified in your recipe or until it reaches the desired consistency. Keep an eye on it to ensure it doesn’t over-churn.
Once the ice cream has reached the desired consistency, it’s time to transfer it to a container and place it in the freezer to further firm up. This additional freezing time will result in a scoopable texture similar to store-bought ice cream. Remember to cover the container tightly with a lid or plastic wrap to prevent ice crystals from forming.
With your Ice Cream Maker Kitchenaid properly prepared, the stage is set to create heavenly batches of homemade ice cream. In the next section, we’ll explore the step-by-step process of making ice cream using your Kitchenaid Ice Cream Maker.
Making Ice Cream with your Kitchenaid Ice Cream Maker
Now that your Ice Cream Maker Kitchenaid is prepared and ready to go, it’s time to dive into the delicious process of making homemade ice cream. Follow these step-by-step instructions to create creamy, dreamy batches of ice cream:
1. Prepare your Ice Cream Mixture: Start by preparing your ice cream mixture according to your chosen recipe. This typically involves combining ingredients such as milk, cream, sugar, and flavorings. Make sure all the ingredients are well-mixed and chilled before proceeding.
2. Attach the Ice Cream Maker: Once the mixture is ready, attach the Ice Cream Maker Kitchenaid attachment to your stand mixer. Ensure it is securely locked in place and aligned with the power hub of the mixer.
3. Insert the Churning Paddle: Insert the churning paddle into the attachment, making sure it fits properly to ensure even churning and freezing of the ice cream mixture.
4. Start Churning: Turn on the stand mixer at a low to medium speed setting, as recommended by the manufacturer’s instructions or your recipe. While the mixer is running, slowly pour the prepared ice cream mixture into the freezer bowl. Be cautious not to overfill as the mixture will expand during churning.
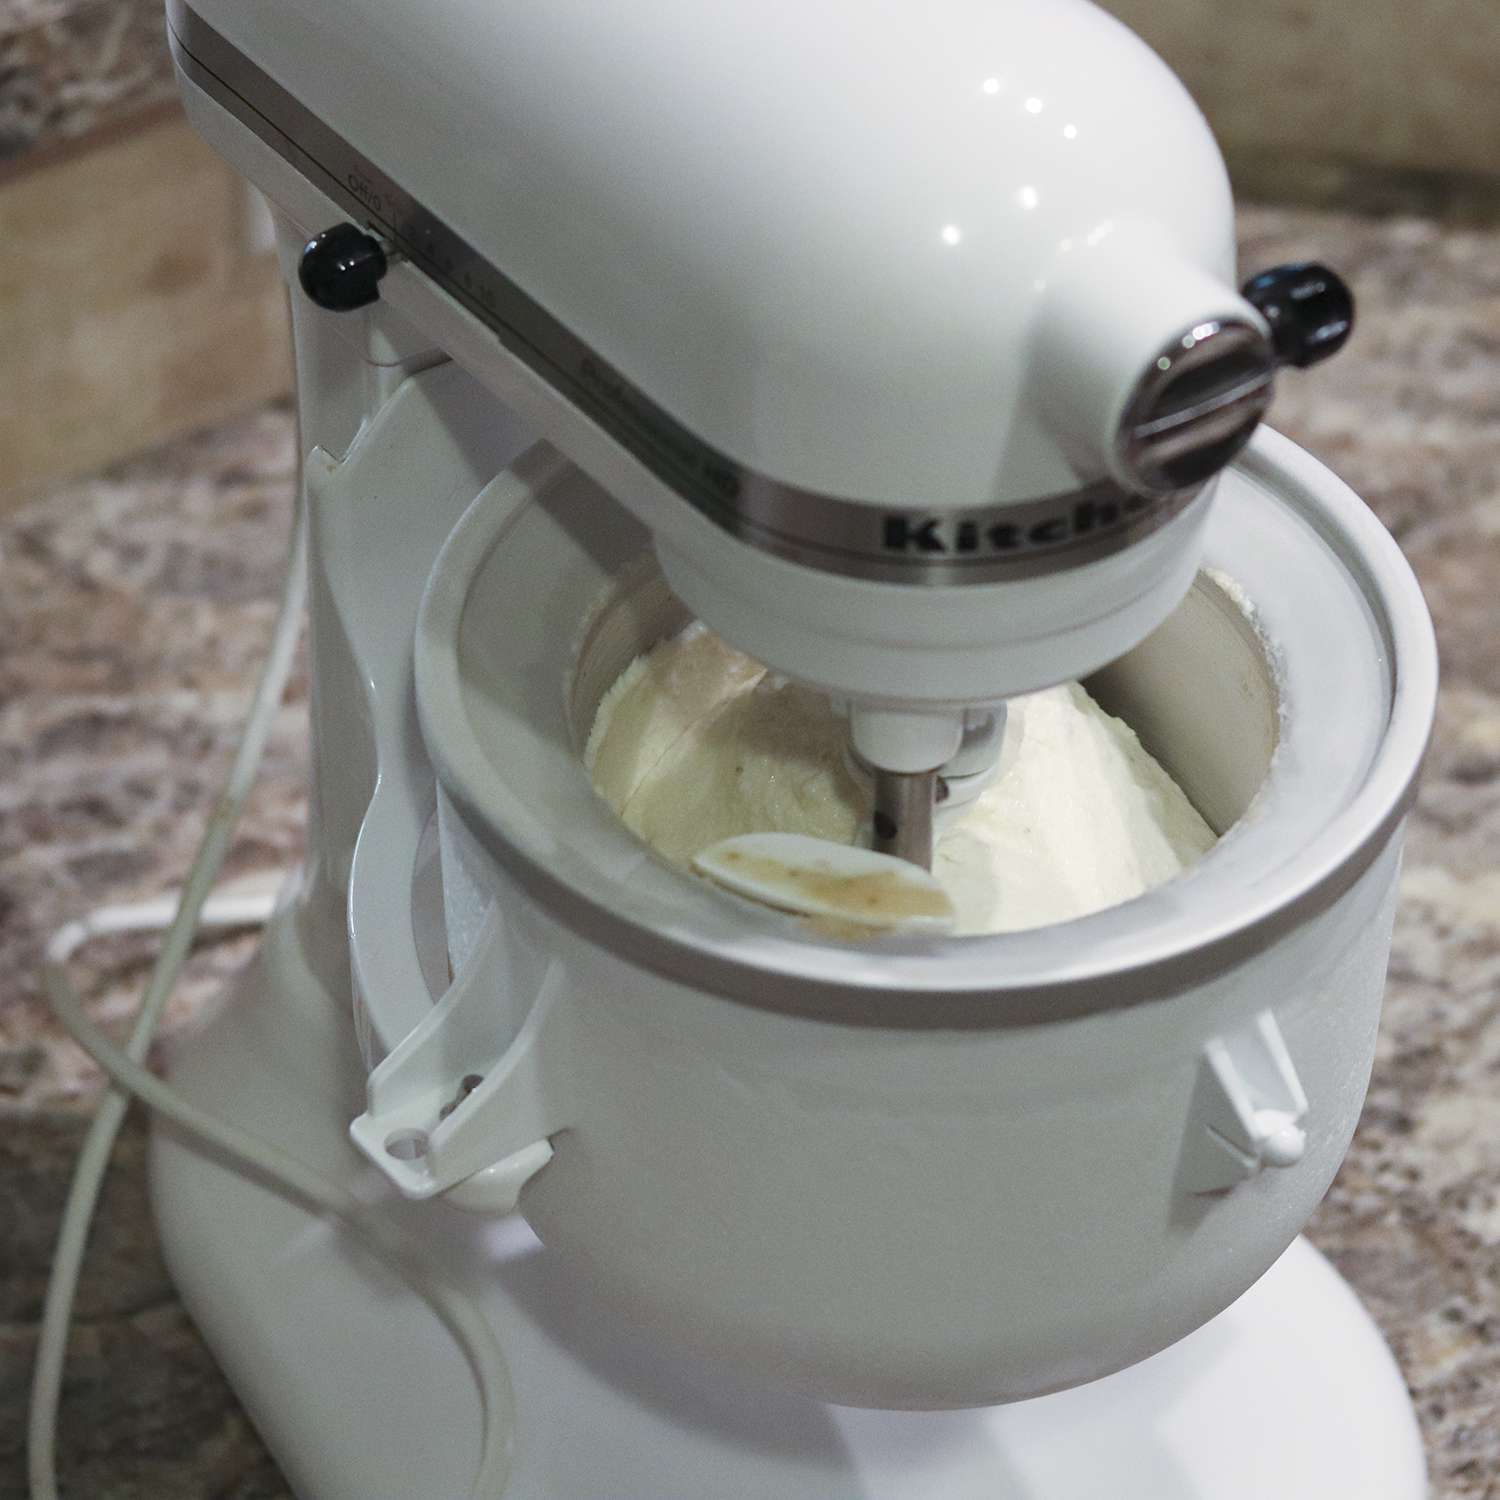
5. Monitor the Churning Process: Allow the Ice Cream Maker to churn the ice cream mixture for the recommended time, usually around 20-30 minutes. You can periodically check the consistency through the transparent lid of the attachment. The ice cream should have a thick and creamy texture when it’s ready.
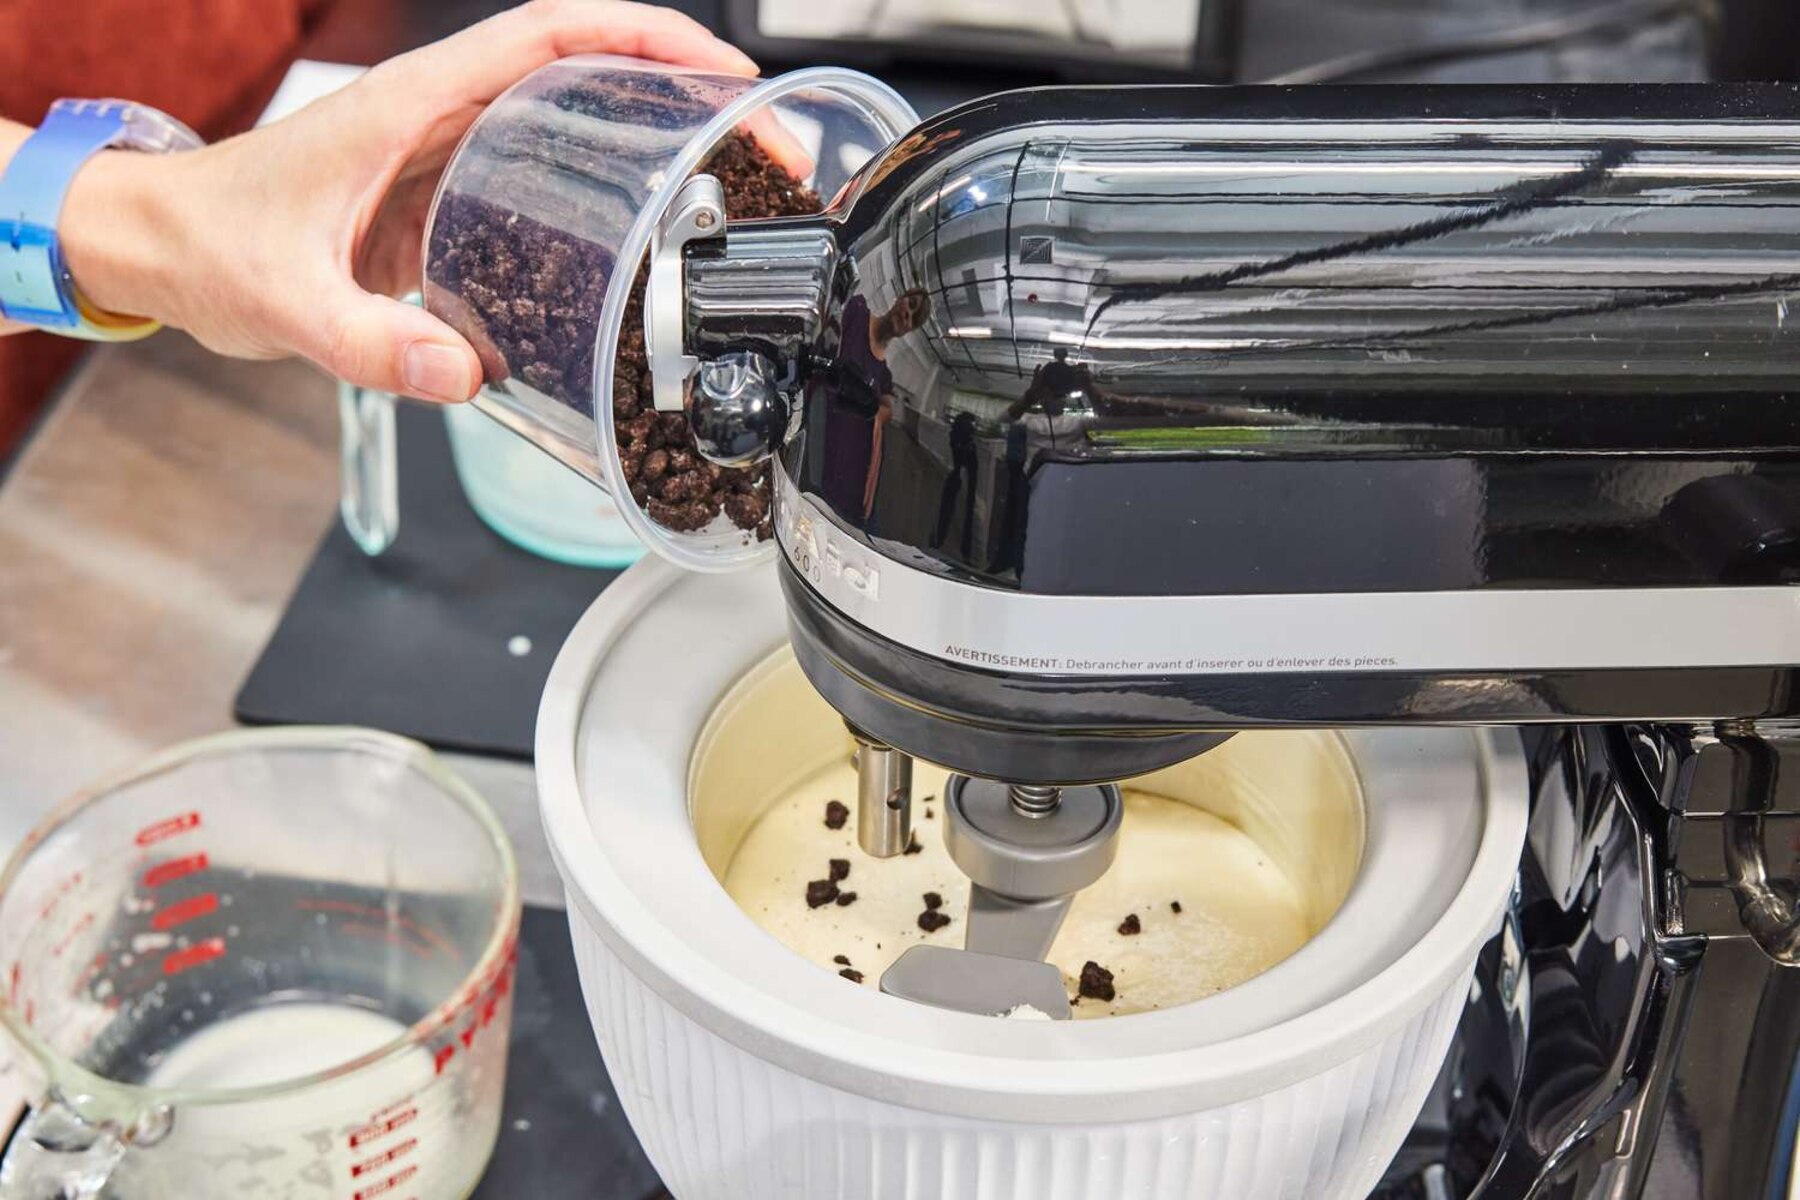
6. Incorporate Additions (optional): If you wish to add mix-ins like chocolate chips, crushed cookies, or fruit chunks, it’s best to add them during the last few minutes of churning. This ensures even distribution throughout the ice cream.
7. Transfer and Freeze: Once the desired consistency is achieved, turn off the stand mixer and remove the Ice Cream Maker attachment. Transfer the churned ice cream into a chilled container and cover it tightly. Place the container in the freezer for at least 2-4 hours, or until firm enough to scoop.
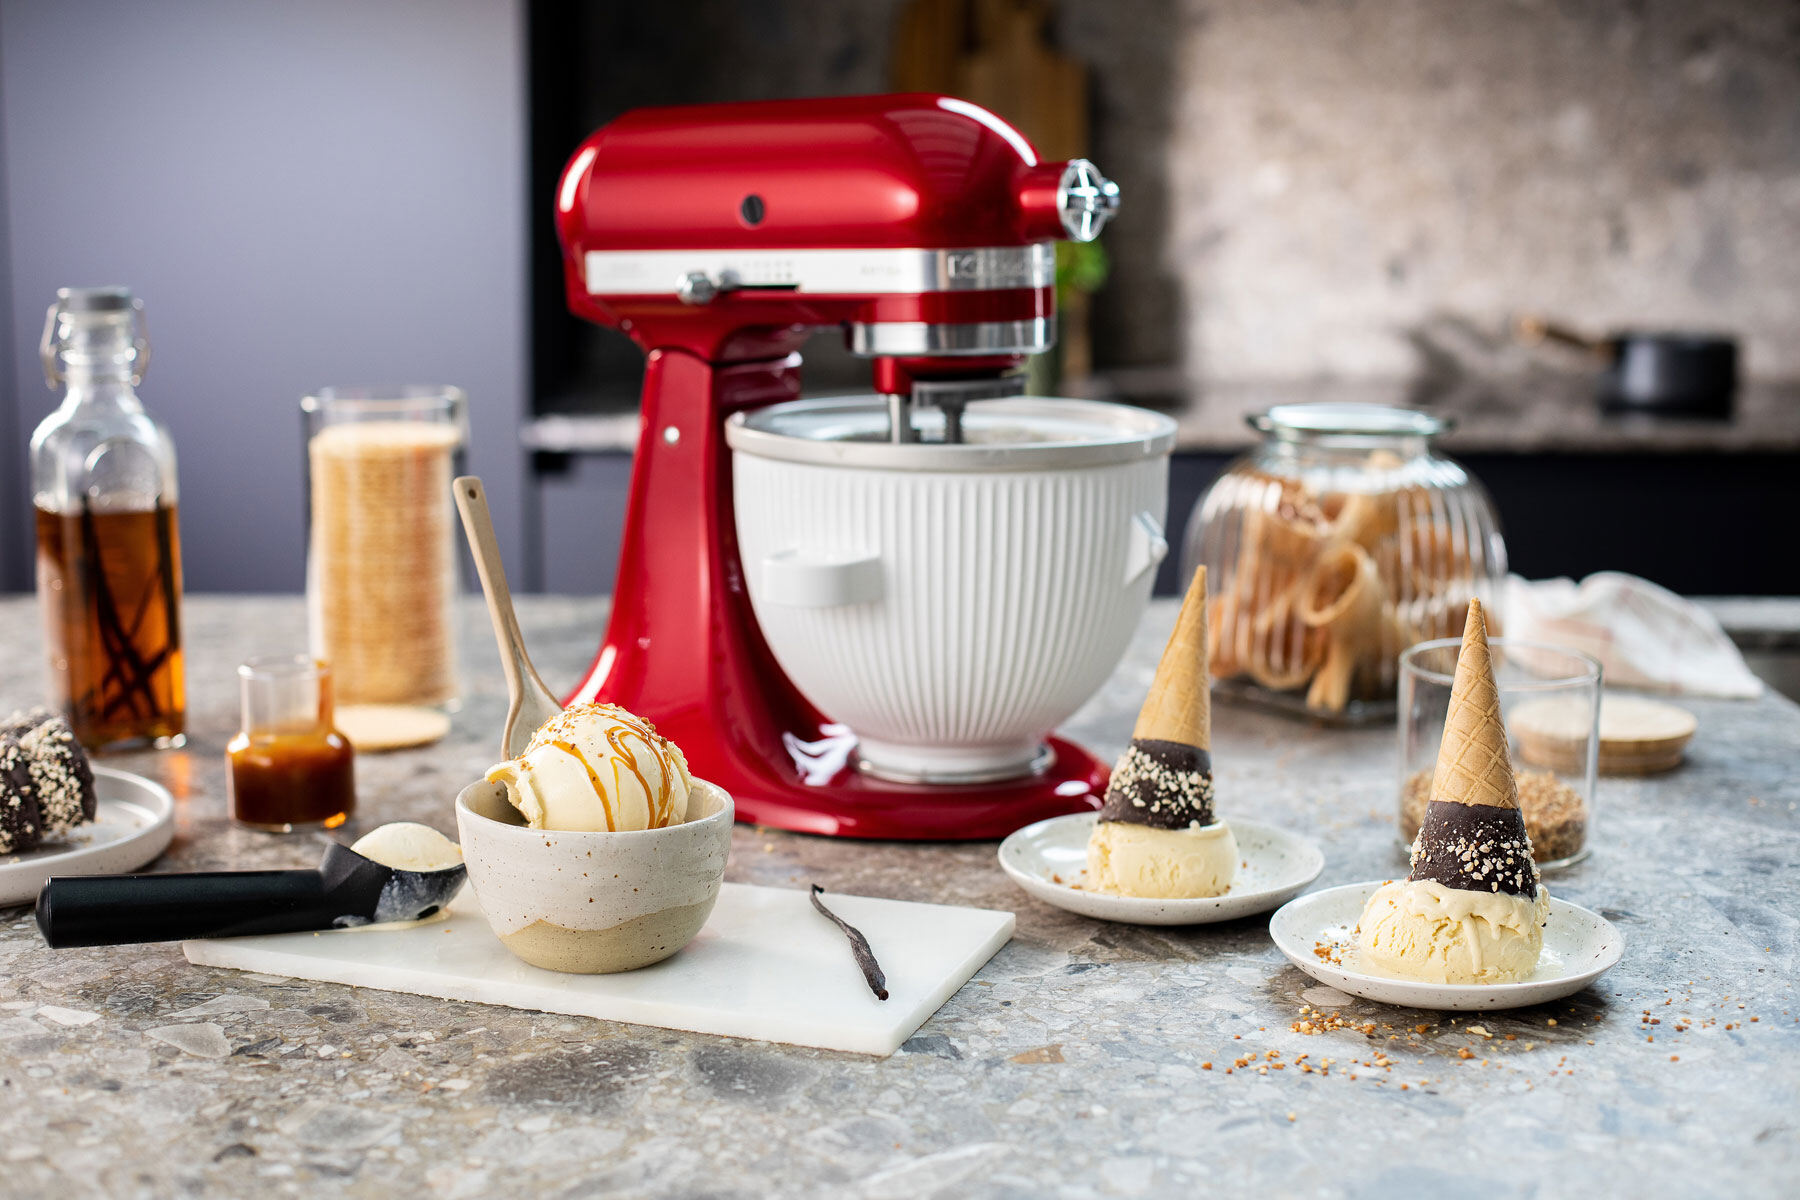
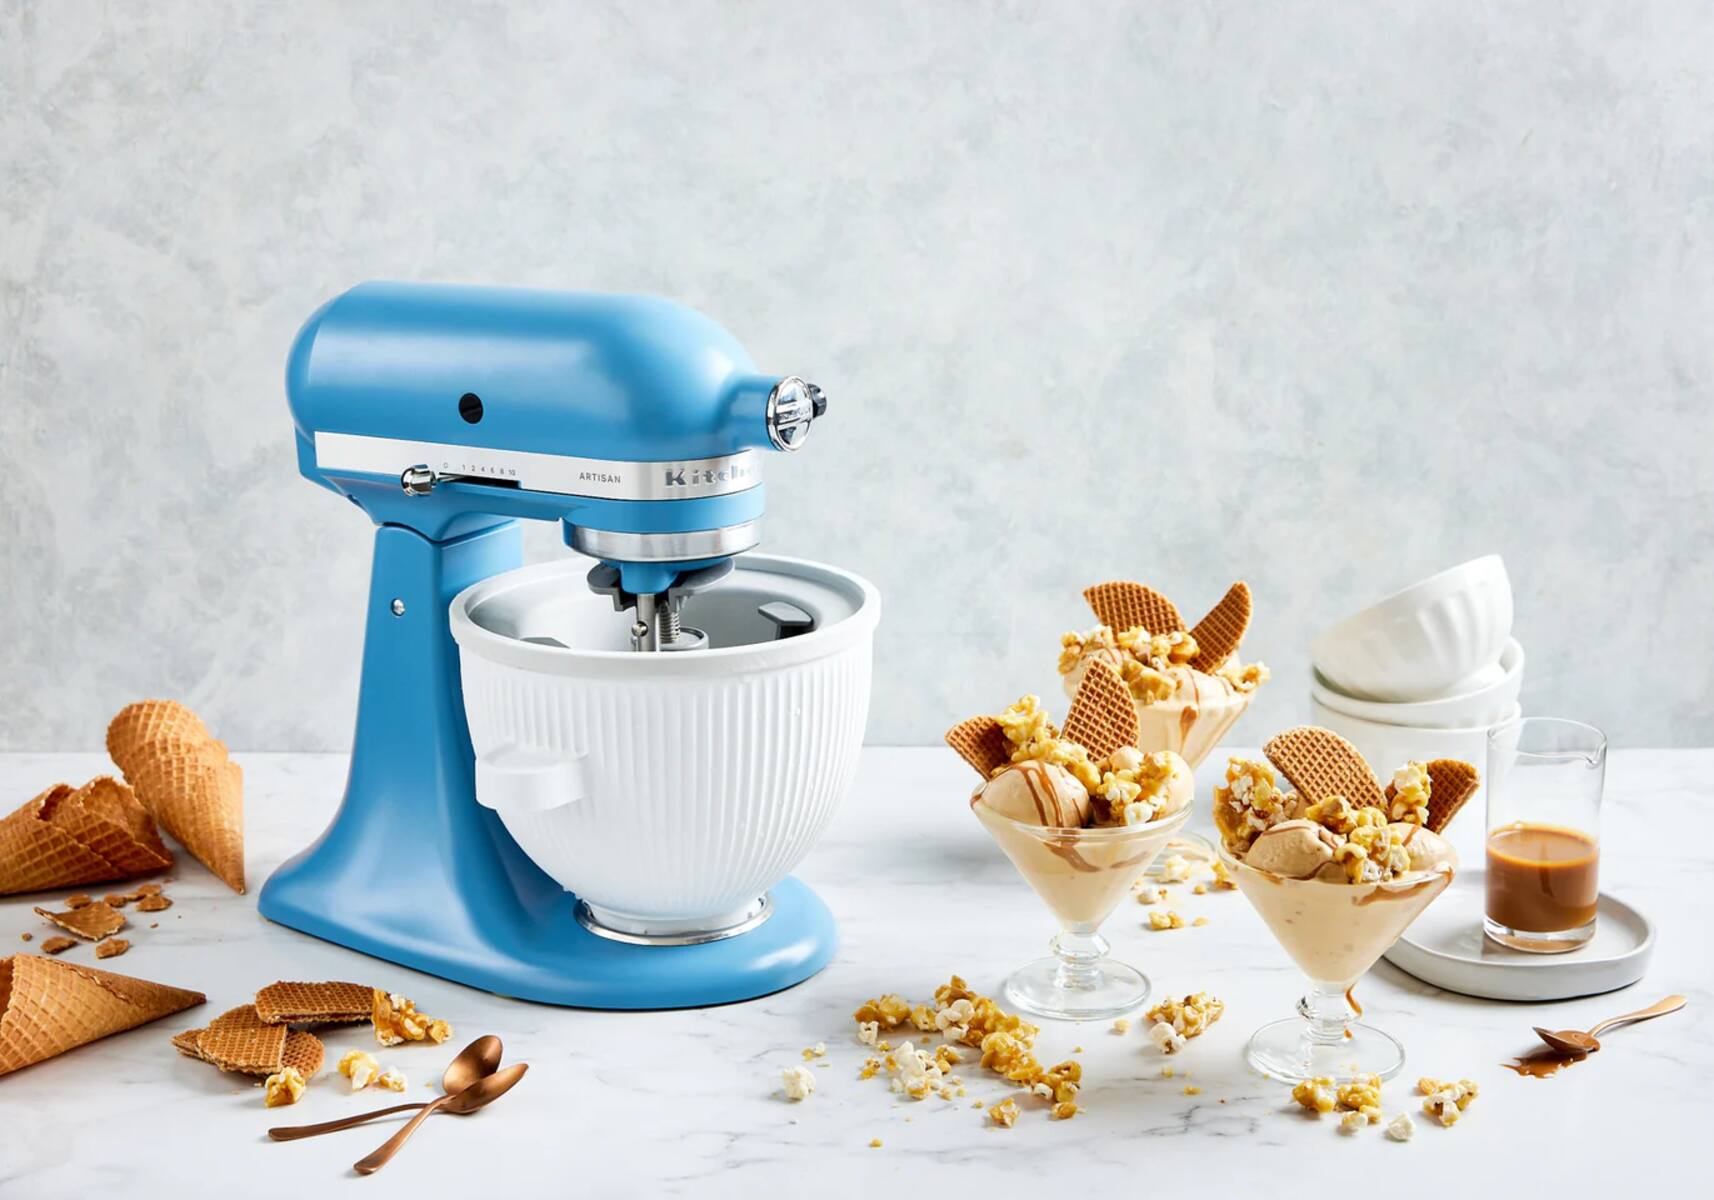
8. Enjoy! After the ice cream has properly firmed up in the freezer, it’s time to indulge in your homemade masterpiece. Serve it in bowls, cones, or create delicious ice cream sundaes with your favorite toppings.
Experiment with different flavors, mix-ins, and recipes to create a wide variety of ice cream delights. Get creative and let your imagination run wild as you explore the endless possibilities of homemade ice cream using your Kitchenaid Ice Cream Maker.
In the next section, we’ll provide some useful tips and tricks to help you achieve the best results every time you use your Ice Cream Maker Kitchenaid.
Tips and Tricks for the Best Results
Creating perfect homemade ice cream with your Kitchenaid Ice Cream Maker is a delightful experience. To help you achieve the best results and enhance your ice cream-making skills, we’ve compiled some helpful tips and tricks:
1. Chill Ingredients: Before starting the ice cream-making process, ensure that all your ingredients are properly chilled. This helps the mixture freeze quickly and results in a creamier texture.
2. Pre-Freeze the Bowl: It’s crucial to pre-freeze the freezer bowl for a minimum of 24 hours before use. Ensure it stays in the freezer at all times so that it’s ready whenever you want to make ice cream.
3. Use Quality Ingredients: The quality of your ingredients impacts the flavor and texture of your ice cream. Use high-quality dairy products, fresh fruits, and premium flavorings to elevate the taste of your homemade ice cream.
4. Don’t Overfill the Bowl: Avoid overfilling the freezer bowl with the ice cream mixture, as it expands during the churning process. Leave some space for the mixture to expand and aerate properly.
5. Keep it Chilled: Assemble the Ice Cream Maker and ingredients in a cool environment. Avoid placing it in direct sunlight or warm areas, as excessive heat can hinder the freezing process.
6. Chill the Mixture: Always chill your ice cream mixture thoroughly before pouring it into the freezer bowl. This allows for faster freezing and better consistency.
7. Add Mix-ins at the Right Time: If you’re adding mix-ins like chocolate chips or nuts, incorporate them during the last few minutes of churning. This ensures even distribution throughout the ice cream without overmixing.
8. Experiment with Flavors: Don’t be afraid to get creative with your flavor combinations. Try different extracts, spices, or mix-ins to create unique and delicious ice cream flavors.
9. Control Churning Time: Follow the recommended churning time specified in your recipe. Over-churning can result in a grainy texture, while under-churning may leave your ice cream too soft. Achieving the perfect consistency requires finding the right balance.
10. Store Properly: Once you’ve finished churning and transferred the ice cream to a storage container, make sure to cover it tightly with a lid to prevent freezer burn. Label the container with the flavor and date to keep track of your creations.
Remember, practice makes perfect, so don’t be discouraged if your first attempt isn’t flawless. With time and experience, you’ll master the art of homemade ice cream using your Kitchenaid Ice Cream Maker.
In the next section, we’ll explore the cleaning and maintenance of your Ice Cream Maker to keep it in top-notch condition for countless batches of frozen bliss.
Cleaning and Maintenance of your Ice Cream Maker
Proper cleaning and maintenance of your Ice Cream Maker Kitchenaid are essential for its longevity and reliable performance. Here are some guidelines to keep your ice cream maker in top-notch condition:
1. Unplug and Disassemble: Before cleaning your Ice Cream Maker, make sure it is unplugged from the power source. Then, disassemble the attachment, churning paddle, and freezer bowl for individual cleaning.
2. Hand Wash: Avoid submerging the attachment and churning paddle in water. Instead, gently hand wash them with warm soapy water. Use a soft cloth or sponge to remove any residue, and rinse thoroughly.
3. Freezer Bowl Maintenance: The freezer bowl should be hand washed as well. Rinse it with warm water and mild detergent, ensuring all traces of the ice cream mixture are removed. Do not use abrasive cleaners or scrubbing pads that can damage the bowl’s surface.
4. Drying: After washing, allow all the components to air dry completely. Ensure there is no moisture before reassembling or storing to prevent the growth of mold or unpleasant odors.
5. Storage: Store the freezer bowl in a clean, dry place, separate from other items in the freezer. Use a plastic bag or cover to protect it from dust and potential contamination.
6. Regular Maintenance: It’s recommended to periodically inspect your Ice Cream Maker for any signs of wear or damage. Check the attachment, churning paddle, and freezer bowl for cracks, dents, or defects. If you notice any issues, contact the manufacturer for assistance.
7. Safe Handling: When using your Ice Cream Maker, avoid using metal utensils or sharp objects that can scratch or damage the components. Opt for plastic or silicone spatulas and scoops to handle and scoop out the ice cream.
8. Follow Manufacturer’s Instructions: Always refer to the instruction manual provided by Kitchenaid for specific cleaning and maintenance guidelines. They may have additional recommendations or precautions tailored to your Ice Cream Maker model.
By following these cleaning and maintenance tips, you can ensure that your Ice Cream Maker Kitchenaid remains in excellent condition and continues to churn out delightful batches of homemade ice cream for years to come.
Now that you’re equipped with the knowledge to clean and maintain your Ice Cream Maker, let’s address some common questions in the next section.
Frequently Asked Questions (FAQs)
1. Can I use my Ice Cream Maker Kitchenaid without pre-freezing the bowl?
No, it is essential to pre-freeze the freezer bowl for at least 24 hours before using it. This ensures proper freezing of your ice cream mixture and achieves the desired consistency.
2. How long does it take to churn ice cream with the Kitchenaid Ice Cream Maker?
The churning time can vary depending on the recipe and desired consistency. Typically, it takes around 20-30 minutes to churn ice cream using the Kitchenaid Ice Cream Maker. However, it’s important to follow the specific instructions provided in your recipe for the best results.
3. Can I use the Ice Cream Maker attachment with a different brand of stand mixer?
No, the Ice Cream Maker attachment is specifically designed to fit and work with Kitchenaid stand mixers. It may not be compatible with other brands due to differences in the power hub design and attachments.
4. How should I store homemade ice cream made with the Kitchenaid Ice Cream Maker?
After churning the ice cream, transfer it to a lidded container and place it in the freezer. Ensure the container is tightly sealed to prevent freezer burn and maintain the quality of the ice cream.
5. Can I make other frozen desserts besides ice cream with the Kitchenaid Ice Cream Maker?
Yes, the Ice Cream Maker attachment can be used to make a variety of frozen desserts such as sorbet, gelato, and even frozen yogurt. Experiment with different recipes and flavors to explore the versatility of your Ice Cream Maker.
6. How should I clean the Ice Cream Maker attachment and accessories?
The attachment and churning paddle should be hand washed with warm soapy water. Avoid submerging them in water. The freezer bowl should also be hand washed, ensuring all traces of the ice cream mixture are removed. Allow the components to air dry completely before reassembling or storing.
7. Can I add mix-ins like cookies or fruits during the churning process?
Yes, you can add mix-ins like cookies, fruits, or chocolate chips during the last few minutes of churning. This ensures even distribution of the mix-ins throughout the ice cream. Be cautious not to overload the ice cream mixture, as it may affect the churning performance.
8. Is it normal for the ice cream mixture to be soft after churning?
Yes, freshly churned ice cream will have a softer consistency compared to store-bought ice cream. After transferring the churned ice cream to a container, it should be placed in the freezer for a few hours to firm up before serving.
9. Can I use the Ice Cream Maker attachment on a frozen freezer bowl?
No, the freezer bowl should only be used when it is properly pre-frozen according to the manufacturer’s instructions. Using a frozen freezer bowl for an extended period may result in a loss of freezing power and compromise the quality of the ice cream.
10. Can I make multiple batches of ice cream with the same freezer bowl?
Yes, if you need to make more than one batch of ice cream, you can reuse the freezer bowl. However, it’s important to re-freeze the bowl for the recommended time specified by the manufacturer between batches to ensure proper freezing of the ice cream mixture.
With these frequently asked questions addressed, you now have a better understanding of how to make the most of your Ice Cream Maker Kitchenaid. In the final section, we’ll wrap up the guide with some closing thoughts.
Conclusion
Congratulations! You have now become well-equipped with the knowledge and tips to create delectable homemade ice cream using your Ice Cream Maker Kitchenaid. With this versatile appliance, you have the freedom to experiment with various flavors, mix-ins, and frozen desserts right in the comfort of your own kitchen.
Remember to start by getting familiar with your Ice Cream Maker Kitchenaid and its components, ensuring proper preparation before each use. Follow the step-by-step instructions for making ice cream and don’t forget to incorporate your own personal touch to create mouthwatering flavors.
To achieve the best results, practice proper cleaning and maintenance of your Ice Cream Maker. Take care of each component, store them correctly, and regularly inspect for any wear or damage. This will ensure that your Ice Cream Maker Kitchenaid remains in excellent condition and continues to churn out delightful batches of frozen bliss for years to come.
Whether you’re making classic flavors like vanilla and chocolate or exploring unique combinations, the joy of enjoying homemade ice cream is unmatched. So, unleash your creativity, experiment with ingredients, and indulge in the sweet satisfaction of homemade frozen treats.
We hope this guide has provided you with all the information and insights you need to use your Ice Cream Maker Kitchenaid with confidence and imagination. Now, it’s time to start creating your favorite ice cream flavors and enjoy the delightful rewards of your efforts. Happy ice cream making!