Introduction
Removing a hard disk drive from your computer may be necessary for a variety of reasons. Whether you’re upgrading to a larger capacity drive, replacing a faulty one, or simply want to safeguard important data, it’s essential to follow the proper procedure to ensure a safe and successful removal.
In this guide, we will walk you through the step-by-step process of safely removing a hard disk drive from your computer. By taking the necessary precautions and following these instructions, you can prevent damage to your hardware and keep your data secure.
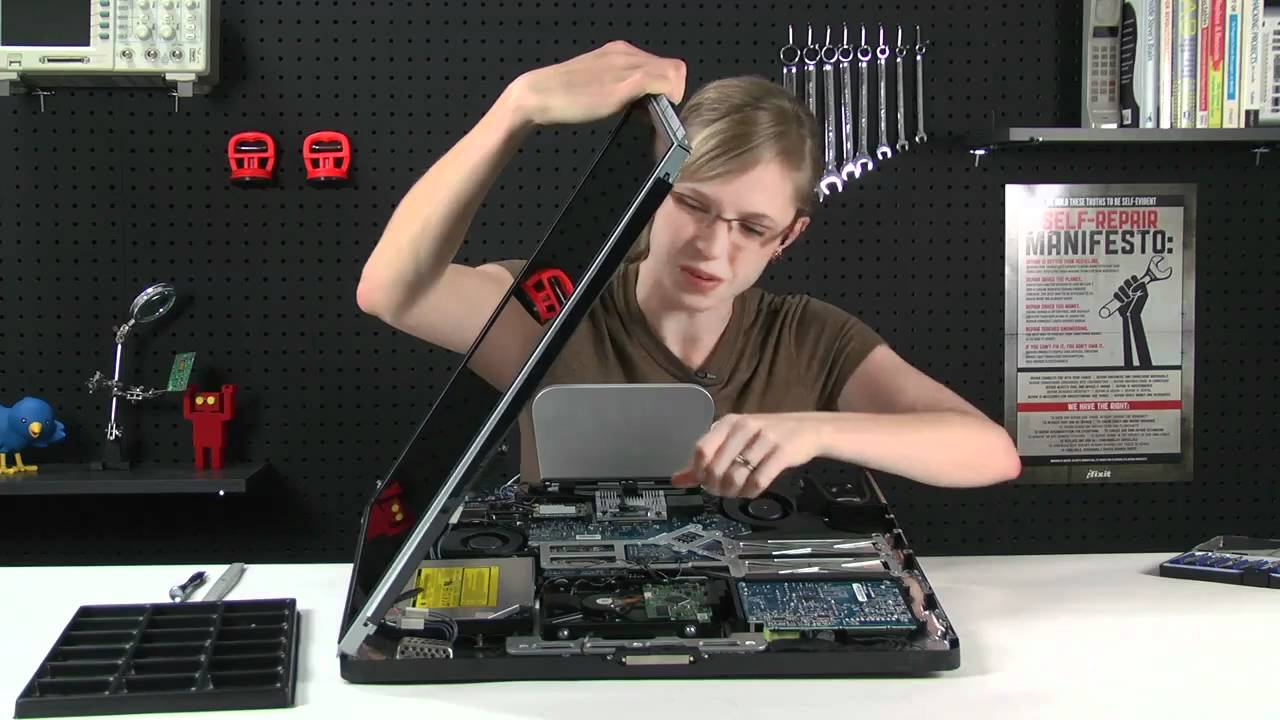
Before we begin, it’s important to note that removing the hard disk drive will require opening up your computer case. If you’re not comfortable working with computers or unsure of your technical skills, we recommend seeking assistance from a professional.
Now, let’s gather the necessary tools and prepare our work area to begin the process. Remember to power down your computer and disconnect all cables before proceeding to the next steps.
Note: It’s crucial to make sure that you have backed up any important data before removing the hard disk drive. This will ensure that you can easily transfer your files to the new drive or restore them once the removal is complete.
Step 1: Gather the necessary tools
Before you begin the process of removing a hard disk drive, it’s important to gather the necessary tools to ensure a smooth and efficient procedure. Here are the tools you will need:
- Screwdriver: Depending on the type of computer case you have, you may need a Phillips or a flat-head screwdriver to remove the screws holding the case together.
- Electrostatic discharge (ESD) wrist strap: This helps prevent static electricity from damaging sensitive components of your computer. It’s recommended to wear an ESD wrist strap to ground yourself before handling the internal parts of your computer.
- Clean and dry work surface: Find a spacious and clean area to work on. Avoid working on surfaces that generate static electricity, such as carpets or rugs. A wooden or non-conductive table is ideal. Ensure the area is well-lit and free from any distractions.
- Anti-static bag: It’s crucial to have an anti-static bag to store the removed hard disk drive. This will protect it from static electricity and potential damage.
- Cable ties (optional): Cable ties are handy for organizing and securing cables within the computer case. They can help streamline the removal process and prevent any accidental tugging or disconnecting of cables.
By having these tools readily available, you will be well-equipped to safely remove the hard disk drive from your computer. Now that you have gathered the necessary tools, it’s time to move on to the next step: preparing a safe work area.
Step 2: Prepare a safe work area
Before proceeding with the removal of your hard disk drive, it’s essential to prepare a safe work area. This will ensure that you have a clean and organized space to handle the internal components of your computer. Here are the steps to prepare a safe work area:
- Choose a well-lit and ventilated space: Find a location with good lighting and ventilation. It’s important to be able to clearly see what you’re doing and ensure proper airflow to prevent overheating.
- Turn off the computer and unplug it: Before you begin, power down your computer completely and unplug it from the electrical outlet. This will prevent any accidental power surges or electric shocks while working inside the case.
- Ground yourself: Protect the sensitive internal components of your computer from static electricity by grounding yourself. Wear an electrostatic discharge (ESD) wrist strap and connect it to a grounded object, such as a metal part of your computer case or a radiator.
- Clean and dry the work surface: Wipe down the work surface with a clean, dry cloth to remove any dust or debris. This will help prevent any unwanted particles from entering your computer case during the removal process.
- Organize your tools: Lay out all the necessary tools you gathered in Step 1 in an organized manner. Having your tools readily accessible will save time and reduce the risk of misplacing any crucial components.
- Remove any static-inducing objects: Clear your workspace of any objects that could generate static electricity. This includes woolen rugs, plastic bags, and synthetic clothing. Opt for wearing cotton-based clothing, which reduces the chances of static build-up.
- Keep your workspace clutter-free: Remove any unnecessary items from your work area to prevent accidents or unintentional damage. A clutter-free environment will allow you to focus on the task at hand without distractions.
By following these steps, you can create a safe and organized work area for removing your hard disk drive. Once you have prepared the work area, you can proceed to the next step: powering down the computer.
Step 3: Power down the computer
Before you begin removing the hard disk drive from your computer, it’s crucial to power down the system properly. By following these steps, you can ensure that your computer is safely shut down:
- Save your work and close all applications: Before powering down your computer, make sure to save any open documents and close all applications. This will prevent data loss or corruption.
- Click on the Start menu: In the bottom left corner of your screen, click on the Windows Start menu icon.
- Select “Shut Down” or “Restart”: A pop-up menu will appear. Click on either “Shut Down” or “Restart”, depending on your specific needs.
- Wait for the computer to complete the shutdown process: Once you’ve initiated the shutdown or restart process, allow your computer to complete the necessary tasks and shut down completely. This might take a few moments.
- Unplug the power cord from the electrical outlet: Once your computer has shut down, unplug the power cord from the electrical outlet. This will ensure that no power is running through the system and eliminate the risk of electrical shock during the removal process.
- Press the power button to discharge any residual electricity: To further ensure that no residual power is left in the system, briefly press the power button after unplugging the power cord. This will discharge any remaining electrical charge.
- Leave the computer for a few minutes: Give your computer a few minutes to cool down before proceeding to the next steps. This will help avoid any heat-related issues and allow you to work with the internal components more comfortably.
By following these steps to power down your computer properly, you can minimize the risk of hardware damage and ensure a safe removal process. Now that your computer is powered down, you’re ready to move on to the next step: disconnecting all cables.
Step 4: Disconnect all cables
Before removing the hard disk drive from your computer, it’s important to disconnect all cables to ensure a safe and smooth removal process. Follow these steps to disconnect all cables:
- Inspect the back of your computer: Take a closer look at the back of your computer where all the cables are connected. Identify the cables that are plugged into the computer and make a mental note of their connections.
- Unplug the power cable: Start by unplugging the power cable from the back of the computer. This cable typically has a larger plug and is connected to the power supply unit.
- Disconnect any peripheral cables: If you have any peripherals connected to your computer, such as a monitor, keyboard, mouse, or speakers, unplug their respective cables from the back of the computer as well.
- Remove any wired network connections: If your computer is connected to the internet through a wired Ethernet connection, unplug the Ethernet cable from the Ethernet port.
- Disconnect any other cables: Check for any additional cables that may be connected to your computer, such as USB cables, audio cables, or video cables. Disconnect them carefully by gently pulling the plug straight out of the corresponding port.
- Organize and secure the disconnected cables: As you remove each cable, take a moment to organize and secure them. You can use cable ties or twist ties to bundle cables together and prevent them from becoming tangled.
By following these steps, you have successfully disconnected all cables from your computer, preparing it for the next stage of the removal process. Now that all cables are disconnected, it’s time to move on to the next step: opening the computer case.
Step 5: Open the computer case
In order to access the internal components of your computer, you will need to open the computer case. Follow these steps to safely open the case:
- Turn your computer case around: Before opening the case, turn your computer around so that the back panel is facing you. This will make it easier to locate the screws and access the case.
- Identify the screws holding the case: Take a look at the back of your computer case and locate the screws that are securing the side panel. In most cases, you will see two or more screws at the back.
- Use the appropriate screwdriver: Based on the type of screws holding the case, choose the appropriate screwdriver. If you have Phillips head screws, use a Phillips screwdriver. For flat-head screws, use a flat-head screwdriver.
- Unscrew the screws: Carefully unscrew all the screws holding the side panel of the case. Make sure to place the screws in a safe spot to avoid losing them.
- Remove the side panel: Once all the screws are removed, gently slide or lift off the side panel of the case. Some cases may have a latch or release button that needs to be pressed to remove the panel.
- Set aside the side panel: Place the removed side panel in a safe place where it won’t get damaged. Keep it nearby to easily reattach it after completing the removal process.
With the computer case open, you now have access to the internal components, including the hard disk drive. Take a moment to familiarize yourself with the layout of the case and locate the hard disk drive. Once you’re ready, you can proceed to the next step: locating the hard disk drive.
Step 6: Locate the hard disk drive
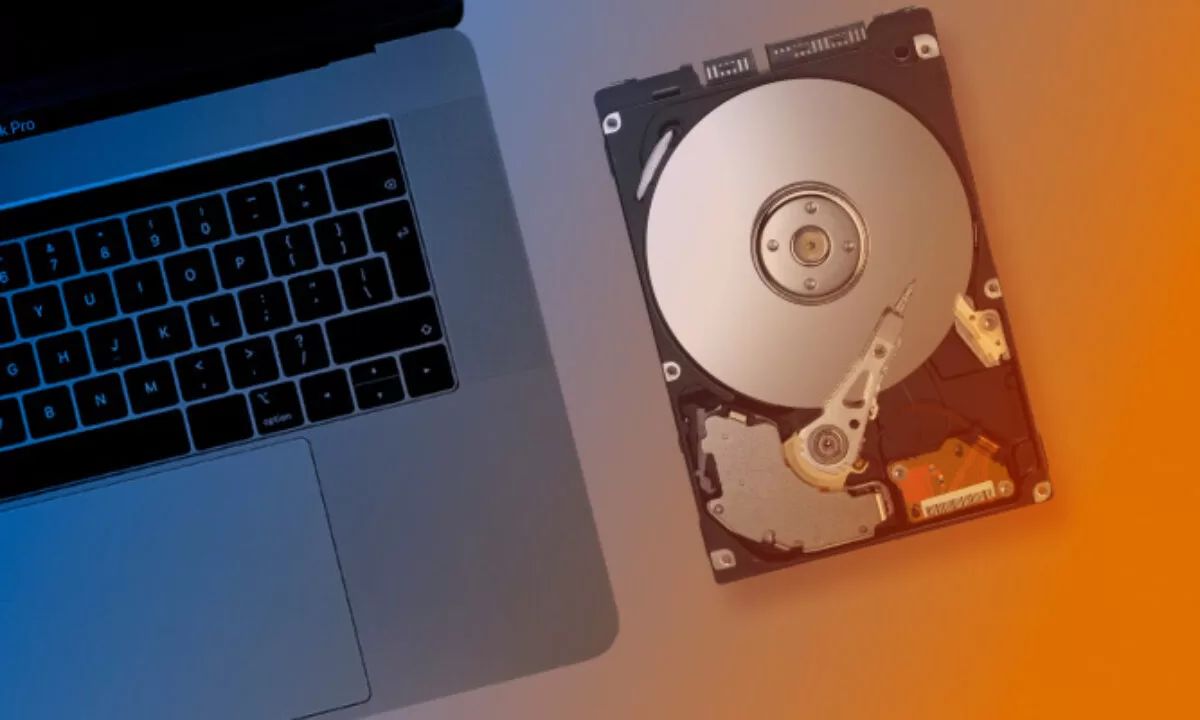
Now that you have opened the computer case, it’s time to locate the hard disk drive (HDD). The HDD is typically a rectangular-shaped component that stores and retrieves digital data within your computer. Follow these steps to locate the hard disk drive:
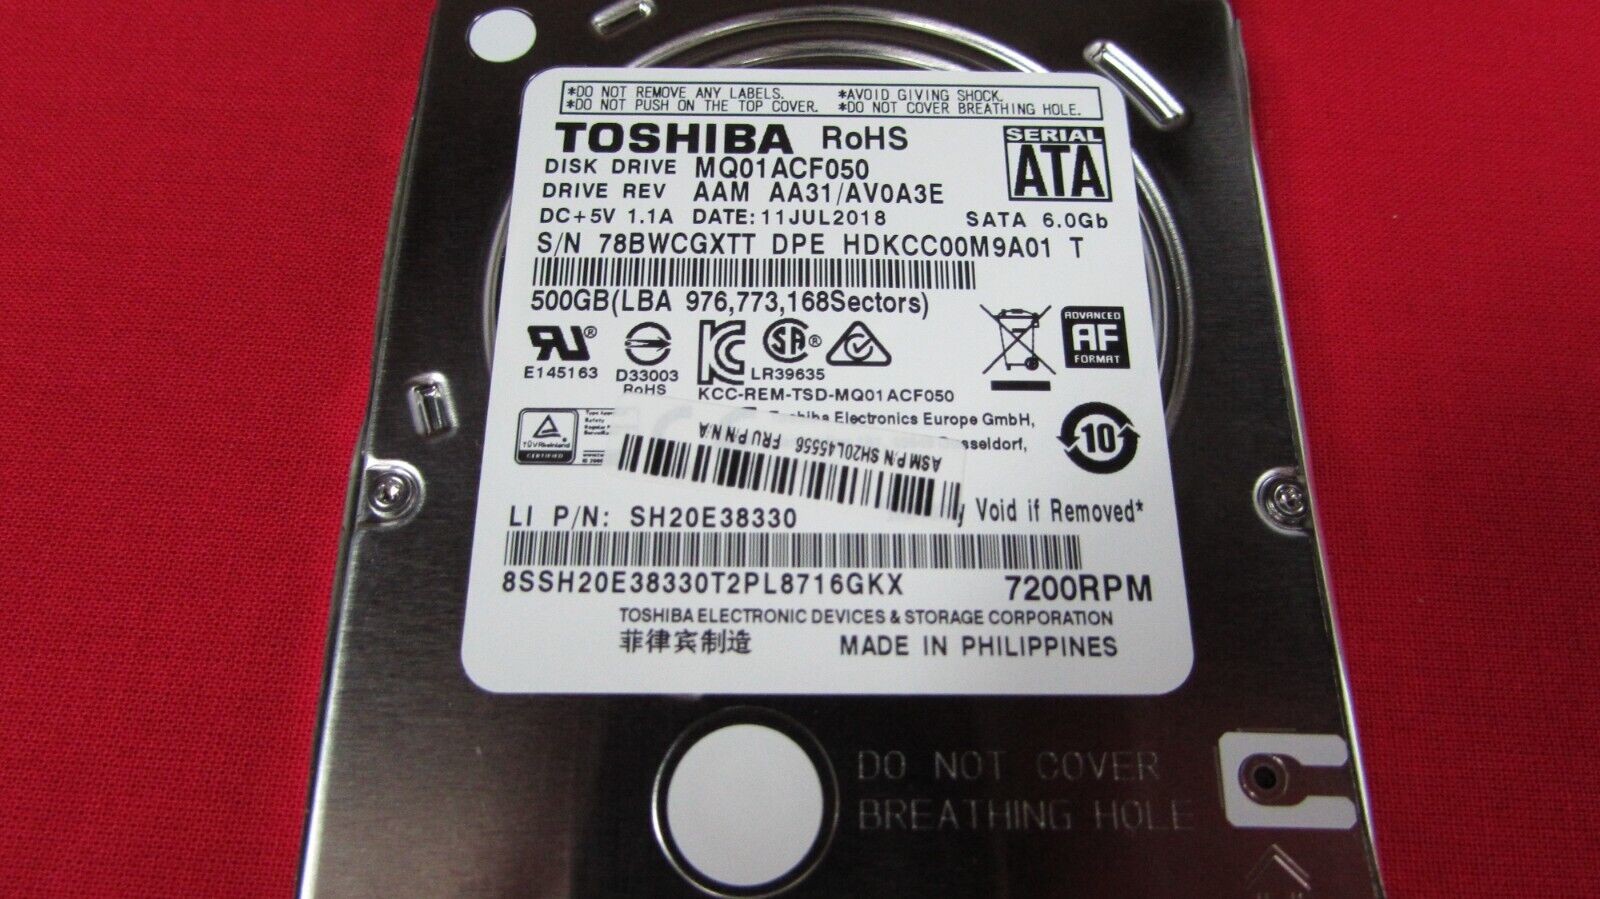
- Visually identify the components: Take a look inside the computer case and observe the various components. Look for the larger rectangular-shaped component, usually mounted vertically or horizontally, that has multiple cables connected to it.
- Read the labels: Look for labels or stickers on the components that may indicate the hard disk drive. These labels may have information such as the manufacturer’s name and capacity of the HDD, making it easier to identify.
- Refer to the computer’s manual: If you’re having trouble identifying the hard disk drive, refer to your computer’s manual. The manual should provide detailed information about the internal components and their locations.
- Take note of the hard disk drive’s position: Once you have located the hard disk drive, take note of its position within the computer case. This will help you with reconnecting the cables later on.
- Identify the data and power cables connected to the HDD: The hard disk drive will have two cables connected to it – a data cable and a power cable. The data cable, usually a ribbon-like cable, transfers data between the HDD and the motherboard. The power cable, typically a wider connector, provides power to the HDD.
Locating the hard disk drive is an important step in the removal process. Take your time to ensure you have correctly identified the HDD before proceeding to the next step of disconnecting the data and power cables.
Step 7: Disconnect the data and power cables
With the hard disk drive (HDD) located, it’s time to disconnect the data and power cables connected to it. By following these steps, you can safely detach the cables from the HDD:
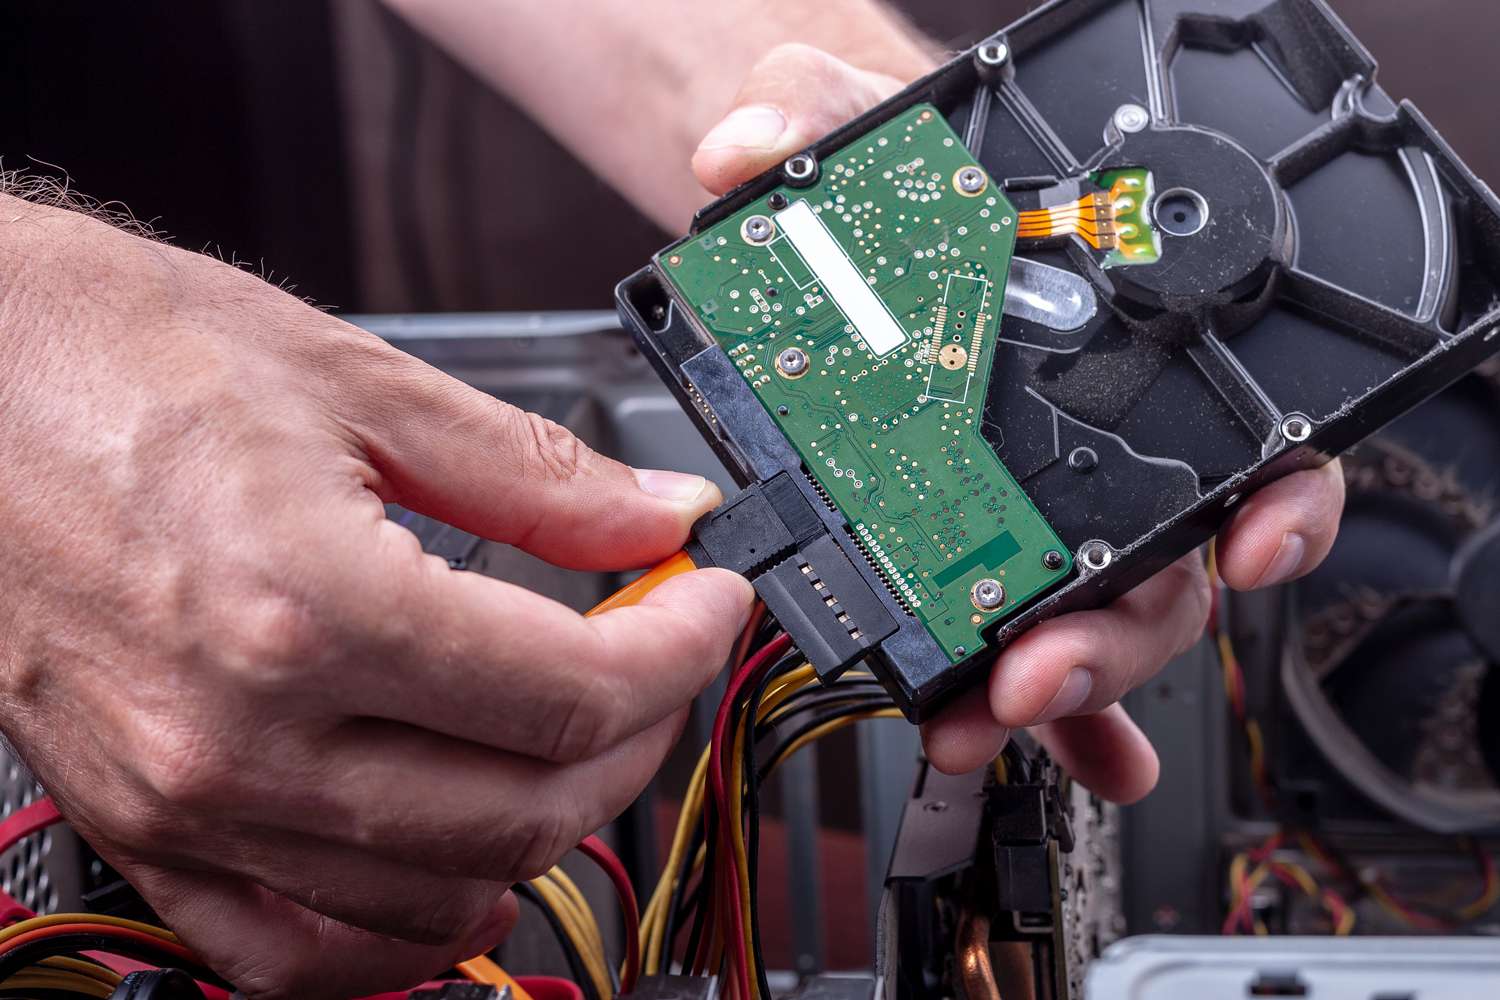
- Identify the data and power cables: Take a close look at the cables connected to the hard disk drive. The data cable is typically a flat ribbon-like cable, while the power cable is a thicker, multi-colored cable with a wide connector.
- Disconnect the data cable: To disconnect the data cable, gently pull the connector away from the hard disk drive. Do not pull on the cable itself, as this may cause damage. You may need to wiggle it slightly to loosen it before pulling it out.
- Disconnect the power cable: After removing the data cable, locate the power cable connected to the HDD. Firmly grasp the connector and carefully pull it straight out to detach it from the hard disk drive.
- Set aside the cables: Once the data and power cables are disconnected, set them aside in a safe place. Avoid bending or twisting the cables, as this may result in damage.
It’s important to be gentle and cautious during the cable disconnection process to avoid causing any damage to the HDD or the cables themselves. Take your time and ensure that both the data and power cables are fully disconnected before moving on to the next step.
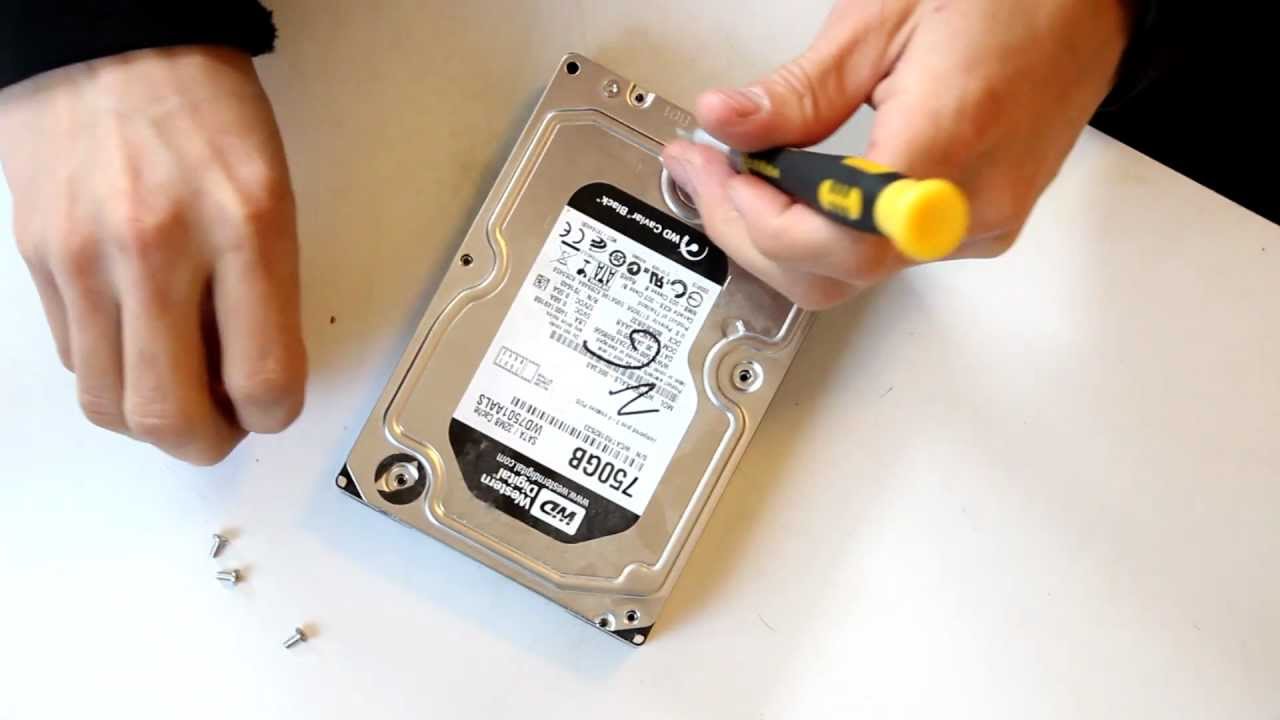
Step 8: Remove any mounting screws
In order to safely remove the hard disk drive (HDD) from your computer, you may need to remove any mounting screws that are holding it in place. Follow these steps to remove the mounting screws:
- Locate the mounting screws: Take a closer look at the hard disk drive and identify the mounting screws that are securing it to the computer case. These screws are typically located on the sides or the bottom of the HDD.
- Use the appropriate screwdriver: Depending on the type of screws used, choose the appropriate screwdriver to remove them. Most computers use standard Phillips head screws for mounting the hard disk drive.
- Loosen the screws: Carefully insert the screwdriver into each mounting screw and turn counterclockwise to loosen them. Do not fully remove the screws just yet, as you may need them to handle and secure the HDD during the removal process.
- Set aside the mounting screws: As you loosen each mounting screw, set them aside in a safe location. Keep them organized to ensure they don’t get lost or mixed up with other components.
Removing the mounting screws will allow you to free the hard disk drive from its secured position within the computer case. Make sure to keep the screws in a place where they won’t be misplaced, as you will need them later on. With the mounting screws removed, you’re ready to proceed to the next step: gently sliding out the hard disk drive.
Step 9: Gently slide out the hard disk drive
With the mounting screws removed, you can now safely slide out the hard disk drive (HDD) from its position within the computer case. Follow these steps to ensure a smooth extraction:
- With one hand supporting the HDD, use the other hand to gently slide the hard disk drive out of its mounting bay. Be cautious not to apply excessive force or pull at an angle, as this may damage the connectors or the HDD itself.
- Slowly pull the HDD out until it is free from the computer case. If you encounter any resistance, double-check that all screws are removed, and gently wiggle the HDD as you continue to slide it out.
- Once the HDD is completely free from the mounting bay, place it on a clean and static-free surface. Take care not to place it on any sharp objects or surfaces that could cause damage to the HDD.
- Set aside the hard disk drive in a safe location. If necessary, use an anti-static bag or wrap it in an anti-static material for added protection. This will prevent any potential damage caused by static electricity.
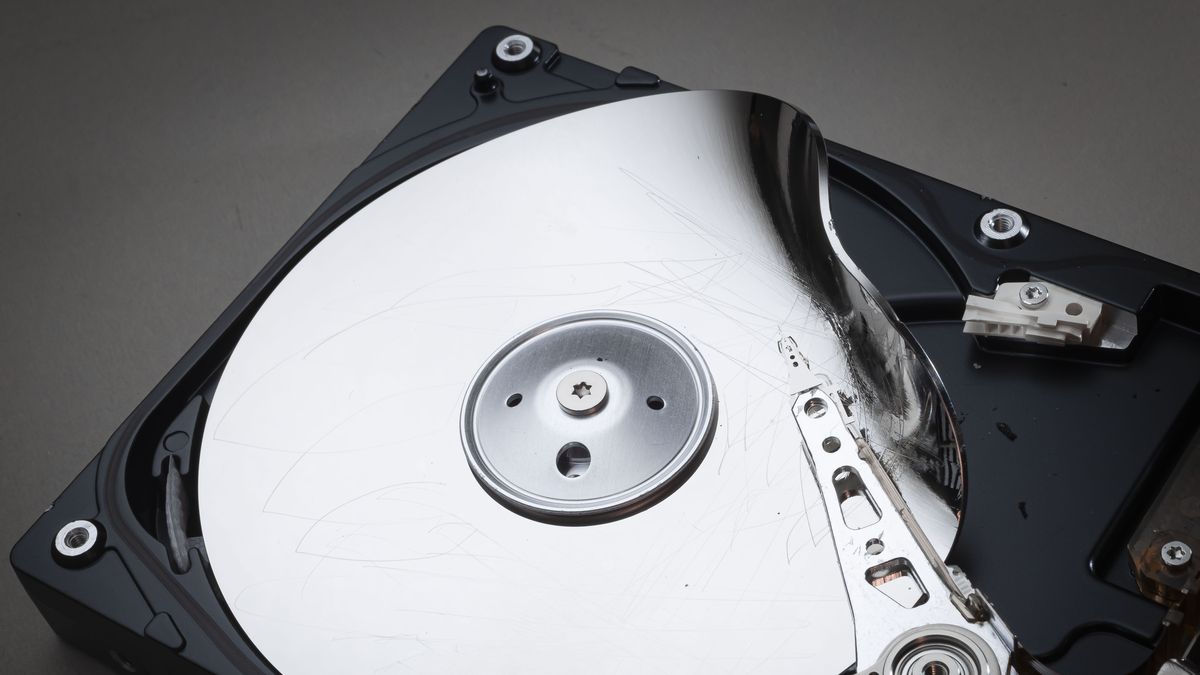
Remember to handle the hard disk drive with care, as it contains sensitive components. Avoid touching the connectors or any exposed circuitry to minimize the risk of damage. With the HDD safely removed from the computer case, you can now proceed to the next step: storing the hard disk drive safely until it’s needed again.
Step 10: Store the hard disk drive safely
Once you have successfully removed the hard disk drive (HDD) from your computer, it’s important to store it safely to protect it from damage and ensure the integrity of your data. Follow these steps to store the HDD securely:
- Place the HDD in an anti-static bag or wrap it in an anti-static material: The anti-static bag or material will protect the HDD from electrostatic discharge, which can potentially damage the sensitive internal components. If you do not have an anti-static bag, you can use an anti-static mat or wrap the HDD in a non-conductive material like bubble wrap.
- Label the HDD: It’s a good practice to label the HDD with information such as its capacity, date of removal, and any other relevant details. This will help you easily identify the drive later on and prevent confusion if you have multiple drives.
- Keep the HDD in a cool and dry place: Store the HDD in a location that is cool, dry, and free from moisture. Excessive humidity or exposure to extreme temperatures can damage the internal components of the drive.
- Avoid placing heavy objects on top of the HDD: Make sure not to stack heavy objects on top of the stored HDD to prevent any physical damage. Store it in a place where it won’t be easily bumped or knocked over.
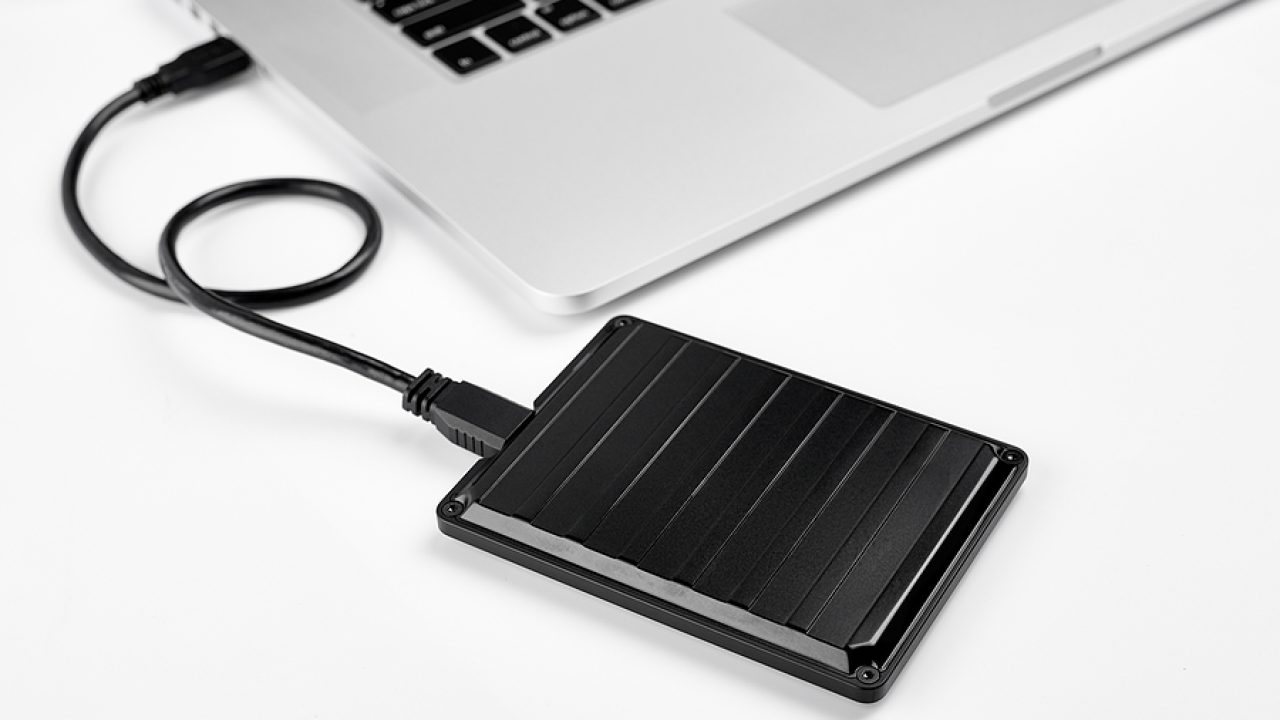
- Consider using a protective storage case: If you plan on storing the HDD for an extended period or need to transport it, consider using a protective storage case specifically designed for hard drives. These cases provide an extra layer of protection against physical damage and static electricity.
- Keep the HDD away from magnetic sources: Magnetic fields can interfere with the data stored on the HDD. Keep it away from strong magnetic sources such as speakers, magnets, or other electronic devices that can generate magnetic fields.
By following these steps, you can ensure that your stored hard disk drive is protected from potential damage and data loss. If you plan on using the HDD in the future, it’s important to store it in a manner that preserves its integrity. With the HDD safely stored, you have successfully completed the process of removing and storing your hard disk drive.
Conclusion
Removing a hard disk drive from your computer may seem daunting, but by following the proper steps and precautions, you can safely extract it without causing any damage. Throughout this guide, we have walked you through the step-by-step process of safely removing a hard disk drive from your computer.
Starting with gathering the necessary tools and preparing a safe work area, you learned how to power down the computer and disconnect all cables. You were then guided through opening the computer case, locating the hard disk drive, disconnecting the data and power cables, removing any mounting screws, and gently sliding out the hard disk drive. Finally, we discussed the importance of storing the HDD safely to protect it from damage and ensure the integrity of your data.
Remember, when it comes to handling sensitive computer hardware, it is crucial to exercise caution, follow the instructions carefully, and take necessary safety measures, such as wearing an electrostatic discharge (ESD) wrist strap and grounding yourself. If you’re uncertain or uncomfortable with the process, it’s always wise to seek assistance from a professional.
By following these steps, you can safely remove a hard disk drive from your computer to upgrade or replace it, safeguard your data, or perform necessary maintenance. Whether you’re a novice or an experienced user, taking these precautions will help ensure a successful and smooth removal process.
We hope that this guide has been helpful in guiding you through the process of safely removing a hard disk drive from your computer. Remember to handle the HDD with care, store it properly, and take the necessary steps to protect your data. With a little patience and the right tools, you can successfully remove and store your hard disk drive.