Introduction
When a hard disk drive (HDD) fails, it can be a major setback, especially if you have important data stored on it. While data recovery professionals can often retrieve the data from a dead HDD, the process can be time-consuming and expensive. However, there is one potential silver lining – the memory modules.
Inside every hard disk drive is a small circuit board that holds the memory modules. These modules store data such as firmware, calibration data, and other vital information for the proper functioning of the drive. If you are tech-savvy and willing to take on some DIY work, you may be able to salvage these memory modules from a dead HDD. In this article, we will guide you through the steps to safely extract the memory from a dead hard disk drive.
Before we begin, it’s important to note that this process should only be attempted if you have some experience with computer hardware and are comfortable working with delicate electronic components. If you are unsure or uncomfortable, it’s best to seek professional assistance.
Now, let’s gather the necessary tools and get started on recovering the memory from your dead hard disk drive.
Step 1: Gather the necessary tools
Before you begin the process of extracting the memory from a dead hard disk drive, you will need to gather a few essential tools. Here’s a list of what you will need:
- Screwdriver set – Make sure you have a set of screwdrivers with various sizes and types, as you may encounter different types of screws when opening the hard disk drive.
- Anti-static wrist strap – This is crucial to prevent any static electricity from damaging the sensitive electronic components of the hard disk drive. If you don’t have an anti-static wrist strap, you can use an anti-static mat or work on a non-static surface.
- Plastic gloves – To prevent any accidental damage or contamination, it’s recommended to wear plastic gloves while handling the hard disk drive.
- ESD-safe storage container – After removing the memory modules, you will need a safe place to store them. An ESD-safe storage container will protect the modules from electrostatic discharge and other potential damages.
- A clean and well-organized workspace – It’s essential to have a clean and clutter-free workspace to ensure that the process goes smoothly and you don’t lose any crucial components.
Once you have gathered all the necessary tools, you are ready to move on to the next step – disconnecting the hard disk drive from the computer.
Step 2: Disconnect the hard disk drive
Disconnecting the hard disk drive from your computer is the next crucial step in the process of extracting the memory modules. Follow these steps to safely disconnect the hard disk drive:
- Power down your computer – Before you begin, make sure your computer is powered down completely. This is essential to prevent any potential damage to the drive or yourself.
- Unplug the power cord – Disconnect the power cord from the back of your computer to ensure there is no electrical flow to the system.
- Open the computer case – Depending on your computer model, you may need to remove screws or use a latch to open the case. Refer to your computer’s manual or online resources for specific instructions.
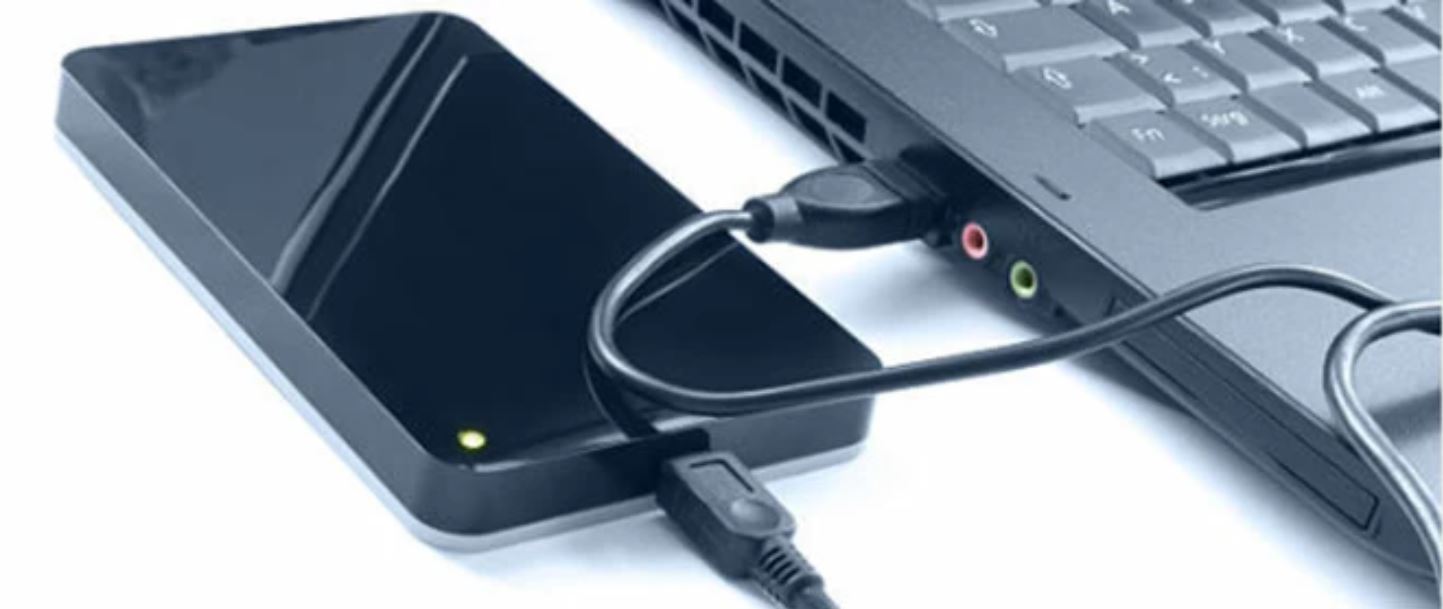
- Locate the hard disk drive – Once the computer case is open, visually locate the hard disk drive. It is usually a rectangular-shaped device connected to the motherboard by cables.
- Unplug the cables – Carefully disconnect the cables connected to the hard disk drive. There are typically two connections: the power cable and the data cable. Gently unplug them from the hard disk drive.
- Remove the hard disk drive – After unplugging the cables, you can now remove the hard disk drive from the computer case. Some cases may have screws securing the drive in place. Use your screwdriver to remove these screws if necessary.
Once you have successfully disconnected the hard disk drive from your computer, you are ready to move on to the next step – opening the hard disk drive to access the memory modules.
Step 3: Open the hard disk drive
To extract the memory modules from your dead hard disk drive, you will need to open the drive casing. Here’s how you can do it safely:
- Inspect the hard disk drive – Before proceeding, take a close look at the hard disk drive and identify any screws or clips that may be securing the casing. Different hard disk drive models may have different designs, so be sure to pay attention to the details.
- Remove the screws/clips – If there are visible screws, use the appropriate screwdriver to remove them. Alternatively, if there are clips, you may need to gently pry them apart using a plastic tool. Be careful not to apply excessive force or damage any components inside.
- Seperate the casing – Once the screws or clips are removed, carefully separate the casing into two halves. Some hard disk drives have multiple layers of casing, so be patient and pay attention to how the pieces fit together.
- Set aside the screws – As you remove the screws, make sure to keep them in a safe place, preferably in a small container or magnetic tray. This will help you avoid losing any screws and ensure you can reassemble the hard disk drive correctly later on.
- Take note of the layout – As you open the hard disk drive, make note of how the internal components are arranged. This will help you in the later steps when locating and removing the memory modules.
Once you have successfully opened the hard disk drive casing, you are now ready to proceed to the next step – locating the memory modules inside the drive.
Step 4: Locate the memory modules
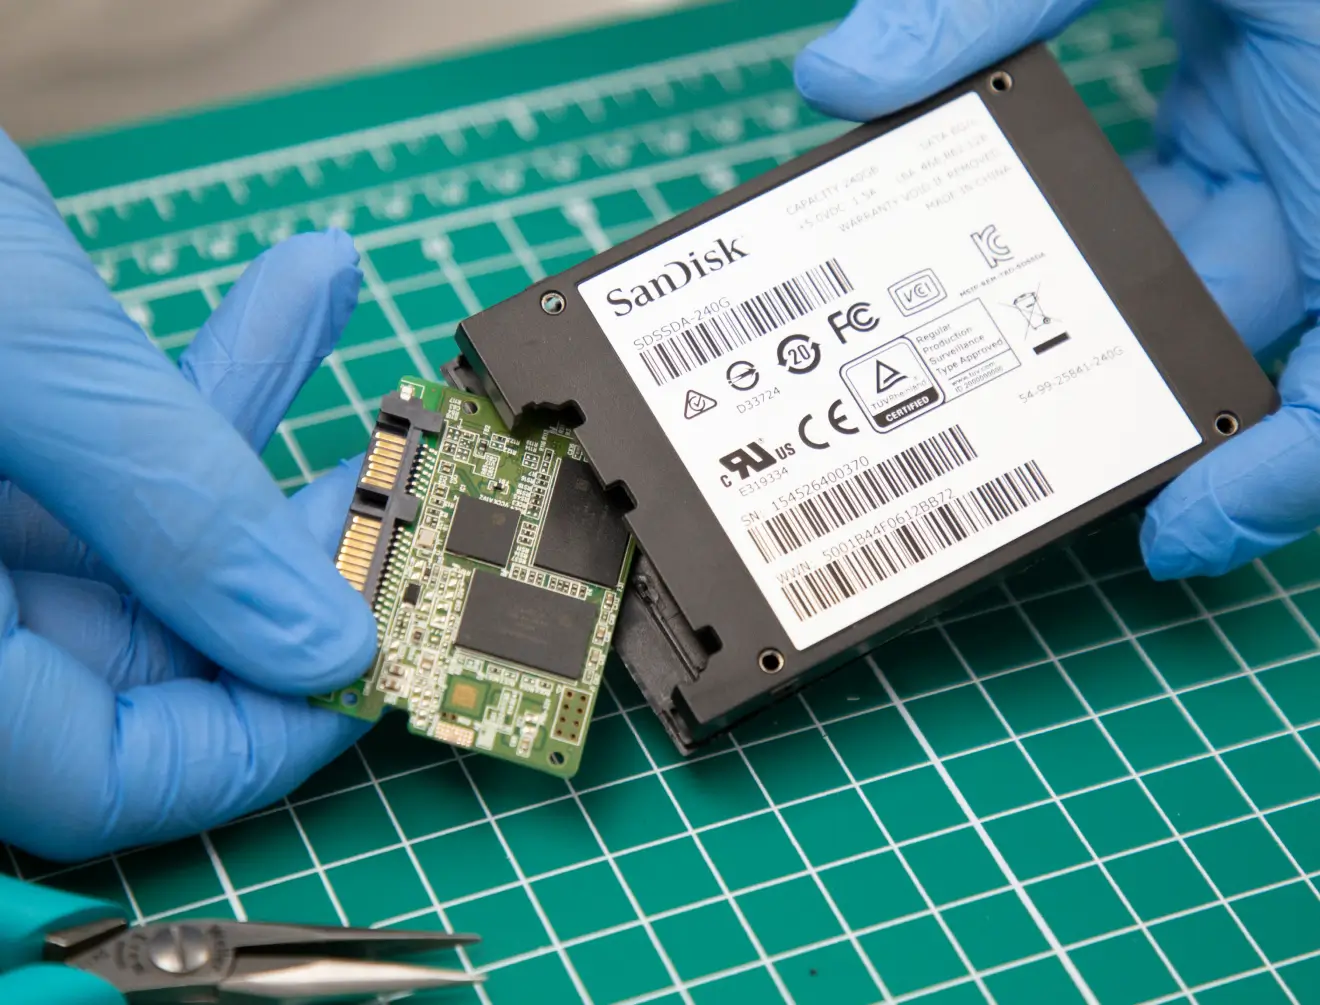
After successfully opening the hard disk drive, your next task is to locate the memory modules inside the drive. These modules are small circuit boards that store important data for the functioning of the drive. Follow these steps to locate the memory modules:
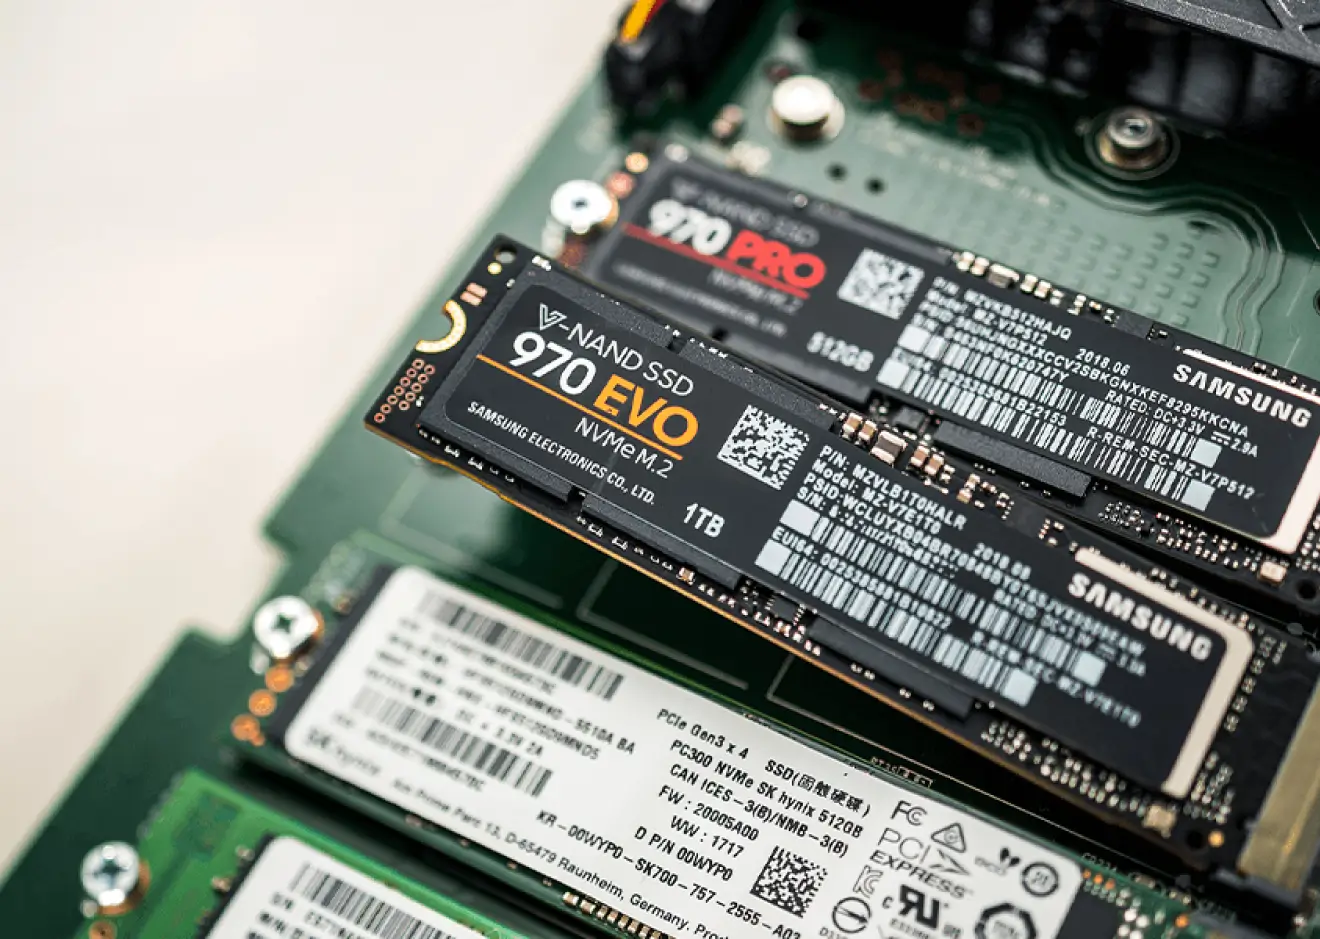
- Observe the circuit board – Once the hard disk drive is open, you will see a circuit board that is attached to the drive. Take a moment to observe the board and familiarize yourself with its components and layout.
- Look for rectangular chips – The memory modules are usually rectangular-shaped chips that are soldered onto the circuit board. They may vary in size and number depending on the drive’s capacity and design.
- Identify the memory chips – The memory chips may be labeled with codes or numbers that indicate their specifications. Look for any markings or labels that resemble memory modules, such as “DDR” or “DIMM”.
- Refer to online resources – If you are having trouble identifying the memory modules, you can search online for images or guides specific to your hard disk drive model. This can help you pinpoint the location of the memory modules more accurately.
- Take precautions – As you locate the memory modules, remember to handle them with care. Avoid touching the exposed metal contacts to prevent any potential damage from electrostatic discharge or oils on your fingers.
Once you have located the memory modules inside the hard disk drive, you are now ready to move on to the next step – removing the memory modules.
Step 5: Remove the memory modules
Now that you have located the memory modules inside the hard disk drive, it’s time to carefully remove them. Follow these steps to ensure a successful removal process:
- Use precision tools – To safely remove the memory modules, it’s recommended to use precision tools, such as a small flathead screwdriver or tweezers. These tools will help you handle the delicate components without causing any damage.
- Identify the memory module connections – Take note of how the memory modules are connected to the circuit board. They are typically soldered onto the board with small pins or connectors.
- Apply gentle pressure – Carefully apply gentle pressure on each side of the memory module to loosen it from the board. Avoid using excessive force as this can damage the module or the circuit board.
- Rock the module back and forth – Once you have applied pressure, gently rock the memory module back and forth to further loosen it from the connectors. Take your time and be patient as you remove each module.
- Remove one module at a time – If there are multiple memory modules, it’s best to remove them one at a time. This will prevent any confusion about their positioning and make reassembly easier.
- Place removed modules in an anti-static bag – As you remove each memory module, place it in an anti-static bag or an ESD-safe storage container. This will protect the modules from electrostatic discharge and ensure their safe storage.
Once you have successfully removed all the memory modules from the hard disk drive, you have completed the crucial step of salvaging the memory. Next, you need to store the memory modules properly to prevent any damage or loss.
Step 6: Store the memory modules properly
After successfully removing the memory modules from the hard disk drive, it’s important to store them properly to ensure their safety and preservation. Follow these steps to store the memory modules effectively:
- Use an anti-static bag or container – Place each memory module in an anti-static bag or an ESD-safe storage container. This will shield the modules from electrostatic discharge, which can cause damage to the delicate components.
- Label and document – It’s a good practice to label each memory module with relevant information, such as the hard disk drive model it came from, the date it was extracted, and any other important details. Additionally, consider documenting this information in a separate record for future reference.
- Store in a cool and dry place – Find a suitable storage location that is free of moisture, extreme temperatures, and direct sunlight. Keeping the memory modules in a cool and dry environment will help preserve their integrity and prevent corrosion.
- Avoid physical damage – Handle the stored memory modules with care to avoid any physical damage. Minimize unnecessary movements, impacts, or bending that can lead to the modules becoming loose or damaged.
- Back up the data – If you extracted the memory modules for data recovery purposes, consider making a backup of the information stored on them as soon as possible. This will safeguard the data in case of any potential loss or corruption.
By following these steps, you can ensure that the memory modules are stored properly and protected from potential damage. Now, you can proceed to the final step – disposing of the hard disk drive responsibly.
Step 7: Dispose of the hard disk drive properly
Once you have successfully salvaged the memory modules from the hard disk drive, it’s important to dispose of the drive properly. Improper disposal can lead to environmental pollution and potential data security risks. Follow these guidelines to ensure the proper disposal of your hard disk drive:
- Wipe the drive – Before disposing of the hard disk drive, it’s crucial to ensure that all data on the drive is securely wiped. Use specialized data wiping software to overwrite the entire drive with random data multiple times, making it nearly impossible to recover any information.
- Physical destruction – If you have concerns about data security or prefer a more foolproof method, physical destruction of the hard disk drive is recommended. This can be done by drilling holes into the drive, smashing it with a hammer, or using a professional hard drive shredder.
- Recycling programs – Instead of throwing the hard disk drive in the trash, consider recycling it. Many electronic recycling programs accept hard drives and handle their disposal in an environmentally friendly manner. Check with local recycling centers, electronic stores, or organizations that specialize in e-waste management.
- Professional data destruction services – If the hard disk drive contains sensitive or confidential data that you want to ensure is completely destroyed, you could opt for professional data destruction services. These services use advanced methods to securely wipe or physically destroy the drives, providing a certificate of destruction for your peace of mind.
- Follow local regulations – When disposing of electronic waste, it’s important to comply with local regulations and laws. Some areas have specific guidelines for the disposal of electronic devices, so ensure you adhere to these regulations to avoid any penalties.
By following these steps and disposing of the hard disk drive properly, you can contribute to environmental sustainability and safeguard your data privacy. It’s important to prioritize responsible disposal to protect both the environment and your personal information.
Conclusion
Salvaging the memory modules from a dead hard disk drive can be a rewarding and cost-effective way to recover valuable data and extend the lifespan of useful components. By following the step-by-step process outlined in this guide, you can safely extract the memory modules and store them properly for future use or data recovery purposes.
Remember, this process should only be attempted by individuals with experience in computer hardware and a comfortable understanding of electronic components. If you’re unsure or uncomfortable with any step, it’s always best to seek professional assistance.
When working with the hard disk drive, take precautions to avoid electrostatic discharge, handle components delicately, and preserve the integrity of the memory modules. Also, follow proper disposal practices to prevent environmental pollution and ensure data security. Wiping the drive or physically destroying it, along with recycling or utilizing professional data destruction services, are responsible options.
However, it’s important to note that memory modules salvaged from a hard disk drive may not be easily compatible with other devices. Therefore, their usability may be limited, and professional data recovery services may still be necessary in certain cases.
Ultimately, extracting memory from a dead hard disk drive requires careful handling, technical knowledge, and understanding of the associated risks. Proceed with caution, and always prioritize the safety of your data and the environment throughout the process.