Introduction
Copying files to a hard disk drive is a fundamental task that allows you to easily transfer and store data. Whether you want to back up important documents, transfer photos from your camera, or simply organize your files, understanding the basics of copying files to a hard disk drive is essential.
In this guide, we will take you through the step-by-step process of copying files to a hard disk drive. From connecting the hard disk drive to safely ejecting it, we will cover all the necessary steps to ensure a successful file transfer.
With the increasing reliance on digital files in our daily lives, knowing how to copy files to a hard disk drive is a valuable skill to have. Whether you are a student, professional, or simply an individual who wants to keep their digital files organized, this guide will help you achieve just that.
So, let’s dive into the world of file copying and learn how to efficiently and effectively transfer files to a hard disk drive.
Understanding the Basics of Copying Files to a Hard Disk Drive
Before we delve into the step-by-step process, it’s important to understand the basic concepts behind copying files to a hard disk drive.
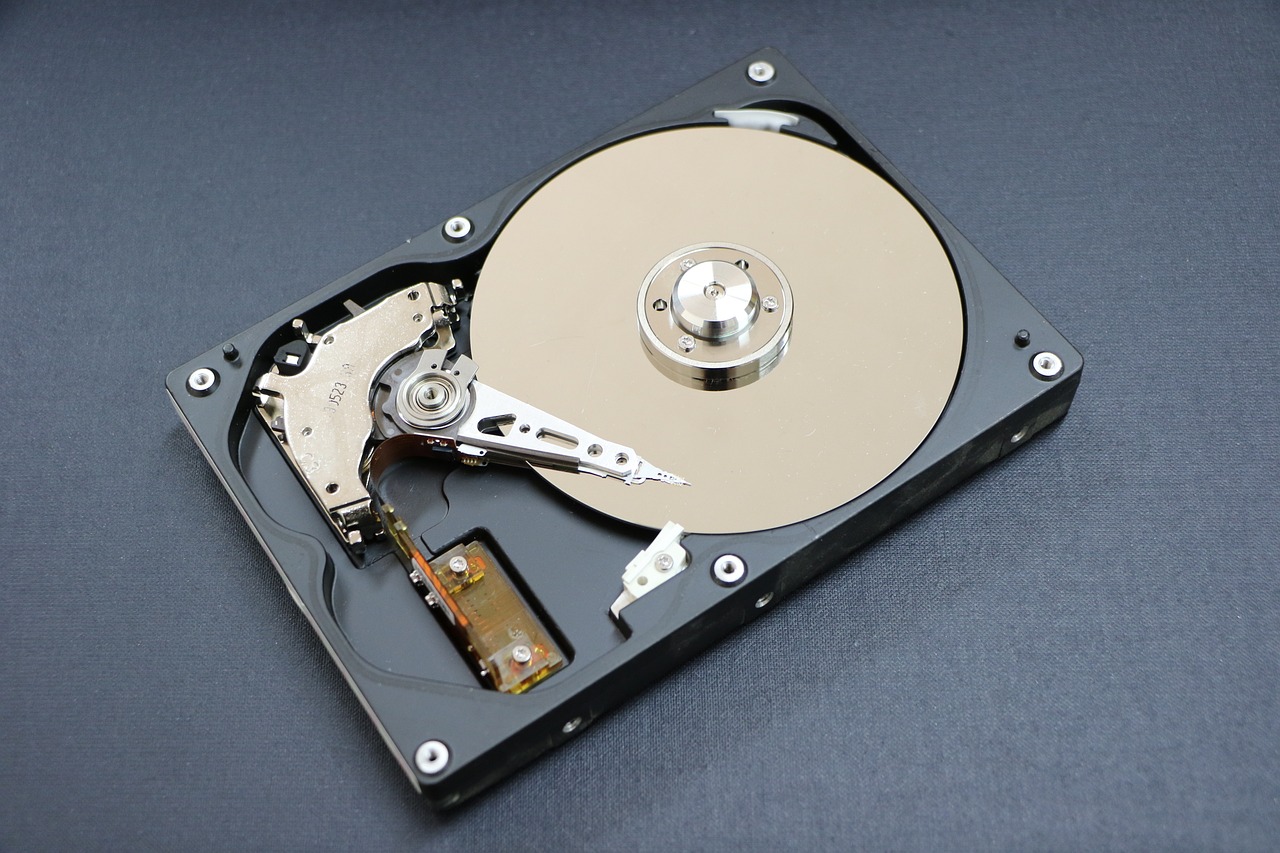
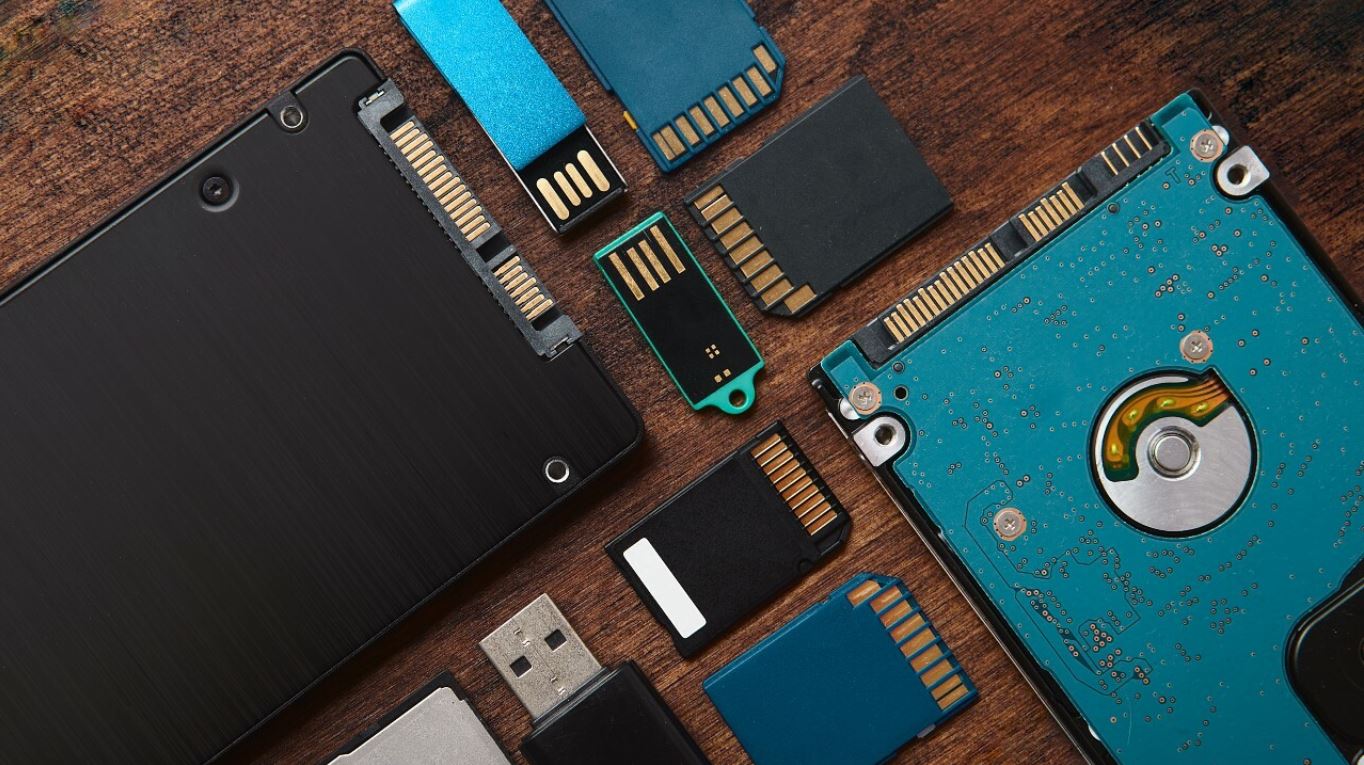
A hard disk drive, commonly referred to as a hard drive or HDD, is a data storage device that stores and retrieves digital information. It consists of one or more spinning disks, also known as platters, which are coated with a magnetic material. The data is written and read using a read/write head that moves across the surface of the platters.
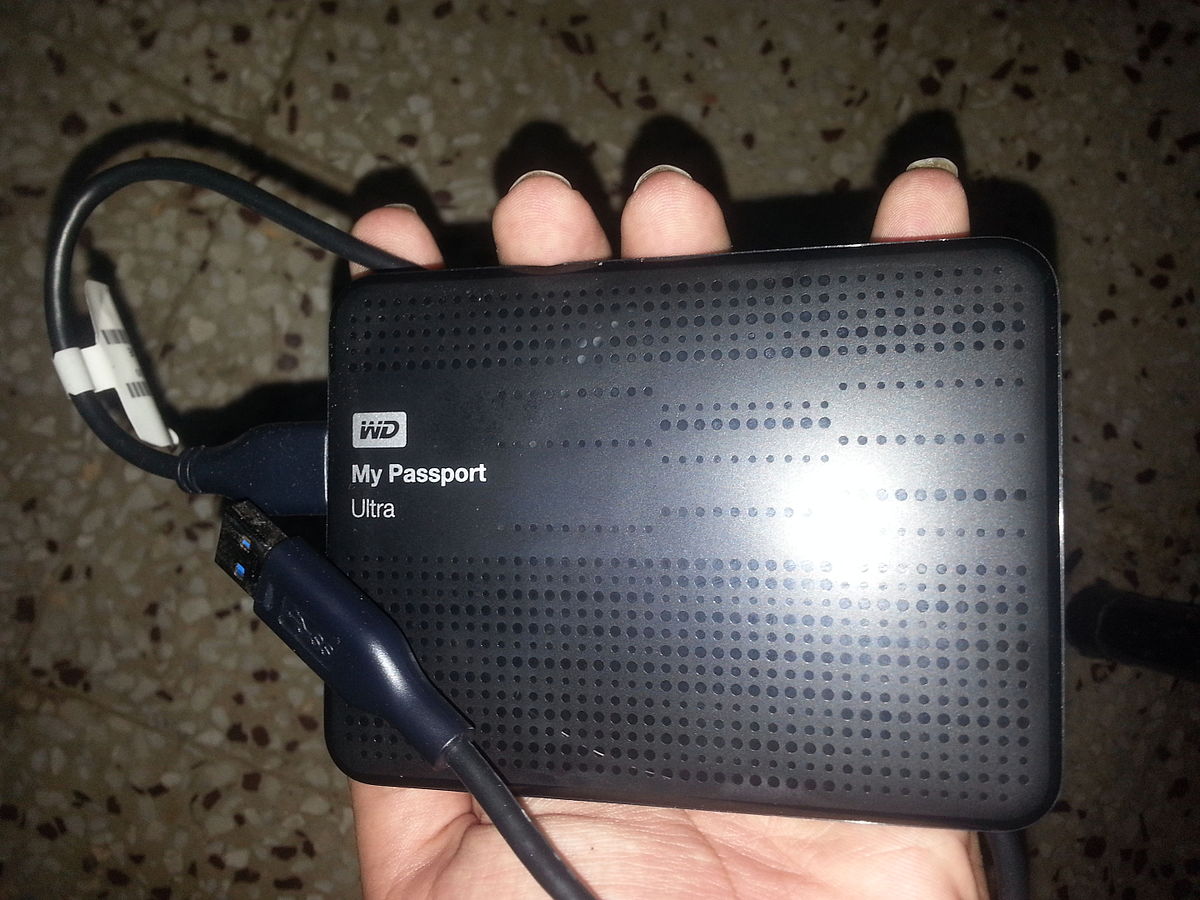
When you copy files to a hard disk drive, you are essentially transferring data from one location to another. This could be from your computer’s internal storage to an external hard drive, or from one location on the hard drive to another.
Copying files involves selecting the files you want to transfer and creating a duplicate copy of them on the destination drive. This allows you to have multiple copies of your files for backup purposes or to free up space on your computer.
It’s important to note that when you copy files, the original files remain intact on the source drive. This means that even if you delete or modify the copied files, the originals will still be available.
File copying is a straightforward process, but it’s important to follow the correct steps to ensure the files are transferred successfully and without any errors or data loss. In the next sections, we will walk you through the step-by-step process of copying files to a hard disk drive.
Step 1: Connecting the Hard Disk Drive
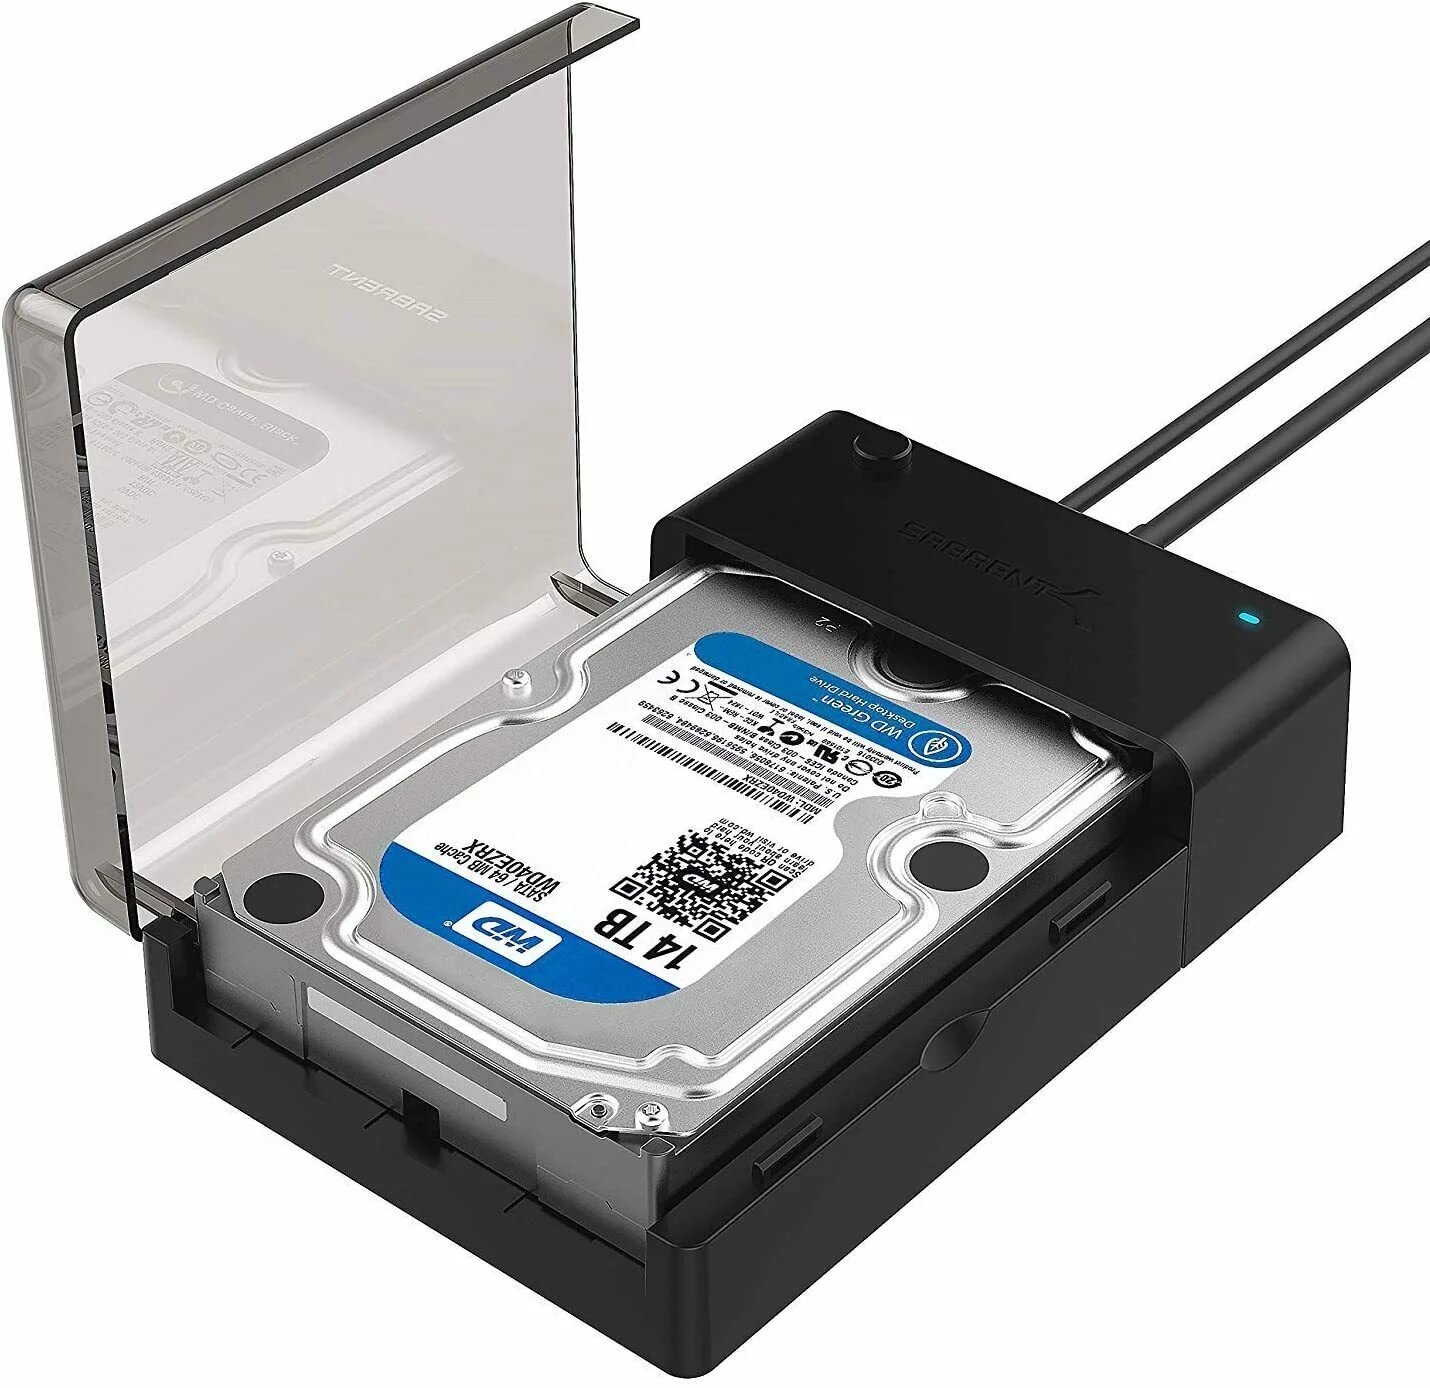
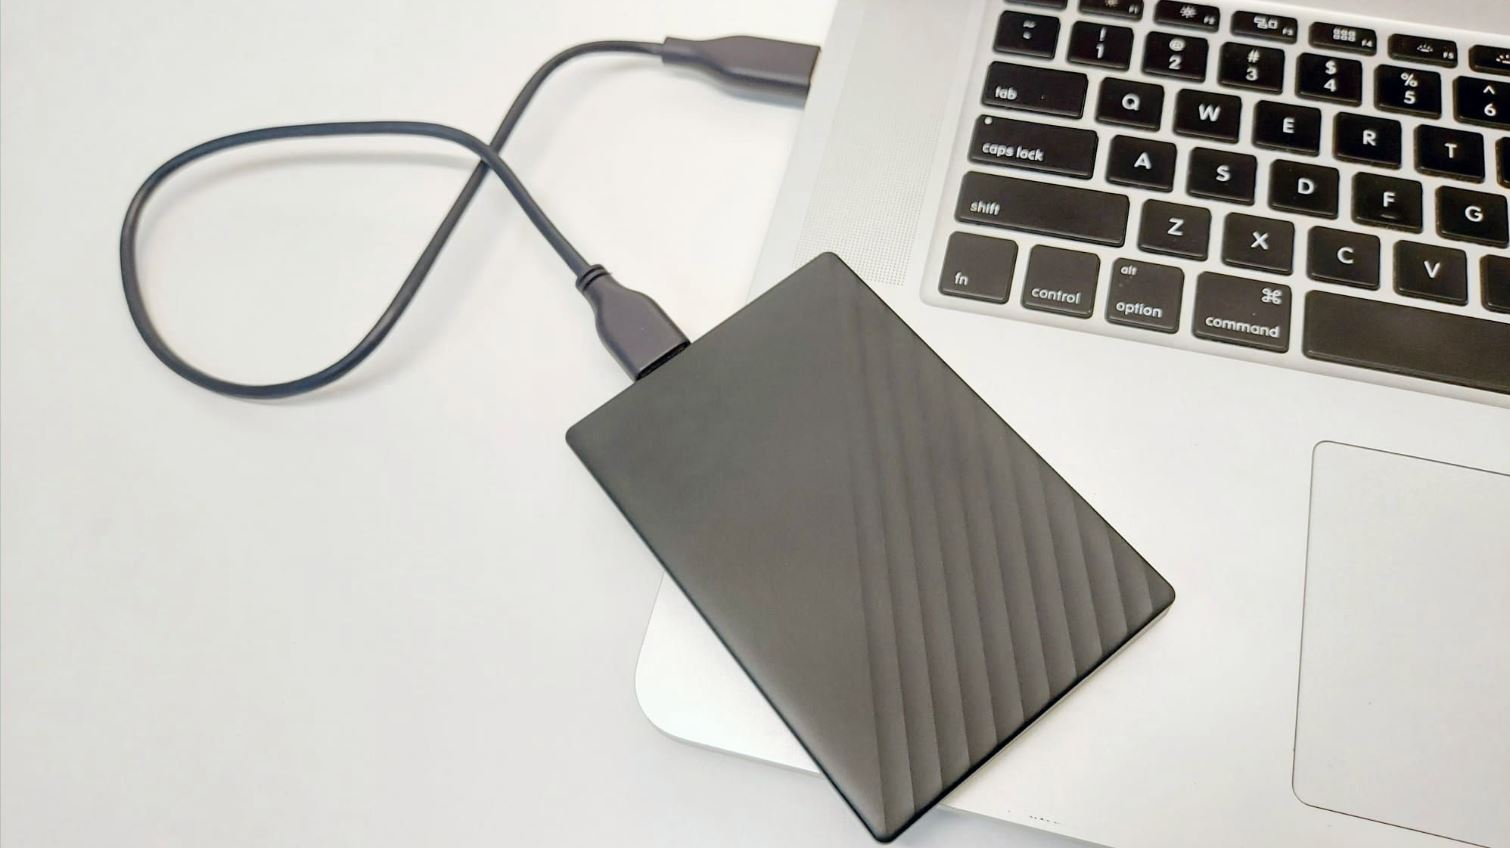
The first step in copying files to a hard disk drive is to establish a connection between your computer and the external drive. Follow these simple steps:
- Ensure that your computer is powered on and running.
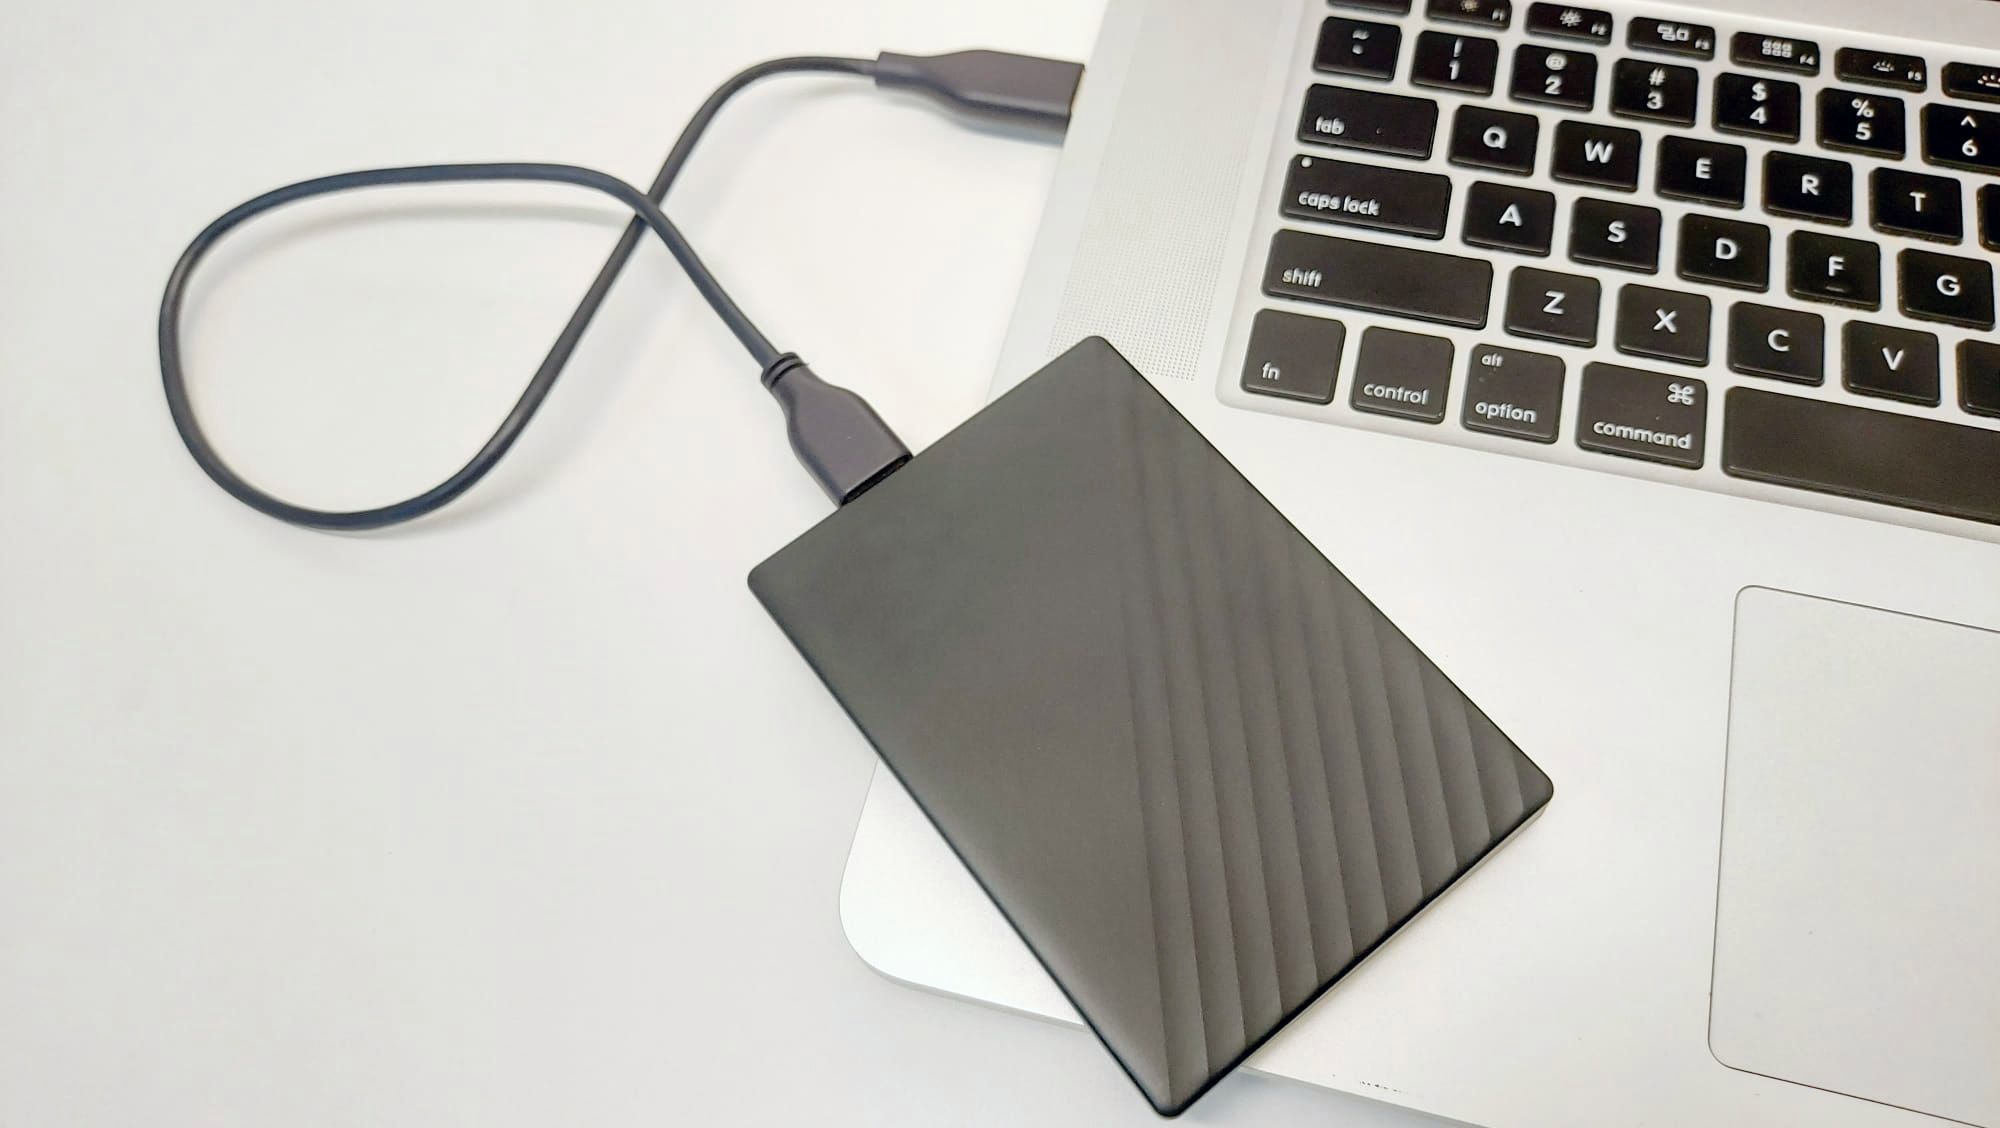
- Take the USB cable that came with your hard disk drive and connect one end to the USB port on your computer.
- Take the other end of the USB cable and plug it into the USB port on your hard disk drive.
- Once connected, you may hear a notification sound indicating that the device has been recognized by your computer.
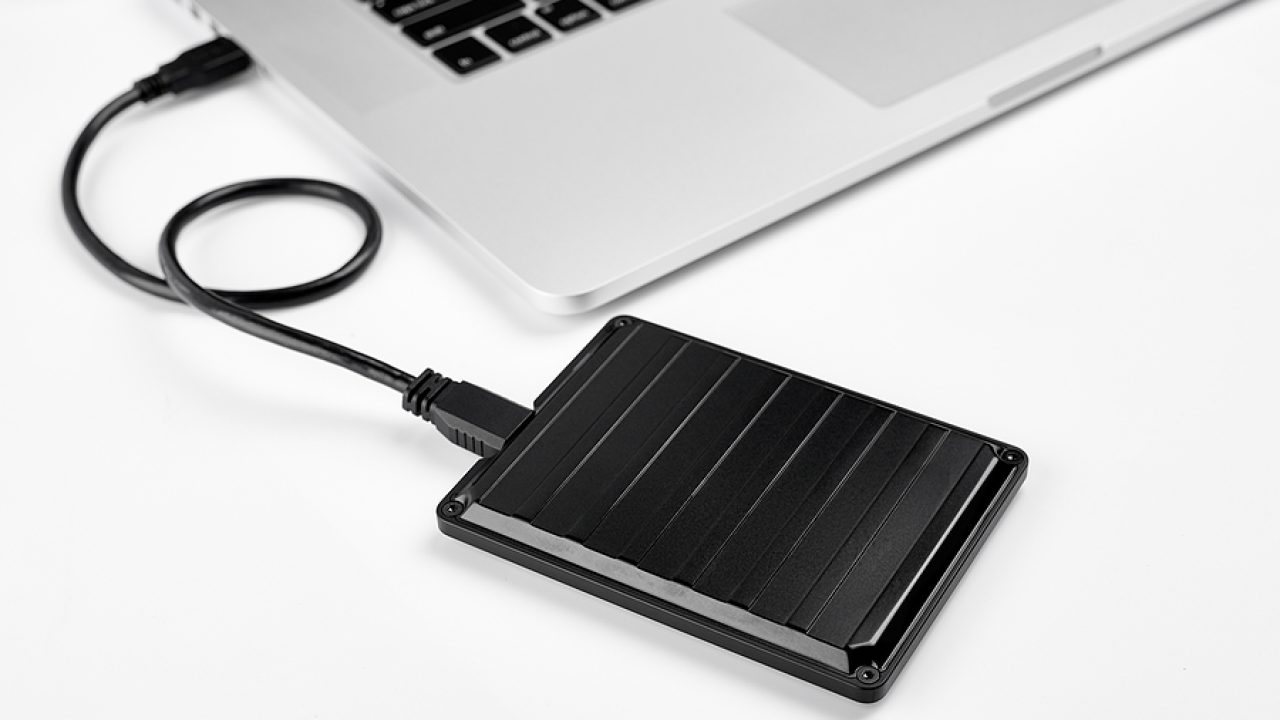
It’s important to note that some hard disk drives may require an external power source. In such cases, make sure to connect the power adapter to the drive and plug it into an electrical outlet.
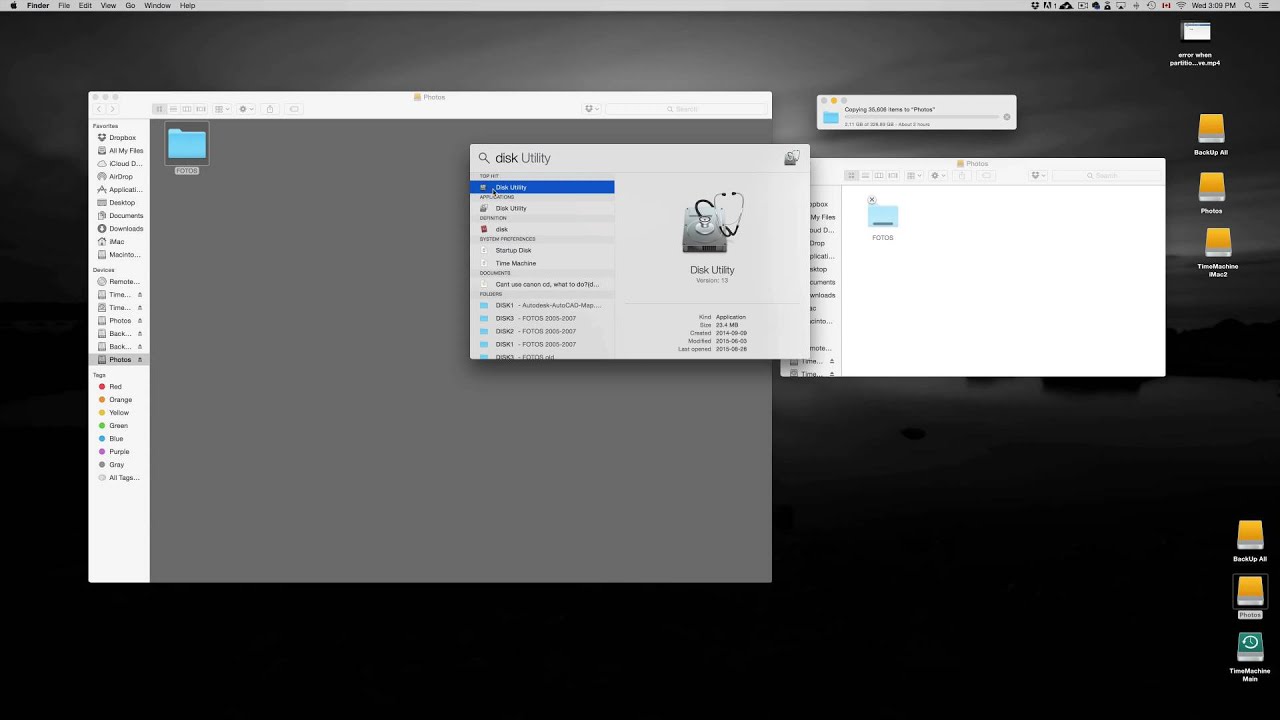
Once the hard disk drive is connected to your computer, it should appear as a new storage device in your file explorer or finder.
Now that the hard disk drive is successfully connected, we can move on to the next step of creating a new folder on the drive to organize our copied files.
Step 2: Creating a New Folder on the Hard Disk Drive
Organizing your files is essential for easy access and retrieval. To keep your copied files organized on the hard disk drive, follow these steps to create a new folder:
- Open your file explorer or finder on your computer.
- Locate the newly connected hard disk drive. It should be listed as a separate storage device.
- Click on the hard disk drive to open it and navigate to the desired location where you want to create the new folder.
- Right-click on an empty space within the drive and select “New Folder” from the context menu. Alternatively, you can click on the “New Folder” button in the toolbar.
- Give the new folder a descriptive name that reflects the content or purpose of the files you will be copying into it.
- Press Enter or click outside the folder to save the name.
Now, you have successfully created a new folder on the hard disk drive. This folder will serve as a container for your copied files, making it easier to locate and manage them in the future.
Remember to choose a meaningful and descriptive name for the folder to ensure efficient organization of your files. You can also create multiple folders within the hard disk drive to further categorize your files, depending on your specific needs.
Once you have created the new folder, you are ready to select and copy the desired files from your computer to the hard disk drive.
Step 3: Selecting and Copying the Desired Files
Now that you have created a new folder on the hard disk drive, it’s time to select and copy the files you want to transfer. Follow these steps:
- Navigate to the location on your computer where the files you want to copy are stored.
- Click and hold the left mouse button while dragging the cursor over the files you want to copy. Alternatively, you can hold the Ctrl key and click on individual files to select them.
- Once you have selected the desired files, release the mouse button or the Ctrl key.
- Right-click on any of the selected files and choose “Copy” from the context menu. Alternatively, you can press Ctrl + C on your keyboard.
By following these steps, you have successfully selected the files you want to copy. The next step is to paste these files into the new folder you created on the hard disk drive.
Keep in mind that you can select multiple files and folders in one go by holding the Ctrl key while making your selections. This allows for efficient copying of multiple files without the need to repeat the process for each individual file.
Now that you have copied the files, it’s time to move on to the next step of pasting them into the new folder on the hard disk drive.
Step 4: Pasting the Files into the New Folder
With the files selected and copied, it’s time to paste them into the new folder on the hard disk drive. Follow these simple steps:
- Navigate to the location on the hard disk drive where you created the new folder.
- Right-click inside the new folder and select “Paste” from the context menu. Alternatively, you can press Ctrl + V on your keyboard.
By following these steps, you have successfully pasted the copied files into the new folder on the hard disk drive.
The copying process might take some time, depending on the size and number of files being transferred. It’s important to be patient and not interrupt the process to avoid any potential data loss or corruption.
Once the files have been pasted into the new folder, you can verify their presence by navigating to the folder and visually confirming that the copied files are present.
This step ensures that your files are securely transferred to the hard disk drive and are properly organized within the designated folder.
Now that you have successfully pasted the files, it’s important to follow the appropriate steps to safely eject the hard disk drive from your computer to prevent any data loss or damage.
Step 5: Safely Ejecting the Hard Disk Drive
After successfully copying and pasting the files onto the hard disk drive, it’s important to safely eject the drive from your computer to ensure the integrity of the data and prevent any potential data loss or damage. Follow these steps to safely eject the hard disk drive:
- Make sure all file transfer processes involving the hard disk drive are complete.
- Close any open files or folders associated with the hard disk drive.
- Locate the “Safely Remove Hardware” or “Eject” icon in your system tray or menu bar, typically located on the bottom right corner of your screen.
- Click on the “Safely Remove Hardware” or “Eject” icon to open the list of devices connected to your computer.
- Locate the hard disk drive from the list of connected devices and click on it to select it.
- Wait for the system to safely eject the hard disk drive. You may see a notification indicating that it is safe to remove the device.
- Once you receive the confirmation that the hard disk drive can be safely removed, gently unplug the USB cable from the computer and the hard disk drive.
It’s important to follow these steps to ensure that all data transfer processes are complete and that the hard disk drive is no longer actively being accessed by the computer. Safely ejecting the drive reduces the risk of data corruption and hardware damage.
By following these steps, you have successfully transferred your files to the hard disk drive and safely ejected the drive from your computer.
Remember to store the hard disk drive in a safe and secure location when it is not in use to protect your files and prevent any physical damage.
Now that you have learned the step-by-step process of copying files to a hard disk drive and safely ejecting the drive, you are ready to organize and transfer your files with ease and confidence.
Bonus Tips and Tricks for Efficient File Copying
Copying files to a hard disk drive may seem like a simple task, but there are several tips and tricks that can help you enhance the efficiency and speed of the process. Consider implementing these bonus tips and tricks for a smoother file copying experience:
- Use keyboard shortcuts: Instead of relying solely on mouse clicks, utilize keyboard shortcuts like Ctrl + C to copy files and Ctrl + V to paste them. It can save you time and effort.
- Optimize file selection: To select multiple files that are adjacent, click on the first file, hold down the Shift key, and click on the last file. To select files that are not adjacent, use the Ctrl key along with the left mouse button.
- Pause or resume copying: If you are copying a large number of files or large-sized files, and you need to pause the copying process temporarily, you can use the pause button in the file transfer window. This allows you to resume the process without starting from scratch.
- Monitor file transfer progress: Keep an eye on the file transfer progress to estimate the time remaining. This can be helpful for planning your tasks and ensuring that the copying process is completed within a specific time frame.
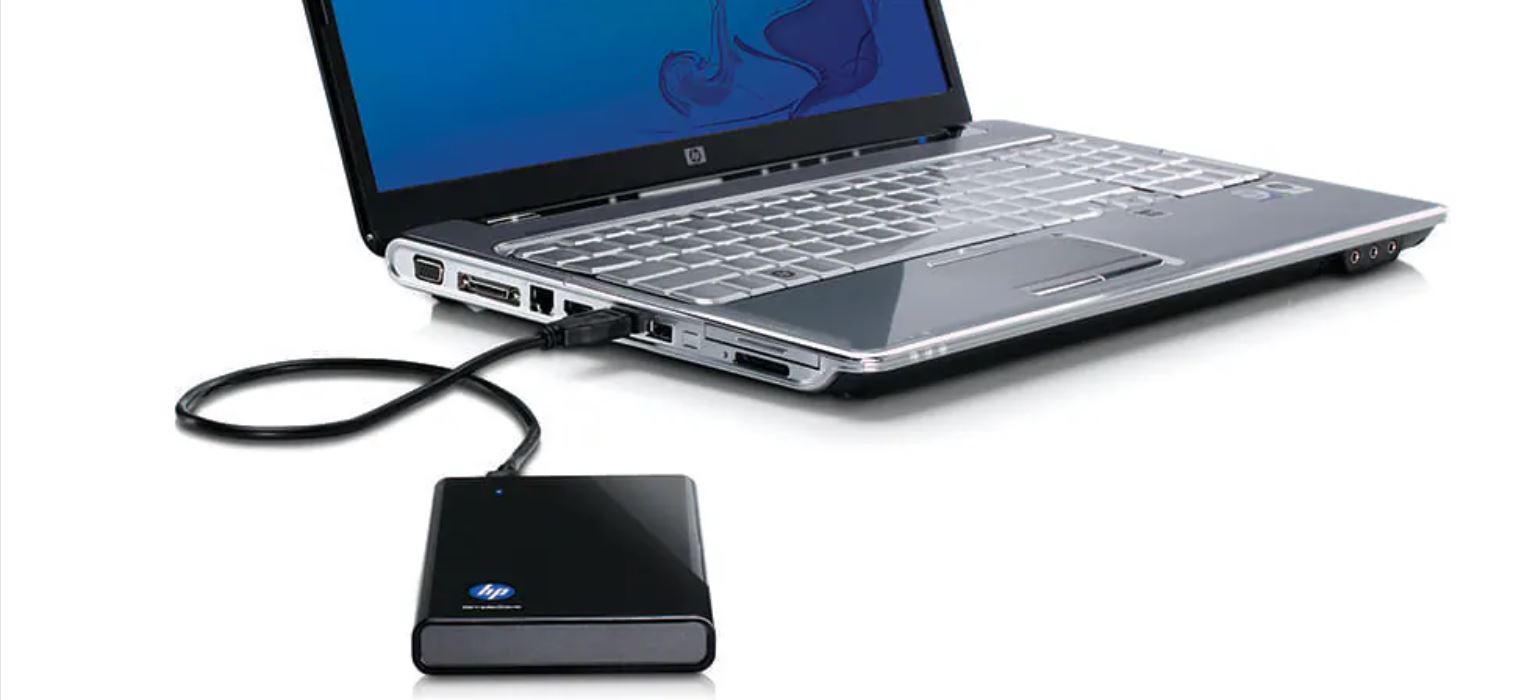
- Use a USB 3.0 or higher port: If your computer has USB 3.0 or higher ports, connect your hard disk drive to one of those ports. USB 3.0 provides faster data transfer speeds compared to USB 2.0, resulting in quicker copying times.
- Keep your computer and hard disk drive ventilated: During file copying, both your computer and hard disk drive may generate some heat. Make sure they are placed in well-ventilated areas to prevent overheating, which can slow down file transfer speeds.
By implementing these bonus tips and tricks, you can optimize your file copying process, save time, and ensure a smooth and efficient transfer of your files to the hard disk drive.
Now that you have all the necessary knowledge and additional tips for efficient file copying, you are ready to manage and organize your files effectively.
Conclusion
Copying files to a hard disk drive is a practical and essential skill for organizing and managing your digital files. In this guide, we have explored the step-by-step process of copying files to a hard disk drive, including connecting the drive, creating a new folder, selecting and copying files, pasting them into the new folder, and safely ejecting the hard disk drive.
By following these steps, you can ensure a successful and efficient transfer of your files, whether you are backing up important documents, transferring photos, or organizing your files for easy access.
Additionally, we have provided some bonus tips and tricks to enhance the file copying process, such as utilizing keyboard shortcuts, optimizing file selection, and monitoring file transfer progress. These additional tips can further improve the efficiency and speed of your file copying tasks.
Remember to always practice caution when copying files and ensure that you safely eject the hard disk drive from your computer to prevent any data loss or damage.
With the knowledge and tips shared in this guide, you can confidently copy files to a hard disk drive, keeping your digital files organized, secure, and easily accessible.
So, start organizing your files and enjoy the convenience and peace of mind that comes with efficient file copying on your hard disk drive!