Introduction
Welcome to the world of external hard drives! These portable storage devices are a great way to expand your computer’s storage capacity and keep your files safe and secure. If you find yourself constantly running out of space on your computer’s internal hard drive, or if you want to create a backup of your important files, an external hard drive is the perfect solution.
But what if you want to make the external hard drive your default storage location? This can be particularly useful if you frequently download and save files, as it saves you the hassle of manually selecting the external hard drive every time you want to save something.
In this guide, we will walk you through the steps to make your external hard drive the default storage location on both Windows and Mac operating systems. Whether you’re a tech-savvy individual wanting to optimize your storage setup or a novice user looking for a simple solution, this guide is for you.
We will cover everything from connecting the external hard drive, formatting it, assigning a drive letter, changing the default save location, and even how to ensure that your files are being saved directly to the external hard drive. So, let’s get started with making your external hard drive the default storage location and enjoy the convenience and peace of mind it brings!
Step 1: Connecting the External Hard Drive
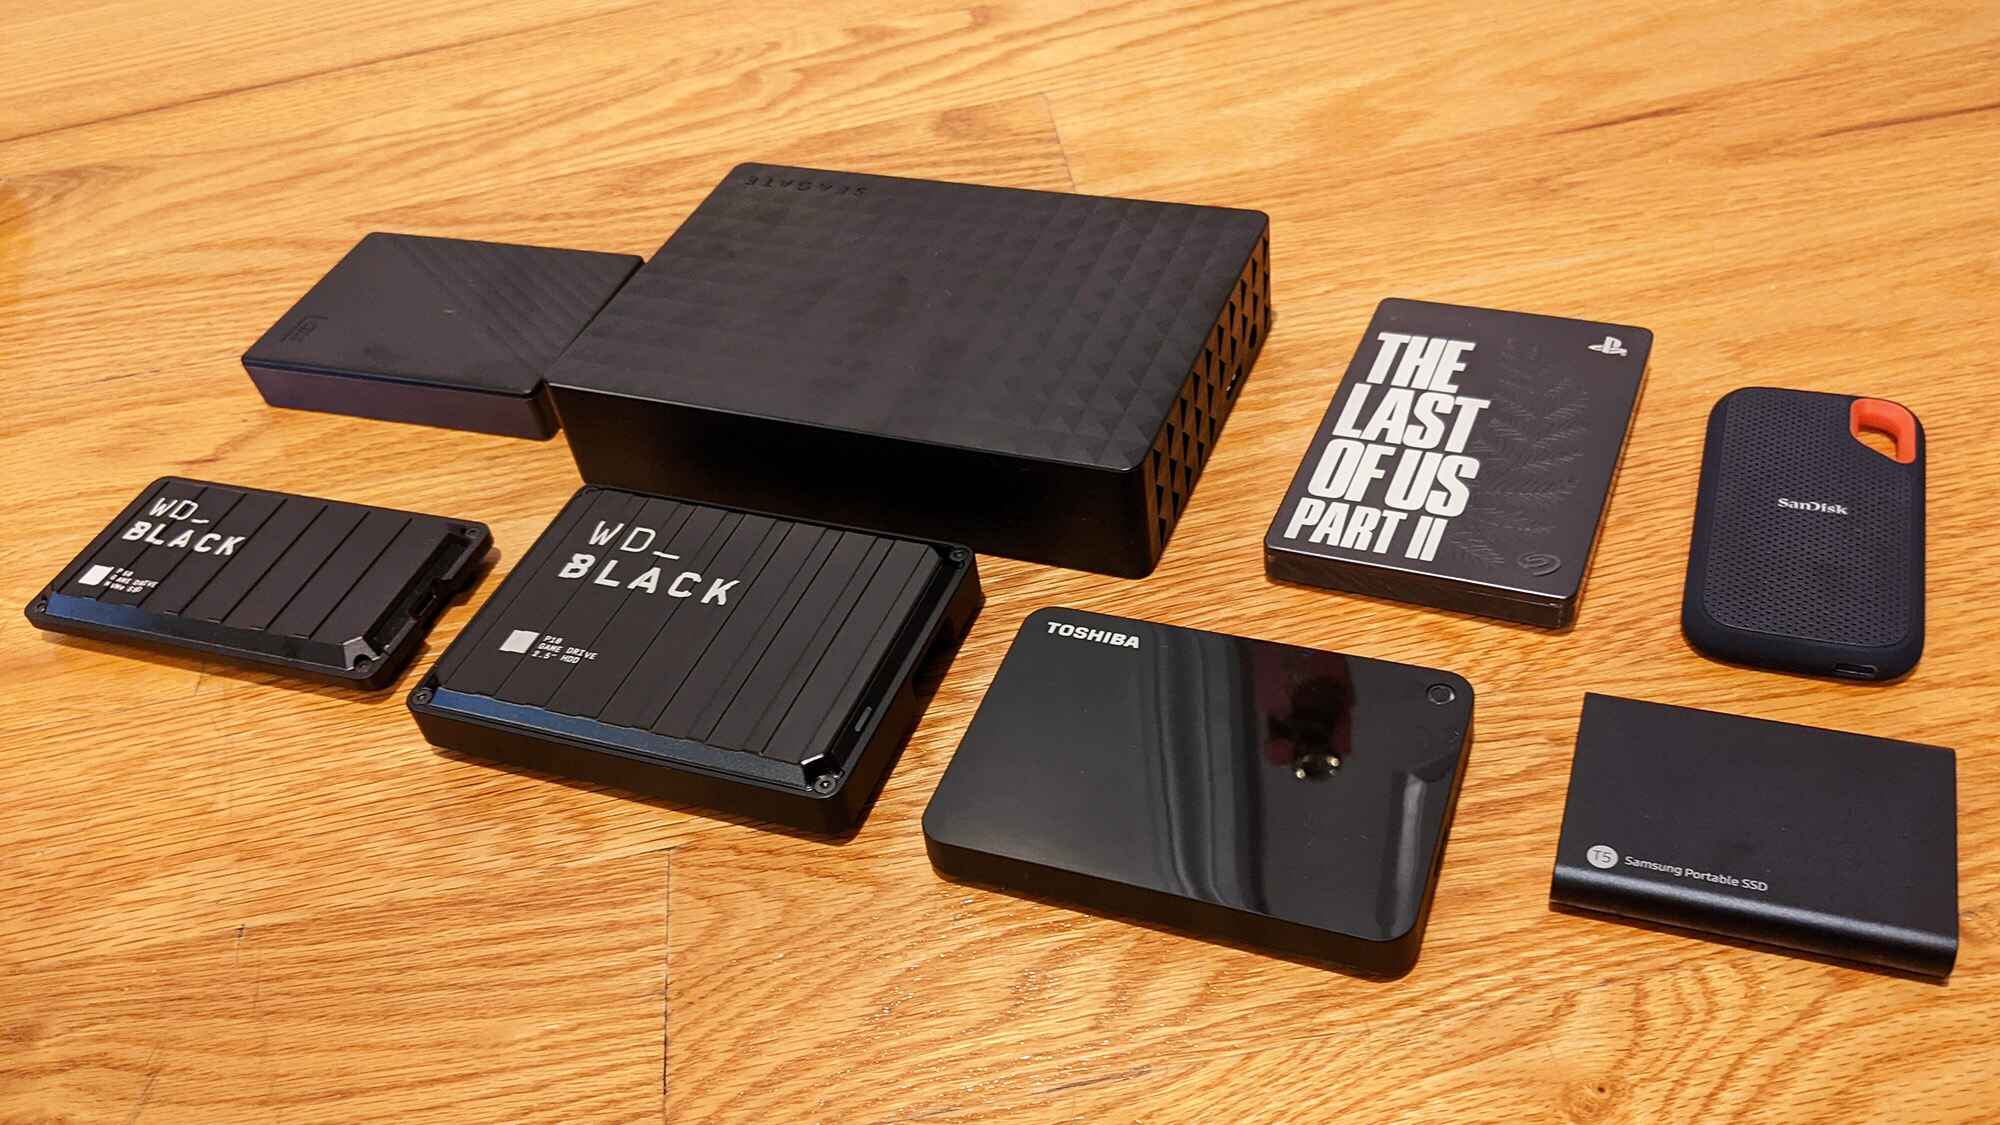
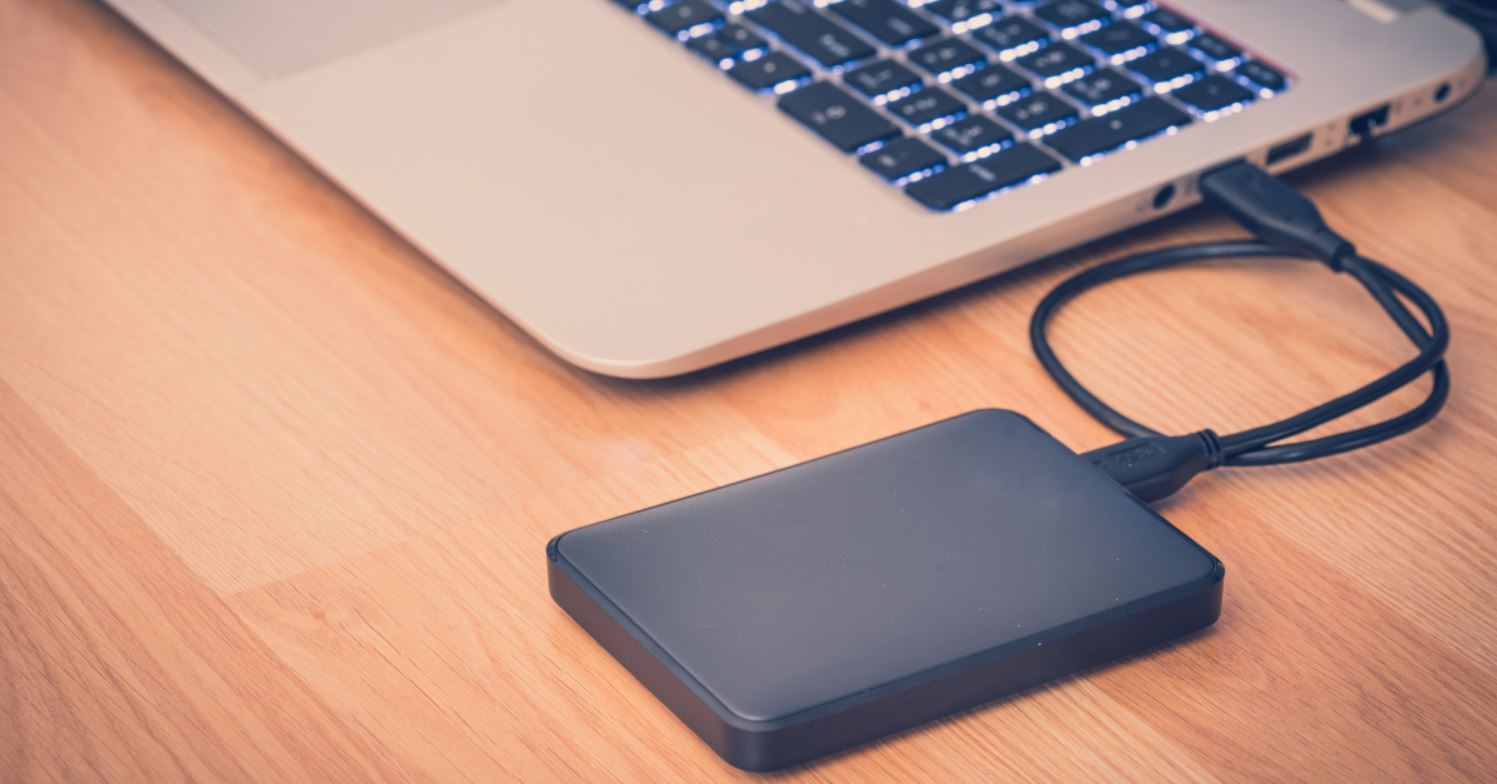
The first step in making your external hard drive the default storage location is to connect it to your computer. Depending on the type of external hard drive you have, the connection method may vary.
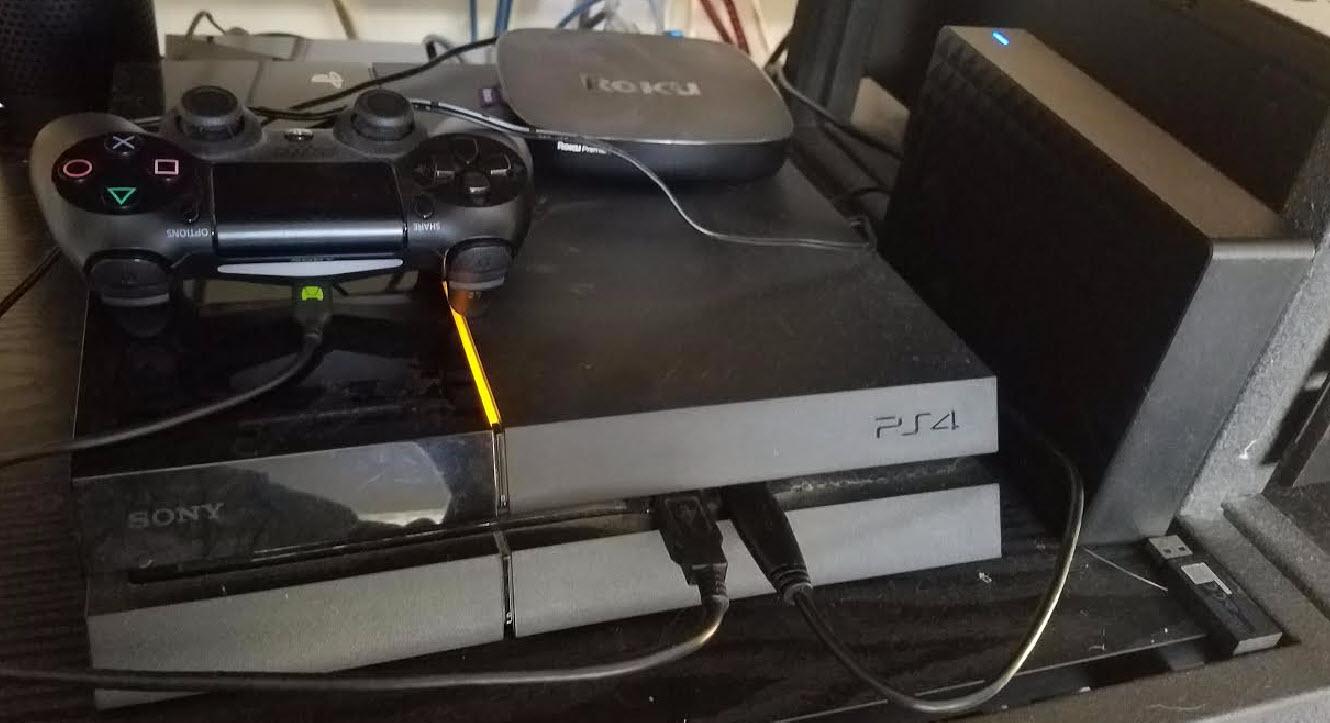
If you have a portable external hard drive, it typically uses a USB connection. Start by locating an available USB port on your computer. Plug one end of the USB cable into the external hard drive and the other end into the USB port on your computer. You may hear a sound or see a notification indicating that the device has been recognized.
If you have a desktop external hard drive, it may require a different type of connection, such as eSATA or Thunderbolt. Refer to the manufacturer’s instructions to properly connect your desktop external hard drive to your computer.
Once connected, give your computer a moment to detect the external hard drive. Depending on your operating system, you may see a pop-up notification or an icon representing the external hard drive in the file explorer.
It’s important to note that some external hard drives require an external power source in addition to the USB connection. If this is the case, make sure to plug in the power cable as well.
Now that your external hard drive is properly connected, you’re ready to move on to the next step: formatting the external hard drive.
Step 2: Formatting the External Hard Drive
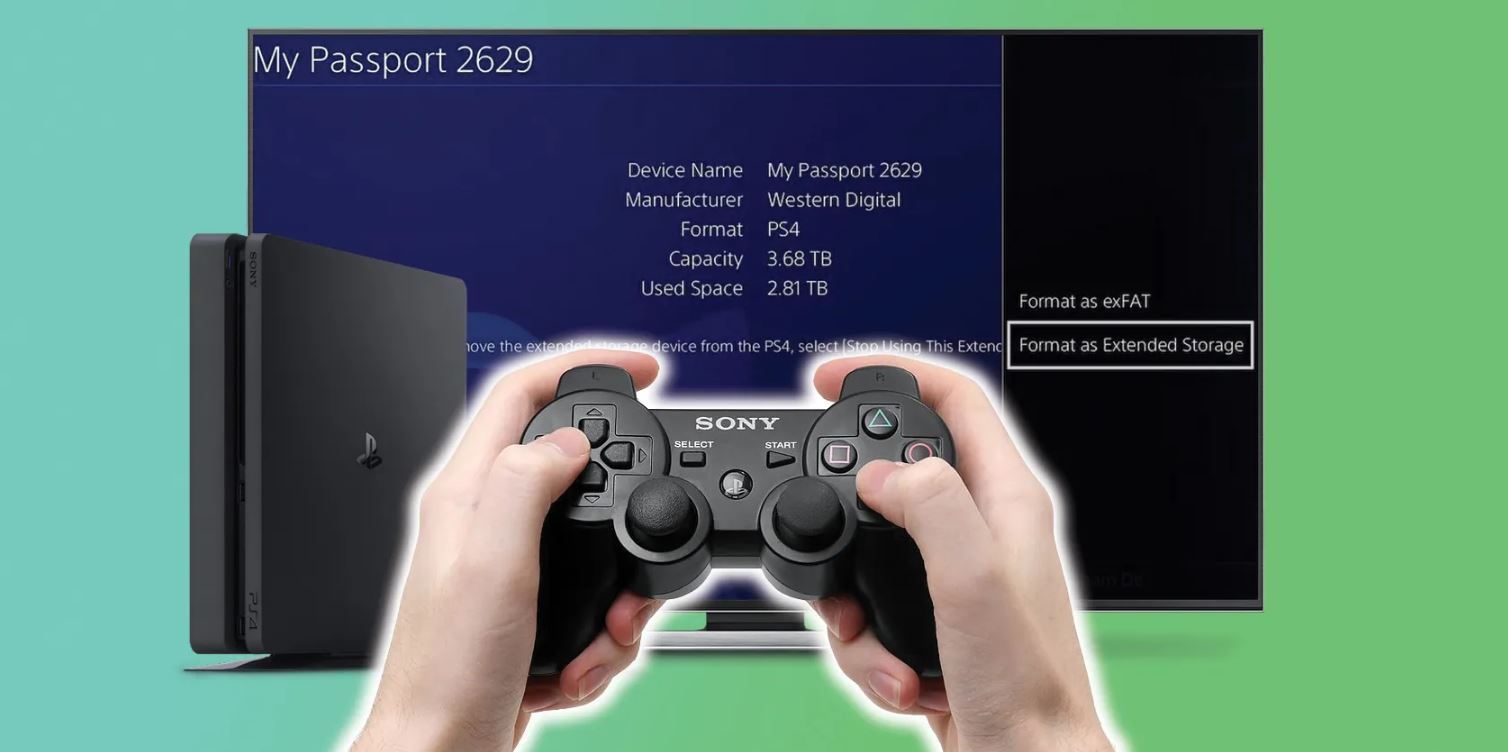
Before you can use your external hard drive as the default storage location, it’s essential to format it to the appropriate file system. Formatting erases any existing data on the drive and sets it up for optimal performance and compatibility with your operating system.
Here are the steps to format your external hard drive:
- Make sure that your external hard drive is connected to your computer.
- Open the file explorer or disk utility on your operating system. On Windows, you can access it by pressing the Windows key + E. On Mac, go to Finder and click on “Applications” followed by “Utilities” and then “Disk Utility”.
- In the file explorer or disk utility, locate your external hard drive. It should be listed as a separate device or drive.
- Right-click on the external hard drive and select the option to format or erase the drive.
- Choose the desired file system for your external hard drive. For Windows, NTFS is the recommended file system. For Mac, choose Mac OS Extended (Journaled) or APFS.
- Give your external hard drive a name or leave it as the default name.
- Double-check the formatting options and click on “Start” or “Format” to begin the formatting process.
- Wait for the formatting process to complete. This may take a few minutes depending on the size of your hard drive.
- Once the formatting is complete, you will receive a confirmation message. Your external hard drive is now formatted and ready for use.
Formatting your external hard drive ensures compatibility with your operating system and prepares it for storing and retrieving data. With the formatting complete, you’re one step closer to making it your default storage location.
Next, we’ll move on to step 3, where we’ll assign a drive letter to the external hard drive.
Step 3: Assigning a Drive Letter to the External Hard Drive
Now that your external hard drive is properly formatted, the next step is to assign a drive letter to it. This will allow your operating system to recognize the external hard drive as a separate storage device and assign it a unique identifier.
Here’s how you can assign a drive letter to your external hard drive:
- Open the file explorer or disk utility on your operating system.
- In the file explorer or disk utility, locate your external hard drive. It should be listed as a separate device or drive.
- Right-click on the external hard drive and select “Change Drive Letter and Paths” or a similar option.
- A window will appear with the current drive letter or path assigned to the external hard drive.
- Click on the “Change” or “Add” button.
- In the next window, click on the drop-down menu and choose an available drive letter for your external hard drive. Make sure to select a letter that is easy to remember and not currently in use.
- Click “OK” to confirm the drive letter assignment.
After assigning a drive letter to your external hard drive, you will see the updated drive letter in the file explorer or disk utility. This allows you to easily navigate and access your external hard drive whenever you want.
With the drive letter assigned, you are now ready to proceed to the next step: changing the default save location.
Keep in mind that the steps to assign a drive letter may vary slightly depending on your operating system. However, the general concept and process remain the same.
In the next section, we will guide you through the process of changing the default save location to your external hard drive, bringing you closer to making it your go-to storage option.
Step 4: Changing the Default Save Location
Now that you have formatted your external hard drive and assigned a drive letter to it, it’s time to change the default save location so that your files are automatically saved to the external hard drive.
Follow these steps to change the default save location:
- On Windows:
- Open the file explorer by pressing the Windows key + E.
- Right-click on the “Documents” or “Downloads” folder (or any other folder you want to change the default save location for).
- Select “Properties” from the context menu.
- A new window will open. Go to the “Location” tab.
- Click on the “Move” button.
- Navigate to the external hard drive, select a folder where you want to save your files, and click “OK”.
- Click “Apply” and then “OK” to save the changes.
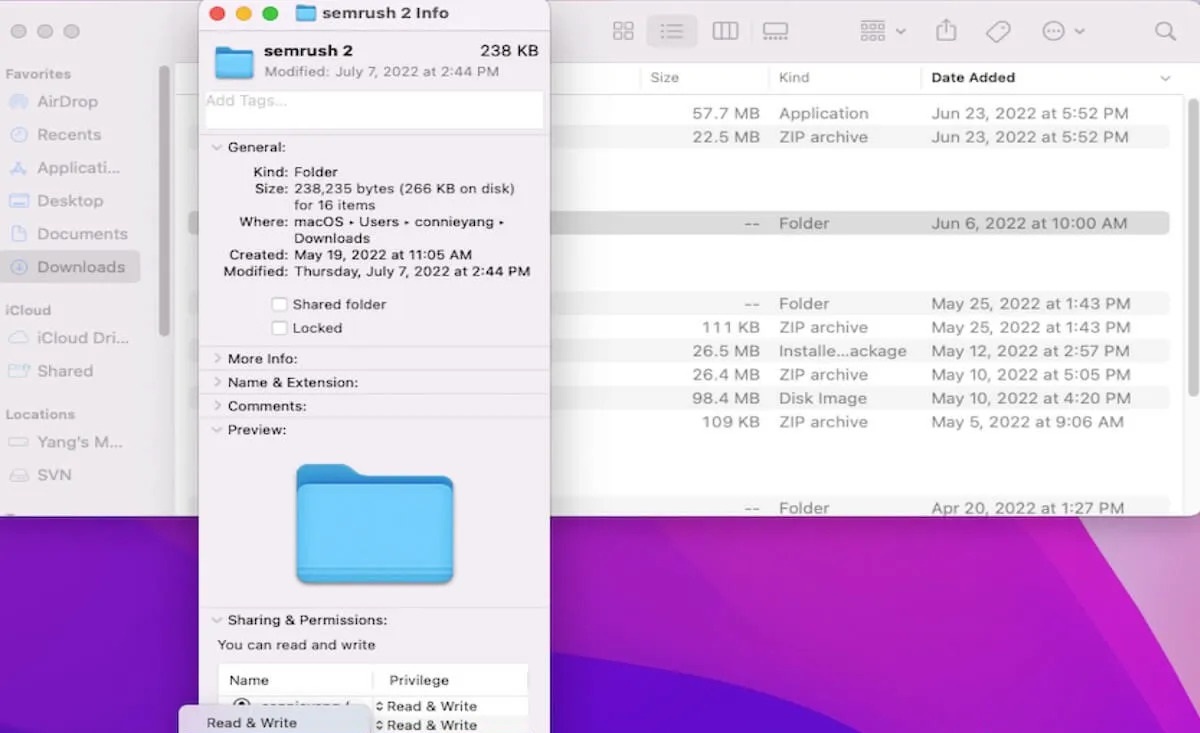
- On Mac:
- Open Finder and go to the folder you want to change the default save location for (e.g., “Documents” or “Downloads”).
- Click on the folder once to select it.
- From the menu bar, select “File” and then “Get Info”.
- A new window will open. In the “General” section, next to “Where”, click on the folder icon.
- Navigate to the external hard drive, select a folder where you want to save your files, and click “Choose”.
- Close the window to save the changes.
After changing the default save location, any new files you create or download will automatically be saved to the designated folder on your external hard drive. This helps you maximize your storage capacity and keep your computer’s internal drive clutter-free.
Now that you have successfully changed the default save location, let’s move on to the next step: copying files to the external hard drive.
Step 5: Copying Files to the External Hard Drive
Now that you have set your external hard drive as the default save location, it’s time to start transferring files to it. Whether you want to back up important documents, store multimedia files, or free up space on your computer’s internal drive, this step will show you how to copy files to your external hard drive.
Follow these steps to copy files to your external hard drive:
- Open the file explorer or Finder on your operating system.
- Navigate to the file or folder you want to copy to the external hard drive.
- Right-click on the file or folder and select “Copy” from the context menu. Alternatively, you can use the keyboard shortcut Ctrl+C (Windows) or Command+C (Mac).
- Go to the location on your external hard drive where you want to store the copied files. If necessary, create a new folder by right-clicking and selecting “New Folder” or using the keyboard shortcut Ctrl+Shift+N (Windows) or Command+Shift+N (Mac).
- Right-click in the destination folder and select “Paste” from the context menu. Alternatively, you can use the keyboard shortcut Ctrl+V (Windows) or Command+V (Mac).
- The files will begin to copy from your computer’s internal drive to the external hard drive. The time it takes to complete the transfer will depend on the size of the files and the speed of your devices.
- Once the copy process is finished, you can verify that the files have been successfully transferred by navigating to the destination folder on your external hard drive and checking for the presence of the copied files.
Repeat these steps for each file or folder you want to copy to your external hard drive. You can organize your files into different folders on the external hard drive to keep them well-structured and easily accessible.
Remember to keep your external hard drive connected to your computer while copying files to ensure a smooth and uninterrupted transfer process.
With the files successfully copied to your external hard drive, you can now enjoy the benefits of having additional storage space and the convenience of accessing your files from any computer with the external hard drive connected.
In the next step, we’ll show you how to verify that the external hard drive is set as the default storage location.
Step 6: Verifying the External Hard Drive as Default
Once you have followed all the previous steps, it’s important to verify that your external hard drive is indeed set as the default storage location. This step ensures that any new files you create or download will automatically be saved to the external hard drive without any additional intervention on your part.
Here’s how you can verify the external hard drive as the default storage location:
- Open the file explorer on your Windows computer or Finder on your Mac.
- Navigate to the folder that you changed the default save location for in Step 4. This could be the “Documents” folder, “Downloads” folder, or any other folder you modified.
- Create a new file or download a sample file from the internet.
- Check the location where the new file is being saved. It should automatically be saved to the designated folder on your external hard drive.
If the new file is saved to the folder on your external hard drive, congratulations! Your external hard drive is set as the default storage location. You can now enjoy the convenience of automatically saving files to the external hard drive without having to manually select the destination every time.
On the other hand, if the file is still being saved to the original location on your computer’s internal drive, double-check that you correctly followed the steps in Step 4 to change the default save location. Ensure that you selected the external hard drive and the designated folder as the new save location.
If you encounter any issues or the changes are not taking effect, you may need to repeat the steps or seek assistance from online resources or technical support specific to your operating system.
By verifying the external hard drive as the default storage location, you can confidently continue using your computer, knowing that your files are being automatically saved to the external hard drive for easy access and data protection.
With that, you have successfully completed the process of making your external hard drive the default storage location. Congratulations on optimizing your storage setup and ensuring the safety of your important files!
Conclusion
Congratulations on successfully making your external hard drive the default storage location! By following the steps outlined in this guide, you have expanded your computer’s storage capacity, organized your files, and gained the convenience of automatic file saving.
We began by connecting the external hard drive to your computer and formatting it to the appropriate file system. Then, we assigned a drive letter to the external hard drive, allowing your operating system to recognize it as a separate storage device. Next, we changed the default save location, ensuring that new files are automatically saved to the external hard drive.
Following that, we covered the process of copying files to the external hard drive, allowing you to transfer your documents, photos, videos, and other files to your new default storage location. Finally, we verified that the external hard drive is correctly set as the default storage location, confirming that your files are saved directly to the external drive.
With the external hard drive as your default storage location, you can now enjoy the benefits of additional space, improved organization, and the peace of mind that comes from having your files safely backed up.
Remember to keep your external hard drive connected to your computer whenever you want to access or save files. Additionally, make sure to safely eject the external hard drive before disconnecting it to prevent any data corruption or loss.
Thank you for following this guide on how to make your external hard drive the default storage location. We hope you find this information helpful and that it enhances your computing experience.