Introduction
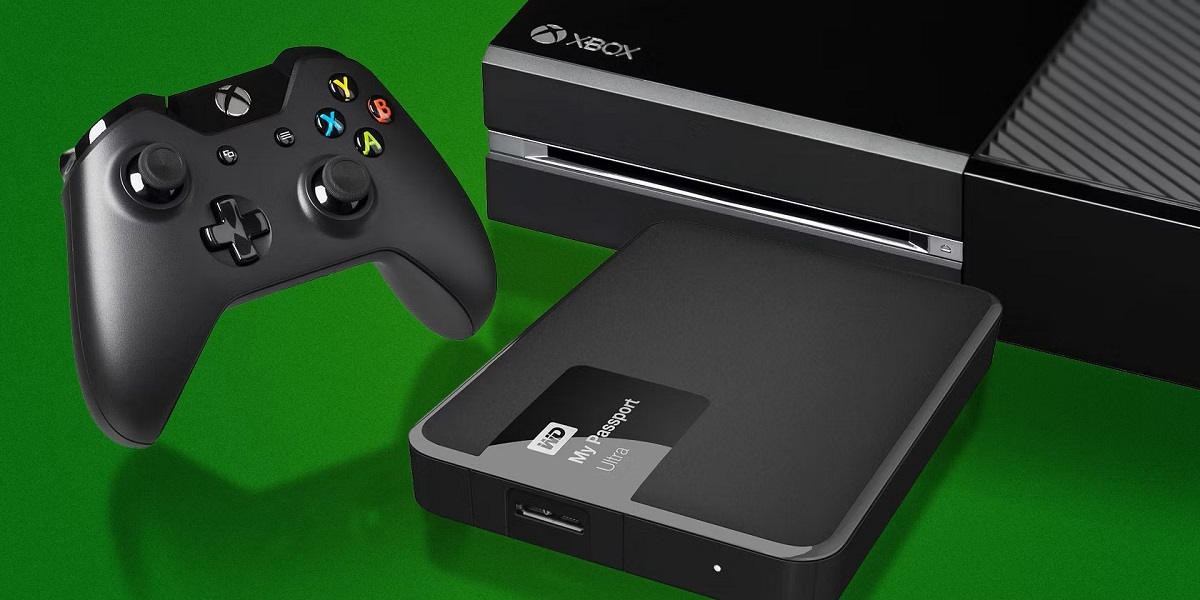
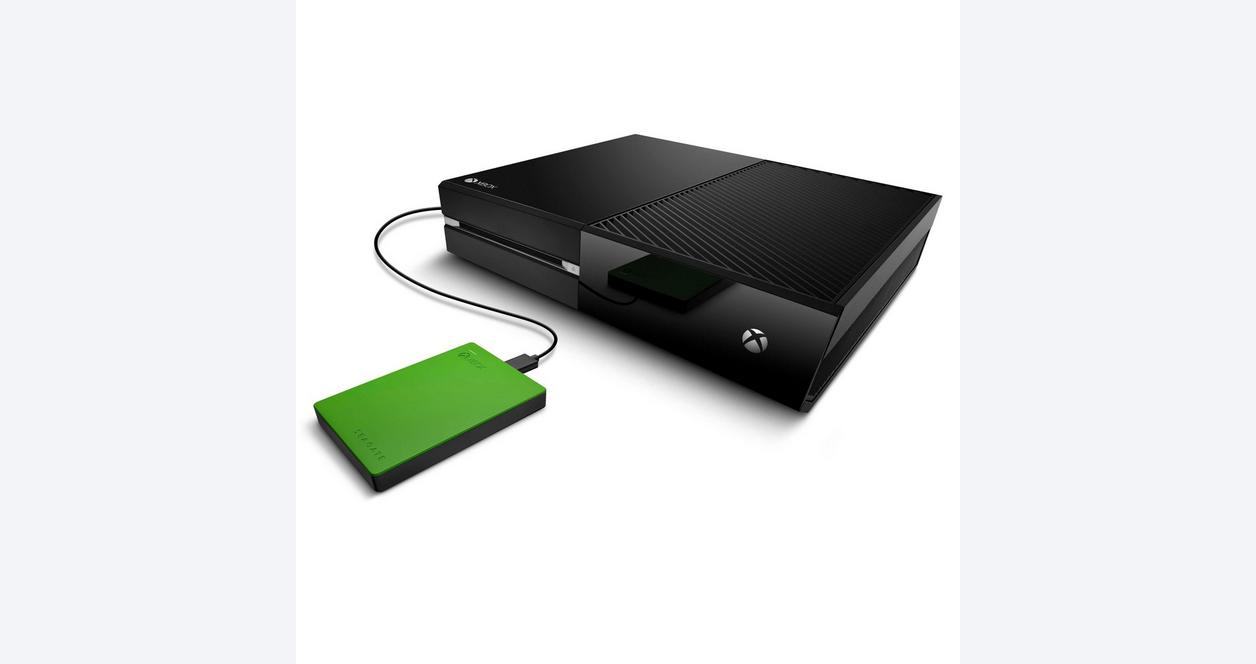
Welcome to this step-by-step guide on setting up an external hard drive for your Xbox One. If you’re running out of storage space on your console or simply prefer to have a dedicated drive for game installations, an external hard drive can be a great solution. By connecting an external hard drive to your Xbox One, you can expand your storage capacity and have more room for your favorite games.
With the increasing size of modern games, having additional storage is essential to keep up with the growing library of titles. The Xbox One allows you to easily connect an external hard drive to your console and configure it as the primary storage for game installations. This means you’ll no longer have to worry about deleting games to make space for new ones.
In this guide, we’ll walk you through the process of setting up an external hard drive for your Xbox One. We’ll cover everything from formatting the drive to transferring games and managing your game library. By the end of this guide, you’ll have a fully functional external hard drive connected to your Xbox One, ready to provide you with ample storage for all your gaming needs.
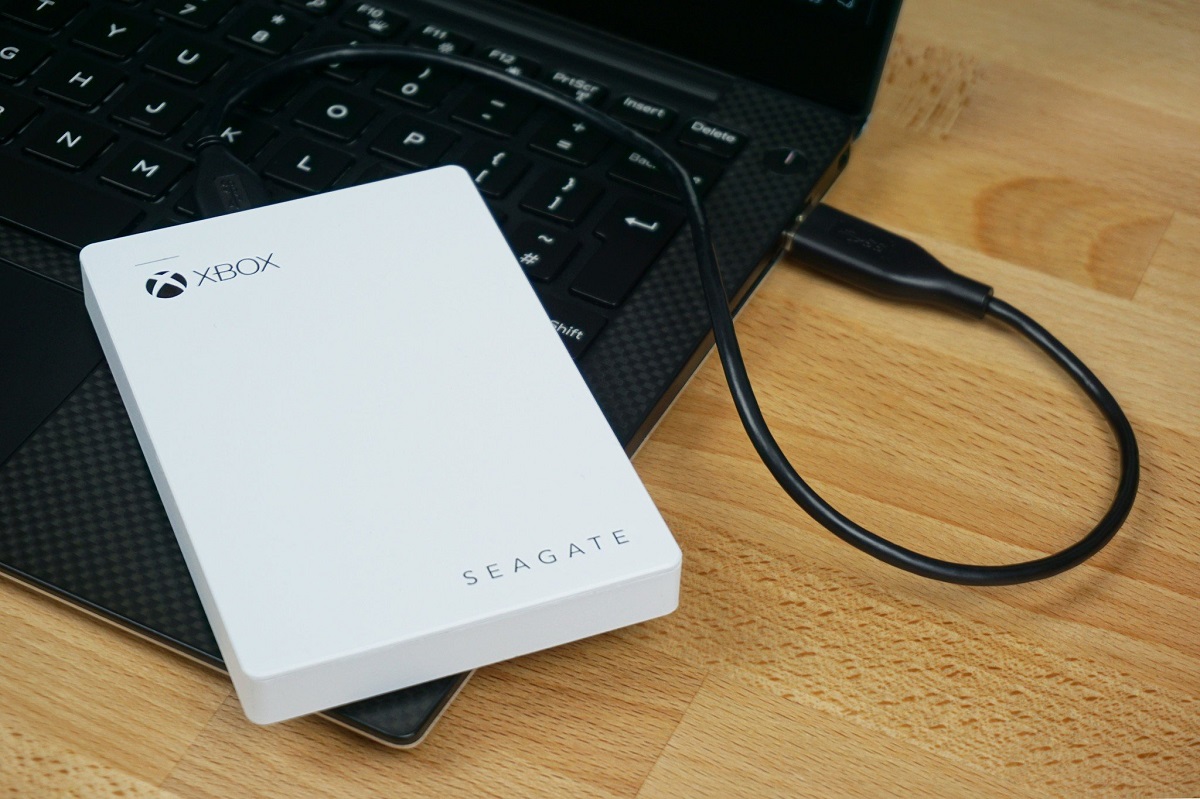
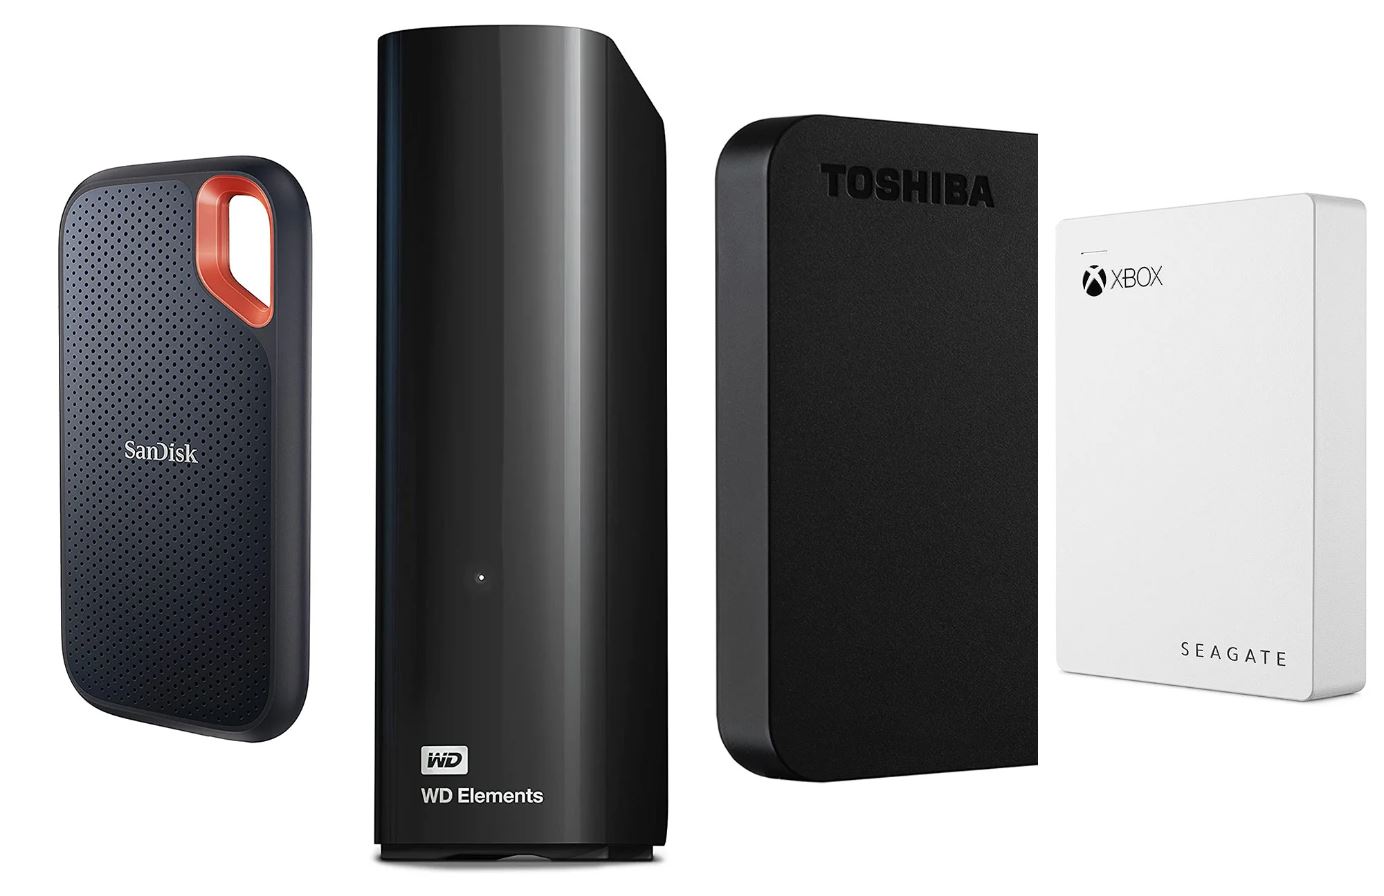
Before we get started, it’s important to note that not all external hard drives are compatible with the Xbox One. Make sure to check the requirements and recommendations from Microsoft to ensure the external hard drive you choose is compatible with your console. Additionally, it’s advisable to use an external hard drive with USB 3.0 for optimal performance.
Now, let’s dive into the step-by-step process of setting up an external hard drive for your Xbox One!
Step 1: Formatting the External Hard Drive
The first step in setting up an external hard drive for your Xbox One is to format the drive specifically for use with the console. Xbox One requires the external hard drive to be formatted in a specific way, which is different from the standard format used by computers.
To format the external hard drive, follow these steps:
- Connect the external hard drive to your Xbox One using a USB cable. Make sure the console is powered on.
- Once the drive is connected, navigate to the home screen on your Xbox One.
- Using your controller, press the Xbox button to bring up the Guide.
- Scroll down and select Settings.
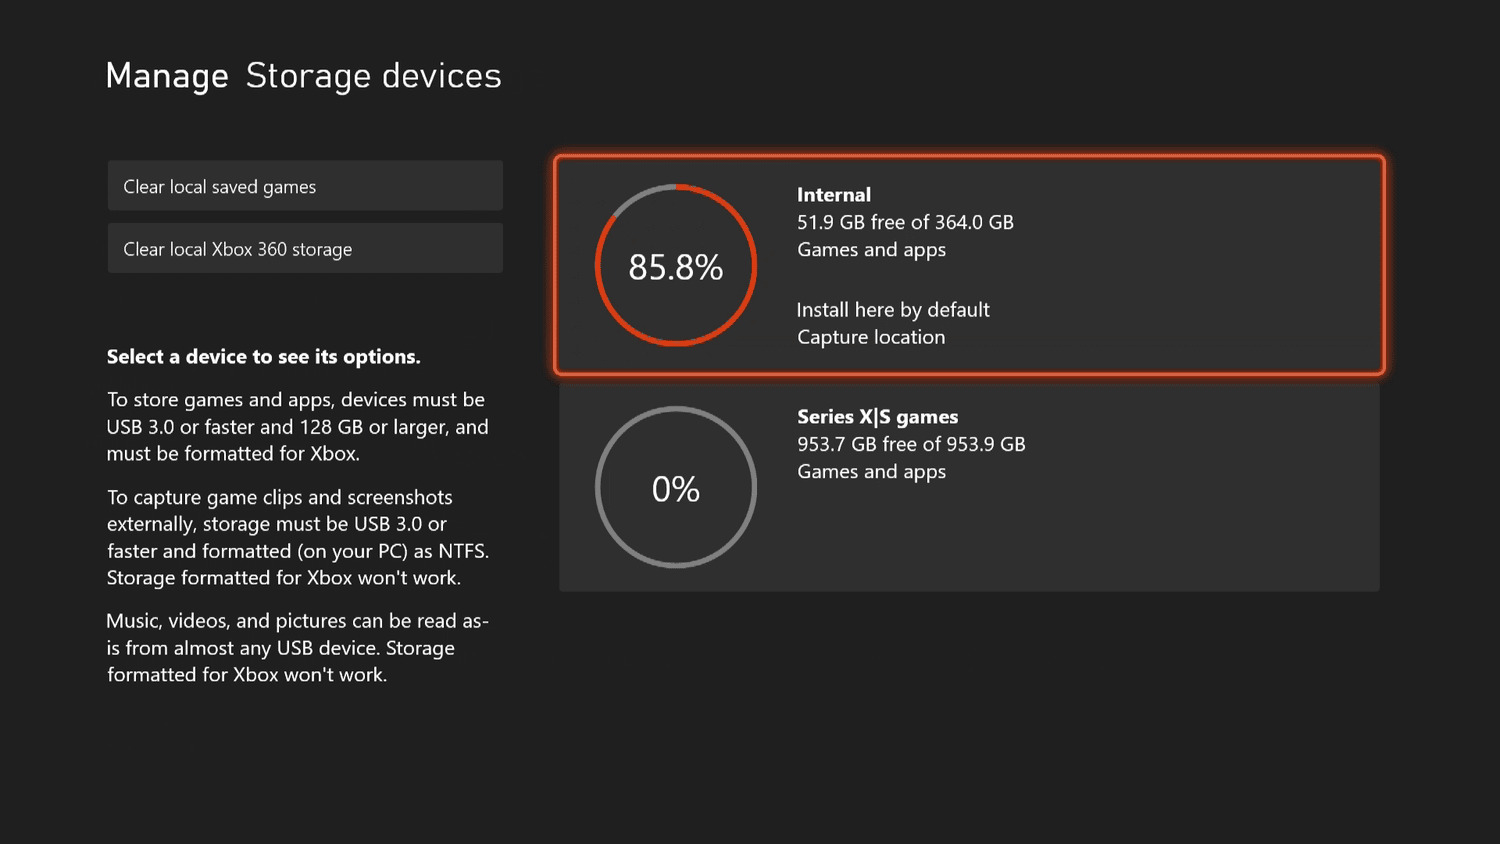
- In the Settings menu, navigate to System and select Storage.
- Under the Manage Storage section, you’ll see the external hard drive listed as a storage device. Select it.
- A prompt will appear asking if you want to format the drive for use with the Xbox One. Select Format storage device.
- You’ll be given the option to choose between Format storage device or Cancel. Select Format storage device to proceed.
- A warning will appear, informing you that all data on the drive will be erased. Make sure you have backed up any important data before proceeding. Select Yes to confirm and start the formatting process.
- Wait for the formatting process to complete. This may take a few minutes.
Once the formatting process is finished, your external hard drive will be formatted specifically for use with the Xbox One. You can now move on to the next step of connecting the drive to the console.
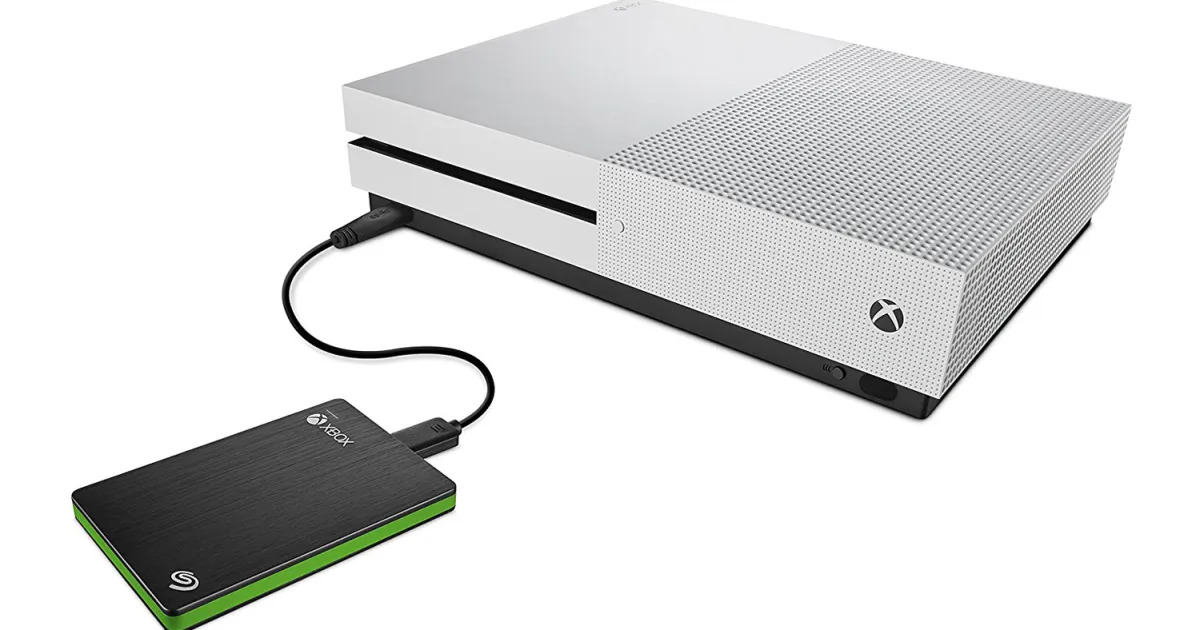
Step 2: Connecting the External Hard Drive to the Xbox One
Now that you have successfully formatted your external hard drive for use with your Xbox One, it’s time to connect the drive to the console. Follow these steps to connect the external hard drive:
- Ensure that your Xbox One is powered off before proceeding.
- Locate one of the available USB ports on your Xbox One console. These ports are usually located on the front or back of the console.
- Take the USB cable that came with your external hard drive and plug one end into the USB port on the Xbox One console.
- Take the other end of the USB cable and plug it into the corresponding port on the external hard drive.
- Once the external hard drive is securely connected to the Xbox One, you can proceed to power on the console.
- Press the Xbox button on your controller to power on the console. The Xbox One will detect the external hard drive and prompt you to set it up.
- Follow the on-screen instructions to configure the external hard drive as the default storage for game installations.
Once you have completed these steps, your external hard drive should now be connected to your Xbox One. The console will automatically recognize the drive as the primary storage for game installations, freeing up space on the internal storage of the console.
It’s important to note that once the external hard drive is connected and set up, it is recommended not to disconnect it or unplug it while the Xbox One is in use. Doing so may cause data corruption or loss. If you do need to disconnect the drive, make sure to properly eject it from the console first to avoid any potential issues.
Now that your external hard drive is connected to your Xbox One, you are ready to proceed to the next step of configuring the drive for game installations.
Step 3: Configuring the External Hard Drive for Game Installs
Now that your external hard drive is connected to your Xbox One, it’s time to configure it as the default storage for game installations. Follow these steps to properly set up your external hard drive:
- Power on your Xbox One console.
- Once the console is powered on, press the Xbox button on your controller to open the Guide.
- Scroll down and select Settings.
- In the Settings menu, navigate to System and select Storage.
- Under the Manage Storage section, you will see the external hard drive listed as an option. Select it.
- In the external hard drive menu, you’ll see the option to Format for games & apps. Select it to configure the drive for game installations.
- Follow the on-screen instructions to confirm and proceed with the formatting process. This process may take a few moments.
- Once the formatting is complete, your external hard drive will be set up as the default storage for game installations.
By setting up your external hard drive as the default storage for game installations, any new games or apps you download will automatically be saved to the external drive rather than the internal storage of the Xbox One. This will help to free up space on the internal storage and ensure that you have enough room for all your favorite games.
Additionally, any existing games or apps on your console’s internal storage can be easily moved to the external hard drive. Simply navigate to the Manage Storage section in the Storage settings, select the game or app you wish to move, and choose the Move option. This will transfer the selected game or app to the external hard drive, freeing up space on your console.
With your external hard drive configured for game installations, you’ll have plenty of space to download and play all your favorite games without worrying about storage limitations.
Step 4: Transferring Games to the External Hard Drive
Now that your external hard drive is set up as the default storage for game installations on your Xbox One, it’s time to transfer your existing games to the external drive to free up space on the console’s internal storage. Follow these steps to transfer games to the external hard drive:
- Power on your Xbox One console.
- Using your controller, press the Xbox button to open the Guide.
- Scroll down and select My Games & Apps from the menu.
- In the My Games & Apps section, navigate to the Games tab.
- Here, you’ll see a list of all the games installed on your console.
- Select the game you want to transfer to the external hard drive. You can choose multiple games by pressing the A button on your controller for each game.
- Once you’ve selected the games you want to transfer, press the Menu button on your controller (the button with three lines).
- A menu will appear. Select Manage game & add-ons.
- In the Manage game & add-ons menu, select Move all.
- A list of available storage devices will appear. Select your external hard drive.
- The selected games will begin transferring to the external hard drive. This process may take some time depending on the size of the games.
Once the transfer process is complete, the games you chose will be moved from the internal storage of your Xbox One to the external hard drive. This will free up space on the console’s internal drive while allowing you to still access and play the games from the external drive.
It’s important to note that while the games are being transferred, you may not be able to play them until the transfer is complete. Be patient and let the process finish to ensure the games are properly moved to the external hard drive.
Repeat these steps for any other games you want to transfer to the external hard drive. By moving games to the external drive, you’ll ensure that you have enough space on your console for future game installations.
Step 5: Setting the Default Installation Destination
Now that your games have been transferred to the external hard drive, it’s time to set it as the default installation destination for future game downloads. This way, any new games or apps you download will automatically install on the external drive. Follow these steps to set the default installation destination:
- Power on your Xbox One console.
- Press the Xbox button on your controller to open the Guide.
- Scroll down and select Settings from the menu.
- In the Settings menu, navigate to the System section and select Storage.
- Under the Manage Storage section, you’ll see the internal and external storage options.
- Select the external hard drive as the default installation location by choosing Install new things here.
By selecting the external hard drive as the default installation location, you ensure that any new games or apps you download will be automatically installed on the external drive instead of the internal storage of your Xbox One. This helps to conserve space on the console’s internal drive and keeps your external drive dedicated to game installations.
If at any point you want to change the default installation location back to the internal storage, simply follow the same steps and choose the internal storage as the default location. This gives you the flexibility to manage storage options according to your needs.
Remember, once you set the default installation destination, all future game downloads will automatically install on the chosen storage device. However, you can still manually choose where to install games during the download process if you prefer to install a specific game on a different storage device temporarily.
With the default installation destination set to your external hard drive, you can now enjoy downloading and installing new games without worrying about running out of space on your Xbox One’s internal storage.
Step 6: Managing and Organizing Games on the External Hard Drive
Now that your games are stored on the external hard drive, it’s important to manage and organize them effectively. This will help you keep track of your game library and easily access the games you want to play. Follow these tips to manage and organize games on your external hard drive:
- Power on your Xbox One console and make sure the external hard drive is connected.
- Press the Xbox button on your controller to open the Guide.
- Scroll down and select My Games & Apps from the menu.
- In the My Games & Apps section, navigate to the Games tab.
- Here, you’ll see a list of all the games installed on your external hard drive.
- Use the Sort option to arrange your games by various categories such as Title, Last Used, or Size.
- You can also use the Filter option to view specific categories of games, such as Xbox Game Pass titles or EA Play games.
- Create game collections or groups to further organize your library. This can be done by selecting the games, pressing the Menu button, and choosing Add to group.
- Assign appropriate names to your game collections to easily identify them, such as “Action Games,” “Sports Games,” or “Favorites.”
- You can also remove games from your external hard drive by selecting the game, pressing the Menu button, and choosing Manage game followed by Uninstall.
By managing and organizing your games on the external hard drive, you can quickly find and access the games you want to play. This makes it easier to navigate your game library and eliminates clutter on your console’s internal storage.
Additionally, periodically checking for game updates is essential. Simply select the game, press the Menu button, and choose Manage game followed by Updates. This ensures that your games are up to date with the latest patches and improvements.
Remember to keep an eye on the storage capacity of your external hard drive. If you find yourself running out of space, you can either uninstall games to free up room for new ones or consider adding another external hard drive to further expand your storage capacity.
By effectively managing and organizing your games on the external hard drive, you can maintain a well-structured game library and enjoy easy access to your favorite titles on your Xbox One.
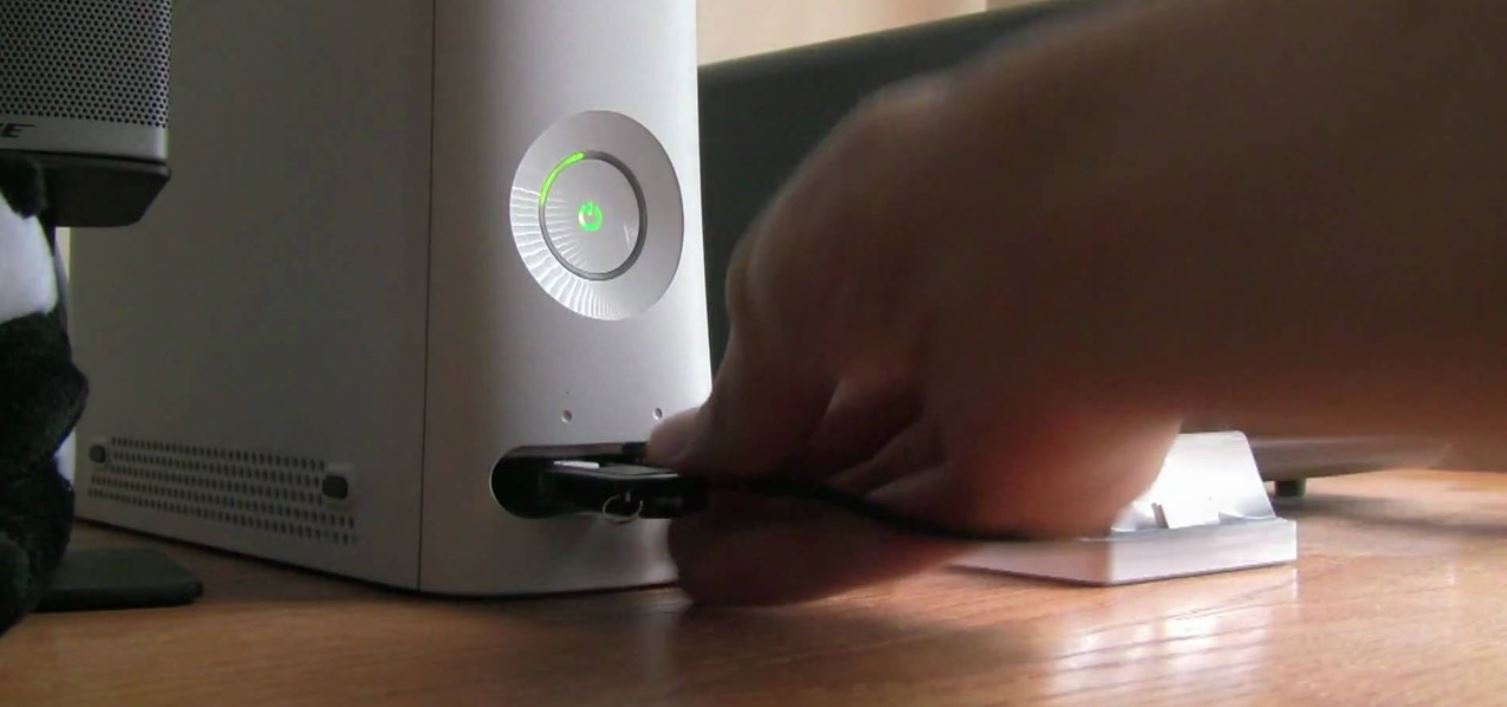
Step 7: Safely Disconnecting the External Hard Drive
When you’re finished using your Xbox One and want to safely remove or disconnect the external hard drive, it’s important to follow the proper steps to avoid any data loss or corruption. Here’s how you can safely disconnect the external hard drive:
- Make sure your Xbox One console is powered off or in standby mode.
- Press the Xbox button on your controller to open the Guide.
- Scroll down and select Settings from the menu.
- In the Settings menu, navigate to the System section and select Storage.
- Under the Manage Storage section, select the external hard drive.
- In the external hard drive menu, choose Eject to safely remove the hard drive from the Xbox One.
- Wait until you receive a notification indicating that it is safe to remove the drive.
- Disconnect the USB cable from the console and then from the external hard drive.
It’s crucial to eject the external hard drive properly from the Xbox One before physically disconnecting it. By doing so, you ensure that all data has been safely written and any processes involving the drive have been completed. This helps to prevent data loss or damage to the integrity of your files.
If you accidentally disconnect the external hard drive without properly ejecting it, don’t panic. Simply reconnect the drive and follow the same steps to safely eject it from the console.
Remember, always handle the external hard drive with care and avoid any physical shocks or falls that can cause damage to the device or the data stored on it.
By following these steps to safely disconnect the external hard drive from your Xbox One, you can maintain the integrity of your game data and ensure a smooth gaming experience whenever you connect it again.
Conclusion
Congratulations! You have successfully set up and configured an external hard drive for your Xbox One. By following the steps outlined in this guide, you have expanded your storage capacity, organized your game library, and ensured smooth gameplay without worrying about limited space on your console’s internal storage.
Remember, formatting the external hard drive specifically for use with the Xbox One, connecting it to the console, configuring it as the default installation destination, and transferring games to the external drive are essential steps in maximizing your gaming experience. By properly managing and organizing your games on the external hard drive, you can easily access your favorite titles and stay organized as your collection grows.
When you’re done gaming, be sure to follow the proper steps to safely disconnect the external hard drive from your Xbox One. This helps protect your data and maintain the integrity of your game library for future play sessions.
With your external hard drive set up, you can now enjoy a larger game library, faster load times, and an overall smoother gaming experience. No more worrying about running out of storage space or having to delete games to make room for new ones.
So go ahead, immerse yourself in the world of gaming with the peace of mind that comes with having abundant storage for all your favorite titles. Happy gaming!