Introduction
Welcome to this guide on how to remove a hard disk drive from an external drive enclosure. Whether you’re upgrading your computer’s storage, replacing a faulty drive, or simply looking to repurpose your external drive, knowing how to safely remove the hard disk drive is essential. By following these steps, you’ll be able to take out the hard disk drive from the enclosure without causing any damage to the drive or the enclosure itself.
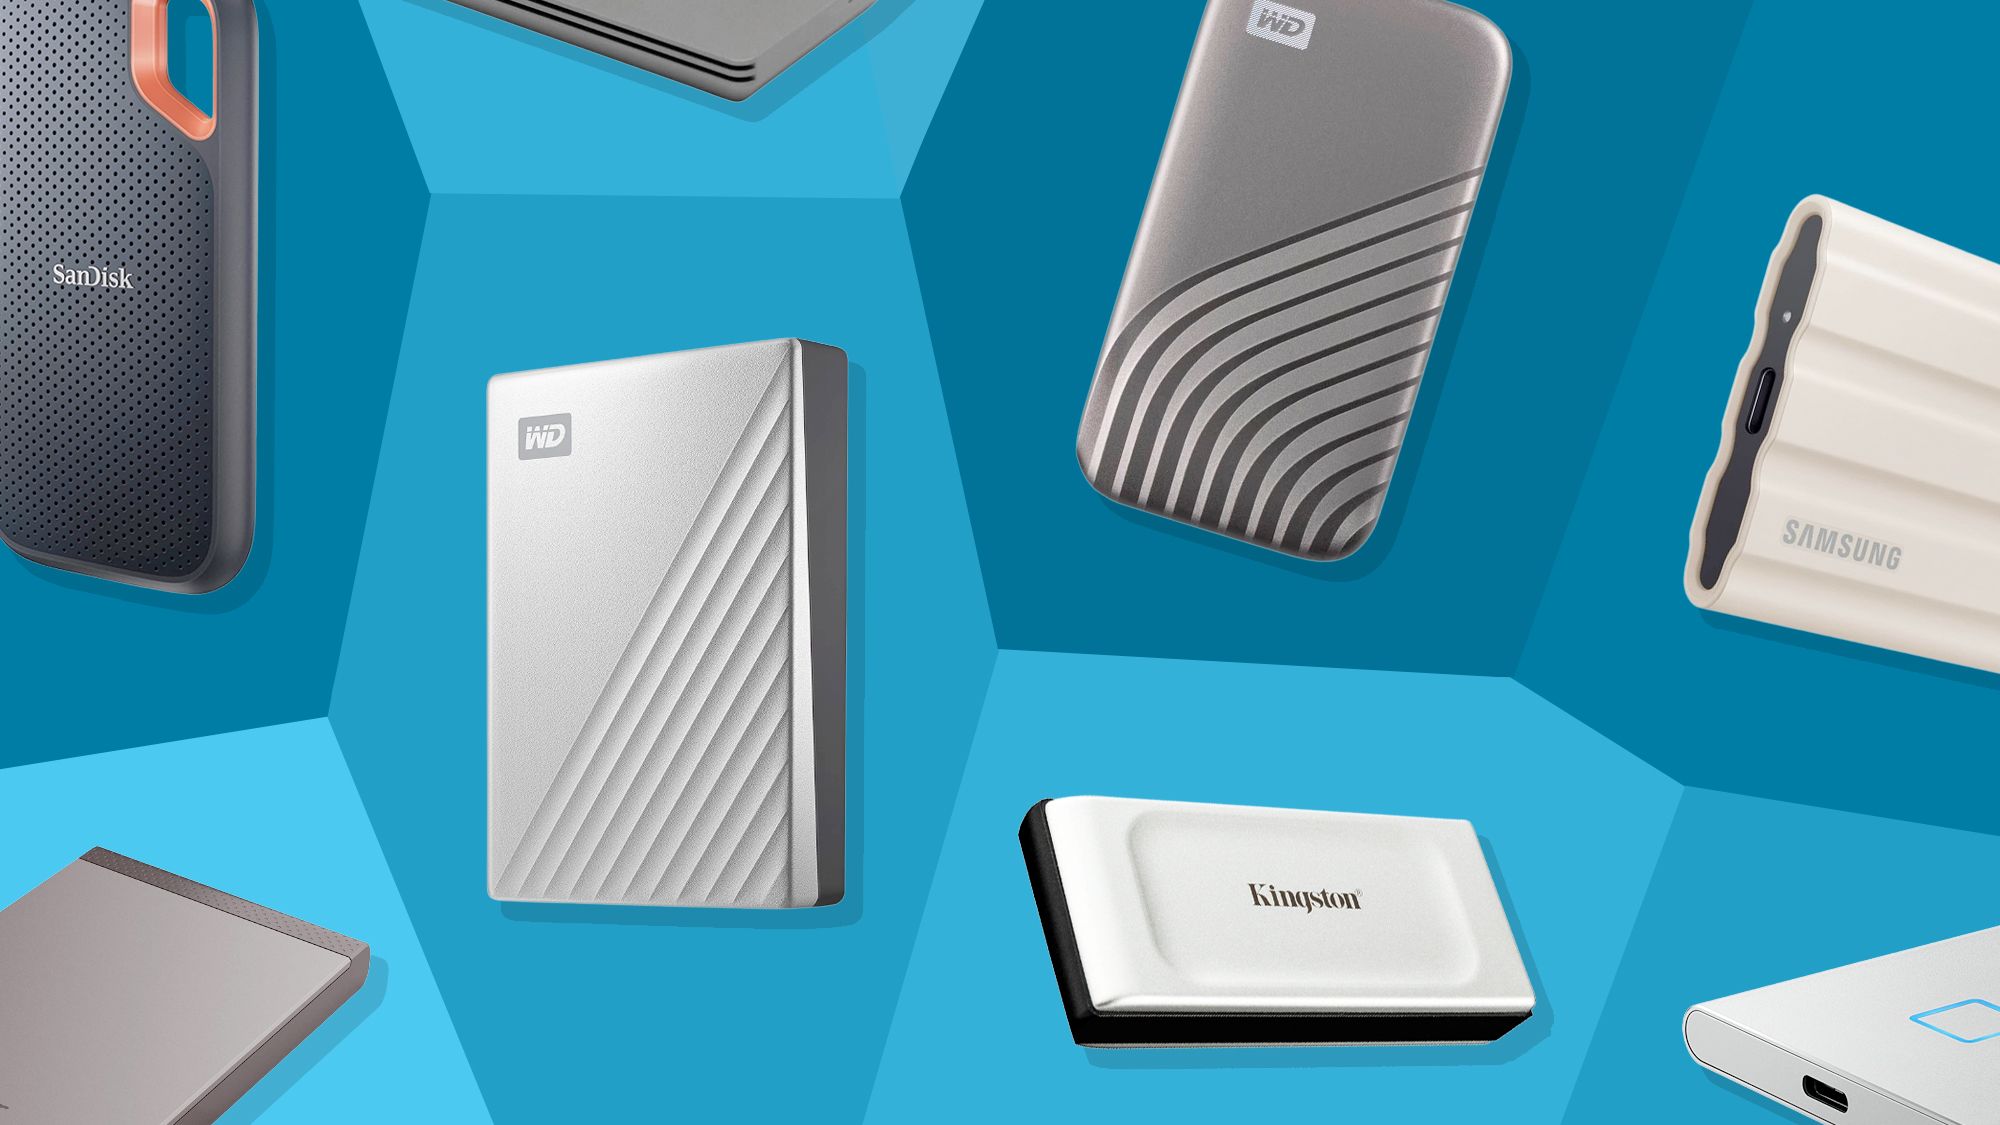
External drives are commonly used to store and backup important files, but over time, the hard disk drive inside may need to be replaced or used elsewhere. By removing the hard disk drive, you can either replace it with a larger capacity drive or repurpose it for other applications such as turning it into an internal drive in your computer.
However, it’s important to note that removing the hard disk drive from the enclosure will void any warranty on the drive and may cause data loss if not done properly. Therefore, it’s crucial to follow the steps outlined in this guide carefully and ensure you have all the necessary tools before proceeding.
In the following sections, we’ll go through each step in detail, from unplugging the external drive to storing the hard disk drive safely. By following these instructions, you’ll be able to remove the hard disk drive confidently and securely. Let’s get started!
Tools you will need
Before you begin removing the hard disk drive from the external drive enclosure, make sure you have the following tools on hand:
- Screwdriver: Depending on the type of enclosure, you may need a Phillips screwdriver or a Torx screwdriver to open the case. Check the enclosure’s documentation or visually inspect the screws to determine the type of screwdriver required.
- Anti-static wrist strap: To prevent any electrostatic discharge that could damage the hard disk drive, it is recommended to use an anti-static wrist strap. This strap will help dissipate any static electricity from your body.
- Work surface: Find a clean, flat surface to work on. Place a soft cloth or an anti-static mat on the surface to prevent any scratches or damage to the drive or enclosure.
While these are the essential tools you’ll need, it’s also a good idea to have a clean, well-lit workspace with ample room to maneuver. This will make the process easier and reduce the risk of accidentally dropping components or misplacing screws.
It’s worth noting that the specific tools required may vary depending on the make and model of the external drive enclosure. Some enclosures may have different types of screws or require additional tools. Therefore, it’s important to consult the documentation provided with the enclosure or the manufacturer’s website to ensure you have the necessary tools for your specific enclosure.
Once you have gathered all the required tools, you’re ready to move on to the next step: unplugging the external drive.
Step 1: Unplug the external drive
The first step in safely removing a hard disk drive from an external drive enclosure is to unplug the external drive from any power source or computer connection. This will help prevent any potential damage and ensure your safety during the process.
Follow these steps to unplug the external drive:
- Power off the external drive: If the external drive is powered on, make sure to properly shut it down or turn it off according to the manufacturer’s instructions. This will help protect the data on the hard disk drive and prevent any potential issues that could arise from an improper disconnection.
- Disconnect the power cord: Once the external drive is powered off, locate the power cord and unplug it from the power outlet or surge protector. This will completely remove power from the enclosure and eliminate any risk of electrical shock.
- Remove any data cables: Depending on how the external drive is connected to your computer or other devices, there may be data cables such as USB, Thunderbolt, or eSATA. Carefully unplug these cables from the external drive and any connected devices. It’s important to handle the cables by gripping the connectors, not tugging on the cables themselves, to avoid causing any damage.
Once you have unplugged the external drive and removed all power and data connections, you can move on to the next step: opening the external drive enclosure.
Step 2: Open the external drive enclosure
After disconnecting the external drive and ensuring it is no longer receiving power, the next step is to open the external drive enclosure. This will allow you to access the internal components, including the hard disk drive.
To open the external drive enclosure, follow these steps:
- Identify the screws: Examine the external drive enclosure for screws or fasteners that hold the case together. These screws are usually located on the back or sides of the enclosure. Check the user manual or manufacturer’s website for specific instructions on where the screws are located for your particular model.
- Use the appropriate screwdriver: Once you have identified the screws, select the appropriate screwdriver based on the type of screws used. Most external drive enclosures use either Phillips or Torx screws. Use the screwdriver to carefully loosen and remove the screws, keeping them in a safe place to avoid misplacement.
- Separate the enclosure: Once all the screws have been removed, gently separate the external drive enclosure’s casing. Be cautious and apply even pressure to avoid damaging any components inside. Depending on the design of the enclosure, the casing may simply slide off or require slight manipulation to open fully. Use caution and refer to the user manual if needed.
- Set aside the casing: Once the enclosure is open, carefully set aside the casing in a safe place. Keep it away from any liquids or static-prone areas to prevent accidental damage.
With the external drive enclosure open and the casing safely set aside, you can now proceed to the next step: locating the hard disk drive within the enclosure.
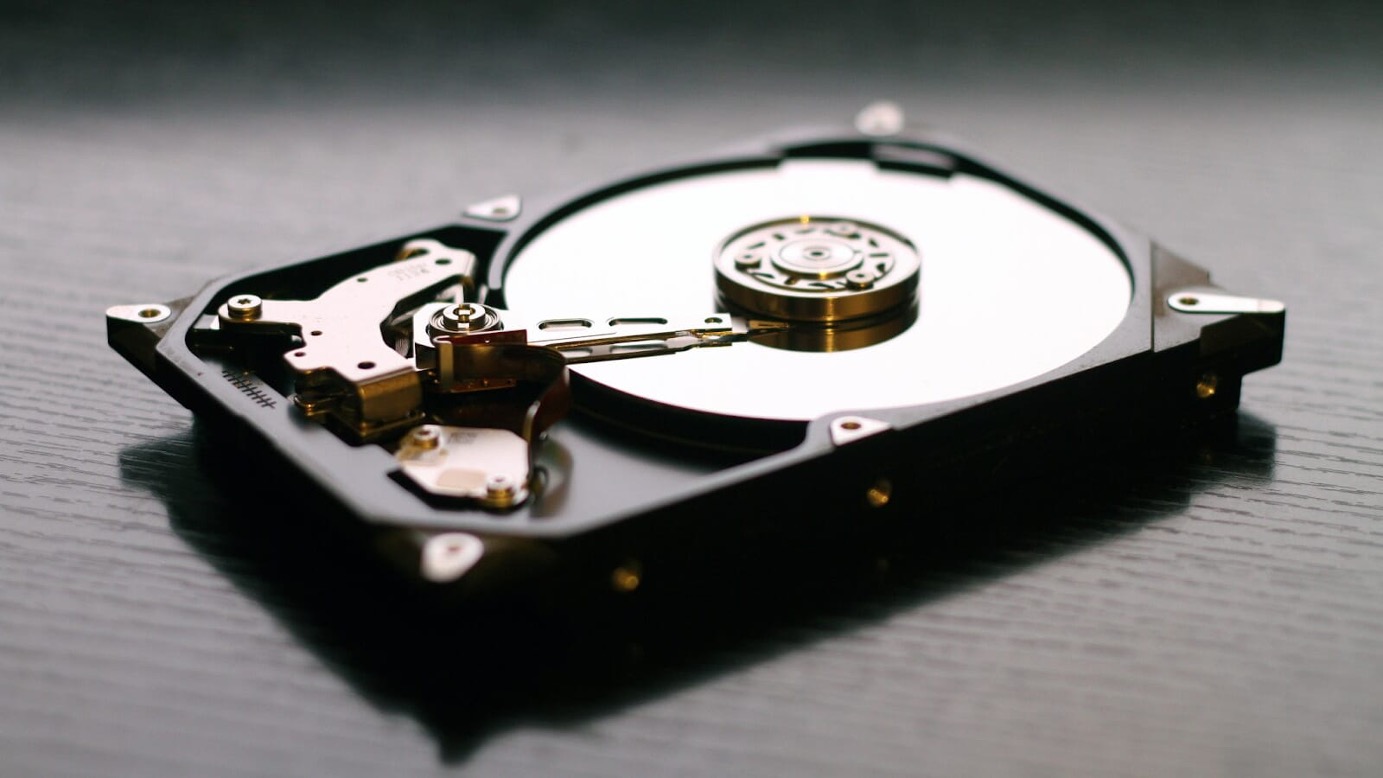
Step 3: Locate the hard disk drive
Now that you have successfully opened the external drive enclosure, it’s time to locate the hard disk drive inside. The hard disk drive is the component that stores your data and will need to be removed from the enclosure.
Follow these steps to locate the hard disk drive:
- Observe the internal layout: Take a moment to examine the internal layout of the enclosure. Look for any components or cables that may obstruct your access to the hard disk drive. Pay attention to how the drive is positioned and connected within the enclosure.
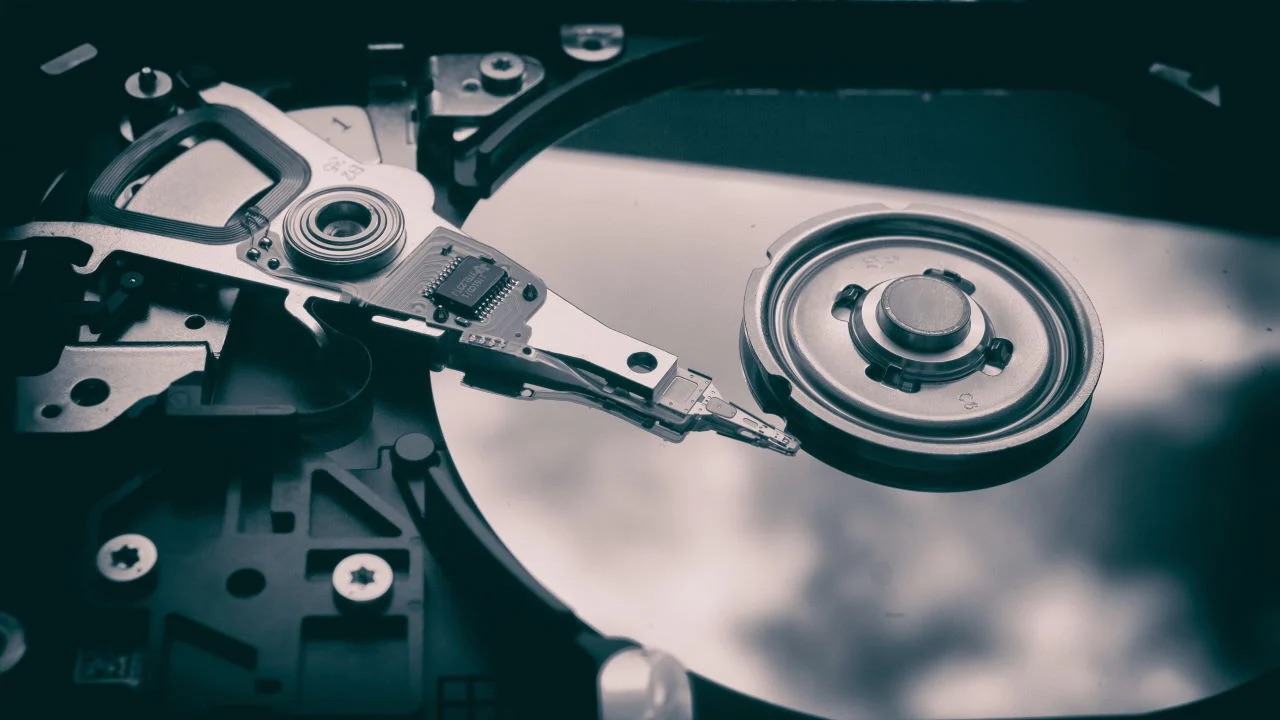
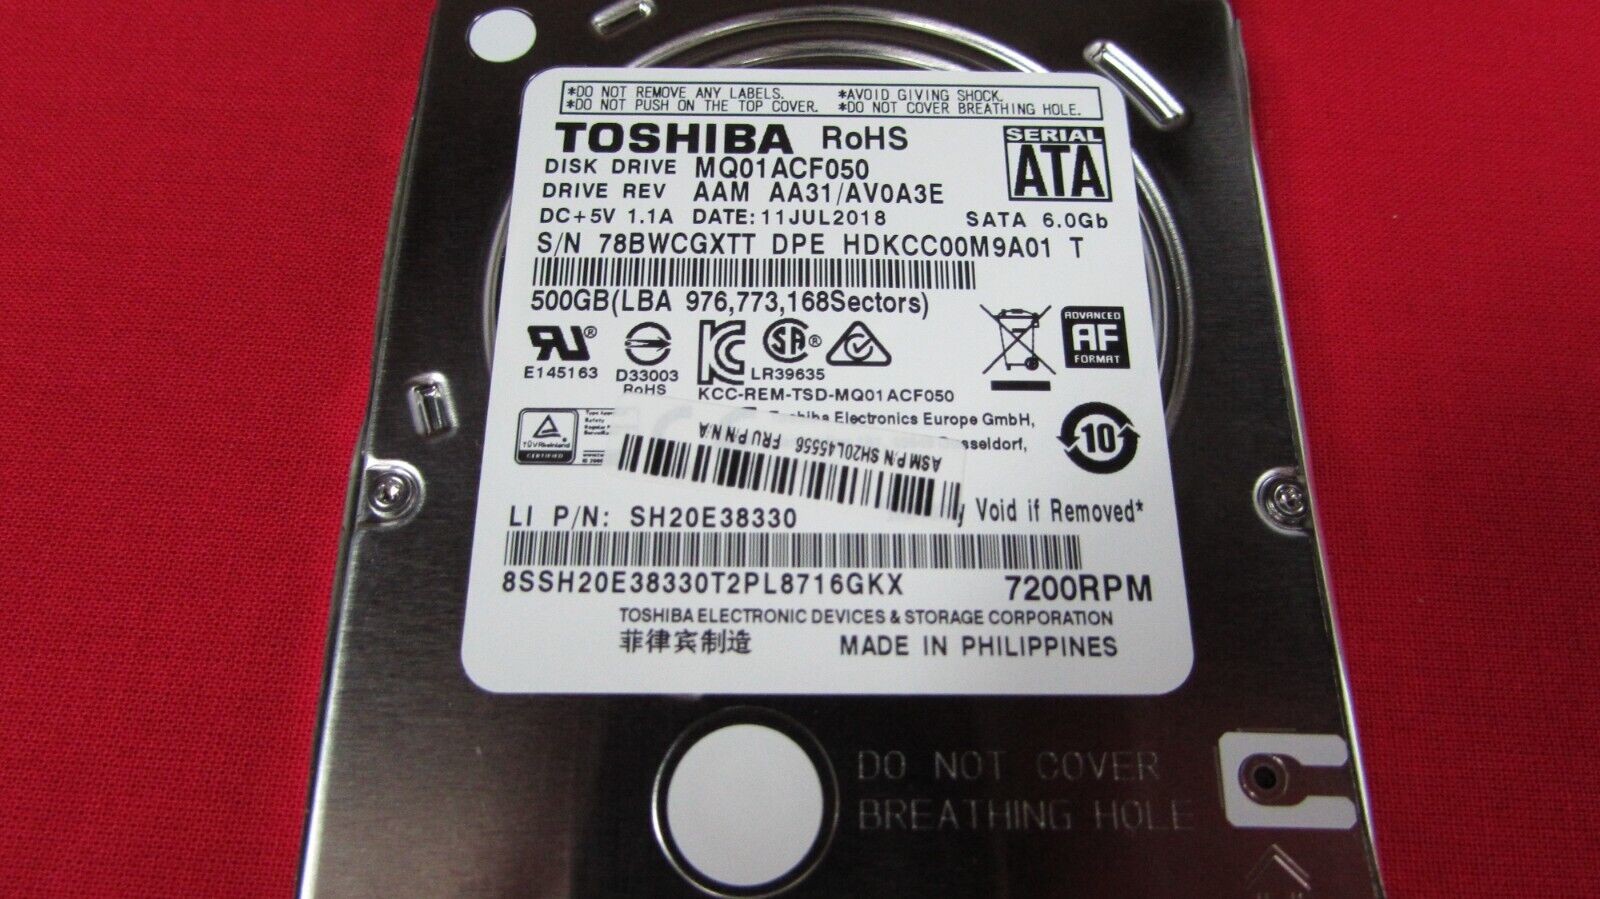
- Identify the hard disk drive: Look for the rectangular-shaped device within the enclosure. It will typically be attached to a circuit board and have multiple connectors and cables connected to it. The hard disk drive is usually secured in place with screws, brackets, or other mounting mechanisms.
- Remove any obstructions: If there are any cables or components obstructing your access to the hard disk drive, carefully disconnect or remove them. Take note of how these cables are connected, as you will need to reattach them later if you are replacing the hard disk drive.
- Inspect the drive connections: Take a close look at the connectors and cables attached to the hard disk drive. Identify the power connector and the data connector, typically a SATA or IDE interface. These connectors will need to be detached in the next step to remove the drive.
With the hard disk drive located within the enclosure and any obstructions removed, you are now ready to proceed to the next step: disconnecting the cables that are connected to the drive.
Step 4: Disconnect the cables
With the hard disk drive located within the external drive enclosure, the next step is to disconnect the cables that are connected to the drive. This will allow you to remove the drive safely without causing any damage to the connectors or cables.
Follow these steps to disconnect the cables:
- Identify the power cable: Locate the power cable connected to the hard disk drive. This cable supplies power to the drive and is usually a standard power connector, such as a SATA power connector or a Molex connector. Carefully grasp the connector and gently pull it away from the drive to disconnect it.
- Disconnect the data cable: Next, identify the data cable connected to the hard disk drive. This cable enables data transfer between the drive and the computer or other devices. Depending on the enclosure, the data cable may be a SATA or IDE cable. To disconnect the cable, locate the connector on the drive and gently pull it away or release any securing mechanism (such as a latch or clip) before disconnecting it.
- Secure the cables: Once the cables are disconnected, carefully secure them to prevent them from getting tangled or damaged. You can use twist ties or cable clips to neatly secure the cables to other parts of the enclosure or simply set them aside in a safe place.
- Inspect the connectors: Before proceeding to the next step, take a moment to inspect the connectors on the hard disk drive. Ensure that there are no bent or damaged pins or any other visible issues with the connectors. If you notice any problems, handle the drive with extra care to avoid exacerbating the issue.
With the cables safely disconnected from the hard disk drive, you’re now ready to move on to the next step: removing the hard disk drive from the external drive enclosure.
Step 5: Remove the hard disk drive
Now that you have successfully disconnected the cables from the hard disk drive, it’s time to remove the drive from the external drive enclosure. Taking caution and following the proper procedures will help ensure the safe removal of the hard disk drive.
Follow these steps to remove the hard disk drive:
- Secure the enclosure: Hold the external drive enclosure securely with one hand to prevent it from moving or sliding while removing the hard disk drive.
- Identify the mounting method: Take note of how the hard disk drive is secured within the enclosure. It may be held in place with screws, brackets, or other mounting mechanisms. Some enclosures may have trays or caddies that need to be removed before accessing the drive.
- Remove the mounting screws: If the hard disk drive is secured with mounting screws, use the appropriate screwdriver to remove them. Gently loosen and remove each screw, keeping them in a safe place to avoid misplacement.
- Slide or lift the drive: Once the mounting screws are removed, carefully slide or lift the hard disk drive out of the enclosure. Take precaution not to apply excessive force or twist the drive during removal to avoid any damage.
- Handle the drive with care: When handling the hard disk drive, avoid touching any exposed circuits or components. Hold the drive by its edges, ensuring a firm grip without applying unnecessary pressure.
Congratulations! You have successfully removed the hard disk drive from the external drive enclosure. Now it’s time to move on to the final step: storing the hard disk drive safely.
Step 6: Store the hard disk drive safely
After successfully removing the hard disk drive from the external drive enclosure, it is important to store it safely to protect it from damage and ensure its longevity. Proper storage will help preserve the drive and any data stored on it.
Follow these steps to store the hard disk drive safely:
- Place the drive in an anti-static bag: To protect the hard disk drive from electrostatic discharge, place it inside an anti-static bag. This will help prevent damage caused by static electricity when storing or handling the drive.
- Find a suitable storage location: Choose a clean, dry, and cool place to store the hard disk drive. Avoid areas with excessive dust, moisture, or temperature fluctuations, as these conditions can potentially harm the drive.
- Avoid stacking or crushing: When storing the hard disk drive, ensure that it is not subjected to any excessive weight, pressure, or stacking. This will help prevent physical damage to the drive and reduce the risk of data loss.
- Label and organize: Consider labeling the anti-static bag or creating a separate storage system to easily identify and retrieve the hard disk drive when needed. This will help you keep track of your storage devices and prevent confusion.
- Backup your data: Before storing the hard disk drive, it is advisable to make a backup of any important data it contains. This will provide an additional layer of protection in case of accidental loss, damage, or other unforeseen circumstances.
By following these steps, you can ensure that your hard disk drive is stored safely and kept in optimal condition until you are ready to use it again or repurpose it for another purpose.
Conclusion
Congratulations! You have successfully learned how to remove a hard disk drive from an external drive enclosure. By following the steps outlined in this guide, you can safely and effectively extract the hard disk drive without causing any damage to the drive or the enclosure itself.
Removing the hard disk drive from the external enclosure allows you to upgrade your computer’s storage capacity, replace a faulty drive, or repurpose the drive for other applications. It is essential to follow the steps carefully, as improper handling can result in data loss or damage to the drive.
Remember to gather all the necessary tools before starting the process, such as the appropriate screwdriver and an anti-static wrist strap. Additionally, ensure that you have a clean and organized workspace to work in. Taking these precautions will significantly reduce the risk of accidents or misplacing important components.
Once you have successfully removed the hard disk drive, store it in a safe and suitable location. Place it in an anti-static bag to protect it from electrostatic discharge, and avoid stacking or crushing the drive to prevent physical damage. Proper labeling and organizing will help you keep track of your storage devices for future use.
Remember to take the extra step of backing up any important data on the hard disk drive before storing it. This ensures that your data remains safe and accessible in case of any unforeseen circumstances or accidents.
By following these steps and taking the necessary precautions, you can confidently remove and store the hard disk drive from an external drive enclosure. Whether you’re upgrading, replacing, or repurposing your drive, knowing how to handle the process correctly ensures the longevity and usability of the drive.