Introduction
Welcome to a delicious journey into the world of homemade ice cream! If you’re a fan of the classic combination of cookies and cream, this recipe is sure to delight your taste buds. Making cookies and cream ice cream from scratch is not only fun but also allows you to customize the flavor to your liking.
Imagine indulging in rich and creamy ice cream, filled with chunks of your favorite cookies. Whether it’s traditional chocolate sandwich cookies or a unique flavor like salted caramel or mint chocolate chip, this recipe offers endless possibilities for flavor variations.
With the help of an ice cream maker, you can create a velvety, smooth ice cream base that serves as the perfect canvas for incorporating your favorite cookies. The combination of the smooth ice cream and the crunchy texture of the cookies creates a delightful contrast that will leave you wanting more.
In this article, we will guide you through the step-by-step process of making homemade cookies and cream ice cream using an ice cream maker. We’ll cover the ingredients you’ll need, the equipment necessary, and the techniques required to achieve that creamy and dreamy texture.
Whether you’re a beginner in the world of homemade ice cream or an experienced home chef looking for a new dessert to impress your loved ones, this recipe is perfect for you. So, let’s dive in and discover how to make this mouthwatering treat that’s sure to become a family favorite.
Ingredients
Before venturing into making cookies and cream ice cream, let’s gather all the necessary ingredients. Here’s what you’ll need:
- 2 cups heavy cream: This high-fat content cream will give your ice cream its creamy and luxurious texture.
- 1 cup whole milk: The milk adds richness to the ice cream base and helps achieve the desired consistency.
- ¾ cup granulated sugar: Sweetness is essential in any ice cream recipe, and granulated sugar does the trick.
- 4 large egg yolks: The egg yolks help emulsify the ice cream base and create a smooth texture.
- 2 teaspoons pure vanilla extract: Vanilla extract adds a lovely flavor to the ice cream base and enhances the overall taste profile.
- 1 cup crushed cookies: Choose your favorite cookies to incorporate into the ice cream. Traditional chocolate sandwich cookies work perfectly, but you can also experiment with other flavors, such as peanut butter or caramel cookies.
That’s it! With just a handful of ingredients, you can create a delectable batch of homemade cookies and cream ice cream. Now, let’s move on to the equipment you’ll need for this recipe.
Equipment
To make cookies and cream ice cream, you’ll need a few essential pieces of equipment. Don’t worry; you don’t need any fancy gadgets or machines. Here’s what you’ll need:
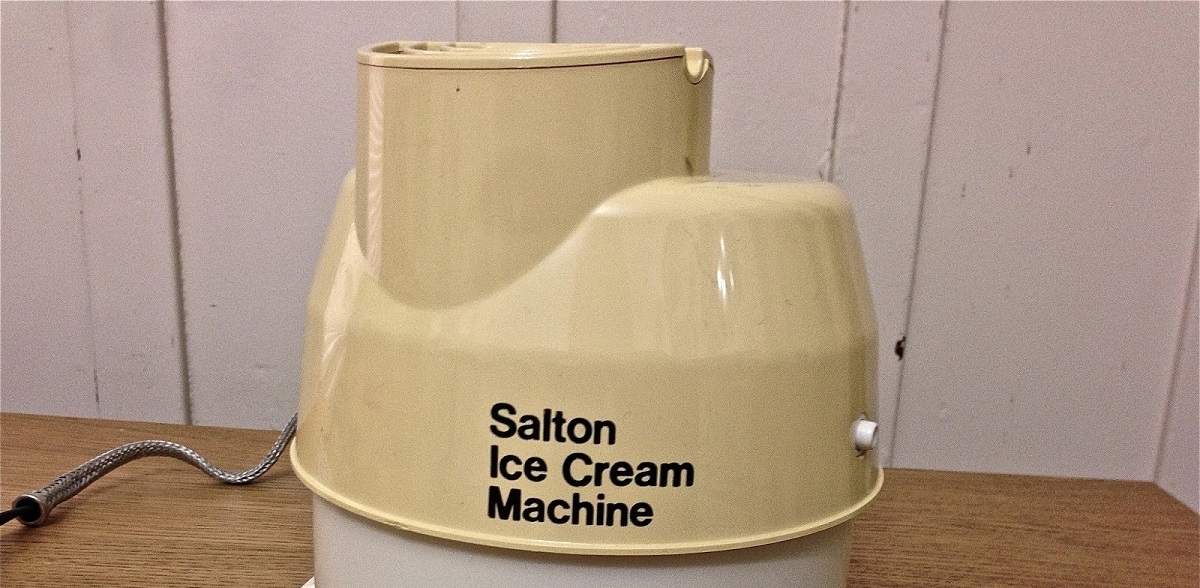
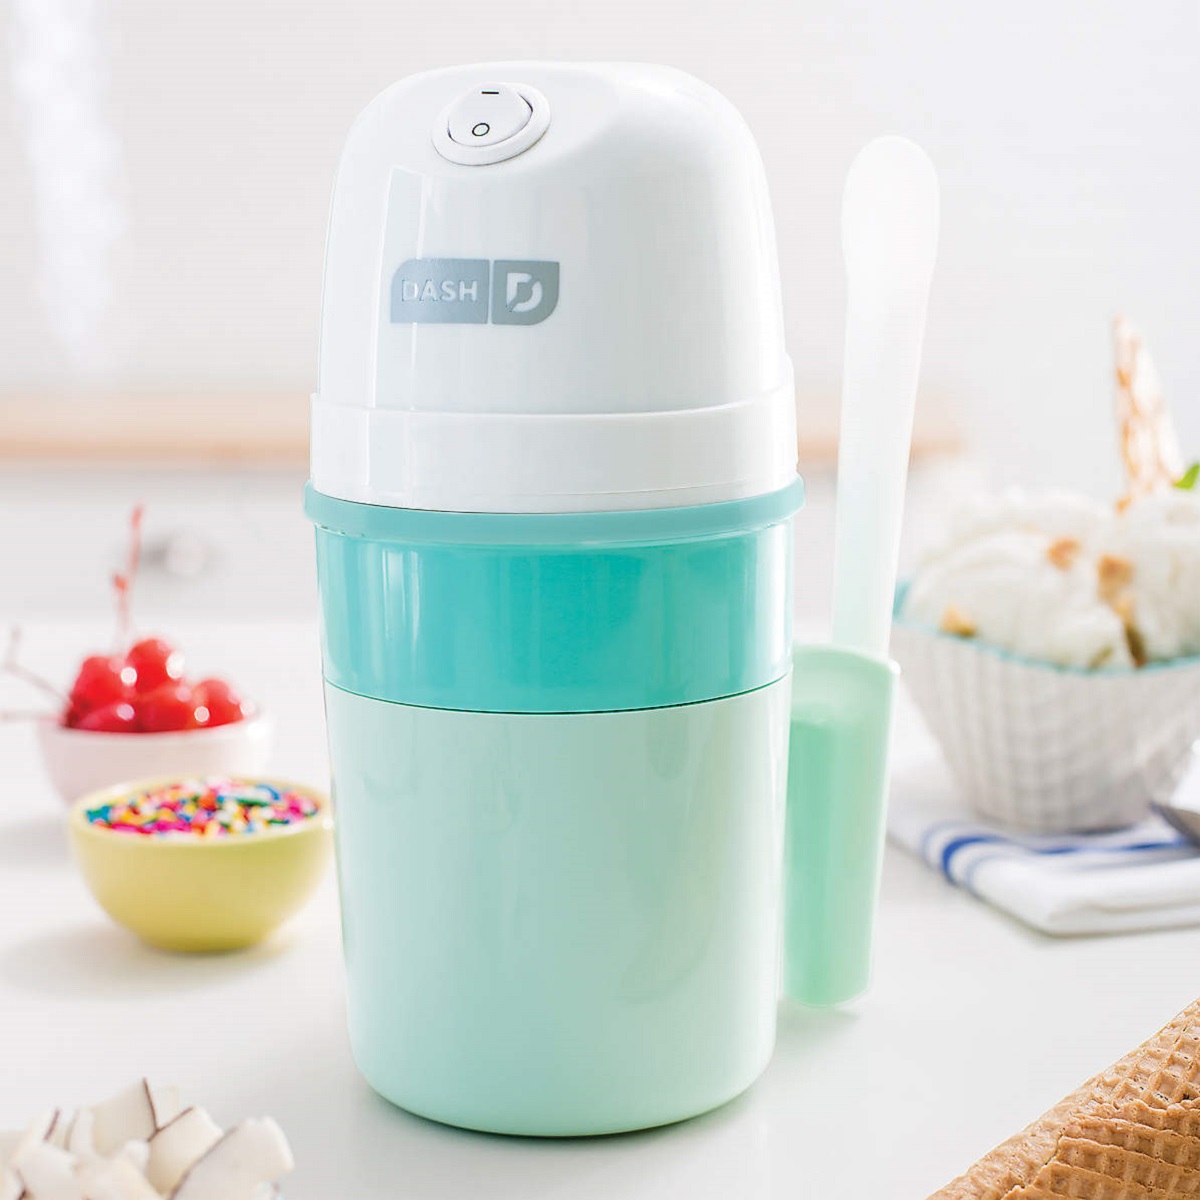
- Ice Cream Maker: An ice cream maker is the key to achieving that smooth and creamy texture. There are various types available, including manual churn and electric machines. Choose one that best suits your needs and budget.
- Mixing Bowls: You’ll need a couple of mixing bowls to separate the egg yolks, whisk the ice cream base, and prepare the crushed cookies.
- Whisk: A whisk is essential for combining the ingredients and ensuring a smooth ice cream base.
- Saucepan: You’ll need a medium-sized saucepan for heating the cream and milk mixture to create the ice cream base.
- Measuring Cups and Spoons: Accurate measurements are crucial for a successful ice cream recipe. Make sure you have measuring cups and spoons on hand.
- Freezer-Safe Container: After churning the ice cream, you’ll need a container to store it in the freezer. Choose a container with a lid that fits well and is freezer-safe.
These are the basic equipment you’ll need to make cookies and cream ice cream with an ice cream maker. Now that you have all the necessary ingredients and equipment, let’s move on to the exciting part—making the ice cream base!
Making the Ice Cream Base
Now that you have gathered all the ingredients and equipment, it’s time to start making the ice cream base. Follow these steps to create a delicious and creamy base for your cookies and cream ice cream:
- In a medium-sized saucepan, combine the heavy cream and whole milk. Place the saucepan over medium heat and heat the mixture until it reaches a simmer. Avoid boiling the mixture.
- In a separate mixing bowl, whisk together the granulated sugar and egg yolks until they are well combined and slightly pale in color.
- Slowly pour the hot cream mixture into the bowl with the sugar and egg yolks, whisking constantly. Make sure to pour it in a steady stream to prevent curdling the eggs.
- Return the mixture to the saucepan and cook over low heat, stirring constantly, until it thickens and coats the back of a spoon. This process is known as “tempering” the eggs and helps to create a smooth and custard-like consistency.
- Remove the saucepan from the heat and stir in the vanilla extract. This adds a delightful flavor to the ice cream base.
- Transfer the ice cream base to a bowl and cover it with plastic wrap, ensuring that the wrap touches the surface of the mixture. This prevents a skin from forming on top.
- Refrigerate the ice cream base for at least 4 hours or overnight. Chilling the base thoroughly helps it to develop its flavors and ensures that it churns properly in the ice cream maker.
Your ice cream base is now ready to be transformed into creamy and dreamy cookies and cream ice cream. In the next section, we will guide you through the process of churning the ice cream with your ice cream maker. Get ready to indulge in a delectable frozen treat!
Churning the Ice Cream
Now comes the exciting part—churning the ice cream! Follow these steps to achieve the perfect texture and consistency for your cookies and cream ice cream:
- Take out your pre-chilled ice cream base from the refrigerator and give it a good stir to ensure it’s well mixed.
- Set up your ice cream maker according to the manufacturer’s instructions. This typically involves assembling the freezing bowl and ensuring it’s properly frozen.
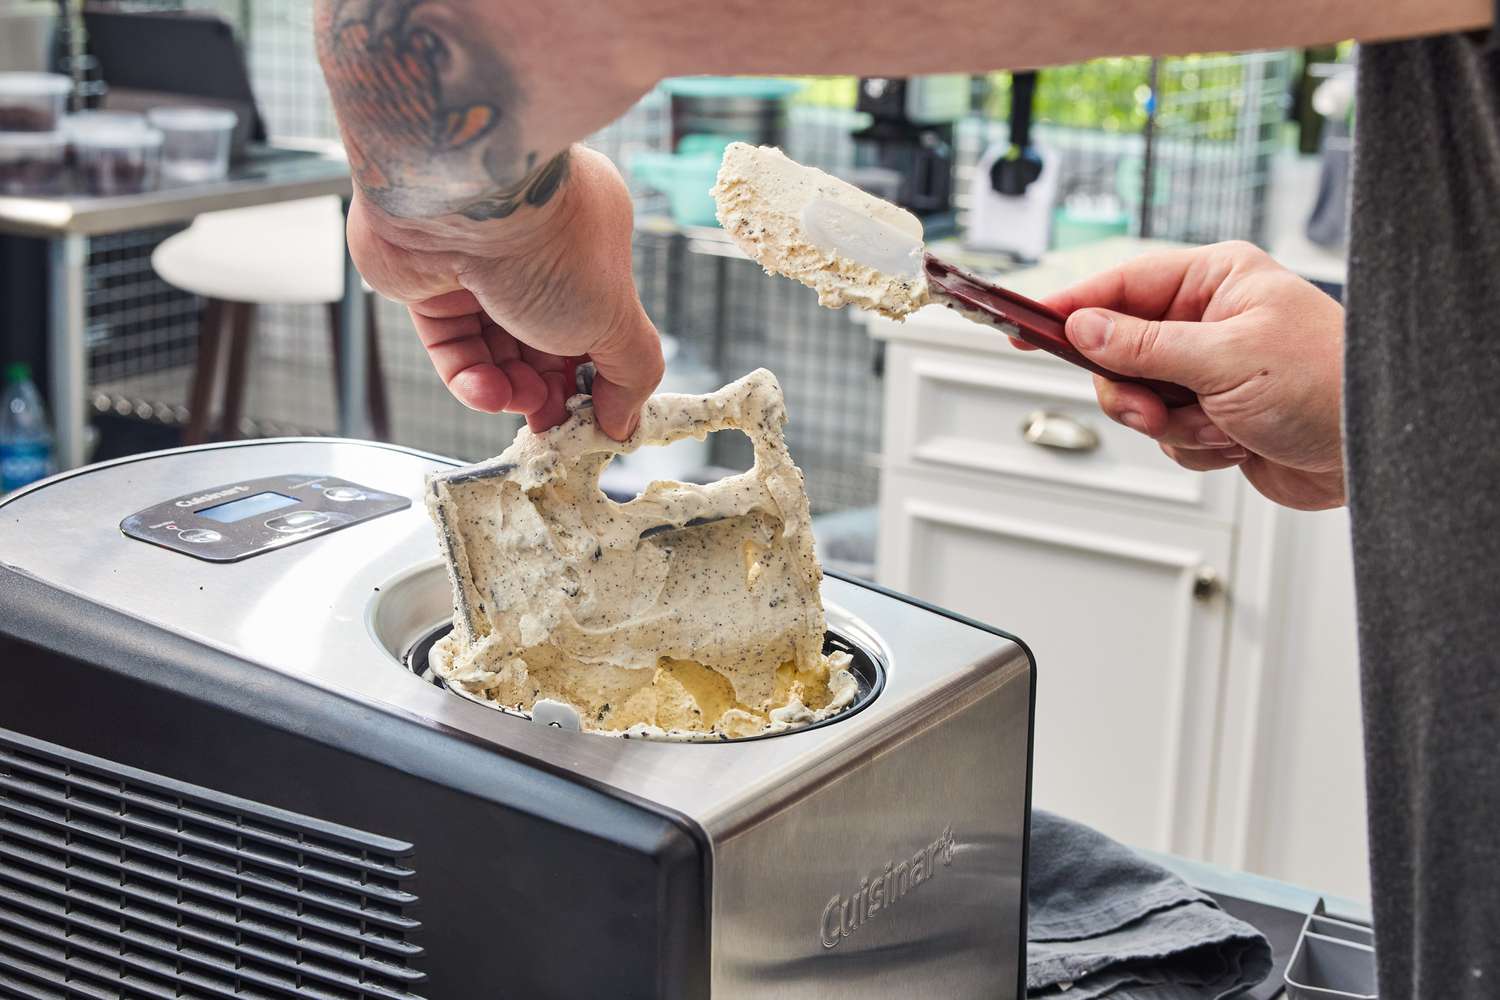
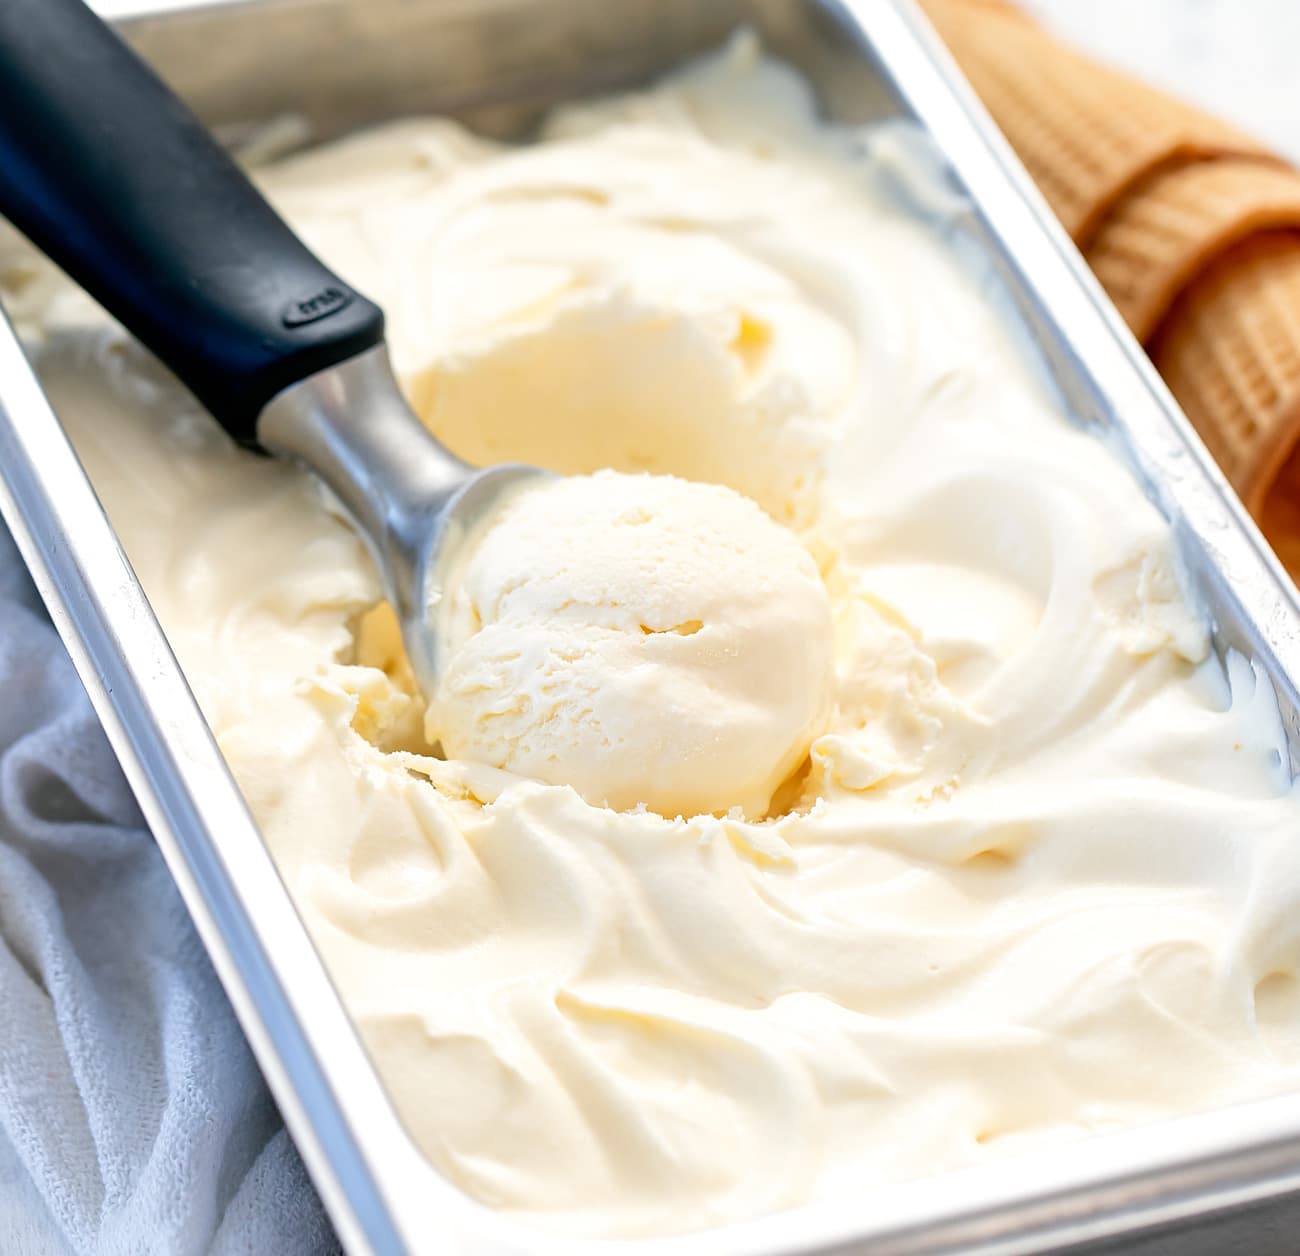
- Pour the ice cream base into the ice cream maker and turn it on. Let it churn for about 20 to 25 minutes or until it reaches a soft-serve consistency.
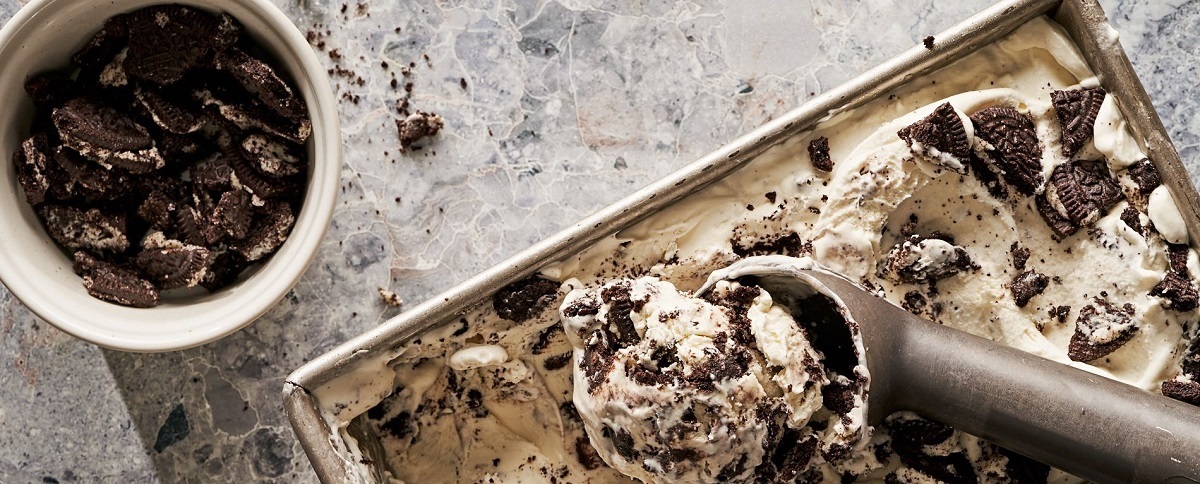
- While the ice cream is churning, prepare the cookies for incorporation. Take your favorite cookies and crush them into small pieces. You can use a rolling pin or place them in a plastic bag and crush them with your hands.
- About 5 minutes before the churning process is complete, generously add the crushed cookies into the ice cream maker. Let it continue to churn until the cookies are evenly distributed throughout the ice cream.
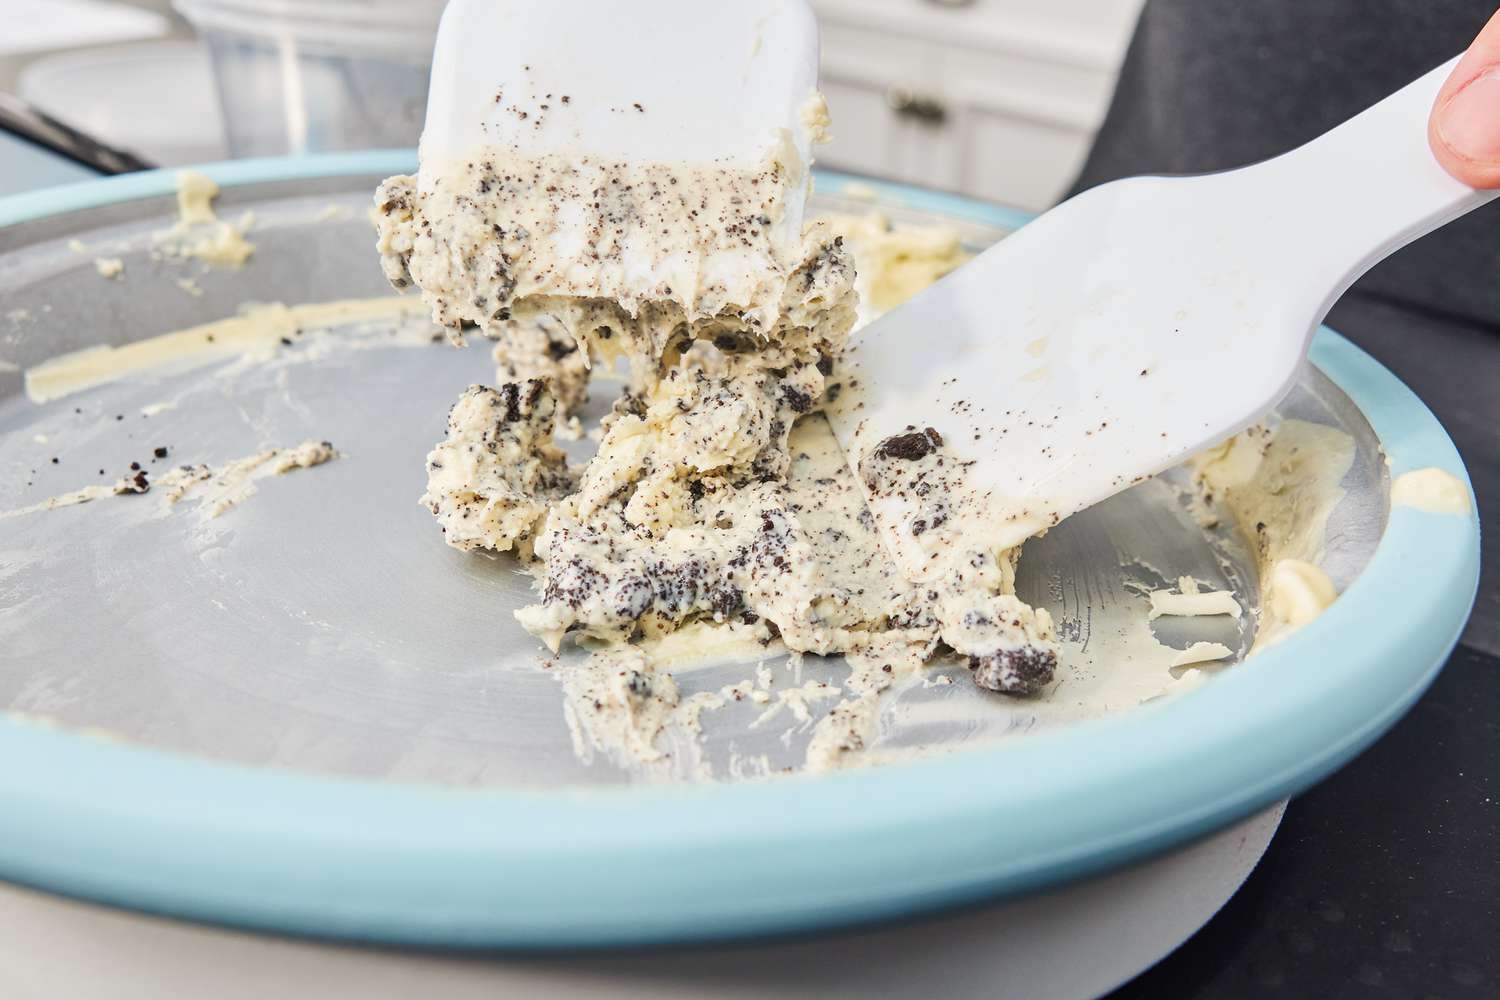
- Once the ice cream has reached the desired consistency, it’s time to transfer it to a freezer-safe container. Use a spatula to scrape the ice cream from the ice cream maker into the container.
- Smooth the surface of the ice cream with the back of a spoon, ensuring an even distribution of cookies.
- Place a lid on the container and transfer it to the freezer. Allow the ice cream to firm up for at least 4 hours or until it reaches the desired scooping consistency.
And there you have it—homemade cookies and cream ice cream! The churning process infuses the ice cream with air, giving it a light and creamy texture. The addition of the crushed cookies provides delightful bursts of flavor and a satisfying crunch in every bite.
Now that your ice cream is in the freezer, we have one more step to complete. In the next section, we’ll explore how to add the finishing touch to your homemade delight—the cookies and cream mix-in!
Adding the Cookies and Cream
The final step in creating your delectable cookies and cream ice cream is adding the mix-in of crushed cookies. This step adds an extra layer of texture and flavor to your already creamy ice cream. Here’s how you can do it:
- Remove the chilled container of ice cream from the freezer.
- Take your crushed cookies and sprinkle them over the frozen ice cream.
- Using a spoon or spatula, gently fold the cookies into the ice cream, ensuring an even distribution throughout.
- Be careful not to overmix as you want to preserve the chunks of cookies in the ice cream.
- Once the cookies are well incorporated, smooth the surface of the ice cream again using the back of a spoon.
- Place the lid back on the container and return it to the freezer for a final freeze.
- Allow the ice cream to harden for at least 4 hours or overnight to achieve the perfect texture.
Adding the crushed cookies to your homemade ice cream enhances the experience with every spoonful. The combination of the creamy ice cream and the crunchy cookies creates a delightful contrast that will leave you craving more.
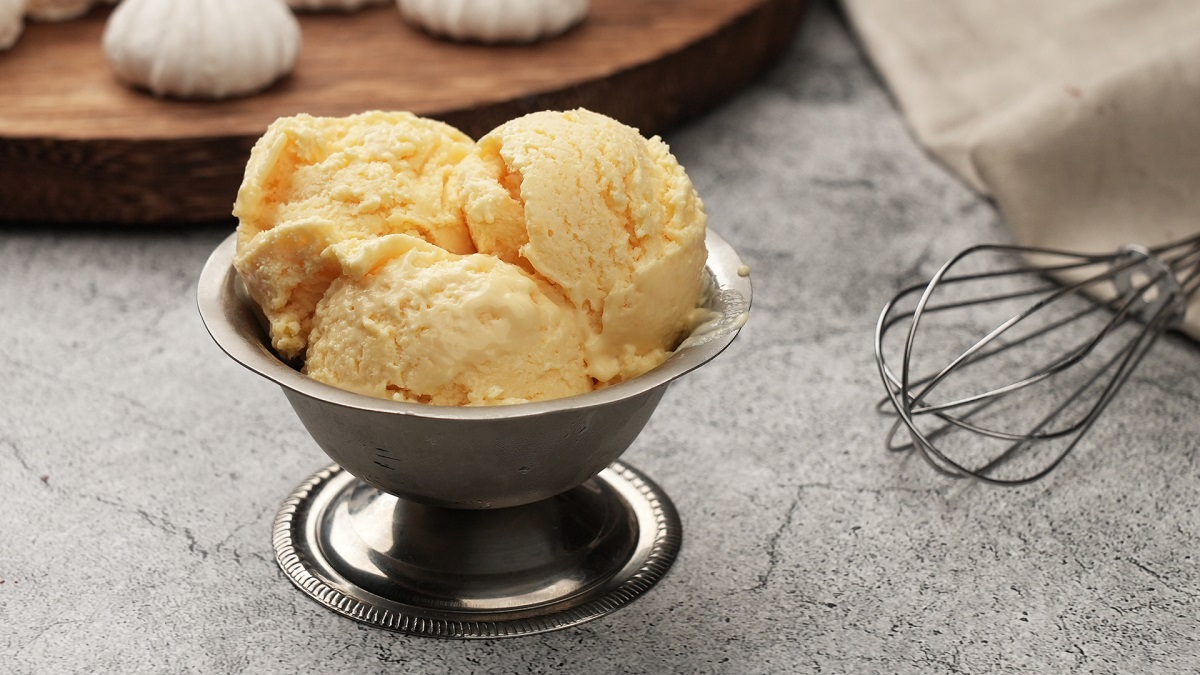
Now that your cookies and cream ice cream is ready, serve it in bowls or cones, and enjoy the ultimate frozen treat. It’s perfect for hot summer days, family gatherings, or any time you’re in need of a sweet indulgence.
Tips and Tricks
Creating a delicious batch of homemade cookies and cream ice cream is a delightful experience. To make it even better, here are some tips and tricks to ensure your ice cream turns out perfect every time:
- Use high-quality ingredients: The quality of the ingredients you use greatly impacts the flavor and texture of your ice cream. Opt for fresh and high-quality cream, milk, and eggs for the best results.
- Chill the ice cream base thoroughly: Allowing the ice cream base to chill for at least 4 hours, or overnight, helps develop the flavors and ensures a smoother churn in the ice cream maker.
- Pre-freeze the ice cream maker bowl: Make sure to freeze the ice cream maker bowl according to the manufacturer’s instructions to ensure proper freezing and effective churning.
- Experiment with cookie flavors: While traditional chocolate sandwich cookies work wonderfully, don’t be afraid to experiment with different cookie flavors to create unique variations. Try peanut butter cookies, Oreo’s limited edition flavors, or even homemade cookies for a personal touch.
- Add mix-ins at the right time: Add the crushed cookies to the ice cream during the last few minutes of churning to ensure even distribution without breaking them down too much.
- Let the ice cream firm up in the freezer: Give the ice cream enough time to harden in the freezer for the perfect scooping consistency. Four hours or overnight should be sufficient.
- Store the ice cream properly: To prevent ice crystals from forming, tightly seal the container to protect your ice cream from air exposure. Keep it stored at the back of the freezer where temperatures are more consistent.
By following these tips and tricks, you’ll elevate your homemade cookies and cream ice cream to a whole new level. Don’t be afraid to get creative and experiment with flavors, toppings, and mix-ins to make this recipe your own.
Now that you’re armed with these helpful tips, it’s time to get into the kitchen and start making your own batch of irresistible cookies and cream ice cream!
Conclusion
Congratulations, you’ve successfully learned how to make homemade cookies and cream ice cream using an ice cream maker! Creating your own frozen treat from scratch allows you to tailor the flavors and textures to your liking, resulting in a truly personalized dessert experience.
From the creamy ice cream base to the addition of crushed cookies, each step in the process contributes to the final product’s deliciousness. The combination of smooth, velvety ice cream with bursts of cookie crunch creates a heavenly dessert that’s sure to satisfy any sweet tooth.
Remember, using high-quality ingredients and following the proper techniques, such as chilling the base and pre-freezing the ice cream maker bowl, are essential for achieving the perfect texture and flavor. Additionally, don’t be afraid to get creative with your cookie choices or add extra mix-ins to personalize the recipe even further.
Whether you’re enjoying a scoop of cookies and cream ice cream on a hot summer day or serving it at a special occasion, this homemade treat is bound to impress your friends and family. The joy of creating such a delightful dessert from scratch is unparalleled, and the end result is a frozen masterpiece that will leave everyone wanting more.
So, what are you waiting for? Gather your ingredients, dust off your ice cream maker, and embark on this delicious adventure. Get ready to indulge in the creamy goodness and the delightful combination of cookies and cream. Enjoy the sweet rewards of your labor, and savor every icy, crunchy, and luxurious bite.
Once you’ve experienced the joy of making your own cookies and cream ice cream, you may find yourself inspired to experiment with new flavors, toppings, and techniques. Let your creativity soar and continue exploring the world of homemade ice cream. But for now, go ahead and treat yourself to a bowl of your homemade cookies and cream masterpiece. Enjoy!