Introduction
Welcome to the world of homemade ice cream! If you’ve just purchased a Zoku Ice Cream Maker or are considering getting one, you’re in for a delicious treat. With this innovative appliance, you can create your own creamy, flavorful ice cream right in the comfort of your own home. Whether you’re a novice or an experienced ice cream aficionado, this guide will take you through the steps of making perfect ice cream with your Zoku Ice Cream Maker.
Making ice cream with the Zoku Ice Cream Maker is not only easy and fun, but it also allows you to customize your flavors and create unique combinations that you won’t find in a store-bought pint. From classic vanilla to adventurous flavors like salted caramel swirl or cookies and cream, the possibilities are endless.
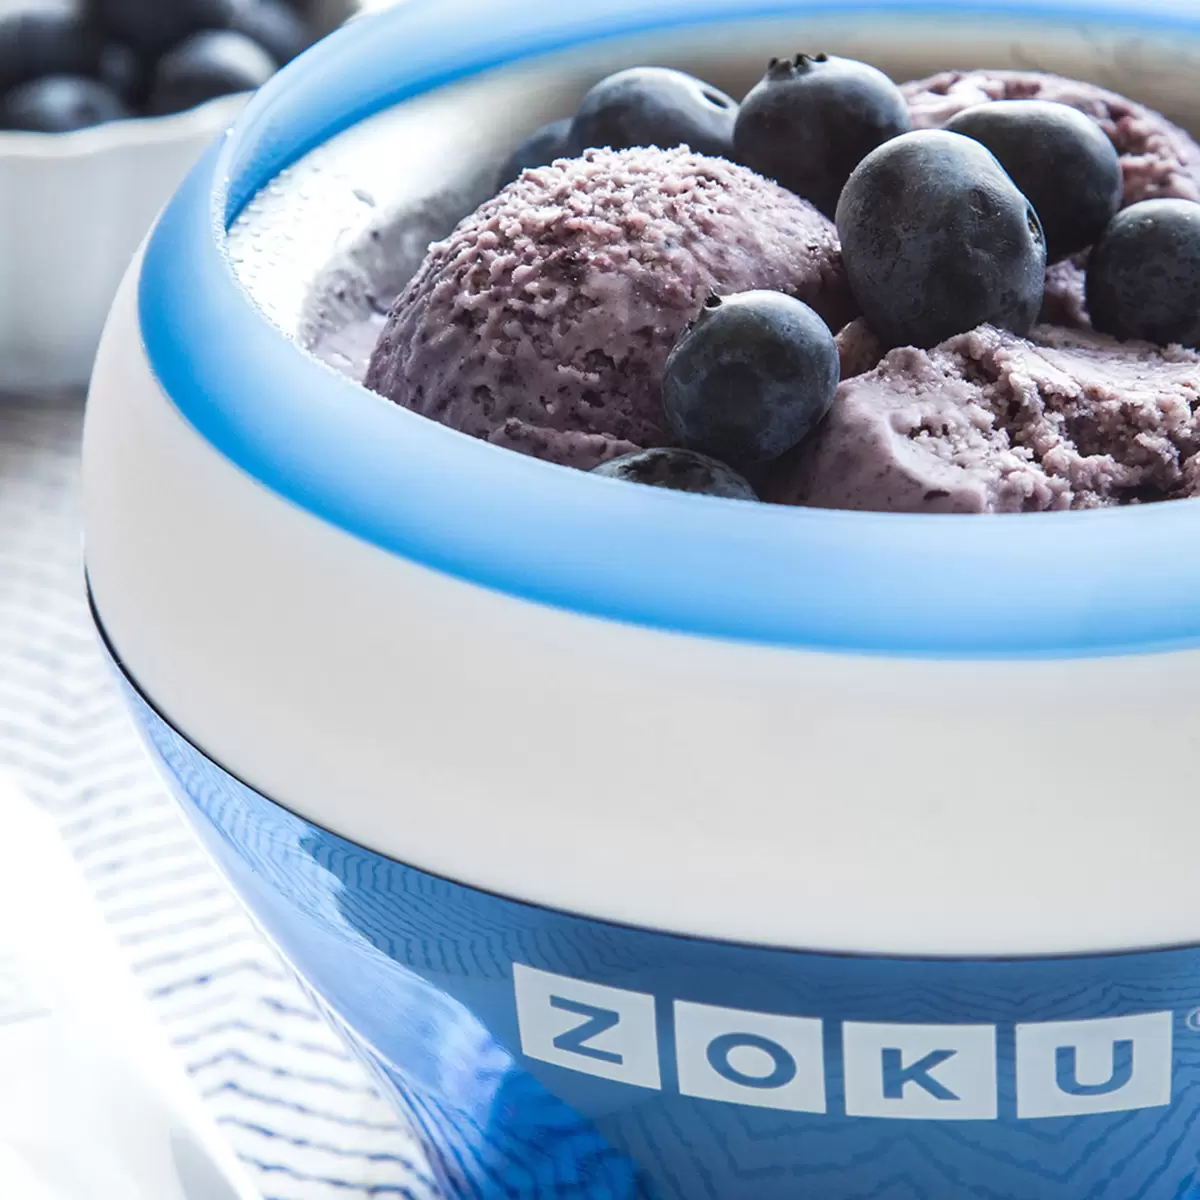
But before we dive into the delicious details, let’s get familiar with the Zoku Ice Cream Maker itself. This compact appliance is designed to make single-serving portions of ice cream in just minutes. It consists of a stainless steel bowl that, when frozen, acts as the freezing chamber for the ice cream mixture. The outer sleeve helps keep the bowl cold while you churn, and the protective lid prevents any spills or messes.
With the Zoku Ice Cream Maker, you have full control over the ingredients that go into your ice cream. You can choose to make a traditional dairy-based ice cream, a refreshing fruit-based sorbet, or even a creamy vegan option. Plus, you can get creative with mix-ins and toppings to add extra texture and flavor.
In this step-by-step guide, we’ll walk you through everything you need to know to make delicious ice cream with your Zoku Ice Cream Maker. From preparing the ice cream maker and choosing your base, to adding mix-ins and freezing the ice cream, we’ll cover it all. So grab your Zoku Ice Cream Maker and let’s get started on this cool culinary adventure!
Getting Started
Before you begin making ice cream with your Zoku Ice Cream Maker, there are a few things you’ll need to do to prepare. Follow these steps to ensure the best results:
- Read the instruction manual: Familiarize yourself with the manual that comes with your Zoku Ice Cream Maker. This will provide you with valuable information on how to use and care for your appliance.
- Freeze the bowl: The stainless steel bowl of the Zoku Ice Cream Maker needs to be thoroughly frozen before you can make ice cream. Place it in your freezer for a minimum of 12 hours or as recommended by the manufacturer.
- Gather your ingredients: Decide on the flavor of ice cream you want to make and gather your ingredients. This can include dairy or non-dairy options, sweeteners, flavorings, and mix-ins. Ensure that your ingredients are fresh and of high quality for the best results.
- Prepare additional equipment: While the Zoku Ice Cream Maker is the star of the show, you may need some additional tools. Gather measuring cups and spoons, a whisk or mixer, a rubber spatula, and any mix-ins or toppings you plan to use.
- Set up a clean workspace: Clear a space on your countertop or table to assemble and use your Zoku Ice Cream Maker. Make sure the surface is clean and free of any spills or clutter.
Once you have completed these initial steps, you’re ready to start making ice cream with your Zoku Ice Cream Maker. The next section will guide you through selecting your base and choosing the perfect flavor for your frozen treat!
Preparing the Ice Cream Maker
Now that you have everything ready to make ice cream with your Zoku Ice Cream Maker, it’s time to prepare the appliance itself. Follow these steps to ensure that your ice cream maker is ready to churn out creamy delights:
- Remove the frozen bowl: Take the frozen stainless steel bowl out of the freezer. It should be fully frozen and cold to the touch.
- Assemble the Zoku Ice Cream Maker: Place the outer sleeve onto the base of the ice cream maker. Make sure it is securely attached.
- Insert the frozen bowl: Carefully place the frozen bowl into the outer sleeve. Ensure that it is aligned in the center and sits snugly in place.
- Attach the lid: Place the protective lid on top of the Zoku Ice Cream Maker. It should fit securely and prevent any spills or leaks.
- Pre-chill the bowl: Allow the assembled Zoku Ice Cream Maker to sit at room temperature for about 5 minutes. This helps to slightly warm up the outer sleeve and ease the removal of the ice cream later.
Once you have completed these steps, your Zoku Ice Cream Maker is ready to go. It’s important to note that the bowl will gradually thaw as you make ice cream, so it’s best to work quickly to prevent the mixture from melting too much. With your ice cream maker prepared, it’s time to move on to the exciting step of choosing your base for the ice cream!
Choosing Your Base
Choosing the right base is an essential step in making delicious ice cream with your Zoku Ice Cream Maker. The base serves as the main ingredient that provides the creamy and rich texture of the ice cream. Here are some popular base options to consider:
- Dairy-based: Using dairy products like heavy cream, whole milk, and sweetened condensed milk can create a classic and indulgent ice cream base. This base tends to yield a smoother and creamier texture.
- Non-dairy: For those who prefer a dairy-free ice cream option, there are various non-dairy alternatives available. Coconut milk, almond milk, cashew milk, and soy milk can be used as a base. These options can produce a creamy and luscious texture.
- Fruit-based: If you’re looking for a lighter and refreshing ice cream, a fruit-based base is a fantastic choice. Puree fresh or frozen fruits such as strawberries, mangoes, or peaches, and combine them with a natural sweetener like honey or agave syrup.
- Vegan: If you follow a vegan diet, there are plenty of options to make delicious vegan ice cream. Consider using a combination of non-dairy milk, such as coconut or almond milk, with ingredients like avocado, banana, or nut butter for a creamy and vegan-friendly base.
Don’t be afraid to experiment and mix different base options together to create unique flavors. For example, combining a dairy base with fruit puree can result in a delightful fruity ice cream. Remember to adjust the sweetness and flavorings based on your personal preference.
Once you’ve decided on your base, you can now move on to the exciting step of adding flavors and mix-ins to create your custom ice cream creation. The next section will explore different flavor ideas to inspire your taste buds!
Flavor Ideas
One of the joys of making ice cream with your Zoku Ice Cream Maker is the ability to experiment with a wide range of flavors. From classic favorites to unique combinations, the possibilities are endless. Here are some flavor ideas to inspire your homemade ice cream creations:
- Classic Vanilla: Start with a simple yet timeless flavor. Use a vanilla extract or scrape the seeds from a vanilla bean for an authentic and aromatic taste.
- Decadent Chocolate: Indulge in a rich and velvety chocolate ice cream. Use high-quality cocoa powder or melt dark chocolate for a deep and intense flavor.
- Fruity Delight: Experiment with different fruits to create refreshing and vibrant ice cream flavors. Try strawberry, blueberry, mango, or even a combination of several fruits.
- Cookies and Cream: Crumble your favorite chocolate or vanilla cookies into your ice cream base for a delightful twist on a classic flavor.
- Nutty Bliss: Add chopped nuts, such as almonds, walnuts, or pistachios, to your ice cream for a satisfying crunch and extra depth of flavor.
- Caramel Swirl: Drizzle caramel sauce into your ice cream mixture while it churns, creating luscious ribbons of caramel throughout the creamy base.
- Mint Chocolate Chip: Add mint extract and mini chocolate chips to your ice cream base for a refreshing and indulgent combination.
- Salted Caramel Pretzel: Combine the sweetness of caramel with the crunch of pretzels in this irresistible flavor. Break pretzels into pieces and mix them into your ice cream.
- Coconut Paradise: Use coconut milk as your base and add shredded coconut for a tropical and creamy treat.
- Matcha Green Tea: Infuse your ice cream base with the unique and vibrant flavor of matcha green tea powder for a refreshing and earthy taste.
These are just a few examples to get your creative juices flowing. Feel free to experiment with different combinations and ingredients to create your own signature flavors. Now that you have an idea of the flavors you want to incorporate, let’s move on to the next step of adding mix-ins and toppings to enhance your ice cream experience.
Adding Mix-Ins and Toppings
Adding mix-ins and toppings to your ice cream can take it to the next level and add exciting texture and flavor combinations. Here are some ideas to inspire you:
- Crushed Cookies and Candy: Crush your favorite cookies or candy bars and fold them into your ice cream mixture. This adds a delightful crunch and bursts of flavor.
- Fruit Swirls: Create a fruit swirl by adding fruit jam, sauce, or puree to your ice cream and gently swirling it in, creating ribbons of fruity goodness.
- Nut Butter Swirls: Drizzle melted peanut butter, almond butter, or any nut butter of your choice into your ice cream and lightly swirl it for a creamy and rich addition.
- Chocolate Chunks: Chop up your favorite chocolate bar or use chocolate chips to add delicious chocolatey bites throughout your ice cream.
- Chopped Fruits: Dice fresh fruits, such as strawberries, bananas, or peaches, and mix them into your ice cream for bursts of natural sweetness.
- Caramel or Fudge Sauce: Drizzle caramel or fudge sauce over your ice cream for a decadent and gooey treat.
- Nuts and Seeds: Sprinkle chopped nuts, like almonds, walnuts, or pistachios, or add some toasted sesame seeds or sunflower seeds for added crunch and flavor.
- Coconut Flakes or Shredded Coconut: Add a tropical twist to your ice cream by sprinkling coconut flakes or shredded coconut on top.
- Whipped Cream: Top off your ice cream with a generous dollop of whipped cream for an extra creamy and indulgent experience.
- Sprinkles or Colored Sugars: Make your ice cream visually appealing by adding a sprinkle of colorful sprinkles or colored sugars.
Remember, the choices are endless when it comes to mix-ins and toppings. Get creative and experiment with different combinations to find your favorite flavors. Don’t be afraid to try something new and let your taste buds guide you. Once you’ve added your desired mix-ins, it’s time to move on to the next step: freezing and churning the ice cream.
Freezing and Churning the Ice Cream
Now that you’ve prepared your ice cream mixture with your desired flavors and mix-ins, it’s time to freeze and churn the ice cream using your Zoku Ice Cream Maker. Follow these steps for perfect results:
- Ensure the Zoku Ice Cream Maker is assembled: Double-check that the frozen bowl is securely placed in the outer sleeve and the lid is properly attached.
- Pour the ice cream mixture into the frozen bowl: Carefully pour your prepared ice cream mixture into the frozen stainless steel bowl, making sure not to overfill. Leave some room for expansion as the mixture freezes and churns.
- Start churning the ice cream: Begin churning the ice cream mixture using a spoon, spatula, or the Zoku Ice Cream Maker’s provided tool. Gently scrape the sides and bottom of the bowl to incorporate air into the mixture for a smoother texture.
- Continue churning until desired consistency: Churn the ice cream mixture for approximately 10-15 minutes or follow the instructions provided by the manufacturer. The ice cream should thicken and have a soft-serve consistency.
- Check the progress: Lift the lid of the Zoku Ice Cream Maker to check the consistency. If the ice cream is still too soft, continue churning for a few more minutes. If it’s too firm, you may have churned it for too long, but don’t worry; it can still be enjoyed!
- Adjust the texture: If you prefer a firmer ice cream, transfer the partially frozen mixture to an airtight container and place it in the freezer for a few hours to harden further.
It’s important to note that the churning time may vary depending on the temperature of your ingredients and the desired consistency of your ice cream. Keep an eye on the mixture throughout the process, and adjust the churning time to achieve the perfect texture.
Once you’re satisfied with the consistency of the ice cream, it’s time to move on to the final steps: removing and serving the ice cream. We’ll guide you through it in the next section.
Removing and Serving the Ice Cream
After you have successfully churned your ice cream to the desired texture in the Zoku Ice Cream Maker, it’s time to remove and serve your frozen treat. Follow these steps for a seamless serving experience:
- Turn off and unplug the Zoku Ice Cream Maker: Make sure to switch off and unplug the ice cream maker to ensure safety during the serving process.
- Remove the lid: Take off the protective lid of the ice cream maker, exposing the frozen bowl. Set aside the lid in a safe place.
- Extract the ice cream: Using a silicone spatula or the provided tool, gently scrape the sides of the frozen bowl to release the ice cream. Start from the edges and work your way towards the center.
- Transfer the ice cream to a serving dish: Scoop or spoon the freshly churned ice cream into a serving dish or bowl of your choice. Ensure that the dish is freezer-safe if you plan to store any leftovers.
- Add additional toppings: Enhance your ice cream with additional toppings such as a drizzle of chocolate sauce, a sprinkle of crushed cookies, or a dollop of whipped cream.
- Enjoy immediately: Savor your homemade ice cream right away while it’s at its freshest and most creamy. The texture will be soft and smooth, perfect for immediate indulgence.
If you have any leftover ice cream that you’d like to save for later, you can transfer it to an airtight container and place it in the freezer. Just remember to let it thaw for a few minutes before serving, as the extended freezing time can make the ice cream firmer.
Now that you have learned how to remove and serve the ice cream, it’s time to move on to the final section: cleaning and storing the Zoku Ice Cream Maker.
Cleaning and Storing the Ice Cream Maker
After enjoying your homemade ice cream, it’s important to properly clean and store your Zoku Ice Cream Maker to ensure its longevity and maintain its performance. Follow these steps for easy cleaning and effective storage:
- Unplug the ice cream maker: Before cleaning, make sure the ice cream maker is unplugged from the power source.
- Disassemble the ice cream maker: Remove the frozen bowl, outer sleeve, and lid from the ice cream maker. Separate the different components for thorough cleaning.
- Hand wash the components: Wash each component with warm, soapy water. Use a gentle sponge or dishcloth to remove any residual ice cream or debris. Avoid using abrasive cleaners or scouring pads that can damage the surface.
- Rinse and dry: Rinse the components with clean water to remove any soap residue. Allow them to air dry completely before reassembling or storing.
- Store the ice cream maker: Once the components are dry, reassemble the ice cream maker. Place the frozen bowl back into the outer sleeve and secure the lid. Store the ice cream maker in a clean and dry location, away from direct heat or sunlight.
- Maintain the frozen bowl: If you plan to use the ice cream maker frequently, it’s a good idea to keep the stainless steel bowl in the freezer so that it’s always ready for use. Just remember to remove any ice or frost buildup before incorporating it into your ice cream maker.
- Follow manufacturer’s guidelines: Always refer to the specific instructions provided by the manufacturer for the best cleaning and storage practices, as they may vary between different models and brands.
By cleaning and storing your Zoku Ice Cream Maker properly, you can ensure that it remains in optimal condition and ready to use for your next batch of homemade ice cream.
Congratulations! You are now equipped with the knowledge to make delicious ice cream with your Zoku Ice Cream Maker, from selecting your base and flavors to adding mix-ins and toppings, freezing and churning, to serving and caring for your ice cream maker. Enjoy the delightful process of creating your own frozen treats and savor the satisfaction of homemade goodness!
Conclusion
Making ice cream with the Zoku Ice Cream Maker is a delightful and rewarding experience. With the ability to customize your flavors, add mix-ins, and create endless combinations, you can unleash your creativity and indulge in delicious frozen treats right at home.
Throughout this guide, we’ve covered everything you need to know to make perfect ice cream with your Zoku Ice Cream Maker. From getting started and preparing the appliance, to choosing your base and exploring flavor ideas, to adding mix-ins and toppings, and finally freezing and serving your creations.
Remember to experiment with different flavors and textures, and don’t be afraid to get creative. Whether you prefer classic flavors like vanilla and chocolate or want to venture into more adventurous combinations, the choice is yours. Get inspired by the endless possibilities and let your taste buds guide you on a journey of ice cream discovery.
Additionally, proper care and maintenance of your Zoku Ice Cream Maker will ensure its longevity. Clean it thoroughly after each use and store it in a safe and dry place. With the right care, your ice cream maker will continue to provide you with frozen delights for years to come.
So, what are you waiting for? Grab your Zoku Ice Cream Maker and start creating your own homemade ice cream masterpieces. Share them with your loved ones and enjoy the smiles and satisfaction that come with sharing a treat made by your own hands. Have fun, experiment, and enjoy the sweet rewards of your ice cream-making adventure!