Introduction
Are you craving a creamy and delicious vanilla ice cream? Look no further! In this article, we will guide you through the process of making homemade vanilla ice cream using an ice cream maker. Whether you’re preparing for a summer gathering or simply want a refreshing treat, this recipe will satisfy your sweet tooth.
Making ice cream at home allows you to customize the flavors and ingredients to suit your taste. By using an ice cream maker, you can achieve a smooth and creamy texture that rivals the best ice cream parlors. Plus, it’s a fun activity that you can enjoy with your family and friends.
The secret to a rich and flavorful vanilla ice cream lies in the quality of the ingredients. Instead of relying on artificial additives and flavors, we will be using real vanilla beans to impart a natural and aromatic taste. The combination of fresh ingredients and a well-chilled mixture is the key to achieving the perfect scoopable consistency.
Before we dive into the steps, let’s gather all the necessary ingredients and equipment. Don’t worry, you won’t need any fancy chef tools or hard-to-find ingredients. Just a few simple items that you probably already have in your kitchen.
So grab your apron, dust off your ice cream maker, and let’s get started on this delightful journey to create the creamiest homemade vanilla ice cream you’ve ever tasted!
Ingredients
Before we begin, let’s gather all the ingredients you’ll need to make this delectable vanilla ice cream:
- 2 cups of heavy cream
- 1 cup of whole milk
- 3/4 cup of granulated sugar
- 4 large egg yolks
- 1 vanilla bean (or 2 teaspoons of pure vanilla extract)
- A pinch of salt
Now, let’s talk about these ingredients in a bit more detail:
Heavy cream: The high fat content in heavy cream is what gives the ice cream its smooth and creamy texture. Make sure to use heavy cream, also known as whipping cream, and not half-and-half or light cream.
Whole milk: Whole milk adds additional richness to the ice cream without making it overly heavy. This is the perfect balance for achieving a creamy texture.
Granulated sugar: Sugar not only adds sweetness to the ice cream but also helps to prevent it from freezing into a solid block. Adjust the amount of sugar based on your preference for sweetness.
Egg yolks: Egg yolks act as a natural emulsifier, helping to stabilize the ice cream mixture and create a smooth texture. They also contribute to the richness and flavor of the ice cream.
Vanilla bean or vanilla extract: For the best flavor, we recommend using a real vanilla bean. Split the bean lengthwise and scrape out the tiny black seeds, which will infuse the ice cream with a beautiful vanilla flavor. If you don’t have a vanilla bean, you can substitute it with pure vanilla extract.
Salt: A pinch of salt helps to enhance the flavors and balance the sweetness of the ice cream.
Now that we have all the ingredients ready, let’s move on to the equipment needed for making homemade vanilla ice cream.
Equipment needed
To make homemade vanilla ice cream using an ice cream maker, you’ll need the following equipment:
- An ice cream maker: This is the star of the show! There are various types of ice cream makers available, including manual ones that require ice and rock salt, as well as electric ones that have a built-in freezer. Choose the type that suits your preferences and budget.
- A mixing bowl: You’ll need a large mixing bowl to combine the ingredients and prepare the ice cream mixture.
- A saucepan: Use a medium-sized saucepan to heat the milk, cream, and sugar mixture.
- A whisk or spatula: This will come in handy for stirring and combining the ingredients while heating the mixture.
- A fine-mesh sieve: This is optional but recommended. It helps to strain the ice cream mixture and remove any cooked egg bits or vanilla bean pods for a smoother texture.
- An airtight container: You’ll need a container with a tight-fitting lid to store the churned ice cream in the freezer.
Make sure that all the equipment is clean and dry before you begin. This will ensure that the ice cream turns out fresh and free from any unwanted flavors.
Now that you have all the ingredients and equipment ready, let’s move on to the step-by-step process of creating the perfect homemade vanilla ice cream.
Step 1: Preparing the ice cream mixture
Now that you have gathered all the ingredients and equipment, it’s time to start preparing the ice cream mixture:
- In a medium-sized saucepan, combine the heavy cream, whole milk, and granulated sugar over medium heat. Stir the mixture occasionally until it reaches a gentle simmer, being careful not to let it boil.
- If you’re using a vanilla bean, split it lengthwise with a knife and scrape out the tiny black seeds using the back of the knife. Add the seeds and the empty vanilla bean pod to the saucepan. If you’re using vanilla extract, skip this step for now.
- In a separate mixing bowl, whisk the egg yolks together until they become smooth and pale in color.
- Temper the egg yolks by slowly pouring about a third of the hot cream mixture into the bowl, whisking constantly. This step gradually brings the yolks up to temperature without cooking them too quickly.
- Pour the tempered egg yolk mixture back into the saucepan with the remaining cream mixture, stirring continuously.
- Continue cooking the mixture over low heat, stirring constantly with a spatula or whisk until it thickens slightly and coats the back of the spoon. This process, known as “custard-making,” should take about 5-8 minutes.
- If you used a vanilla bean, remove the pod from the mixture and scrape any remaining seeds into the saucepan. If you’re using vanilla extract, stir it in at this stage.
- Optional: For an extra smooth texture, strain the mixture through a fine-mesh sieve into a clean bowl, removing any bits of cooked egg or vanilla bean pod that may be present.
Once you have completed these steps, your ice cream mixture is ready to be chilled. In the next step, we will discuss how to properly chill the mixture to ensure the best results.
Step 2: Chilling the mixture
After preparing the ice cream mixture, it’s important to chill it thoroughly before moving on to the next step. Chilling the mixture helps to develop the flavors and ensures that it freezes properly when it’s time to churn in the ice cream maker.
Here’s what you need to do to chill the ice cream mixture:
- Place the mixing bowl with the ice cream mixture in an ice bath. This can be done by filling a larger bowl or sink with ice and cold water. The ice bath will help to rapidly cool down the mixture.
- Stir the mixture occasionally to promote even cooling. This step is important to prevent any potential bacteria growth and to ensure a smooth and creamy texture in the final ice cream product.
- Allow the mixture to chill in the ice bath for about 20-30 minutes, or until it reaches room temperature. This process usually takes longer if you used real vanilla beans, as the seeds need time to infuse the mixture.
- Once the mixture has cooled down, cover the bowl with plastic wrap and refrigerate it for at least 4 hours or overnight. This prolonged chilling time allows the flavors to meld together and for the mixture to reach its optimal consistency.
Remember, patience is key! Chilling the mixture thoroughly will result in a much better texture and flavor in your homemade vanilla ice cream. While waiting, you can clean up your workspace and get the ice cream maker ready for the next steps.
Now that the ice cream mixture has been properly chilled, it’s time to move on to the exciting part – using the ice cream maker to churn the mixture and turn it into delicious ice cream. Let’s continue to the next step.
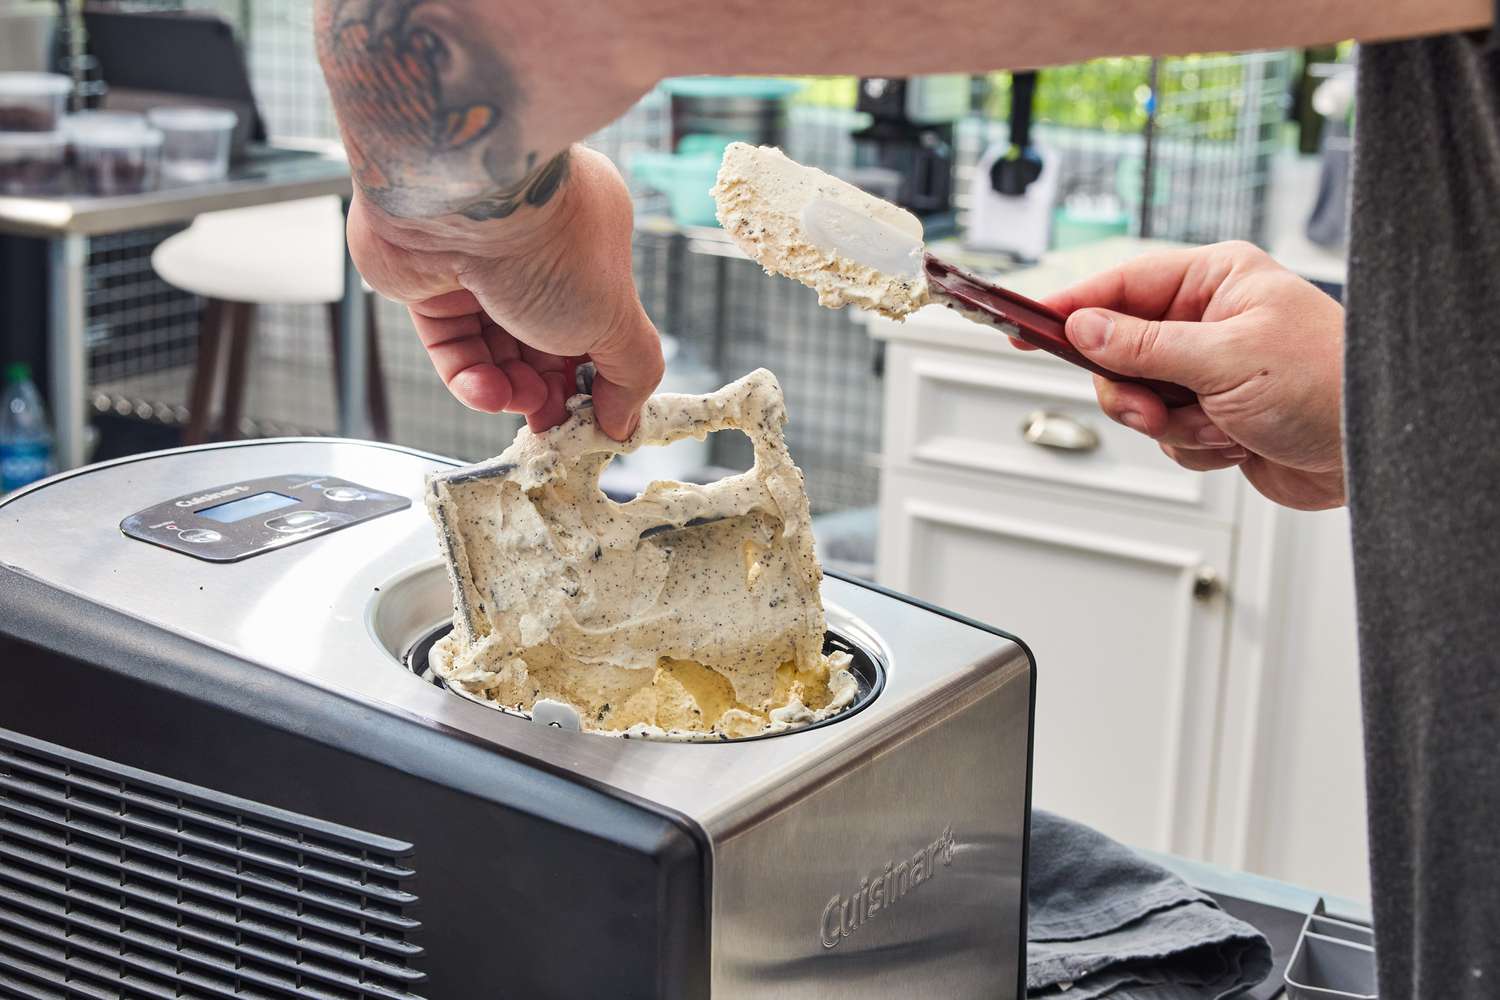
Step 3: Using the ice cream maker
Now that the ice cream mixture is properly chilled, it’s time to bring out the ice cream maker and churn the mixture to transform it into creamy and delightful vanilla ice cream. Here’s how to use the ice cream maker:
- Take out your ice cream maker and make sure it’s clean and assembled according to the manufacturer’s instructions.
- Remove the chilled ice cream mixture from the refrigerator and give it a good stir to ensure it’s well combined.
- Turn on the ice cream maker and pour the mixture into the freezing bowl or chamber. Be careful not to overfill it as the mixture will expand while churning.
- Follow the specific instructions for your ice cream maker and let it churn for the recommended time, typically around 20-30 minutes. During this time, the mixture will freeze, and the paddle inside the machine will churn it to incorporate air and create that desirable creamy texture.
- Keep an eye on the ice cream as it churns. You’ll notice that the mixture will thicken and increase in volume as it freezes. Once it reaches a soft-serve consistency, it’s ready for the next step.
While the ice cream is churning, you can take this opportunity to prepare any additional mix-ins or toppings you’d like to add to your vanilla ice cream. Chopped fruits, chocolate chips, or toasted nuts are some popular options that can be folded into the ice cream during the last few minutes of churning.
Once the ice cream has reached the desired consistency, it’s time to move on to the final step and freeze the ice cream to firm it up even more. Let’s move on to step 4.
Step 4: Freezing the ice cream
After the ice cream has been churned to a soft-serve consistency in the ice cream maker, it’s time to transfer it to a container and freeze it to firm it up. Follow these steps to freeze your homemade vanilla ice cream:
- Prepare a clean airtight container for storing the ice cream. You can use a plastic tub, a loaf pan, or any freezer-safe container with a lid.
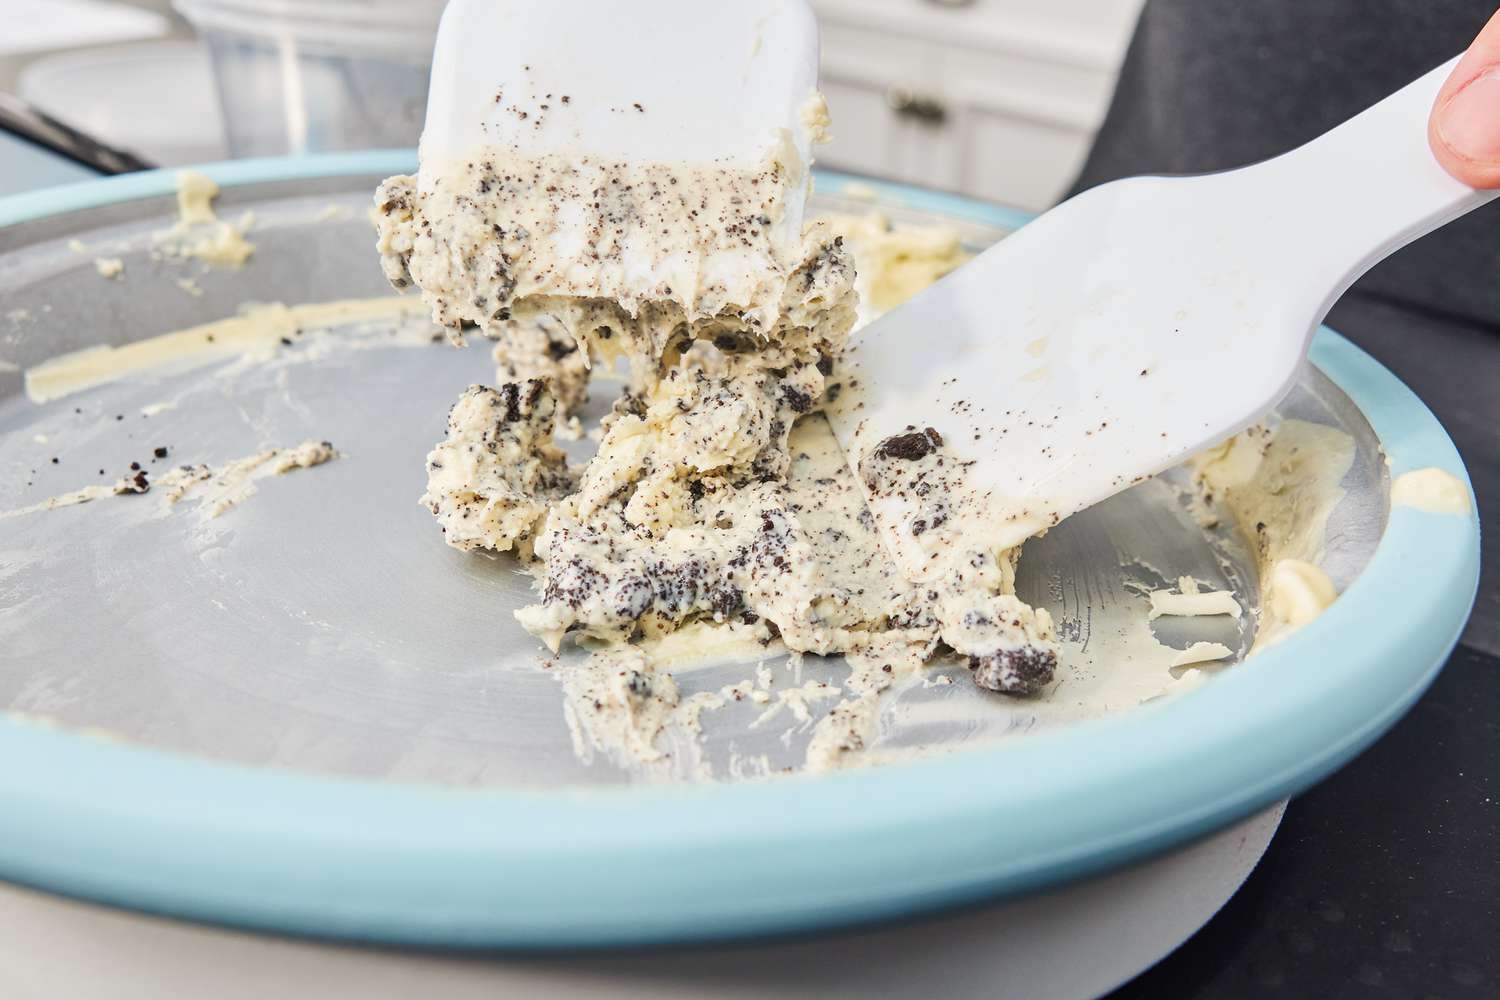
- Using a spatula, gently transfer the churned ice cream from the ice cream maker into the container. Smooth the top with the back of the spatula for an even surface.
- Place a piece of plastic wrap directly on the surface of the ice cream. This helps to prevent ice crystals from forming and keeps the ice cream fresh.
- Cover the container with the lid and place it in the freezer. Allow the ice cream to freeze for at least 4-6 hours, or until it reaches a firm consistency.
During the freezing process, the ice cream will continue to set and develop its flavors. It’s best to leave it undisturbed in the freezer so that it can freeze evenly.
Remember, homemade ice cream does not contain any stabilizers or preservatives, so it’s important to consume it within a few weeks for the best quality and taste.
Now that your vanilla ice cream is properly frozen, it’s time to pull it out of the freezer, serve it up, and enjoy the fruits of your labor. Let’s move on to the final step.
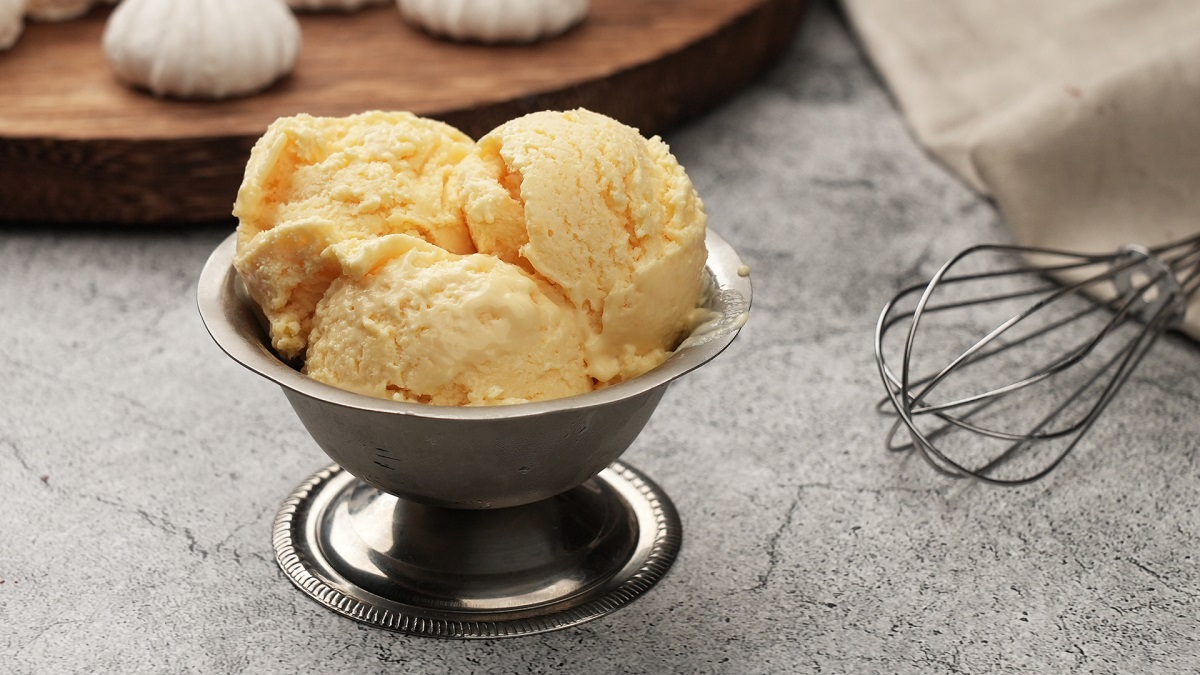
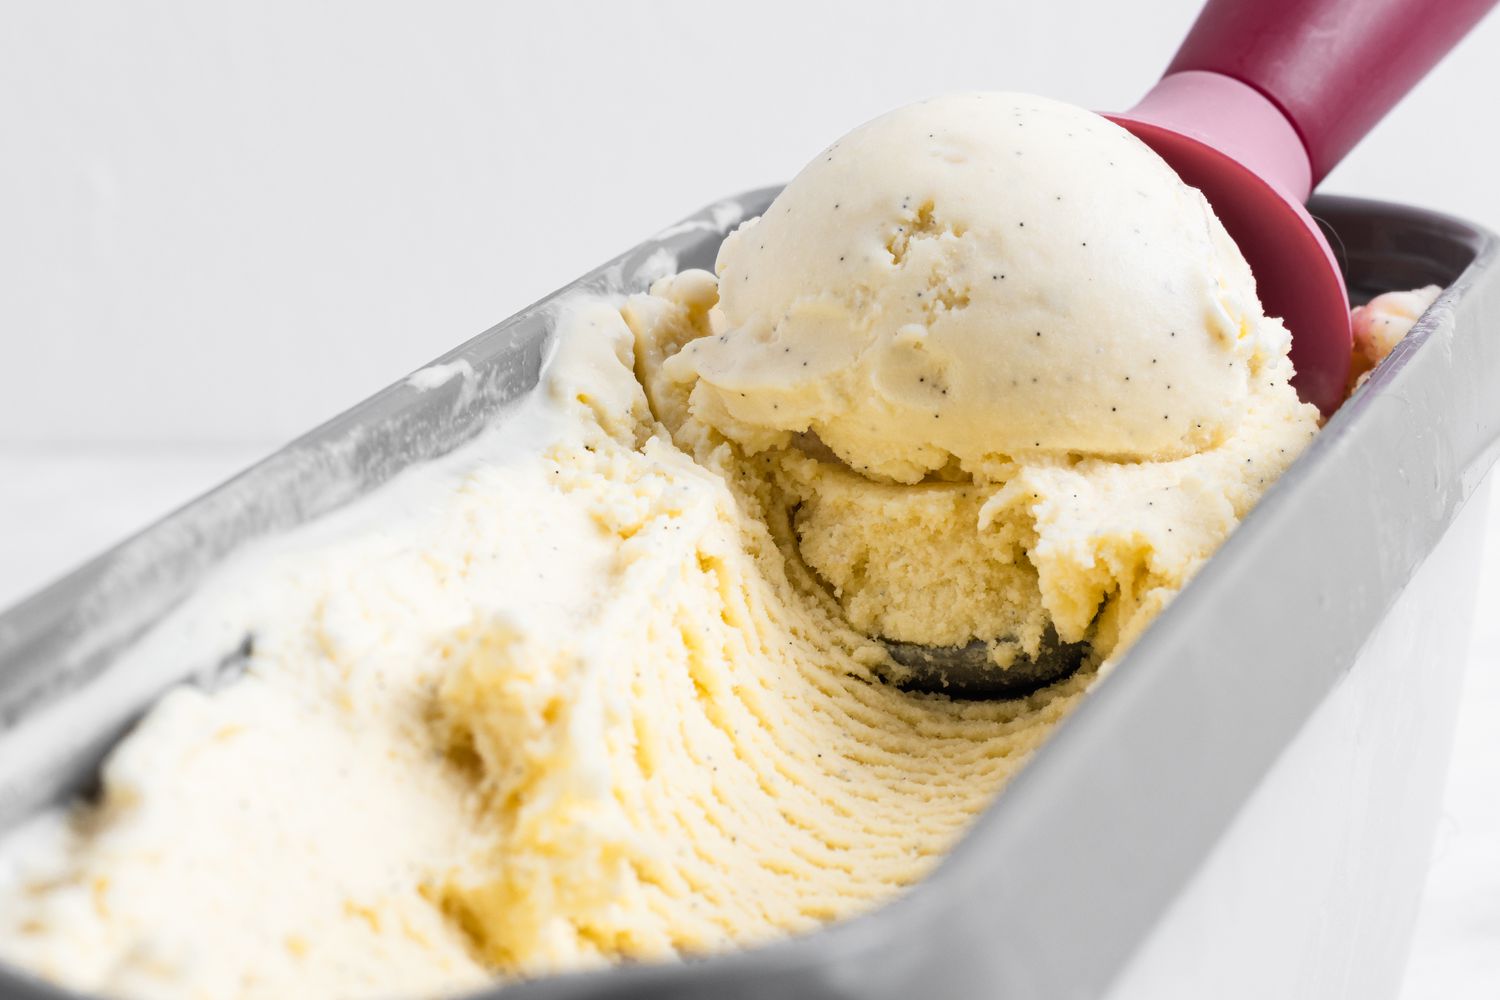
Step 5: Serving and storing the ice cream
It’s time to savor your homemade vanilla ice cream! Follow these steps to serve and store it:
- Remove the container of frozen vanilla ice cream from the freezer and let it sit at room temperature for a few minutes to soften slightly. This will make scooping easier.
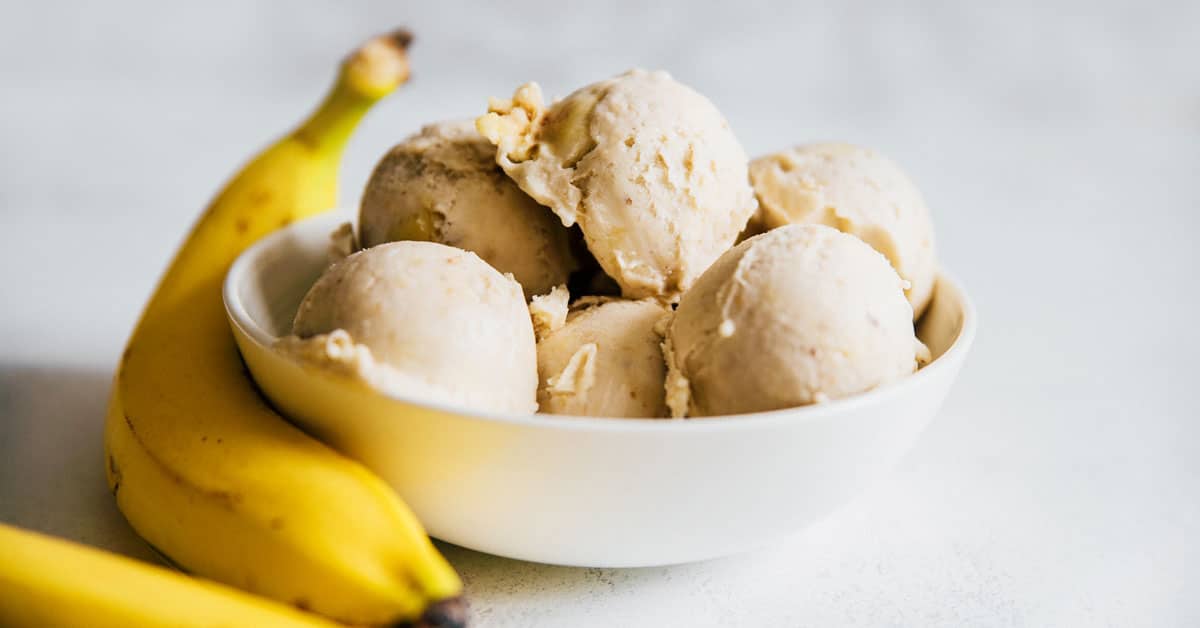
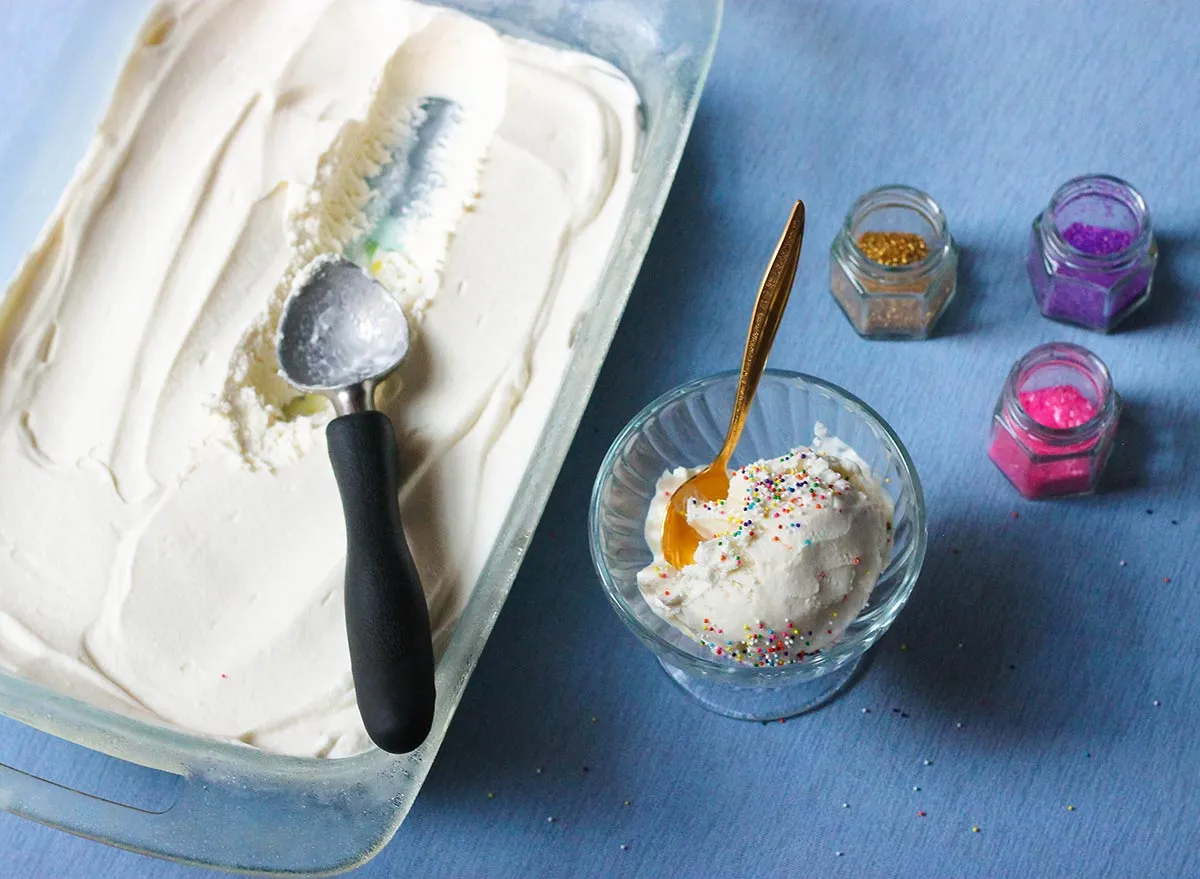
- Using an ice cream scoop or a large spoon, scoop generous portions of the vanilla ice cream into serving bowls or cones.
- If desired, you can add toppings such as chocolate sauce, caramel drizzle, sprinkles, or crushed cookies to enhance the flavor and presentation of your ice cream.
- Serve the ice cream immediately and enjoy its creamy texture and rich vanilla flavor. Indulge in every spoonful!
If there are leftovers or if you want to prepare the ice cream ahead of time, here’s how to store it:
- Transfer any remaining ice cream from the serving bowl back into the airtight container.
- Place a piece of plastic wrap directly on the surface of the ice cream to prevent freezer burn and keep it fresh.
- Seal the container with the lid and place it back in the freezer.
- The ice cream can be stored in the freezer for up to a few weeks. However, for the best taste and texture, it’s recommended to consume it within 1-2 weeks.
Remember to allow the ice cream to sit at room temperature for a few minutes before serving leftovers to soften it for easier scooping.
Now that you know how to serve and store your homemade vanilla ice cream, you can enjoy it anytime you crave a delicious frozen treat. Share it with family and friends, or savor it all for yourself!
Conclusion
Congratulations! You have successfully learned how to make homemade vanilla ice cream using an ice cream maker. By following the steps outlined in this article, you can create a luscious and creamy treat that will surely delight your taste buds.
The process of making vanilla ice cream from scratch allows you to control the quality of the ingredients and customize the flavors to your liking. Using real vanilla beans infuses the ice cream with a natural and aromatic taste that’s hard to beat. The combination of heavy cream, whole milk, and egg yolks creates a rich and velvety texture that will make you swoon with every bite.
Remember to give yourself enough time for the ice cream mixture to properly chill and freeze – patience is key when it comes to achieving the perfect texture. Once the ice cream is ready, you can enjoy it as is or get creative with different toppings and mix-ins to add extra flavor and texture.
Whether you’re hosting a summer party, enjoying a dessert after dinner, or simply treating yourself to a sweet indulgence, homemade vanilla ice cream is a classic favorite that never fails to please. So gather your ingredients, dust off that ice cream maker, and embark on the journey of making your own mouthwatering vanilla ice cream. Your taste buds will thank you!