Introduction
Have you ever craved a creamy and refreshing treat on a hot summer day? Look no further than fresh banana ice cream made right in your own ice cream maker! This delightful frozen dessert is not only quick and easy to make, but it’s also a healthier alternative to store-bought ice cream that often contains artificial ingredients and excessive added sugar. With just a few simple ingredients, you can create a homemade dessert that showcases the natural sweetness of ripe bananas.
One of the great things about making banana ice cream is that it requires minimal equipment and ingredients. All you need is an ice cream maker, ripe bananas, and a few optional flavorings to customize your creation. Whether you’re a fan of classic vanilla or you prefer to experiment with different mix-ins like chocolate chips or crushed cookies, the possibilities are endless!
This step-by-step guide will walk you through the process of making fresh banana ice cream using an ice cream maker. From preparing the bananas and blending them to churning the mixture in the ice cream maker and freezing it to perfection, you’ll learn all the tips and tricks for achieving a creamy and velvety texture.
So, grab your ice cream maker and get ready to indulge in a guilt-free and delectable frozen treat. Let’s dive into the world of homemade banana ice cream and awaken your taste buds with its luscious flavors!
Equipment Needed
Before we embark on making fresh banana ice cream, let’s gather the essential equipment to ensure a smooth and successful process:
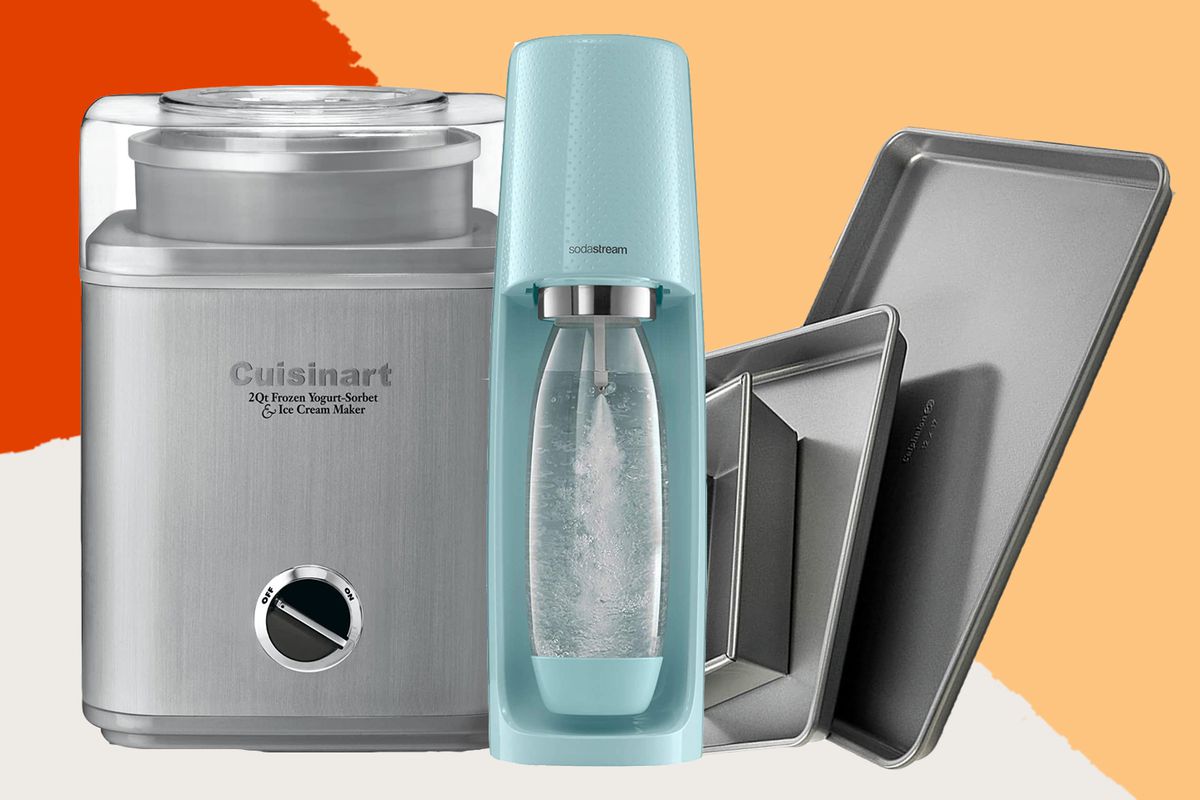
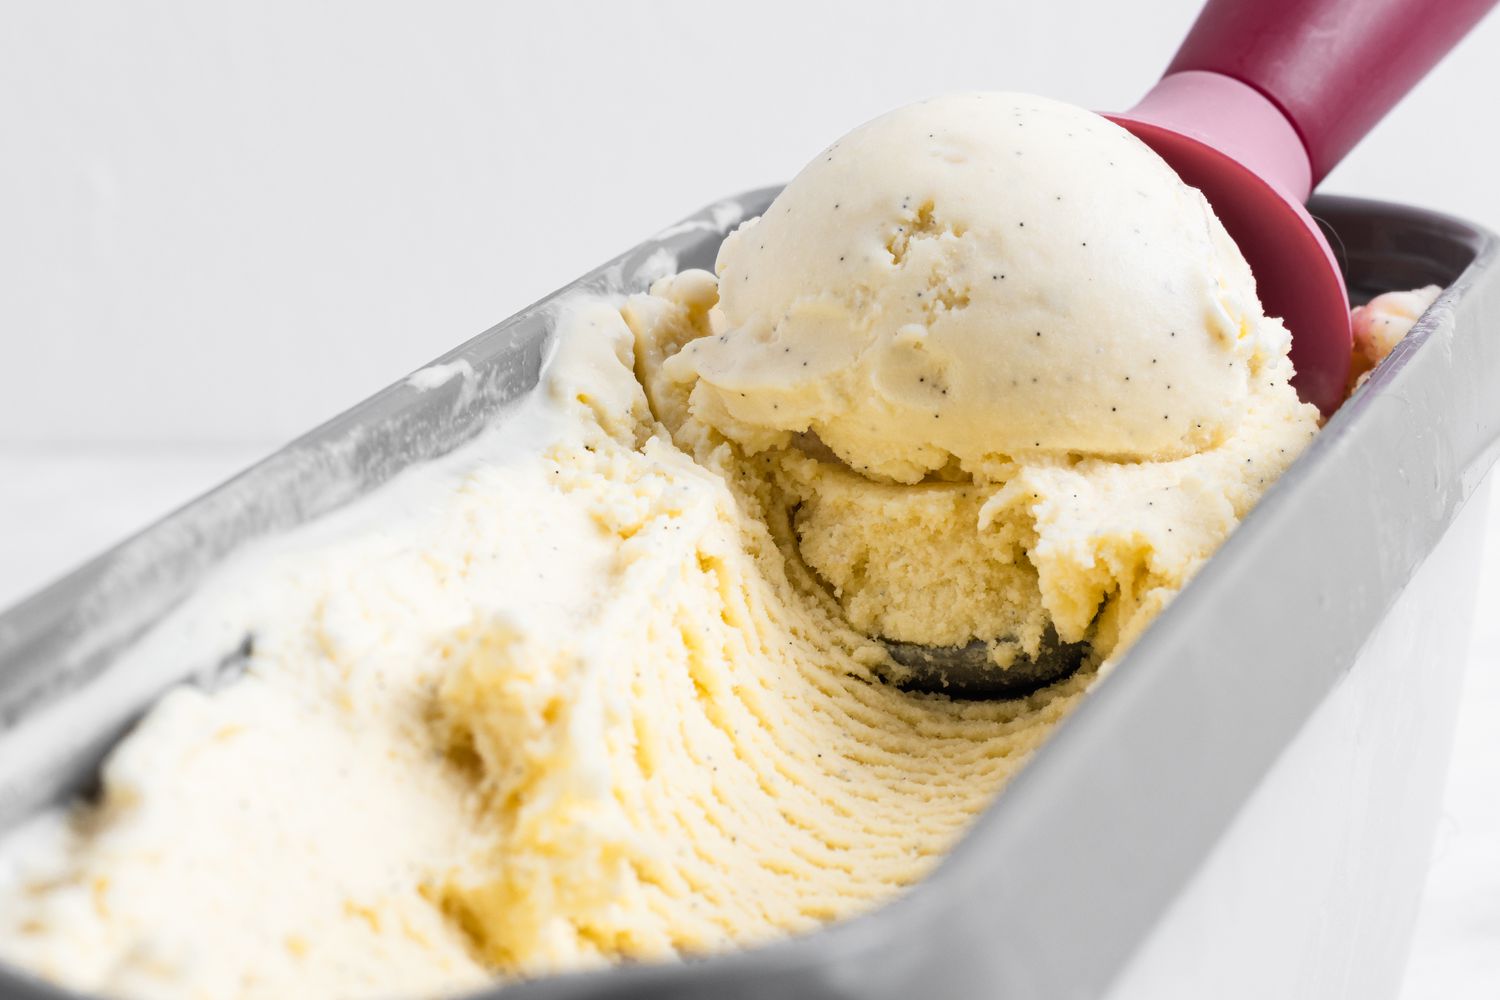
- Ice Cream Maker: This is the key tool you’ll need to churn the banana mixture into a creamy and dreamy ice cream consistency. There are various types of ice cream makers available, including electric and manual models. Choose one that best suits your needs and budget.
- Blender or Food Processor: To blend the bananas and achieve a smooth and creamy texture, you’ll need a reliable blender or food processor. This will help break down the bananas and create a velvety base for your ice cream.
- Measuring Cups and Spoons: Accurate measurements are crucial when it comes to achieving the perfect balance of ingredients. Make sure you have a set of measuring cups and spoons on hand to accurately portion out the ingredients.
- Spatula: A spatula will come in handy for scraping down the sides of your blender or food processor, ensuring that all the banana goodness is incorporated into the mixture.
- Ice Cream Containers: Once your banana ice cream is ready, you’ll need containers to store it in the freezer. Look for containers that are freezer-safe and airtight to keep your ice cream fresh and prevent any unwanted ice crystals from forming.
By having these essential tools at your disposal, you’ll be well-equipped to embark on your homemade banana ice cream adventure. Now that you have everything ready let’s move on to the next step: gathering the ingredients!
Ingredients
To make delicious fresh banana ice cream, you’ll need the following ingredients:
- Ripe Bananas: Choose ripe bananas with yellow peels that have brown spots. The riper the bananas, the sweeter and creamier your ice cream will be.
- Heavy Cream: This adds richness and a smooth texture to the ice cream. You can also substitute it with full-fat coconut milk for a dairy-free option.
- Granulated Sugar: Although the natural sweetness of bananas is often enough, a small amount of sugar can help enhance the flavor. Adjust the quantity based on your taste preferences.
- Vanilla Extract: Adding a splash of vanilla extract enhances the overall flavor profile of the ice cream.
- Mix-ins (Optional): Get creative and personalize your ice cream by adding mix-ins. Popular choices include chocolate chips, crushed cookies, nuts, or fruit. Feel free to experiment and create your own unique combinations.
When it comes to quantities, you’ll need about 4 to 6 ripe bananas, 1 cup of heavy cream, 1/2 cup of sugar (adjust to taste), and 1 teaspoon of vanilla extract. These quantities can be adjusted based on the size of your ice cream maker and your personal preferences.
Now that you have all the necessary ingredients gathered, it’s time to get started on making your very own fresh banana ice cream. Follow the step-by-step instructions to create a creamy and delightful frozen treat that will leave your taste buds craving for more!
Step 1: Prepare the Bananas
The first step in making fresh banana ice cream is preparing the bananas. Here’s what you need to do:
- Peel and slice the ripe bananas: Start by peeling the bananas and slicing them into small pieces. The smaller the pieces, the easier they will blend into a smooth and creamy consistency.
- Place the banana slices on a baking sheet: Spread the banana slices in a single layer on a baking sheet lined with parchment paper. This will prevent them from sticking together and make it easier to freeze.
- Freeze the banana slices: Transfer the baking sheet to the freezer and let the banana slices freeze solid for at least 2 hours or until completely frozen. Freezing the bananas is important as it helps create the creamy texture of the ice cream.
Once the bananas are frozen, you’re ready to move on to the next step of blending them into a luscious ice cream base. Now that you’ve prepared the bananas, let’s proceed to the next step of the process.
Step 2: Blend the Bananas
Now that your banana slices are frozen, it’s time to blend them into a creamy and smooth base for your ice cream. Follow these steps:
- Remove the frozen banana slices from the freezer.
- Transfer the frozen banana slices to a blender or food processor. Make sure your blender or food processor is capable of handling frozen ingredients.
- Pulse or blend the bananas: Start by pulsing the bananas a few times to break them up. Then, blend the bananas on medium to high speed until they are smooth and creamy. You may need to scrape down the sides of the blender or food processor with a spatula occasionally to ensure all the banana pieces are incorporated.
- Continue blending until desired consistency: Blend the bananas until you achieve a creamy and smooth consistency. The frozen bananas will transform into a velvety ice cream-like texture.
During the blending process, you might notice that the bananas go through different stages, starting with a crumbly texture and gradually turning into a creamy mixture. Be patient and continue blending until you reach the desired consistency.
Once the bananas are blended into a smooth base, you’re ready to add some flavorful touches or move directly to the next step of churning the mixture in your ice cream maker. Now that you have a creamy banana base, let’s explore the optional step of adding flavorings.
Step 3: Add Flavoring (Optional)
While fresh banana ice cream is delicious on its own, you can add extra flavorings to enhance the taste and create your own unique variation. Here’s how you can customize your ice cream:
- Vanilla Extract: For a classic twist, add a teaspoon of vanilla extract to the blended bananas. This will impart a subtle and aromatic vanilla flavor to your ice cream.
- Mix-ins: Get creative and add your favorite mix-ins to the banana base. You can fold in chocolate chips, crushed cookies, nuts, or even fresh fruit chunks to add texture and flavor to your ice cream.
- Other Extracts: Experiment with different extracts to add exciting flavors to your ice cream. Mint, almond, or coconut extracts can offer a unique twist and take your banana ice cream to the next level.
Feel free to customize your ice cream according to your preferences. Don’t be afraid to try new combinations and get creative with your flavor choices.
Once you’ve added your desired flavorings, give the mixture a quick stir to evenly distribute the ingredients. Now, it’s time to move on to the next step: churning the banana mixture in your ice cream maker.
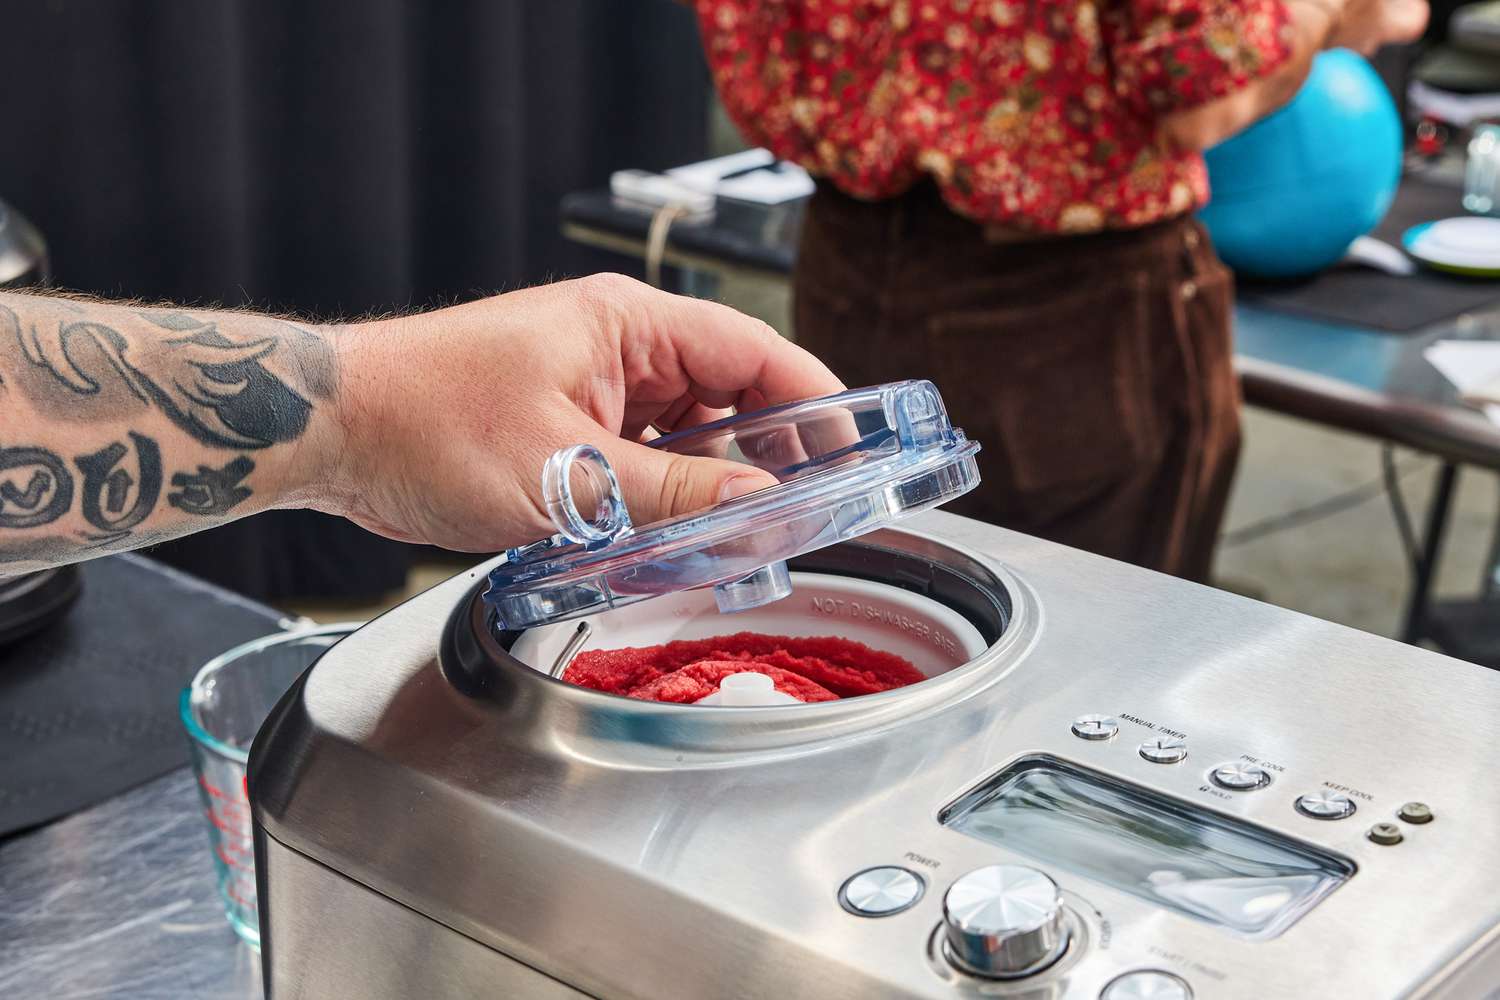
Step 4: Churn the Mixture in the Ice Cream Maker
Now that you have your creamy banana base ready, it’s time to churn the mixture in your ice cream maker. Follow these steps:
- Prepare your ice cream maker according to the manufacturer’s instructions. Each ice cream maker may have different setup requirements, so make sure to read the instructions carefully.
- Pour the banana mixture into the bowl of your ice cream maker.
- Start the churning process: Switch on the ice cream maker and let it churn the mixture for about 20-30 minutes or as per the manufacturer’s instructions. During this process, the ice cream maker freezes the mixture while incorporating air to create a fluffy and smooth texture.
- Keep an eye on the consistency: As the mixture churns, you’ll notice it thickening and increasing in volume. The ice cream will gradually firm up and develop a creamy texture.
- Churn until desired consistency: Churn the mixture until it reaches a soft-serve ice cream consistency. If you prefer a firmer texture, transfer the churned ice cream to a container and freeze it for a few hours until it solidifies further.
It’s important to note that the churning time may vary depending on your ice cream maker and the temperature of the mixture. It’s always a good idea to keep an eye on the consistency throughout the churning process to avoid over-churning or melting.
Once the mixture reaches your desired consistency, it’s time to transfer it to a container and move on to the final step: freezing the ice cream to perfection. Let’s explore the last step to complete your homemade banana ice cream!
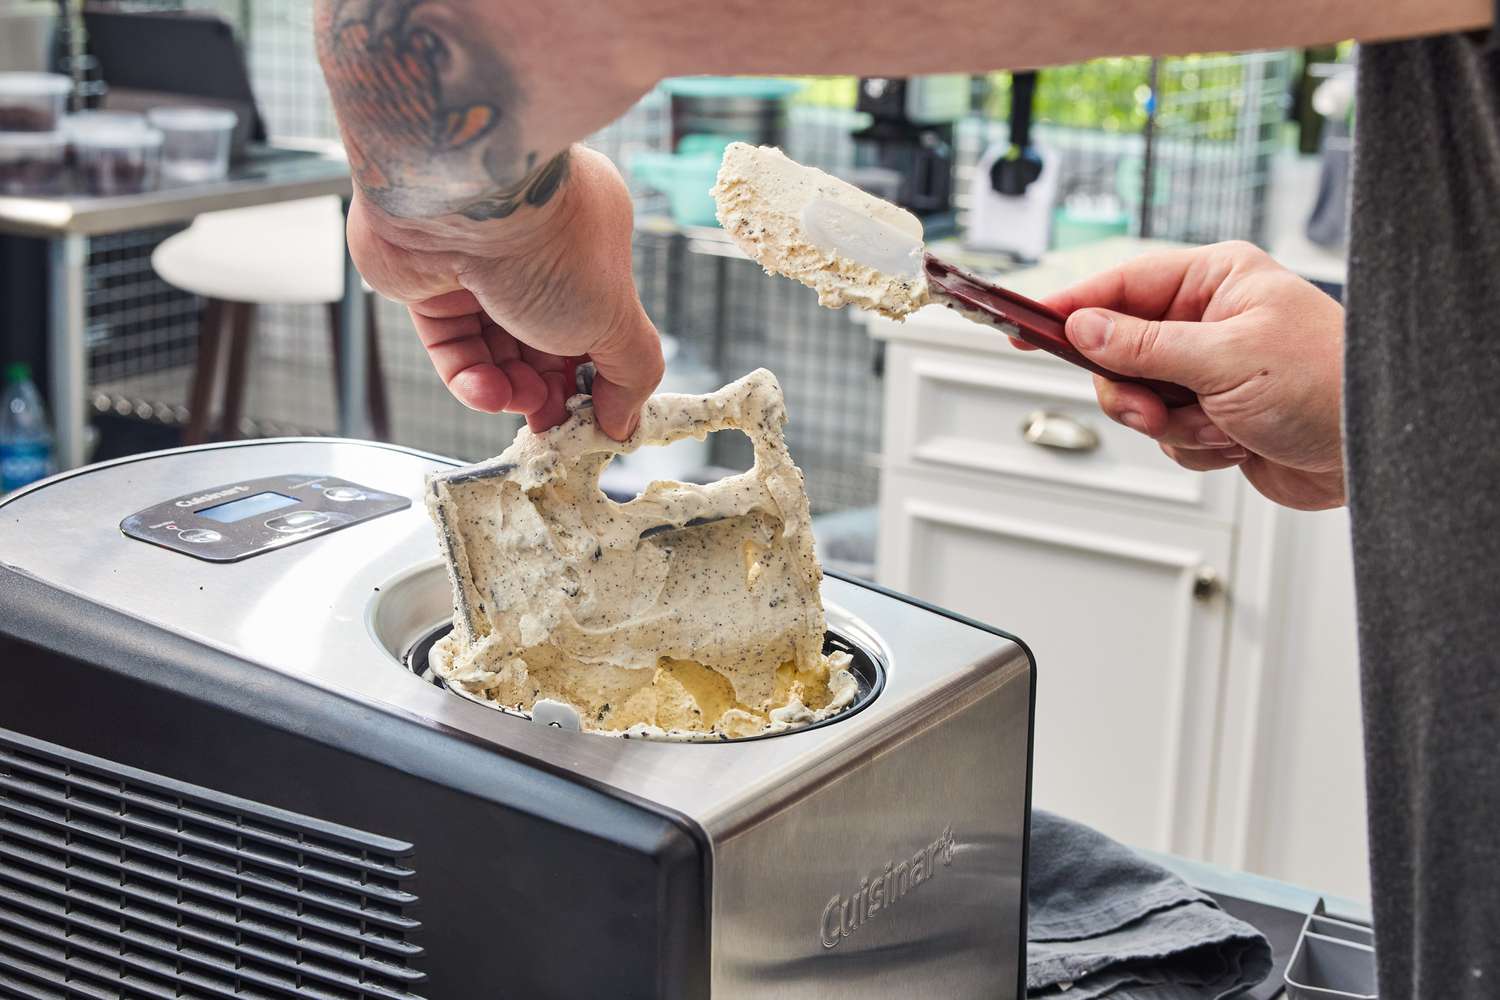
Step 5: Transfer to a Container and Freeze
After churning your banana ice cream to the desired consistency, it’s time to transfer it to a container and give it some time to freeze. Follow these steps:
- Prepare a freezer-safe container: Choose a container that is suitable for freezing your ice cream. It should have an airtight lid to prevent freezer burn and maintain the creaminess of the ice cream.
- Pour the churned ice cream into the container: Use a spatula to transfer the churned ice cream from the ice cream maker to the container. Smooth out the surface with the back of a spoon or spatula.
- Press a piece of parchment paper or plastic wrap directly on the surface of the ice cream: This will help create a barrier between the ice cream and the container lid, preventing ice crystals from forming and ensuring a smoother texture.
- Seal the container with the lid: Make sure the container is tightly sealed to prevent any air from entering and affecting the texture and flavor of the ice cream.
- Place the container in the freezer: Transfer the container to the freezer and let it freeze for a minimum of 3-4 hours, or until the ice cream is firm and scoopable. For a firmer texture, it is recommended to freeze it overnight.
During the freezing process, it’s normal for the ice cream to harden and become more solid. To serve the ice cream, you may need to let it sit at room temperature for a few minutes to soften before scooping.
Now that you’ve transferred the churned ice cream to a container, it’s time for the anticipation to build as your banana ice cream freezes and reaches its optimal consistency. Next, let’s move on to the exciting final step: serving and enjoying your homemade banana ice cream!
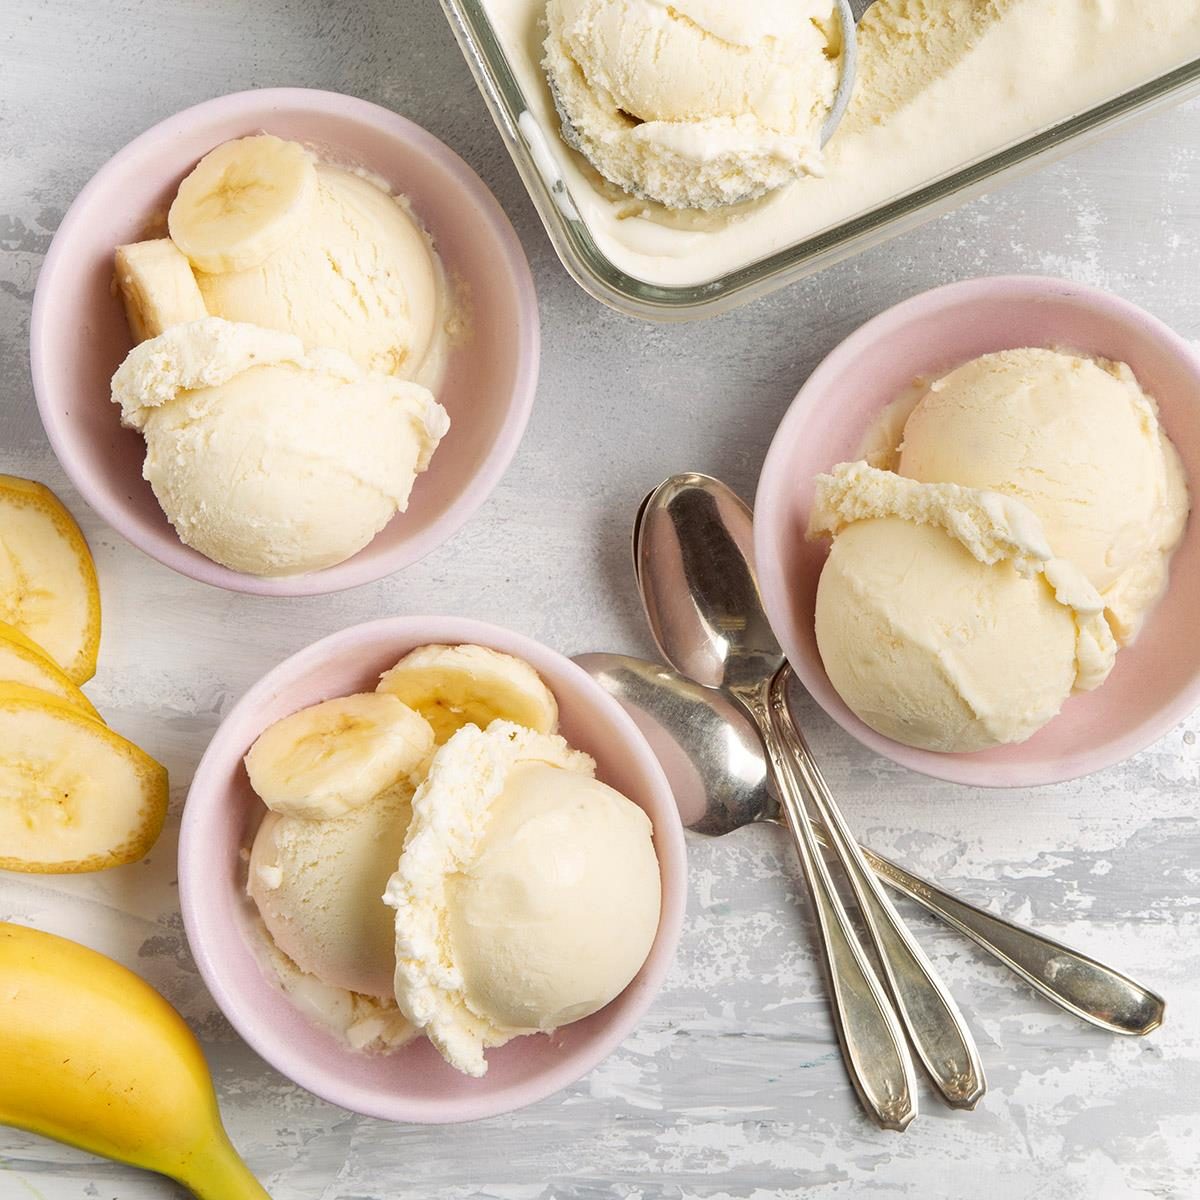
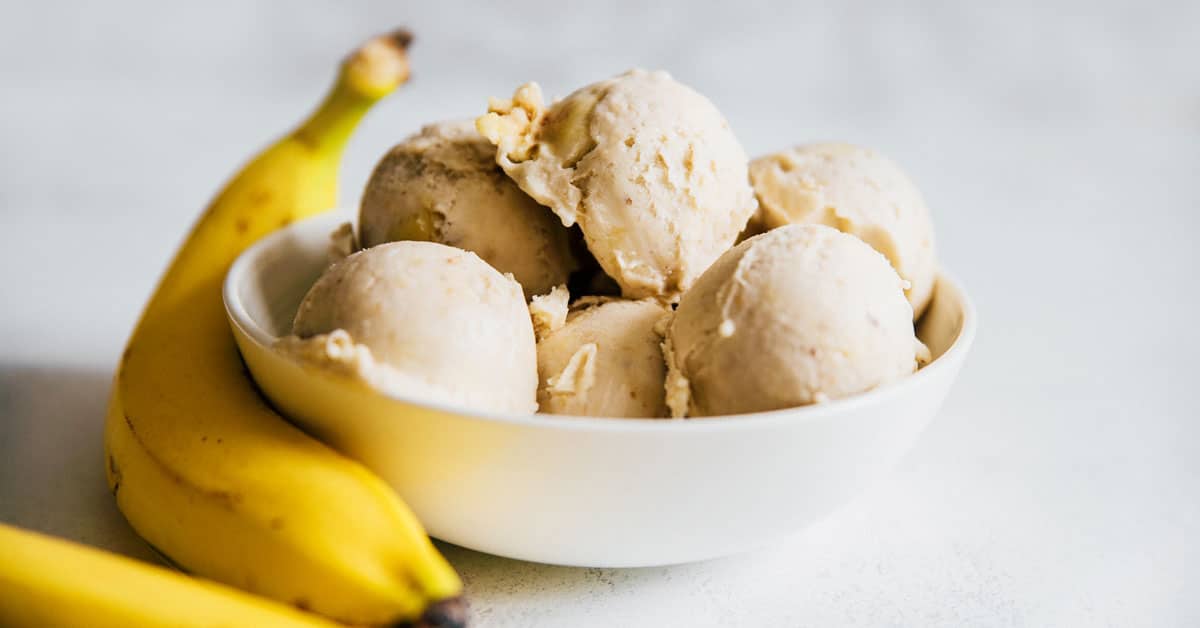
Step 6: Serve and Enjoy!
The moment you’ve been waiting for has arrived! It’s time to serve and indulge in your homemade fresh banana ice cream. Follow these final steps to experience a heavenly treat:
- Remove the container of frozen banana ice cream from the freezer.
- Let the ice cream sit at room temperature for a few minutes to soften slightly, making it easier to scoop.
- Using an ice cream scoop or a spoon, scoop out desired portions of the banana ice cream into bowls or ice cream cones.
- Garnish as desired: You can choose to garnish your ice cream with toppings like fresh fruit slices, chocolate sauce, whipped cream, or a sprinkle of nuts.
- Grab a spoon and dig in! Enjoy the creamy, refreshing goodness of your homemade banana ice cream.
Whether you’re enjoying it on a sunny day, as a sweet treat after dinner, or as a special indulgence with loved ones, homemade banana ice cream is sure to delight your taste buds.
Remember, you can always store any leftover ice cream in the freezer for later enjoyment. Just make sure to keep it in an airtight container to maintain its freshness and flavor.
Congratulations! You’ve successfully created a delectable and healthier alternative to store-bought ice cream. Share your homemade banana ice cream with family and friends, and celebrate the joy of creating your very own frozen delight!
Conclusion
Making fresh banana ice cream in your ice cream maker is a delightful and rewarding experience. With just a handful of ingredients and a little bit of patience, you can create a creamy, homemade treat that is both delicious and healthier than store-bought alternatives.
By following the step-by-step guide outlined in this article, you’ve learned how to prepare the bananas, blend them into a smooth base, and churn the mixture in your ice cream maker. You’ve discovered the option to add various flavorings and mix-ins to customize your ice cream to your liking.
Transferring the churned mixture to a container and allowing it to freeze solidify ensures that your banana ice cream reaches the perfect scoopable consistency. And finally, serving and enjoying your homemade creation brings a sense of fulfillment and satisfaction.
Now that you have the knowledge and skills to make fresh banana ice cream, the possibilities are endless. Experiment with different flavor combinations, explore new mix-ins, and share this delightful treat with your loved ones. Create lasting memories and indulge in the creamy goodness of homemade ice cream.
So, gather your equipment, get those ripe bananas, and let your creativity flow as you embark on your next ice cream making adventure. Enjoy the process and relish the sweet rewards of your homemade fresh banana ice cream!