Introduction
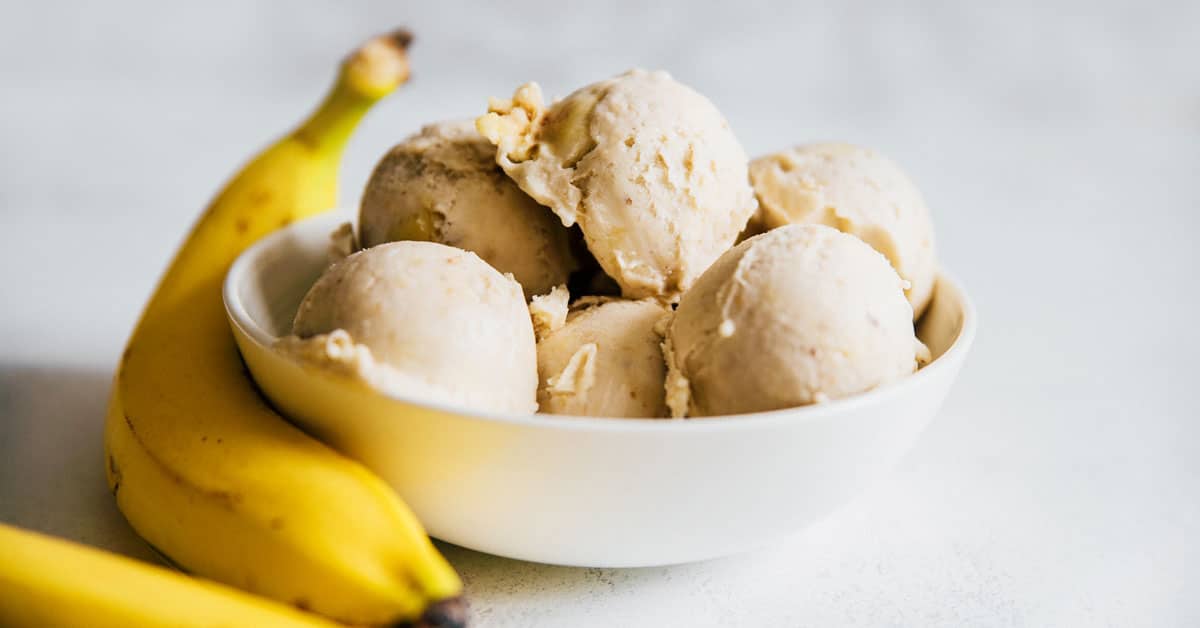
Welcome to the world of homemade no-cook banana ice cream! If you’re a fan of frozen treats but not a fan of complicated recipes or the need for an ice cream maker, then this recipe is for you. With just a few simple ingredients and minimal effort, you can whip up a delicious and creamy banana ice cream that will satisfy your sweet tooth without any added guilt.
Banana ice cream is gaining popularity as a healthier alternative to traditional ice cream. It is dairy-free, vegan, and packed with natural sweetness from ripe bananas. You won’t need any artificial flavors or sweeteners for this recipe. Plus, it’s a great way to use up those overripe bananas sitting on your kitchen counter.
One of the best things about this recipe is that you don’t need an ice cream maker. This means you can enjoy homemade ice cream even if you don’t have any special equipment. All you need is a blender or food processor to transform frozen bananas into a silky smooth and creamy ice cream.
Not only is this homemade banana ice cream a healthier option, but it’s also incredibly versatile. You can customize it to your liking by adding various mix-ins and toppings. Whether you prefer a simple classic banana flavor or want to experiment with different combinations, the possibilities are endless.
In this article, we will guide you through the process of making homemade no-cook banana ice cream without an ice cream maker. We’ll also provide tips and variations so you can get creative and tailor the recipe to suit your taste buds. Get ready to indulge in a guilt-free frozen treat that will cool you down on hot summer days or satisfy your dessert cravings any time of the year.
Ingredients
To make homemade no-cook banana ice cream, you’ll need the following ingredients:
- 4 ripe bananas
- 1 tablespoon of lemon juice
- 2 tablespoons of honey or maple syrup (optional for added sweetness)
- 1 teaspoon of vanilla extract or other flavorings of your choice (optional)
That’s it! With just four simple ingredients, you can create a delectable frozen dessert that is both refreshing and healthy. You can customize the sweetness and flavors to suit your preferences by adjusting the amount of honey or maple syrup and incorporating different extracts or spices.
It’s important to ensure that your bananas are ripe or slightly overripe for the best results. Ripe bananas provide natural sweetness and a creamy texture when frozen and blended. If your bananas are not yet ripe enough, you can let them sit at room temperature for a few days until they develop a yellow peel with brown spots.
Feel free to experiment with different variations by adding mix-ins such as chocolate chips, nuts, dried fruits, or shredded coconut. You can also top your banana ice cream with a drizzle of chocolate syrup, caramel sauce, or a sprinkle of cinnamon for an extra touch of flavor.
Now that you have your ingredients ready, it’s time to gather the necessary equipment and dive into the simple process of making no-cook banana ice cream.
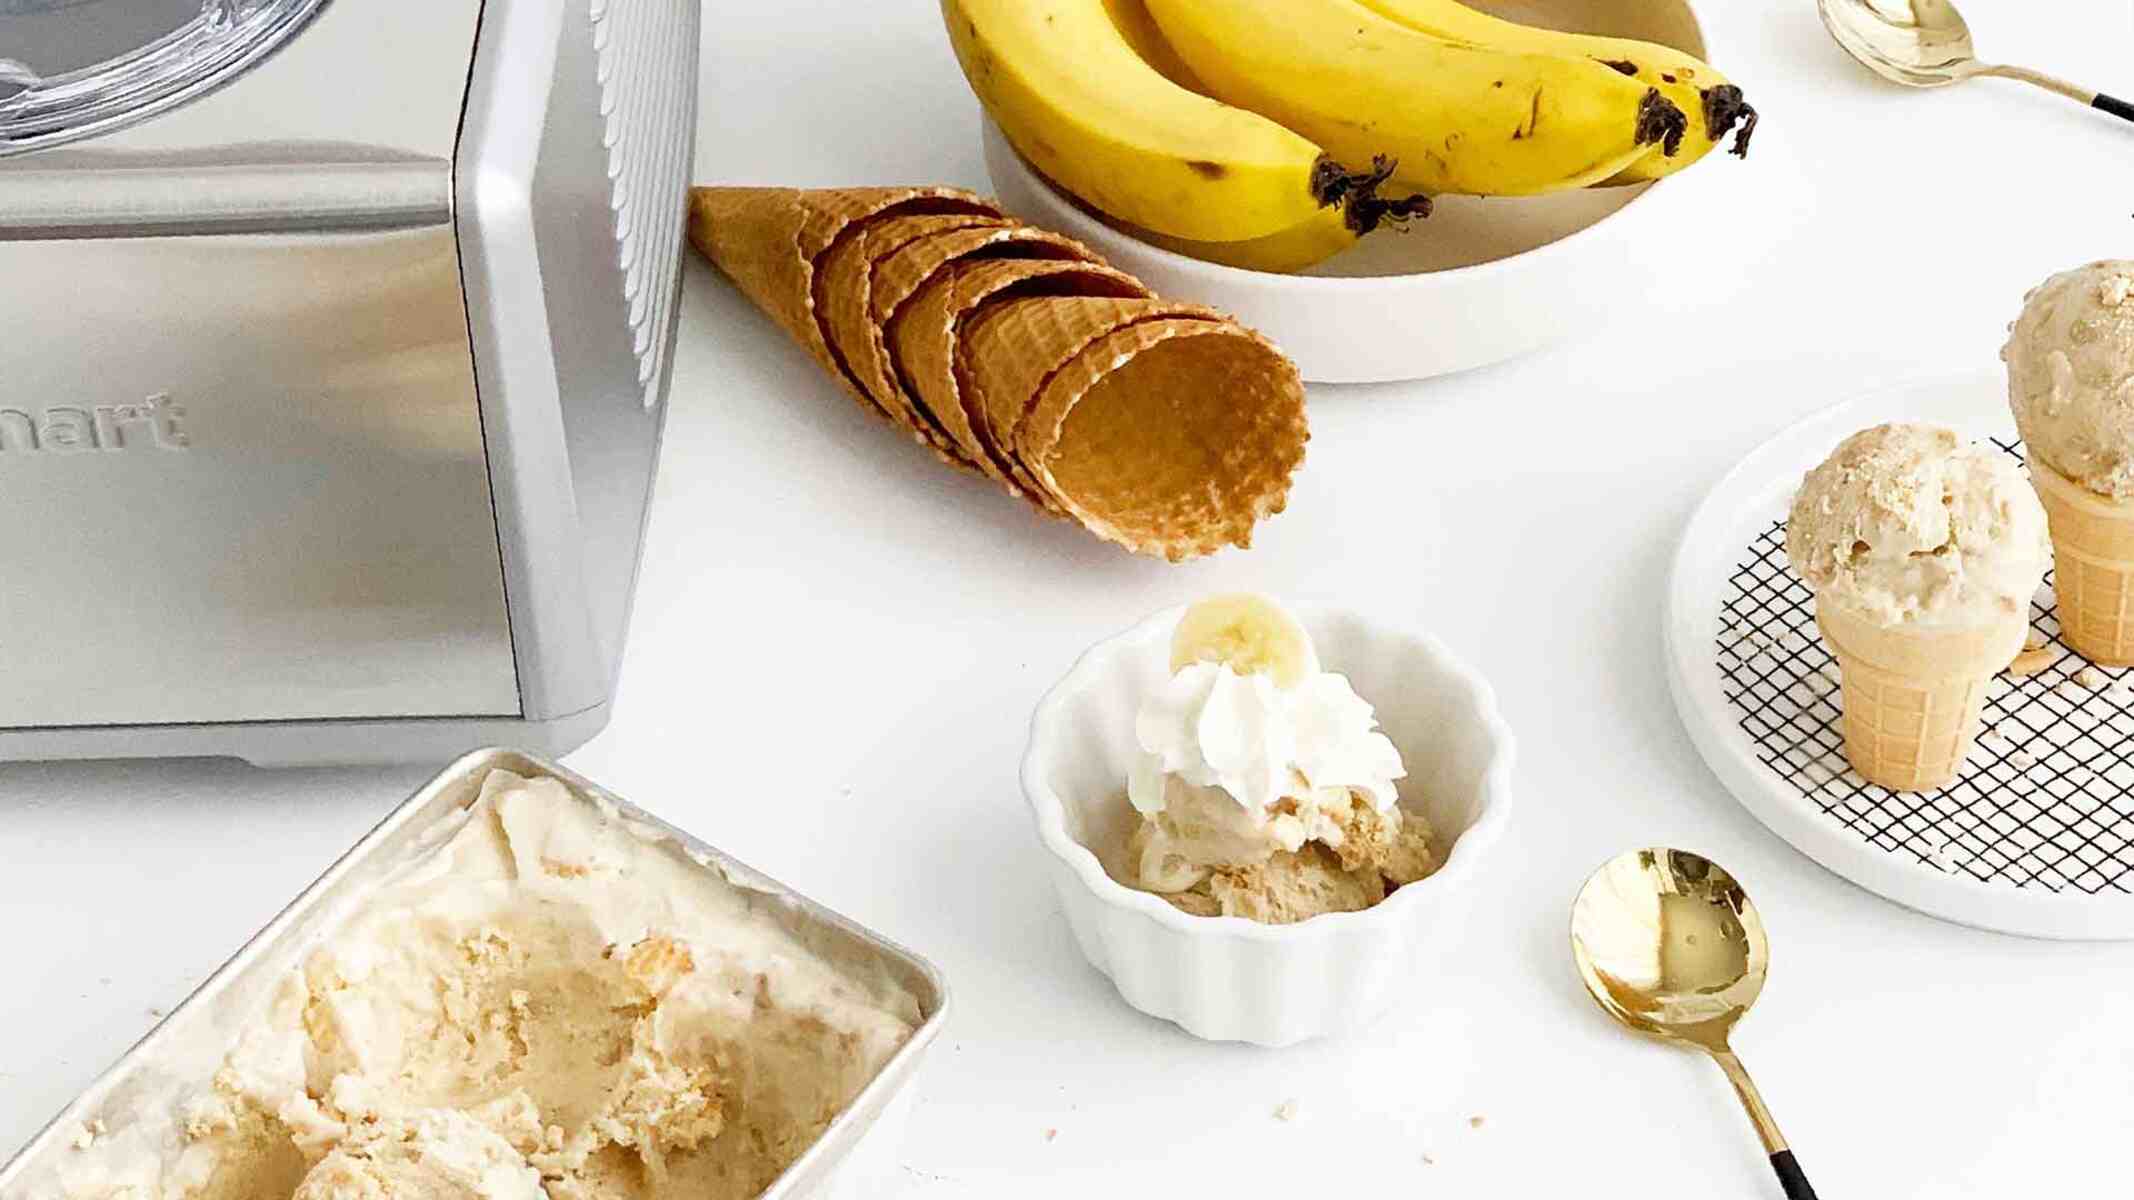
Equipment Needed
To make homemade no-cook banana ice cream, you’ll need a few essential kitchen tools:
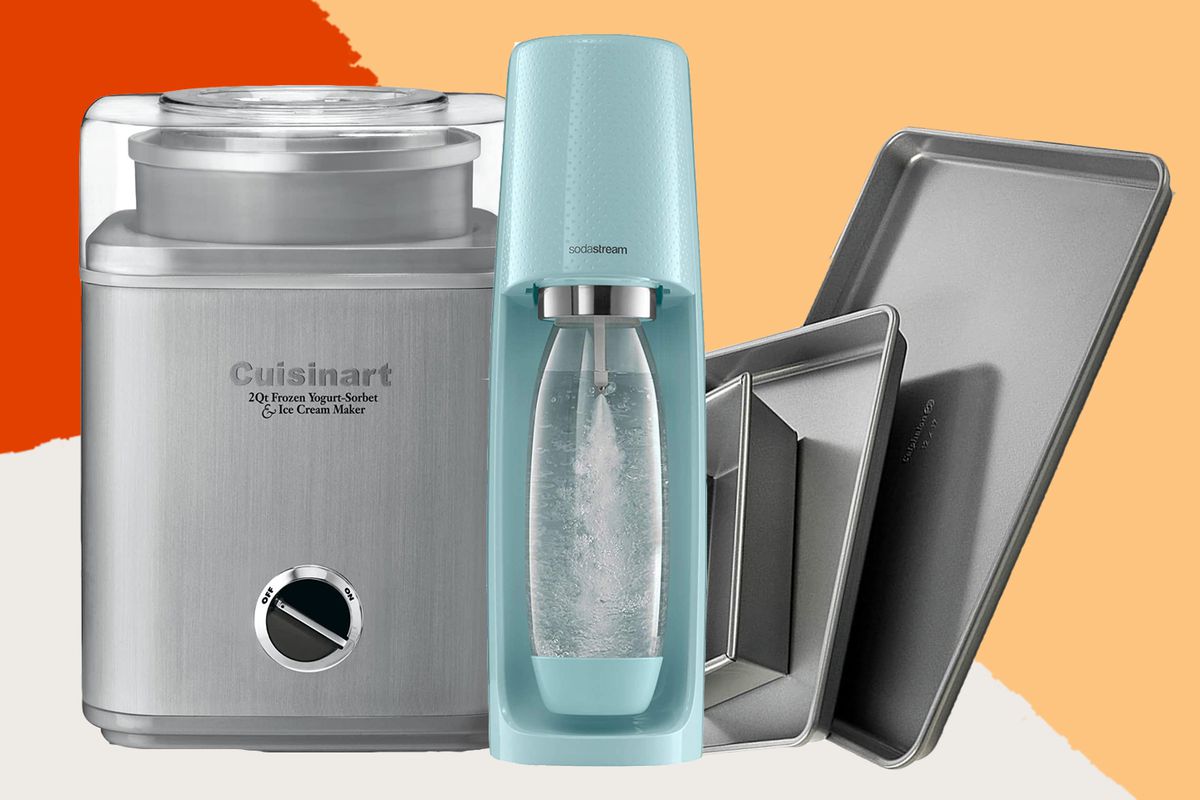
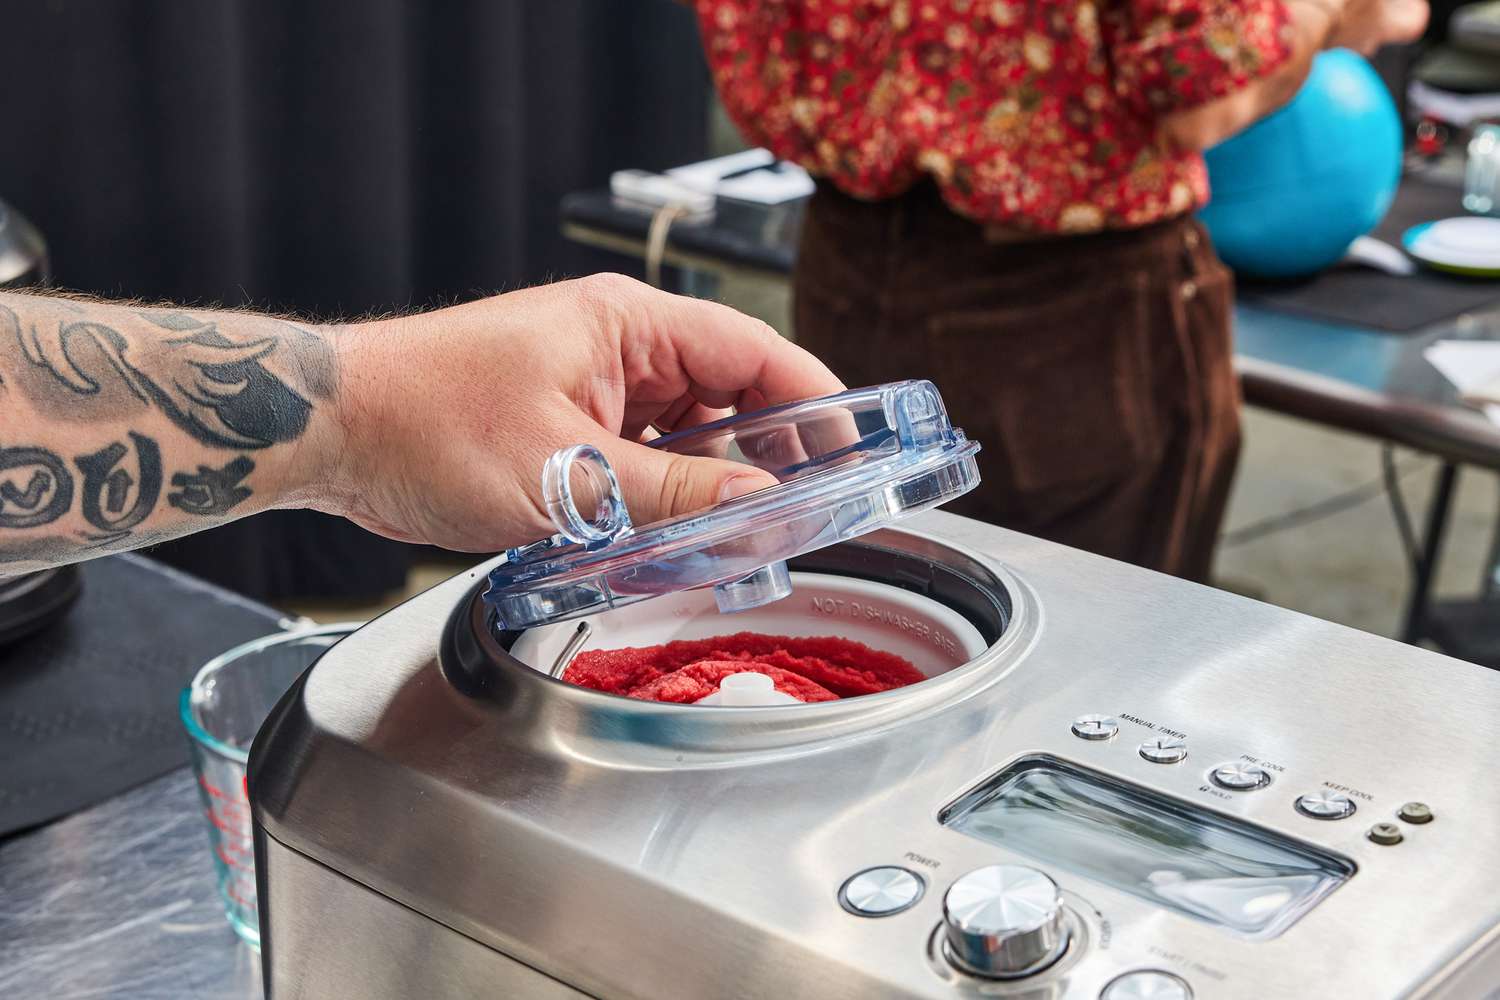
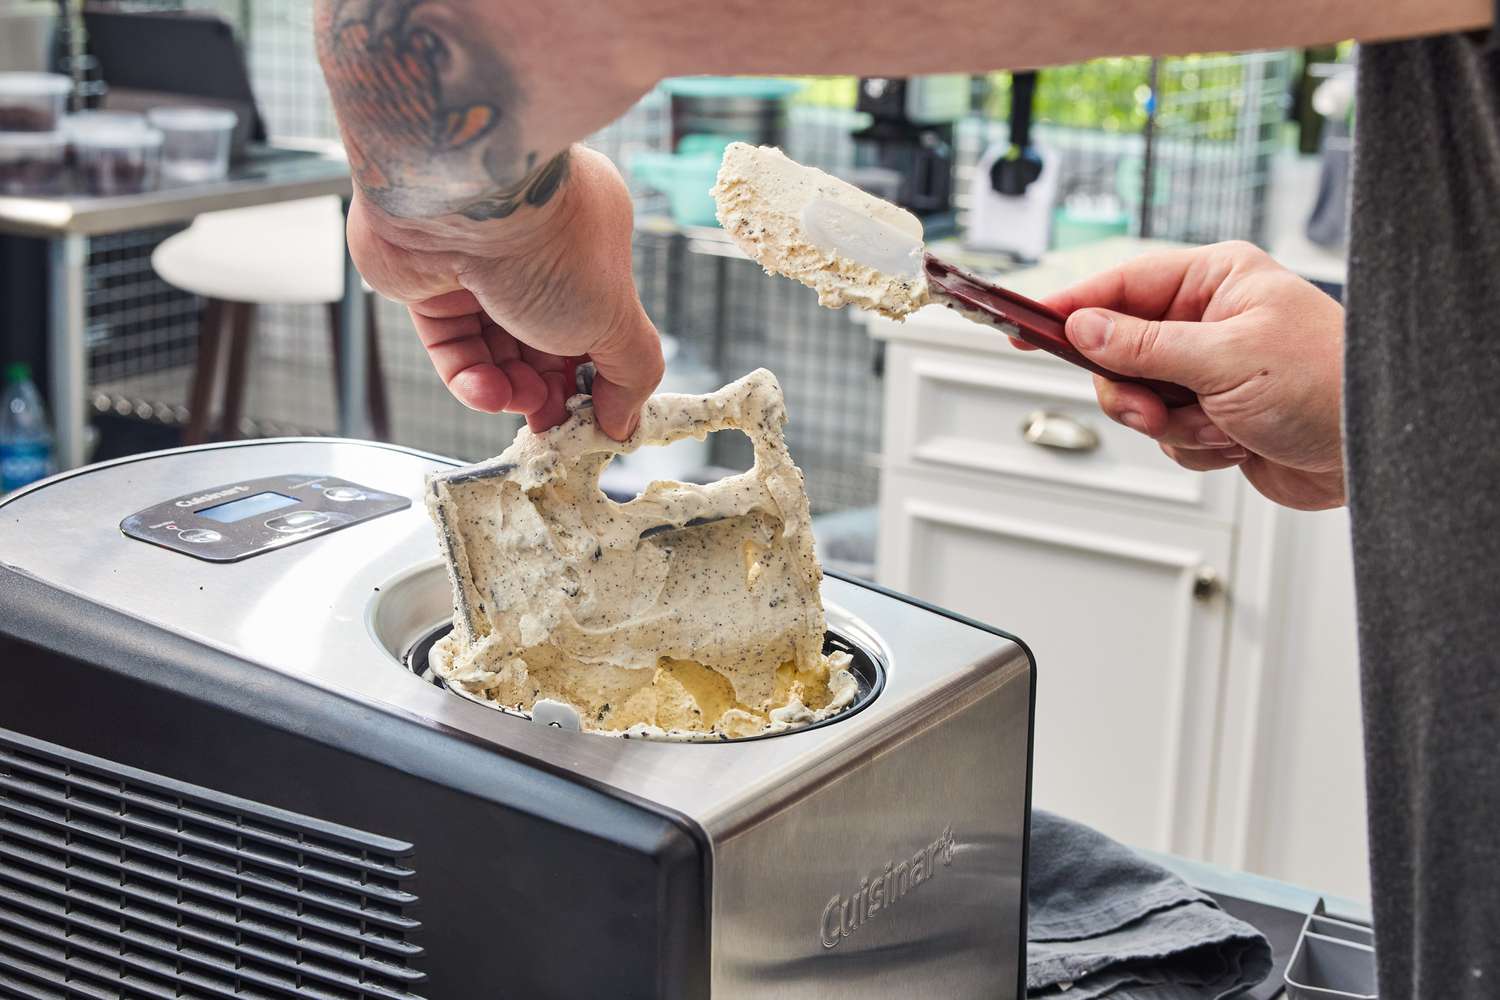
- A blender or food processor: This is the key equipment for turning frozen bananas into creamy ice cream. You can use either a high-speed blender or a food processor, depending on what you have available.
- A spatula or spoon: You’ll need a spatula or spoon to scrape down the sides of the blender or food processor as you blend the frozen bananas. This will ensure that all the ingredients are thoroughly combined and smooth.
- Airtight container: Once you’ve made your banana ice cream, you’ll need an airtight container to store it in the freezer. A container with a lid will help prevent crystals from forming and maintain the freshness of your homemade ice cream.
While these are the basic equipment needed, you can also consider using additional tools to enhance the process and presentation of your banana ice cream. These may include:
- Ice cream scooper: An ice cream scooper makes it easier to portion and serve your homemade ice cream. It creates beautiful rounded scoops that are perfect for cones or bowls.
- Ice cream molds: If you want to get creative with the shape of your banana ice cream, you can use ice cream molds. These come in various shapes and sizes, allowing you to make popsicles or fun-shaped ice cream treats.
- Decorative toppings: Adding some decorative toppings like sprinkles, crushed nuts, or fresh berries can add visual appeal to your banana ice cream. These toppings can be used to garnish and enhance the overall presentation of your dessert.
Remember, while these additional tools can elevate your homemade ice cream experience, they are not essential. A blender or food processor, along with a spoon or spatula, are the main equipment you need to create delicious no-cook banana ice cream in the comfort of your own home.
Instructions
Follow these simple step-by-step instructions to make homemade no-cook banana ice cream:
- Peel and slice the ripe bananas into small pieces.
- Place the banana slices in a single layer on a parchment-lined baking sheet and freeze them for at least 2 hours, or until they are completely frozen.
- Once the banana slices are frozen, transfer them to a blender or food processor.
- Add the lemon juice to the blender or food processor. This helps to enhance the flavor of the bananas and prevent them from browning.
- If desired, add the optional sweetener, such as honey or maple syrup, for added sweetness. You can adjust the amount based on your preference.
- Optional: Add any flavorings of your choice, such as vanilla extract or spices, to enhance the flavor profile of your banana ice cream. This is a great opportunity to get creative and try different combinations.
- Blend the frozen banana slices, lemon juice, sweetener, and flavorings until smooth and creamy. You may need to scrape down the sides of the blender or food processor a few times to ensure everything is blended evenly.
- Once the mixture is smooth and creamy, transfer the banana ice cream into an airtight container.
- Place the container in the freezer and freeze for an additional 1-2 hours to allow the ice cream to firm up.
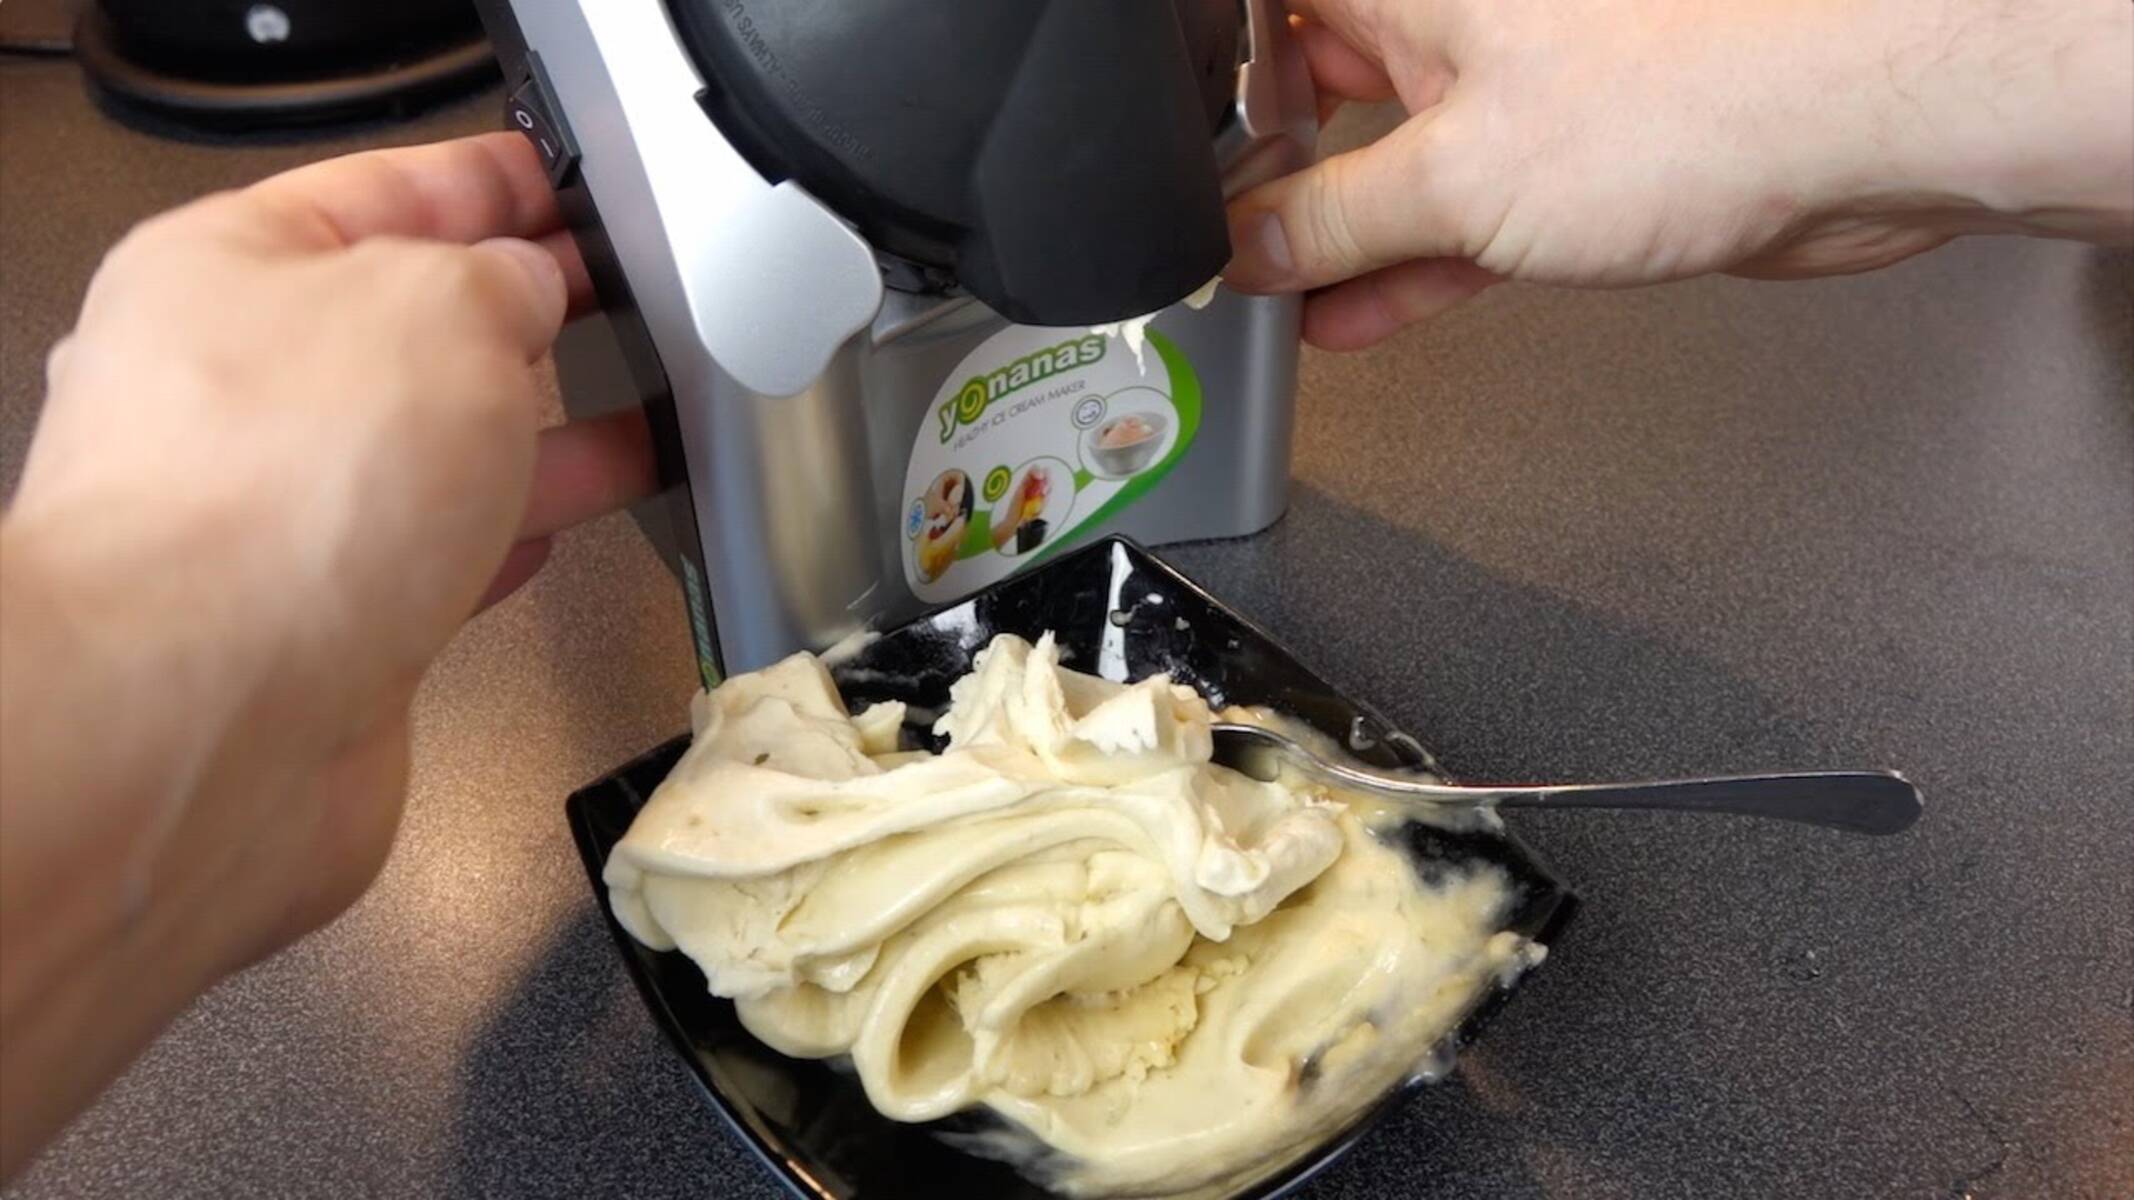
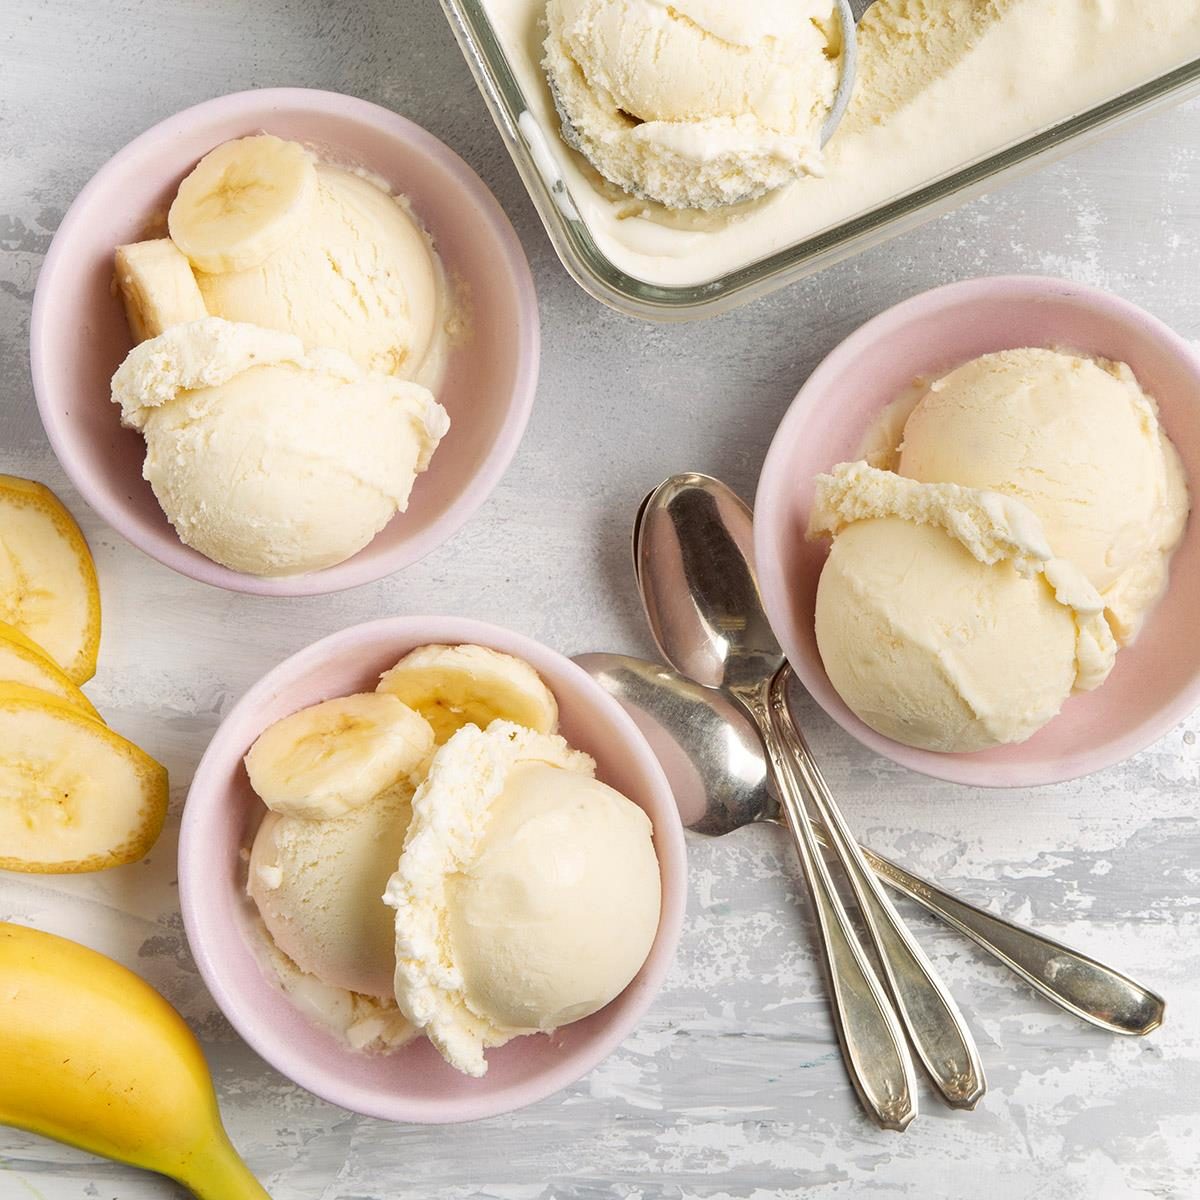
- After the ice cream has reached your desired consistency, it is ready to be served.
Once you’re ready to enjoy your homemade no-cook banana ice cream, you can scoop it into bowls or cones, or get creative with different presentation ideas. Feel free to add your favorite toppings, such as chocolate chips, crushed nuts, or fresh fruit, to take your banana ice cream to a whole new level of deliciousness.
Remember to store any leftovers in the freezer in an airtight container for future enjoyment. However, homemade banana ice cream is best enjoyed fresh to maintain its creamy texture and flavor.
Tips and Variations
Here are some helpful tips and delicious variations to elevate your homemade no-cook banana ice cream:
Tips:
- Use ripe or slightly overripe bananas for the best flavor and texture. The riper the bananas, the sweeter and creamier the ice cream will be.
- Add a squeeze of lemon juice to the blender or food processor along with the bananas. This helps to prevent the bananas from browning and adds a tangy flavor to the ice cream.
- Feel free to adjust the sweetness by adding honey, maple syrup, or your preferred sweetener. Start with a small amount and taste the mixture before adding more, as the natural sweetness of the ripe bananas may be sufficient for your taste.
- Blend the frozen banana slices gradually, pausing to scrape down the sides of the blender or food processor. This will ensure a smooth and creamy texture.
- For an extra indulgent treat, you can stir in some mix-ins after blending, such as chocolate chips, crushed cookies, or chopped nuts.
- Experiment with different flavorings to personalize your banana ice cream. Try adding a splash of vanilla extract, a sprinkle of cinnamon, or a pinch of nutmeg to enhance the taste profile.
- If you prefer a softer ice cream consistency, you can serve the banana ice cream immediately after blending. If you prefer a firmer texture, transfer the mixture to an airtight container and freeze for an additional hour or two.
Variations:
- Chocolate Banana Ice Cream: Add a tablespoon of cocoa powder to the blender or food processor and blend it with the frozen bananas for a delightful chocolate twist.
- Peanut Butter Banana Ice Cream: Incorporate a spoonful of creamy peanut butter into the blender or food processor along with the frozen bananas. Blend until well combined for a deliciously nutty variation.
- Strawberry Banana Ice Cream: Add a handful of fresh or frozen strawberries to the blender or food processor along with the frozen bananas. Blend until smooth for a fruity and refreshing flavor.
- Caramel Swirl Banana Ice Cream: Drizzle some caramel sauce into the blender or food processor while blending the frozen bananas for a decadent caramel swirl throughout the ice cream.
- Coconut Banana Ice Cream: Blend in some unsweetened shredded coconut with the frozen bananas to create a tropical-inspired ice cream flavor.
Be creative and explore different combinations and variations to find your favorite flavors. Homemade no-cook banana ice cream is a versatile recipe that allows you to experiment and indulge in a guilt-free frozen treat.
Conclusion
Congratulations! You are now equipped with the knowledge and recipe to create delectable homemade no-cook banana ice cream. This simple and delightful treat will satisfy your cravings for frozen desserts without the need for an ice cream maker or complicated ingredients.
By using ripe bananas as the base, you can enjoy a creamy and sweet ice cream that is not only delicious but also a healthier alternative to traditional options. The best part is, you can customize it to suit your taste buds and get creative with different flavors and mix-ins.
Whether you prefer classic banana flavor, or want to experiment with chocolate, peanut butter, or other variations, you have the freedom to craft a frozen treat that brings you joy. Don’t forget to play around with different toppings, such as crushed nuts, chocolate sauce, or fresh fruits to add an extra touch of indulgence.
With just a blender or food processor, a few simple ingredients, and a little bit of patience, you can whip up a batch of delicious banana ice cream that will impress your family and friends. This recipe is perfect for hot summer days, dessert cravings, or anytime you want to treat yourself to a guilt-free frozen delight.
So why wait? Gather your ingredients, put on your apron, and let your creativity shine as you embark on the journey of making homemade no-cook banana ice cream. Enjoy the creamy, sweet, and refreshing goodness that awaits you. Start blending, freezing, and savoring every spoonful of this delightful frozen treat!