Introduction
Are you craving a delicious treat but don’t have an ice cream maker? No worries, because we have the perfect solution for you – homemade banana trego. This creamy and refreshing dessert is incredibly easy to make, and the best part is, you only need a few simple ingredients. Whether you’re a fan of the sweet and natural flavor of bananas or you want to experiment with different toppings and mix-ins, this recipe is sure to satisfy your taste buds.
While traditional ice cream requires a time-consuming churning process, banana trego eliminates the need for an ice cream maker, making it a quick and convenient option for dessert lovers. Plus, it’s a healthier alternative, as it doesn’t contain any added sugars or preservatives. By using ripe bananas as the base, you’ll get that delightful natural sweetness, along with a creamy, smooth texture that rivals any store-bought ice cream.
This homemade banana trego recipe is also a fantastic way to use up those overripe bananas sitting on your counter. Instead of letting them go to waste, simply peel, slice, and freeze them for this delectable frozen treat. You’ll be amazed at how easily you can transform those browning bananas into a delightful dessert that will leave you wanting more.
In this article, we’ll guide you through the step-by-step process of making banana trego without an ice cream maker. From gathering your ingredients to serving up the final product, we’ll provide you with all the tips and tricks you need to create a mouthwatering treat that everyone will love. So, let’s get started with the first step – gathering your ingredients!
Ingredients
To make homemade banana trego without an ice cream maker, you’ll need the following ingredients:
- 4 ripe bananas
- 1 teaspoon lemon juice (optional)
- 1/2 teaspoon vanilla extract (optional)
- 1/4 cup milk or dairy-free alternative (optional)
- Toppings and mix-ins of your choice (e.g., chocolate chips, nuts, caramel sauce)
The key ingredient, of course, is the ripe bananas. Make sure they are nice and yellow with some brown spots, as this indicates they are at the peak of sweetness. The overripe bananas will provide a stronger flavor and smoother texture to your trego.
Lemon juice is optional but recommended, as it not only adds a tangy flavor but also helps prevent the bananas from turning brown too quickly. If you prefer a more intense vanilla taste, you can also add a small amount of vanilla extract to enhance the overall flavor profile.
If you want to achieve a creamier consistency and subtle flavor variation, you can add a quarter cup of milk or a dairy-free alternative of your choice. This step is entirely optional and can be skipped if you prefer a purely banana-focused dessert. Feel free to experiment and find the right balance of texture and taste that appeals to your personal preferences.
As for the toppings and mix-ins, the possibilities are endless. You can go for classic options like chocolate chips, chopped nuts, or a drizzle of caramel sauce. If you’re feeling adventurous, you can even try crushed cookies, fresh fruit, or a sprinkle of cinnamon for an extra kick. Get creative and have fun customizing your banana trego to make it truly your own!
Now that we have all our ingredients ready, let’s move on to the step-by-step process of making this delicious homemade dessert.
Step 1: Gather your ingredients
Before diving into making your homemade banana trego, it’s essential to gather all the necessary ingredients and equipment. Having everything prepared and within reach will streamline the process and ensure a smooth and enjoyable dessert-making experience.
Here’s what you’ll need:
- 4 ripe bananas
- 1 teaspoon lemon juice (optional)
- 1/2 teaspoon vanilla extract (optional)
- 1/4 cup milk or dairy-free alternative (optional)
- Toppings and mix-ins of your choice (e.g., chocolate chips, nuts, caramel sauce)
First and foremost, you’ll need ripe bananas – those golden fruits with delightful brown spots. These bananas are key to achieving the best taste and texture in your banana trego. Make sure to peel and chop the bananas into small slices. You can use a cutting board and a sharp knife for this task.
If you decide to add a tangy twist to your banana trego, grab a fresh lemon and extract about a teaspoon of lemon juice. This step is optional but recommended, as the lemon juice not only adds a zesty flavor but also helps prevent the bananas from turning brown too quickly.
To elevate the flavor profile, consider adding half a teaspoon of vanilla extract. This optional ingredient enhances the overall taste and aroma of your banana trego, giving it a touch of indulgence.
For those who desire a creamier consistency, you can include a quarter cup of milk or a dairy-free alternative of your choice. This step is again optional but can take your banana trego to the next level.
Lastly, gather your favorite toppings and mix-ins to customize your banana trego. Whether you prefer the classic combination of chocolate chips and nuts or are in the mood for a caramel drizzle, the choice is yours! Feel free to get creative and experiment with different flavors and textures to make your dessert truly unique.
With all the ingredients ready, you are now prepared to embark on the journey of creating your own homemade banana trego. Let’s move on to the next step: peeling and slicing the bananas.
Step 2: Peel and slice the bananas
Now that you have gathered all the necessary ingredients, it’s time to prepare the star of the show – the bananas. Follow this step-by-step guide to peel and slice your bananas for the perfect texture in your banana trego.
Here’s what you need to do:
- Start by placing the ripe bananas on a clean cutting board.
- Take a sharp knife and make a shallow slit along the length of the banana skin.
- Gently peel the skin from top to bottom, ensuring not to damage the banana flesh.
- Once the skin is removed, place the peeled banana on the cutting board.
- Using the same knife, slice the bananas into small pieces.
- For a smoother texture, slice the pieces into thin rounds. If you prefer a chunkier consistency, make thicker slices.
Ensure that your slices are similar in size to ensure an even freezing and blending process later on.
If you notice any brown spots while slicing the bananas, don’t worry! These spots indicate ripeness and will actually intensify the natural sweetness of your dessert.
If you prefer a more pronounced lemon flavor in your banana trego, this is the perfect opportunity to add a few drops of lemon juice to the sliced bananas. Simply sprinkle the lemon juice over the slices, and gently toss them to coat evenly. This step is optional but can add a refreshing twist to your dessert.
Once you have peeled and sliced all the bananas, you are now ready to move on to the next step – freezing the bananas.
Step 3: Freeze the bananas
Now that you have peeled and sliced the bananas, it’s time to prepare them for the freezing process. Freezing the bananas is a crucial step in creating the creamy and smooth texture of your banana trego.
Follow these steps to freeze the bananas:
- Take a baking sheet, preferably lined with parchment paper or a silicone mat, and arrange the banana slices in a single layer.
- Make sure the slices are not touching each other to ensure they freeze individually and prevent them from sticking together.
- Place the baking sheet with the banana slices in the freezer.
- Allow the bananas to freeze for at least 2-3 hours, or until they are completely frozen.
Freezing the bananas allows them to develop that delightful ice cream-like consistency. The frozen bananas create a creamy texture when blended, similar to the traditional churned ice cream.
It’s essential to ensure that the banana slices are frozen completely before moving on to the next step. Freezing them individually helps prevent clumping, making it easier to blend them into a smooth and creamy mixture. The freezing time may vary depending on the thickness of the slices and the temperature of your freezer.
Once the banana slices are completely frozen, you are now ready to move on to the next step – blending the frozen bananas to create the base of your banana trego.
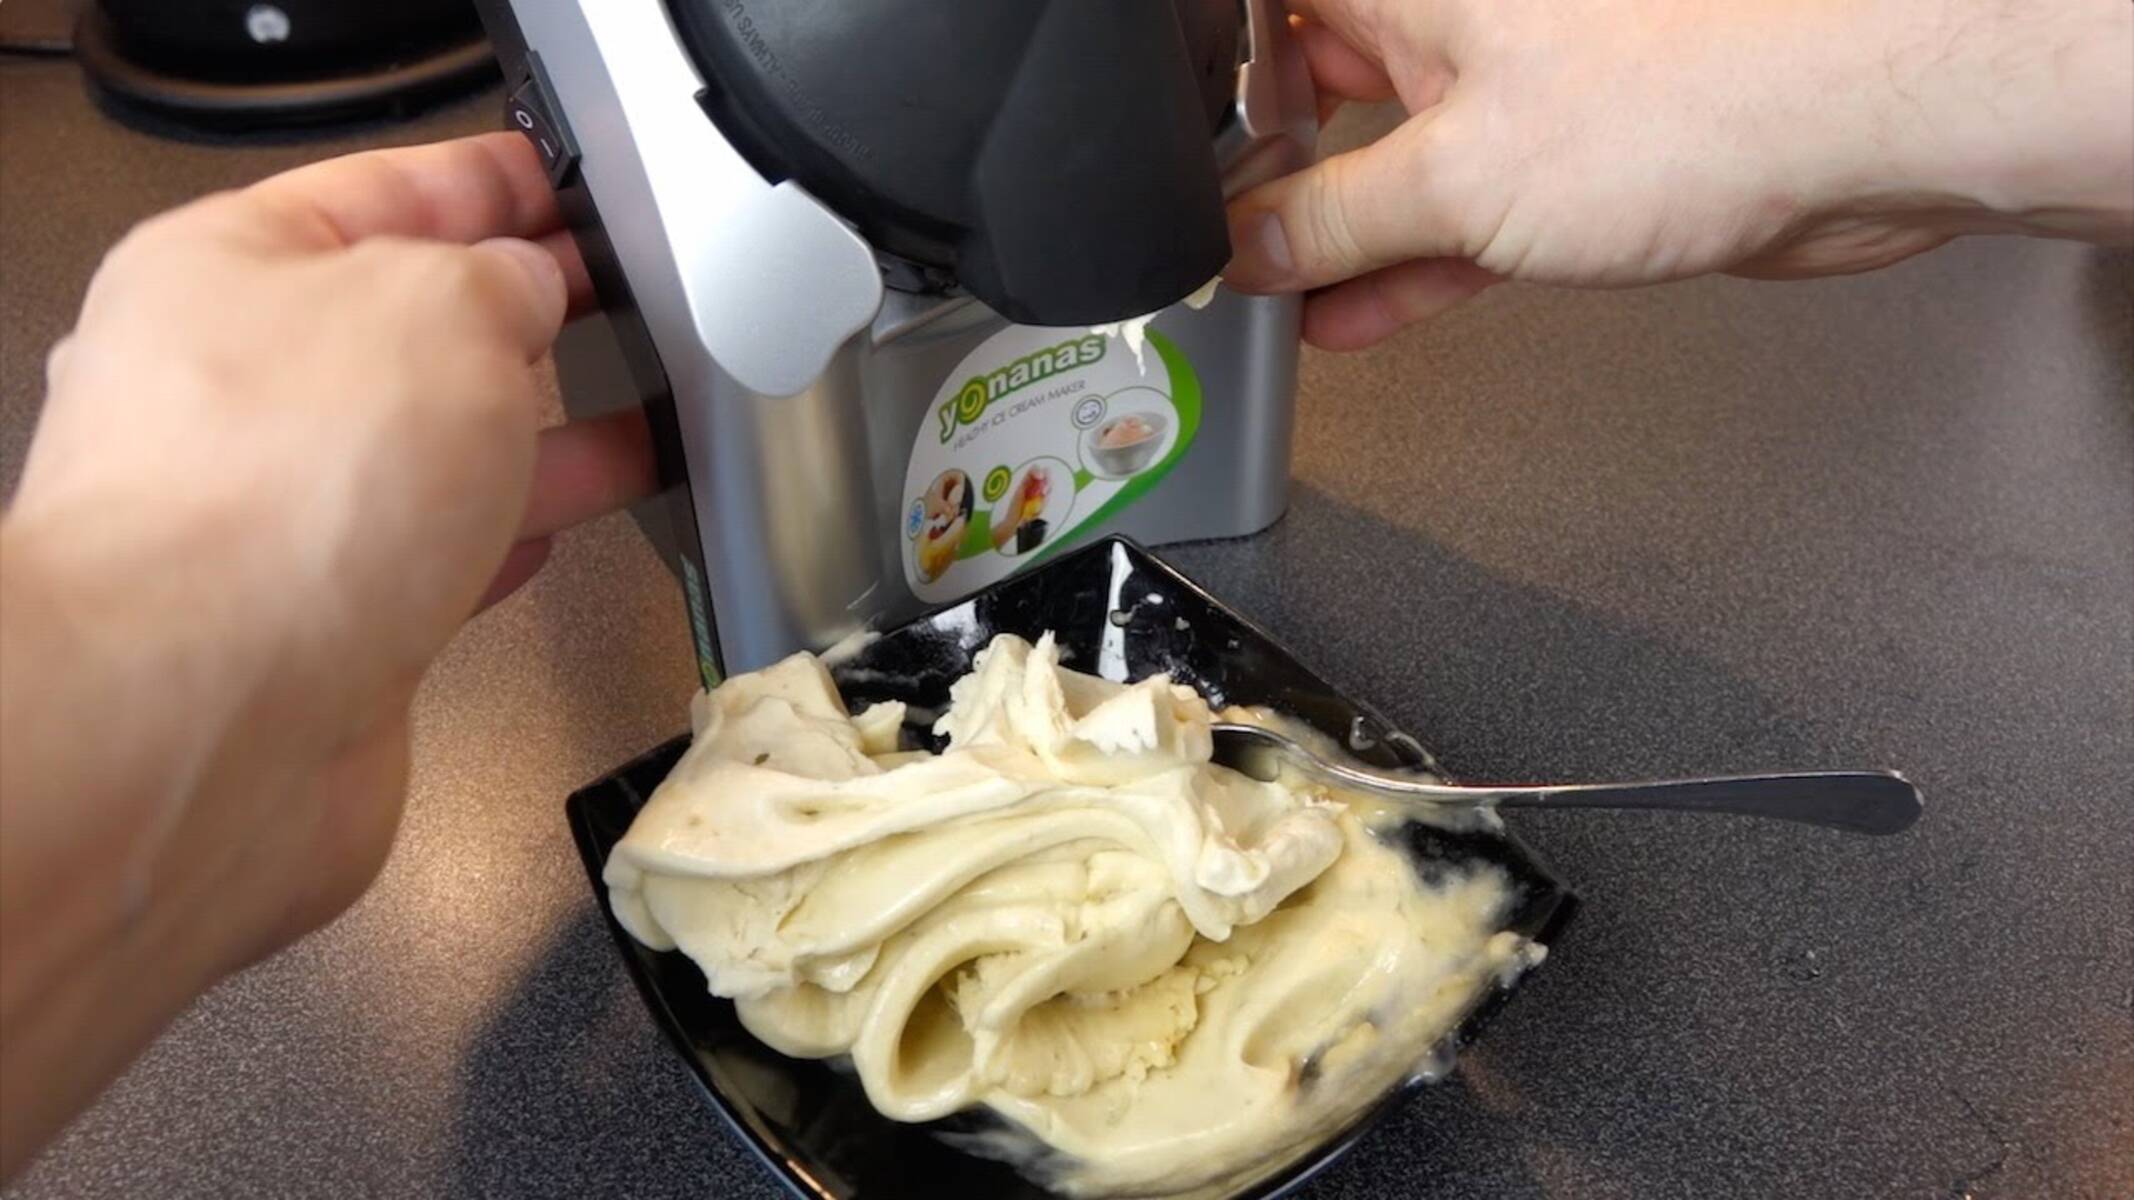
Step 4: Blend the frozen bananas
With your frozen banana slices ready, it’s time to transform them into a creamy and luscious base for your banana trego. This step involves using a blender or a food processor to blend the frozen banana slices until they reach a smooth consistency.
Follow these steps to blend the frozen bananas:
- Take the frozen banana slices out of the freezer.
- Transfer them into a high-powered blender or food processor.
- Start by pulsing the blender a few times to break down the frozen banana slices.
- Continue blending, occasionally stopping to scrape down the sides of the blender with a spatula.
- The bananas will go through different stages – from crumbly to chunky to creamy – as they blend together.
- Keep blending until the mixture becomes smooth and creamy, resembling the texture of ice cream.
Remember to be patient during this process as it may take a few minutes for the frozen bananas to transform into a soft-serve consistency. The high-powered blender or food processor will help break down the frozen bananas efficiently.
If you find that the mixture is not blending smoothly, you can add a splash of milk or dairy-free alternative to help loosen it up. However, use caution not to add too much liquid, as it may thin out the mixture too much and affect the final texture of your banana trego.
Once the frozen bananas are blended into a smooth and creamy mixture, you have successfully created the base of your banana trego. At this stage, you can either enjoy the banana trego as is or move on to the next step to add additional flavors and toppings.
Step 5: Add additional flavors (optional)
Now that you have a creamy and delicious base for your banana trego, it’s time to elevate the flavors by adding optional additional ingredients. This step allows you to customize your dessert and experiment with different tastes and textures.
Here’s how you can add additional flavors to your banana trego:
- If you desire a hint of tanginess, you can add a teaspoon of lemon juice to the mixture. The lemon juice will provide a refreshing twist to the naturally sweet banana flavor.
- For a touch of indulgence, you can incorporate half a teaspoon of vanilla extract into the mixture. This will enhance the overall taste and aroma, adding a subtle yet delightful vanilla undertone.
- If you prefer a creamier consistency, you can add a quarter cup of milk or a dairy-free alternative of your choice. This will give your banana trego a smoother texture and a slightly milder taste.
Remember that these additional flavors are optional, and you can adjust the quantities based on your personal preferences. Feel free to experiment and find the perfect balance of flavors that appeals to your taste buds.
Furthermore, this is also the time to incorporate any desired mix-ins or toppings into your banana trego. Whether you’re a fan of chocolate chips, nuts, crushed cookies, or a drizzle of caramel sauce, the choice is yours! Sprinkle them into the blended mixture and gently stir to distribute the flavors evenly.
Once you’ve added the optional flavors and mix-ins, give the mixture a final blend or stir to ensure everything is well incorporated. Take a moment to taste and adjust the flavors according to your preference.
Now your banana trego is fully flavored and ready to be served. Let’s move on to the final step – serving and enjoying your delicious homemade dessert.
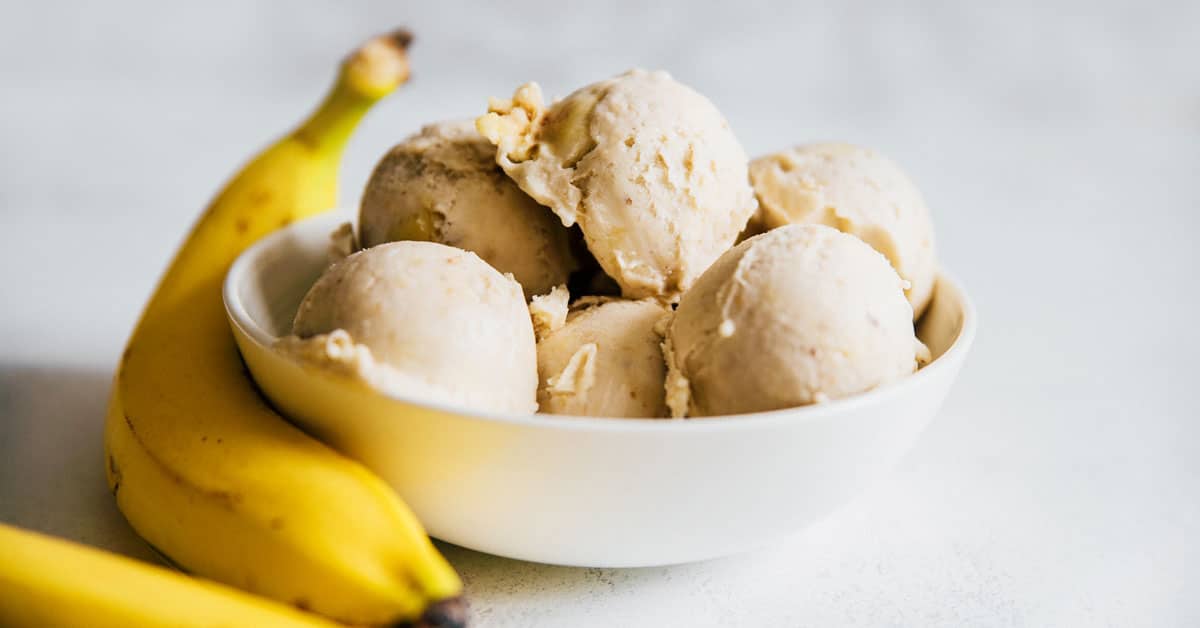
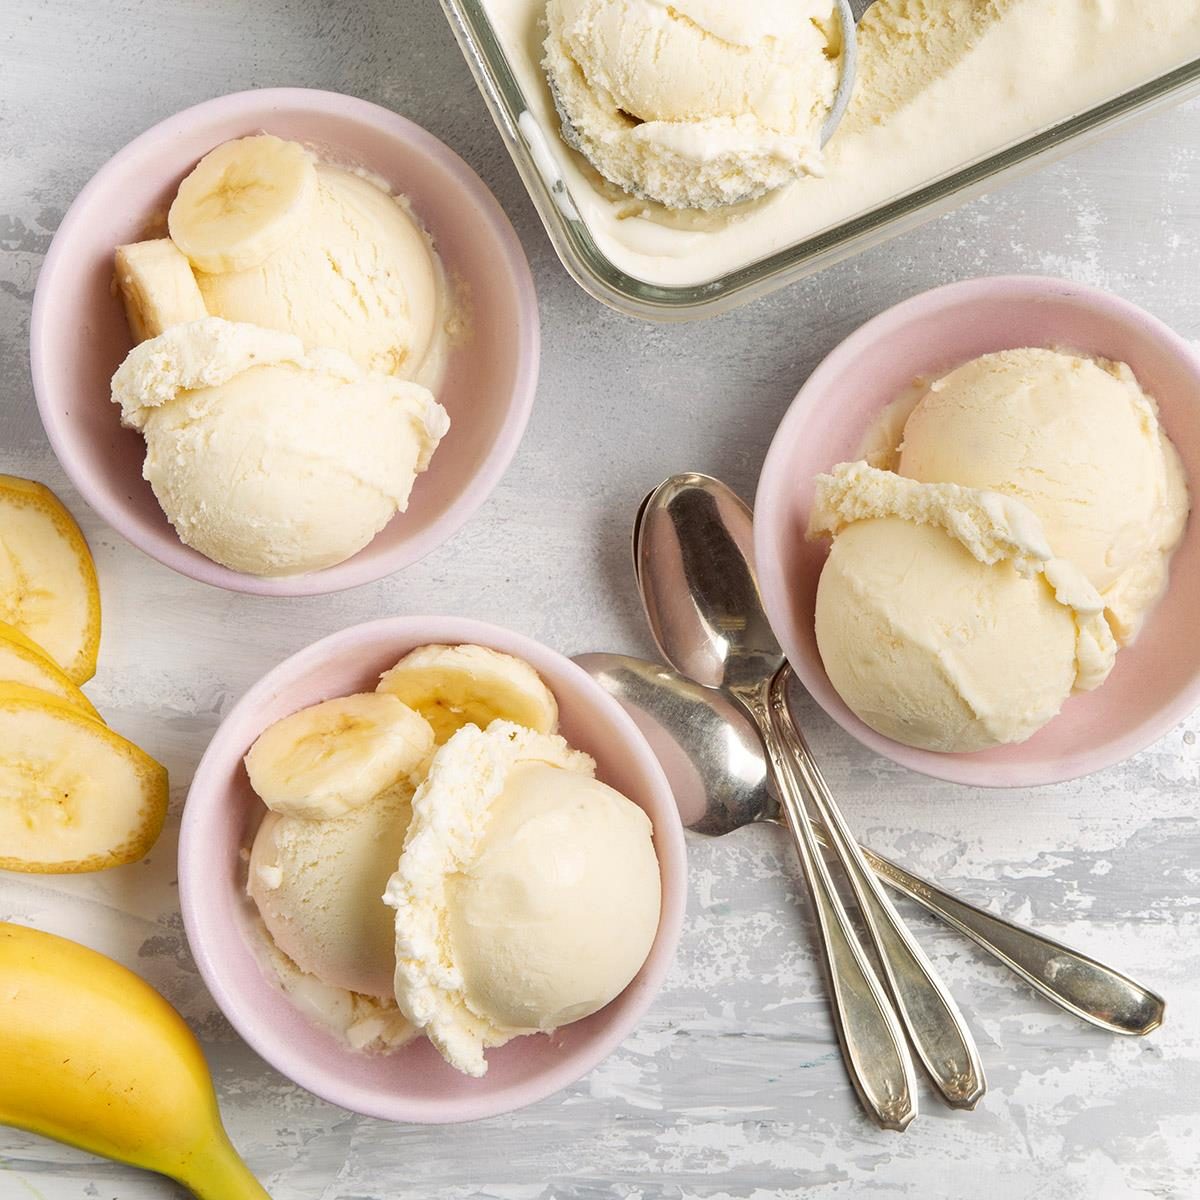
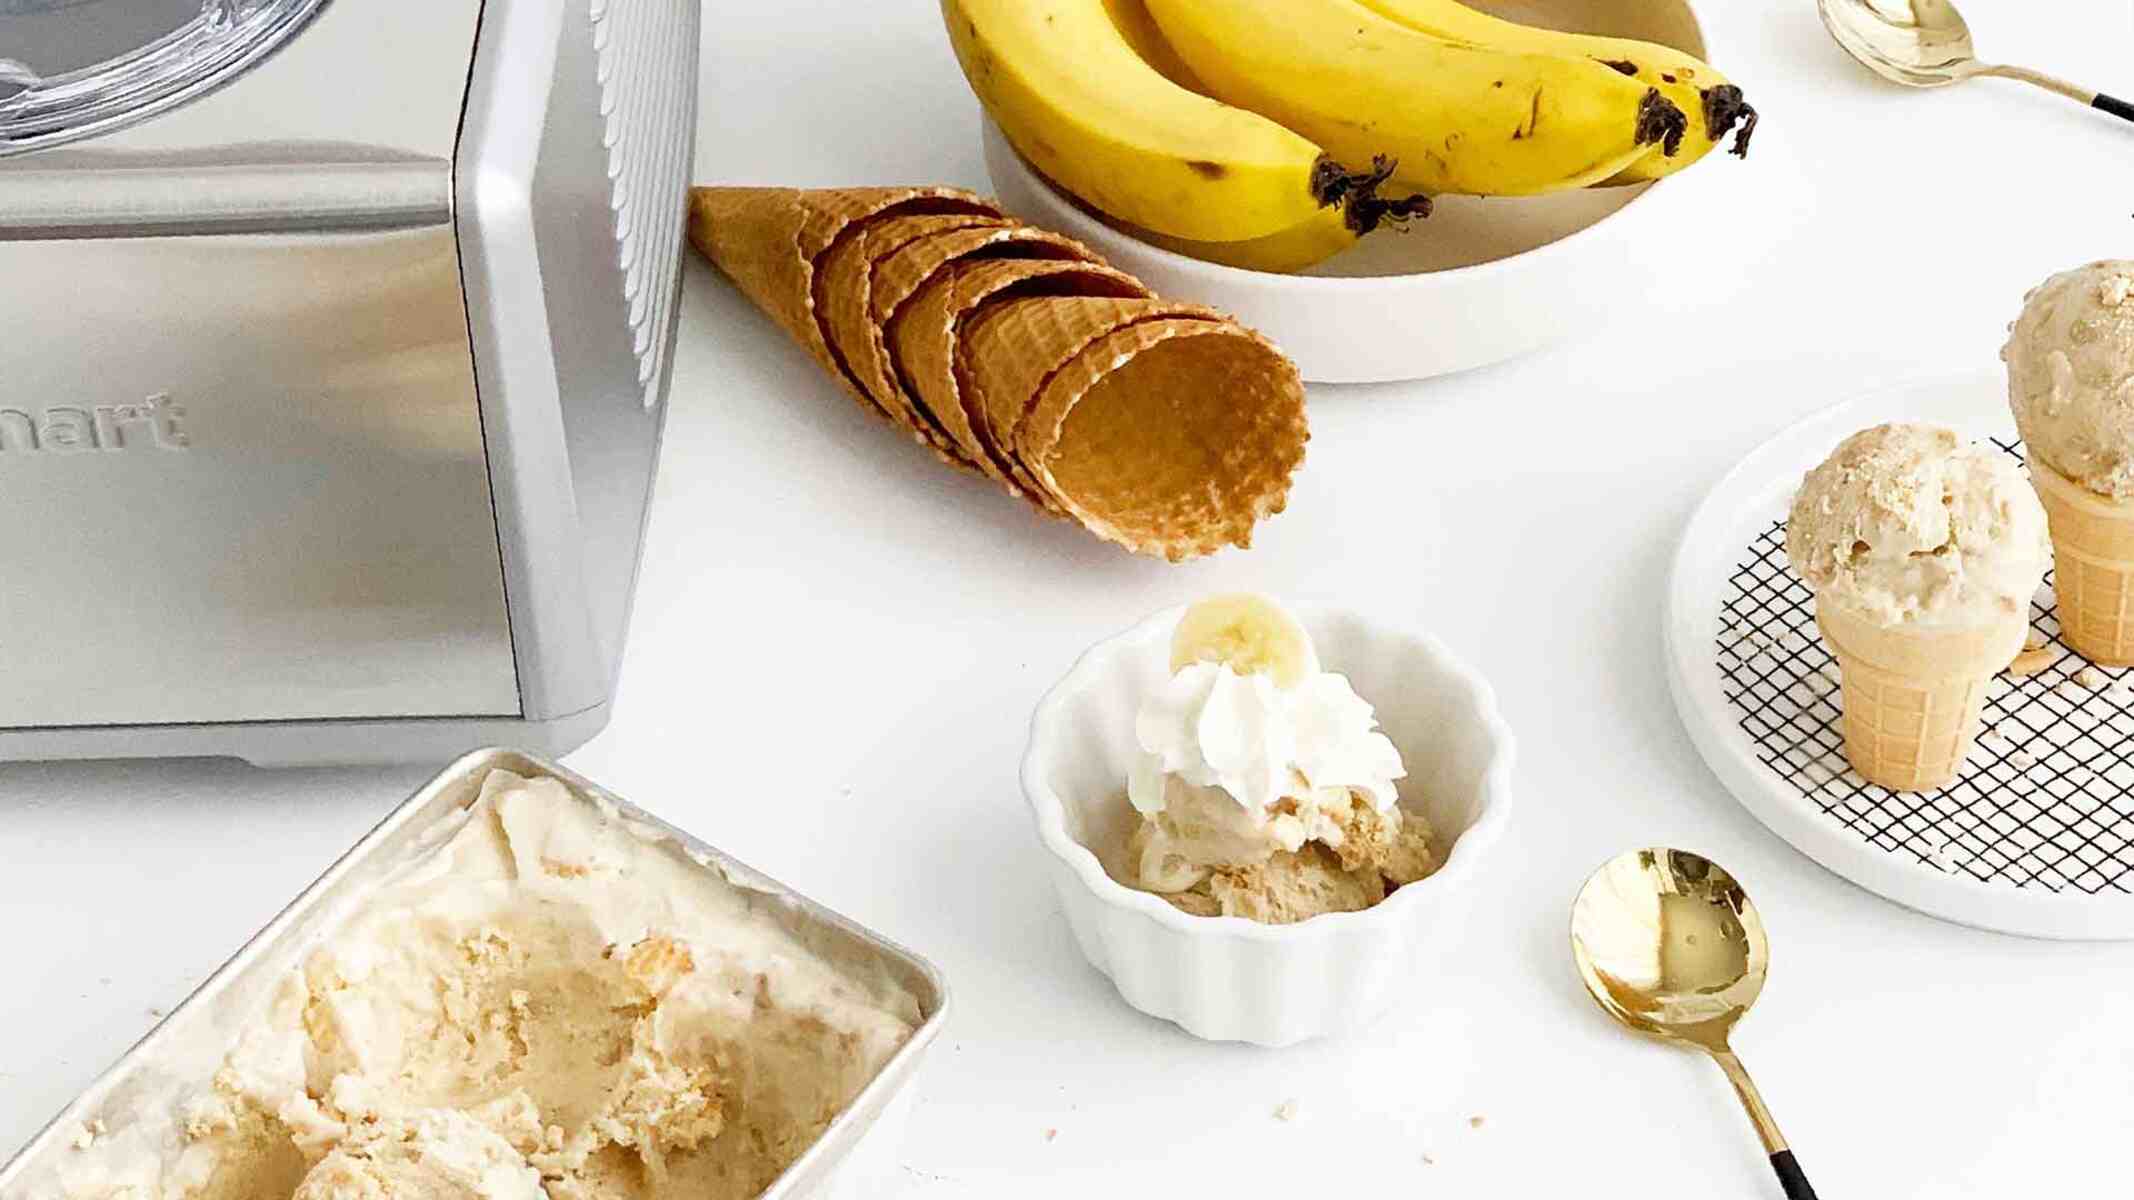
Step 6: Serve and enjoy
Congratulations! You’ve reached the final step of creating your homemade banana trego. It’s time to serve up this delightful frozen treat and indulge in its creamy goodness. Here’s how to serve and enjoy your banana trego:
- Take your prepared banana trego out of the blender or food processor.
- Scoop the creamy mixture into individual serving bowls or ice cream cones.
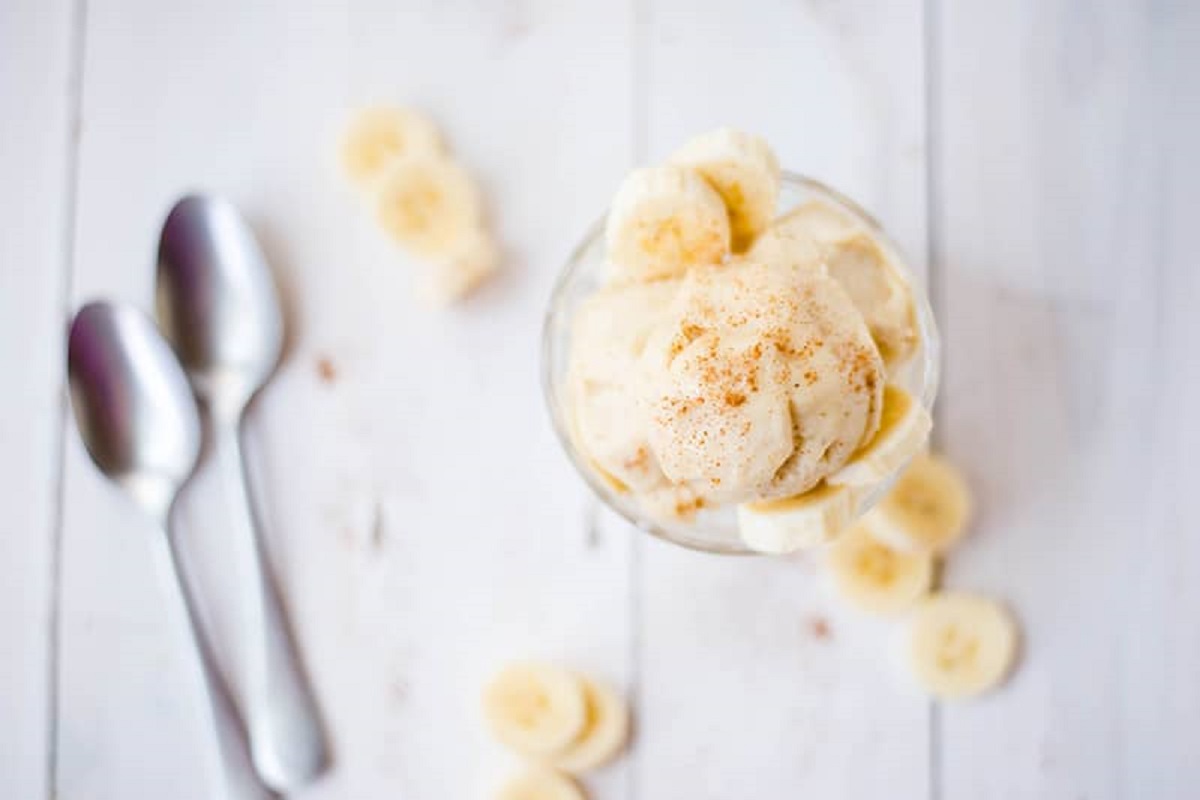
- If desired, add additional toppings or drizzles to enhance the presentation and taste.
- You can sprinkle some chocolate chips, chopped nuts, or a swirl of caramel sauce on top.
- Consider adding a fresh fruit garnish, such as a slice of banana or a sprinkle of berries, for an extra touch of color and flavor.
Once you have added the desired toppings, your banana trego is now ready to be enjoyed! Grab a spoon or a cone, and savor each creamy mouthful of this delectable treat.
Whether you’re serving it to yourself or sharing it with family and friends, don’t forget to take a moment to appreciate the delightful flavors and the satisfaction of creating something delicious from scratch.
Keep in mind that the banana trego will have a soft-serve consistency initially. If you prefer a firmer texture, you can transfer the serving bowls to the freezer for about 30 minutes to an hour to allow the mixture to slightly harden.
Now, sit back, relax, and enjoy your homemade banana trego. Delight in the sweetness, creaminess, and natural flavors that make this frozen dessert a true delight.
That concludes the final step of serving and enjoying your homemade banana trego. We hope this recipe brings you joy and satisfies your sweet tooth. Remember, you can always get creative with the flavors, toppings, and presentations to make this dessert your own. Enjoy!