Introduction
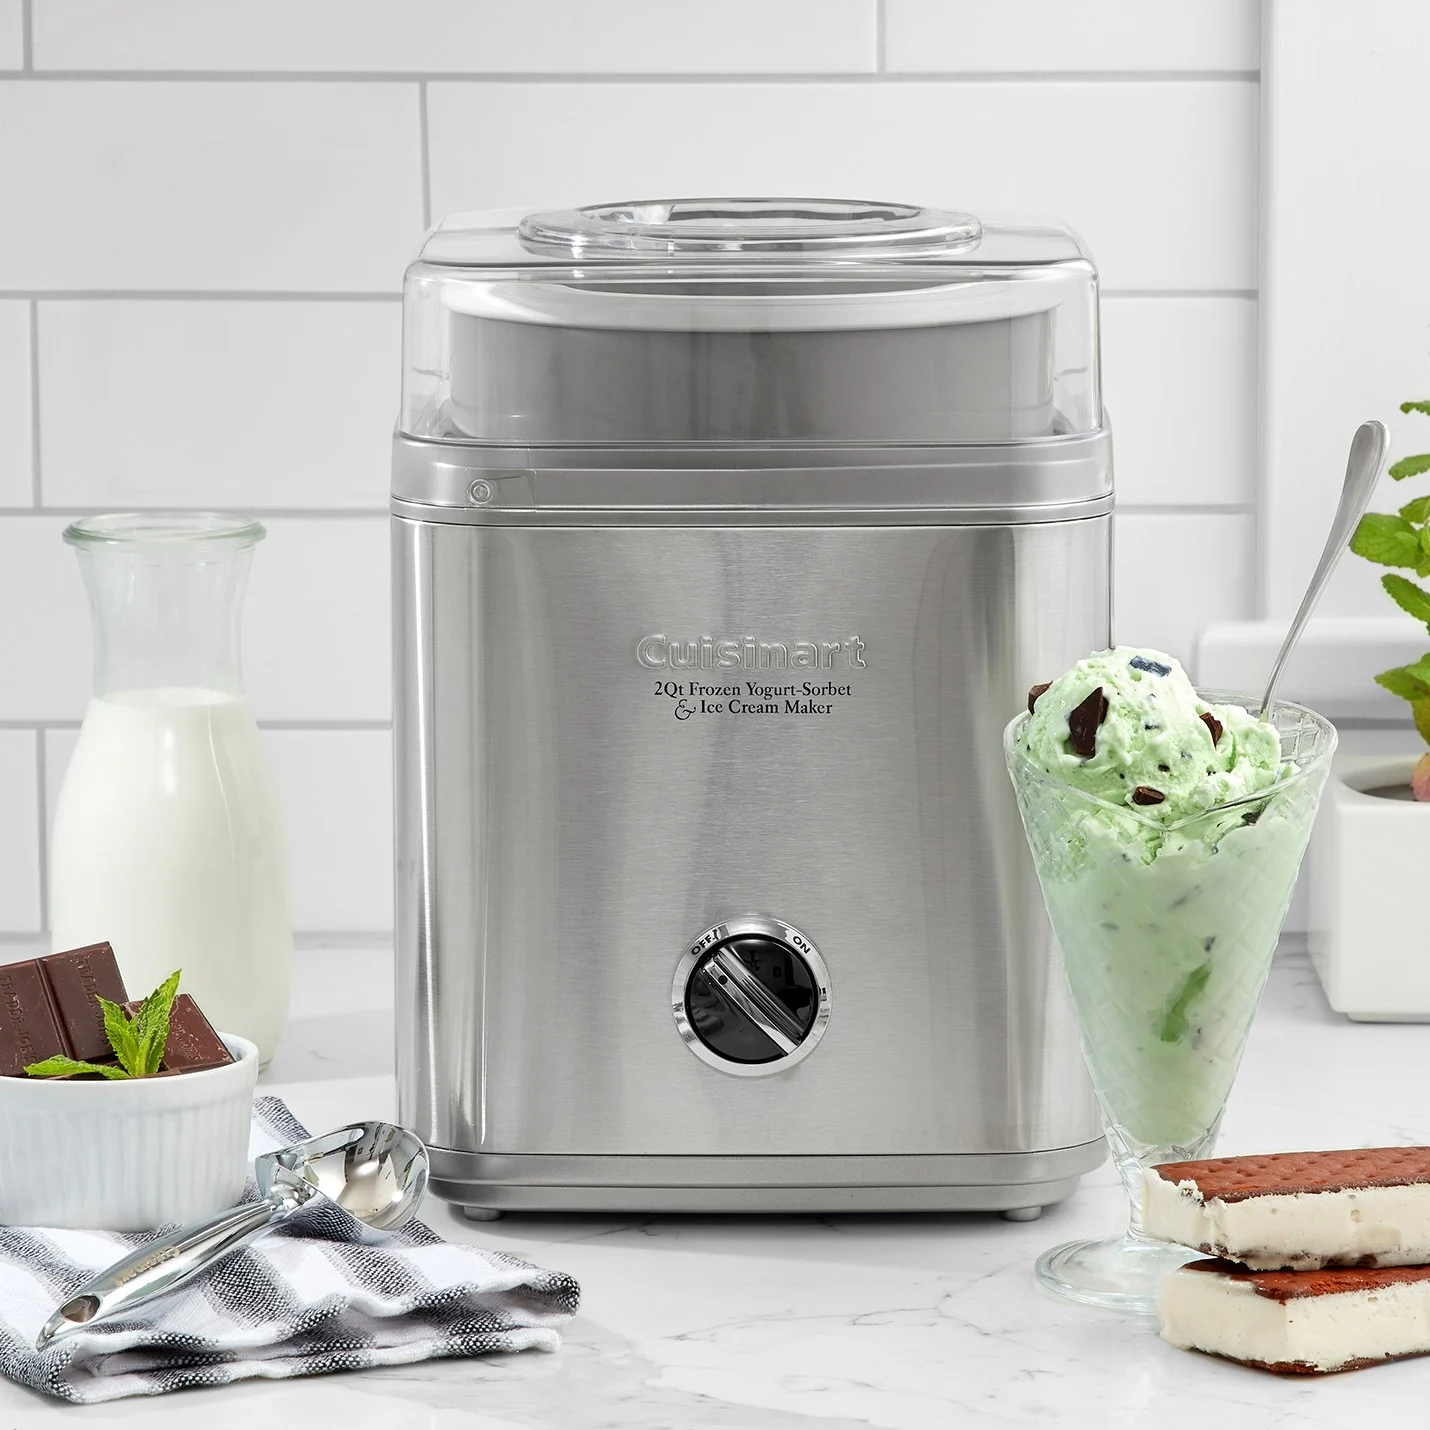
When it comes to making delicious homemade ice cream, having a reliable and efficient ice cream maker is essential. One popular option is the Cuisinart Ice Cream Maker, known for its convenience and ability to whip up frozen treats in no time. However, a common question that arises is how long does the Cuisinart Ice Cream Maker need to be in the freezer before it is ready to use?
The freezing time of the Cuisinart Ice Cream Maker can vary depending on various factors. This article aims to explore these factors and provide insights into achieving the optimal freezing time for the best results.
Several factors can impact the freezing time of the Cuisinart Ice Cream Maker. The first factor to consider is the temperature of your freezer. Ideally, the freezer should be set at or below 0°F (-18°C) to ensure proper freezing of the ice cream mixture. A freezer that is too warm may result in a longer freezing time and a softer consistency.
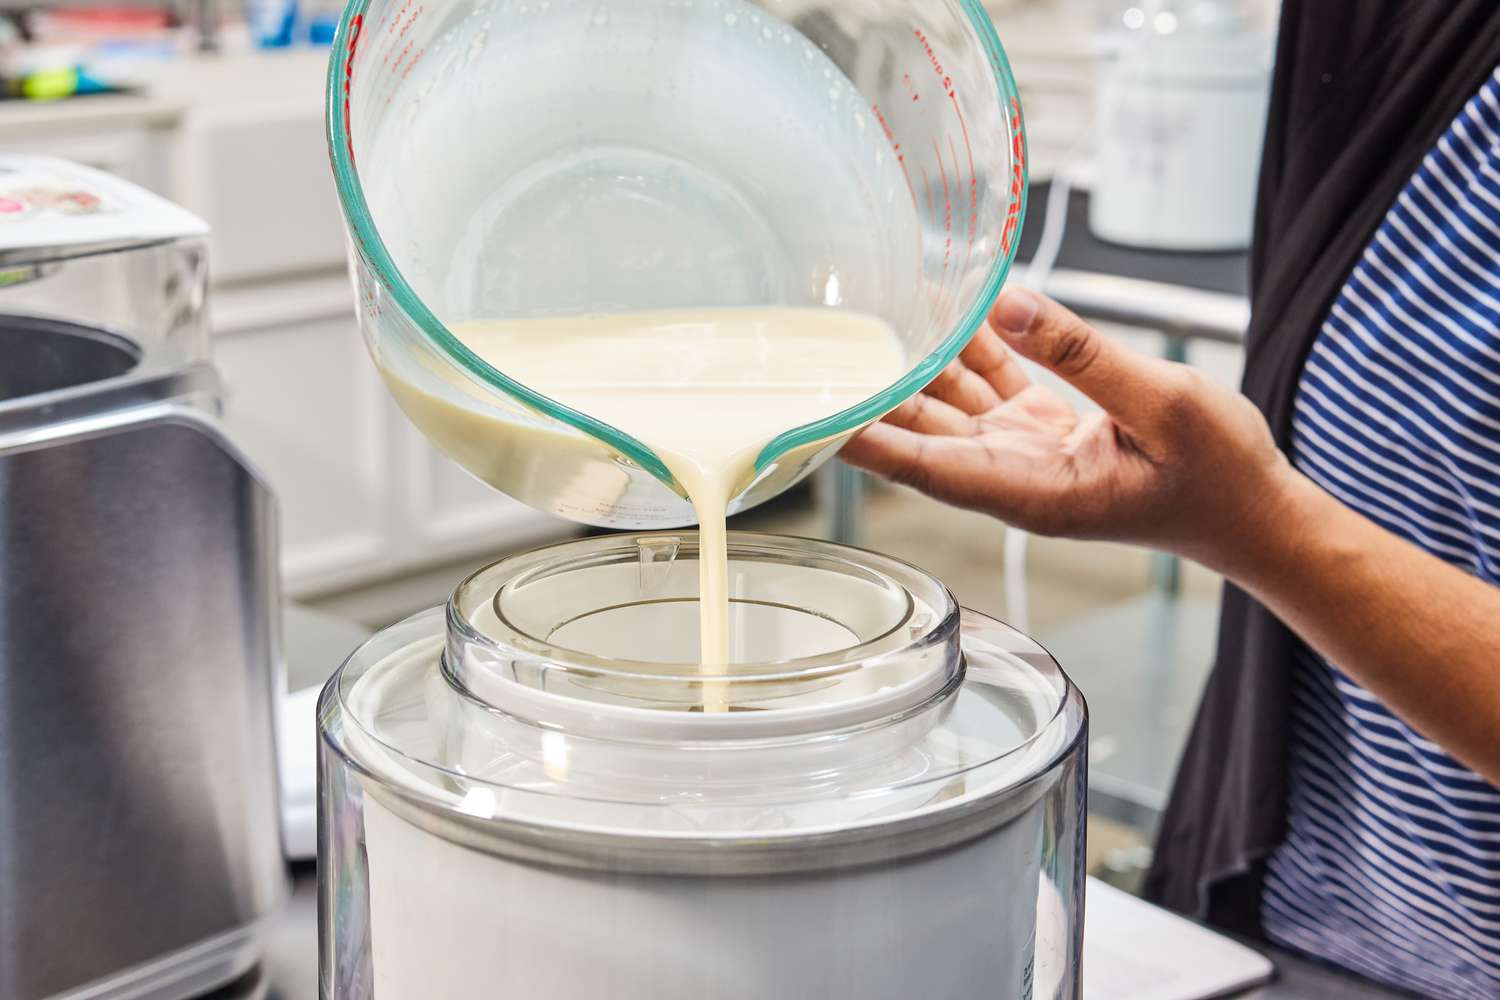
Another crucial factor to take into account is the temperature of the ice cream mixture itself. It is essential to pre-chill the mixture before placing it into the ice cream maker’s freezer bowl. This not only helps in reducing the freezing time but also aids in achieving a smoother and creamier texture.
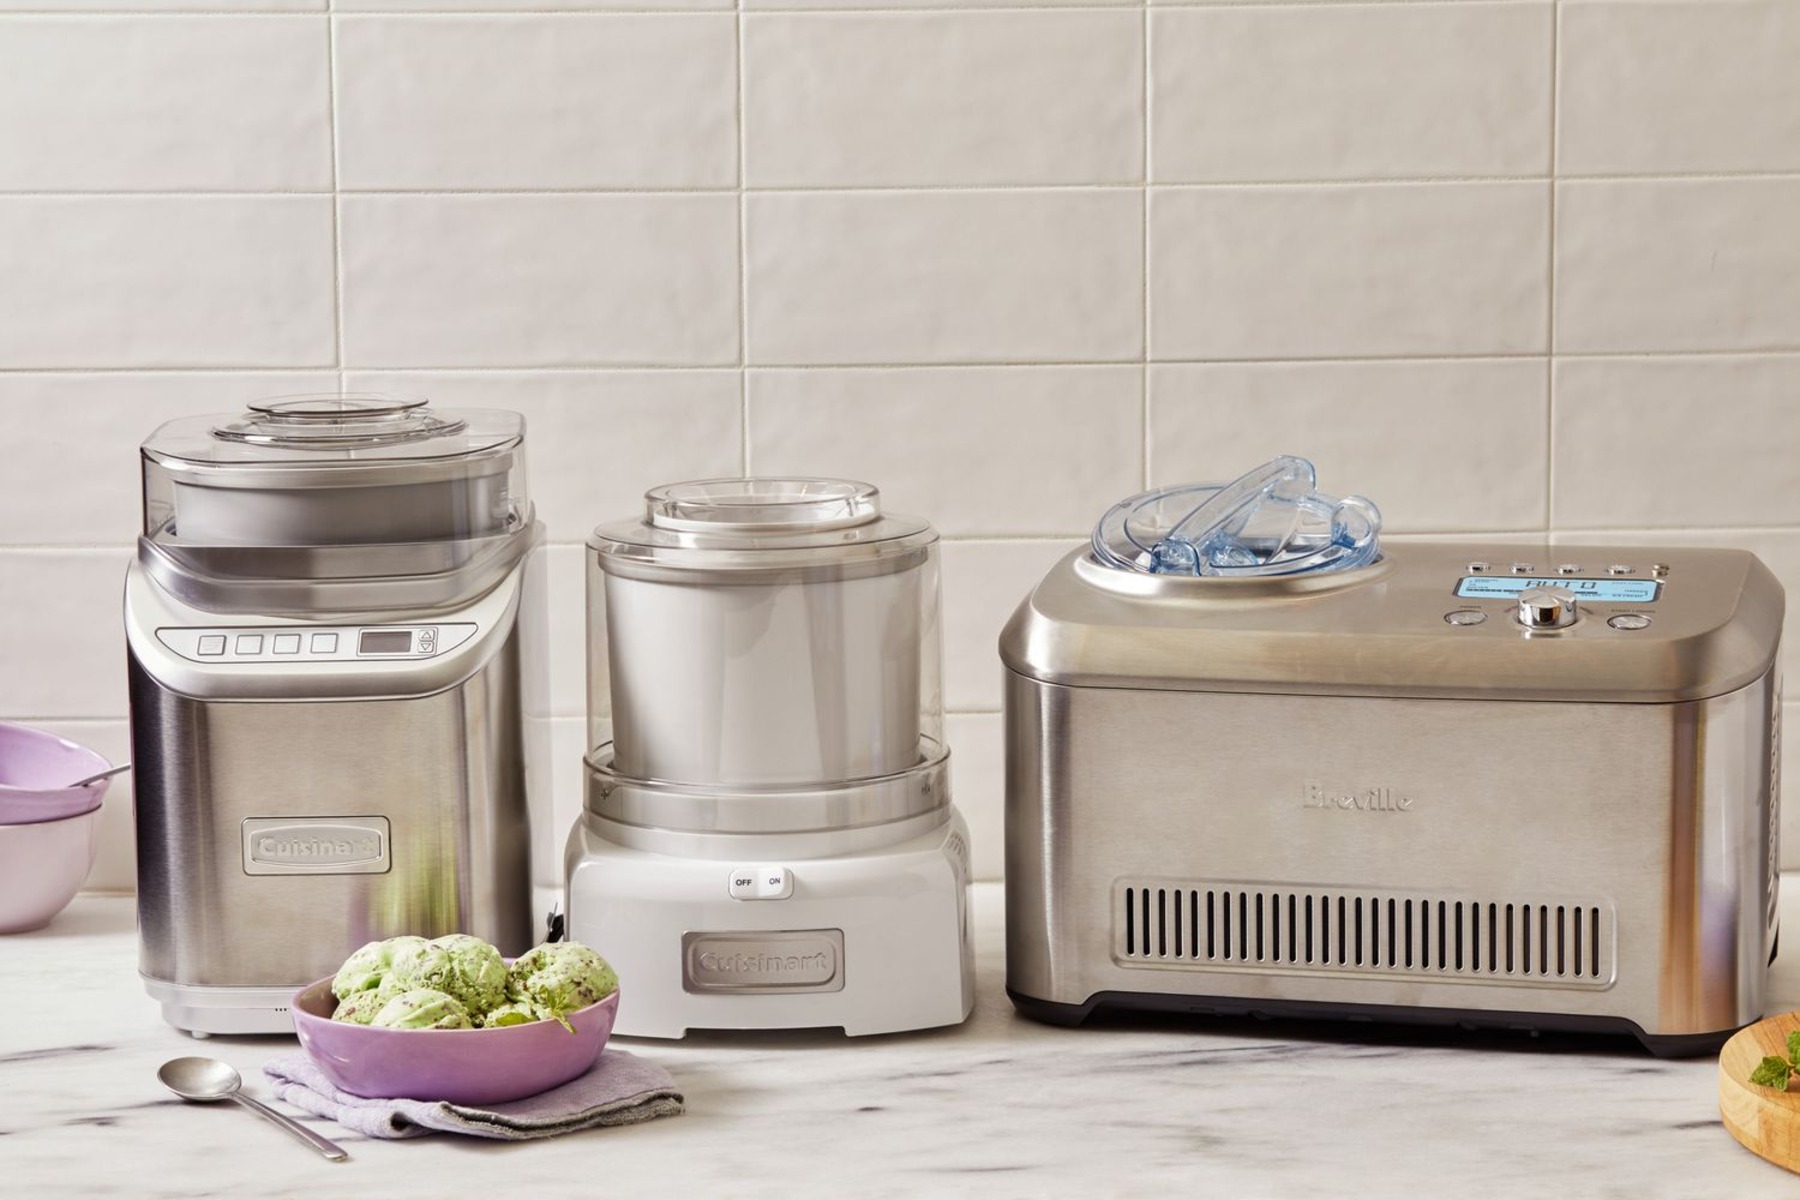
The size and capacity of the freezer bowl also play a role in determining the freezing time. The Cuisinart Ice Cream Maker typically comes with a freezer bowl that needs to be placed in the freezer for several hours or overnight before use. The larger the bowl, the longer it may take to freeze completely. It is recommended to check the manufacturer’s instructions for the specific freezing time required for your model.
Furthermore, the type of ice cream you are making will also impact the freezing time. Whether it is a basic vanilla, a fruity sorbet, or a rich chocolate flavor, different recipes may have varying freezing times. This can be due to the difference in ingredients and their freezing properties. It is advisable to follow the recipe instructions closely to ensure the optimal freezing time is achieved.
Properly freezing the bowl is crucial for obtaining the desired results. Ensure that the freezer bowl is clean and dry before placing it in the freezer. Additionally, avoid overcrowding the freezer to allow proper air circulation and even freezing of the bowl. Keeping the bowl in the back of the freezer, where it is coldest, can also help in reducing the freezing time.
By taking these factors into account and following the recommended freezing guidelines, you can achieve the perfect frozen treat using the Cuisinart Ice Cream Maker. In the next sections, we will explore the optimal freezing time for different ice creams, as well as some useful tips and troubleshooting advice to ensure a successful ice cream-making experience.
Factors Affecting Freezing Time
Several factors can affect the freezing time of the Cuisinart Ice Cream Maker. Understanding these factors can help you optimize your ice cream-making process and achieve the best results.
The first factor to consider is the temperature of your freezer. The Cuisinart Ice Cream Maker relies on a freezer bowl that needs to be pre-frozen before use. It is essential to set your freezer to the recommended temperature of 0°F (-18°C) or below. A freezer that is too warm can significantly prolong the freezing time and result in a softer consistency of the ice cream.
Another crucial factor is the temperature of the ice cream mixture itself. It is advisable to pre-chill the mixture in the refrigerator for a few hours before pouring it into the pre-frozen bowl. Pre-chilling helps lower the initial temperature of the mixture, reducing freezing time and facilitating faster and more even freezing.
The size and capacity of the freezer bowl also impact the freezing time. The larger the bowl, the longer it will take to freeze completely. It is important to check the manufacturer’s instructions to determine the specific freezing time required for your model. Generally, the Cuisinart Ice Cream Maker’s freezer bowl needs to be in the freezer for a minimum of 6 to 24 hours before use.
The type of ice cream you are making also plays a role in freezing time. Different recipes may have varying freezing times due to differences in ingredients and their freezing properties. For instance, custard-based ice creams may require a longer freezing time compared to sorbets or gelato. It is recommended to follow the recipe instructions closely to achieve the optimal freezing time.
Furthermore, the ambient temperature in your kitchen can affect the freezing time. If your kitchen is particularly warm, it may take longer for the mixture to freeze. To counteract this, you can try placing the freezer bowl in a cooler spot in your freezer or even in an ice bath before starting the churning process.
By understanding and considering these factors, you can tailor your ice cream-making process to achieve the desired results. In the next section, we will discuss the optimal freezing times for different types of ice cream, providing you with a guideline to follow when using the Cuisinart Ice Cream Maker.
Pre-Freezing the Bowl
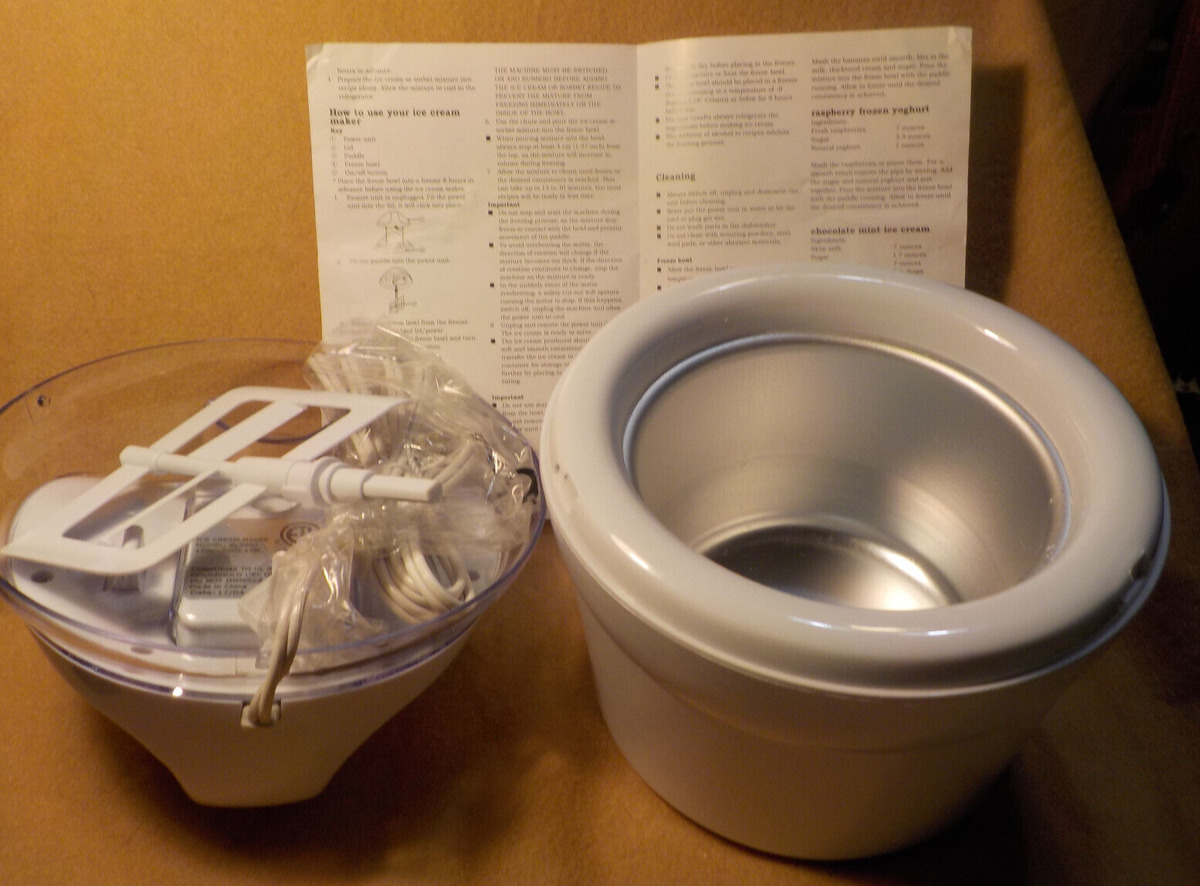
One essential step in using the Cuisinart Ice Cream Maker is pre-freezing the bowl. The freezer bowl is a crucial component that helps churn and freeze the ice cream mixture to perfection. It is important to follow the manufacturer’s instructions for pre-freezing the bowl to ensure the best results in your homemade ice cream.
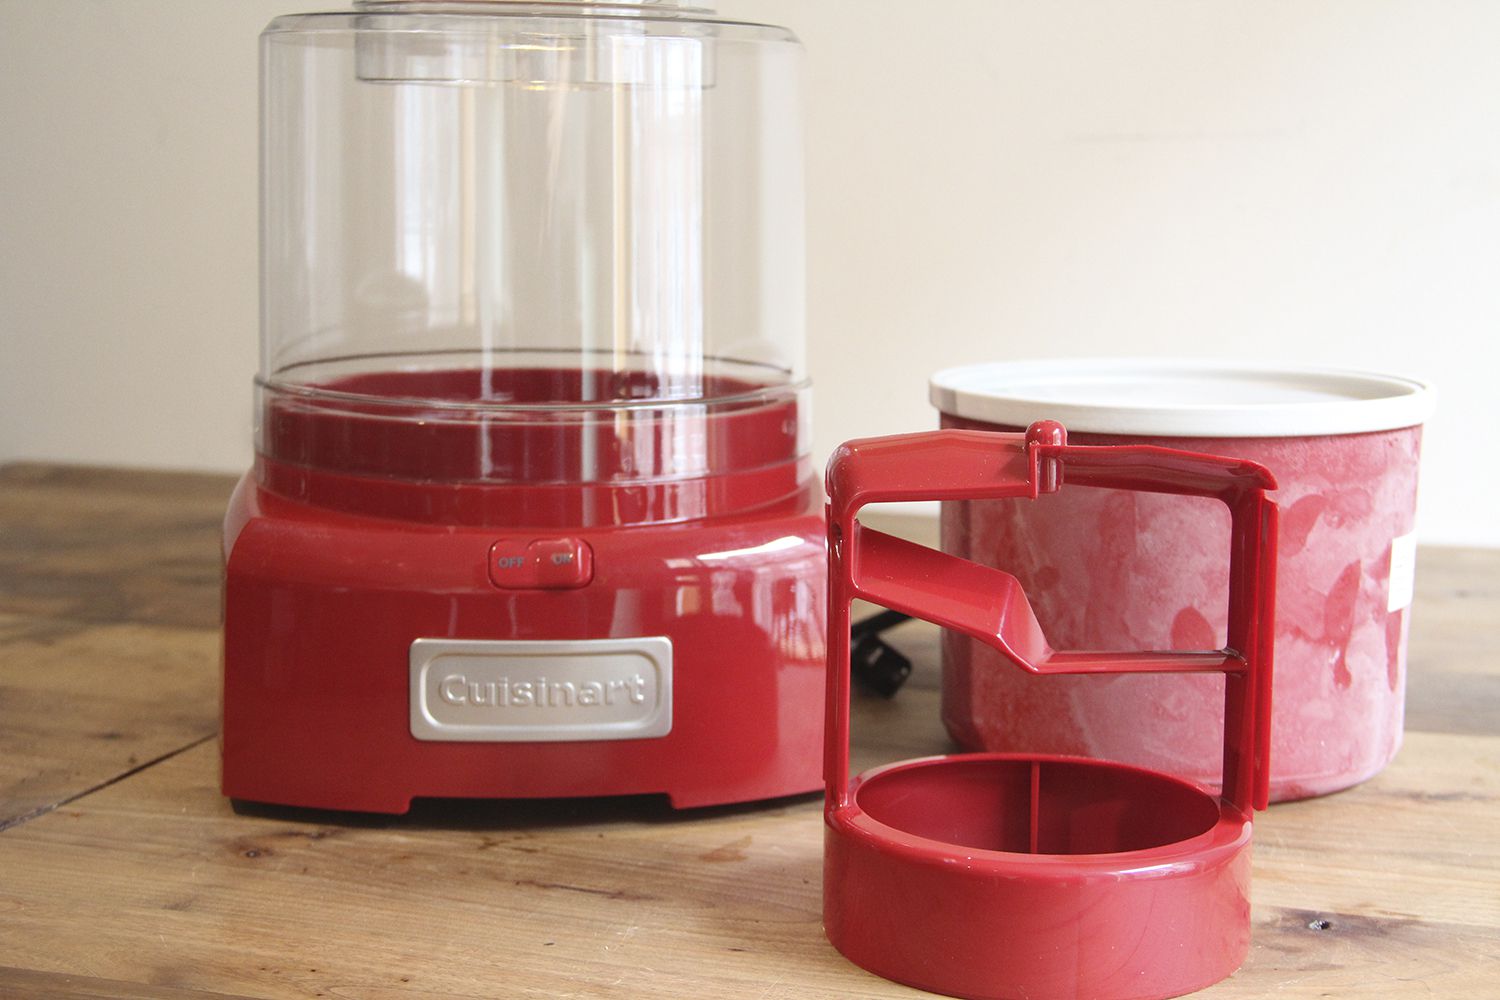
Before pre-freezing the bowl, make sure it is clean and dry. Any leftover moisture or residue can affect the freezing process and the final texture of the ice cream. Thoroughly wash the bowl with mild soap and warm water, rinsing it well before drying it completely.
Once the bowl is clean and dry, place it in the freezer. The length of time required for pre-freezing the bowl varies depending on the model and size of the Cuisinart Ice Cream Maker. Typically, it is recommended to freeze the bowl for a minimum of 6 to 24 hours or overnight.
It is essential to set the freezer to the recommended temperature of 0°F (-18°C) or below. Maintaining a consistently low temperature ensures that the bowl freezes evenly, allowing for optimum freezing of the ice cream mixture.
During the pre-freezing process, it is important to ensure that the bowl is placed in an area of the freezer where it can freeze without obstruction. Avoid overcrowding the freezer to allow proper air circulation around the bowl. Placing the bowl at the back of the freezer, where it is typically the coldest, can help accelerate the freezing process.
It is important to note that once the bowl has been pre-frozen, it should be kept in the freezer until you are ready to use it. Removing the bowl from the freezer prematurely can result in a shorter freezing time and may affect the overall texture and consistency of the ice cream.
By following the recommended pre-freezing guidelines, you can ensure that your Cuisinart Ice Cream Maker’s freezer bowl is ready to create perfectly frozen treats. In the next section, we will explore the optimal freezing time for different types of ice cream, providing insights into achieving the best results with your homemade frozen desserts.
Optimal Freezing Time for Different Types of Ice Cream
The optimal freezing time for different types of ice cream can vary, depending on the ingredients and consistency of the mixture. Here, we will discuss general guidelines to help you achieve the best results when using the Cuisinart Ice Cream Maker for various ice cream recipes.
1. Basic Custard-Based Ice Cream: For traditional custard-based ice cream recipes made with eggs, the freezing time is typically longer than other types of ice cream. The mixture needs to reach a thick consistency before transferring it to the freezer bowl. Usually, it takes around 25 to 30 minutes of churning for the ice cream to reach a soft-serve consistency. However, to achieve a firmer texture resembling store-bought ice cream, you may need to leave it in the freezer bowl for an additional 1 to 2 hours.
2. Fruit-Based Sorbet: Sorbets are refreshing, fruit-based frozen desserts that do not contain dairy. Since they have a lower fat content and a smoother consistency, sorbets typically require a shorter freezing time. Churning the sorbet mixture for around 20 to 25 minutes usually results in a delightful, scoopable texture. If you prefer a firmer sorbet, additional freezing time of 1 to 2 hours is recommended.
3. Gelato: Gelato is a creamy Italian-style ice cream that has a lower fat content compared to traditional custard-based ice cream. The optimal freezing time for gelato is similar to sorbet, typically around 20 to 25 minutes of churning time. However, additional freezing time of 1 to 2 hours may be needed for a denser and more scoopable texture.
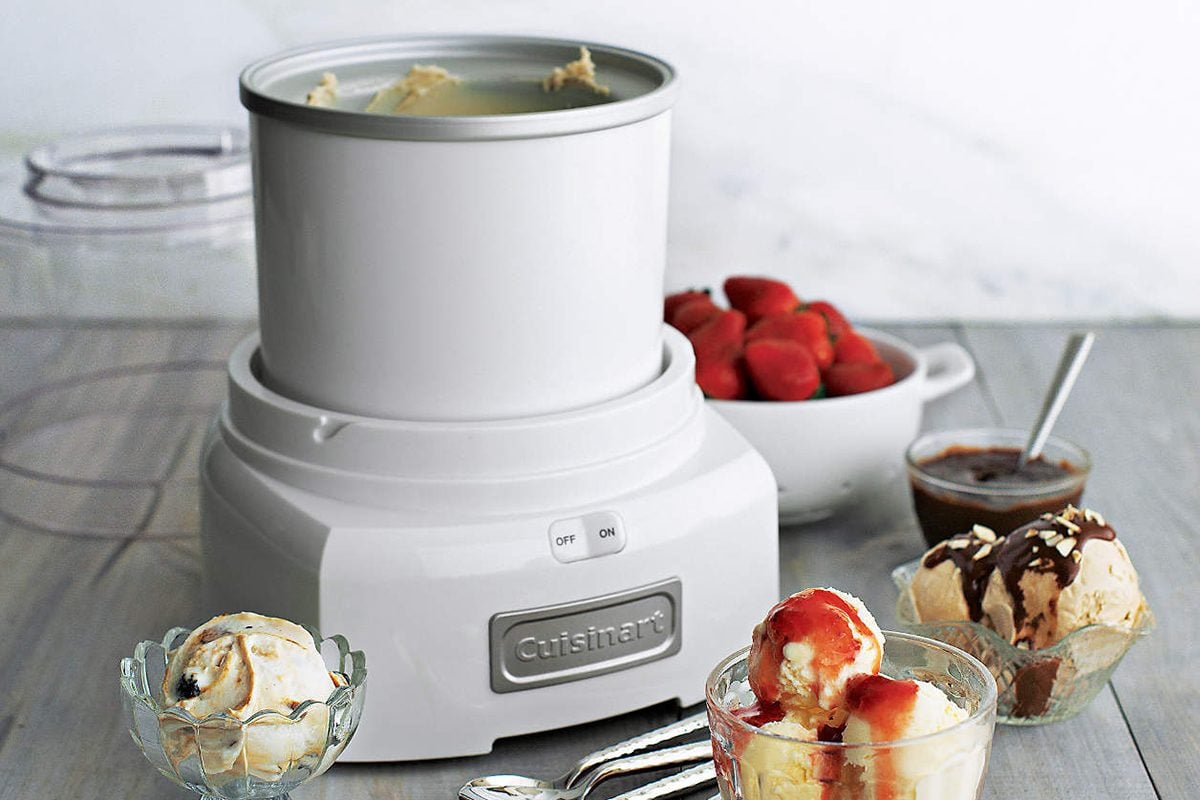
4. Ice Cream Mix-ins: If you’re adding mix-ins, such as chocolate chips, nuts, or cookie dough, to your ice cream, it is recommended to incorporate them during the last 5 minutes of churning. This allows the mix-ins to evenly distribute throughout the ice cream. After incorporating the mix-ins, continue churning for the remaining time indicated for the specific type of ice cream you are making.
Keep in mind that these freezing times are general guidelines and may vary depending on the specific recipe, ingredients used, and personal preference. It’s a good idea to monitor the consistency of the ice cream during the churning process and adjust the freezing time accordingly to achieve the desired texture.
By following these guidelines, you can create a variety of delicious homemade ice creams using the Cuisinart Ice Cream Maker. In the next section, we will provide some helpful tips for freezing the bowl properly and troubleshooting common issues that may arise during the ice cream-making process.
Tips for Freezing the Bowl Properly
To ensure successful ice cream-making with the Cuisinart Ice Cream Maker, it is essential to freeze the bowl properly. Here are some helpful tips to ensure the bowl is frozen to the optimal temperature:
1. Clean and Dry the Bowl: Before placing the bowl in the freezer, make sure it is clean and dry. Any moisture or residue can affect the freezing process and the final texture of the ice cream. Wash the bowl with mild soap and warm water, rinse it well, and dry it thoroughly.
2. Pre-Chill the Mixture: Chilling the ice cream mixture in the refrigerator for a few hours before pouring it into the freezer bowl can help reduce freezing time and ensure even freezing. This pre-chilling step helps to lower the initial temperature of the mixture, resulting in a smoother and creamier texture.
3. Set the Freezer to the Correct Temperature: It is important to set your freezer to the recommended temperature of 0°F (-18°C) or below. Maintaining a consistently low temperature is crucial for proper freezing of the ice cream mixture. Ensure that your freezer is functioning properly and the temperature is calibrated correctly.
4. Avoid Overcrowding the Freezer: To facilitate proper air circulation and even freezing of the bowl, avoid overcrowding the freezer. If the freezer is too packed, it can hinder the freezing process and extend the freezing time. Allow sufficient space around the bowl for air to circulate, promoting faster and more efficient freezing.
5. Place the Bowl in the Coldest Part of the Freezer: Position the freezer bowl in the back of the freezer, where it is typically the coldest. This area ensures faster freezing of the bowl and helps maintain a consistent low temperature, contributing to a shorter overall freezing time.
6. Keep the Bowl in the Freezer Until Ready to Use: Once the bowl has been pre-frozen, it should be kept in the freezer until you are ready to use it. Removing the bowl too early can lead to a shorter freezing time and may affect the final texture and consistency of the ice cream. Plan accordingly and take the bowl out of the freezer just before starting the churning process.
By following these tips, you can ensure that your Cuisinart Ice Cream Maker’s freezer bowl is properly frozen and ready to create delightful homemade ice cream. In the next section, we will discuss common troubleshooting tips to help you address any issues that may arise during the ice cream-making process.
Common Troubleshooting Tips
Even with the best preparation, sometimes issues can arise during the ice cream-making process. Here are some common troubleshooting tips to help you address any problems that may occur when using the Cuisinart Ice Cream Maker:
1. Ice Cream Mixture Not Freezing: If the ice cream mixture is not freezing properly, ensure that the freezer bowl is fully frozen. If the bowl is not frozen enough, return it to the freezer and allow it to freeze for a longer period of time. Additionally, double-check that the freezer temperature is set at or below 0°F (-18°C) to ensure optimal freezing conditions.
2. Ice Cream Not Churning: If the ice cream mixture is not churning, it could be due to the mixture being too thick. Check the recipe you are using to ensure the proportions of ingredients are correct. If the mixture is too thick, it may strain the motor and prevent the paddle from turning. Consider adding a bit more liquid to the mixture to achieve a smoother consistency.
3. Ice Cream Consistency Too Soft: If the ice cream has a softer consistency than desired, it may be due to a shorter freezing time in the freezer bowl. Make sure that the bowl has been properly pre-frozen for the recommended time. You can also try placing the churned ice cream in an airtight container and transferring it to the freezer for an additional hour or two to achieve a firmer texture.
4. Ice Cream Consistency Too Firm: On the other hand, if the ice cream is too firm or icy, it may have been over-frozen. Pay attention to the recommended freezing time for the specific type of ice cream you are making. If over-frozen, let the ice cream sit at room temperature for a few minutes or in the refrigerator for a brief period before serving to allow it to soften slightly.
5. Incorporating Mix-Ins Unevenly: When adding mix-ins, such as chocolate chips or nuts, ensure that they are added during the last few minutes of churning. This allows the mix-ins to incorporate evenly throughout the ice cream. If added too early, they may sink to the bottom or clump together.
6. Ice Cream Leftovers: If you have leftover ice cream, store it in an airtight container in the freezer. To prevent ice crystals from forming, press a piece of plastic wrap against the surface of the ice cream before sealing the container. This will help maintain its texture and flavor for a longer period of time.
By utilizing these troubleshooting tips, you can overcome common challenges that may occur when making ice cream with the Cuisinart Ice Cream Maker. With practice and experimentation, you will be able to create delicious and consistently perfect frozen treats.
Conclusion
The Cuisinart Ice Cream Maker is a fantastic tool for creating homemade ice cream in the comfort of your own kitchen. By understanding the factors that affect freezing time and following the recommended guidelines, you can achieve outstanding results with your frozen treats.
Factors such as freezer temperature, pre-freezing the bowl, type of ice cream being made, and ambient temperature can all impact the freezing time of the ice cream maker. Keeping the freezer at the optimal temperature and pre-chilling the ice cream mixture can help reduce freezing time and result in a smoother texture.
Properly pre-freezing the bowl is crucial for successful ice cream making. Ensure the bowl is clean and dry before placing it in the freezer. Follow the recommended freezing time and avoid overcrowding the freezer to allow for even freezing of the bowl.
Different types of ice cream may require varying freezing times. Custard-based ice creams typically take longer, while sorbets and gelatos have shorter freezing times. Adding mix-ins at the right time and properly storing any leftovers are also key considerations.
In the event of any issues, common troubleshooting tips such as checking the freezer temperature, adjusting the ice cream mixture’s consistency, and following the recommended freezing times can help resolve problems and ensure a successful ice cream-making experience.
With practice and experimentation, you can master the art of using the Cuisinart Ice Cream Maker to create a variety of delicious homemade frozen treats. Enjoy the satisfaction of indulging in your very own ice cream creations, customized with your favorite flavors and mix-ins. So, grab your ingredients, pre-freeze the bowl, and get ready to delight your taste buds with homemade ice cream that rivals any store-bought treat!