Introduction
There’s nothing quite like the creamy, refreshing taste of homemade ice cream on a hot summer day. While store-bought ice cream is delicious, making your own ice cream at home can be a rewarding and fun experience. With the help of an ice cream maker, you can create endless flavors, experiment with different mix-ins, and customize your ice cream to suit your tastes.
In this article, we will walk you through the step-by-step process of making homemade ice cream using an ice cream maker. Whether you’re a beginner or have some experience in the kitchen, we will provide you with all the information you need to whip up a batch of perfect, creamy ice cream.
Before we dive into the details, it’s important to note that having the right equipment is essential for making homemade ice cream. An ice cream maker is the key to achieving that smooth and creamy texture. If you don’t have one, consider investing in one for future ice cream endeavors.
Now, let’s get started on your journey to indulging in homemade ice cream bliss!
Equipment You Will Need
Before you embark on your homemade ice cream adventure, make sure you have the necessary equipment. Here is a list of items you will need:
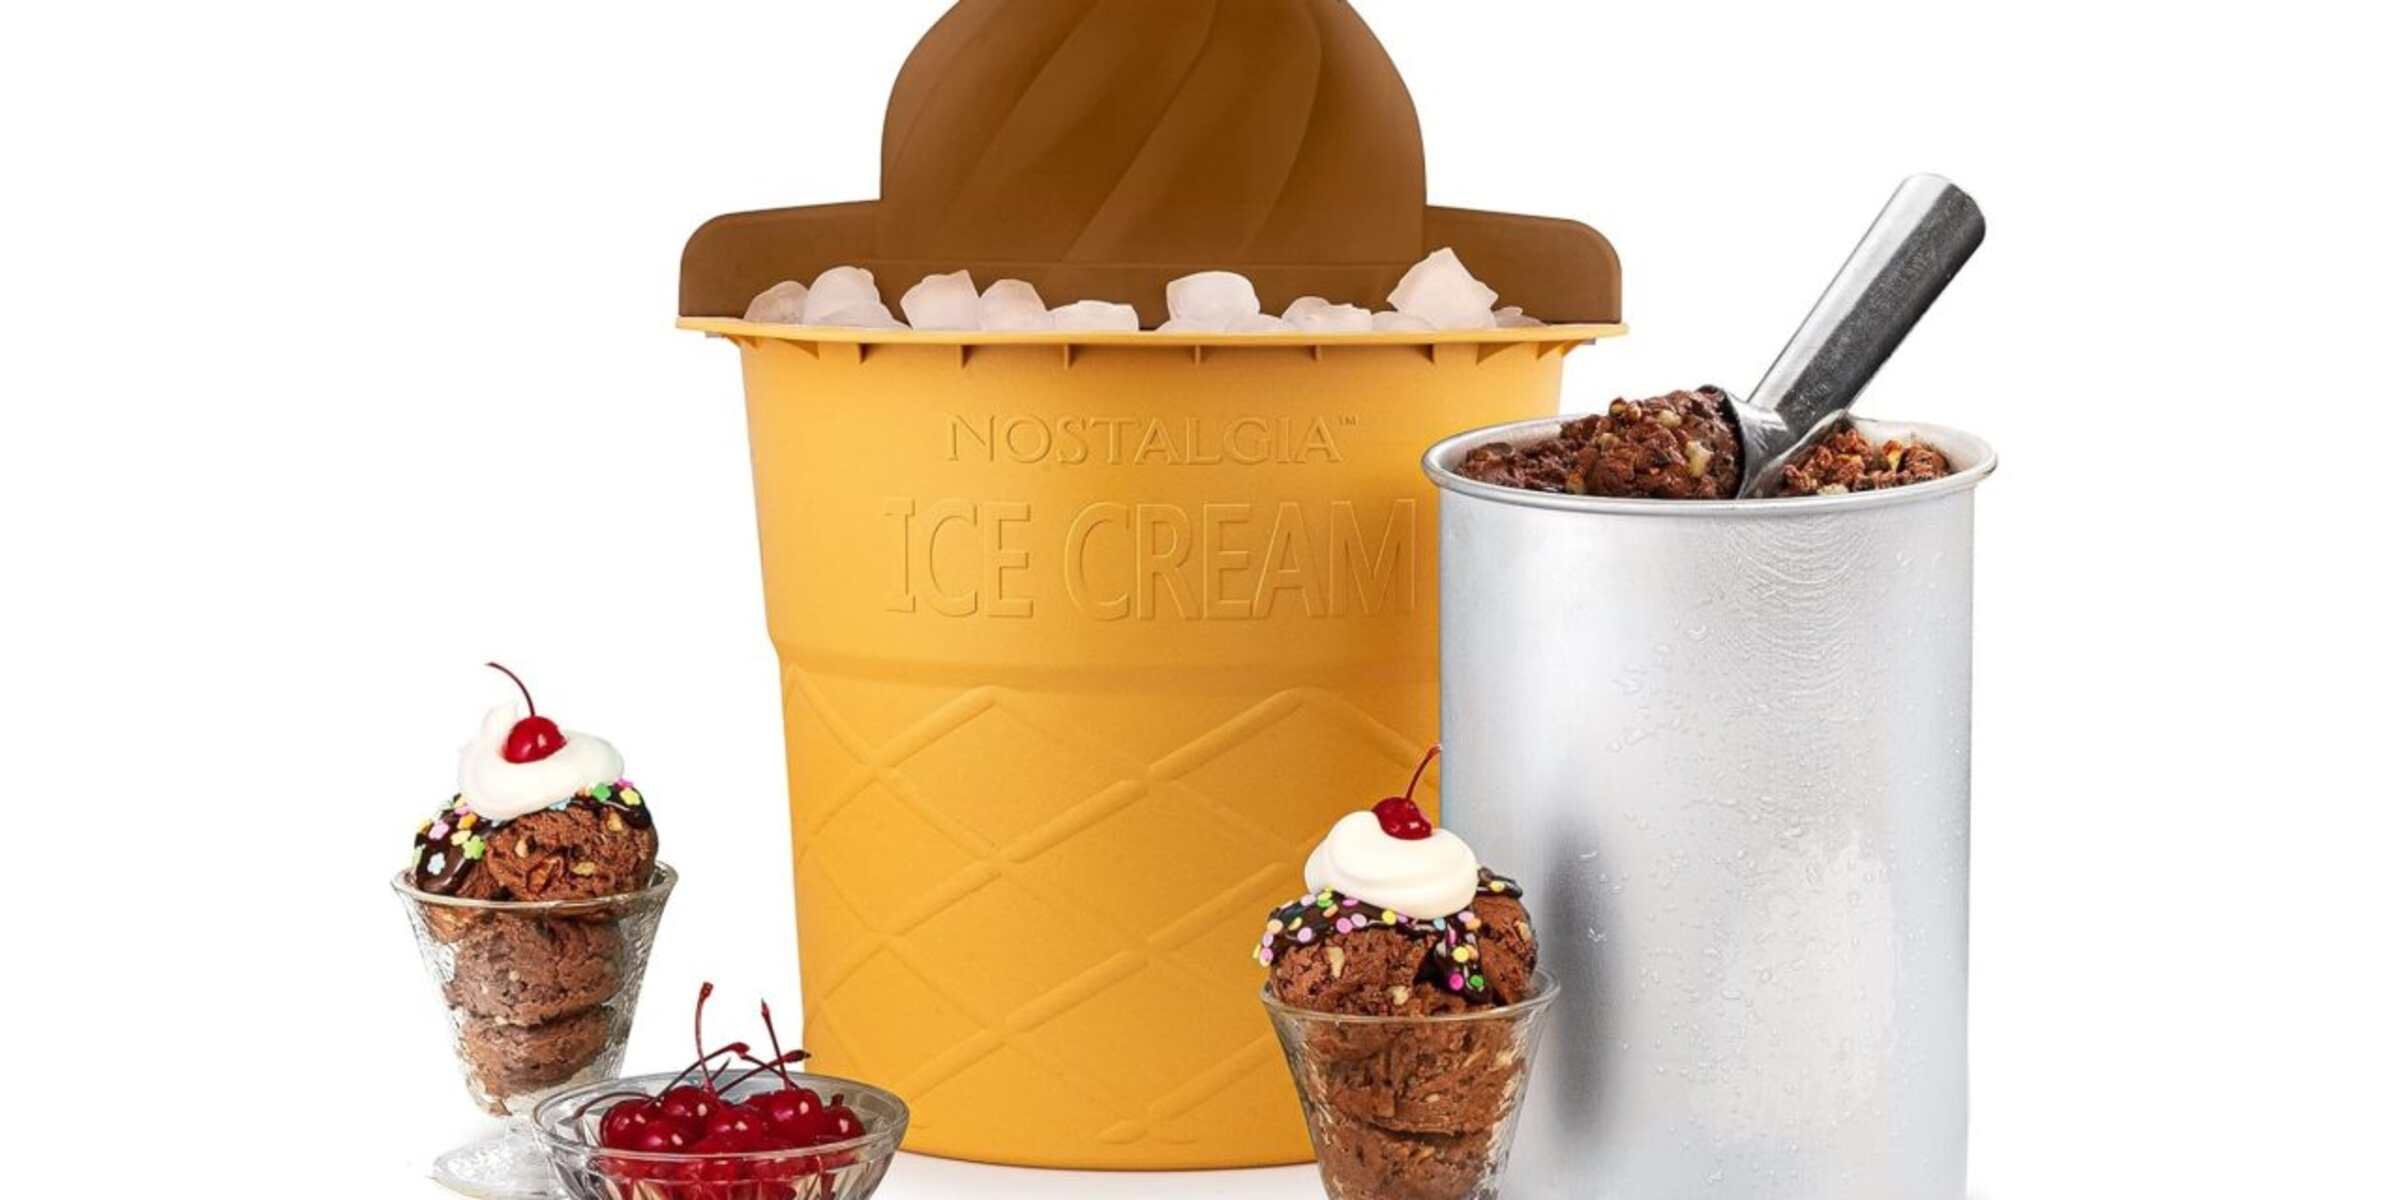
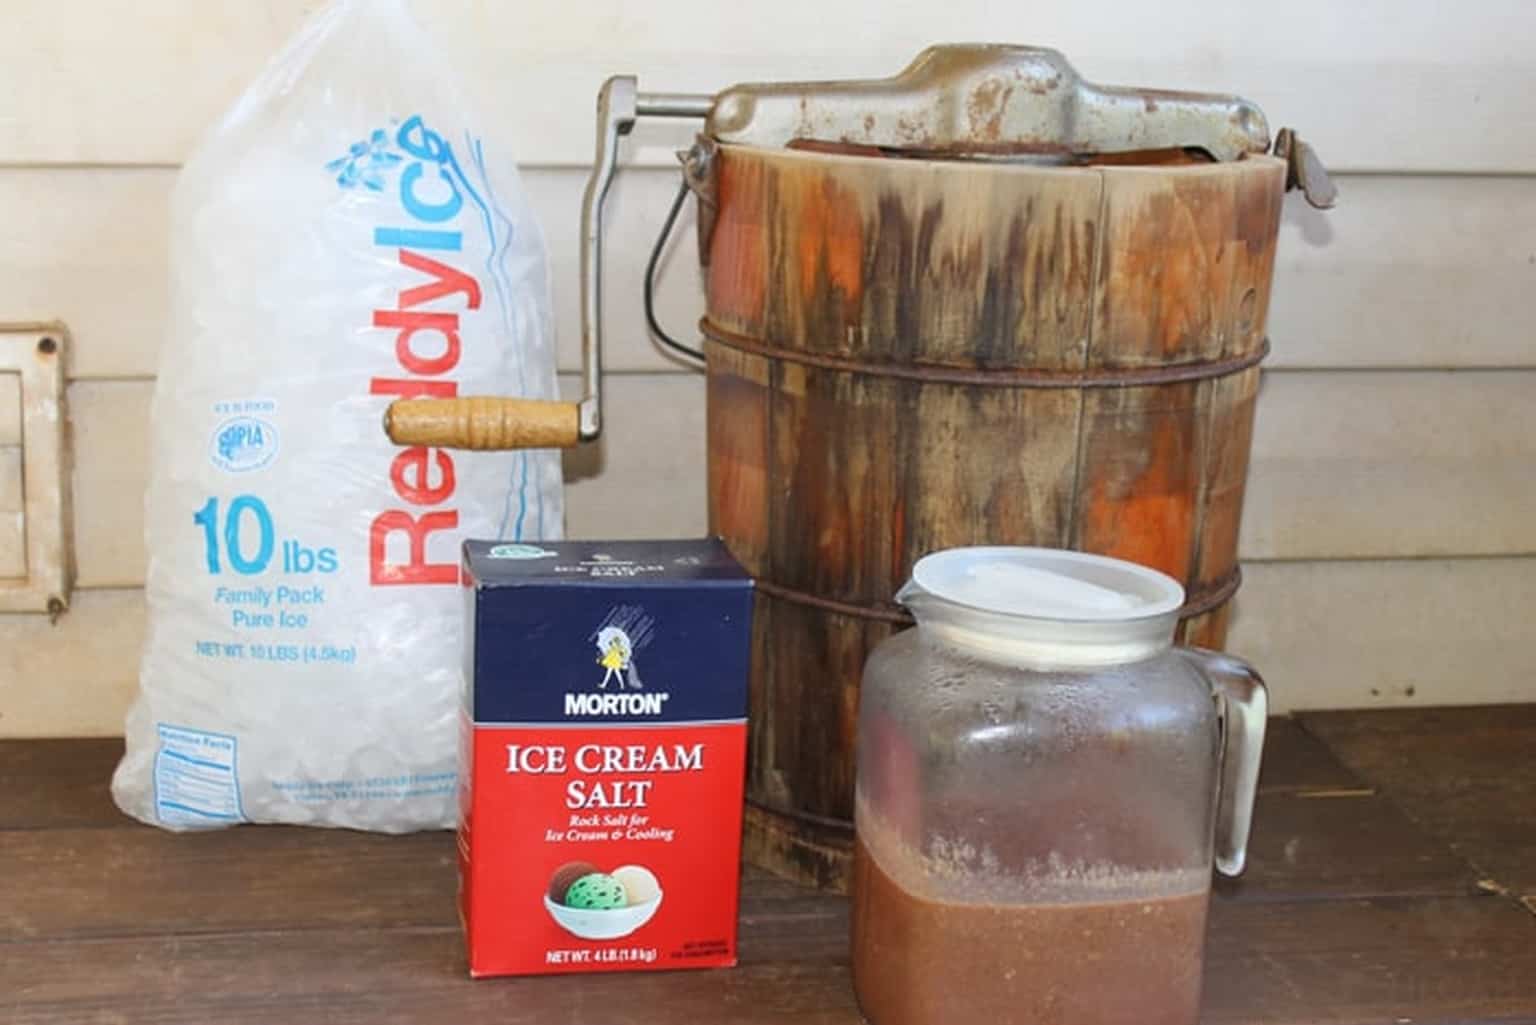
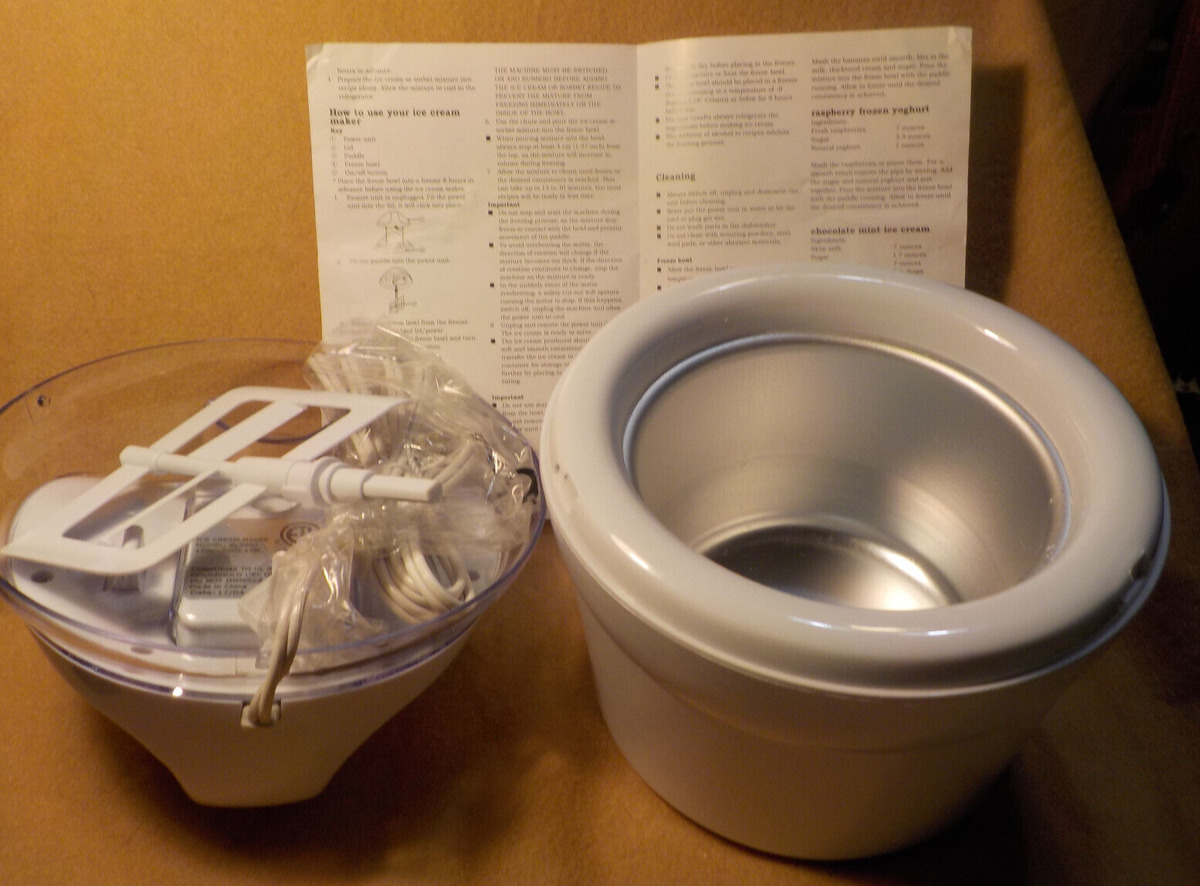
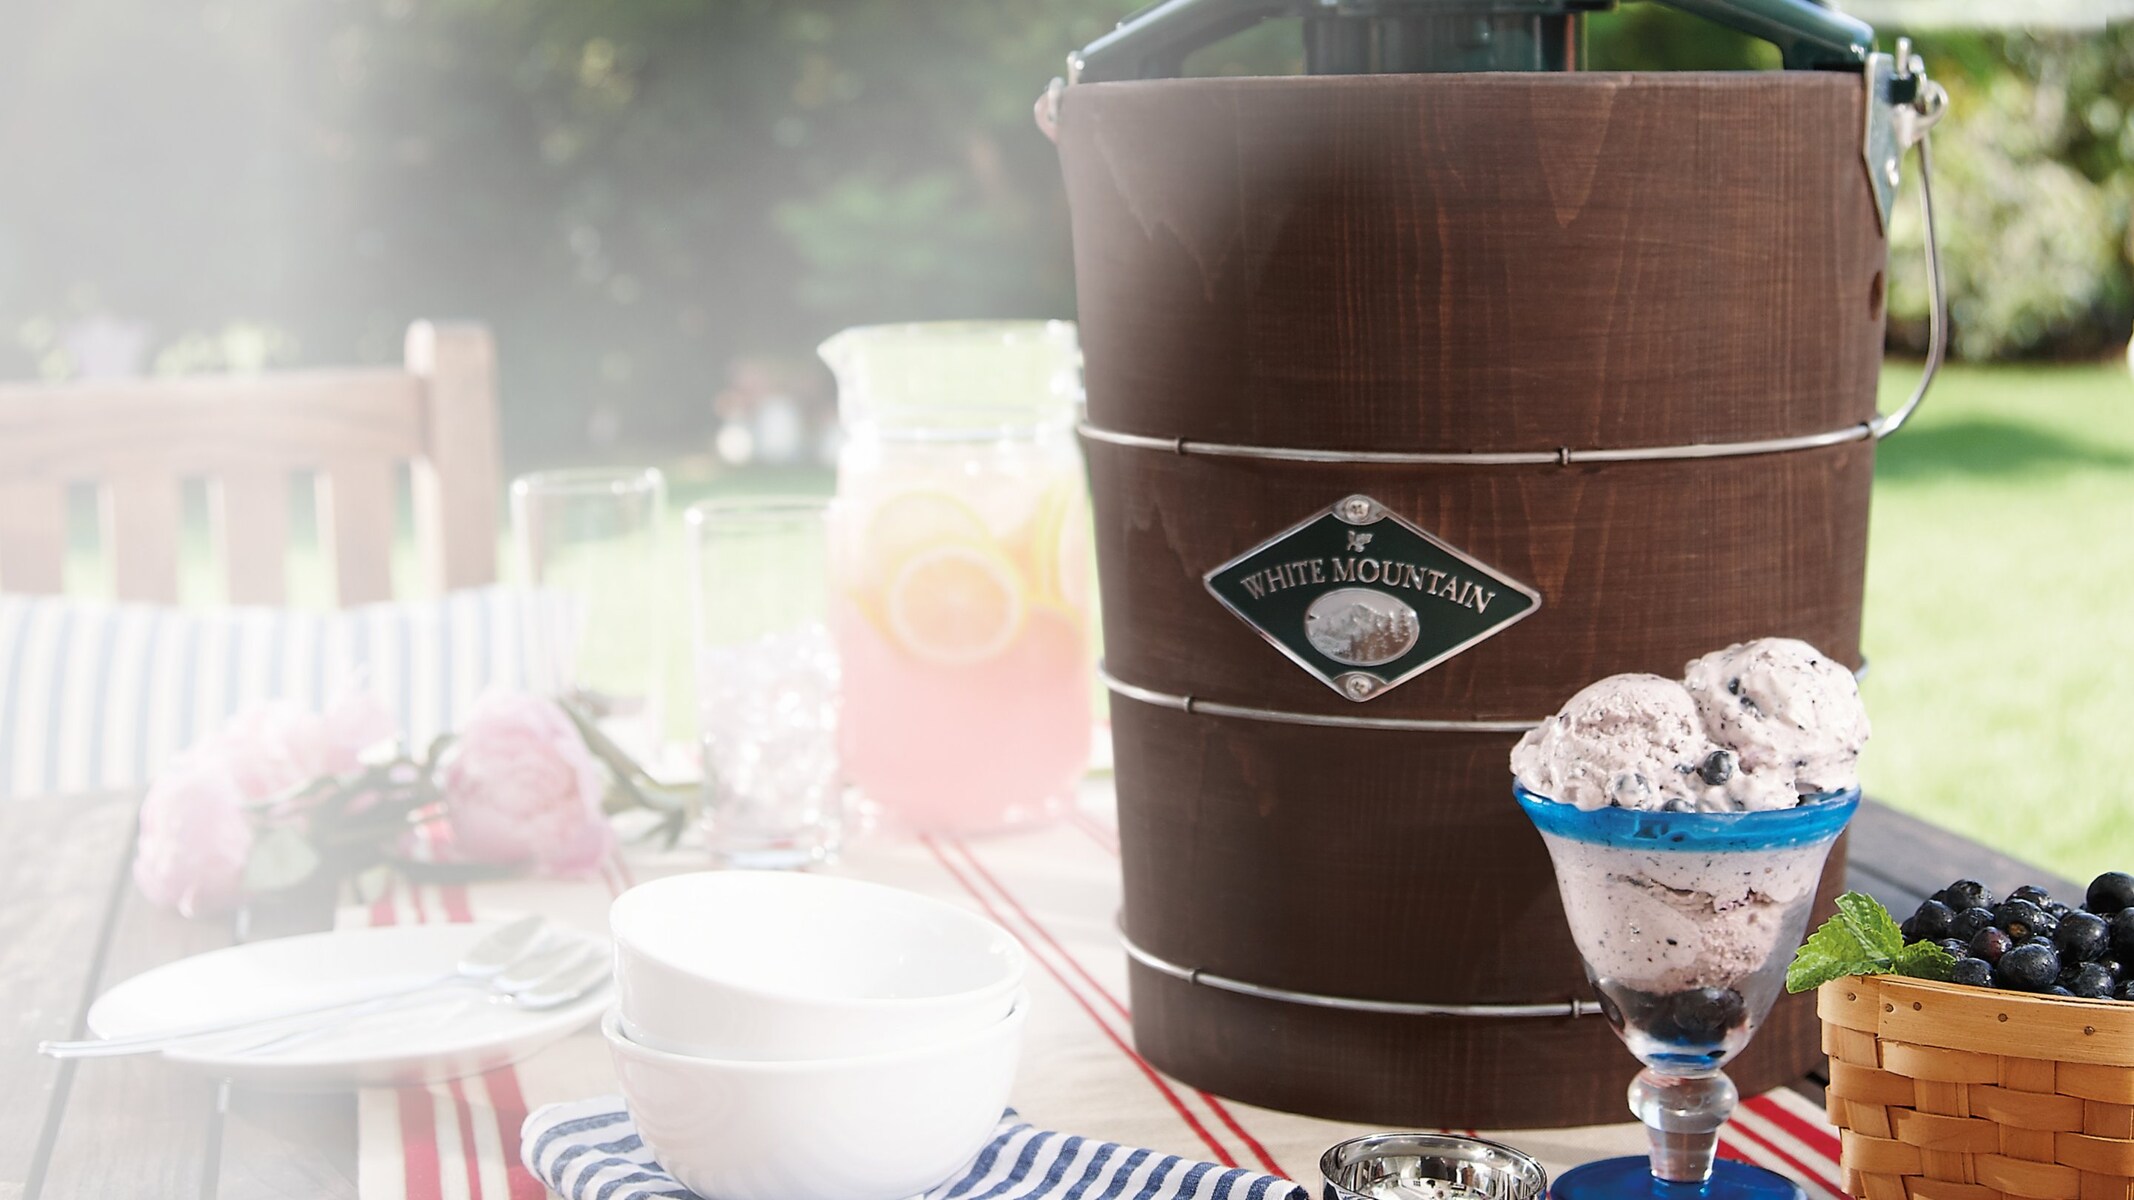
- Ice Cream Maker: This is the most crucial piece of equipment. There are various types of ice cream makers available, such as electric or manual churn models. Choose one that suits your needs and budget.
- Freezer: You will need a dedicated space in your freezer to freeze your ice cream maker’s bowl. Make sure there’s enough space for the bowl to fit properly.
- Mixing Bowls: Use large mixing bowls to prepare your ice cream base and mix-ins. Opt for ones with a sturdy bottom to prevent them from slipping while mixing.
- Whisk or Electric Mixer: These tools are essential for combining your ice cream base ingredients and creating a smooth and creamy texture. An electric mixer can save you time and effort.
- Measuring Cups and Spoons: Accurate measurements are crucial for achieving the perfect balance of flavors. Invest in a set of measuring cups and spoons for precise ingredient quantities.
- Spatula or Wooden Spoon: These utensils will come in handy for scraping the sides of your ice cream maker and folding in mix-ins.
- Ice Cream Containers: Make sure to have airtight containers for storing your finished ice cream. This will prevent freezer burn and maintain the ice cream’s freshness.
Having these tools readily available will ensure a smooth and enjoyable ice cream-making process. Now that you have gathered your equipment, it’s time to move on to selecting the ingredients for your homemade ice cream!
Choosing Your Ingredients
When it comes to homemade ice cream, the quality and freshness of your ingredients can make all the difference in creating a delicious treat. Here are some key factors to consider when choosing your ingredients:
- Dairy: The base of most ice creams is dairy, typically heavy cream and whole milk. Look for fresh, full-fat options to ensure a rich and creamy texture. You can also experiment with alternative milk options like almond milk or coconut milk for vegan or lactose-free ice creams.
- Sugar: Sweetness is an essential element in ice cream. Granulated sugar is commonly used, but you can also use alternatives like honey, maple syrup, or even artificial sweeteners. Adjust the amount according to your preference for sweetness.
- Flavorings: Whether you prefer classic vanilla or want to explore more adventurous flavors, adding extracts like vanilla, almond, or mint can elevate your ice cream. You can also use ingredients like cocoa powder, fruit purees, or coffee for unique flavors.
- Mix-ins: To add texture and flavor, consider incorporating mix-ins into your ice cream. Popular options include chocolate chips, cookie dough, nuts, crushed candies, or fresh fruit. The choices are endless, so get creative!
- Stabilizers: Optional but helpful, stabilizers like egg yolks or cornstarch can improve the consistency of your ice cream, preventing it from becoming icy. They also contribute to a smoother mouthfeel.
- Optional Enhancements: If you want to take your ice cream to the next level, consider adding extras like homemade caramel sauce, fudge ripple, or swirls of fruit preserves. These enhancements can add complexity and surprise to your homemade creation.
Remember, the quality of your ingredients will have a direct impact on the taste and overall quality of your ice cream. Use fresh and flavorful ingredients to create an unforgettable homemade treat for yourself and your loved ones.
Making Your Ice Cream Base
Creating a smooth and creamy ice cream base is the foundation for a delicious homemade treat. Follow these steps to make the perfect base:
- Combine Ingredients: In a mixing bowl, whisk together the heavy cream, whole milk, sugar, and any flavorings you desire. Make sure the sugar is fully dissolved.
- Cook the Mixture (Optional): If you’re using eggs or a thickening agent like cornstarch, you can cook the mixture on a stove over low heat until it thickens. This step helps to create a custard-like base with a creamy texture.
- Chill the Mixture: Once the base is well combined, cover the mixing bowl with plastic wrap or a lid and refrigerate for at least 4 hours or overnight. Chilling allows the flavors to meld together and ensures a smoother texture when churning.
- Prep Your Ice Cream Maker: Follow the instructions provided with your ice cream maker and ensure that the freezer bowl is thoroughly frozen before use. It’s best to keep the bowl in the freezer for at least 24 hours prior to making ice cream.
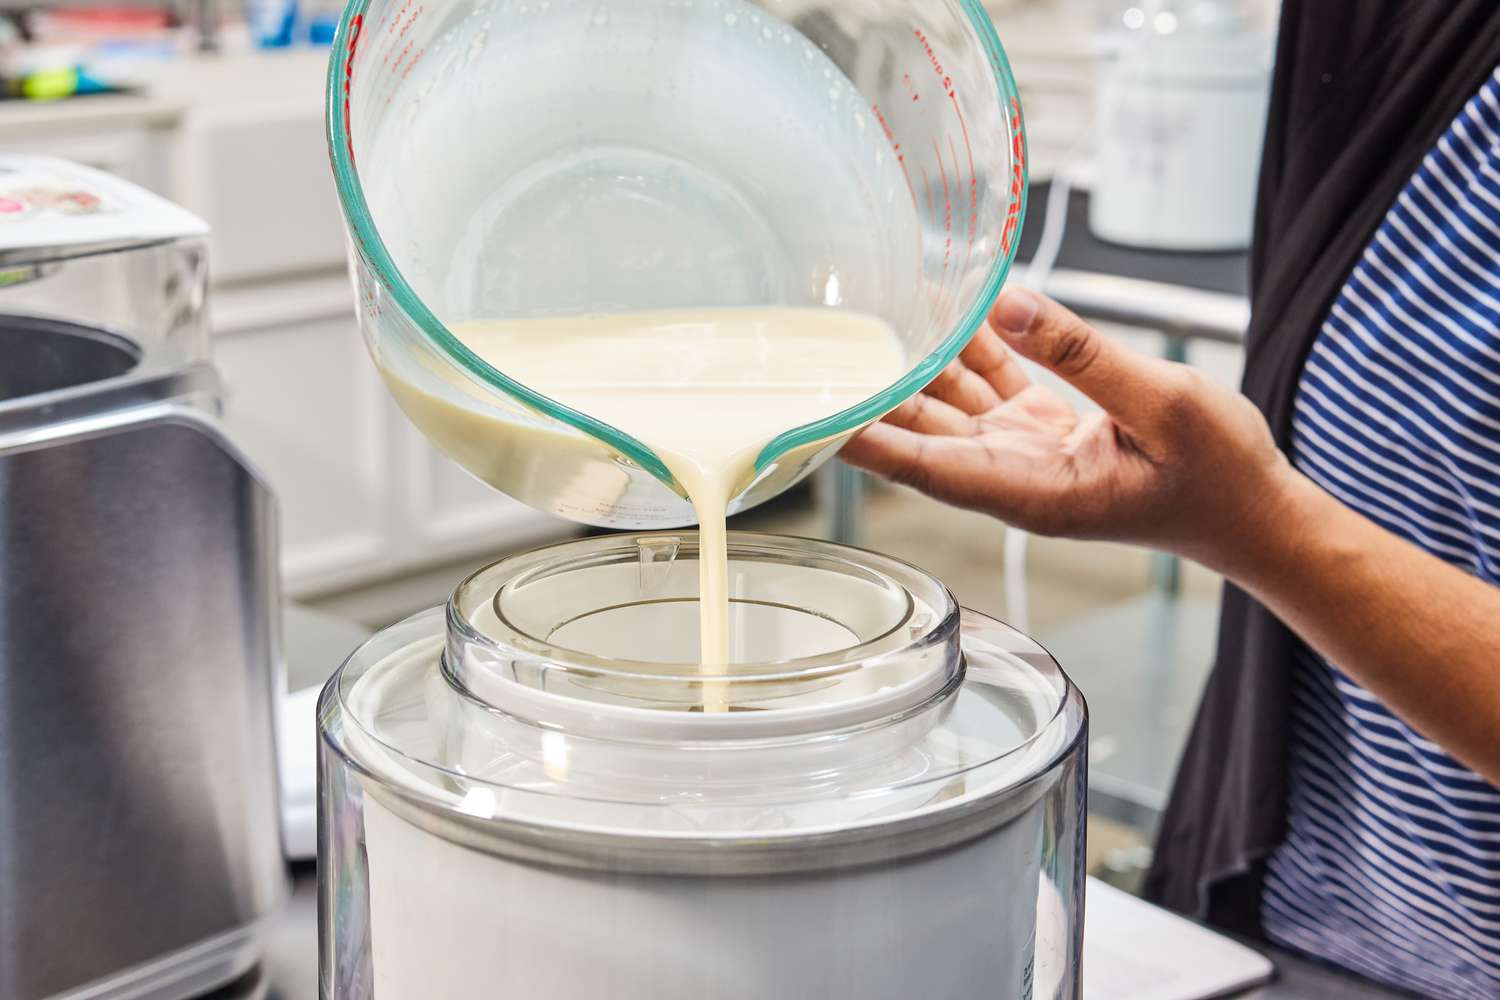
- Churn the Ice Cream: Pour the chilled ice cream base into the frozen bowl of the ice cream maker and start churning according to the manufacturer’s instructions. This process incorporates air into the mixture, resulting in a light and creamy texture.
- Monitor Churning Time: The churning time may vary depending on your ice cream maker, but it usually takes around 20-30 minutes. Keep an eye on the consistency, and stop churning when the ice cream reaches a soft-serve consistency.
- Transfer and Freeze: Once the desired consistency is achieved, transfer the churned ice cream to an airtight container. Press a piece of plastic wrap directly onto the surface of the ice cream to prevent ice crystals from forming. Place the container in the freezer and allow it to harden for at least 4 hours or overnight before serving.
With these steps, you can create a luscious ice cream base ready to be transformed with your choice of mix-ins and flavors. Next, we’ll dive into the exciting process of adding mix-ins to your homemade ice cream!
Churning Your Ice Cream
Once you have prepared your ice cream base, it’s time to churn it in your ice cream maker. Churning incorporates air into the mixture, resulting in a light and creamy texture. Follow these steps for successful ice cream churning:
- Preparation: Make sure your ice cream maker’s freezer bowl is thoroughly frozen before starting. It’s best to keep the bowl in the freezer for at least 24 hours prior to churning. Ensure that your ice cream base is chilled and ready to go.
- Assemble the Ice Cream Maker: Set up your ice cream maker according to the manufacturer’s instructions. This typically involves placing the frozen bowl onto the machine’s base and securing it into place.
- Pour the Base: Slowly pour the chilled ice cream base into the frozen bowl of the ice cream maker. Be careful not to overfill the bowl, as the ice cream will expand as it churns.
- Start Churning: Turn on your ice cream maker and let it work its magic. The machine will begin rotating the bowl while the paddle mixes the base. The churning process can take anywhere from 20 to 30 minutes.
- Monitor the Consistency: Keep an eye on the ice cream’s consistency as it churns. The mixture will begin as a liquid but gradually thicken and increase in volume. When it reaches a soft-serve consistency, it’s time to proceed to the next step.
- Add Mix-ins: If you plan to incorporate any mix-ins or flavors, now is the time to do so. Pause the churning process, and gently fold in your desired mix-ins such as chocolate chips, cookie dough, or fruit. Be careful not to overmix, as it can deflate the air incorporated during churning.
- Finish Churning: Once the mix-ins are evenly distributed, resume the churning process for a few more minutes. This ensures that the added ingredients are fully incorporated into the ice cream.
- Transfer and Freeze: Once your ice cream reaches the desired consistency, transfer it to a lidded container. Press a piece of plastic wrap directly onto the surface of the ice cream to prevent freezer burn. Place the container in the freezer and allow it to harden for at least 4 hours or overnight.
Churning your ice cream is an exciting process that transforms the base into a creamy and delightful treat. The next step is to add mix-ins and flavors to add even more deliciousness to your homemade ice cream!
Adding Mix-ins and Flavors
One of the joys of homemade ice cream is the ability to customize it with delicious mix-ins and flavors. Whether you prefer a classic combination or want to get adventurous, here are some tips for adding mix-ins to your ice cream:
- Timing: The best time to add mix-ins is during the last few minutes of churning. Once your ice cream base reaches a soft-serve consistency, pause the churning process and gently fold in your desired mix-ins.
- Options for Mix-ins: The possibilities for mix-ins are endless. Consider adding chocolate chips, crushed cookies, candy pieces, nuts, fruit chunks, or even swirls of caramel or fudge. Get creative and choose mix-ins that complement or contrast with the base flavor.
- Preparation: Prepare your mix-ins ahead of time. If you’re using solid ingredients like chocolate chips or chopped fruits, make sure they are properly cooled or frozen before adding them to the ice cream. This helps maintain the desired texture and prevents melting or excessive freezing during the churning process.
- Chopping or Crushing: Depending on the mix-in, you may need to chop or crush it into smaller pieces. For example, you can chop nuts, crush cookies, or finely chop chocolate bars. This ensures even distribution and enhances the overall texture of your ice cream.
- Adding Flavors: Along with mix-ins, you can also experiment with various flavor extracts and enhancers. Add a teaspoon of vanilla extract for a classic taste, or try almond extract, mint extract, or even a splash of liqueur for more unique flavors.
- Swirls and Ribbons: To create beautiful swirls in your ice cream, you can layer or ripple different sauces or fruit preserves throughout the base. Use a spoon or spatula to gently fold and swirl the sauces into the partially churned ice cream.
- Balance and Proportions: When adding mix-ins, ensure a good balance between the base and the added ingredients. While you want to add enough mix-ins for flavor and texture, be mindful not to overload the ice cream. Aim for a well-distributed mix-in ratio that enhances the overall experience.
Adding mix-ins and flavors truly allows you to personalize your homemade ice cream and create a unique treat that suits your taste buds. Once you have mixed in your desired ingredients, it’s time to transfer the ice cream to containers and move on to the next step: freezing and storing your masterpiece!
Freezing and Storing Your Ice Cream
After creating your homemade ice cream masterpiece, it’s important to properly freeze and store it to maintain its flavor and texture. Follow these steps to ensure the best results:
- Transfer to Containers: Once your ice cream has finished churning and any mix-ins have been added, transfer it to a lidded container. Use a spatula to smooth the surface for an even finish. Avoid leaving air gaps to prevent ice crystals from forming.
- Pressing Plastic Wrap: To preserve the freshness and prevent freezer burn, press a piece of plastic wrap directly onto the surface of the ice cream, creating a tight seal. This minimizes contact with air, which can cause ice crystals and affect the taste and texture of your ice cream.
- Lid and Label: Place the lid on the container and make sure it is tightly closed. Label the container with the flavor and date, allowing you to easily identify it in your freezer later.
- Optimal Freezing Time: To achieve the perfect consistency, allow your freshly churned ice cream to freeze in the coldest part of your freezer for at least 4 hours or overnight. This ensures firmness and prevents melting during serving.
- Storage Duration: Homemade ice cream is best consumed within 2-3 weeks of freezing. Although it can be stored for a longer period, the quality and texture may deteriorate over time.
- Thawing and Softening: When it’s time to enjoy your ice cream, remove it from the freezer and let it sit at room temperature for a few minutes to soften. This makes it easier to scoop and enhances the creaminess.
- Preventing Freezer Burn: To prevent freezer burn, make sure the lids on your containers are tightly sealed. Additionally, always store your ice cream in the coldest part of the freezer, away from the door, as temperature fluctuations can cause freezer burn.
- Containers for Storage: Use airtight storage containers specifically designed for freezer use. Alternatively, you can use metal ice cream tubs or even mason jars with tight-fitting lids. Avoid using containers that allow air or moisture to seep in.
By following these storage guidelines, you can preserve the quality and flavors of your homemade ice cream, allowing you to enjoy it for weeks to come. Now that you have learned how to freeze and store your ice cream, let’s go over some troubleshooting tips to help you overcome any potential issues that may arise.
Troubleshooting Tips
Making homemade ice cream can be a delightful experience, but sometimes things don’t go as planned. Here are some troubleshooting tips to help you overcome common issues and achieve the best results:
- Ice Crystal Formation: If your ice cream has a grainy texture or noticeable ice crystals, it may have been stored at too high a temperature or for too long. Ensure that your freezer maintains a consistently low temperature, and consume your ice cream within a few weeks for optimal quality.
- Melting Too Quickly: If your ice cream melts quickly or becomes overly soft, it could be due to churning the mixture for too long or not freezing the base properly before serving. Make sure to closely follow the recommended churning times and freeze your ice cream until firm before serving.
- Base Not Thickening: If your ice cream base didn’t thicken during cooking or chilling, it may be due to incorrect ingredient proportions or not cooking the mixture long enough. Double-check your ingredients and ensure that you fully cook the base until it reaches a custard-like consistency.
- Mix-ins Not Distributing Evenly: If your mix-ins aren’t evenly distributed throughout the ice cream, make sure to add them during the last few minutes of churning and gently fold them in. Avoid overmixing, as this can cause the mix-ins to sink to the bottom.
- Ice Cream Too Soft or Too Hard: Achieving the perfect level of firmness in your ice cream can be a challenge. If your ice cream is too soft, try increasing the churning time. If it turns out too hard, consider adding a small amount of alcohol, such as vodka or rum, to the base to lower its freezing point.
- Flavors Not Pronounced: If the flavors in your ice cream are not as pronounced as you’d like, consider increasing the amount of flavoring ingredients, such as extracts or mix-ins. Be cautious with strong flavors to avoid overpowering the base.
- Lack of Creaminess: If your ice cream lacks creaminess, it could be due to using low-fat dairy products or not incorporating enough air during churning. Opt for full-fat dairy options and ensure you churn the mixture until it reaches a light and airy consistency.
Remember, troubleshooting is part of the learning process. Don’t be discouraged if your first attempts are not perfect. With practice and these helpful tips, you’ll soon master the art of homemade ice cream. Now, go ahead and enjoy your delicious creation!
Conclusion
Congratulations on embarking on your homemade ice cream-making journey! By following the steps outlined in this guide, you now have the knowledge and skills to create delectable and customized ice cream flavors right in the comfort of your own kitchen.
We started by emphasizing the importance of having the right equipment, including an ice cream maker, to achieve that creamy texture we all love. We then discussed the significance of choosing quality ingredients and provided tips on creating the perfect ice cream base. The process of churning the ice cream, adding mix-ins and flavors, and properly freezing and storing your creation were also covered in detail.
Remember, ice cream making is an art that allows for endless creativity. Don’t be afraid to experiment with flavors, mix-ins, and techniques to create unique and exciting frozen treats. With practice, you’ll become more confident and develop your own signature ice cream recipes that will leave your friends and family begging for more.
So go forth, unleash your culinary creativity, and start enjoying the delicious rewards of homemade ice cream. Whether you prefer classic flavors like vanilla or want to explore bolder combinations, the possibilities are endless. Happy churning and indulge in the sweet satisfaction of homemade ice cream!