Introduction
Are you a fan of creamy and delicious almond milk ice cream but don’t have an ice cream maker? Don’t worry! In this article, we will show you how to make homemade almond milk ice cream without the need for any special equipment. Whether you’re lactose intolerant, vegan, or simply looking for a refreshing and healthier frozen treat, this recipe is perfect for you.
Almond milk ice cream is a fantastic alternative to traditional dairy-based ice cream. It is not only dairy-free but also naturally low in calories and saturated fat. By making it yourself, you have full control over the ingredients, ensuring a healthier and more satisfying dessert option.
In this step-by-step guide, we will walk you through the process of making creamy almond milk ice cream at home. You’ll discover how easy and rewarding it can be to create a frozen treat that is bursting with flavor. With just a few simple ingredients and some patience, you can enjoy a batch of delicious homemade almond milk ice cream.
So, gather your almond milk, flavors, and sweeteners, and let’s dive into the world of homemade almond milk ice cream. Get ready to indulge in a frozen delight that is sure to satisfy your cravings without any guilt.
Ingredients
To make homemade almond milk ice cream, you will need the following ingredients:
- 2 cups of almond milk
- 1/2 cup of coconut cream
- 1/3 cup of sweetener (such as agave syrup or maple syrup)
- 2 teaspoons of vanilla extract
- A pinch of salt
These ingredients will provide the base for your almond milk ice cream. Almond milk serves as the creamy and dairy-free foundation, while coconut cream adds richness and smoothness to the texture. The sweetener enhances the flavor and balances the natural nuttiness of the almond milk. Vanilla extract and salt add depth and complexity to the overall taste.
Feel free to adjust the sweetness and flavorings according to your preference. You can add a bit more sweetener if you have a sweet tooth or experiment with other flavorings like cocoa powder, chopped nuts, or fruit puree for a customized twist.
It’s important to choose almond milk that is unflavored and unsweetened to maintain control over the sweetness and overall taste of the ice cream. Using a high-quality almond milk will result in a smoother and creamier texture.
Now that you have gathered all the ingredients, let’s move on to the equipment you’ll need to successfully make almond milk ice cream without an ice cream maker.
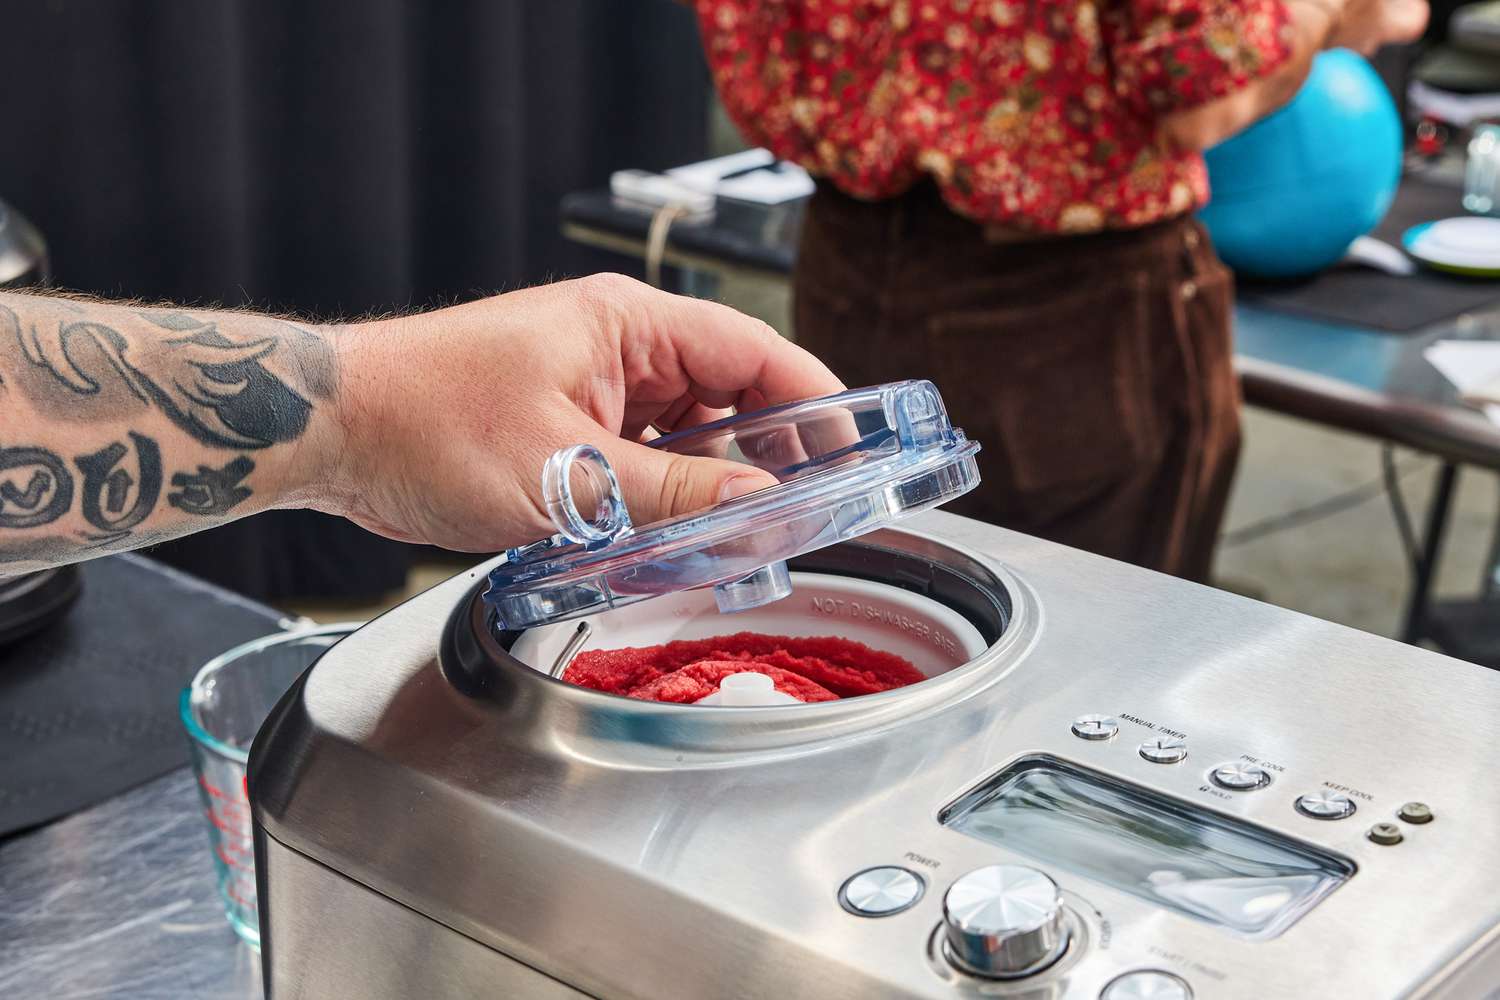
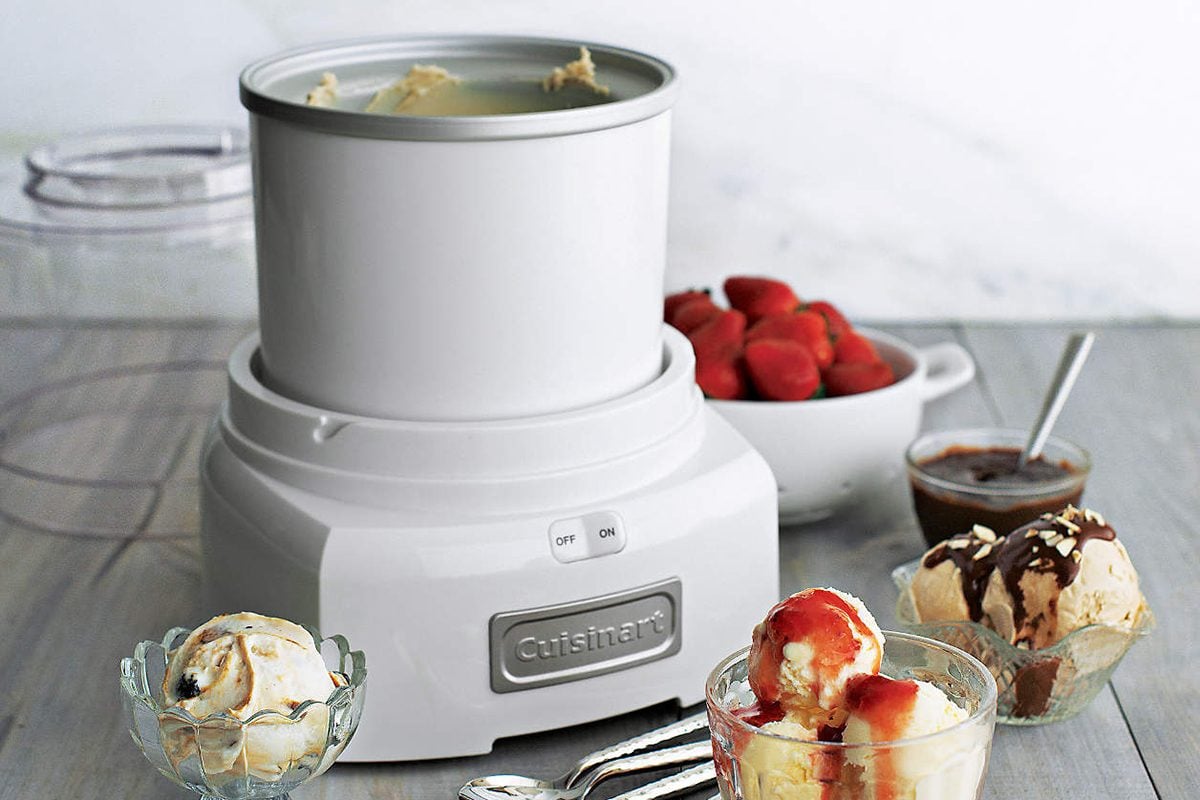
Equipment Needed
To make homemade almond milk ice cream without an ice cream maker, you will need the following equipment:
- Blender or food processor
- Fine-mesh strainer or cheesecloth
- Mixing bowls
- Whisk or spoon
- Freezer-safe container with a lid
The blender or food processor will be used to blend the soaked almonds and create a smooth almond milk base. It’s important to make sure your blender is capable of smoothly blending nuts to achieve the desired consistency.
A fine-mesh strainer or cheesecloth will be needed to strain the almond milk and remove any almond pulp or solids for a smoother ice cream. These tools will ensure that the final product is creamy and free from any graininess.
Mixing bowls will come in handy for combining the almond milk, coconut cream, sweetener, vanilla extract, and salt to create the ice cream base. Make sure to use bowls that are large enough to comfortably mix and whisk the ingredients.
A whisk or spoon will be used to thoroughly mix the ingredients together and ensure they are well incorporated. This will help to create a consistent texture and distribute the flavors evenly.
A freezer-safe container with a lid is necessary for storing the ice cream during the freezing process. It’s important to choose a container that is the appropriate size and can be securely sealed to protect the ice cream from freezer burn.
Now that you have all the necessary equipment ready, let’s move on to the step-by-step process of making homemade almond milk ice cream without an ice cream maker.
Step 1: Soaking the Almonds
The first step in making homemade almond milk ice cream is to soak the almonds. Soaking helps to soften the almonds, making them easier to blend and resulting in a smoother ice cream texture.
Start by measuring 1 cup of raw, unsalted almonds and place them in a bowl. Make sure to use enough water to fully submerge the almonds. Allow the almonds to soak for at least 6 hours or overnight for the best results. This soaking process helps to remove any bitterness and aids in the overall creaminess of the ice cream.
After the almonds have soaked, drain and rinse them thoroughly. This step helps to wash away any residue and ensures a clean and fresh almond milk base.
Now that the almonds are soaked and ready, you can proceed to the next step of blending them to create the creamy almond milk base for your homemade ice cream.
Remember, patience is key during the soaking process, as it is an important step in achieving the desired consistency and texture for your almond milk ice cream. Soaking the almonds allows them to fully absorb water, resulting in a smoother and creamier final product.
Step 2: Blending the Almonds
Once the almonds have been soaked and drained, it’s time to blend them to create a smooth almond milk base for your ice cream. With the right equipment and technique, blending the almonds is a simple and straightforward process.
First, transfer the soaked and drained almonds to a blender or food processor. Add 2 cups of fresh water to the almonds. This ratio of almonds to water will help to create a creamy and rich almond milk base.
Next, blend the almonds and water on high speed until a smooth and creamy consistency is achieved. This process can take a few minutes, depending on the power of your blender or food processor. It’s important to blend until the mixture is completely smooth, without any visible almond pieces or grit.
Once the almonds are blended to perfection, you will have a homemade almond milk that serves as the foundation for your ice cream. The blended almond milk will be slightly thick and creamy, providing a delicious base for the flavors and sweeteners to be added.
To ensure the smoothest texture possible, you can strain the blended almond milk through a fine-mesh strainer or cheesecloth. This step removes any remaining almond pulp or solids, resulting in a smoother and velvety ice cream.
Now that you have your homemade almond milk ready, you can move on to the next step of straining the almond milk to achieve a smooth consistency for your ice cream base.
Blending the almonds is a crucial step in creating the rich and creamy almond milk base for your homemade ice cream. Taking the time to blend the almonds thoroughly will ensure a smooth mouthfeel and a delightful ice cream experience.
Step 3: Straining the Almond Milk
After blending the soaked almonds to create a smooth almond milk base, the next step in making homemade almond milk ice cream is to strain the almond milk. This process helps remove any remaining almond pulp or solids, resulting in a silky and creamy texture.
To strain the almond milk, you will need a fine-mesh strainer or cheesecloth. Place the strainer or cheesecloth over a bowl or large container to catch the strained liquid.
Carefully pour the blended almond milk into the strainer or cheesecloth. Use a spoon or spatula to gently press and move the mixture around, allowing the almond milk to pass through the strainer or cheesecloth and collect in the bowl. This process helps separate the smooth liquid from any remaining almond solids.
Continue pressing and moving the mixture until all the liquid has passed through the strainer or cheesecloth. You may need to repeat this process a few times to ensure that the almond milk is smooth and free from any leftover solids.
Once you have strained the almond milk, you can discard the almond pulp or save it for other recipes like baking or adding to smoothies. The strained almond milk should be smooth and creamy, ready to be transformed into delectable ice cream.
Now that you have successfully strained the almond milk, you are ready to proceed to the next step of preparing the ice cream base by combining the almond milk with other ingredients and flavors.
Straining the almond milk is an important step to achieve a silky and smooth almond milk base for your homemade ice cream. By removing any remaining solids, you ensure a delightful and creamy texture that will make your ice cream truly irresistible.
Step 4: Preparing the Ice Cream Base
Now that you have strained the almond milk and achieved a smooth and creamy base, it’s time to prepare the ice cream base by combining the almond milk with other ingredients and flavors.
In a mixing bowl, combine 2 cups of the strained almond milk with 1/2 cup of coconut cream. The coconut cream adds richness and creaminess to the ice cream, enhancing its texture and flavor.
Add 1/3 cup of your preferred sweetener, such as agave syrup or maple syrup, to the almond milk and coconut cream mixture. Adjust the amount of sweetener according to your taste preferences. You can always add more if you like a sweeter ice cream.
Next, add 2 teaspoons of vanilla extract and a pinch of salt to the mixture. The vanilla extract adds a delicious aroma and enhances the overall flavor profile of the ice cream, while the pinch of salt helps to balance the sweetness and bring out the flavors.
Using a whisk or spoon, thoroughly mix all the ingredients together until they are well combined. Make sure there are no lumps or clumps in the mixture, resulting in a smooth and homogeneous ice cream base.
At this point, you can taste the ice cream base and adjust the flavors if needed. You can add more sweetener, vanilla extract, or other flavorings to suit your preferences. This is your chance to get creative and customize the ice cream base to your liking.
Now that you have prepared the ice cream base, it’s time to infuse it with your desired flavors and sweeteners. In the next step, we will explore various options to add deliciousness to your almond milk ice cream.
Preparing the ice cream base is an essential step in achieving a flavorful and well-balanced homemade almond milk ice cream. By combining the almond milk with coconut cream, sweeteners, and flavors, you create a base that is ready to be transformed into a delightful frozen treat.
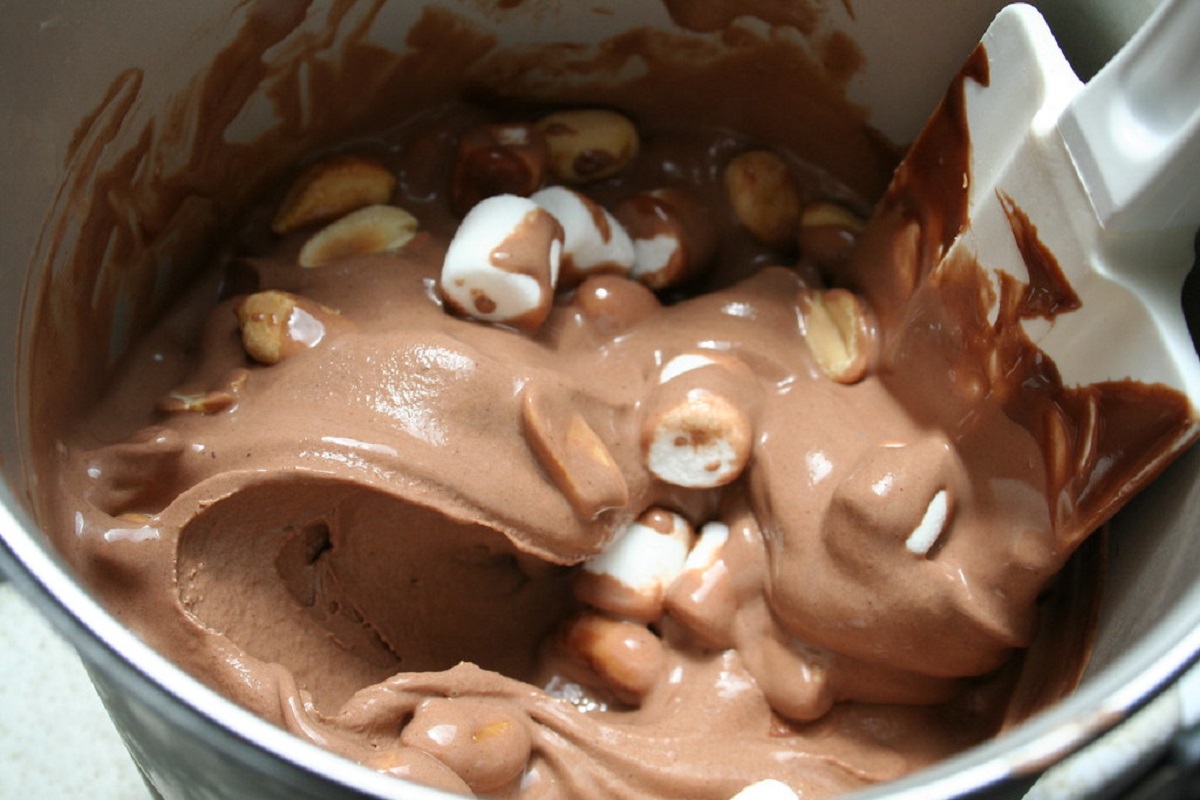
Step 5: Adding Flavors and Sweeteners
Now that you have prepared the ice cream base, it’s time to elevate the flavors by adding additional ingredients and sweeteners. This step allows you to customize your almond milk ice cream and create a unique and delicious frozen treat.
There are endless possibilities when it comes to flavoring your ice cream. You can choose to keep it simple and classic with just the base flavors, or you can get creative and experiment with various combinations.
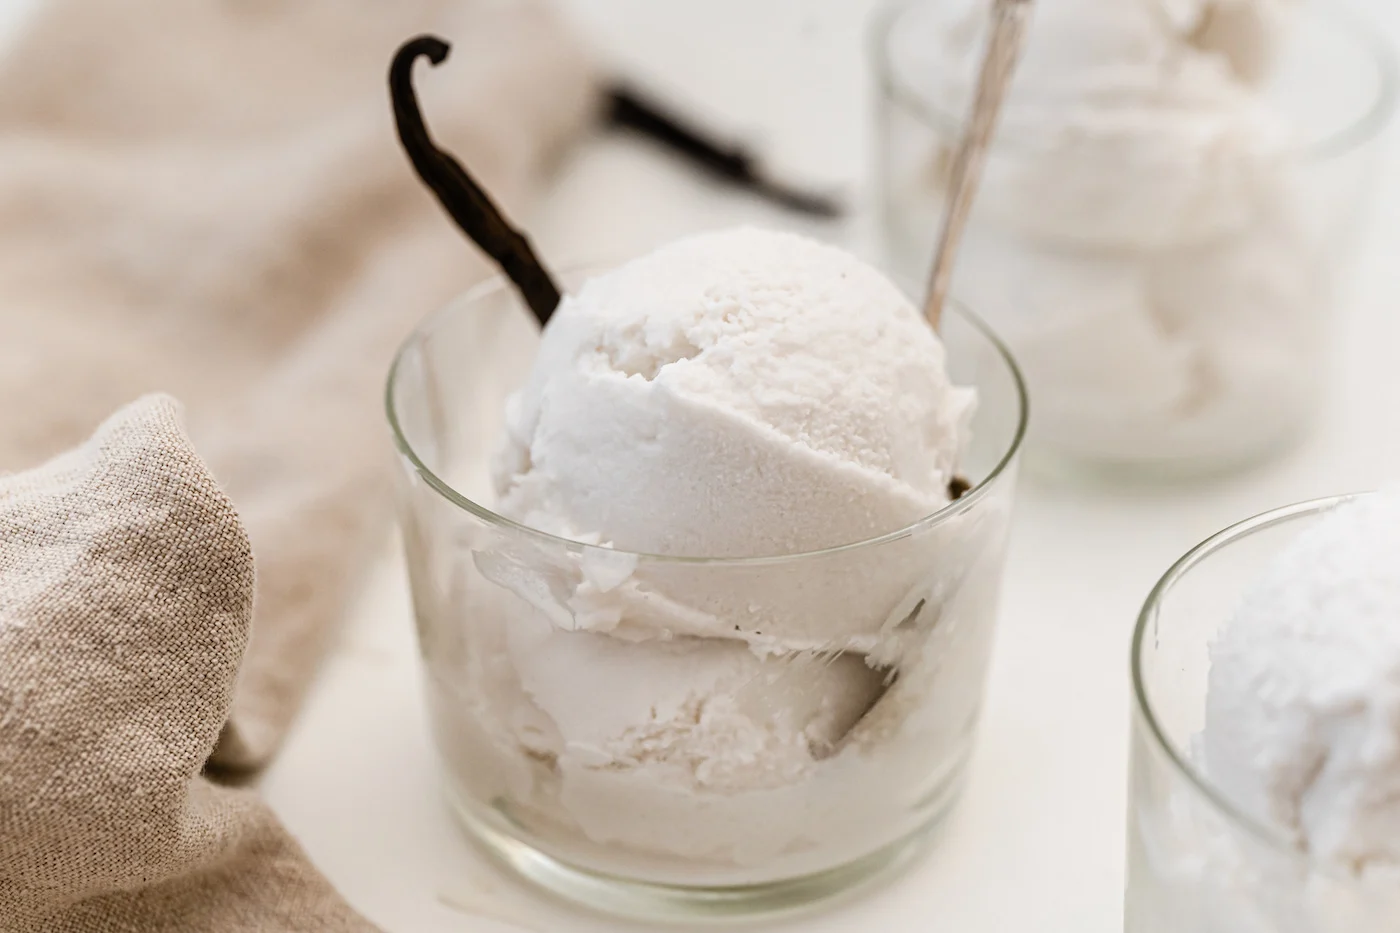
If you prefer a classic vanilla almond milk ice cream, you can leave it as is and let the natural flavors shine through. Alternatively, you can add a splash of almond extract for an extra nutty kick.
If you’re in the mood for something fruity, you can incorporate fresh or frozen fruits into the ice cream base. Whether it’s strawberries, blueberries, or bananas, adding fruit will provide a burst of natural sweetness and vibrant flavors.
For a touch of indulgence, consider incorporating chocolate into your almond milk ice cream. You can use cocoa powder for a rich chocolate flavor or add in chopped chocolate chunks for added texture and decadence.
Other flavor options include adding a swirl of caramel or a sprinkle of cinnamon to infuse different taste profiles into the ice cream. Feel free to get creative and mix and match flavors to suit your preferences.
In addition to flavors, the sweetener you choose can greatly impact the taste of the ice cream. Adjust the amount of sweetener based on your personal preference, whether you prefer a subtle sweetness or a more pronounced sugary flavor.
Once you have decided on the flavors and sweeteners, simply add them to the ice cream base and mix well to ensure they are evenly distributed. Taste the mixture as you go to make any necessary adjustments.
Now that you have added flavors and sweeteners to your almond milk ice cream base, it’s time to freeze it and transform it into a refreshing and creamy frozen dessert. In the next step, we will guide you through the freezing process to achieve the perfect texture.
Adding flavors and sweeteners is a fun and creative step that allows you to personalize your almond milk ice cream. Whether you prefer a classic flavor combination or want to experiment with unique ingredients, this step is where you can truly make the recipe your own.
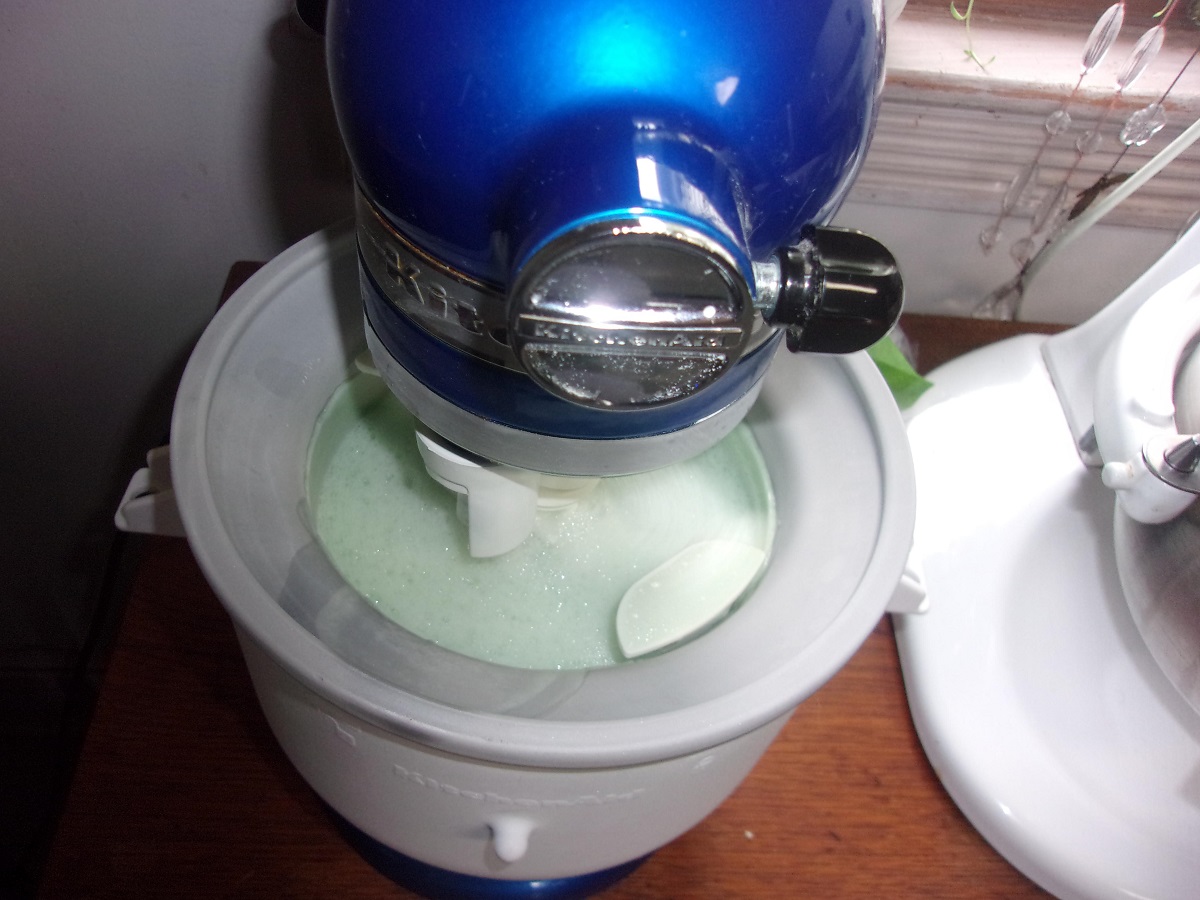
Step 6: Freezing the Ice Cream
After adding flavors and sweeteners to your almond milk ice cream base, it’s time to freeze it and transform it into a delightful frozen treat. Freezing the ice cream allows it to firm up and develop a creamy and scoopable texture.
Start by transferring the ice cream mixture into a freezer-safe container. Make sure to choose a container with a lid to seal and protect the ice cream from any unwanted freezer odors.
Smooth out the surface of the ice cream mixture in the container, ensuring an even distribution. This will help achieve a consistent texture throughout the ice cream as it freezes.
Place the container in the freezer and let the ice cream freeze for a minimum of 4-6 hours, or until it reaches the desired consistency. It’s crucial to give the ice cream enough time to freeze properly, allowing it to develop a smooth and creamy texture.
While the ice cream is in the freezer, it’s recommended to check on it occasionally and give it a gentle stir or churn. This will help prevent ice crystals from forming and ensure a smoother final product.
As tempting as it may be, try to resist the urge to continuously open the freezer and check the ice cream. Each time you open the freezer, you introduce warm air, which can negatively impact the freezing process and result in a less desirable texture.
Remember, the exact freezing time may vary depending on your freezer’s temperature and the size of the container. Keep an eye on the ice cream, and once it reaches a firm and scoopable consistency, it’s ready to be enjoyed.
Now that you have frozen the ice cream, it’s time to move on to the final step and savor the deliciousness of homemade almond milk ice cream.
Freezing the ice cream is a crucial step to achieve the desired texture and consistency. Properly freezing the ice cream allows it to solidify while still maintaining a creamy and scoopable texture, ensuring a delightful frozen treat.
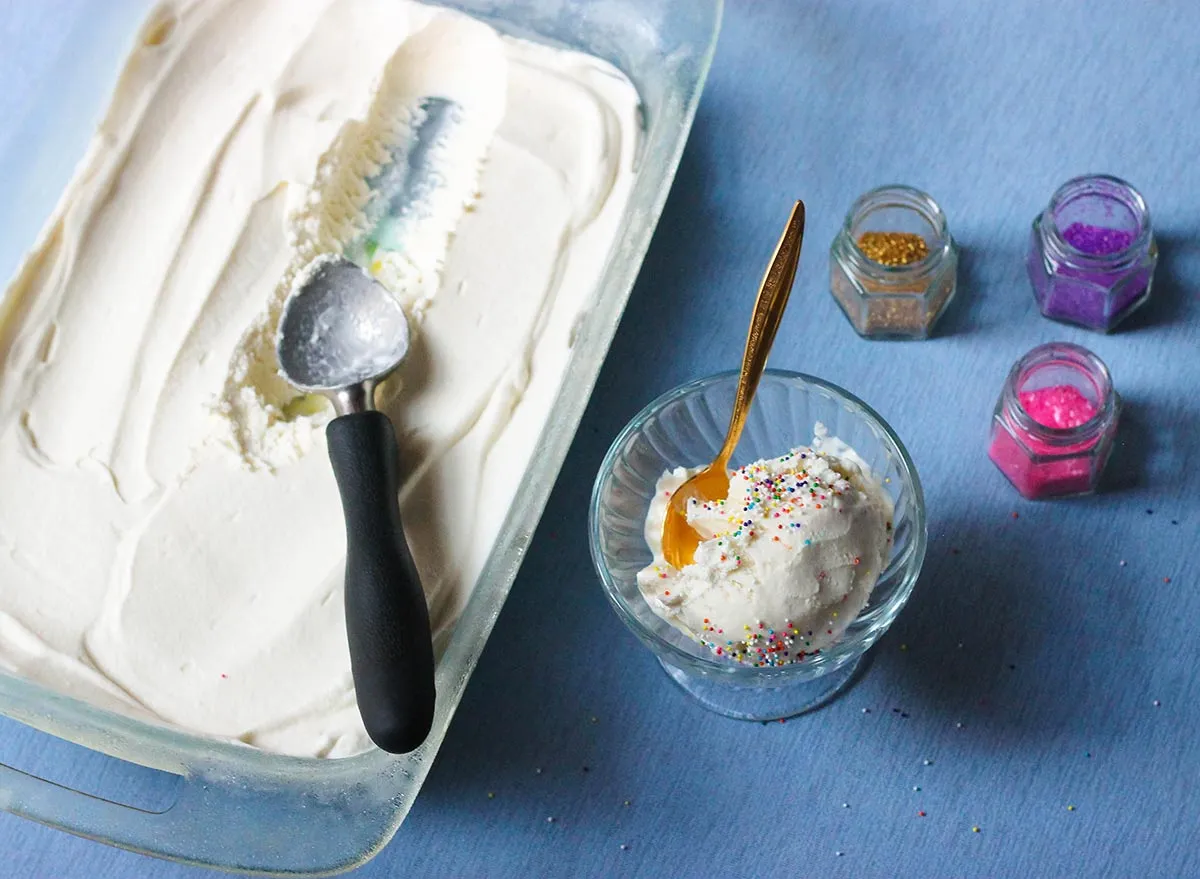
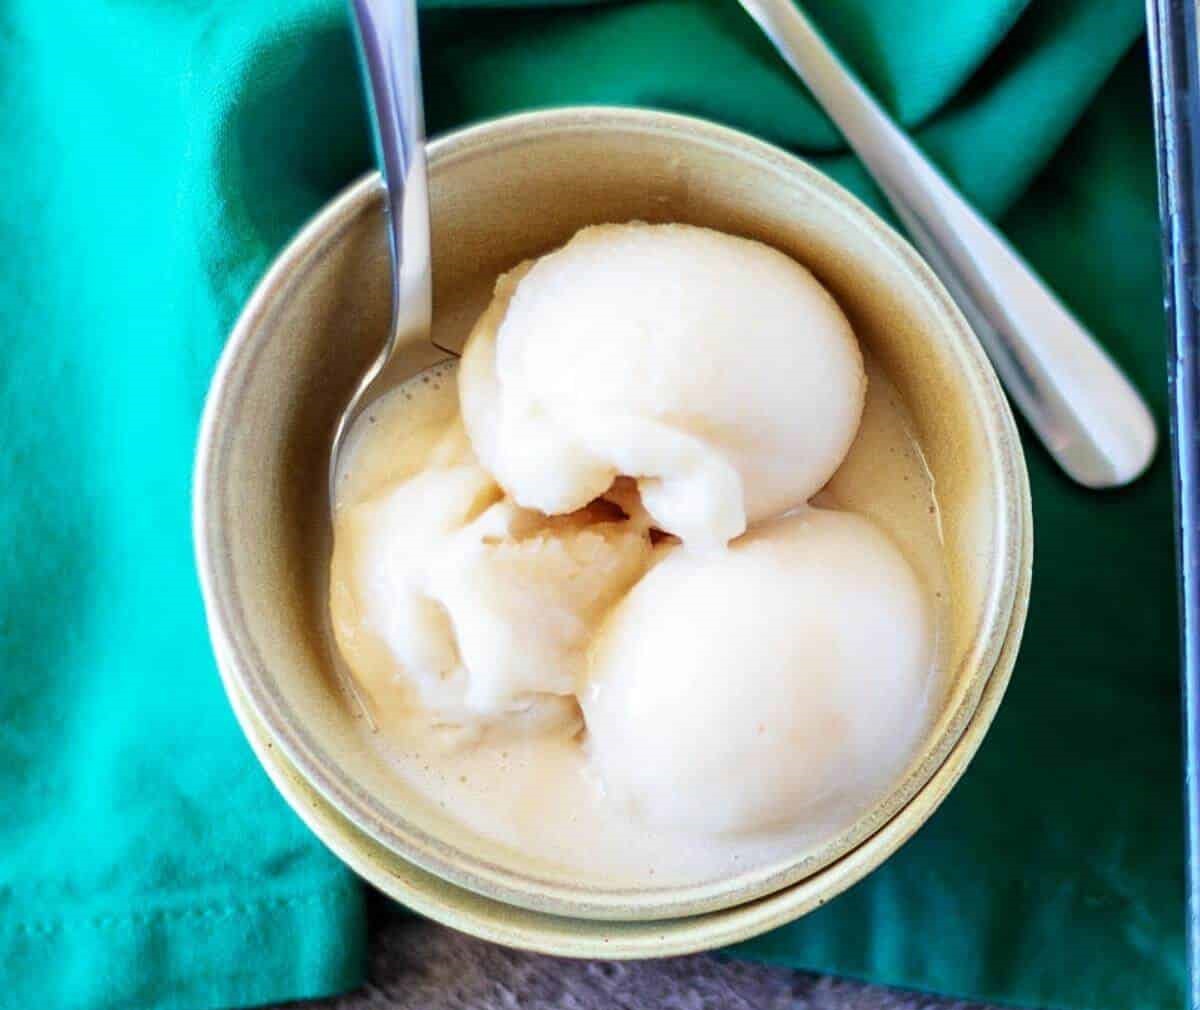
Step 7: Serving and Enjoying
Congratulations! You have successfully made homemade almond milk ice cream without an ice cream maker. Now, it’s time to savor and enjoy the fruits of your labor.
To serve the ice cream, remove the container from the freezer and let it sit at room temperature for a few minutes to soften slightly. This will make it easier to scoop. Alternatively, you can use a warm ice cream scoop to effortlessly glide through the frozen dessert.
Gently scoop the almond milk ice cream into bowls or cones, creating perfectly portioned treats. If you like, you can garnish the ice cream with your favorite toppings such as crushed nuts, chocolate chips, or a drizzle of caramel sauce.
As you take your first bite, savor the creamy and refreshing sensation of the homemade almond milk ice cream. Notice how the flavors harmonize together, creating a delightful balance of sweetness and richness.
Whether you choose to enjoy the almond milk ice cream on its own or pair it with your favorite desserts like warm brownies or freshly baked cookies, delight in the satisfaction of creating a healthier and flavorful frozen treat in the comforts of your own kitchen.
Remember, homemade almond milk ice cream is best enjoyed immediately after being frozen. However, if you have leftovers, you can store them in the freezer for up to a few weeks. Just make sure to properly seal and cover the container to prevent any freezer burn.
Now that you have completed all the steps, it’s time to share your delicious creation with family and friends. Impress them with your homemade almond milk ice cream and let them experience the joy of a decadent and healthier frozen dessert.
Serving and enjoying the homemade almond milk ice cream is the ultimate reward for your hard work and creativity. Take your time to relish each spoonful and appreciate the satisfaction of making a scrumptious frozen treat from scratch.