Introduction
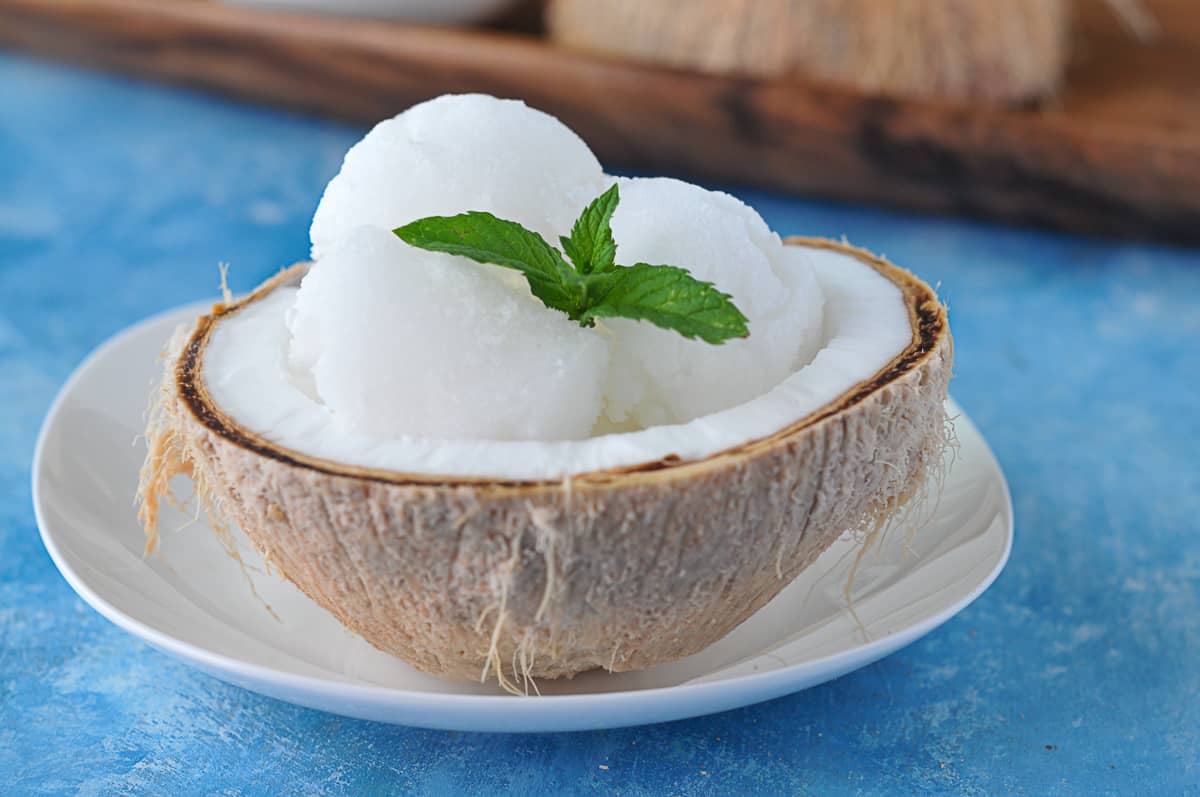
Indulging in a scoop of smooth and creamy homemade ice cream is a delightful experience, especially when you can create it using coconut milk without the need for an ice cream maker. Whether you follow a dairy-free diet, have lactose intolerance, or simply love the rich and tropical flavor of coconut, this homemade coconut milk ice cream recipe is perfect for satisfying your sweet tooth.
With just a few simple steps, you can whip up a batch of this luscious treat in your own kitchen. The great thing about making ice cream at home is that you have full control over the ingredients, allowing you to customize the flavors and add mix-ins of your choice. Plus, you can enjoy the satisfaction of knowing exactly what goes into your dessert.
Coconut milk serves as the base for this recipe, lending its unique creamy texture and subtly sweet taste. It’s a versatile and dairy-free alternative that pairs well with a variety of flavors, from classic vanilla and chocolate to more adventurous combinations like mango coconut or mint chocolate chip.
Although an ice cream maker is commonly used to churn and freeze the mixture, don’t worry if you don’t have one on hand. The technique we’ll be using involves chilling the mixture and then manually whipping it to incorporate air, resulting in a creamy and smooth texture.
Ready to embark on this homemade ice cream adventure? Gather your ingredients, unleash your creativity, and let’s dive into the process of making delicious coconut milk ice cream without an ice cream maker.
Ingredients
To make homemade ice cream using coconut milk, you’ll need the following ingredients:
- 2 cans of full-fat coconut milk: Look for unsweetened coconut milk in the canned goods section of your grocery store. Avoid using light coconut milk, as it may result in a less creamy texture.
- 1/2 cup of sugar: Adjust the amount based on your preference for sweetness. You can also substitute with honey, maple syrup, or other sweeteners.
- 1 teaspoon of vanilla extract: This gives a subtle vanilla flavor to the ice cream. Feel free to experiment with other extracts like almond or coconut if desired.
- Pinch of salt: Salt enhances the flavors and balances the sweetness in the ice cream.
- Optional flavors and mix-ins: Get creative with your ice cream by adding your favorite flavors and mix-ins. Some popular options include chocolate chips, crushed cookies, fresh fruit puree, or toasted nuts.
These ingredients are readily available and can be easily customized to suit your taste preferences. Feel free to adjust the quantities as needed, keeping in mind that the base ratio of coconut milk to sugar will affect the overall sweetness and creaminess of the ice cream. Now that you have your ingredients ready, let’s move on to the step-by-step process of making the coconut milk ice cream!
Step 1: Preparing the Coconut Milk Base
The first step in making homemade ice cream using coconut milk is to prepare the creamy base. Follow these simple instructions:
- Start by chilling the cans of coconut milk in the refrigerator for a few hours or overnight. This will help separate the thick coconut cream from the watery liquid.
- Once chilled, carefully open the cans of coconut milk. You’ll notice a layer of solidified coconut cream at the top. Scoop out the cream and place it in a mixing bowl.
- Using an electric mixer or whisk, beat the coconut cream until it becomes smooth and creamy. This process helps incorporate air into the mixture, resulting in a lighter and fluffier ice cream texture.
- Add the remaining liquid from the cans of coconut milk into the bowl with the whipped coconut cream. Whisk until well combined.
- Next, add the sugar, vanilla extract, and a pinch of salt to the coconut milk mixture. Stir well until the sugar is dissolved.
- At this stage, you have a delicious coconut milk base ready for flavoring and freezing. You can either stick with the classic vanilla flavor or move on to the next step to add your desired flavors and mix-ins.
The process of preparing the coconut milk base is simple and quick. Make sure to keep the mixture chilled until you’re ready to move on to the next steps. Now, let’s dive into the exciting part – adding flavors and mix-ins to create a personalized ice cream experience!
Step 2: Adding Flavors and Mix-ins
One of the joys of making homemade ice cream is the ability to customize the flavors and add mix-ins according to your taste preferences. Here’s how you can infuse your coconut milk ice cream with delicious flavors and mix-ins:
- If you prefer classic vanilla ice cream, you can simply add a teaspoon or two of vanilla extract to the coconut milk base. Stir well to ensure the vanilla is evenly distributed.
- For chocolate lovers, melt some dark or semi-sweet chocolate chips and drizzle it into the coconut milk base. Gently fold the mixture to create a marbled effect.
- If you’re craving a fruity twist, puree your favorite fresh fruits, like strawberries, mangoes, or peaches, and stir them into the coconut milk base. This adds a burst of natural flavor to your ice cream.
- Craving a nutty texture? Toast your favorite nuts, such as almonds, pecans, or walnuts, and crush them into small pieces. Mix them into the coconut milk base for a delightful crunch.
- Get adventurous by adding spices like cinnamon, cardamom, or nutmeg to the base. These spices infuse the ice cream with warm and comforting notes.
- Remember, the amount of flavorings and mix-ins you add will depend on your personal taste preferences. Start with small amounts and adjust according to your desired intensity.
With the addition of flavors and mix-ins, the coconut milk base transforms into a tantalizing ice cream mixture that reflects your unique flavor choices. Experiment with different combinations to create your signature homemade ice cream. Now, let’s move on to the next step, where we chill the mixture to prepare it for freezing!
Step 3: Chilling the Mixture
After adding flavors and mix-ins to your coconut milk base, it’s time to chill the mixture before freezing. Follow these steps for the optimum chilling process:
- Transfer the coconut milk mixture into a container with a lid or cover it with plastic wrap. This prevents any unwanted flavors or odors from seeping into the mixture.
- Place the container in the refrigerator and let it chill for at least 4 hours or overnight. This step allows the flavors to meld together and the mixture to thicken, resulting in a creamier ice cream texture.
- During the chilling process, it’s a good idea to stir the mixture occasionally, especially if you added mix-ins like fruits or nuts. This ensures even distribution and prevents them from sinking to the bottom.
- As the mixture chills, it’s natural for it to become slightly firm. Don’t worry, this is a good sign! It means the ice cream is on its way to creamy perfection.
Chilling the mixture is a crucial step in the homemade ice cream-making process. It allows the flavors to develop and the texture to become smooth and creamy. Once the mixture has chilled adequately, it’s time to move on to the next steps, where we transform it into delectable frozen goodness!
Step 4: Freezing the Ice Cream
With the coconut milk mixture chilled and flavors infused, it’s time to turn it into irresistible homemade ice cream. Follow these steps to freeze the mixture:
- Remove the chilled coconut milk mixture from the refrigerator.
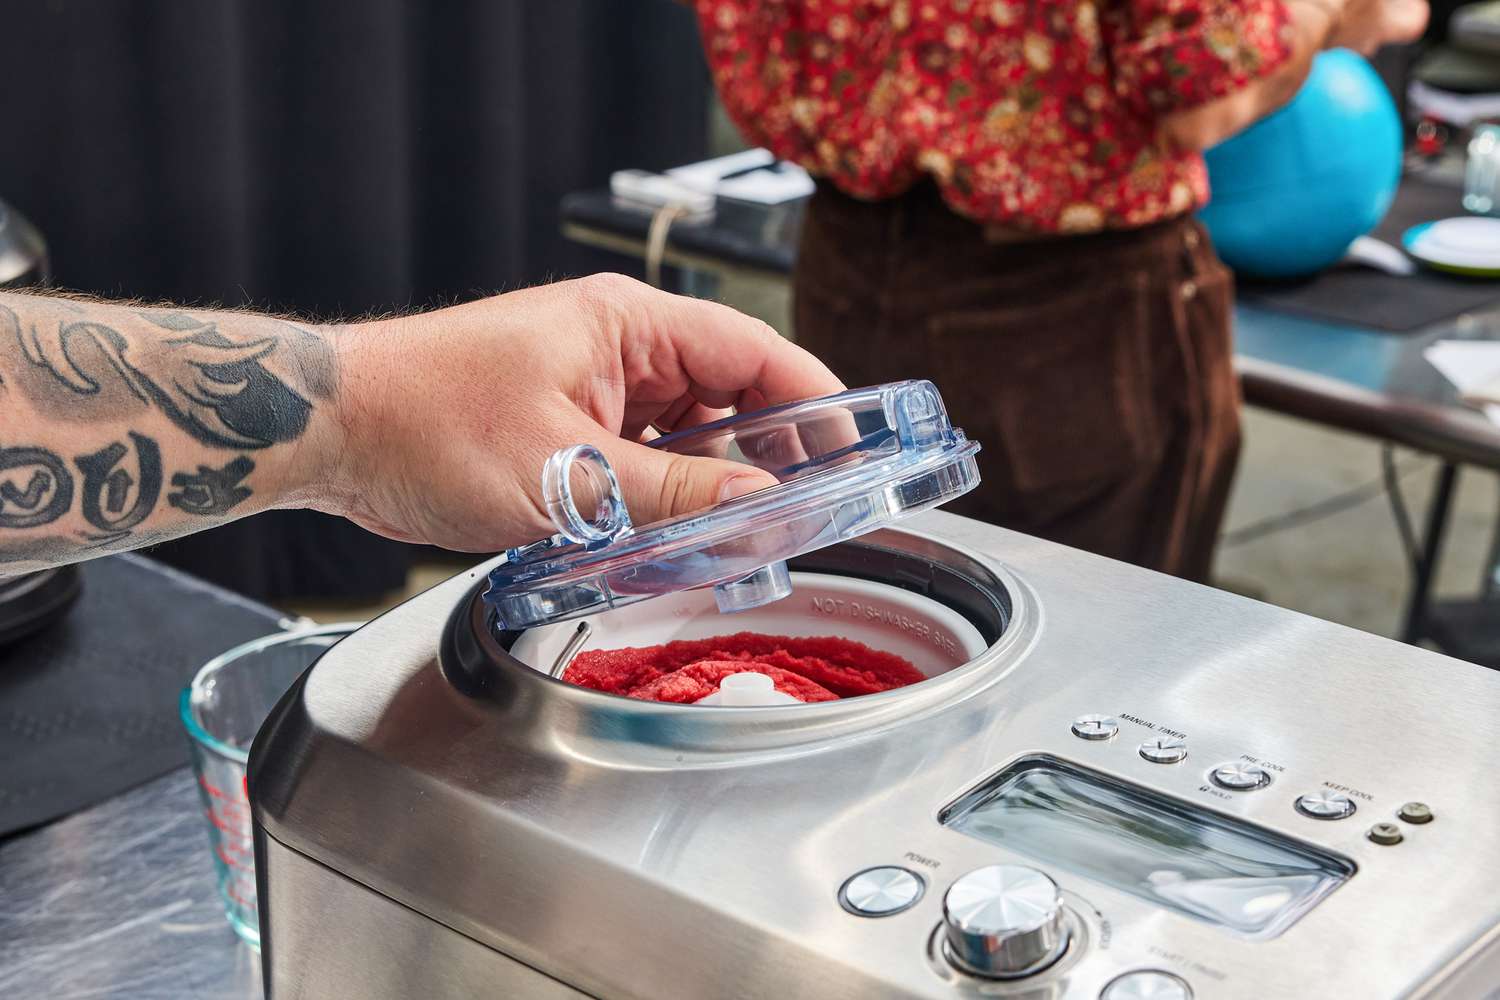
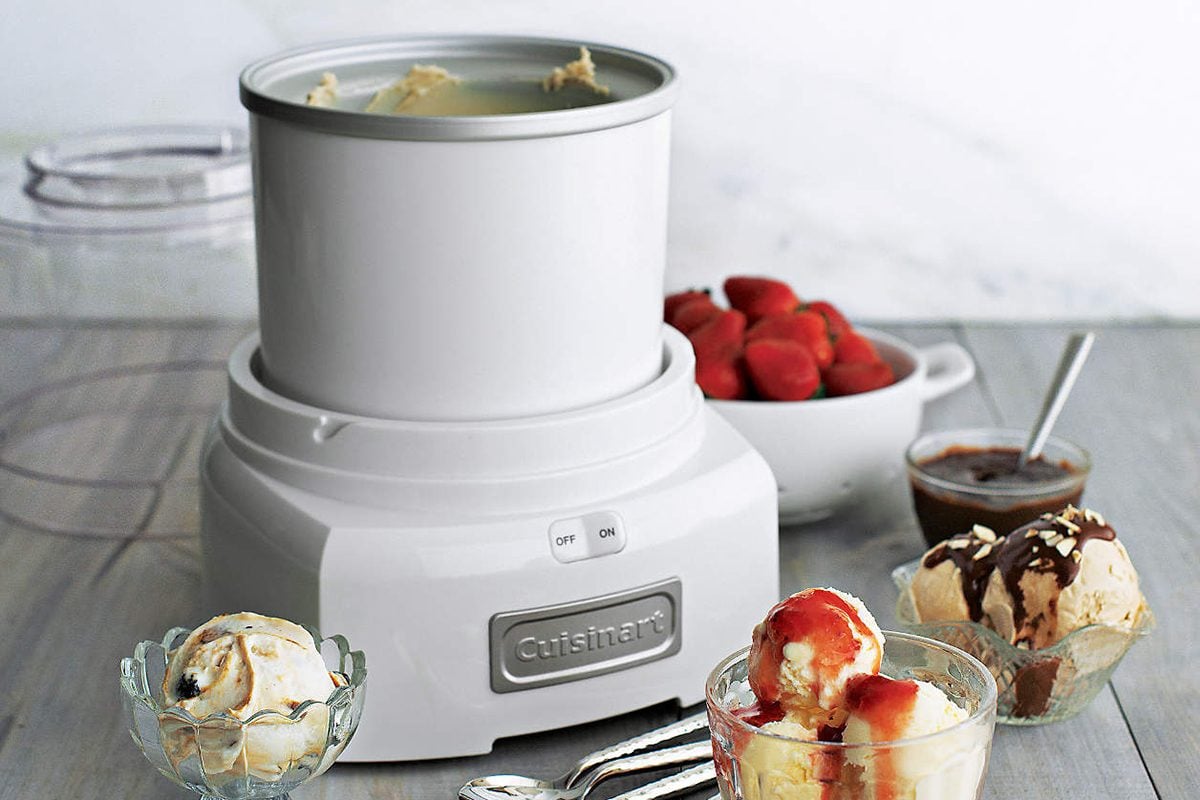
- If you have an ice cream maker, pour the mixture into the machine and follow the manufacturer’s instructions for churning and freezing. The machine will handle the freezing process, resulting in a smooth and creamy ice cream texture.
- If you don’t have an ice cream maker, don’t worry! You can still achieve excellent results by using a manual method.
- Pour the chilled coconut milk mixture into a shallow, freezer-safe container.
- Place the container in the freezer and let it freeze for 1-2 hours, or until the mixture is partially frozen around the edges.
- Once the edges are frozen, remove the container from the freezer and vigorously stir the partially frozen mixture with a spoon or fork. Mixing breaks up any ice crystals, resulting in a smoother texture. Pay extra attention to the edges, as they tend to freeze faster.
- Return the container to the freezer and repeat the stirring process every 30 minutes for the next 2-3 hours. This step is crucial for achieving a creamy and smooth consistency.
By manually stirring the ice cream mixture at regular intervals, you’re mimicking the churning process of an ice cream maker. This method incorporates air into the mixture, creating a lighter and more indulgent dessert. After a few hours of freezing and stirring, your homemade coconut milk ice cream will be ready to enjoy!
Step 5: Whipping the Ice Cream
Now that your coconut milk ice cream has been partially frozen and stirred, it’s time to give it a final touch to achieve that lusciously creamy texture. Follow these steps to whip the ice cream:
- Remove the partially frozen mixture from the freezer and transfer it to a mixing bowl.
- Using an electric mixer or whisk, beat the mixture on medium speed for about 2 minutes. This will help break up any remaining ice crystals and incorporate air into the ice cream, resulting in a lighter and fluffier texture.
- As you whip the ice cream, you’ll notice it becoming smoother and more velvety in consistency.
- Continue whipping until the ice cream reaches your desired consistency. The longer you whip, the fluffier the ice cream will become.
- At this stage, your homemade coconut milk ice cream is ready to be enjoyed!
Whipping the partially frozen ice cream mixture is a crucial step that adds that extra creaminess and lightness to the final product. It incorporates air into the ice cream and creates a smooth, melt-in-your-mouth texture. Now that your ice cream is perfectly whipped, it’s time to move on to the next step to ensure a firmer texture.
Step 6: Re-freezing for Firmer Texture
After whipping the ice cream to achieve a creamy consistency, it’s time to re-freeze the mixture to obtain a firmer texture. Follow these steps:
- Transfer the whipped ice cream back into the freezer-safe container.
- Smooth the surface of the ice cream using a spatula or the back of a spoon.
- Cover the container with a lid or plastic wrap to prevent any ice crystals from forming on the surface.
- Place the container back in the freezer and let it freeze for at least 4 hours, or until the ice cream is firm and scoopable.
- During the re-freezing process, it’s important to keep the ice cream undisturbed to allow it to set properly.
- Resist the temptation to repeatedly open the freezer and check on the progress, as this can lead to temperature fluctuations that may affect the texture of the ice cream.
Re-freezing the whipped ice cream allows it to solidify and develop a firmer texture. The longer you let it freeze, the denser and more scoopable the ice cream will become. Once the ice cream has reached your desired firmness, it’s time to move on to the final step – serving and enjoying your homemade coconut milk ice cream!
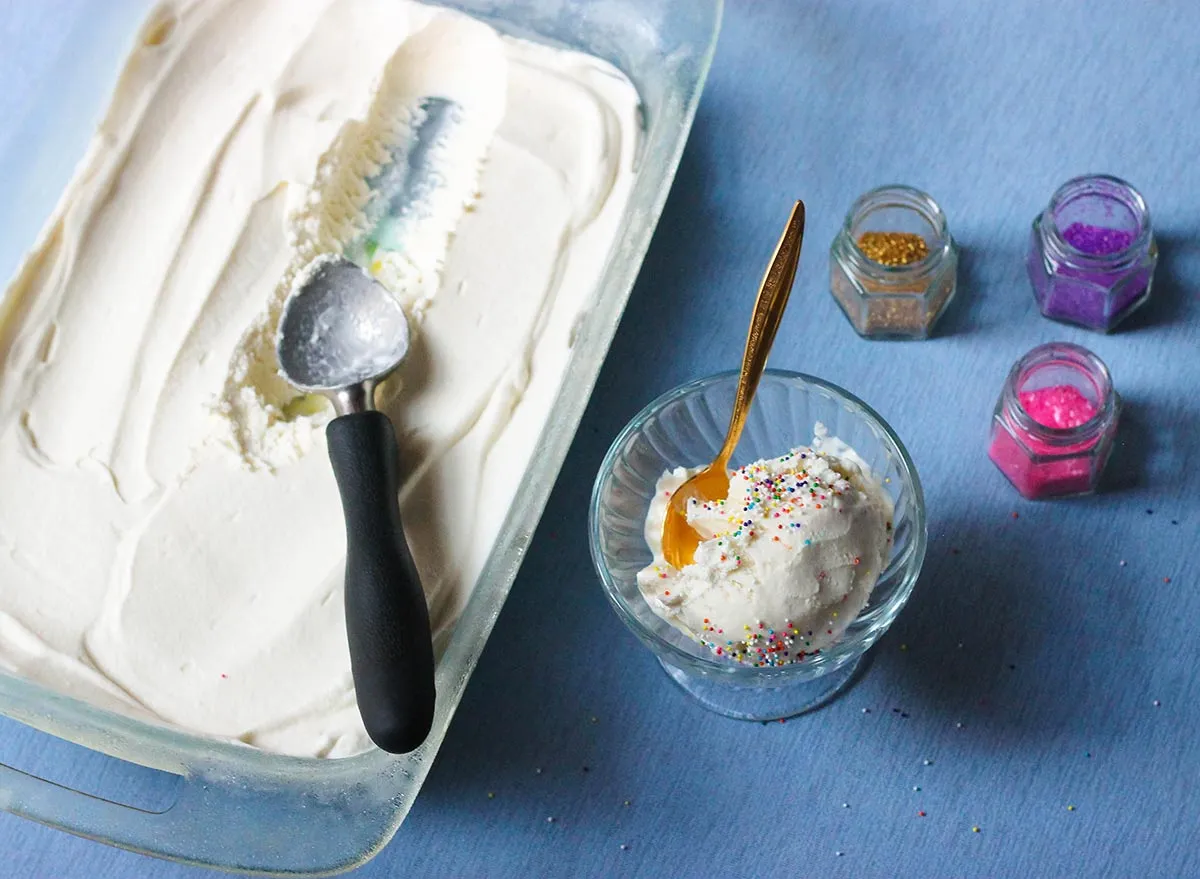
Step 7: Serving and Enjoying
After patiently waiting for the re-frozen ice cream to firm up, it’s time to scoop and savor the fruits of your labor. Here’s how to serve and enjoy your homemade coconut milk ice cream:
- Remove the container of frozen ice cream from the freezer and let it sit at room temperature for a couple of minutes. This will slightly soften the ice cream, making it easier to scoop.
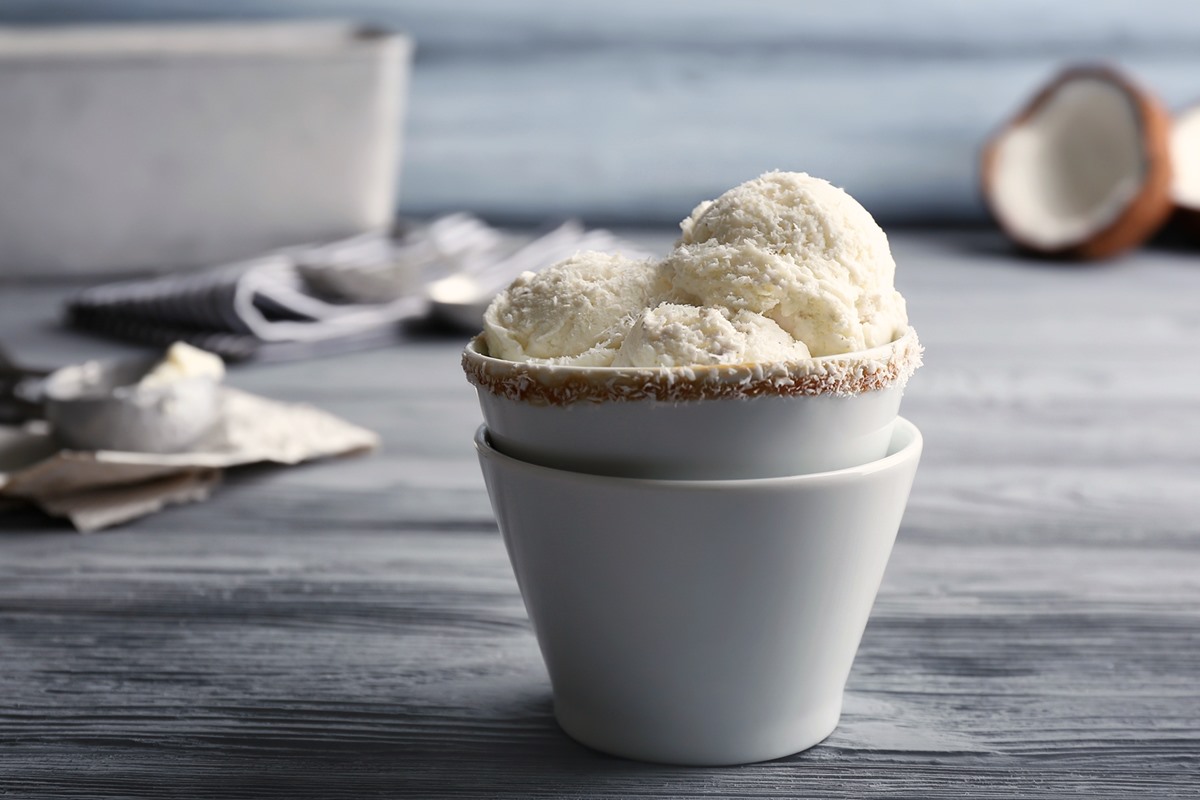
- Using an ice cream scoop or a spoon, portion out creamy dollops of coconut milk ice cream into serving bowls or cones.
- If desired, garnish your ice cream with additional toppings like chocolate sauce, caramel drizzle, fresh fruit slices, or a sprinkle of crushed nuts.
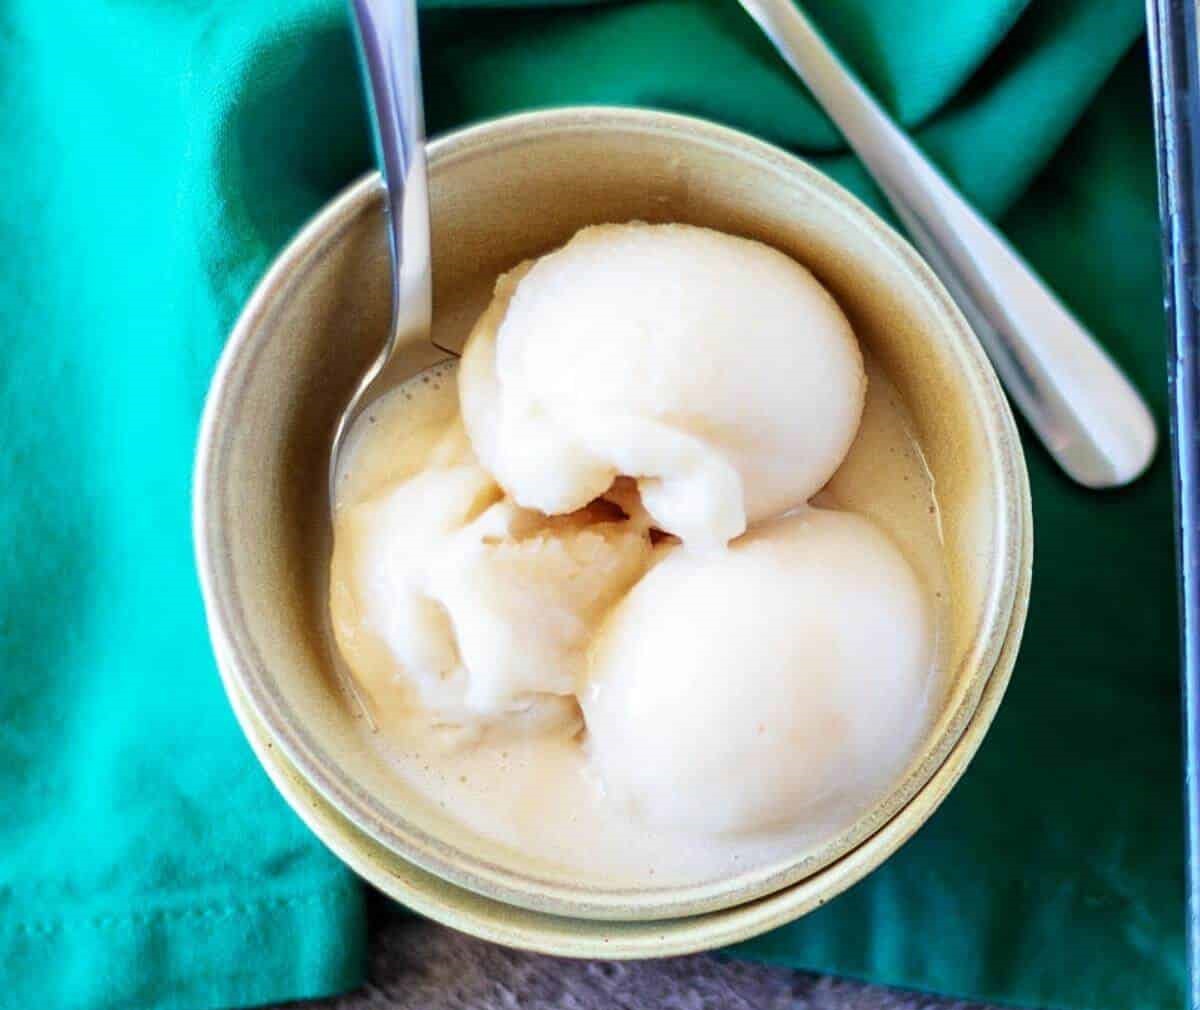
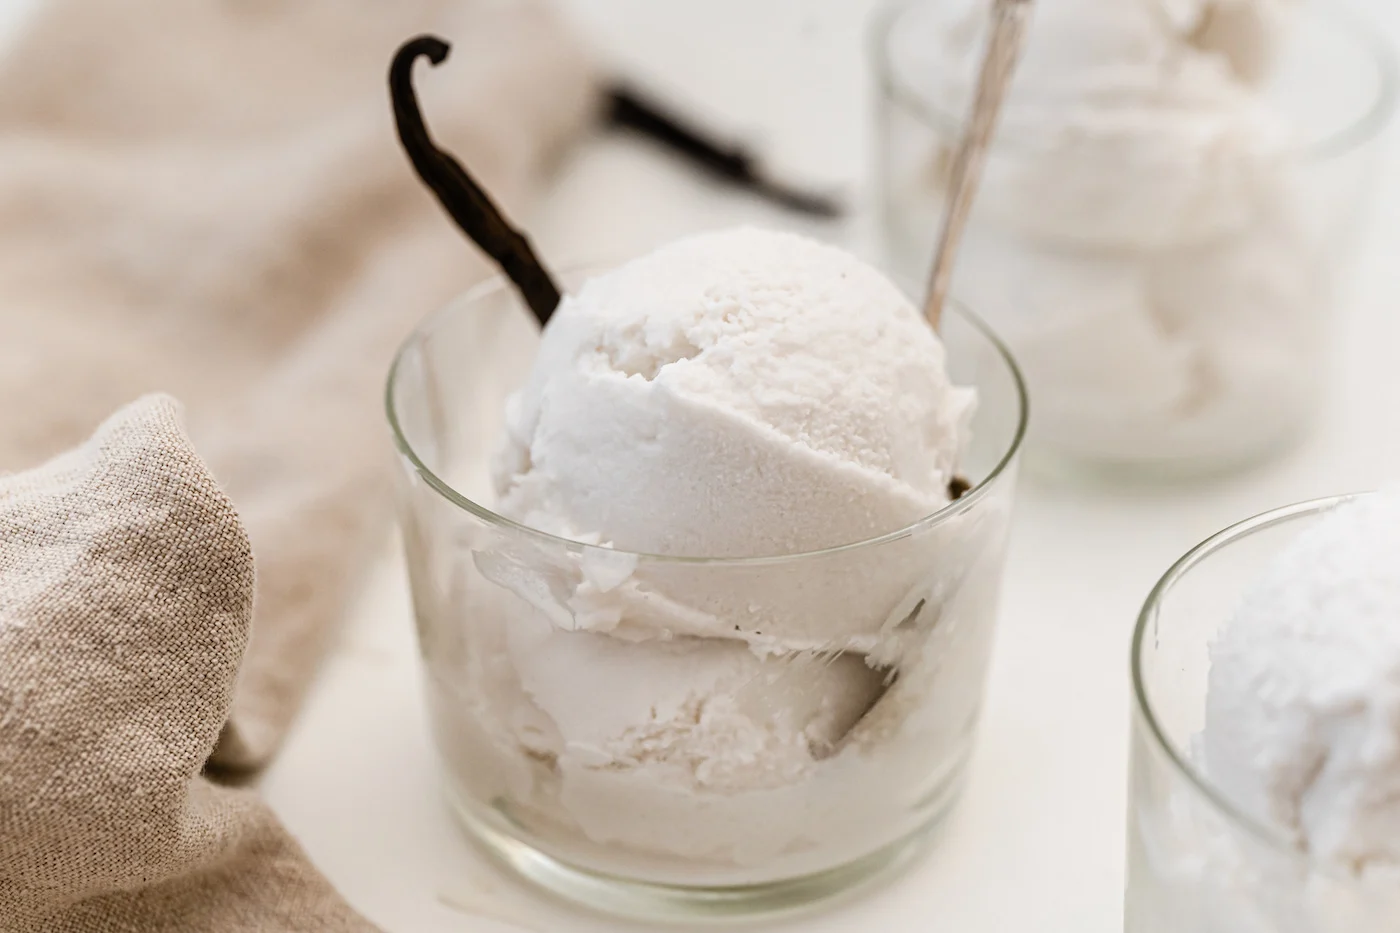
- Get ready to indulge! Grab a spoon and take your first creamy bite of homemade coconut milk ice cream.
- Savor the rich and tropical flavors as they dance on your taste buds. Notice the creamy, melt-in-your-mouth texture that is the result of your careful handcrafted process.
- Feel free to share your creation with friends and family, and relish the compliments that will undoubtedly come your way.
Whether enjoyed on a hot summer day or as a comforting treat any time of the year, your homemade coconut milk ice cream is sure to impress. Experiment with different flavors, mix-ins, and toppings to create endless variations of this delectable frozen dessert.
Now that you know the step-by-step process, grab your favorite ingredients, let your creativity flow, and indulge in the pure joy of making and savoring your very own homemade coconut milk ice cream!