Introduction
Welcome to the delightful world of homemade coconut ice cream! Whether you’re a fan of its creamy texture or its exquisite tropical flavor, making your own coconut ice cream is a fantastic way to indulge in a frozen treat that perfectly satisfies your sweet cravings. With the help of an ice cream maker, you can easily whip up a batch of creamy, luscious coconut ice cream right in the comfort of your own kitchen.
Coconut ice cream, with its smooth and velvety consistency, is a refreshing and satisfying dessert that is loved by people of all ages. The rich, tropical flavor of coconut is the perfect base for creating a variety of delicious ice cream flavors. From classic coconut to exotic combinations like coconut mango or coconut lime, the possibilities are endless. With just a few simple ingredients and the right equipment, you’ll be ready to create your very own homemade coconut ice cream.
In this article, we’ll guide you through the step-by-step process of making coconut ice cream using an ice cream maker. We’ll provide you with a list of ingredients and equipment needed, and walk you through each stage of the process, from preparing the coconut milk mixture to freezing the ice cream. We’ll also share some tips and tricks to help you customize your ice cream and add your favorite mix-ins.
So, whether you’re looking to beat the summer heat or simply indulge in a creamy dessert, get ready to embark on a delightful ice cream-making adventure. Let’s dive in and learn how to make coconut ice cream that will rival any store-bought version. Get ready to impress your friends and family with your delicious homemade creations!
Ingredients needed
To make your homemade coconut ice cream, you’ll need the following ingredients:
- 2 cans (400ml) of full-fat coconut milk
- 1 cup of granulated sugar
- 1 teaspoon of pure vanilla extract
- Pinch of salt
These simple ingredients are easily accessible and will result in a creamy and flavorful coconut ice cream. Make sure to use full-fat coconut milk for the best results, as it provides a rich and smooth texture to the ice cream.
The sugar adds sweetness to the ice cream and balances out the natural flavors of the coconut. You can adjust the amount of sugar according to your preference, but keep in mind that too little sugar may cause the ice cream to freeze too hard.
The vanilla extract enhances the overall flavor of the ice cream, giving it a delightful aroma and taste. Additionally, a pinch of salt helps to enhance the sweetness and balance the flavors, adding a subtle depth to the ice cream.
Now that you have gathered the necessary ingredients, it’s time to move on to the next step: preparing your coconut milk mixture. So let’s get started on creating the base for your delicious homemade coconut ice cream!
Equipment needed
To successfully make homemade coconut ice cream, you’ll need the following equipment:
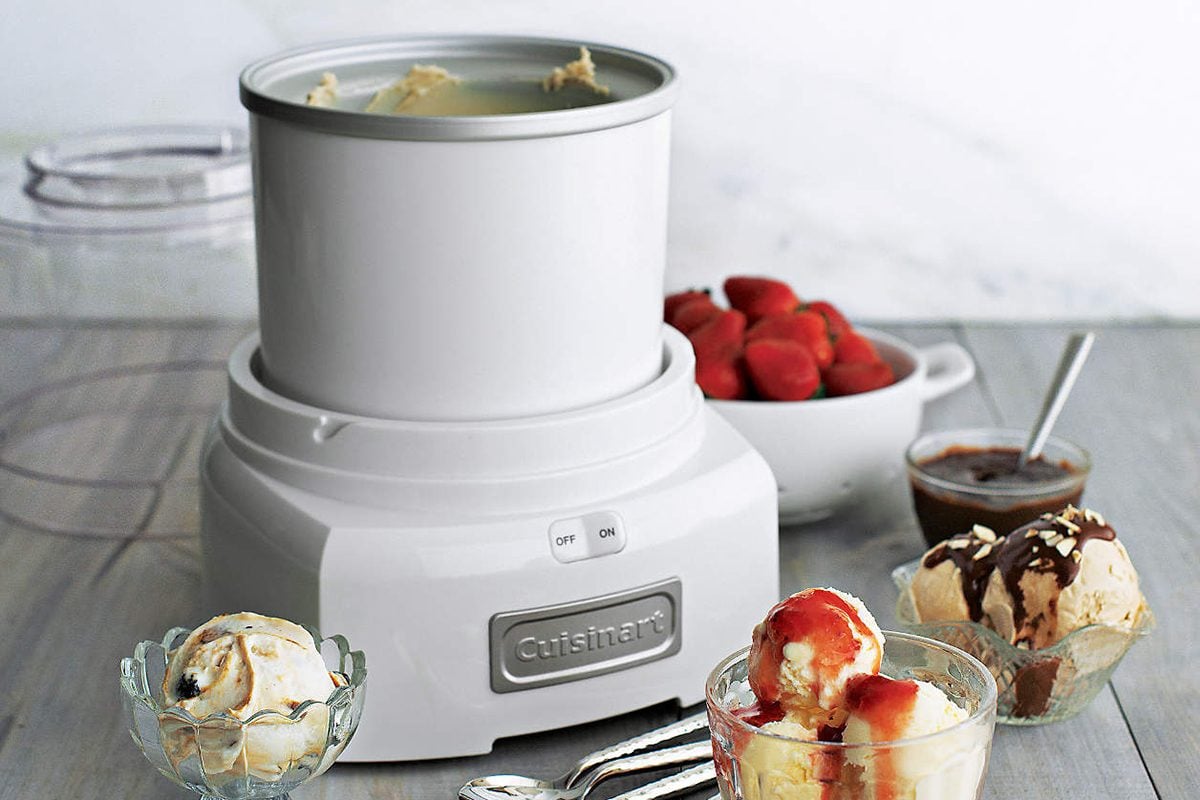
- Ice cream maker: This is the key tool for making ice cream at home. There are various types available, including electric and manual models. Choose one that suits your preferences and budget. Make sure your ice cream maker has a freezer bowl that needs to be pre-frozen before use.
- Bowl or container: You’ll need a bowl or container to mix and chill your coconut milk mixture before transferring it to the ice cream maker. Choose a container that is large enough to hold the mixture and has a tight-fitting lid to prevent any flavors from absorbing into the ice cream.
- Mixing utensils: You’ll need a whisk or spatula to mix the coconut milk, sugar, vanilla extract, and salt together. Silicone or stainless steel utensils work well for this purpose.
- Measuring cups and spoons: Accurate measurements are important for achieving the perfect balance of flavors in your ice cream. You’ll need measuring cups and spoons to measure the ingredients precisely.
- Ice cream scoop: A good quality ice cream scoop will help you serve perfect scoops of coconut ice cream. Look for one with a sturdy handle and a sharp edge to cut through the frozen dessert smoothly.
Having these essential tools on hand will make the ice cream-making process more convenient and enjoyable. It’s worth investing in a good ice cream maker, as it will allow you to create an array of homemade frozen treats beyond just coconut ice cream.
With the ingredients and equipment ready, it’s time to move on to the step-by-step process of making your homemade coconut ice cream. So let’s dive into the delicious process of creating smooth and creamy coconut ice cream!
Step 1: Preparing the coconut milk mixture
The first step in making homemade coconut ice cream is to prepare the coconut milk mixture. Here’s how to do it:
- Open the cans of full-fat coconut milk and give them a good stir. This will ensure that the coconut cream and liquid are well combined.
- In a mixing bowl, combine the coconut milk, granulated sugar, pure vanilla extract, and a pinch of salt. Whisk the mixture together until the sugar has dissolved completely, and the ingredients are well incorporated.
- Taste the mixture and adjust the sweetness if needed, by adding more sugar to your liking. Remember that the freezing process can dull the sweetness slightly, so it’s better to have the mixture slightly sweeter than you prefer.
- Once the mixture is well mixed and sweetened to your liking, cover the bowl with a lid or plastic wrap. Place it in the refrigerator and let it chill for at least 2-4 hours, or overnight. Chilling the mixture will not only ensure that the flavors meld together but will also help it freeze properly in the ice cream maker.
Preparing the coconut milk mixture is an essential step in creating a smooth and creamy ice cream base. The chilling process allows the flavors to develop and ensures that the mixture is cold enough before it goes into the ice cream maker.
Now that you have your coconut milk mixture ready, it’s time to move on to the next step: setting up the ice cream maker. Get ready to transform the chilled mixture into a delectable frozen treat!
Step 2: Chilling the mixture
After preparing the coconut milk mixture, the next step in making homemade coconut ice cream is to chill the mixture. This step is crucial as it helps the ice cream freeze properly and develop its desired texture. Here’s how to do it:
- Transfer the prepared coconut milk mixture into a bowl or container with a lid.
- Place the bowl or container in the refrigerator and let it chill for at least 2-4 hours. For best results, it is recommended to chill the mixture overnight.
- Chilling the mixture allows the flavors to meld together and ensures that it is cold enough when it goes into the ice cream maker. This is important because a cold mixture freezes faster and results in a creamier texture.
- If you’re short on time and need to speed up the chilling process, you can place the mixture in the freezer for about 30 minutes to an hour. However, make sure to keep a close eye on it and avoid over-freezing.
During the chilling process, the sugar will dissolve further and the flavors will intensify. It is important to note that a well-chilled mixture will freeze faster and produce a smoother, creamier final texture.
With the mixture properly chilled, it’s time to move on to the next step: setting up the ice cream maker. Get ready to embark on the exciting stage of transforming the chilled mixture into delightful coconut ice cream!
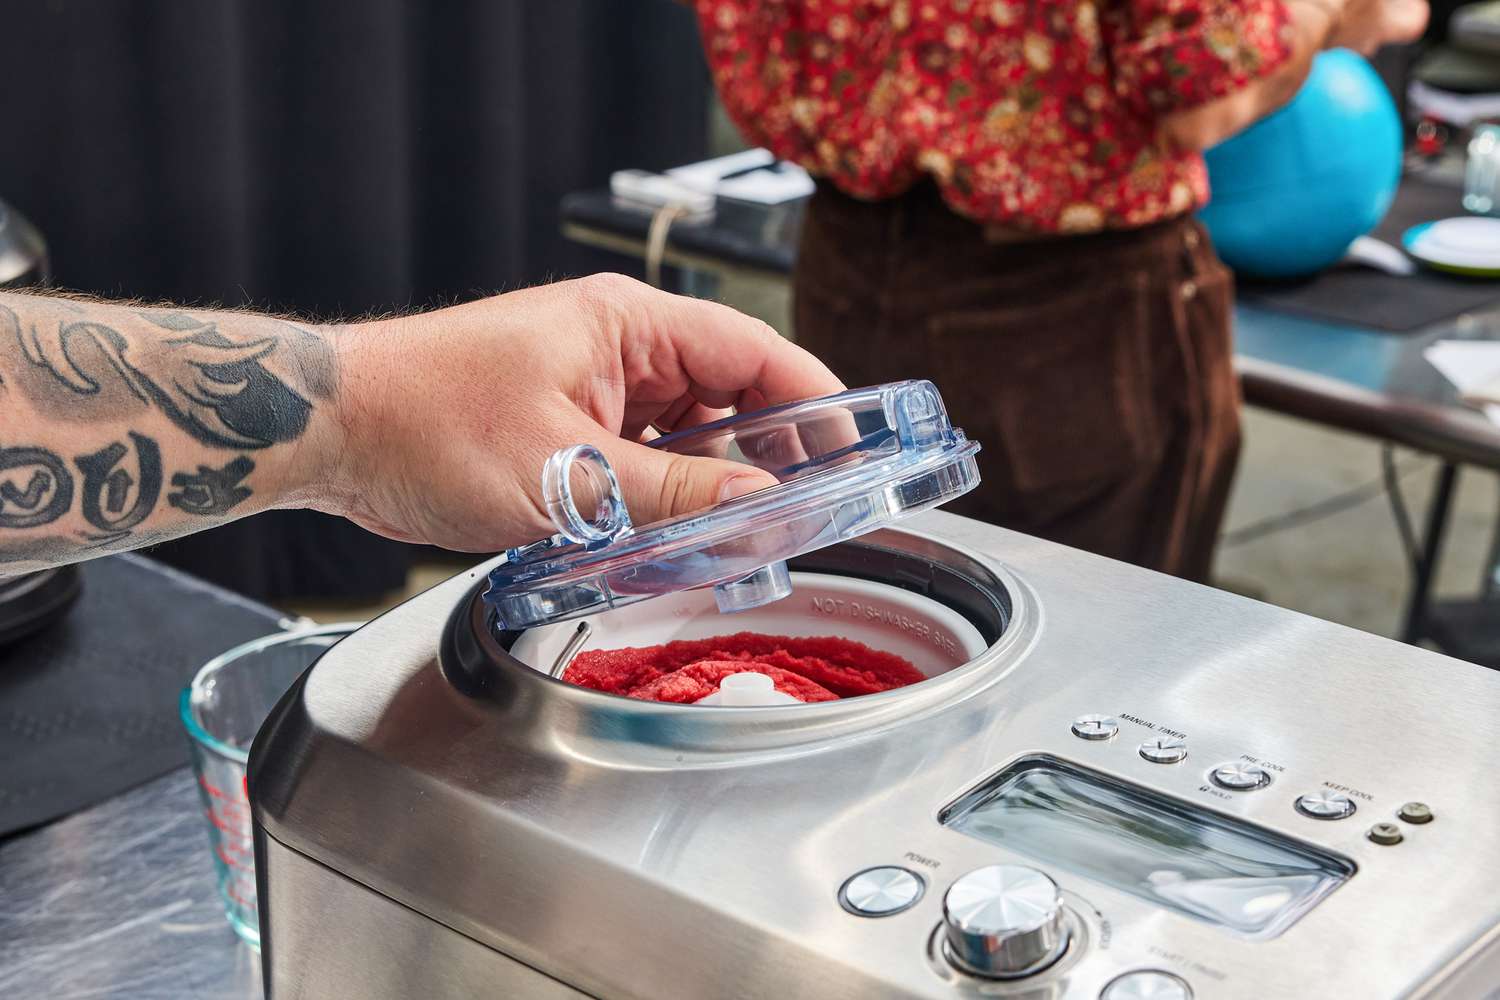
Step 3: Setting up the ice cream maker
Now that your coconut milk mixture is properly chilled, it’s time to set up your ice cream maker. Follow these steps to ensure your ice cream maker is ready to churn:
- Remove the freezer bowl from your ice cream maker. It is important to note that different ice cream makers have different freezing times, so make sure to check the instructions specific to your machine.
- Place the freezer bowl on a flat surface and ensure it is completely frozen. Depending on your ice cream maker, this can take anywhere from 12 to 24 hours. Insufficient freezing time may result in a longer churning process or a softer ice cream texture.
- Once the freezer bowl is adequately frozen, assemble the ice cream maker according to the manufacturer’s instructions. This usually involves inserting the paddle or dasher into the freezer bowl and securing it in place.
- Before pouring in the chilled mixture, make sure to give it a quick stir to ensure the ingredients are evenly distributed. This will help in obtaining a consistent flavor and texture throughout the ice cream.
Setting up the ice cream maker is a crucial step in the ice cream-making process. It ensures that the machine is ready to churn the mixture and freeze it into a creamy, frozen delight. By properly following the instructions specific to your ice cream maker, you can create the perfect environment for your homemade coconut ice cream to come to life.
With your ice cream maker set up and the chilled mixture ready to go, you’re now prepared to move on to the next step: pouring the mixture into the ice cream maker. Get ready to witness the magical transformation of your coconut milk mixture into delectable coconut ice cream!
Step 4: Pouring the mixture into the ice cream maker
With your ice cream maker properly set up, it’s time to pour the chilled coconut milk mixture into the machine and kickstart the churning process. Follow these steps to seamlessly transfer the mixture into the ice cream maker:
- Retrieve the chilled coconut milk mixture from the refrigerator.
- Give it a quick stir to ensure that all the ingredients are well combined.
- Take the freezer bowl out of the freezer and place it securely onto the ice cream maker base.
- Switch on the ice cream maker and immediately pour the chilled mixture into the machine through the opening in the lid or on the side.
- Be mindful not to fill the freezer bowl to the brim. Leave some room for expansion as the ice cream churns and freezes.
As you pour the mixture into the ice cream maker, you’ll notice the paddle or dasher will begin to rotate and churn the mixture. This motion incorporates air into the mixture and prevents the formation of large ice crystals, resulting in a smoother and creamier ice cream texture.
It’s important to note that the churning time can vary depending on the ice cream maker and the ambient temperature of the room. Typically, it takes around 20-30 minutes for the mixture to reach a thick, soft-serve consistency. However, make sure to follow the instructions specific to your machine for the most accurate timing.
Now that the mixture is pouring into the ice cream maker, be prepared to witness the exciting transformation of your coconut milk mixture into a delightful frozen treat! In the next step, we’ll explore the churning process and how to achieve the perfect consistency for your coconut ice cream.
Step 5: Churning the ice cream
With the mixture poured into the ice cream maker, it’s time to let the machine work its magic and churn your coconut ice cream to perfection. Follow these steps to ensure a successful churning process:
- Turn on the ice cream maker and let it run according to the manufacturer’s instructions. The paddle or dasher will continuously rotate, incorporating air into the mixture and preventing it from freezing solid.
- As the ice cream churns, it will gradually thicken and increase in volume. Be patient during this process, as churning times can vary depending on the brand and model of your ice cream maker.
- While the machine is running, resist the temptation to open the lid or check on the progress too frequently. Opening the machine can introduce warm air, which can slow down the freezing process and result in a softer texture.
- Monitor the churning process by checking the consistency of the ice cream. It should thicken and resemble a soft-serve consistency. At this point, it is up to personal preference whether you prefer a softer or firmer ice cream texture.
- Remember that the churned ice cream will still be relatively soft. If you prefer a firmer texture, you’ll need to transfer it to a container and freeze it for a few more hours to allow it to fully set.
Keep in mind that the churning process not only freezes the mixture but also incorporates air into it, resulting in a light and creamy texture. The length of the churning process can vary, so it’s essential to refer to the instructions provided with your ice cream maker for the most accurate timing.
Once the ice cream reaches the desired consistency, it’s time to move on to the next step: adding optional mix-ins to elevate the flavors of your coconut ice cream. But before we get to that, let’s learn how to transfer the churned ice cream into a container for freezing and further customization.
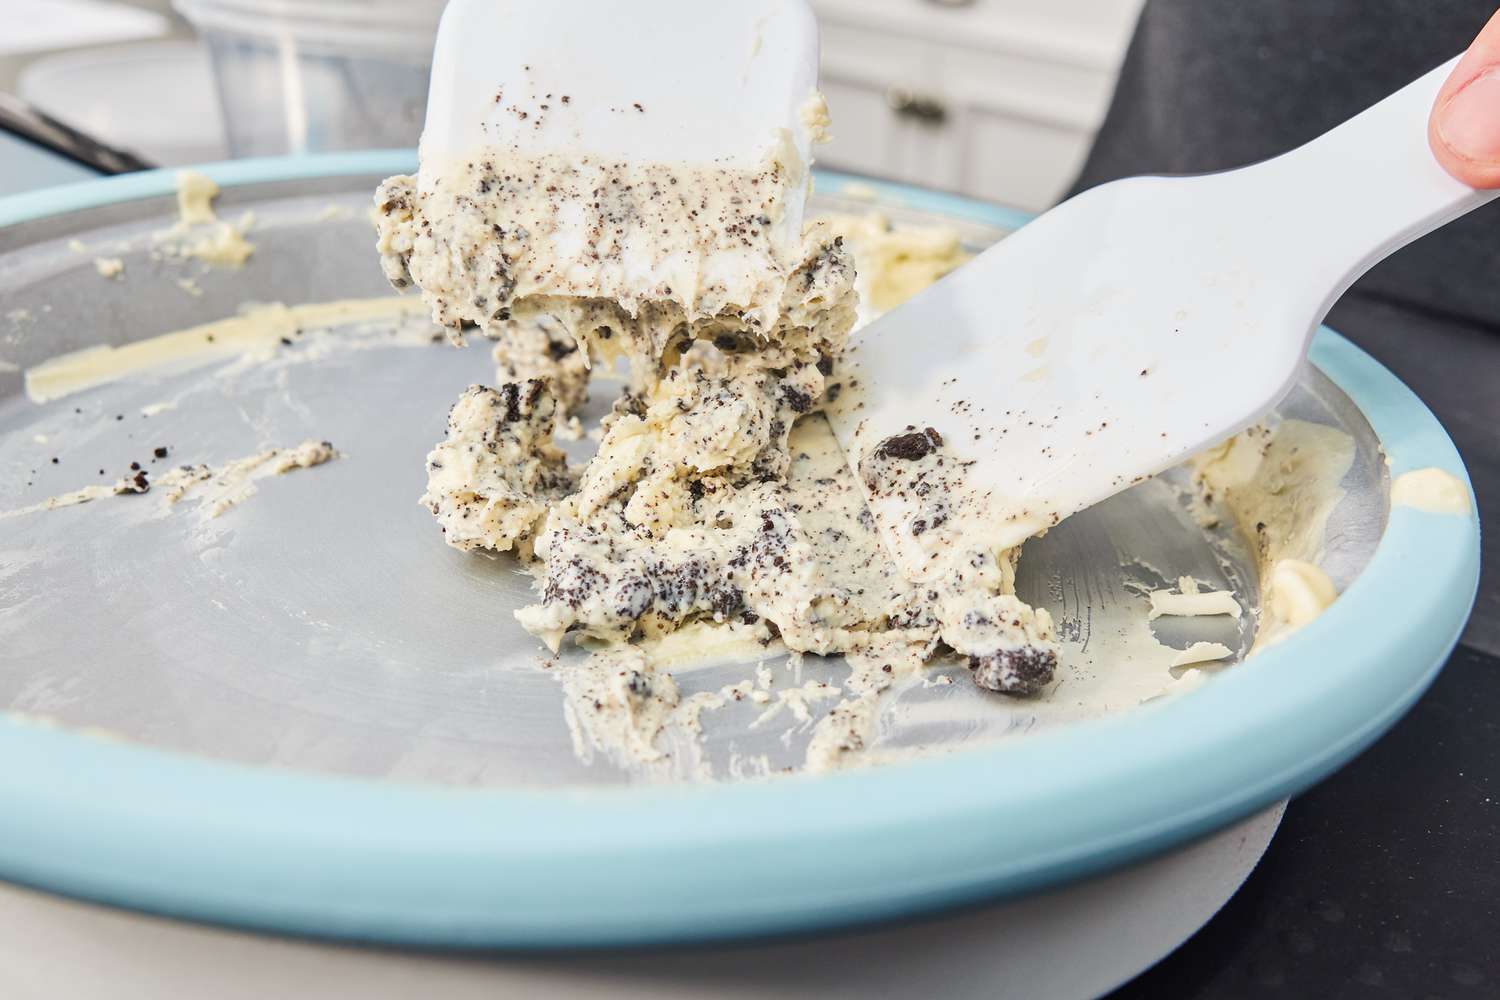
Step 6: Adding optional mix-ins
Now that you have achieved the desired consistency of your churned coconut ice cream, it’s time to take it to the next level by adding optional mix-ins. This step allows you to personalize your ice cream and create delightful flavor combinations. Here’s how you can do it:
- Pause the churning process in your ice cream maker and remove the paddle or dasher.
- Add your desired mix-ins to the partially churned ice cream. Popular mix-ins for coconut ice cream include chopped nuts, chocolate chips, shredded coconut, fruit chunks, or swirls of caramel or fudge sauce.
- Gently fold the mix-ins into the ice cream using a spatula or spoon. Ensure the mix-ins are evenly distributed throughout the ice cream.
- Once the mix-ins are incorporated, resume the churning process, allowing the ice cream maker to continue churning until the ice cream reaches the desired texture.
Adding mix-ins not only adds variety to the taste and texture of your coconut ice cream but also allows you to get creative and experiment with different flavor combinations. Don’t be afraid to try new ingredients or mix-ins that you enjoy.
Remember, while adding mix-ins can enhance the flavors, it’s important not to overload the ice cream with too many additions. Aim for balance and ensure that the mix-ins complement the coconut base rather than overpower it.
With the mix-ins beautifully swirled into the ice cream, it’s time to move on to the next step: transferring the ice cream to a container for freezing. Meticulously following the final steps will ensure that your homemade coconut ice cream is ready to be enjoyed at its best!
Step 7: Transferring the ice cream to a container
After your coconut ice cream has been churned to perfection with the desired mix-ins, it’s time to transfer it to a container for freezing. Follow these simple steps to ensure that your ice cream maintains its texture and flavors:
- Turn off the ice cream maker and remove the freezer bowl from the machine.
- Using a spatula or a large spoon, carefully scoop the churned ice cream from the machine into a suitable container. Choose a container with an airtight lid to prevent any air exposure and freezer burn.
- Level the ice cream surface with the back of a spoon or spatula to ensure an even thickness throughout the container.
- If desired, you can lightly press a piece of parchment paper or plastic wrap on top of the ice cream to create a protective barrier and prevent ice crystals from forming.
- Seal the container with the lid, ensuring it’s tightly closed to prevent any air leakage.
Transferring the ice cream to a container is a crucial step in the freezing process. It helps retain the texture and prevent any unwanted ice crystals from forming, resulting in a smooth and creamy final product.
Before placing the container in the freezer, make sure to label it with the date and flavor of the ice cream. This will help you keep track of the different batches of ice cream you have on hand.
Now that your ice cream is safely transferred to a container, it’s time for the final step: freezing the ice cream to achieve the perfect firmness. Let’s dive into the final instructions to get your homemade coconut ice cream ready for serving and enjoyment!
Step 8: Freezing the ice cream
Now that you have transferred your coconut ice cream to a container, it’s time to freeze it and allow it to set to the perfect firmness. Follow these steps to ensure your ice cream freezes properly:
- Place the sealed container of ice cream in the coldest part of your freezer. This is usually towards the back or bottom where the temperature remains more consistent.
- Allow the ice cream to freeze for a minimum of 4-6 hours, but preferably overnight. This will ensure that it has enough time to solidify and develop its well-rounded flavor.
- During the freezing process, it’s important not to constantly open the freezer door, as it can cause temperature fluctuations and affect the texture of the ice cream.
- Keep in mind that homemade ice cream may freeze harder than store-bought varieties due to the absence of stabilizers and emulsifiers. Letting the ice cream sit at room temperature for a few minutes before serving can help to soften it slightly for easy scooping.
Proper freezing is crucial to achieving the desired texture and consistency of your coconut ice cream. The longer you freeze it, the firmer it will become. However, be cautious not to freeze the ice cream for too long, as excessive freezing can lead to freezer burn and negatively impact the taste and texture.
The waiting time can be the most challenging part, as the anticipation for a delicious homemade treat builds, but the end result will be well worth it! Once the ice cream is fully frozen, it’s time to move on to the final step: serving and relishing in the delightful flavors of your homemade coconut ice cream.
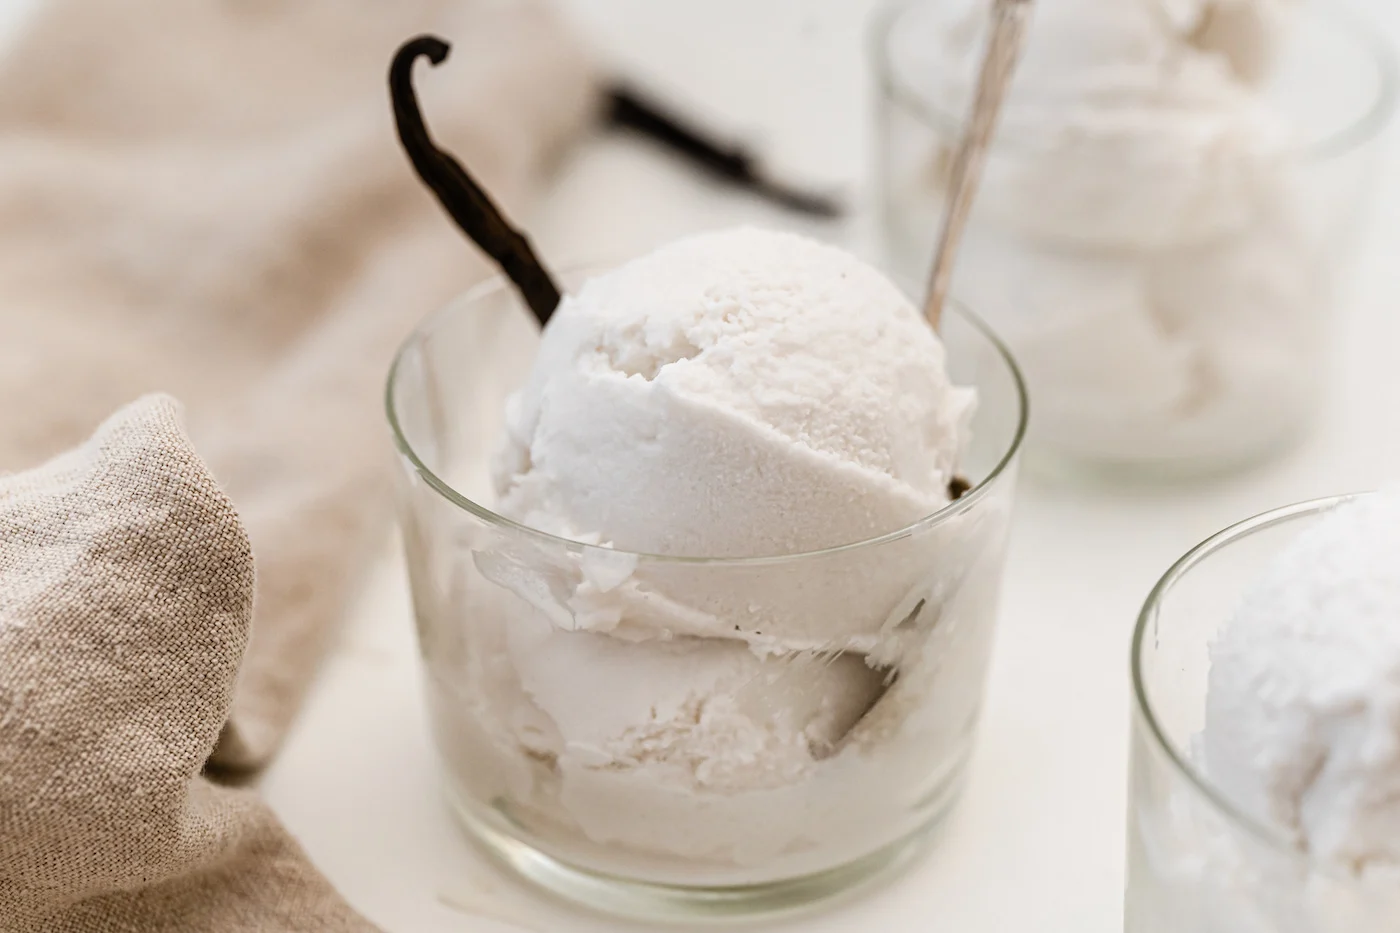
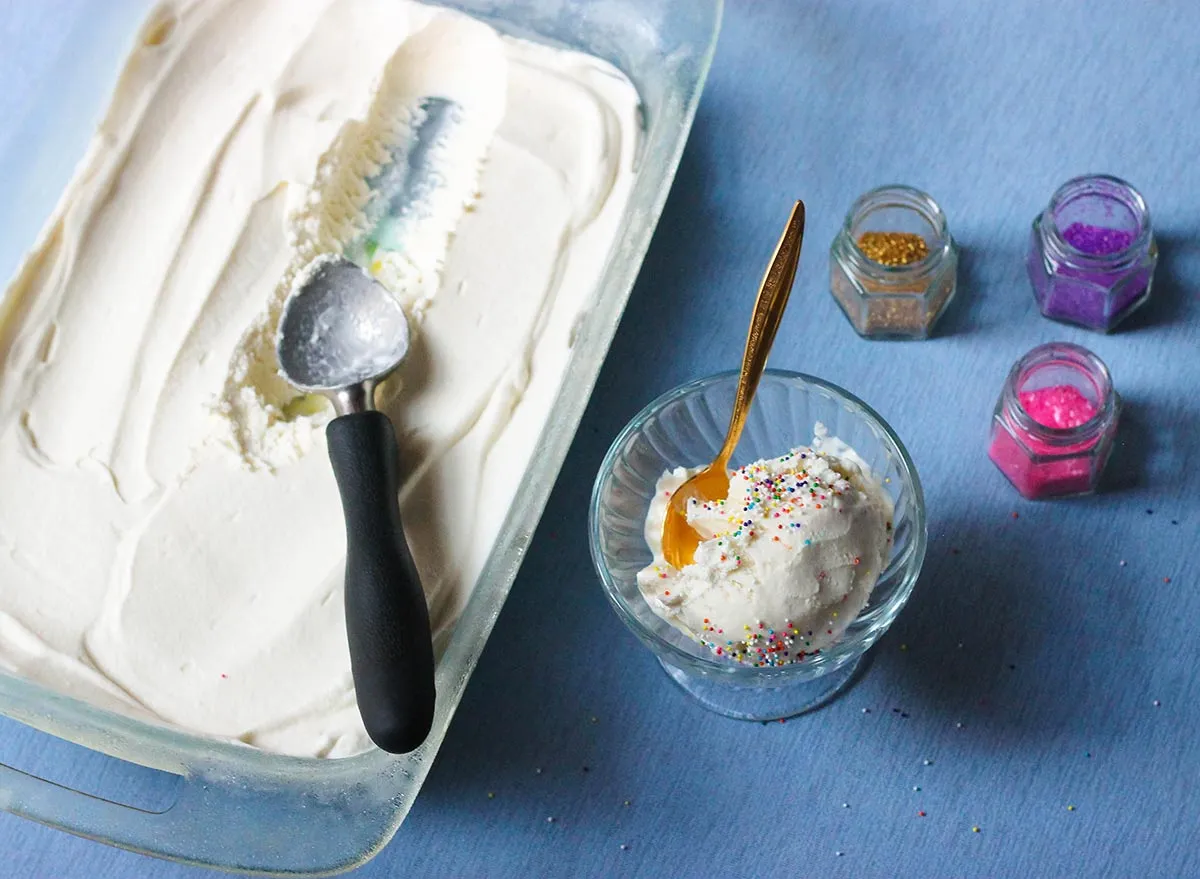
Step 9: Serving the coconut ice cream
Finally, it’s time to indulge in the fruits of your labor and savor a scoop of your homemade coconut ice cream. Follow these steps to serve your ice cream in a way that highlights its rich flavor and creamy texture:
- Remove the container of frozen coconut ice cream from the freezer and let it sit at room temperature for a few minutes to soften slightly. This will make it easier to scoop.
- Using an ice cream scoop, carefully scoop out desired portions of the coconut ice cream and place them into bowls, cones, or dessert dishes.
- Garnish your servings with extra toppings or a sprinkle of toasted coconut flakes for added texture and visual appeal.
- If you have any leftover ice cream, return it to the freezer immediately after serving to maintain its freshness and prevent freezer burn.
Coconut ice cream can be enjoyed on its own as a refreshing dessert or paired with other desserts like warm brownies, fresh fruits, or crispy waffle cones for a delightful ice cream sundae.
Remember, homemade ice cream tends to be creamier and denser than store-bought alternatives, so a little goes a long way. Indulge in the luscious flavors of your homemade coconut ice cream, and feel proud of your culinary skills for making your own frozen treat from scratch.
Now that you’ve learned the step-by-step process, don’t hesitate to experiment with different flavors and mix-ins to create your signature coconut ice cream that will surely impress friends and family.
Enjoy the sweet, tropical goodness of your homemade coconut ice cream, and revel in the joy of creating a delicious frozen dessert right in your own kitchen!
Conclusion
Congratulations on successfully making your own homemade coconut ice cream! By following the step-by-step process outlined in this guide, you’ve learned how to create a delightful frozen treat that is rich in flavor and creamy in texture.
Making coconut ice cream at home allows you to tailor the flavors to your preferences and experiment with different mix-ins and toppings. Whether you enjoy it as a standalone dessert or use it as a base for creating ice cream sundaes or milkshakes, the possibilities are endless.
Remember, the key to achieving the best results is to use quality ingredients and carefully follow each step, from preparing the coconut milk mixture to freezing the ice cream. Paying attention to details like chilling the mixture, properly setting up the ice cream maker, and adding mix-ins can greatly enhance the taste and texture of your homemade creation.
Creating your own coconut ice cream also allows you to have full control over the ingredients, making it a healthier alternative to many store-bought options. Plus, the satisfaction of enjoying a delicious treat that you made from scratch is truly unbeatable.
So, next time you’re craving a tropical and refreshing dessert, treat yourself to a batch of homemade coconut ice cream. Gather your ingredients, set up your ice cream maker, and follow the steps outlined in this guide. Before you know it, you’ll be enjoying a creamy and flavorful scoop of coconut bliss that will transport your taste buds to a tropical paradise.
Now, go ahead and share your homemade coconut ice cream with loved ones, impressing them with your culinary skills and the delectable flavors you’ve created. Enjoy every spoonful and embrace the joy of homemade desserts!