Introduction
Welcome to the wonderful world of homemade ice cream! Nothing beats the creamy, smooth texture and delectable flavors of homemade ice cream. With the Cuisinart Ice Cream Maker, you can easily create your favorite frozen treats right in the comfort of your own kitchen.
Whether you are a novice or a seasoned ice cream enthusiast, this article will guide you through the process of using the Cuisinart Ice Cream Maker to make delicious frozen desserts. From classic vanilla to indulgent mix-ins and creative flavor variations, the possibilities are endless.
Making your own ice cream not only allows you to customize flavors and add your favorite toppings, but it also ensures that you are using fresh, high-quality ingredients. Plus, it’s a fun and rewarding activity that you can enjoy with friends and family.
In this comprehensive guide, we will walk you through the entire process, from getting started with the Cuisinart Ice Cream Maker to troubleshooting common issues. We will also explore various recipes and techniques, including how to make non-dairy and vegan options.
So, whether you’re craving a classic scoop of vanilla or an adventurous flavor combination, get ready to impress your taste buds with homemade ice cream made with the Cuisinart Ice Cream Maker.
Getting Started with the Cuisinart Ice Cream Maker
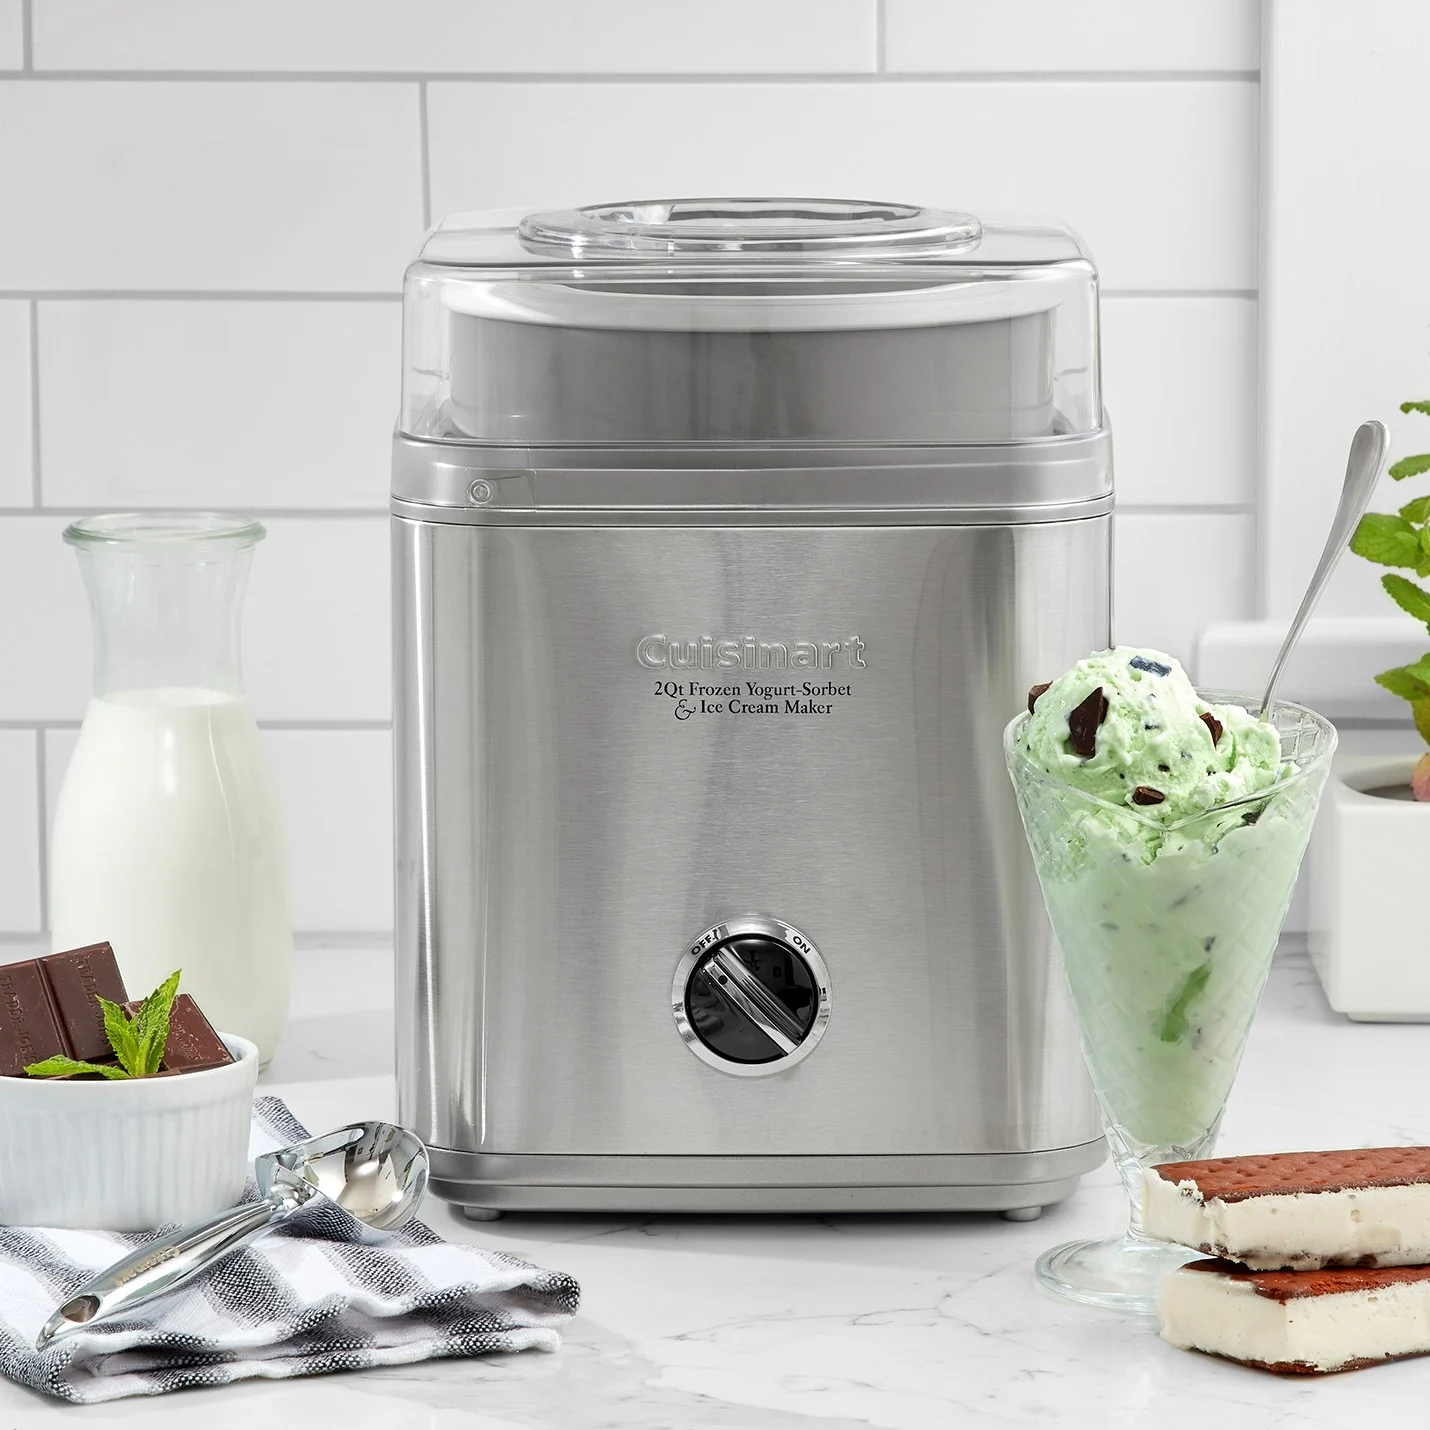
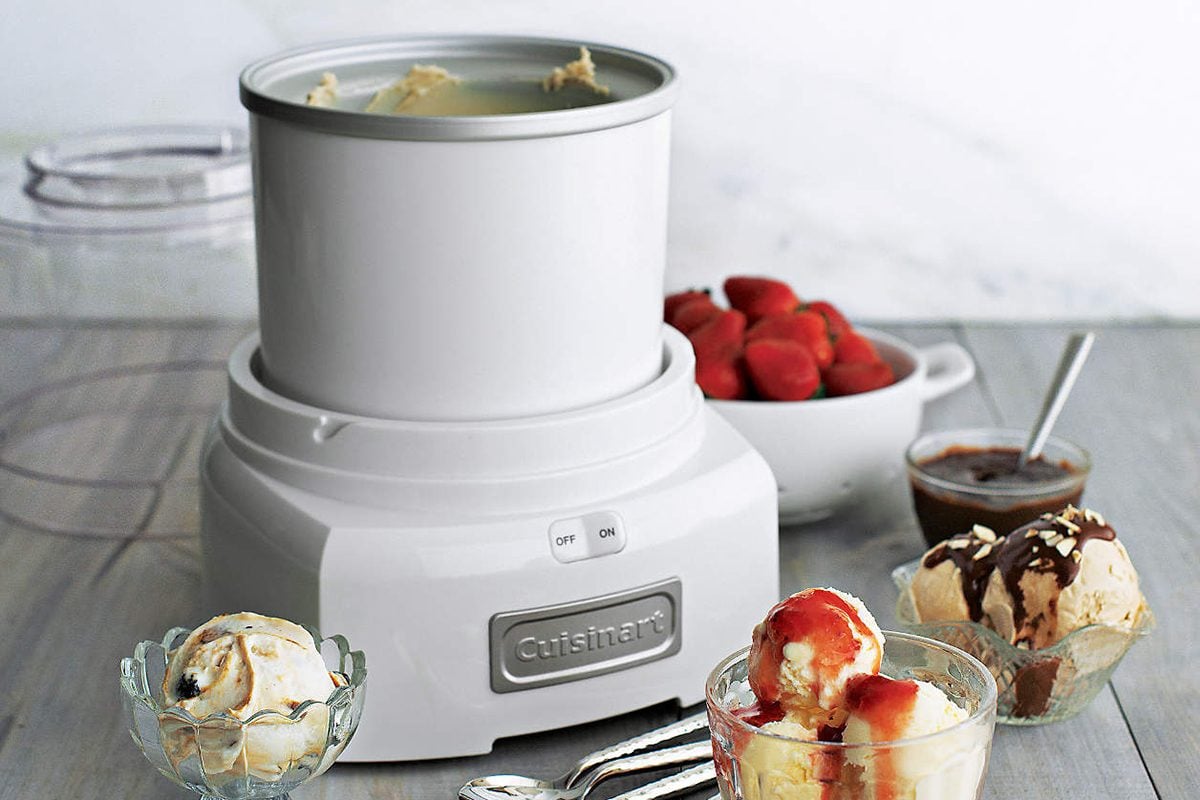
Before diving into the world of homemade ice cream, it’s essential to familiarize yourself with the Cuisinart Ice Cream Maker and its components.
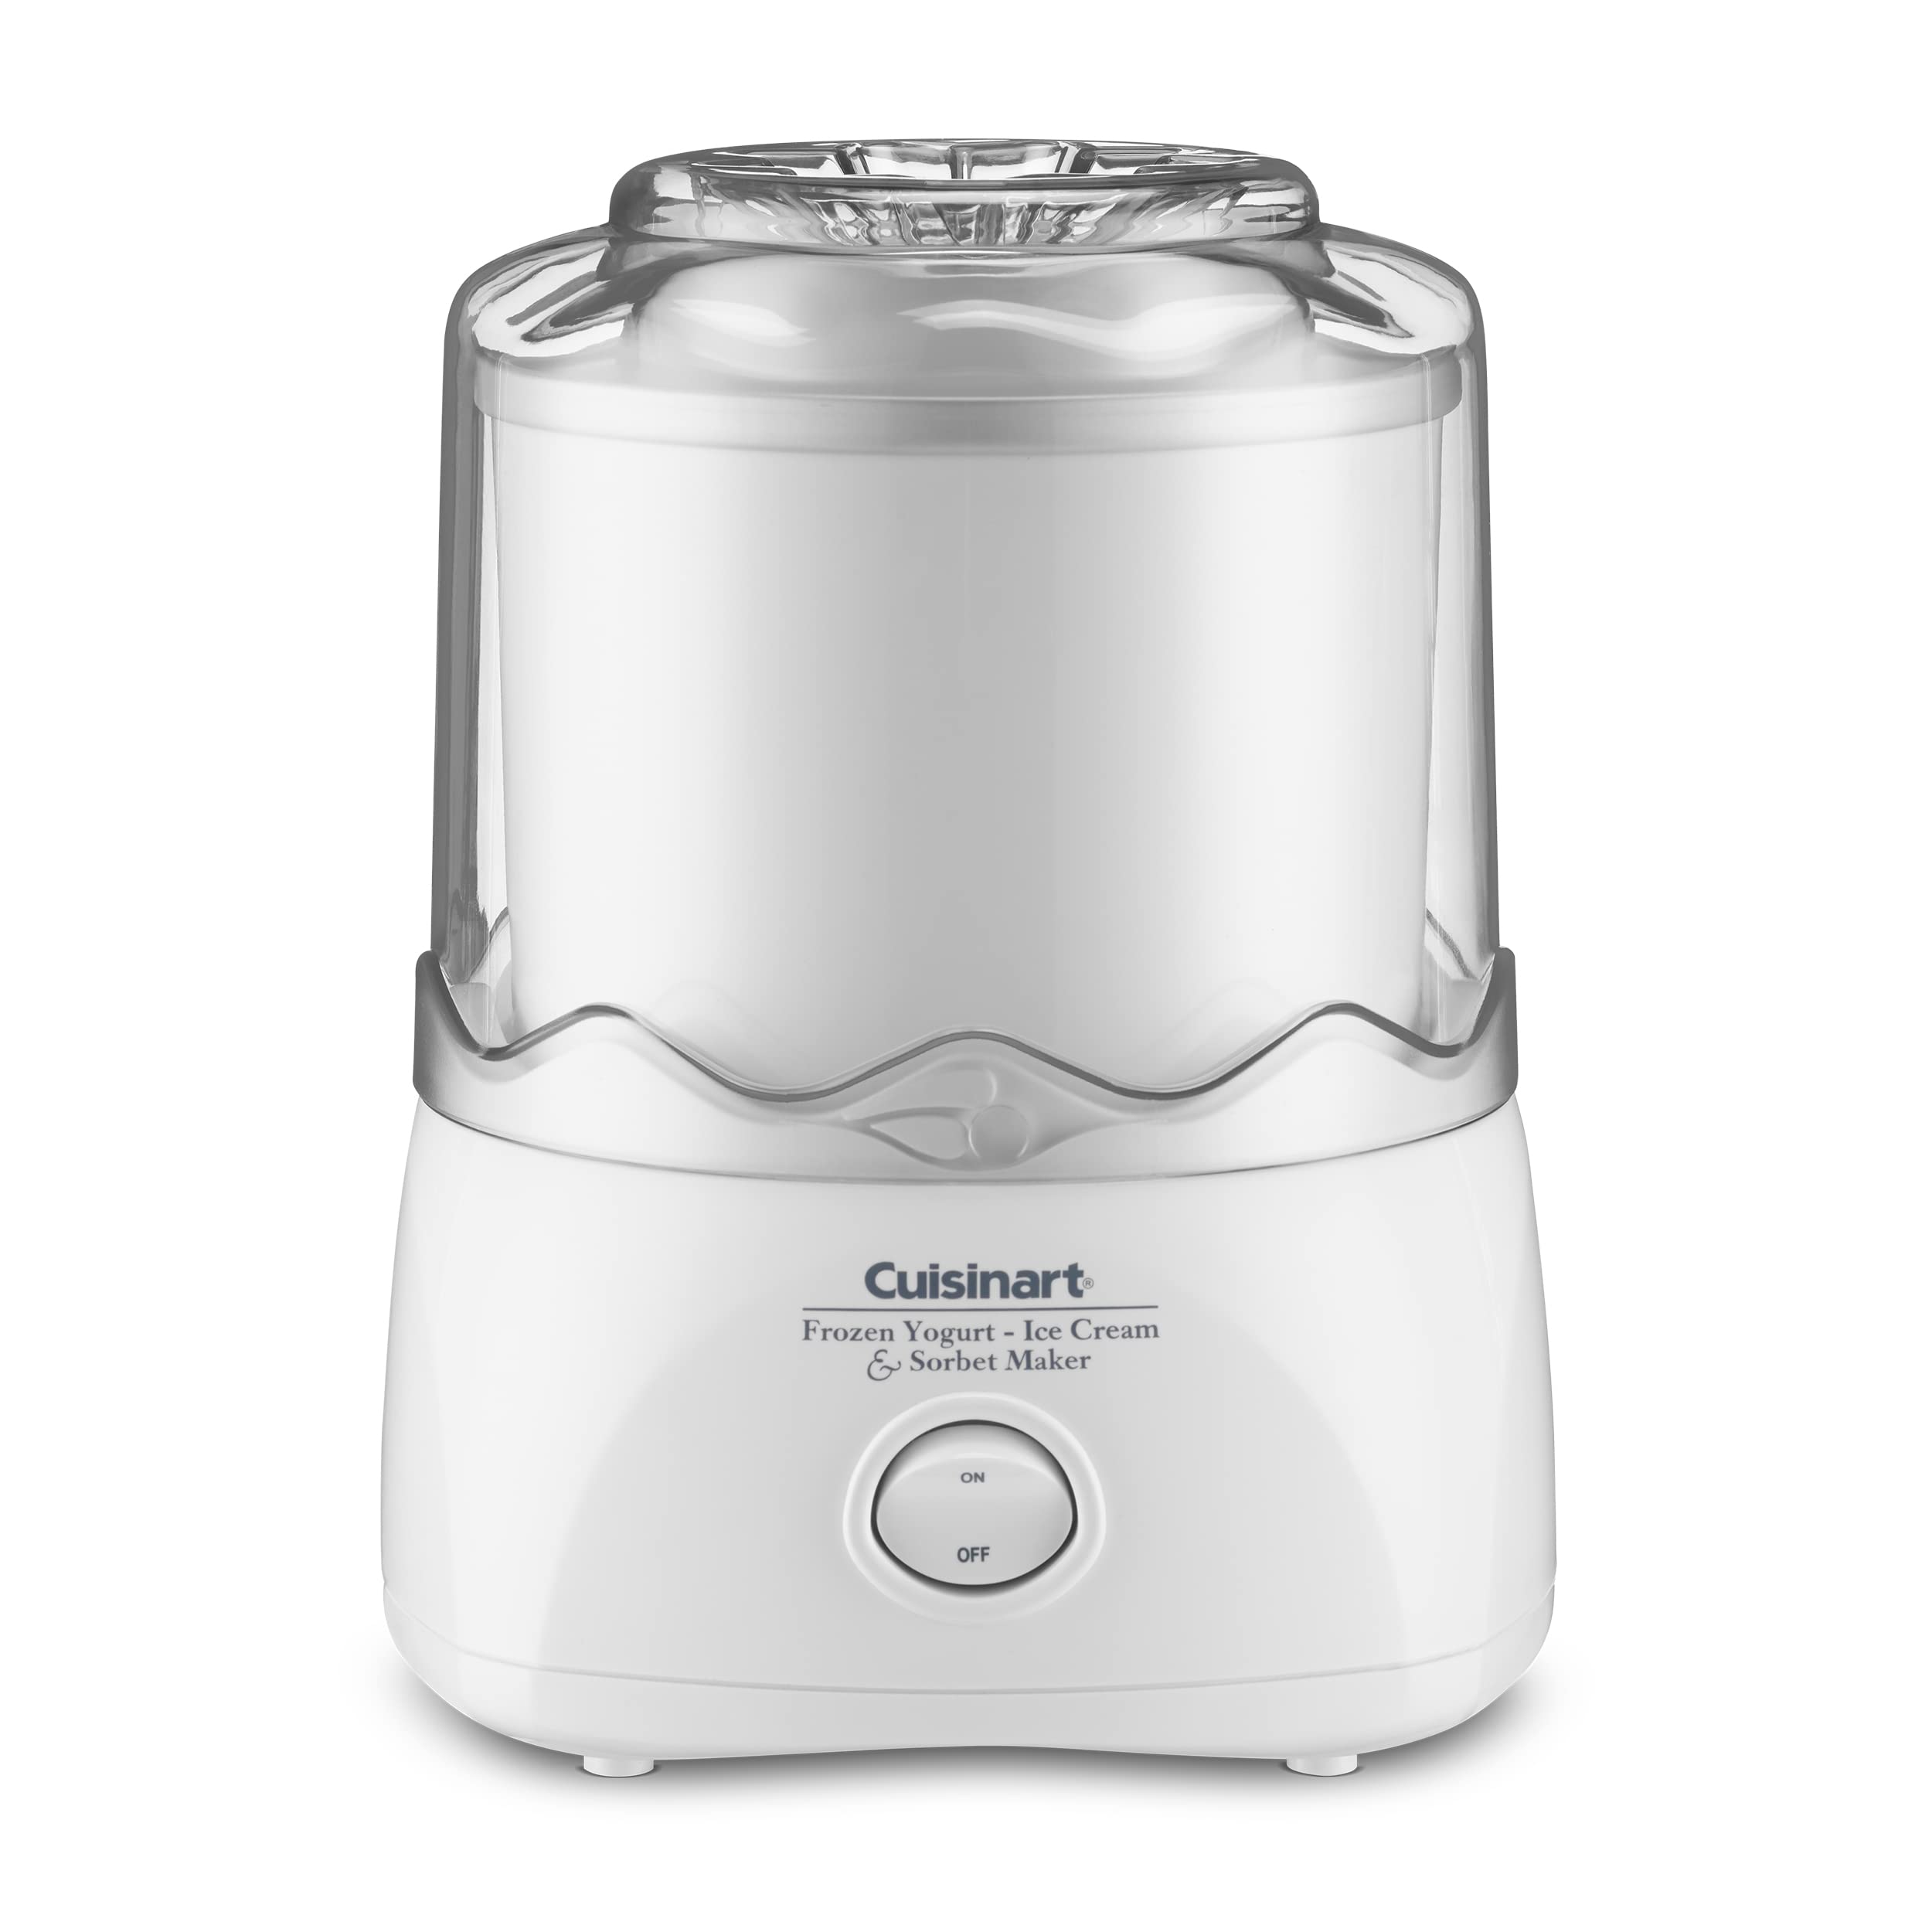
The Cuisinart Ice Cream Maker consists of a freezer bowl, a mixing arm, a lid, and a base. The freezer bowl is the key component that needs to be frozen prior to use. It’s recommended to freeze the freezer bowl for at least 16-24 hours before starting the ice cream-making process. Make sure to place the bowl in the back of your freezer where it can freeze properly and remain undisturbed.
Once the freezer bowl is frozen solid, you’re ready to begin. Gather your ingredients, ice cream recipes, and any mix-ins or toppings you plan to use.
Keep in mind that the Cuisinart Ice Cream Maker works best with recipes that are specifically designed for it. The recipes included in the manual are a great starting point, and there are also numerous online resources with Cuisinart Ice Cream Maker recipes to explore.
Remember to read the recipe thoroughly before getting started to ensure you have all the necessary ingredients and equipment. It’s also a good idea to measure out your ingredients in advance and have them ready to go.
Once you have everything prepared, assemble the Cuisinart Ice Cream Maker by placing the mixing arm into the freezer bowl and securing the lid. The mixing arm should fit snugly, allowing for smooth rotation during the freezing process.
Next, place the assembled unit on a stable surface, ensuring it’s level and secure. Plug in the ice cream maker and make sure the control switch is set to the “Off” position before adding your ice cream mixture.
Now that you’re familiar with the Cuisinart Ice Cream Maker and ready to start making delicious frozen treats, it’s time to move on to preparing your ingredients and creating your first batch of ice cream.
Preparing Your Ingredients
When it comes to making homemade ice cream with the Cuisinart Ice Cream Maker, using high-quality ingredients is essential to achieving the best flavor and texture. Here are some tips for preparing your ingredients:
1. Dairy Base: If you’re making traditional dairy-based ice cream, start with a high-fat content cream, such as heavy cream or whipping cream. Whole milk is also commonly used in ice cream recipes. Using full-fat ingredients will result in a creamier and richer ice cream.
2. Sweeteners: Most ice cream recipes call for granulated sugar, but you can experiment with different sweeteners, such as honey, maple syrup, or agave nectar, depending on your preferences. Just keep in mind that the amount of sweetener may need to be adjusted based on the sweetness of your chosen sweetener.
3. Flavorings: Vanilla extract is a classic flavoring for ice cream, but don’t be afraid to get creative with other extracts like almond, mint, or citrus. You can also incorporate crushed fruits, cocoa powder, or instant coffee for additional flavor variations.
4. Mix-Ins: Adding mix-ins like chocolate chips, crushed cookies, nuts, or fruit chunks can take your ice cream to the next level. Make sure your mix-ins are chopped into small pieces to prevent them from interfering with the mixing arm’s rotation.
5. Pre-Chilling: For optimal results, make sure to chill your ice cream base in the refrigerator for at least a few hours, or preferably overnight, before pouring it into the frozen Cuisinart Ice Cream Maker bowl. Chilling the mixture beforehand ensures a faster freezing process and a smoother consistency.
6. Additional Tips: To enhance the flavor and texture of your ice cream, add a pinch of salt to your base mixture. This helps balance the sweetness and brings out the flavors. You can also try adding a small amount of alcohol, such as vodka or rum, to help prevent ice crystals from forming.
By carefully selecting and preparing your ingredients, you’re setting yourself up for ice cream success. With your ingredients ready to go, it’s time to move on to the next step— assembling and preparing the Cuisinart Ice Cream Maker for use.
Assembling and Preparing the Ice Cream Maker
Now that you have your ingredients prepared, it’s time to assemble and prepare the Cuisinart Ice Cream Maker for use. Follow these steps to ensure a smooth and successful ice cream-making process:
1. Retrieve the frozen freezer bowl from the freezer. Ensure that it is completely frozen solid before proceeding. Place it on a stable surface to work with.
2. Take the mixing arm and insert it into the top opening of the freezer bowl. Make sure it fits securely and is properly aligned with the bowl. This attachment will be responsible for churning and freezing the ice cream mixture.
3. Put the lid on top of the freezer bowl, ensuring it fits snugly. This will help keep the ice cream mixture cold during the churning process and prevent any potential splatters or leaks.
4. Place the assembled unit on a level surface, such as a countertop or sturdy table. It’s important to choose a spot where the ice cream maker can operate without any tilting or shifting during the churning process.
5. Before adding the ice cream mixture, make sure the control switch is in the “Off” position. This prevents the mixing arm from rotating before you’re ready to start the freezing process.
6. Take your pre-chilled ice cream mixture and give it a good stir to ensure all the ingredients are well combined. This step is especially important if you’ve let the mixture sit in the refrigerator for an extended period, as some separation may occur.
7. Slowly pour the ice cream mixture into the freezer bowl, making sure not to exceed the maximum fill line indicated on the bowl. Overfilling can lead to overflow as the mixture expands during the churning process.
8. Once the mixture is in the bowl, do a final check to make sure the lid is securely in place and the control switch is in the “Off” position.
Now that your Cuisinart Ice Cream Maker is properly assembled and the ice cream mixture is ready to go, it’s time to move on to the exciting part—making delicious homemade ice cream. Stay tuned for the next section, where we’ll explore the process of making classic vanilla ice cream with the Cuisinart Ice Cream Maker.
Making Classic Vanilla Ice Cream
Now that your Cuisinart Ice Cream Maker is assembled and your ice cream mixture is prepared, it’s time to dive into making classic vanilla ice cream. Follow these steps for a creamy and delicious treat:
1. Ensure that the control switch on the ice cream maker is in the “Off” position.
2. Take the pre-chilled ice cream mixture and give it one final stir to make sure all the ingredients are thoroughly combined.
3. Pour the mixture into the assembled Cuisinart Ice Cream Maker bowl. Be careful not to go over the maximum fill line indicated on the bowl.
4. Place the lid securely on top of the bowl, making sure it fits tightly.
5. Plug in the ice cream maker and set the control switch to the “On” position.
6. Let the ice cream maker churn the mixture for about 20 to 25 minutes, or until the desired consistency is reached. The mixture will thicken and freeze as it mixes.
7. As the mixture churns, you may notice that it increases in volume. This is normal and occurs as air is incorporated into the ice cream, creating a lighter texture.
8. After the appropriate churning time, check the consistency of the ice cream. It should be thick and smooth, resembling soft-serve ice cream.
9. When you’re satisfied with the consistency, turn off the ice cream maker by switching the control switch to the “Off” position.
10. Carefully remove the mixing arm from the freezer bowl, making sure to scrape off any excess ice cream clinging to it.
11. Using a spatula or ice cream scoop, transfer the churned ice cream to an airtight container for further freezing and hardening. Place the container in the freezer for at least 2 to 4 hours, or until the ice cream reaches a firm consistency.
12. Once the vanilla ice cream has hardened, it’s ready to be scooped and enjoyed!
With this simple and straightforward process, you can create a delightful batch of classic vanilla ice cream using the Cuisinart Ice Cream Maker. But don’t stop here – the possibilities are endless, so let’s explore how to elevate your ice cream game by adding mix-ins and swirls in the next section.
Trying Different Flavors: Adding Mix-ins and Swirls
While classic vanilla ice cream is undeniably delicious, one of the great joys of homemade ice cream is the ability to experiment with different flavors and add exciting mix-ins and swirls. Here are some ideas to get you started:
1. Mix-ins: Adding mix-ins like chocolate chips, crushed cookies, nuts, or candy pieces can take your ice cream to a whole new level. Simply fold in your desired mix-ins into the ice cream mixture during the last few minutes of the churning process. Make sure your mix-ins are finely chopped or crushed to prevent them from interfering with the mixing arm’s rotation.
2. Swirls: Swirls of sauce or fruit puree can add a burst of flavor and visual appeal to your ice cream creations. To incorporate a swirl, layer your ice cream mixture with small dollops of sauce or fruit puree as you transfer it to the airtight container. Use a spoon or knife to gently swirl the sauce into the ice cream for a marbled effect.
3. Experiment with flavors: Don’t be afraid to get creative with different flavor combinations. Add extracts like mint, almond, or citrus to the ice cream base for a refreshing twist. Incorporate crushed fruits, cocoa powder, instant coffee, or even spices like cinnamon or cardamom to infuse unique flavors into your ice cream.
4. Make a sundae bar: Take your homemade ice cream experience to the next level by setting up a sundae bar. Provide an array of toppings such as hot fudge sauce, caramel sauce, sprinkles, chopped nuts, whipped cream, and cherries. Let everyone create their own customized ice cream sundae, adding their favorite flavors and toppings to their heart’s content.
Remember to consider the compatibility of flavors when experimenting with mix-ins and swirls. Some pairings work exceptionally well together, while others may clash. There are countless combinations to explore, so don’t be afraid to get creative and have fun!
By adding mix-ins and swirls, you can turn a simple batch of homemade ice cream into a gourmet delight. So, let your imagination run wild and discover your favorite flavor combinations using the Cuisinart Ice Cream Maker.
Experimenting with Non-Dairy and Vegan Options
If you or someone in your household follows a non-dairy or vegan diet, fear not! The Cuisinart Ice Cream Maker can still be your go-to appliance for creating delicious frozen desserts. Here are some tips for experimenting with non-dairy and vegan options:
1. Non-Dairy Milk: Replace the dairy milk in your ice cream recipe with a non-dairy alternative, such as almond milk, coconut milk, soy milk, or cashew milk. These plant-based milks offer different flavors and textures, so choose one that suits your taste preferences.
2. Coconut Cream: For a rich and creamy base, consider using coconut cream in place of heavy cream or whipping cream. Coconut cream adds a luscious texture and a subtle coconut flavor to your non-dairy ice cream.
3. Sweeteners: Many natural sweeteners can be used to replace traditional granulated sugar. Options like maple syrup, agave nectar, or coconut sugar can add sweetness to your ice cream while adding depth of flavor.
4. Thickeners: Non-dairy ice cream bases may need a thickening agent to ensure a smooth and creamy texture. Consider using ingredients like arrowroot powder, cornstarch, or Xanthan gum to achieve the desired consistency.
5. Flavorings: Non-dairy ice cream can be just as flavorful as its dairy counterparts by adding extracts like vanilla, almond, or mint. You can also experiment with spices such as cinnamon or nutmeg to enhance the taste profiles.
6. Mix-ins and Swirls: Non-dairy ice creams are perfect for adding mix-ins and swirls. Chopped nuts, dairy-free chocolate chips, fruit purees, or caramel sauce can elevate the flavor and texture of your creations. Just ensure that the mix-ins and swirls are also non-dairy or vegan-friendly.
7. Readymade Non-Dairy Bases: If you’re short on time or don’t want to create your own non-dairy ice cream base, there are pre-made non-dairy ice cream mixes available in stores. These mixes often come in a variety of flavors and are formulated specifically for non-dairy diets.
Remember, experimentation is key when it comes to non-dairy and vegan ice cream. Don’t be afraid to modify recipes and try out different ingredient combinations. With a bit of creativity, you can enjoy a wide range of delicious non-dairy and vegan ice creams using your trusty Cuisinart Ice Cream Maker.
Troubleshooting Common Issues
While using the Cuisinart Ice Cream Maker is generally a seamless process, you may encounter a few common issues along the way. Here are some troubleshooting tips to help you overcome these challenges:
1. Ice Cream Mixture Not Freezing: If your ice cream mixture is not freezing properly, ensure that the freezer bowl is frozen solid for the recommended time. If the bowl is not frozen long enough, the ice cream mixture may not freeze properly. Also, double-check that your ingredients are well chilled before starting the churning process.
2. Ice Cream Not Firm Enough: If your ice cream is not firm enough after churning, it may need more time in the ice cream maker or additional time in the freezer after churning. Try leaving the ice cream in the freezer for a little longer to achieve the desired consistency.
3. Ice Crystals in Ice Cream: Ice crystals can form in ice cream if the mixture is not churned long enough or if it’s exposed to warm temperatures. Make sure to churn the ice cream for the recommended time to achieve a smoother texture. Also, store the ice cream in an airtight container in the coldest part of your freezer to minimize ice crystal formation.
4. Motor Overheating: If the motor of the ice cream maker overheats and stops during the churning process, it may be because you have exceeded the maximum capacity of the machine or run the machine for an excessively long period. Give the motor some time to cool down before resuming churning, and be mindful of the maximum capacity guidelines provided by the manufacturer.
5. Excess Noise or Vibration: If your ice cream maker is making excessive noise or vibrating excessively, make sure it is placed on a stable and level surface. Ensure that the freezer bowl is securely attached to the base, and the mixing arm is properly inserted. If the issue persists, consult the user manual or contact customer support for further assistance.
6. Difficulty Removing the Ice Cream: If the churned ice cream sticks to the sides of the freezer bowl and is difficult to remove, allow the ice cream to soften slightly at room temperature. Then, use a silicone or rubber spatula to gently scrape along the sides of the bowl to loosen the ice cream.
If you experience any other issues not mentioned here, consult the user manual or reach out to customer support for guidance. With a little troubleshooting and practice, you’ll be able to overcome obstacles and create delicious homemade ice cream with your Cuisinart Ice Cream Maker.
Cleaning and Storing Your Cuisinart Ice Cream Maker
Proper cleaning and storage of your Cuisinart Ice Cream Maker will not only prolong its lifespan but also ensure that it’s ready for use whenever you’re craving some homemade ice cream. Here are some essential steps to follow:
1. Unplug the Ice Cream Maker: Before starting the cleaning process, make sure to unplug the machine from the power source to prevent any accidents or electrical hazards.
2. Disassemble the Ice Cream Maker: Remove the freezer bowl, mixing arm, and lid from the base of the machine. These parts are usually detachable and can be easily taken apart for cleaning.
3. Hand Wash: Wash all detachable parts of the ice cream maker in warm, soapy water. Be sure to use a mild detergent and a non-abrasive sponge or cloth to avoid scratching the surfaces. Pay extra attention to any crevices or grooves where residue may accumulate.
4. Rinse and Dry Thoroughly: After washing, rinse all the parts with clean water to remove any soap residue. Then, dry them completely using a soft towel or let them air dry before reassembling the machine. Make sure there is no moisture left, as it can lead to mold or damage to the components.
5. Clean the Base: Wipe down the base of the ice cream maker with a damp cloth to remove any spills or splatters. Avoid exposing the base to excess water or submerging it in water, as it contains electrical components that could be damaged by moisture.
6. Store Properly: Once the ice cream maker and its components are completely dry, reassemble them if necessary and store them in a clean and dry place. It’s best to store the freezer bowl in the back of the freezer where it can remain undisturbed until the next use.
7. Maintenance Tips: Regularly check the ice cream maker for any signs of wear and tear, and follow the manufacturer’s instructions for any specific maintenance or care recommendations. It’s also a good practice to periodically check the power cord for any damages or fraying.
By following these cleaning and storage guidelines, you can ensure that your Cuisinart Ice Cream Maker remains in excellent condition and ready to create your favorite frozen treats whenever you desire.
Conclusion
Congratulations! You’ve now become acquainted with the Cuisinart Ice Cream Maker and all the wonderful possibilities it offers for creating homemade ice cream. With this powerful appliance, you can unleash your creativity in the kitchen and delight your taste buds with endless flavor combinations.
We started by introducing you to the world of homemade ice cream, emphasizing the joy of using the Cuisinart Ice Cream Maker to craft your frozen desserts. We explored how to assemble and prepare the ice cream maker, as well as the proper techniques for making classic vanilla ice cream.
But why stop at vanilla? We encouraged you to experiment with different flavors, mix-ins, and swirls to create unique and personalized ice cream creations. We also discussed how to cater to non-dairy and vegan diets, providing tips on ingredient substitutions to help everyone enjoy the frozen delights.
Of course, it’s important to address common issues that may arise during the ice cream-making process. We provided troubleshooting tips to help you overcome challenges and achieve the perfect batch of ice cream each time.
Finally, we highlighted the significance of cleaning and proper storage to maintain the longevity of your Cuisinart Ice Cream Maker. Taking care of your appliance ensures its readiness for future ice cream adventures.
So, why wait? Unleash your creativity and indulge in the delight of homemade ice cream with the Cuisinart Ice Cream Maker. From classic flavors to daring experiments, the possibilities are endless. Create memories and share the joy of this frozen treat with friends and family.
Get ready to savor the rich, creamy textures and mouth-watering flavors that only homemade ice cream can deliver. With the Cuisinart Ice Cream Maker as your partner in dessert creation, the only limit is your imagination!