Introduction
Welcome to the world of non-dairy ice cream! For those who are lactose intolerant, have dairy allergies, or follow a vegan lifestyle, traditional ice cream made with dairy can be off-limits. But fear not, because you can still indulge in delicious, creamy, and satisfying frozen treats without the need for an ice cream maker. In this article, we will guide you through the process of making homemade non-dairy ice cream that will surely satisfy your cravings.
Non-dairy ice cream, also known as vegan ice cream, is made using alternative ingredients that replicate the rich and creamy texture of traditional ice cream. The base of non-dairy ice cream typically replaces dairy milk with plant-based alternatives such as coconut milk, almond milk, or soy milk. These alternatives not only provide a creamy base but also offer unique flavors and nutritional benefits.
One of the great things about making non-dairy ice cream at home is that you have complete control over the ingredients. You can choose the flavors, sweetness level, and mix-ins to cater to your own taste preferences. Plus, making ice cream from scratch allows you to avoid any artificial additives or preservatives that are often found in store-bought options.
But you may be wondering, “How do I make non-dairy ice cream without an ice cream maker?” Well, fear not! We have three methods to share with you, each using different ingredients as a base. Whether you prefer the natural sweetness of frozen bananas, the silky richness of coconut milk, or the creamy texture of cashews, we have a method that will suit your taste.
So get ready to embark on a delicious and dairy-free journey as we guide you through the process of making non-dairy ice cream without an ice cream maker. With just a few simple ingredients and some basic equipment, you’ll be able to whip up your own delightful frozen treats in no time.
Ingredients for Non-Dairy Ice Cream
Before we dive into the different methods of making non-dairy ice cream, let’s take a look at the common ingredients you’ll need to have on hand. While the specific ingredients may vary depending on the method you choose, here are some staples that you’ll find in most non-dairy ice cream recipes:
- Plant-based milk: This serves as the base for your non-dairy ice cream. Some popular options include coconut milk, almond milk, soy milk, or oat milk. Choose a milk that aligns with your preferences and dietary needs.
- Sweetener: To balance the flavors and add sweetness to your ice cream, you’ll need a sweetener. Options range from natural sweeteners like maple syrup, agave nectar, or coconut sugar, to artificial sweeteners if you prefer a lower-calorie option.
- Thickener / Emulsifier: To achieve that creamy consistency, you’ll need a thickener or emulsifier. Common choices include arrowroot powder, cornstarch, xanthan gum, or guar gum. These ingredients help bind the mixture together and prevent ice crystals from forming.
- Flavorings and extracts: Enhance the taste of your ice cream with flavorings such as vanilla extract, cocoa powder, fruit puree, or coffee. Get creative and experiment with different combinations to find your favorite flavors.
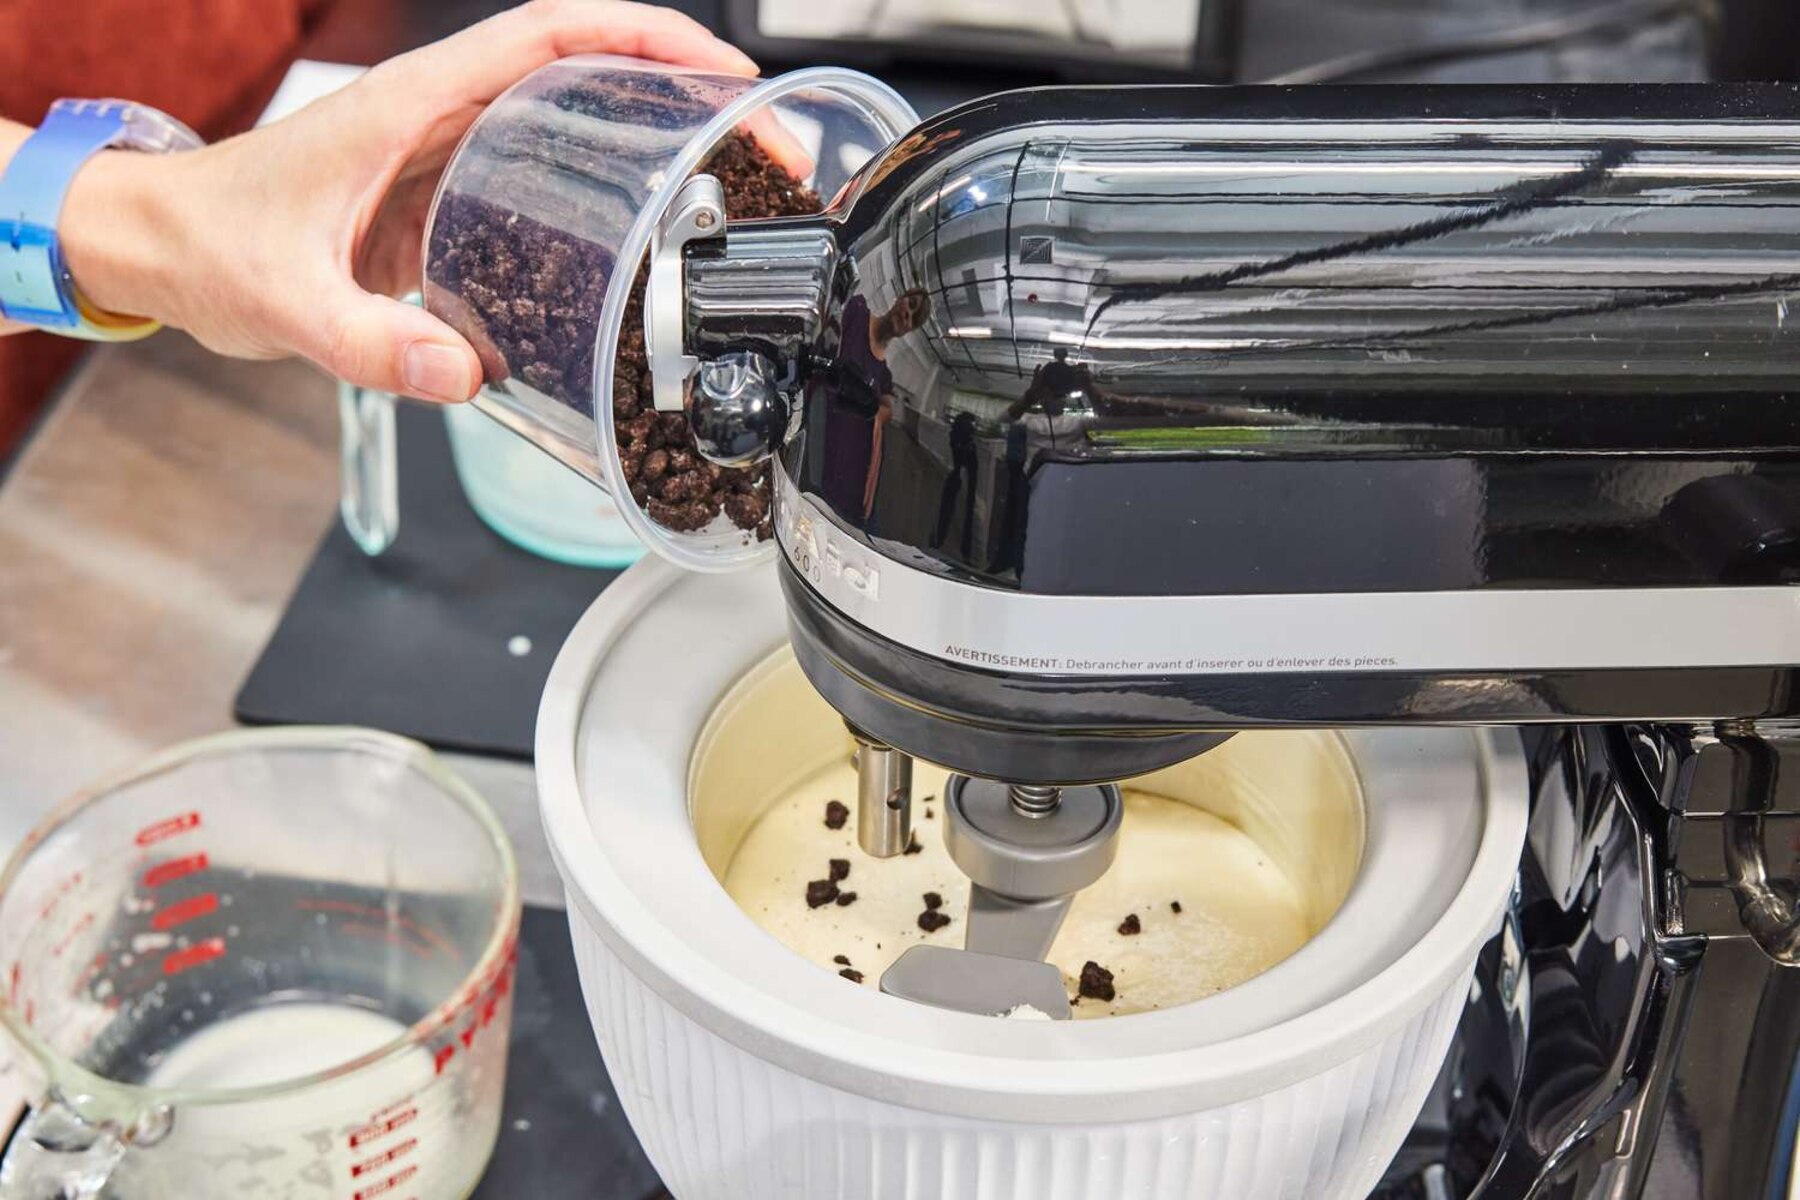
- Add-ins: Add texture and extra bursts of flavor to your ice cream by incorporating mix-ins such as chocolate chips, nuts, crushed cookies, or fresh fruit. The possibilities are endless, so feel free to customize your creations.
While these ingredients form the foundation of non-dairy ice cream, please note that specific recipes may require additional ingredients based on the method and flavor variations you choose. For instance, if you opt for a banana-based ice cream, you’ll need ripe frozen bananas as the main ingredient.
Now that you have a good understanding of the ingredients required, it’s time to gather everything you need to embark on your non-dairy ice cream adventure. So grab your favorite plant-based milk, stock up on sweeteners, and get ready to indulge in creamy, flavorful, and guilt-free frozen treats!
Equipment Needed
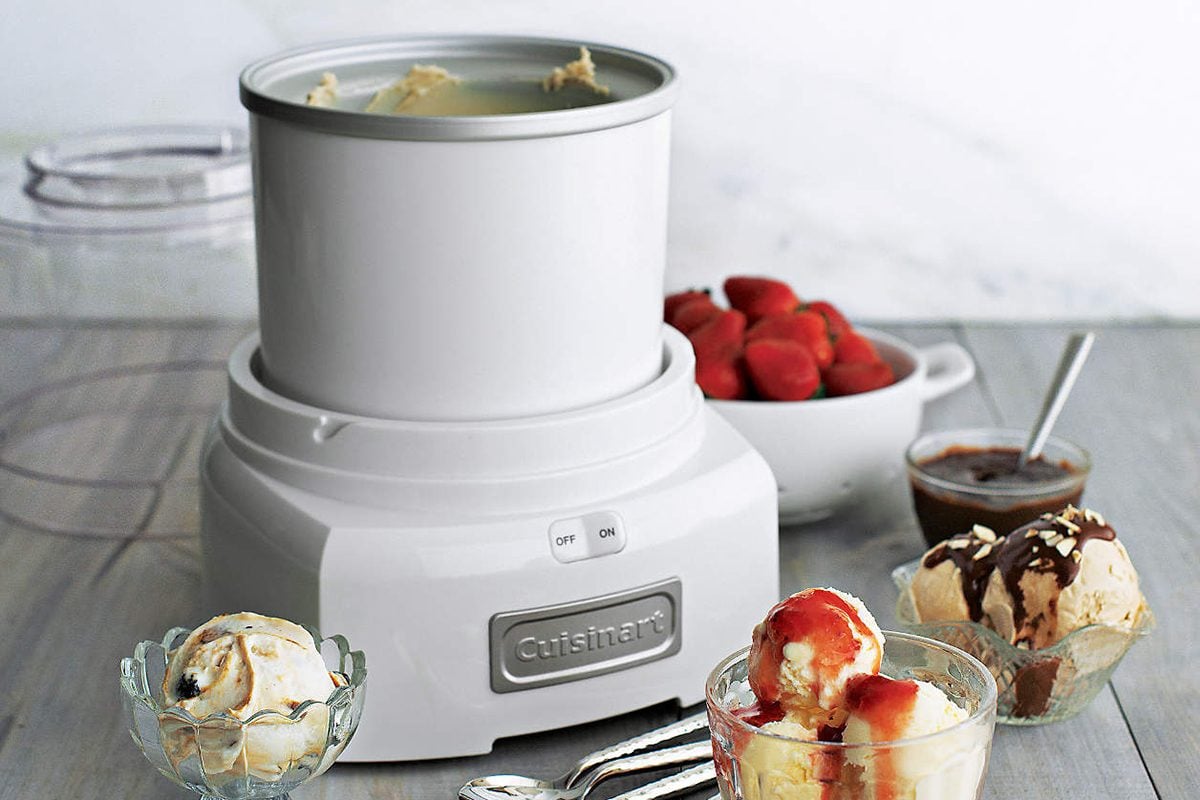
To make non-dairy ice cream at home, you won’t need fancy or specialized equipment. Here are the basic tools that will come in handy during the process:
- Blender or Food Processor: A high-speed blender or food processor will be your best friend when it comes to achieving a smooth and creamy texture for your non-dairy ice cream. These appliances help blend all the ingredients together and break down any chunks or frozen components.
- Freezer-Safe Containers: You’ll need freezer-safe containers to store your homemade ice cream. Mason jars, lidded plastic containers, or even silicone ice cream molds work well for this purpose. Make sure the containers have an airtight seal to prevent any freezer burn and maintain the quality of your ice cream.
- Spatula or Spoon: A spatula or spoon will come in handy when transferring the ice cream mixture from the blender or food processor to the storage containers. These utensils allow you to scrape every last bit of deliciousness from the container, ensuring no ice cream goes to waste.
- Parchment Paper or Plastic Wrap: Before placing your ice cream containers in the freezer, it’s a good idea to cover them with parchment paper or plastic wrap. This helps prevent any unwanted odors from seeping into the ice cream and also protects it from absorbing freezer flavors.
- Ice Cream Scoop: While not essential, having an ice cream scoop makes serving your non-dairy frozen treats easier and more enjoyable. The scoop helps create perfectly round and smooth scoops of ice cream, adding a nice presentation touch to your desserts.
That’s it – with just a blender or food processor, freezer-safe containers, a spatula or spoon, and a few additional items for covering and serving, you have the basic equipment required to make non-dairy ice cream at home. No need to invest in an expensive ice cream maker or other specialized tools. By utilizing these simple kitchen essentials, you’ll be well-equipped to create delectably creamy and satisfying frozen desserts.
Method 1: Using Frozen Bananas as a Base
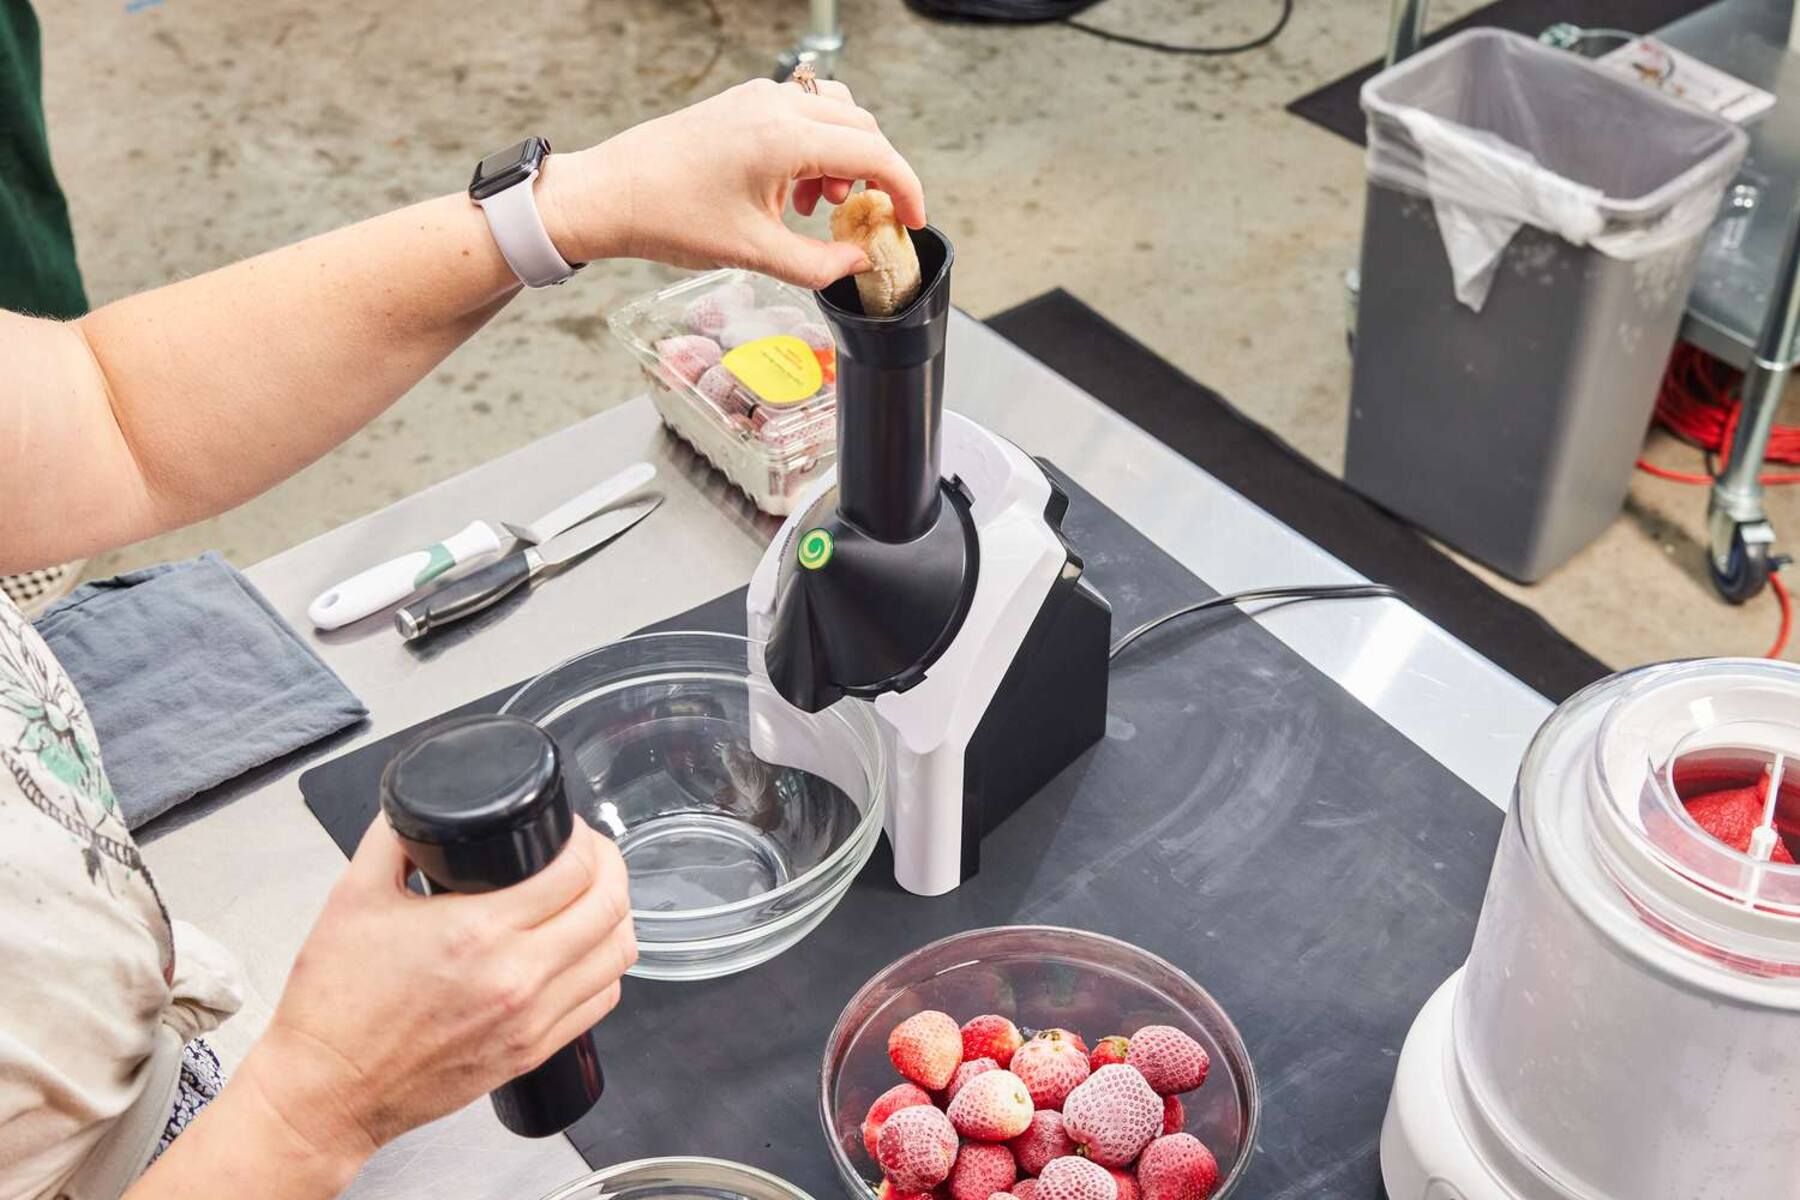
One of the easiest and healthiest ways to make non-dairy ice cream is by using frozen bananas as the base. The natural sweetness and creamy texture of ripe bananas make them an excellent substitute for dairy in ice cream recipes. Here’s how you can make non-dairy ice cream using frozen bananas:
- Select and freeze ripe bananas: Choose ripe bananas with brown spots on the peel. Peel the bananas and cut them into small slices. Place the banana slices in a single layer on a parchment-lined baking sheet or plate, and freeze them until they become solid, usually for about 2-4 hours.
- Blend the frozen bananas: Transfer the frozen banana slices into a blender or food processor. Blend the bananas until they break down into a creamy and smooth consistency. You may need to stop and scrape down the sides of the blender or food processor a few times during the process to ensure even blending.
- Add flavorings and mix-ins: At this stage, you can get creative and add flavorings and mix-ins of your choice. You can enhance the taste with vanilla extract, cocoa powder, or a pinch of cinnamon. For extra texture and flavor, consider adding crushed nuts, chocolate chips, or fresh fruit.
- Blend again until combined: Blend the mixture again to incorporate the added flavorings and mix-ins. This step ensures that all the ingredients are well combined and evenly distributed throughout the ice cream base.
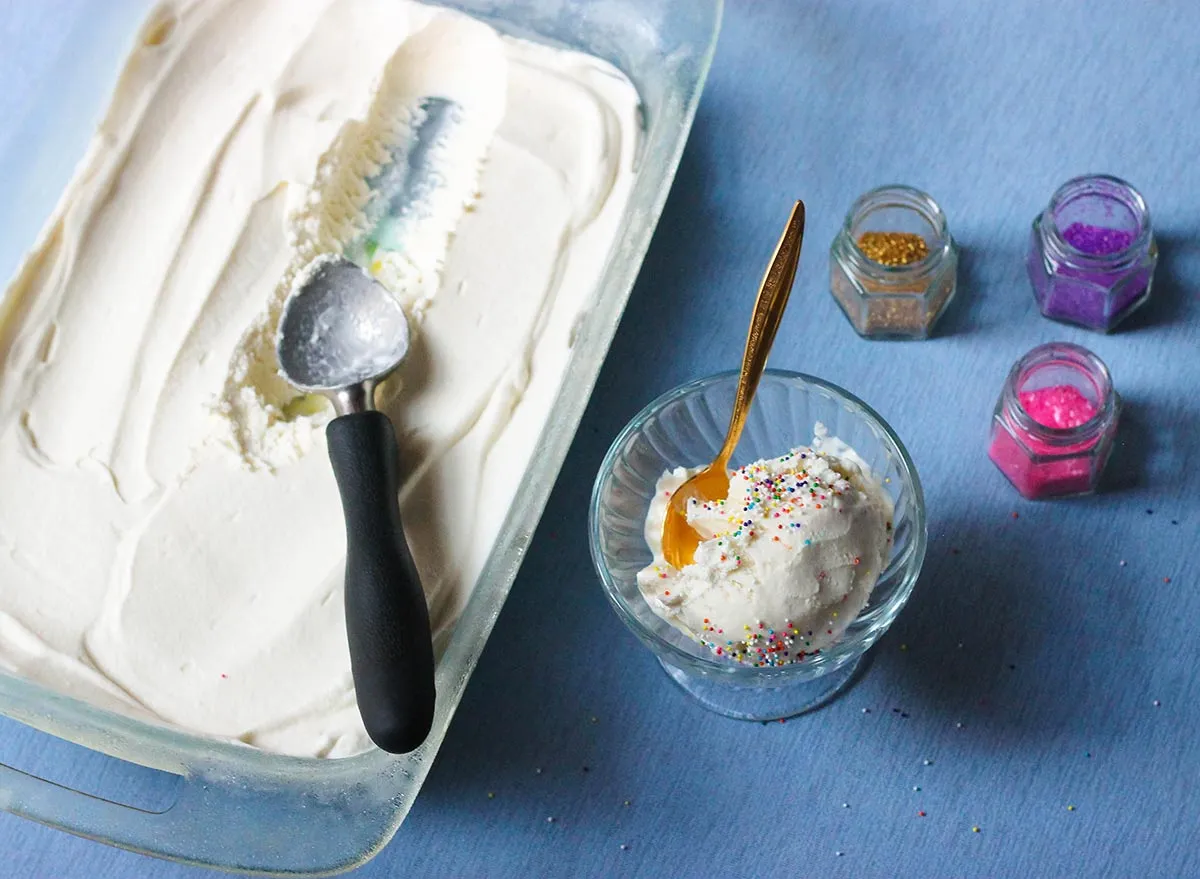
- Serve or freeze: Once you achieve a creamy and smooth consistency, your non-dairy ice cream is ready to enjoy! You can serve it immediately for a soft-serve texture or transfer it to a freezer-safe container and freeze it for a few more hours for a firmer consistency.
This method is a fantastic way to whip up a quick and healthy non-dairy ice cream with the added bonus of the natural sweetness of bananas. Feel free to experiment with different flavors and mix-ins to create unique and delicious combinations. Whether you enjoy it as a guilt-free dessert or a refreshing snack, this banana-based non-dairy ice cream is sure to be a hit for both kids and adults alike.
Method 2: Using Coconut Milk as a Base
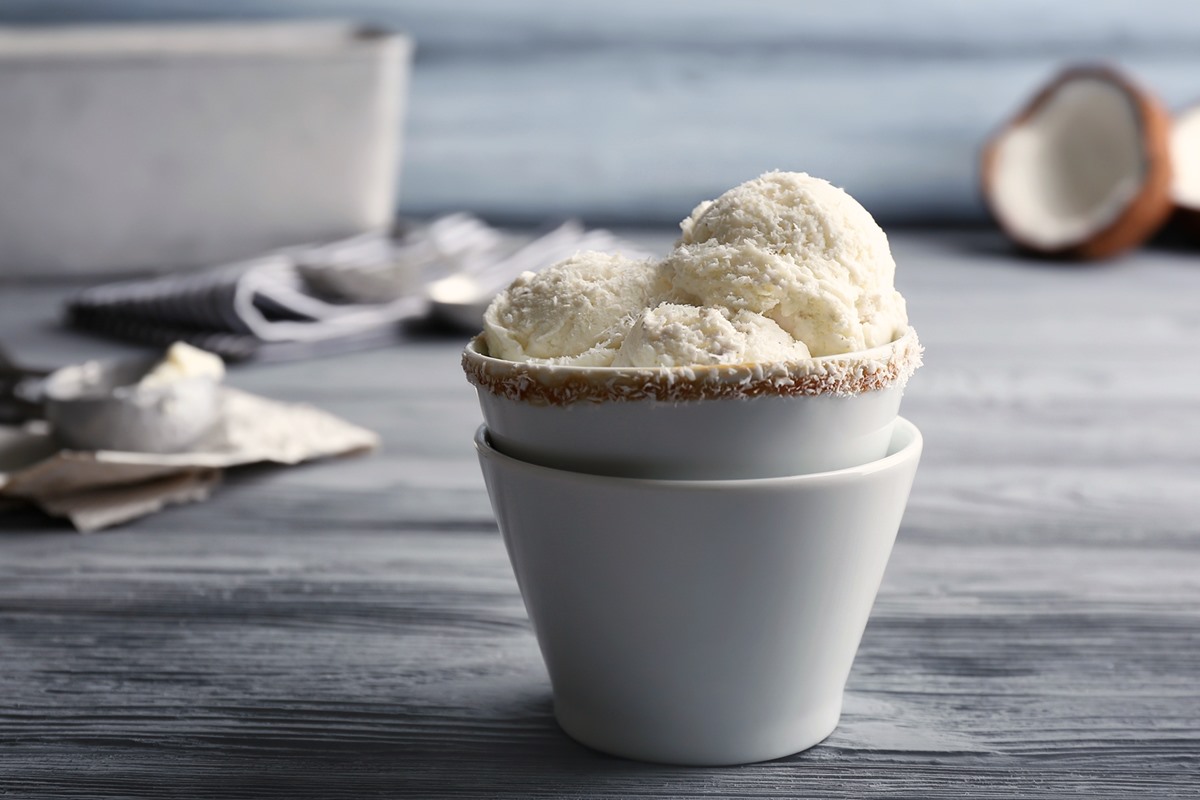
If you’re a fan of rich and creamy ice cream, using coconut milk as a base for non-dairy ice cream is an excellent choice. The inherent richness of coconut milk provides a luxurious texture and a subtle tropical flavor. Here’s how you can make non-dairy ice cream using coconut milk:
- Gather your ingredients: To make coconut milk-based non-dairy ice cream, you’ll need a can of full-fat coconut milk, a sweetener of your choice, and any additional flavorings or mix-ins you desire.
- Chill the coconut milk: Refrigerate the can of coconut milk overnight. This step helps separate the cream from the liquid. When you open the can, you’ll notice a thick layer of coconut cream on top.
- Scoop out the coconut cream: Open the chilled can of coconut milk and carefully scoop out the solid coconut cream into a mixing bowl. Leave the liquid behind or save it for other recipes.
- Whip the coconut cream: With a handheld mixer or whisk, whip the coconut cream until it becomes light and fluffy. This process incorporates air into the cream and gives the ice cream a creamy and smooth texture.
- Add sweeteners and flavorings: Gradually add your sweetener of choice, such as maple syrup or coconut sugar, into the whipped coconut cream. You can also add flavorings like vanilla extract, cocoa powder, or fruit extracts to enhance the taste.
- Blend in a blender or food processor: Transfer the sweetened coconut cream mixture into a blender or food processor. Blend until all the ingredients are well combined. This step ensures a consistent texture and flavor throughout the ice cream mixture.
- Add mix-ins: If desired, add any mix-ins to the blended mixture, such as chocolate chips, chopped nuts, or shredded coconut. Pulse the blender a few times to evenly distribute the mix-ins.
- Freeze the mixture: Pour the mixture into a freezer-safe container and cover it with a lid or plastic wrap. Place it in the freezer for a few hours or until it reaches your desired consistency. Remember to stir the mixture every hour during the first few hours to prevent ice crystals from forming.
With its luscious texture and tropical taste, this coconut milk-based non-dairy ice cream is perfect for those who crave a decadent treat without the dairy. Enjoy it on its own or pair it with your favorite desserts for a delightful and refreshing dessert experience.
Method 3: Using Cashews as a Base
Cashews are an excellent ingredient for creating a creamy and velvety texture in non-dairy ice cream. With their mild flavor and high-fat content, cashews make a fantastic base for a rich and indulgent frozen treat. Here’s how you can make non-dairy ice cream using cashews:
- Soak the cashews: Start by soaking 1 cup of raw cashews in water for at least 4 hours or overnight. This step softens the cashews and makes them easier to blend, resulting in a smoother ice cream base.
- Drain and rinse the cashews: After soaking, drain and rinse the cashews thoroughly to remove any residual water. This step ensures that no excess liquid dilutes the creaminess of the ice cream.
- Blend the cashews: Place the soaked and rinsed cashews in a blender or food processor. Add about 1/2 cup of plant-based milk, such as almond milk or coconut milk, to help achieve a smooth consistency. Blend until the mixture becomes creamy and all the cashews are fully blended.
- Add flavorings and sweeteners: Add your choice of flavorings and sweeteners to the cashew mixture. You can use vanilla extract, cocoa powder, or any other flavorings that suit your taste. Sweeten the mixture with natural sweeteners like maple syrup, agave nectar, or dates.
- Blend again until smooth: Blend the mixture again to incorporate the flavorings and sweeteners evenly. This step ensures a well-rounded flavor profile throughout the ice cream base.
- Chill the mixture: Transfer the blended cashew mixture into a bowl and refrigerate it for at least 2 hours or until it is completely chilled. Chilling the mixture helps enhance the creaminess and allows the flavors to meld together.
- Freeze the mixture: Pour the chilled cashew mixture into a freezer-safe container. Cover the container and place it in the freezer. Stir the mixture every hour for the first few hours to prevent ice crystals from forming. Continue freezing until the ice cream reaches your desired consistency.
Using cashews as a base for non-dairy ice cream offers a satisfying and velvety texture that will have you coming back for more. The creamy, nutty flavor pairs well with a variety of mix-ins and toppings, making it a versatile choice for creating delicious frozen desserts.
Now that you know how to create a heavenly cashew-based non-dairy ice cream, let your creativity shine by adding your favorite flavors and mix-ins. Indulge in this delightful treat that is both dairy-free and utterly delicious!
Flavor Variations
When it comes to non-dairy ice cream, the flavor possibilities are almost endless. You can experiment with various combinations and ingredients to create unique and mouthwatering frozen treats. Here are a few flavor variations to inspire your creativity:
- Classic Vanilla: Keep it simple with a classic vanilla flavor. Add a splash of vanilla extract to your base, and you’ll have a creamy and smooth vanilla ice cream that pairs well with almost any topping or mix-in.
- Decadent Chocolate: For chocolate lovers, add cocoa powder to your base for a rich and indulgent chocolate ice cream. You can also stir in some chocolate chunks or swirls of chocolate sauce to take it to the next level.
- Fruity Delights: Incorporate your favorite fruits to create fruity variations. Blend in fresh strawberries, mangoes, or raspberries for a vibrant and refreshing taste. You can also swirl in fruit puree or add chunks of diced fruit for added texture.
- Nutty Bliss: Enhance the texture and flavor with nuts. Add crushed almonds, pecans, or walnuts to your ice cream for a delightful crunch. You can also swirl in a nut butter like almond butter or peanut butter for a creamy and nutty twist.
- Caramel Swirls: Create a luscious caramel flavor by swirling in a homemade or store-bought caramel sauce. The combination of creamy ice cream and the sweet indulgence of caramel is sure to satisfy your dessert cravings.
- Coffee Kick: For coffee lovers, add a shot of espresso or a spoonful of instant coffee to your base for a delightful coffee-flavored ice cream. You can also mix in chocolate-covered coffee beans for an extra caffeine kick.
- Minty Fresh: Add a refreshing twist by incorporating mint extract or chopped fresh mint leaves into your base. The cool and invigorating flavor of mint will leave you feeling refreshed and satisfied.
These are just a few ideas to get your creative juices flowing. Feel free to mix and match flavors, combine different variations, or even create your own unique recipes. With non-dairy ice cream, you have the freedom to customize the flavors and create frozen treats that suit your taste preferences perfectly.
Remember to taste and adjust the flavors as you go along to ensure that your ice cream is exactly how you like it. So, get ready to explore a world of flavors and enjoy the incredible taste of homemade non-dairy ice cream!
Toppings and Mix-ins
As delightful as non-dairy ice cream can be on its own, it’s the toppings and mix-ins that take it to another level of indulgence. From crunchy toppings to sweet swirls, here are some ideas for enhancing your non-dairy ice cream with delicious add-ons:
- Chocolate Magic: Drizzle melted dairy-free chocolate or sprinkle chocolate shavings over your ice cream for a decadent touch. You can also mix in chocolate chips or chunks for extra bursts of chocolaty goodness.
- Caramel Delights: Spoon caramel sauce over your ice cream or create a caramel swirl by layering it between scoops. Additional toppings like crushed caramel candy or toffee bits can add a delightful crunch.
- Fruity Burst: Top your non-dairy ice cream with fresh fruit slices or berries for a burst of freshness. You can also try making a fruit compote or sauce to pour over your ice cream or mix in chunks of your favorite fruits.
- Crunchy Goodness: Add a satisfying crunch by sprinkling toasted nuts, granola, or crushed cookies on top of your ice cream. The contrast in texture between the creamy ice cream and the crunchy toppings is sure to be a delightful experience.
- Sweet Swirls: Create delicious swirls of flavor by incorporating sauces like strawberry, raspberry, or even peanut butter. Swirl the sauce into the ice cream just before freezing or use it as a topping.
- Whipped Cream: Top your non-dairy ice cream with a dollop of whipped coconut cream or any other non-dairy whipped topping of your choice. This adds a creamy and airy texture to your frozen dessert.
- Sprinkles and Confetti: Decorate your ice cream with colorful sprinkles, edible glitter, or confetti to make it visually appealing and fun. This is especially enjoyable for kids and adds a festive touch to any occasion.
Feel free to mix and match toppings and mix-ins to create your own personalized ice cream experience. Whether you prefer a combination of sweet and salty, rich and crunchy, or fruity and refreshing, the possibilities are endless. Get creative and let your taste buds guide you to discover your favorite non-dairy ice cream creation.
Remember to consider any dietary restrictions or allergies when choosing toppings and mix-ins. With the incredible array of options available, you’re sure to find the perfect combination that makes your non-dairy ice cream truly irresistible!
Serving Suggestions
Non-dairy ice cream is a versatile treat that can be enjoyed in various ways. Here are some serving suggestions to elevate your non-dairy ice cream experience:
- Classic Sundae: Create a classic ice cream sundae by placing a scoop or two of non-dairy ice cream in a bowl. Top it with your favorite sauces, such as chocolate syrup, caramel, or fruit compote. Add a dollop of whipped cream and finish it off with a cherry on top.
- Ice Cream Sandwich: Take two dairy-free cookies, such as chocolate chip, oatmeal, or peanut butter, and sandwich a scoop of non-dairy ice cream between them. Press gently to secure the sandwich and enjoy this handheld delight.
- Floats and Shakes: Combine your non-dairy ice cream with bubbly soda or plant-based milk to create a refreshing float or shake. Experiment with different flavors and textures to find your perfect combination.
- Waffle or Cone: Serve your non-dairy ice cream in a crispy waffle cone or a homemade waffle bowl. The added crunch and sweetness of the cone provide a delightful contrast to the creamy ice cream.
- Parfaits and Sundaes: Layer non-dairy ice cream with fresh fruits, granola, nuts, or any other desired toppings in a glass or bowl to create a delicious and visually appealing parfait. Repeat the layers to make a sundae that is sure to impress.
- Milkshakes: Blend non-dairy ice cream with your choice of plant-based milk to make a thick and creamy milkshake. Add a drizzle of chocolate or caramel sauce on top and enjoy sipping this frosty beverage.
- Decadent Dessert: Use non-dairy ice cream as a decadent base for other desserts. Layer it in a trifle with cake and fruits, or make ice cream pie by freezing it in a pre-made or homemade crust and topping it with various toppings.
- Bowl of Bliss: Sometimes, the simple pleasure of enjoying a scoop of non-dairy ice cream on its own is all you need. Serve it in a bowl, grab your favorite spoon, and savor each creamy and delicious bite.
Remember to unleash your creativity and personalize your serving suggestions. Play with flavors, textures, and presentation to make each non-dairy ice cream experience special and enjoyable. Whether you’re indulging solo or sharing with loved ones, non-dairy ice cream is a delightful treat that can be enjoyed in a multitude of ways.
Conclusion
Congratulations! You have now learned how to make non-dairy ice cream without an ice cream maker. By using frozen bananas, coconut milk, cashews, or other plant-based ingredients, you can create a variety of delicious and creamy frozen treats. Whether you follow a vegan lifestyle or have dietary restrictions, non-dairy ice cream allows you to indulge in the joys of frozen desserts.
With just a few basic ingredients and some simple kitchen tools, you can unleash your creativity and experiment with different flavors, toppings, and mix-ins to make your non-dairy ice cream truly unique. Whether you prefer classic flavors like vanilla or chocolate, or enjoy adventurous combinations like coffee with chocolate swirls, the possibilities are endless.
Non-dairy ice cream is not only a healthier alternative to traditional ice cream, but it also offers a wide range of flavors and textures that can satisfy your cravings. From fruity and refreshing to rich and decadent, you can tailor your frozen creations to suit your personal taste preferences.
So, what are you waiting for? Get started on your non-dairy ice cream adventure! Gather your ingredients, try different methods, and don’t be afraid to get creative with flavors and mix-ins. From simple scoops to elaborate sundaes, there’s no limit to the enjoyment and satisfaction you can derive from making and serving non-dairy ice cream.
Whether you’re scooping it into a cone, layering it in a parfait, or enjoying it straight from the container, non-dairy ice cream offers a guilt-free way to indulge in frozen delights. So go ahead and satisfy your cravings with these delicious, dairy-free treats. Sit back, savor the flavors, and enjoy the cool and refreshing experience of homemade non-dairy ice cream!