Introduction
Coffee ice cream is a delightful treat for those who enjoy the rich and robust flavor of coffee. When made from scratch using an ice cream maker, it takes this delicious dessert to a whole new level. The process of making coffee ice cream at home allows you to customize the flavor and intensity of the coffee to suit your taste preferences. Whether you prefer a strong espresso flavor or a more mellow coffee infusion, making coffee ice cream in an ice cream maker gives you the flexibility to create the perfect blend.
Not only is making coffee ice cream at home a rewarding culinary experience, but it also allows you to indulge in a frozen treat that combines the best of both worlds: the invigorating aroma of freshly brewed coffee and the creamy, smooth texture of ice cream. It’s the perfect dessert for a hot summer day or a cozy evening indulgence. Plus, with an ice cream maker, you can control the ingredients used, avoiding any additives or preservatives commonly found in store-bought ice cream.
In this article, we will guide you through the process of making coffee ice cream in an ice cream maker. We’ll cover everything from gathering the necessary ingredients and equipment to the step-by-step process of preparing and churning the ice cream. So, grab your favorite coffee beans, turn on your ice cream maker, and get ready to embark on a delicious adventure of making homemade coffee ice cream!
Gather Your Ingredients and Equipment
Before you begin making coffee ice cream, it’s essential to gather all the necessary ingredients and equipment. Here’s a list of what you’ll need:
- 1. Coffee Beans: Choose your favorite variety of coffee beans to impart the desired flavor to your ice cream. Opt for beans that have been freshly roasted for the best taste.
- 2. Whole Milk: The creamy base of the ice cream requires whole milk, which provides a rich and smooth texture.
- 3. Heavy Cream: Adding heavy cream to the ice cream base ensures a luscious and creamy consistency.
- 4. Sugar: To sweeten the ice cream, you’ll need granulated sugar. Adjust the amount according to your preference for sweetness.
- 5. Egg Yolks: Egg yolks act as a emulsifier and help in creating a creamy texture in the ice cream.
- 6. Vanilla Extract: Adding a touch of vanilla extract enhances the overall flavor of the ice cream.
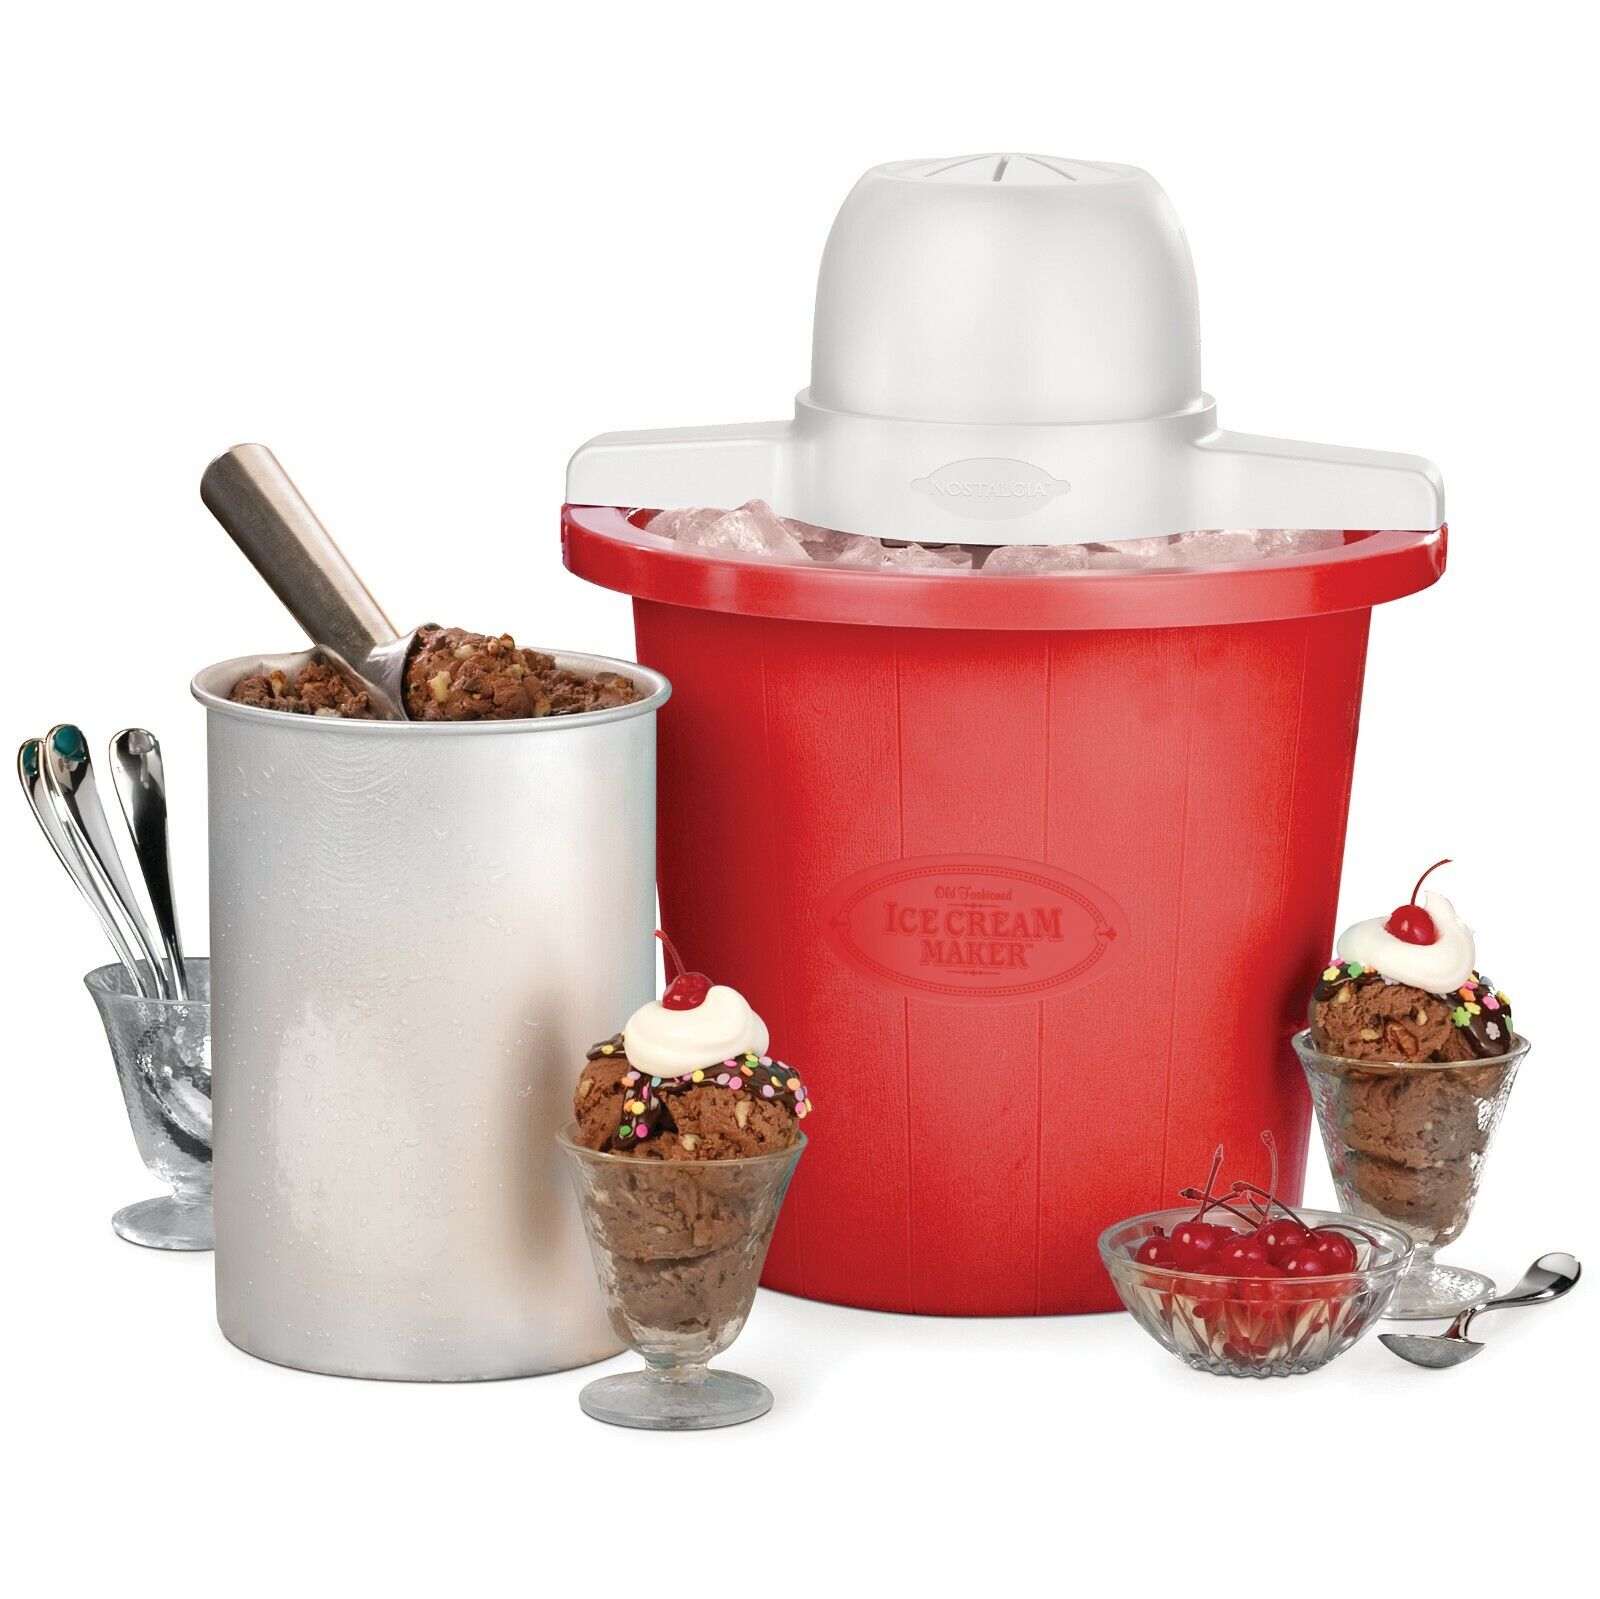
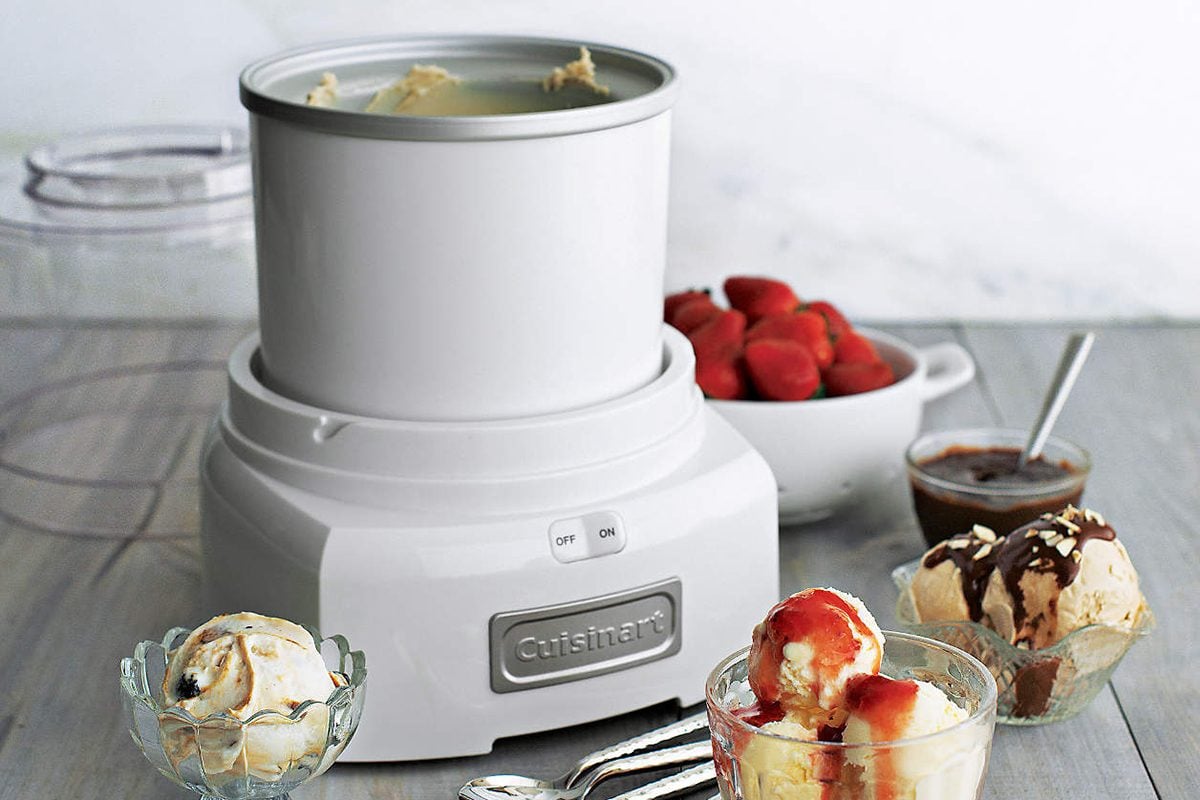
- 7. Ice Cream Maker: An ice cream maker is the key equipment for making homemade ice cream. It ensures proper churning and freezing of the ice cream mixture, resulting in a smooth and creamy consistency.
- 8. Freezer-Safe Container: You’ll need a container to store your freshly churned ice cream. Make sure it’s freezer-safe and has a tight-fitting lid to prevent any freezer burn or crystallization.
- Optional: For added flavor and texture, you can consider additional ingredients like chocolate chips, crushed cookies, or caramel sauce.
Make sure that all your ingredients are fresh and of high quality to achieve the best results. Once you have gathered all the ingredients and equipment, you’re ready to move on to the next step—preparing the ice cream base.
Prepare Your Ice Cream Base
The ice cream base is the foundation of any ice cream, including coffee ice cream. To prepare the base, follow these steps:
- 1. Heat the Milk and Cream: In a saucepan, pour the whole milk and heavy cream. Place the saucepan over medium heat and heat the mixture until it starts to steam. Avoid boiling the mixture.
- 2. Mix the Sugar and Egg Yolks: In a separate bowl, whisk together the granulated sugar and egg yolks until well combined and slightly pale in color.
- 3. Temper the Eggs: Slowly pour a small amount of the hot milk and cream mixture into the sugar and egg yolks, whisking continuously. This process, known as tempering, gradually brings up the temperature of the eggs without curdling them.
- 4. Combine the Mixtures: Gradually pour the tempered egg mixture back into the saucepan with the remaining milk and cream mixture, stirring constantly.
- 5. Cook the Base: Cook the ice cream base over medium heat, stirring constantly, until it thickens and coats the back of a spoon. This process promotes the cooking of the eggs and thickens the base, creating a custard-like consistency.
- 6. Remove from Heat and Add Vanilla: Once the base has thickened, remove it from the heat and stir in the vanilla extract. This adds a subtle and delightful flavor to the ice cream base.
The ice cream base serves as the canvas for the coffee flavor you’ll be incorporating later. It’s crucial to cook the base until it reaches the right thickness to ensure a creamy final product. After preparing the base, it’s time to infuse it with the delicious taste of freshly brewed coffee.
Brew Fresh Coffee
For a rich and aromatic coffee ice cream, it’s essential to brew fresh coffee. Here’s how you can do it:
- 1. Select Your Coffee: Choose a high-quality coffee bean or ground coffee that suits your taste preferences. Opt for a medium to dark roast for a bold coffee flavor.
- 2. Grind the Coffee: Grind the coffee beans just before brewing for maximum freshness and flavor. Use a coffee grinder to achieve the desired coarseness based on your brewing method.
- 3. Measure the Coffee and Water: Use the appropriate coffee-to-water ratio for your brewing method. As a general guideline, use two tablespoons of ground coffee for every six ounces (180 milliliters) of water.
- 4. Heat the Water: Depending on your preference and the brewing method, heat the water to the appropriate temperature. For most methods, water heated to around 200°F (93°C) is ideal. Avoid using boiling water as it can result in a bitter taste.
- 5. Brew the Coffee: Use your preferred brewing method, such as a drip coffee maker, French press, or pour-over, to brew your coffee. Follow the specific instructions for your chosen method to achieve the best results.
- 6. Allow the Coffee to Cool: After brewing, allow the coffee to cool at room temperature. This helps the flavors develop and ensures that when added to the ice cream base, the coffee won’t melt the mixture.
Brewing fresh coffee ensures that your ice cream will have a robust and distinct coffee flavor. Experiment with different coffee varieties, brewing methods, and strengths to find the perfect match for your taste buds. Remember that the quality and intensity of your brewed coffee will greatly influence the final result of your coffee ice cream. Once you have brewed the coffee, it’s time to incorporate it into the ice cream base.
Incorporate the Coffee into the Ice Cream Base
Now that you have brewed fresh coffee, it’s time to infuse it into the ice cream base to create that distinct coffee flavor. Follow these steps to incorporate the coffee into the ice cream base:
- 1. Strain the Coffee: Using a fine-mesh strainer or a coffee filter, strain the brewed coffee to remove any sediment or grounds. This ensures a smooth and consistent coffee flavor in your ice cream.
- 2. Measure the Coffee: Determine the amount of coffee needed based on your taste preference and the desired strength of the coffee flavor in the ice cream. Start by adding a small amount and gradually increase it until you achieve the desired flavor.
- 3. Slowly Add the Coffee: With the ice cream base prepared and still warm, slowly add the strained coffee to the base while continuously whisking. This ensures even distribution of the coffee and prevents any clumping.
- 4. Mix Well: Whisk the ice cream base and coffee mixture until fully combined. Make sure the coffee is well incorporated to achieve a consistent flavor throughout the ice cream.
The amount of coffee you add will depend on your personal preference. If you prefer a milder coffee flavor, you may need to add less coffee. On the other hand, if you love a strong coffee punch, you can add more. The ideal balance is a matter of experimentation and finding the perfect ratio of coffee to ice cream base that suits your taste. Remember that the coffee flavor will intensify slightly once the ice cream is frozen, so don’t be afraid to adjust accordingly.
With the coffee thoroughly incorporated into the ice cream base, it’s time to move on to the next step—the chilling and aging process. This step is crucial for enhancing the overall texture and flavor of your homemade coffee ice cream.
Chill and Age the Ice Cream Base
After incorporating the coffee into the ice cream base, it’s time to chill and age the mixture. This step is essential as it allows the flavors to meld together and ensures a smoother texture in the final ice cream. Here’s what you need to do:
- 1. Cool the Mixture: Transfer the ice cream base with the coffee infusion into a clean, airtight container. Allow it to cool at room temperature for about 30 minutes.
- 2. Refrigerate the Base: Once cooled, cover the container with a lid or plastic wrap and place it in the refrigerator. Let it chill for at least 4 hours, but preferably overnight. This extended chilling time allows the flavors to develop and mingle, resulting in a more robust coffee taste.
- 3. Age the Base: For even better results, consider aging the ice cream base in the refrigerator for 24 to 48 hours. This aging process helps to further enhance the flavor profile of the coffee ice cream.
During the chilling and aging process, the ice cream base goes through a process called “ripening.” Ripening allows the flavors to fully develop and creates a smoother texture in the final ice cream. It also improves the overall creaminess and minimizes ice crystal formation. While it may require patience, the aging process is worth the wait for a truly delectable homemade coffee ice cream.
Once the ice cream base is properly chilled and aged, it’s time to transfer it to the ice cream maker and start the churning process. This is where the magic happens as the base transforms into a creamy and velvety coffee ice cream right before your eyes.
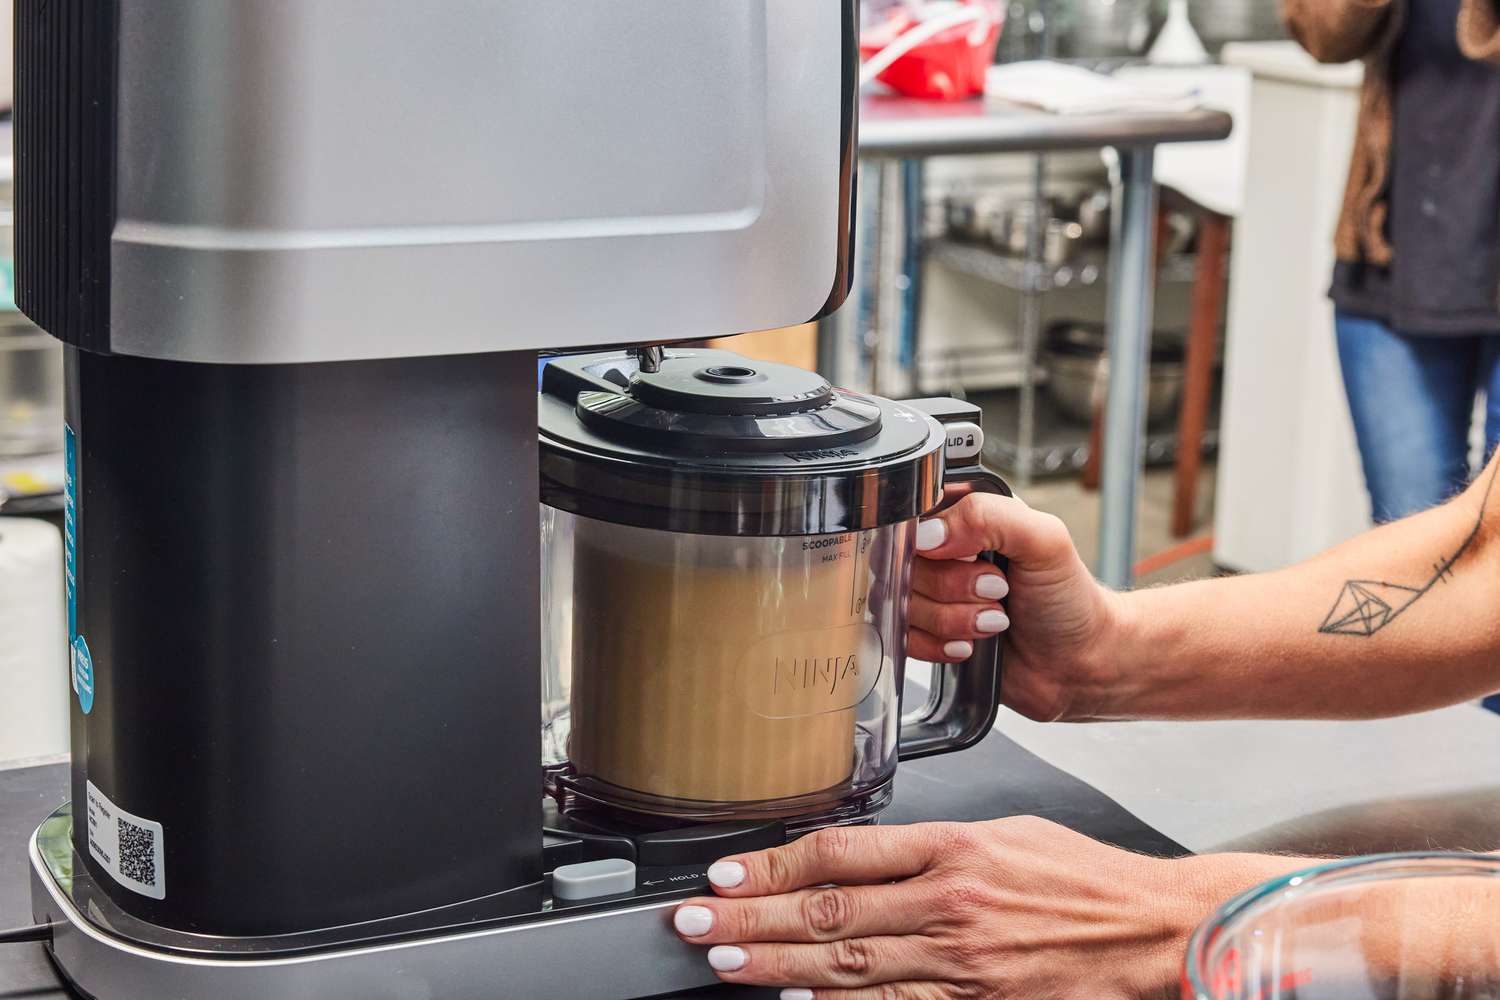
Transfer the Base to the Ice Cream Maker
With the ice cream base thoroughly chilled and aged, it’s time to transfer it to the ice cream maker and start the churning process. Follow these steps to transfer the base and prepare it for the next stage of transformation into delicious coffee ice cream:
- 1. Set up the Ice Cream Maker: Ensure that your ice cream maker is clean and assembled according to the manufacturer’s instructions. Some ice cream makers require pre-freezing the bowl, so make sure it’s frozen and ready for use.
- 2. Pour the Base into the Ice Cream Maker: Take the chilled and aged ice cream base out of the refrigerator. Give it a thorough stir to ensure a homogeneous mixture. Then, pour the base into the ice cream maker’s frozen bowl.
- 3. Start the Churning Process: Turn on the ice cream maker and let it churn according to the manufacturer’s instructions. The base will start to freeze along the sides of the bowl, while the paddle or dasher will continuously scrape the frozen mixture to incorporate air and prevent ice crystals from forming.
- 4. Monitor the Churning Time: Keep an eye on the consistency of the ice cream as it churns. The churning time typically varies between 20 to 30 minutes, depending on the specific ice cream maker model and the desired consistency of the ice cream. Consult the manufacturer’s instructions for the recommended churning time.
During the churning process, the ice cream base undergoes a remarkable transformation from a liquid to a creamy and frozen dessert. The constant churning incorporates air into the mixture, creating a lighter and smoother texture. The ice cream maker’s freezing action solidifies the base, turning it into sweet, coffee-infused ice cream.
Once the churning process is complete, your coffee ice cream will be at a soft-serve consistency. However, it will need some additional time to firm up in the freezer before reaching the perfect scoopable texture. Transfer the freshly churned ice cream to a freezer-safe container, cover it, and place it in the freezer to harden for several hours or until it reaches your desired consistency.
Now that your coffee ice cream is in the freezer, it’s time to exercise some patience while it sets. Once it’s fully frozen, you can indulge in the creamy goodness of homemade coffee ice cream with each delicious scoop.
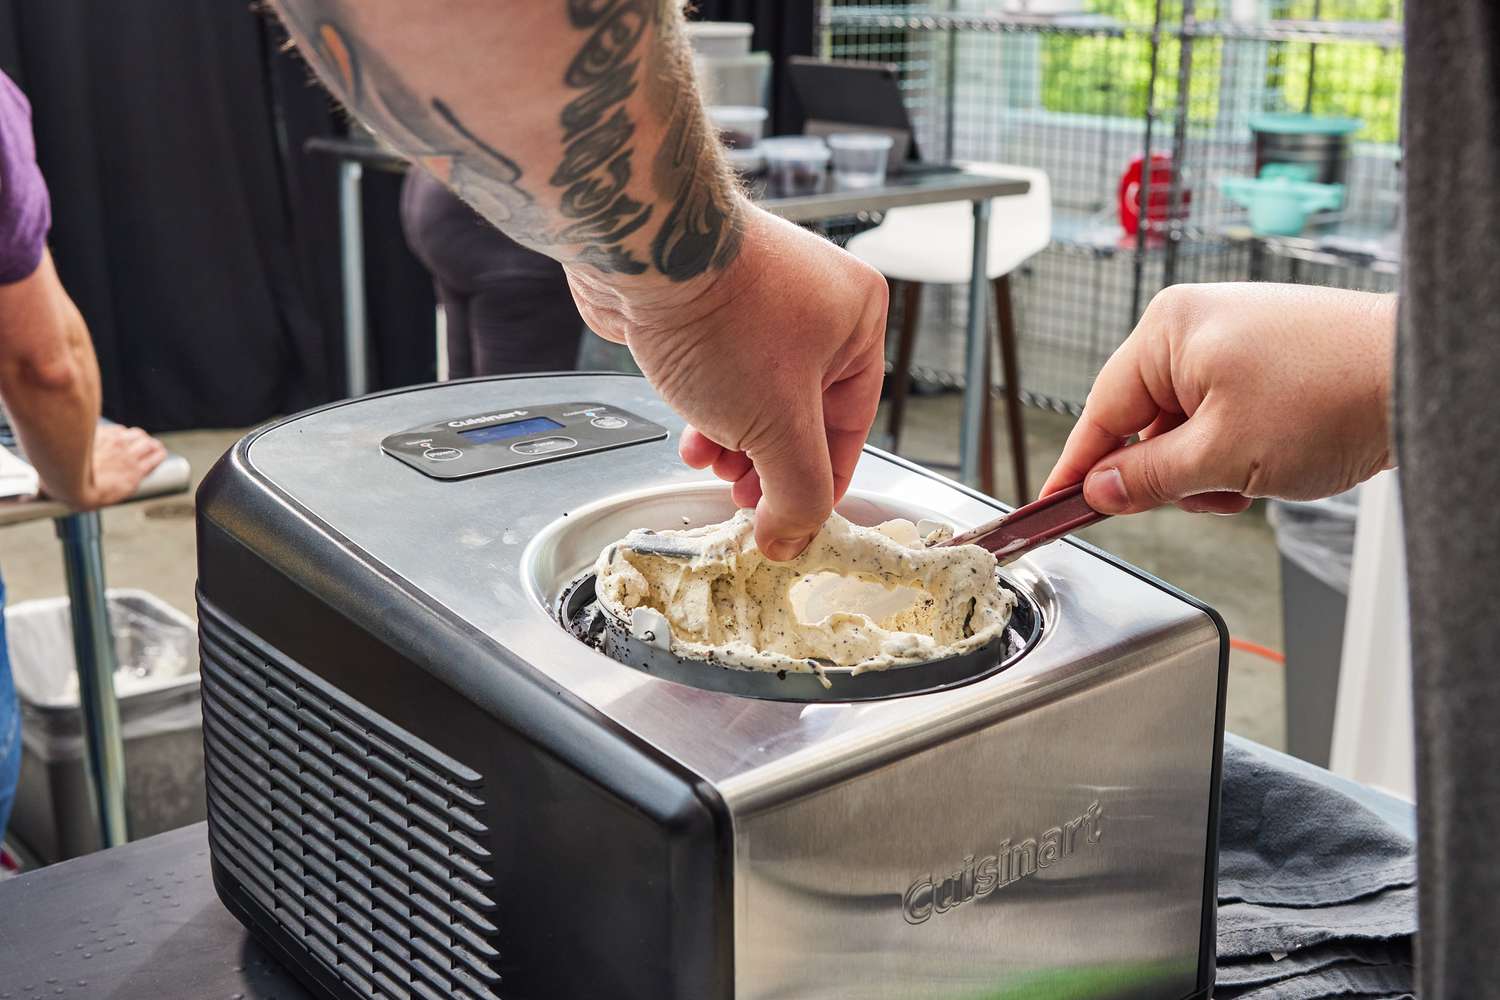
Churn the Ice Cream
Churning the ice cream is the exciting stage where the magic happens. It’s when the ice cream base transforms into a creamy, luscious dessert with a velvety texture. Follow these steps to churn your coffee ice cream to perfection:
- 1. Prepare the Ice Cream Maker: Ensure that your ice cream maker is set up and ready to use. Double-check that the freezer bowl is fully frozen according to the manufacturer’s instructions.
- 2. Transfer the Base: Take your chilled ice cream base out of the refrigerator and give it a gentle stir to ensure it is well-mixed. Pour the base into the ice cream maker’s frozen bowl.
- 3. Start Churning: Turn on the ice cream maker and let it churn the base for the recommended amount of time. The churning process will incorporate air into the mixture, resulting in a light and smooth consistency. Typically, this takes about 20 to 30 minutes, but refer to the instructions provided with your ice cream maker for specific guidance.
- 4. Monitor the Texture and Consistency: Pay attention to the texture of the ice cream as it churns. Over time, you will notice it thickening and becoming more solid. Keep an eye on the mixture to ensure it doesn’t become too stiff or over-churned.
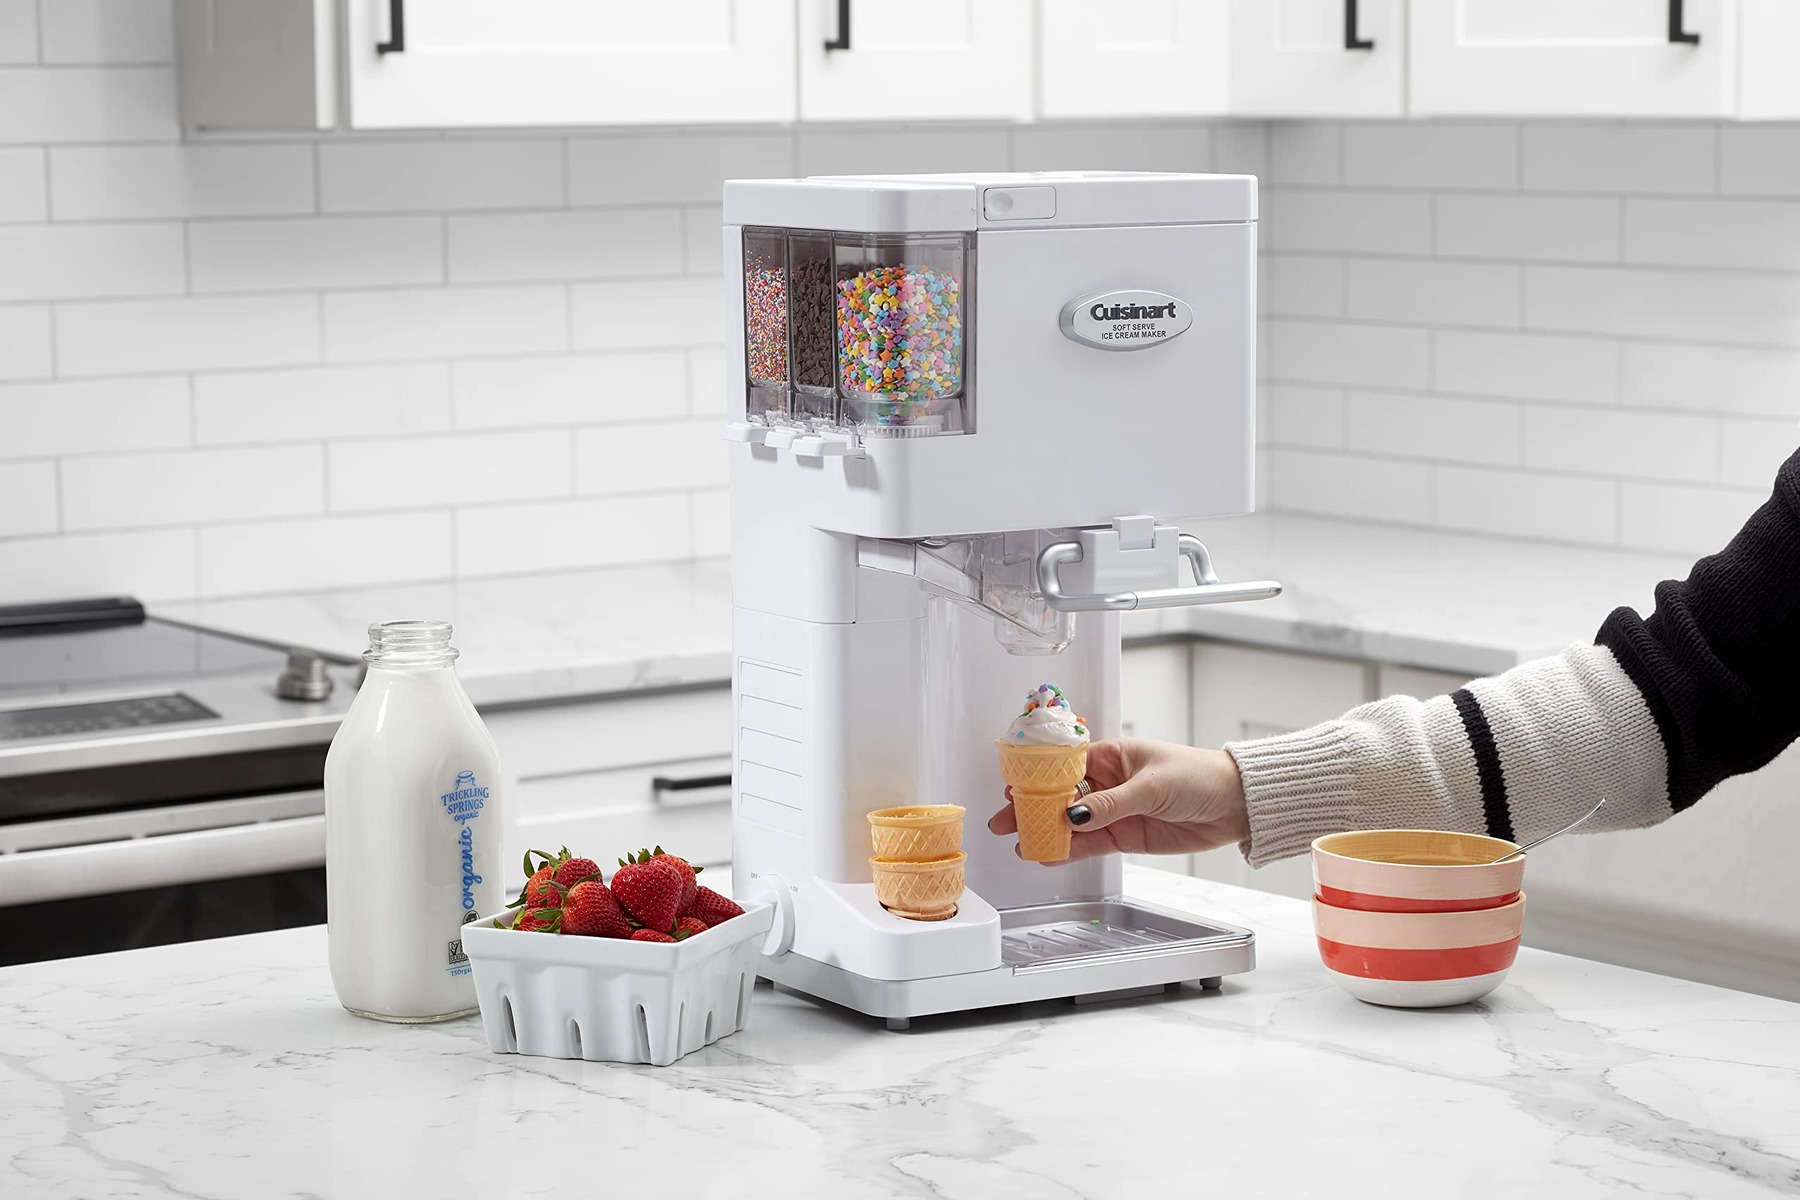
- 5. Add Additional Mix-ins (optional): If desired, you can add mix-ins, such as chocolate chips, crushed cookies, or nuts, during the last few minutes of churning. This will incorporate the additional ingredients evenly throughout the ice cream.
- 6. Check for the Soft-Serve Consistency: After the recommended churning time, check the ice cream’s consistency. It should resemble soft-serve ice cream—smooth, creamy, and easily scoopable.
Remember that the churning time can vary depending on the specific ice cream maker and the desired texture. Be sure to follow the instructions provided with your machine for the best results. Avoid over-churning, as this can result in a grainy or icy texture. It’s better to slightly under-churn, as the ice cream will continue to firm up as it freezes in the freezer.
Once the ice cream has reached the desired soft-serve consistency, it’s time to transfer it to a freezer-safe container and allow it to fully freeze and set. This step is crucial for the ice cream to achieve its perfect scoopable texture and full flavor. Seal the container tightly and place it in the freezer for a minimum of 4 hours, or preferably overnight, to allow the flavors to meld and the ice cream to firm up.
Now that you’ve churned your coffee ice cream, the anticipation grows as you wait for it to fully freeze. Soon enough, you will be able to enjoy a bowl or cone of smooth, homemade coffee ice cream that will rival any store-bought treat.
Remove and Store the Ice Cream
After hours of patiently waiting, your coffee ice cream is finally ready to be removed from the freezer and enjoyed. Here’s what you need to do to remove and properly store your homemade ice cream:
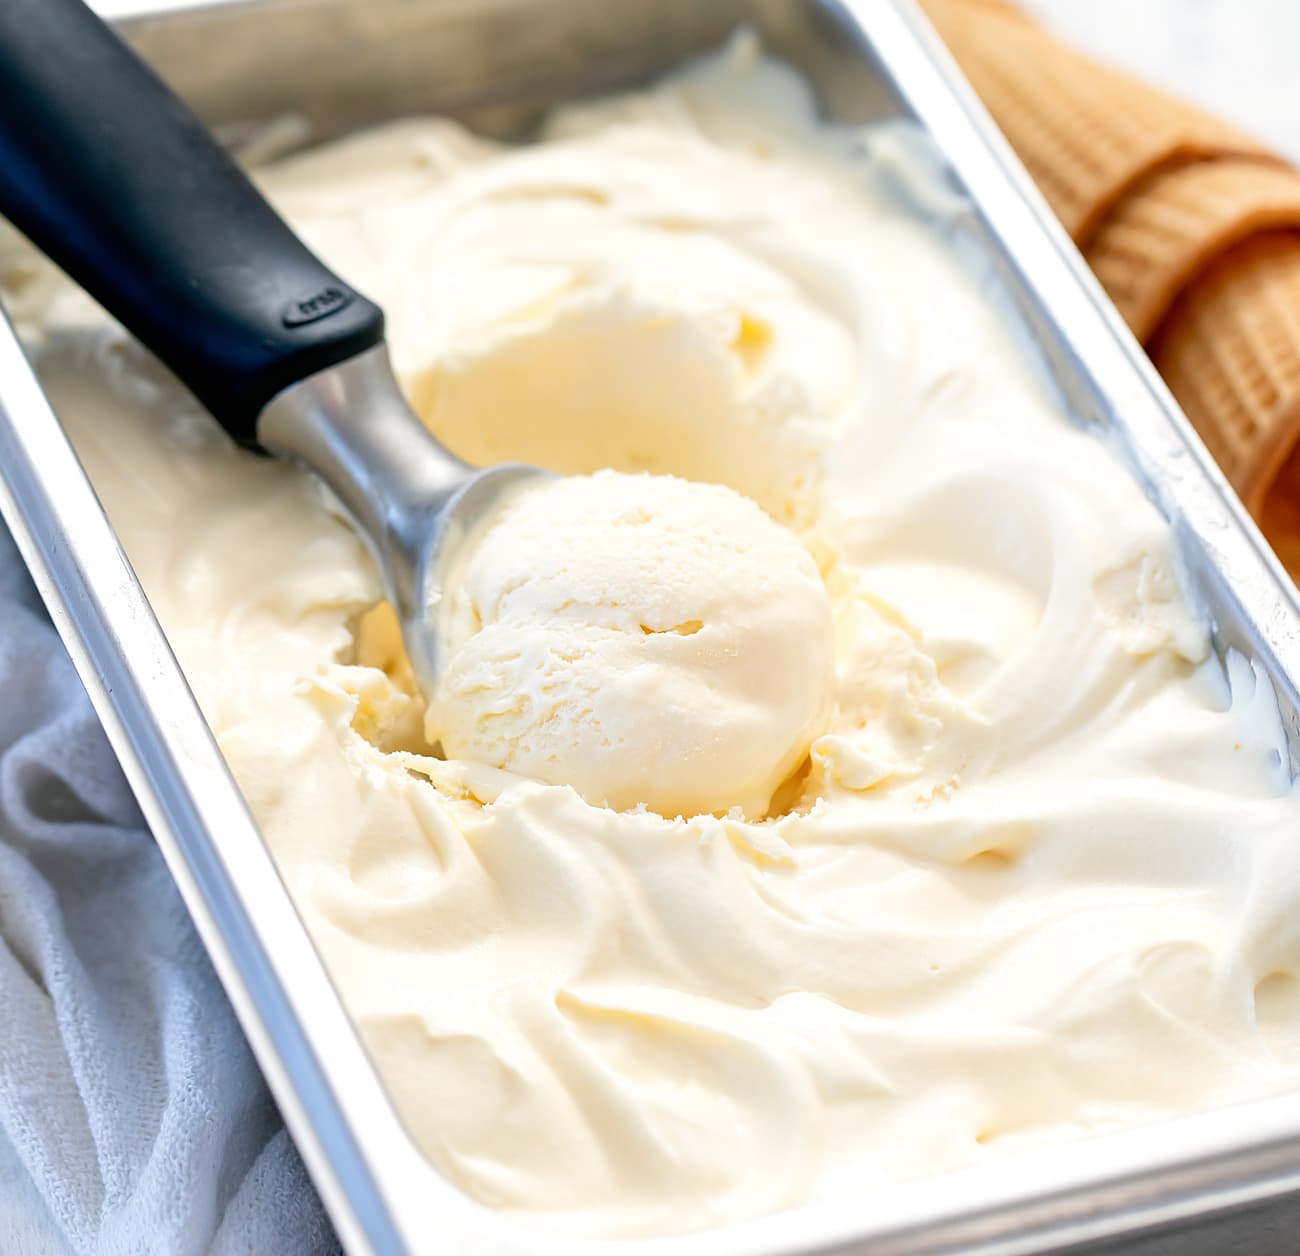
- 1. Take the Ice Cream Out of the Freezer: Remove the container of ice cream from the freezer and allow it to sit at room temperature for a few minutes. This will slightly soften the ice cream, making it easier to scoop.
- 2. Get Your Scoop Ready: Prepare an ice cream scoop or a spoon with a flat, sturdy edge to easily scoop the ice cream.
- 3. Portion and Serve: Scoop the desired amount of ice cream into bowls, cones, or serving dishes. Enjoy it as is or get creative with toppings like caramel sauce, chocolate shavings, or crushed cookies.
- 4. Store the Remaining Ice Cream: If there are leftovers, cover the container tightly with its lid or plastic wrap. This will help minimize ice crystal formation and freezer burn. Place the container back in the freezer.
- 5. Proper Storage: To ensure the best quality and flavor, consume the ice cream within 1-2 weeks. Over time, ice cream can develop ice crystals and lose its smooth texture. If stored properly, it should remain delicious and scoopable for this period.
When storing the ice cream, it’s important to minimize exposure to air, as it can cause the ice cream to become icy and lose its original texture. If you don’t have a suitable container with a lid, tightly wrap the ice cream container with plastic wrap before placing it back in the freezer.
Whenever you’re ready for another serving of coffee ice cream, remove the container from the freezer and repeat the process of allowing it to soften at room temperature for a few minutes before scooping and serving. Since homemade ice cream doesn’t contain any additives or preservatives, it’s best enjoyed relatively soon after being made for the most authentic and flavorful experience.
Now that you have your homemade coffee ice cream stored and ready for future enjoyment, treat yourself to a delicious scoop whenever you desire a sweet and creamy coffee-infused treat. With the convenience of having it readily available at home, you can indulge in this delightful dessert whenever the craving strikes!
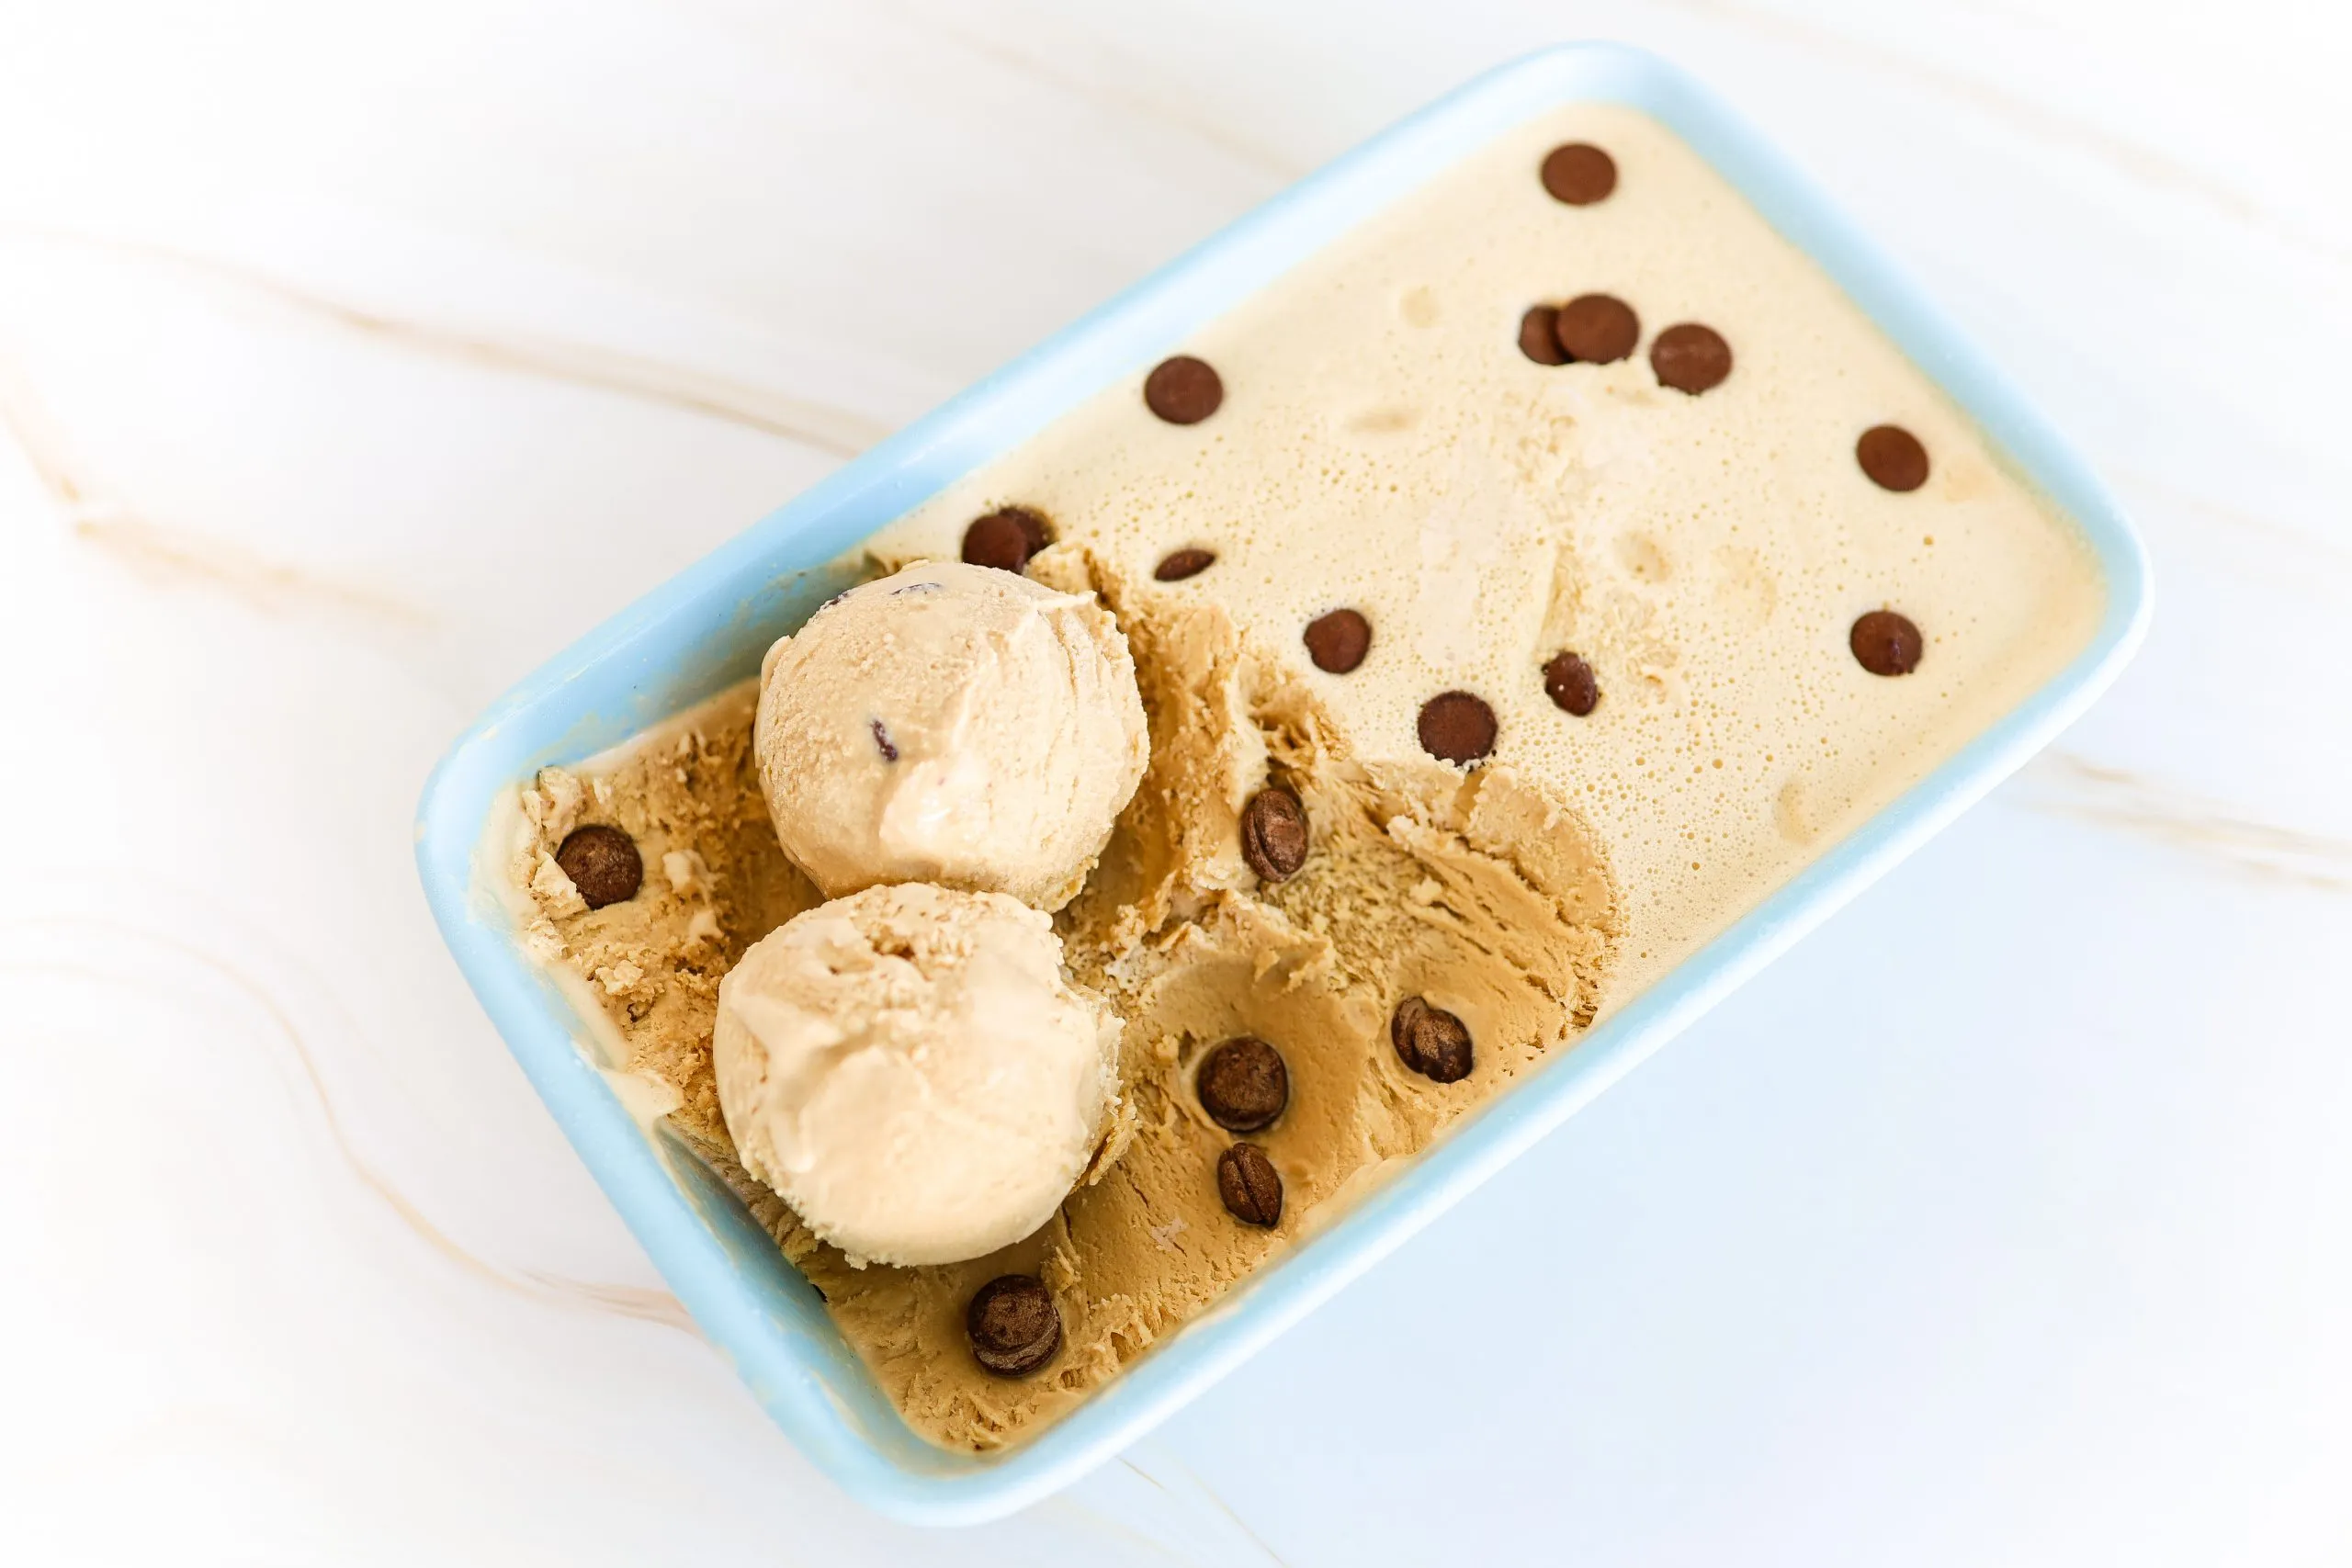
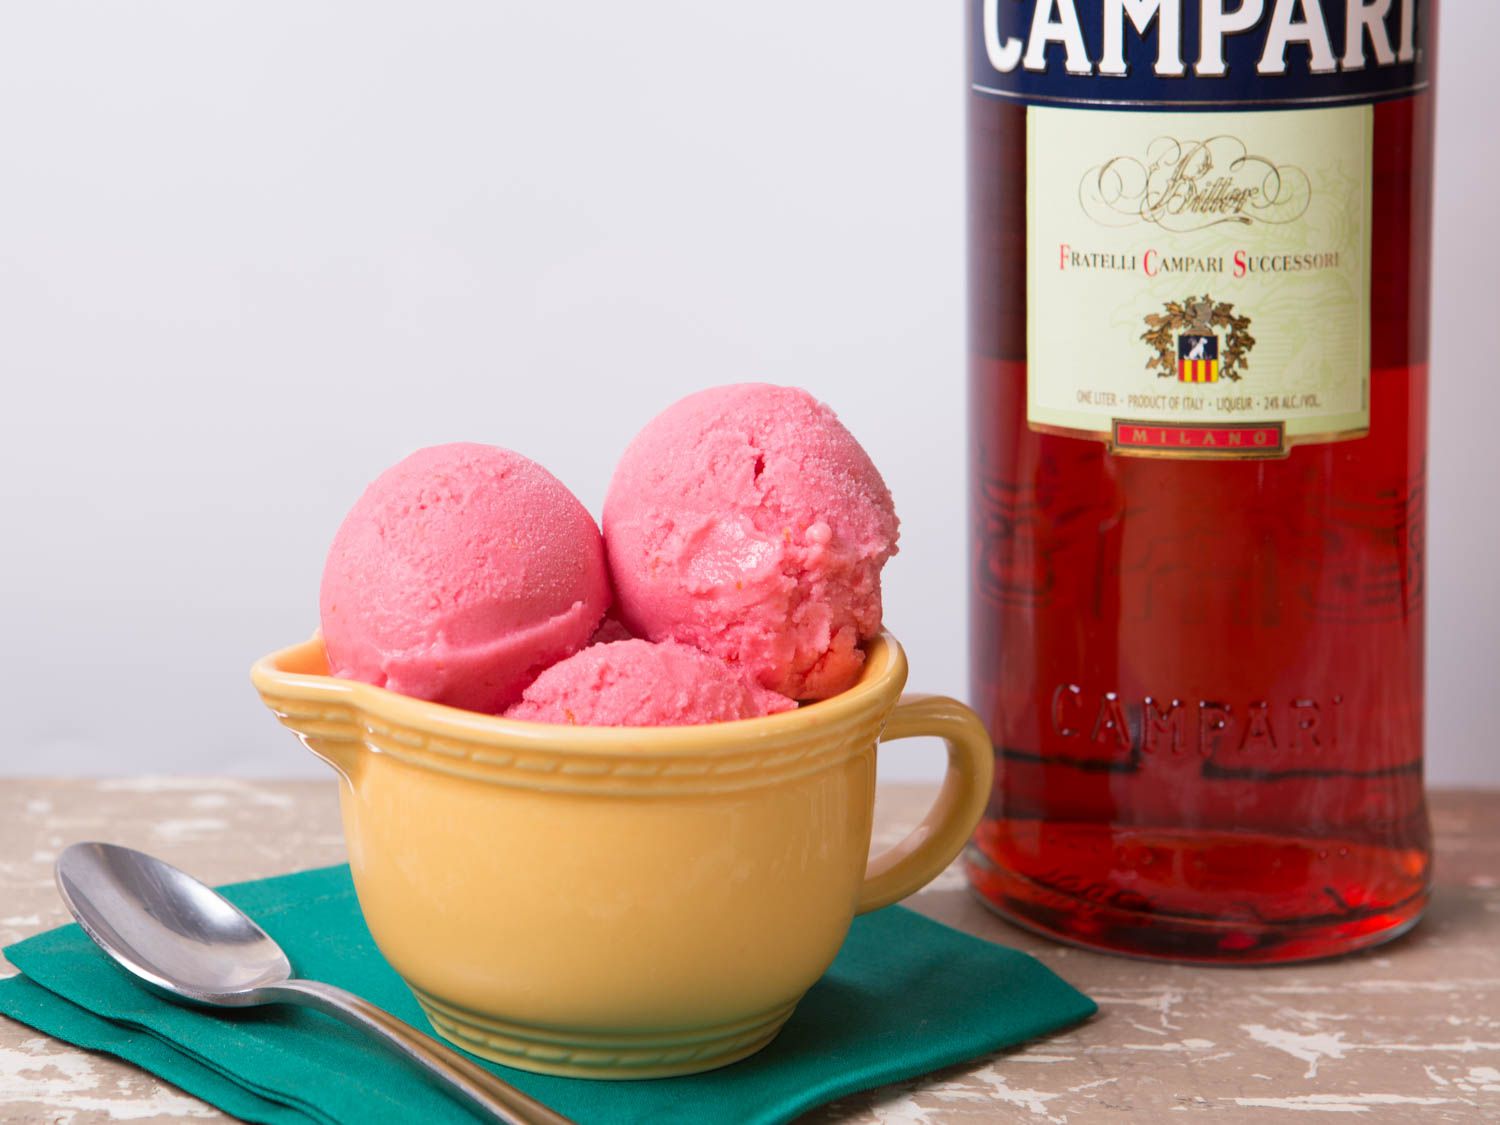
Enjoy Your Homemade Coffee Ice Cream!
The moment has finally arrived – it’s time to savor your homemade coffee ice cream! Dive into the creamy goodness and indulge in the delightful blend of coffee and frozen sweetness. Here are some tips to enhance your enjoyment:
- 1. Serve it Solo: Simply scoop the coffee ice cream into a bowl or cone and relish its rich flavor all on its own. Let each spoonful melt in your mouth, allowing the creamy texture and coffee taste to tantalize your taste buds.
- 2. Explore Toppings: Get creative with toppings to take your coffee ice cream to the next level. Drizzle caramel sauce, chocolate fudge, or even a shot of espresso on top. Add a sprinkle of nuts, berries, or crushed cookies for extra texture and flavor.
- 3. Build an Ice Cream Sundae: Create a coffee-inspired sundae by layering your ice cream with whipped cream, crushed wafers, and a generous drizzle of coffee-infused syrup. Top it off with a maraschino cherry or a sprinkle of cocoa powder for an exquisite treat.
- 4. Transform it into a Milkshake: Blend your coffee ice cream with milk to make a refreshing coffee milkshake. Customize it by adding a dash of vanilla extract, a shot of espresso, or even a sprinkling of cinnamon for an extra kick of flavor.
- 5. Pair it: Pair your homemade coffee ice cream with other complementary flavors. Serve it alongside a warm brownie, a slice of pie, or a freshly baked cookie for a delectable dessert combination.
- 6. Share the Joy: Treat your family and friends to the delight of homemade coffee ice cream. Host a gathering or send them home with a container of your delectable creation. They’ll surely appreciate the unique flavor and effort you put into making it.
Remember, homemade coffee ice cream is a special treat that you can savor whenever you desire. Its creamy texture and irresistible coffee flavor bring a touch of luxury to any occasion. Enjoy it as a refreshing summer dessert, a comforting winter indulgence, or as a sweet ending to a memorable meal. The possibilities are endless when it comes to enjoying your homemade coffee ice cream.
So, grab a spoon, embrace the goodness of your labor, and relish the satisfaction that comes with creating a delicious frozen treat right in your own kitchen. Indulge in every spoonful, and let the rich taste of coffee dance on your palate. With your homemade coffee ice cream in hand, sit back, relax, and indulge in a moment of pure bliss.