Introduction
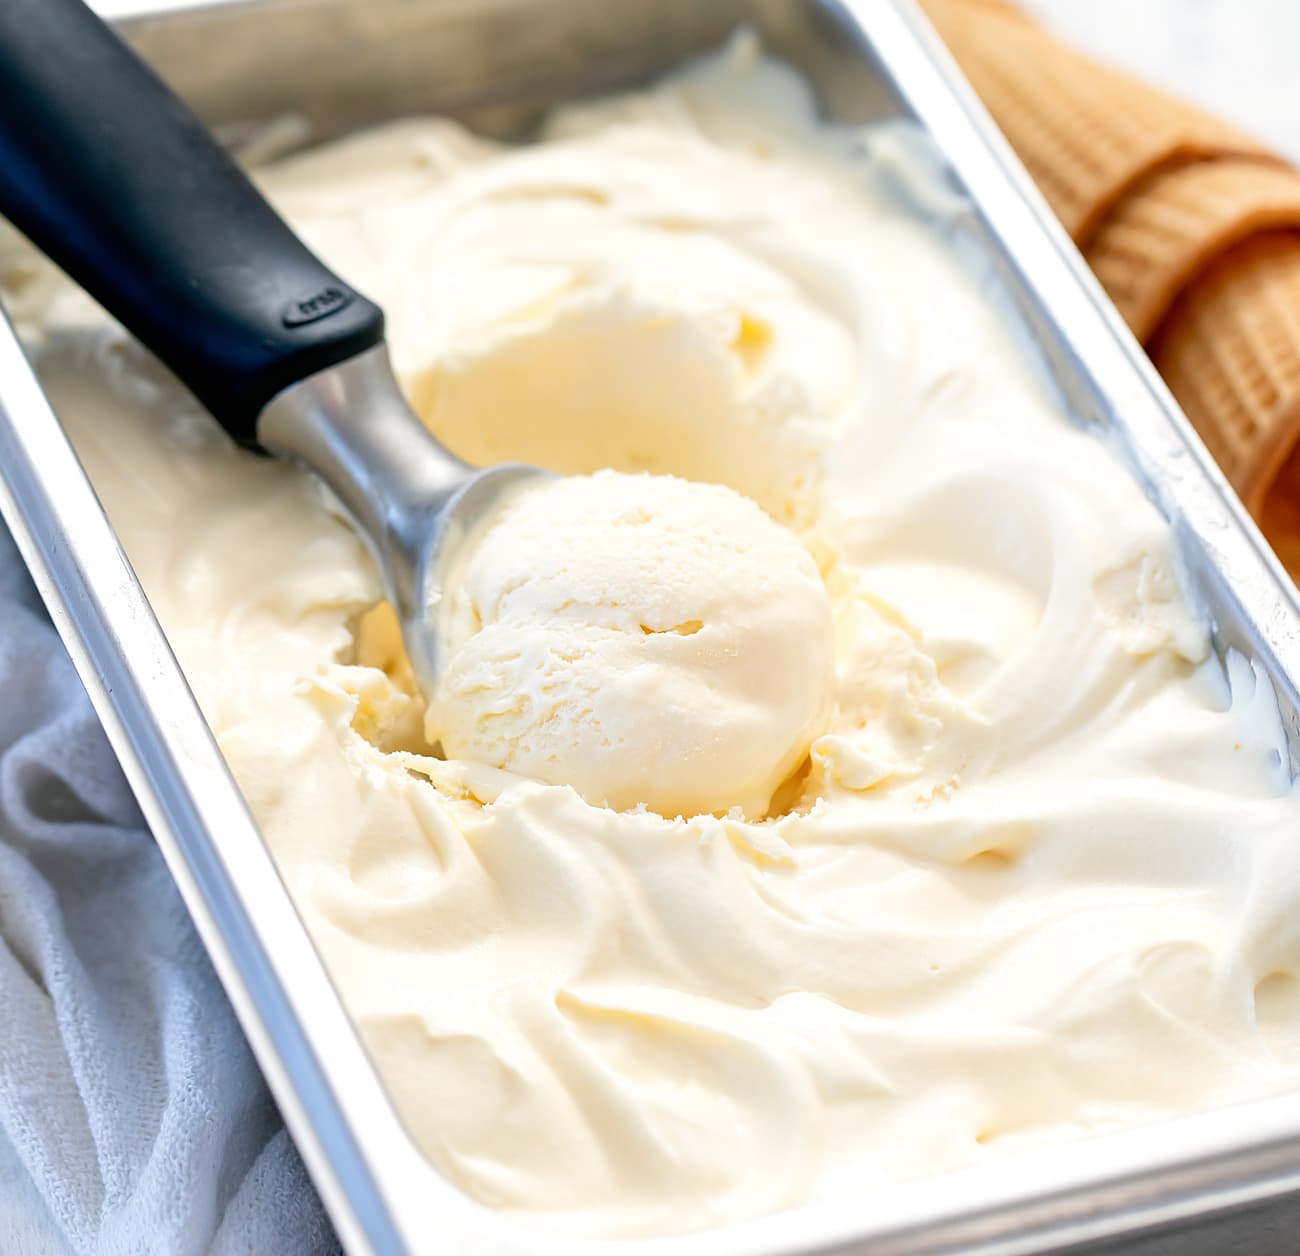
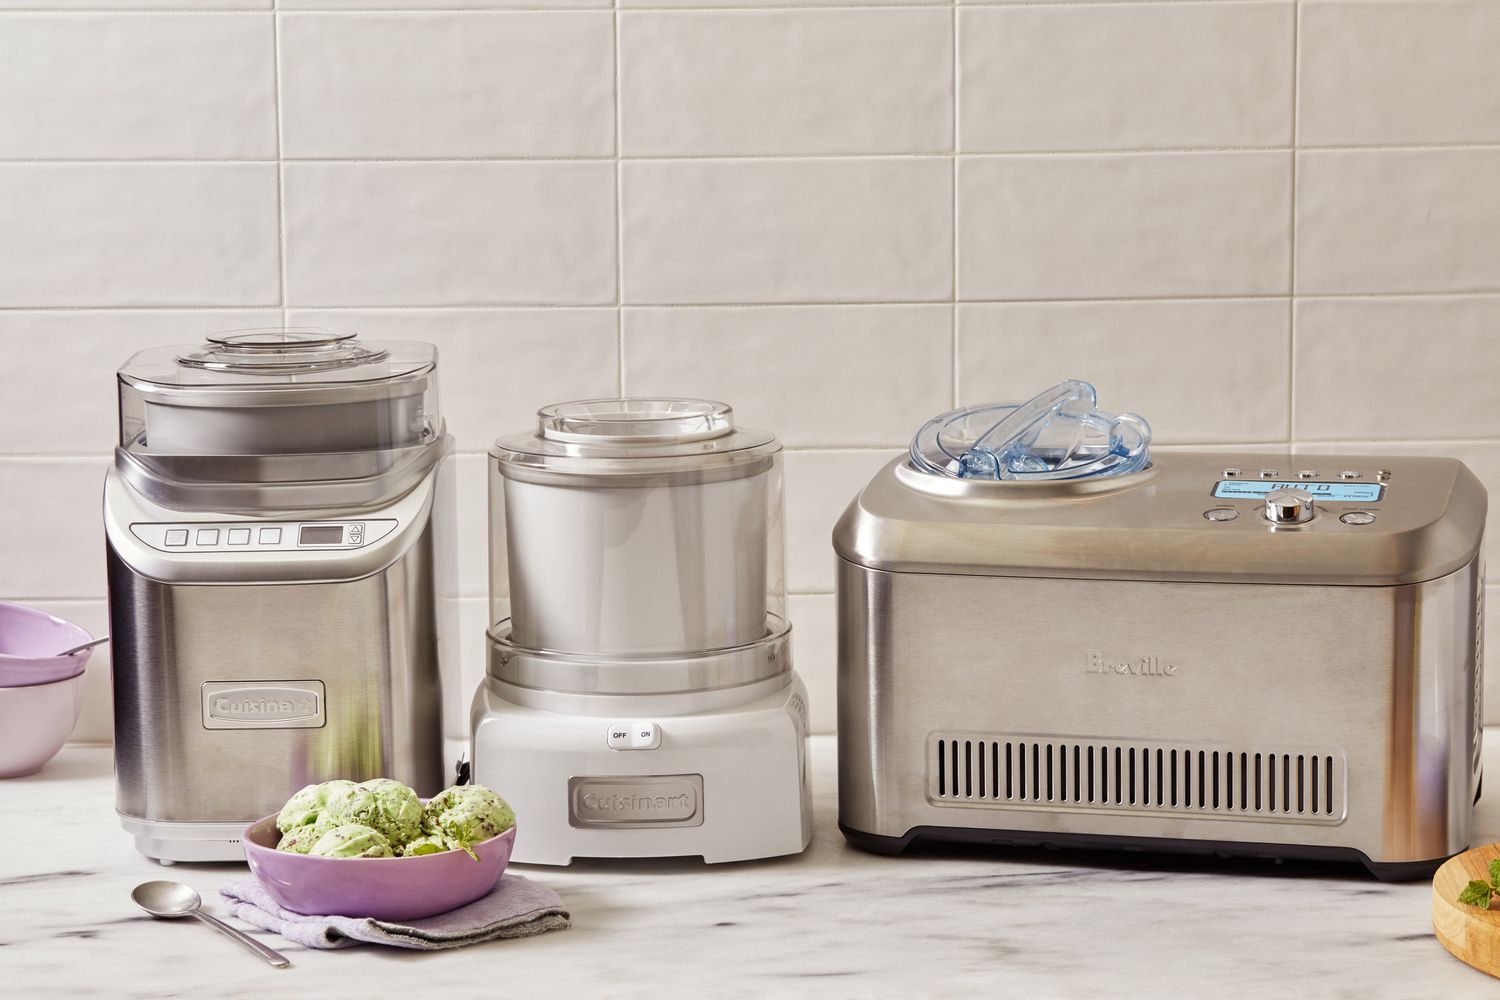
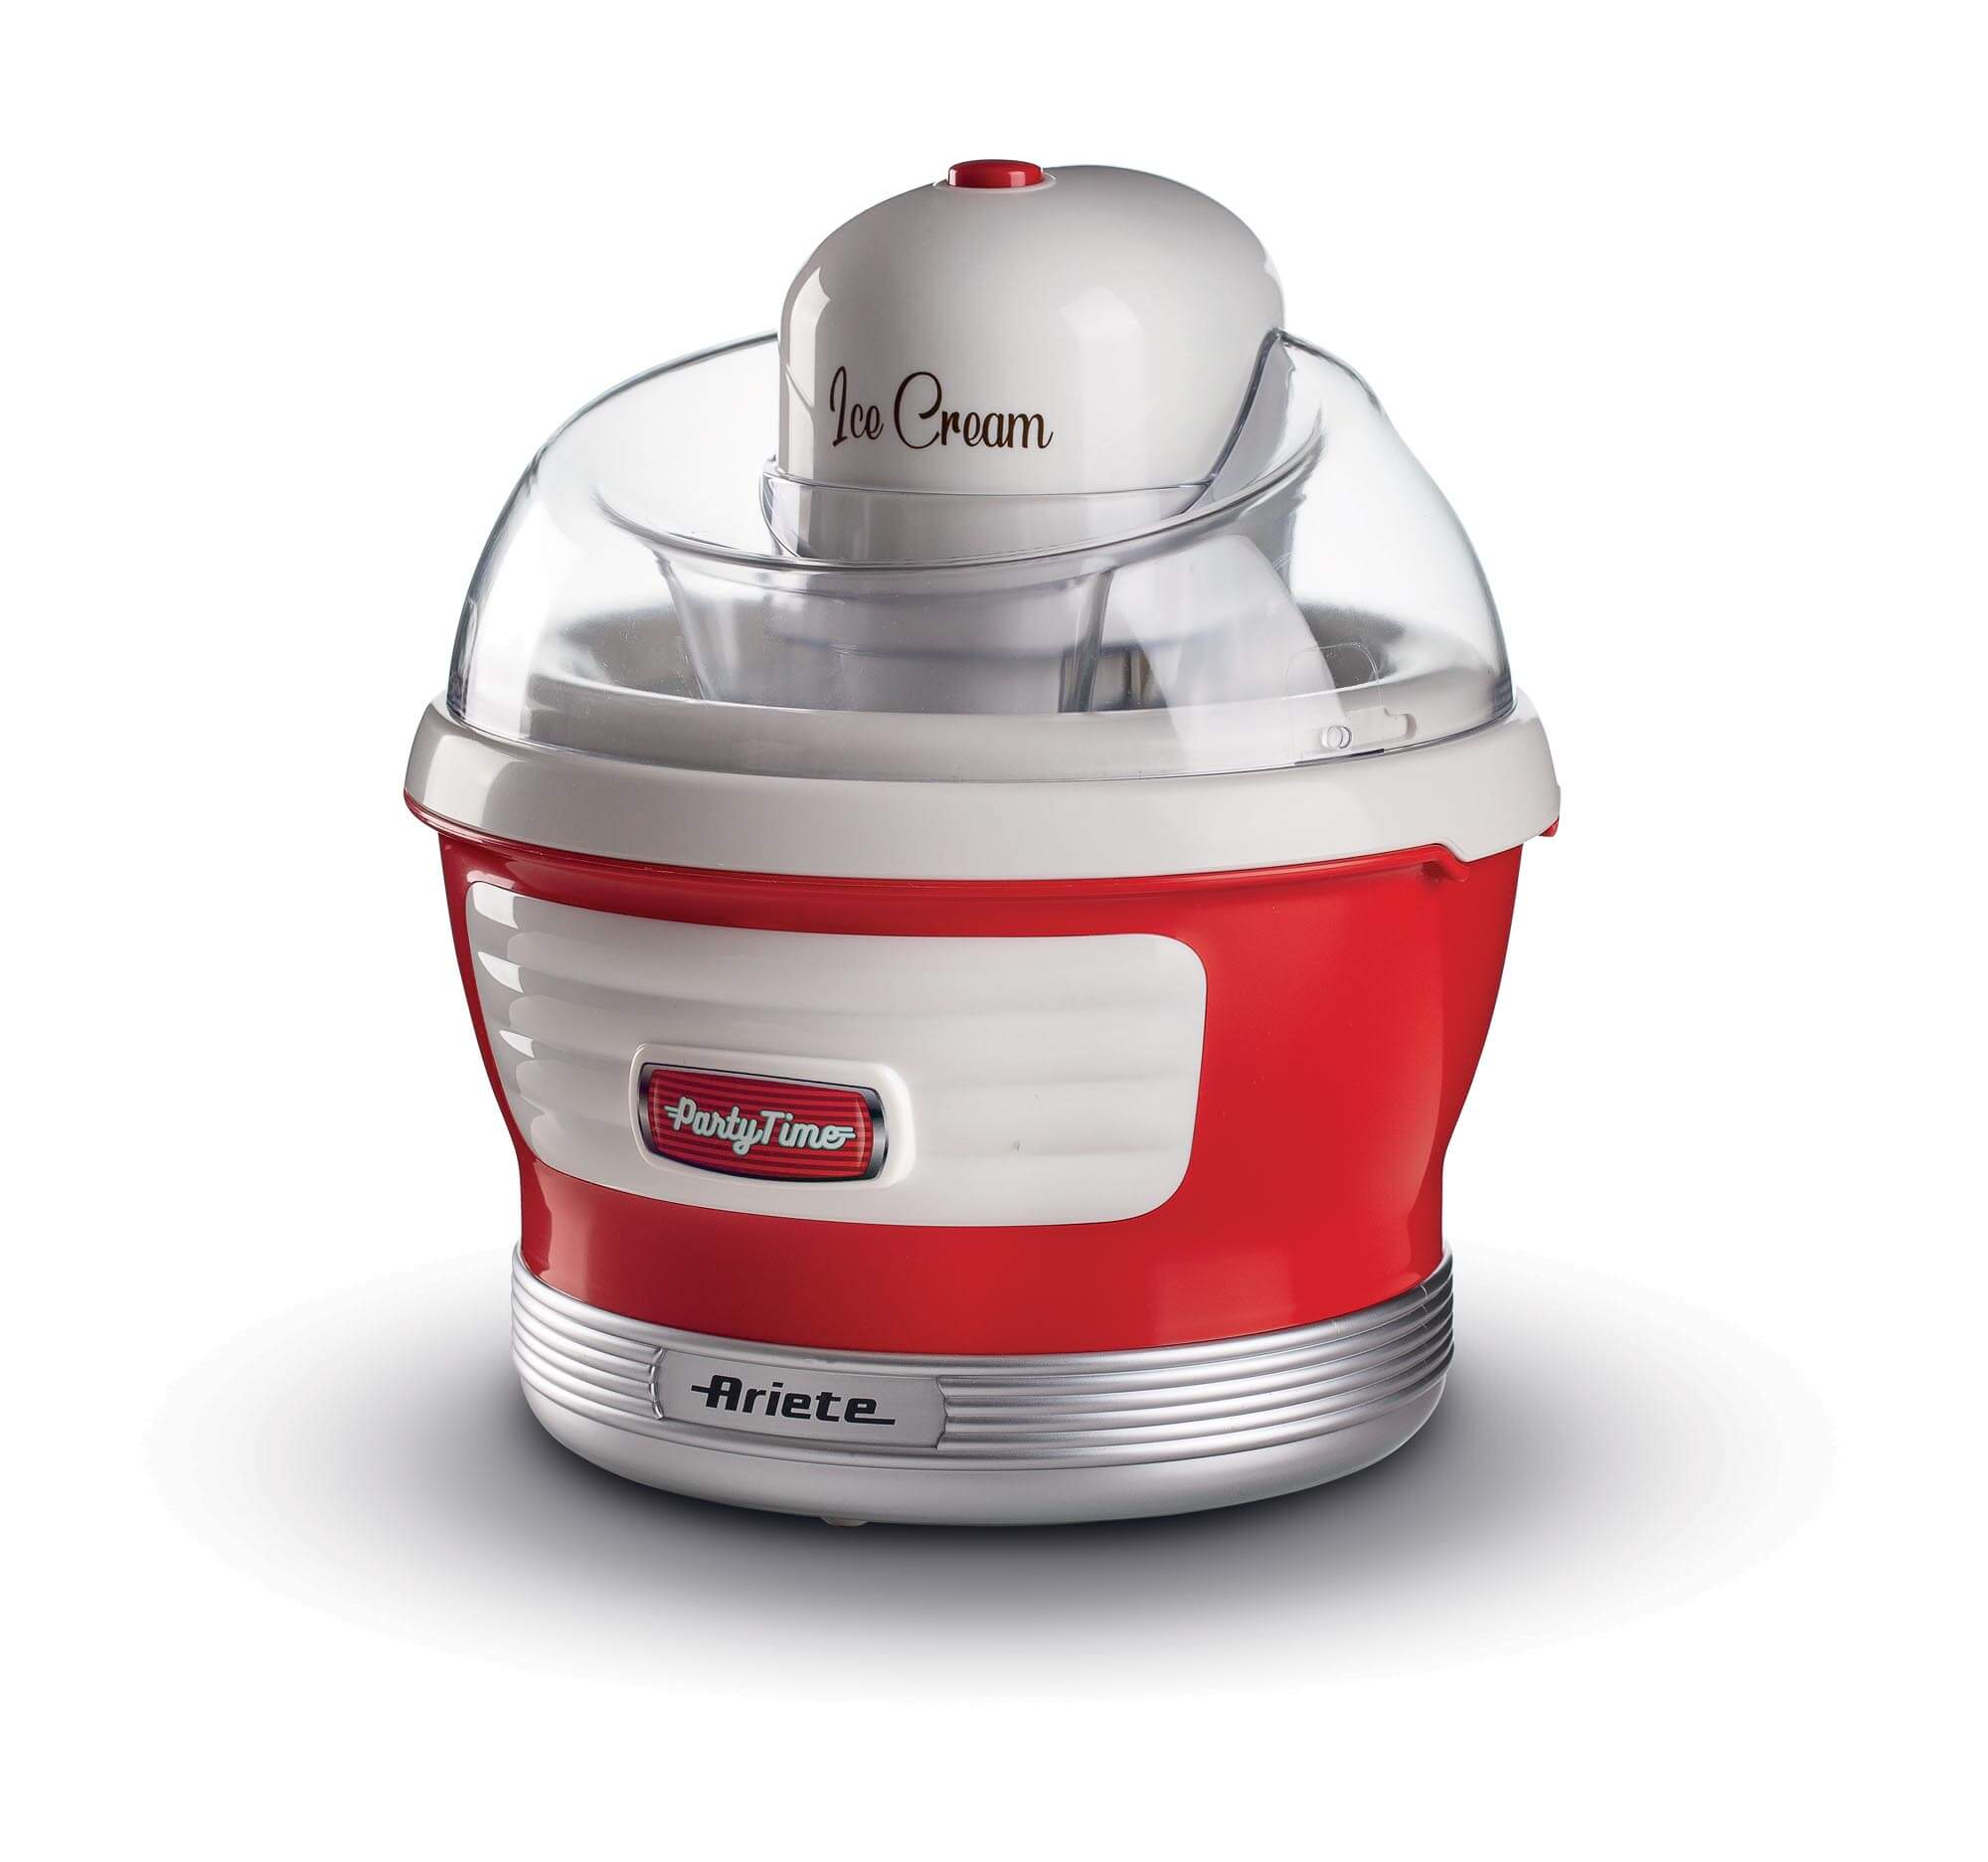
Ice cream is a beloved frozen treat enjoyed by people of all ages. There’s something about its creamy texture and delicious flavors that make it utterly irresistible. While traditional ice cream makers can create the perfect batch, not everyone has access to one. However, fear not! It is indeed possible to make delicious ice cream at home without the need for an ice cream maker. In this article, we will explore various methods and techniques that will allow you to indulge in your homemade frozen delight.
Whether you’re craving classic vanilla, luscious chocolate, or a unique fruit-infused creation, making ice cream from scratch can be a fun and rewarding experience. Plus, by using simple household tools, you can achieve great results without investing in expensive equipment.
Before we dive into the methods of making ice cream without an ice cream maker, it’s essential to understand the science behind how it’s made. Ice cream consists of three basic components: fat, sugar, and air. The fat, usually from cream or milk, provides richness, while the sugar adds sweetness. The incorporation of air during the freezing process creates the characteristic light and fluffy texture.
Now that we have a basic understanding of ice cream’s composition, let’s explore the essential ingredients needed to make this delectable treat. By gathering these ingredients and utilizing the methods we’re about to discuss, you’ll soon be savoring your homemade ice cream.
The Basics: Understanding the Science of Ice Cream
Ice cream is not just a frozen dessert; it’s a science experiment in your kitchen! Understanding the scientific principles behind ice cream making can help you create the perfect creamy treat every time.
The key to ice cream’s velvety texture and smooth consistency lies in the process of emulsion and freezing. Emulsion refers to the mixture of fat and water in the ice cream base. In traditional ice cream recipes, heavy cream or milk is used as the fat component, while water makes up the majority of the liquid. Emulsifiers like egg yolks or stabilizers help create a stable emulsion by preventing the separation of fat and water.
During the freezing process, ice crystals begin to form. These ice crystals are responsible for the texture of the ice cream. If the crystals are too large, the ice cream will become grainy, while small crystals create a smoother texture. The addition of sugar decreases the size of the ice crystals, resulting in a smoother and creamier final product.
Another critical aspect of ice cream making is the incorporation of air. When you churn the ice cream mixture, either with an ice cream maker or manually, air is trapped in the mixture. This process is called overrun, and it increases the volume of the ice cream. The presence of air gives ice cream its light and fluffy consistency.
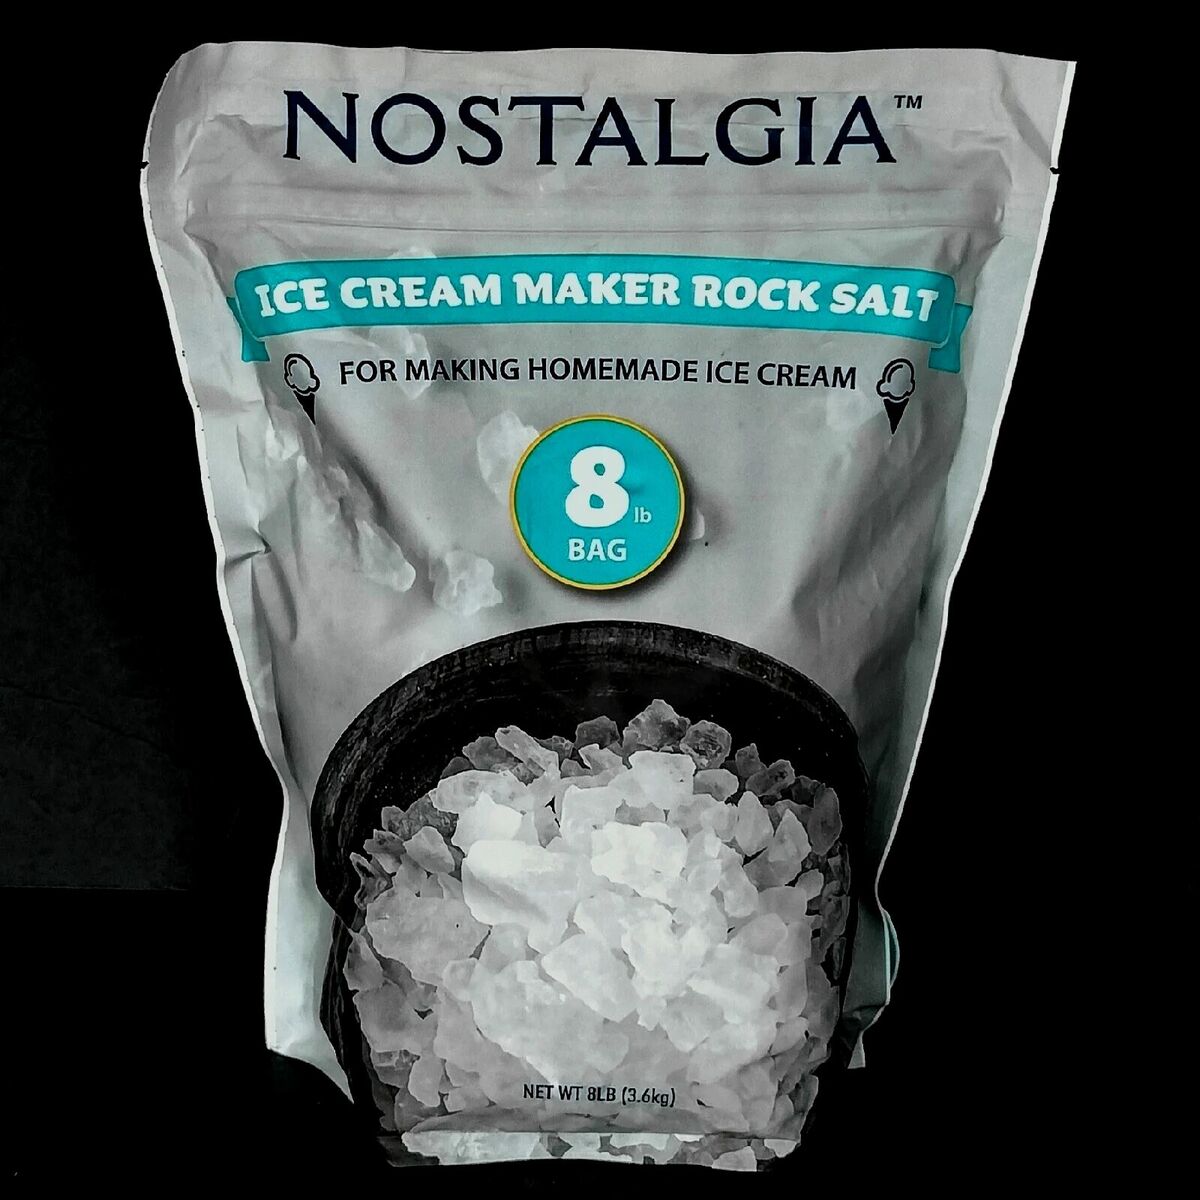
The freezing point of water is 32°F (0°C), but ice cream requires much lower temperatures to solidify. By adding salt to ice, you can lower the temperature at which the ice cream freezes. The salt interacts with the ice, causing it to melt rapidly and absorb heat from the surroundings, which cools the ice cream mixture to the desired freezing point.
Understanding these scientific principles allows you to make adjustments to your ice cream recipes. Whether you want a higher fat content for a richer flavor or an extra creamy texture, or if you want to experiment with different flavors and mix-ins, having a grasp of the science behind ice cream will help you achieve the desired results.
Essential Ingredients for Making Ice Cream
If you’re ready to embark on your homemade ice cream adventure, it’s crucial to have the right ingredients on hand. While there are endless flavor variations, certain key components are necessary for any basic ice cream recipe.
The first essential ingredient is cream or milk. Heavy cream is commonly used for its higher fat content, creating a rich and creamy texture. If you prefer a lighter option, you can use whole milk or a combination of milk and cream. The amount of fat in the dairy will affect the final consistency of your ice cream, so choose according to your preference.
Sugar is another vital ingredient in ice cream making. It not only adds sweetness but also helps to depress the freezing point of the ice cream, preventing it from becoming too solid. Granulated sugar is commonly used, but you can experiment with different types such as brown sugar or honey to add unique flavors to your ice cream creation.
Egg yolks are optional but often used in custard-based ice creams. The yolks add richness, stability, and a smooth texture to the ice cream. They also serve as an emulsifier, helping to bind the fat and liquid components together. If you prefer an eggless ice cream, you can omit this ingredient and still achieve delicious results.
Vanilla extract or other flavorings are essential for adding depth and taste to your ice cream. Vanilla extract is the classic choice, but feel free to explore other extracts like almond, mint, or even coffee to create unique flavors. You can also experiment with incorporating spices, fruits, or chocolate chips to customize your ice cream to your liking.
Lastly, don’t forget salt! Salt plays a crucial role in lowering the freezing point of the ice cream mixture. Without it, your ice cream would take much longer to freeze, resulting in a less desirable texture. Use kosher or rock salt when making ice cream to ensure optimal freezing conditions.
By having these essential ingredients in your kitchen, you’ll be well-prepared to whip up homemade ice cream that rivals any store-bought treat. Remember to choose quality ingredients for the best results, and feel free to get creative with flavors and mix-ins to make your ice cream truly unique.
Methods for Making Ice Cream Without an Ice Cream Maker
While an ice cream maker can simplify the process of making homemade ice cream, it’s not a necessity. You can still achieve delicious results using alternative methods. Here are five methods for making ice cream without an ice cream maker:
Method 1: Using a Plastic Bag: This method involves placing your ice cream mixture in a small, sealed plastic bag, which is then placed inside a larger bag filled with ice and salt. Shake and massage the bags for about 10-15 minutes until the mixture reaches the desired consistency.
Method 2: Using a Bowl and Whisk: In this method, you simply mix the ice cream base in a bowl, then place it in the freezer. Every 30 minutes, remove the bowl from the freezer and vigorously whisk the mixture to break up ice crystals. Repeat this process until the ice cream reaches the desired texture.
Method 3: Using a Blender or Food Processor: Blend or process your ice cream mixture until smooth, then pour it into a container. Place the container in the freezer, making sure to stir or whisk the mixture every 30 minutes to prevent it from becoming too icy. Continue this process until the ice cream is creamy and frozen.
Method 4: Using Frozen Bowls and Whisks: Pre-freeze metal bowls and whisks in the freezer. Once frozen, pour your ice cream mixture into one of the bowls and use the frozen whisk to vigorously mix the mixture. As the ice cream starts to freeze around the edges, scrape it back into the center and continue whisking until the desired consistency is achieved.
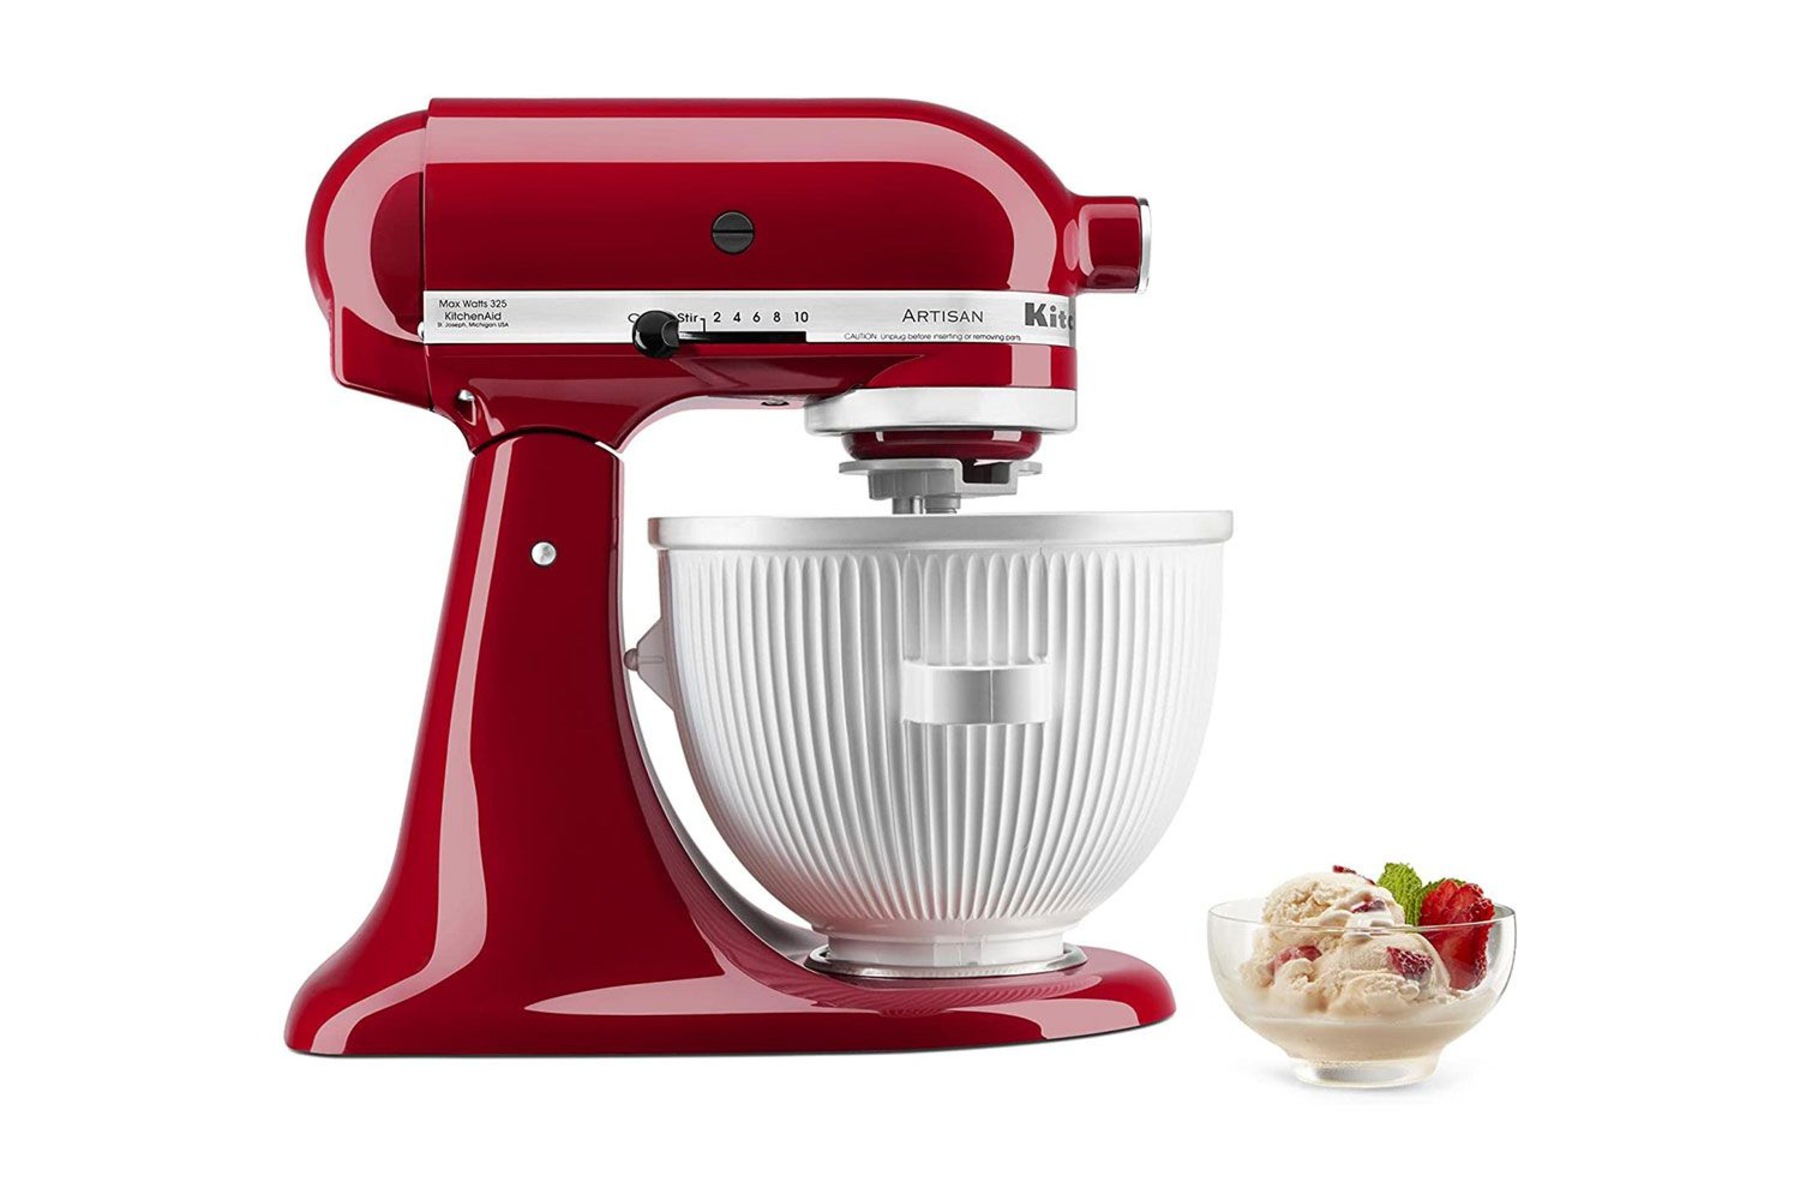
Method 5: Using a Stand Mixer with Freezer Bowl Attachment: If you have a stand mixer with a freezer bowl attachment, freeze the bowl according to the manufacturer’s instructions. Once frozen, attach it to your stand mixer and pour in the ice cream mixture. Let it mix on low speed until thick and creamy.
While these methods require a bit of effort and patience, they are highly effective in producing homemade ice cream without the need for an ice cream maker. Experiment with different methods to find the one that suits your preferences and equipment availability.
Remember to follow the recommended freezing times and incorporate the suggested mixing techniques for each method to achieve the best results. With practice and experimentation, you’ll soon be enjoying your homemade ice cream creations.
Method 1: Using a Plastic Bag
Making ice cream using a plastic bag is a creative and engaging method that requires minimal equipment. Here’s how you can make ice cream using this method:
1. Start by preparing your ice cream mixture using your desired recipe. Pour the mixture into a smaller-sized, sealable plastic bag. Make sure the bag is securely sealed to avoid any leaks during the process.
2. Fill a larger plastic bag about halfway with ice cubes. Add a generous amount of salt to the ice. The salt helps to lower the temperature of the ice, creating the ideal freezing conditions for the ice cream mixture.
3. Place the sealed smaller bag containing the ice cream mixture into the larger bag with the ice and salt. Ensure that the larger bag is also sealed tightly.
4. Now it’s time to shake and massage the bags. Gently toss and turn the bags for about 10-15 minutes. The ice and salt mixture will rapidly cool the ice cream mixture, causing it to freeze and solidify.
5. As you shake the bags, you’ll notice the mixture gradually thickening into a creamy consistency. Continue massaging the bags until the ice cream reaches the desired texture.
6. Once the ice cream has reached the desired consistency, carefully remove the smaller bag from the larger bag, taking care not to allow any ice or salt to contaminate the mixture.
7. Wipe off any excess salt from the smaller bag before opening it. Scoop out the homemade ice cream into a bowl or cone, and enjoy your delicious frozen treat!
Method 1 is a fun way to involve the whole family in the ice cream-making process. Kids especially love taking turns shaking the bags and watching the magic of ice cream being created before their eyes.
Experiment with different flavors and mix-ins to customize your homemade ice cream. You can add chocolate chips, crushed cookies, or fresh fruit to enhance the taste and texture of your frozen creation.
Keep in mind that the texture of the ice cream made using this method may differ slightly from that made with a traditional ice cream maker. However, the satisfaction of making your own ice cream without specialized equipment is worth the effort.
So grab your bags and get ready to shake up some delicious homemade ice cream using this simple and enjoyable method!
Method 2: Using a Bowl and Whisk
Don’t have an ice cream maker? No problem! With just a simple bowl and whisk, you can create creamy and delicious homemade ice cream. Follow these steps to make ice cream using this method:
1. Start by preparing your ice cream base according to your chosen recipe. Combine the cream, milk, sugar, and any flavorings you desire in a mixing bowl. Whisk the ingredients together until the sugar is completely dissolved.
2. Place the bowl with the ice cream mixture in the freezer for about 30 minutes, or until the edges of the mixture have started to freeze.
3. Once the edges have begun to freeze, remove the bowl from the freezer and vigorously whisk the mixture. Break up any ice crystals that have formed, mixing them back into the liquid. This step will help create a smooth and creamy texture.
4. Return the bowl to the freezer and let it sit for another 30 minutes. Then, take the bowl out and whisk the mixture again. Repeat this process every 30 minutes for about 2-3 hours, continuing to whisk vigorously each time.
5. As you continue whisking and freezing, you’ll start to notice the ice cream mixture gradually thickening and becoming more solid. Keep repeating the process until the ice cream reaches your desired consistency.
6. Once the ice cream is rich and creamy, transfer it to a suitable container, such as an airtight container or a loaf pan lined with parchment paper. Smooth the top of the ice cream with a spatula.
7. Cover the container and place it in the freezer for at least 4 hours or overnight to allow the ice cream to fully set and develop its flavors.
8. When it’s time to enjoy your homemade ice cream, simply scoop it into bowls or cones and savor the creamy goodness!
Using a bowl and whisk method allows you to actively participate in the ice cream-making process and gives you full control over the texture. The frequent whisking breaks up ice crystals and ensures a smoother consistency.
Feel free to get creative with flavors and mix-ins as you experiment with this method. Add crushed cookies, swirls of chocolate sauce, or even fresh berries to elevate the taste and add exciting textures.
Although this method requires patience and regular attention, the end result is a delightfully homemade ice cream that’s worth the effort. So grab your whisk and get ready to whisk up a batch of deliciousness!
Method 3: Using a Blender or Food Processor
If you have a blender or food processor in your kitchen, you’re one step closer to making homemade ice cream without an ice cream maker. This method is quick and easy, resulting in a smooth and creamy frozen treat. Here’s how you can make ice cream using a blender or food processor:
1. Begin by preparing your ice cream base according to your preferred recipe. Combine the cream, milk, sugar, and any additional flavorings in the blender or food processor. Blend the ingredients on a medium to high speed until the mixture is smooth and well combined.
2. Pour the blended ice cream mixture into a freezer-safe container, such as a loaf pan or a shallow dish. Make sure the container is large enough to allow the mixture to spread out evenly.
3. Place the container with the ice cream mixture into the freezer and let it freeze for about 30 minutes to an hour, or until the edges start to solidify.
4. After the initial freezing period, remove the container from the freezer and use a spoon or spatula to stir or whisk the mixture vigorously. This step helps to break up any ice crystals and ensures a smoother and creamier texture.
5. Return the container to the freezer and let it freeze for another 30 minutes. Repeat the stirring or whisking process every 30 minutes for about 2-3 hours. This regular stirring will prevent the mixture from becoming too icy and ensure a creamy consistency.
6. Once the ice cream has thickened and reached your desired consistency, transfer it to a suitable container with an airtight lid. Smooth the surface with a spatula.
7. Place the container back in the freezer and allow the ice cream to fully set for at least 4 hours or overnight. This resting period will enhance the flavors and firm up the texture.
8. When you’re ready to serve, scoop the homemade ice cream into bowls or cones, and enjoy the creamy goodness!
Using a blender or food processor method offers convenience and simplicity. The powerful blades help to create a smooth and well-mixed ice cream base, ensuring a consistent texture throughout.
Feel free to experiment with different flavors and mix-ins to customize your ice cream. Add in fruits, chocolate chips, nuts, or even cookie dough to take your homemade creation to the next level.
Remember to stir or whisk the mixture regularly during the freezing process to maintain a smooth and creamy consistency. With a blender or food processor, homemade ice cream is just a few steps away.
Method 4: Using Frozen Bowls and Whisks
If you’re looking for a hands-on approach to making ice cream without an ice cream maker, this method using frozen bowls and whisks is perfect for you. By incorporating the cold and frozen tools, you can achieve a creamy homemade treat. Follow these steps to make ice cream using frozen bowls and whisks:
1. Begin by pre-freezing metal bowls and whisks in the freezer for several hours or overnight. The freezing process ensures that the bowls and whisks are cold enough to freeze the ice cream mixture.
2. Once the bowls and whisks are thoroughly frozen, prepare your ice cream mixture according to your chosen recipe. Pour the mixture into one of the frozen bowls.
3. Begin whisking the ice cream mixture vigorously in the frozen bowl. The cold temperature of the bowl helps freeze the outer edges of the mixture as the whisk churns the mixture. Continue whisking until the mixture starts to freeze and thicken.
4. As the ice cream begins to freeze around the edges, scrape the mixture back into the center of the bowl using a spatula. This step ensures even freezing throughout the ice cream mixture.
5. Return the bowl to the freezer for about 20-30 minutes to allow further freezing. During this time, the mixture will continue to solidify, and the flavors will meld together.
6. Remove the bowl from the freezer and whisk the mixture again, breaking up any ice crystals that may have formed. Scraping and whisking consistently will prevent large ice crystals from developing, resulting in a smoother texture.
7. Repeat this process of freezing, whisking, and scraping every 20-30 minutes for about 2-3 hours or until the ice cream reaches your desired consistency. The more you whisk and scrape, the creamier and smoother the ice cream will become.
8. Once the ice cream has reached the desired texture, transfer it to a lidded container and place it in the freezer for another 4 hours or overnight to firm up.
To serve your homemade ice cream, simply scoop it into bowls or cones and enjoy the delightful rewards of your efforts!
Using frozen bowls and whisks offers a homemade alternative to an ice cream maker, allowing you to actively participate in the churning process. The constant whisking helps break down ice crystals and incorporates air, resulting in a creamy and smooth texture.
Get creative by experimenting with different flavorings, mix-ins, or even swirls of chocolate or fruit jam to personalize your ice cream creation.
With this method, you can enjoy the satisfaction of making homemade ice cream with minimal equipment and incredible results.
Method 5: Using a Stand Mixer with Freezer Bowl Attachment
If you have a stand mixer with a freezer bowl attachment, making homemade ice cream becomes even more convenient. This method takes advantage of the freezing capabilities of the attachment to create a creamy and delicious treat. Here’s how you can make ice cream using a stand mixer with a freezer bowl attachment:
1. Prior to making the ice cream, make sure to freeze the bowl attachment according to the manufacturer’s instructions. Typically, the bowl needs to be placed in the freezer for at least 24 hours before use.
2. Once the bowl is adequately frozen, take it out of the freezer and attach it to the stand mixer. Ensure that the bowl is securely locked into place before proceeding.
3. Prepare your ice cream mixture using your desired recipe. Combine the cream, milk, sugar, and any additional flavorings in a separate bowl, and mix until well combined.
4. With the stand mixer running on a low to medium speed, slowly pour the ice cream mixture into the freezer bowl attachment. Let the mixture mix for about 15 to 20 minutes, or until it thickens and reaches a soft serve consistency.
5. If desired, you can add mix-ins such as chocolate chips, nuts, or fruits during the last few minutes of mixing. This will help evenly distribute the mix-ins throughout the ice cream.
6. Once the ice cream has reached the desired consistency and the mix-ins are incorporated, transfer the ice cream to a lidded container. Place it in the freezer for an additional 2-4 hours, or until it reaches a firm and scoopable texture.
7. When ready to serve, take the container out of the freezer and scoop the homemade ice cream into bowls or cones. Enjoy the delightful taste of your freshly made creation!
Using a stand mixer with a freezer bowl attachment offers convenience and eliminates the need for manual churning or constant supervision. The attachment does the work for you, resulting in a consistently churned and creamy ice cream.
Feel free to experiment with different flavor combinations and mix-ins to personalize your ice cream. Whether it’s adding cookie dough chunks, swirls of caramel or fudge, or fresh fruits, the possibilities are endless!
This method allows you to create homemade ice cream with ease and minimal effort. So let your stand mixer and freezer bowl do the work while you sit back and enjoy the creamy, homemade treat.
Tips for Making Perfect Homemade Ice Cream
Creating homemade ice cream is a delightful endeavor, and with a few tips and tricks, you can elevate your ice cream-making skills to produce perfect batches every time. Here are some helpful tips to consider:
1. Chill your ingredients: Before making the ice cream base, ensure that all liquid ingredients, such as cream and milk, are properly chilled in the refrigerator. This allows for easier blending and faster chilling during the freezing process.
2. Use high-quality ingredients: Opt for fresh and high-quality ingredients to infuse your ice cream with exceptional flavor. Choose ripe, seasonal fruits, premium vanilla extract, and the best quality dairy products for the best results.
3. Don’t overlook the importance of sweetness: The sweetness of ice cream may reduce slightly when frozen. Adjust the level of sweetness in your ice cream base by adding a bit more sugar or sweetener than you would prefer in the final product.
4. Embrace the power of chilling and aging: Allowing your ice cream base to chill in the refrigerator for a few hours, or even overnight, enhances the flavor and allows the ingredients to meld together, resulting in a better-tasting ice cream.
5. Balance the flavors: Take note of the flavors you incorporate into your ice cream. It’s important to balance the sweetness, acidity, and intensity of the flavors to achieve a harmonious taste. Taste and adjust the flavors as needed before freezing.
6. Consider the texture: Different ingredients and techniques can affect the texture of your ice cream. Adding a small amount of alcohol, such as vodka or rum, can help to keep the ice cream smooth and prevent it from freezing too hard.
7. Get creative with mix-ins and swirls: Add an extra element of indulgence and excitement to your ice cream by incorporating mix-ins like cookie dough, chocolate chunks, nuts, or fruit compotes. Swirling in homemade sauces or syrups can create beautiful ribbons of flavor throughout the ice cream.
8. Properly store your ice cream: To maintain the freshness and texture of your homemade ice cream, store it in an airtight container and place it in the coldest part of your freezer. Avoid storing ice cream near strong-smelling foods to prevent any flavor absorption.
9. Practice patience: It can be tempting to dig into your freshly made ice cream right away, but it’s best to let it firm up in the freezer for a few hours. Allow the flavors to develop and the ice cream to fully set before indulging in its creamy goodness.
10. Have fun and experiment: Don’t be afraid to get creative and explore new flavors and combinations. Experiment with different fruits, spices, and mix-ins to put your own unique twist on classic ice cream flavors.
By following these tips and techniques, you’ll be well on your way to making perfect homemade ice cream that will impress your family and friends. So don your apron, unleash your creativity, and enjoy the delightful process of creating your own frozen masterpiece.
Flavor Suggestions and Recipes to Try
When it comes to making homemade ice cream, the flavor possibilities are endless. Whether you enjoy classic favorites or want to explore unique and unexpected combinations, here are some flavor suggestions and recipes to inspire your next ice cream creation:
1. Classic Vanilla: Start with the timeless classic. Infuse your ice cream base with pure vanilla extract or, for an even richer flavor, scrape the seeds from a fresh vanilla bean. The simplicity of vanilla allows for endless pairing possibilities.
2. Decadent Chocolate: Indulge in a rich and creamy chocolate ice cream. Use high-quality cocoa powder or melted chocolate to achieve that intense chocolate flavor. For an extra twist, consider adding chocolate chunks or a swirl of homemade chocolate fudge.
3. Refreshing Mint Chocolate Chip: Combine the refreshing taste of mint with chocolate chips for a classic flavor combination. Infuse your ice cream base with peppermint extract and fold in chunks of dark or milk chocolate to create a refreshing and indulgent treat.
4. Fruity Delights: Get creative by incorporating fresh fruits into your ice cream. Try strawberry chunks or pureed raspberries for a vibrant berry-flavored ice cream. For a tropical twist, blend ripe mangoes or pineapple into the base.
5. Nutella Swirl: If you’re a fan of the popular hazelnut spread, add a swirl of Nutella to your ice cream base. The creamy and nutty flavors of Nutella pair perfectly with many ice cream flavors, such as vanilla, chocolate, or even banana.
6. Cookies and Cream: Crush your favorite chocolate cream-filled sandwich cookies and fold them into a vanilla ice cream base. The contrast between the crunchy cookie pieces and the creamy base creates a delightful texture and flavor combination.
7. Salted Caramel: Combine the sweetness of caramel with a touch of saltiness for a delectable ice cream flavor. Swirl in homemade salted caramel sauce into your ice cream base to create a perfect balance of flavors.
8. Coffee Lover’s Dream: Brew strong coffee and add it to your ice cream base to create a smooth and aromatic coffee-flavored ice cream. For an extra treat, add crushed chocolate-covered coffee beans for a satisfying crunch.
9. Pistachio: Crushed pistachios and a hint of almond extract make for a unique and nutty ice cream flavor. Add the crushed nuts to the base to give your ice cream a delightful crunch and earthy taste.
10. Matcha Green Tea: For a trendy and refreshing ice cream flavor, mix matcha green tea powder with your ice cream base. Enjoy the vibrant green color and the distinct earthy and aromatic flavors of matcha.
Feel free to experiment with these flavors or create your own unique combinations. Mix and match different ingredients to suit your taste preferences, whether it’s adding swirls of caramel, blending in chunks of your favorite candies, or incorporating spices like cinnamon or cardamom.
Remember, making homemade ice cream is all about creativity and enjoying the process. So grab your favorite ingredients and start churning delicious ice cream flavors that will impress and delight your taste buds.
Conclusion
Making homemade ice cream without an ice cream maker is not only possible but also a delightful and rewarding experience. With the various methods discussed, you have the freedom to create creamy and delicious frozen treats right in your own kitchen.
Understanding the science behind ice cream making, such as the emulsion process, freezing techniques, and the incorporation of air, can help you achieve the perfect texture and consistency. By using high-quality ingredients and following the suggested tips, you can elevate your homemade ice cream to a whole new level.
Whether you choose to use a plastic bag, a bowl and whisk, a blender or food processor, frozen bowls and whisks, or a stand mixer with a freezer bowl attachment, each method offers its unique benefits and allows you to customize your ice cream creation to suit your preferences.
From classic flavors like vanilla and chocolate to exciting combinations like mint chocolate chip or fruity delights, the options for homemade ice cream flavors are limitless. Try out the flavor suggestions provided or let your imagination run wild as you experiment with different ingredients, mix-ins, and swirls.
So, don’t let the absence of an ice cream maker stop you from enjoying luscious and creamy homemade ice cream. Embrace your inner ice cream connoisseur, gather your ingredients, and embark on an ice cream-making adventure that will bring joy and satisfaction to both yourself and those you share it with.
With a little patience, creativity, and a set of simple tools, you’ll be able to whip up amazing batches of homemade ice cream to indulge in and share with your loved ones. So go ahead, create your own frozen masterpiece, and savor the sweetness of your homemade ice cream creations!


